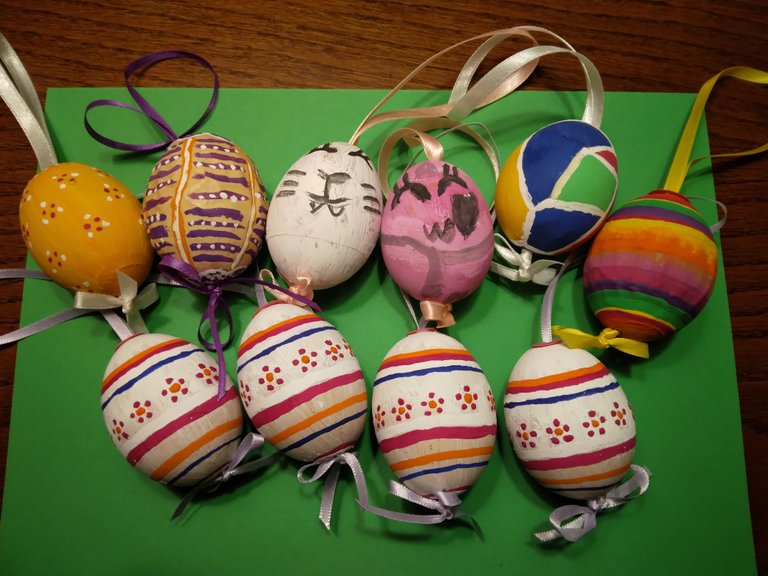
Hello dear ones, today I finally finished the new painted Easter eggs and I would like to share with you how we made them. Not only my little grandniece was thrilled that we finally once again have something to craft and paint together with my mom, her great-grandma. We all really enjoyed this shared time.
It is a tradition here in Austria to paint real eggs (without content) and hang them on a bouquet over Easter. Unfortunately, these eggs are of course very sensitive and every year again some may break. But it's not bad, because then you have the opportunity to be creative again.
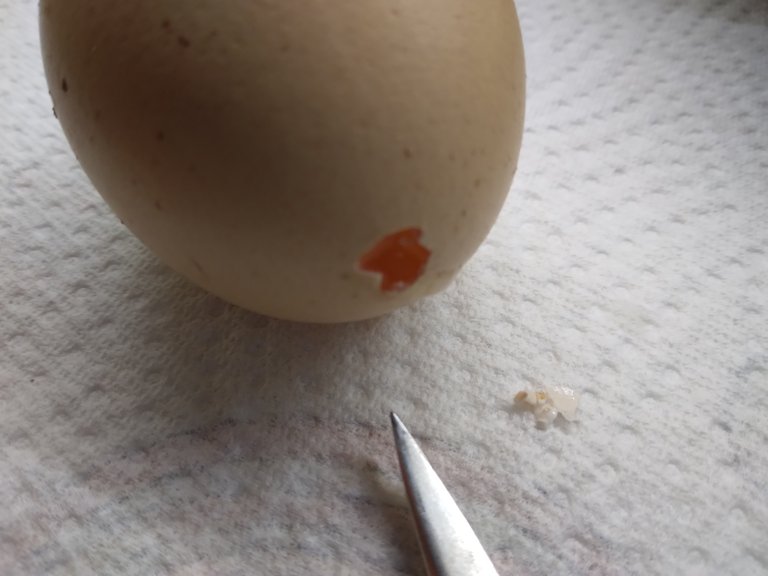
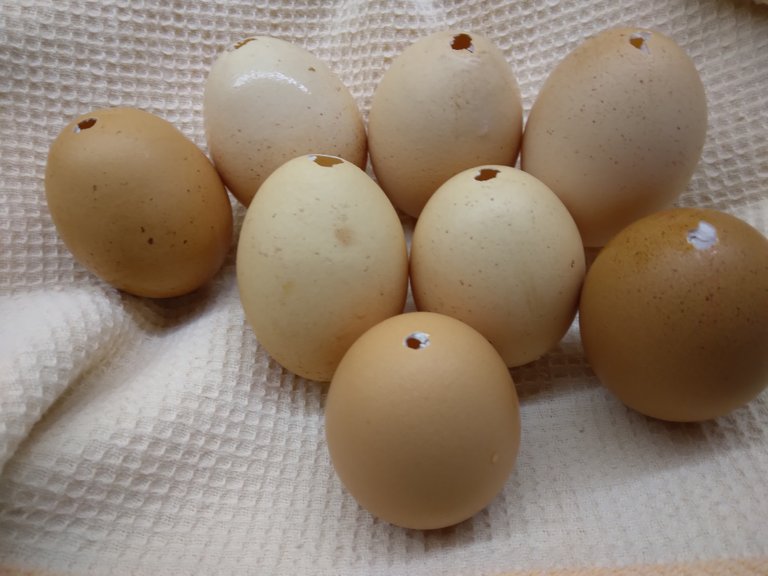
The first step is to get the eggs empty without breaking them. It's a bit of a thrill, but you can do it. You make a small hole in the top and bottom of the shell, then hold the egg over a bowl and blow into the top hole so the contents come out at the bottom hole.
Egg yolks and whites in any case do not throw away, they can be used normally for the preparation of egg dishes.
The empty eggs must now necessarily be washed inside and outside with very hot water and should dry well for a while before you can start painting.
For painting are best suited quite simple watercolors and off you go with the fun.
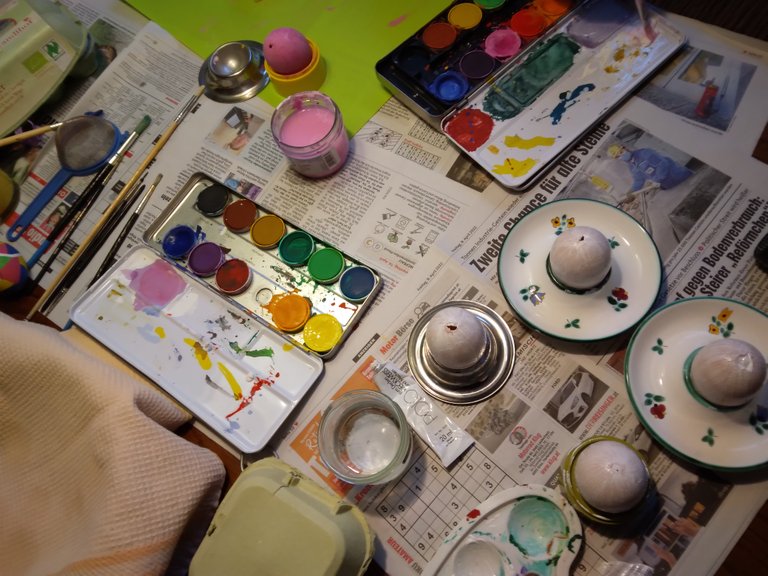
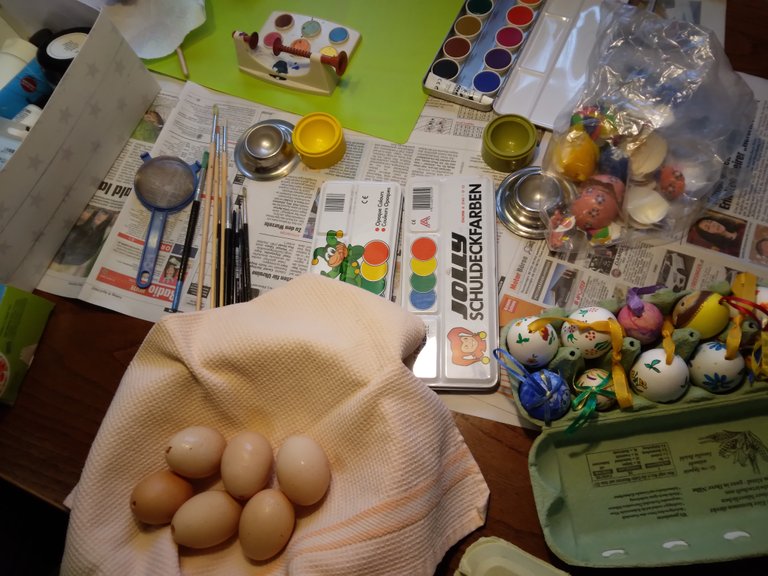
We three artists pursued different strategies:
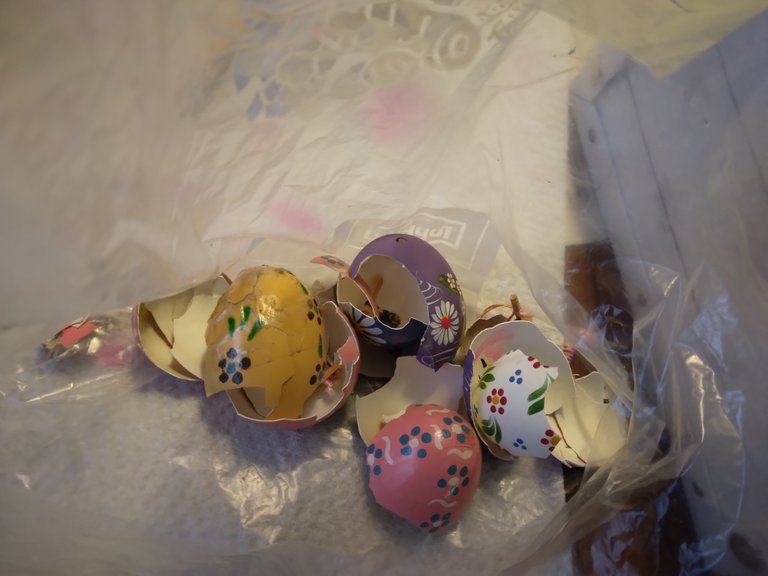
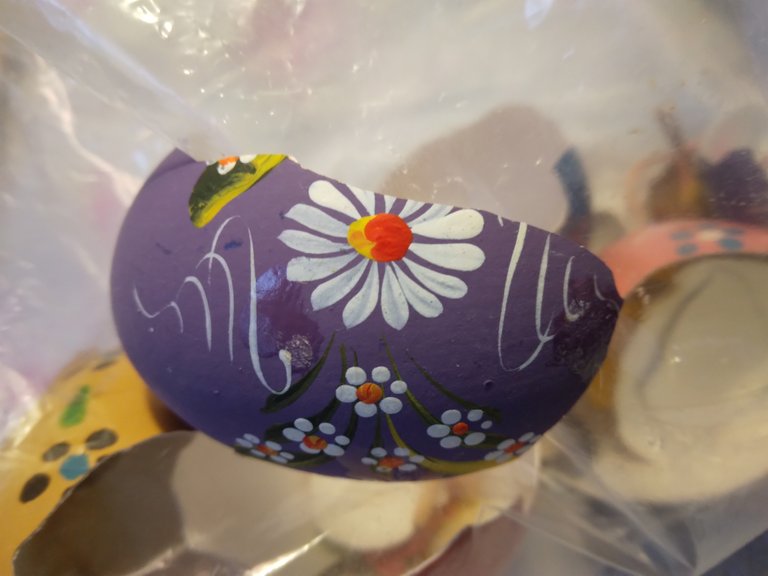
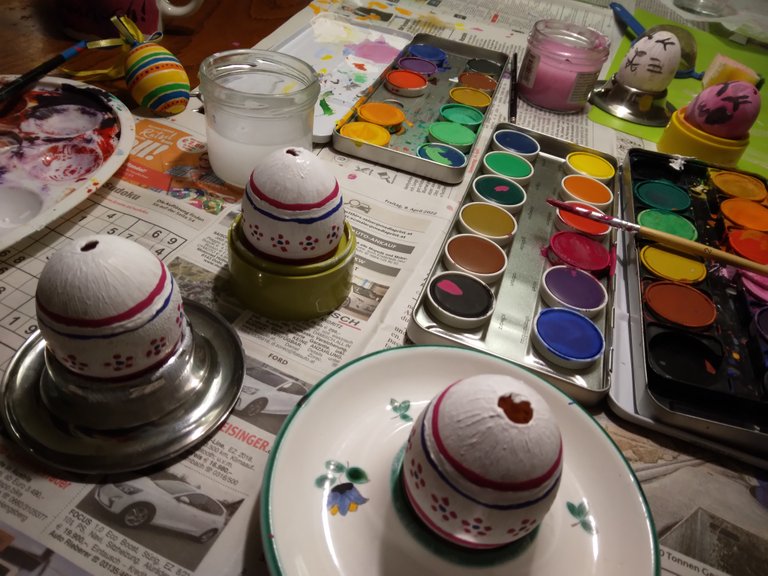
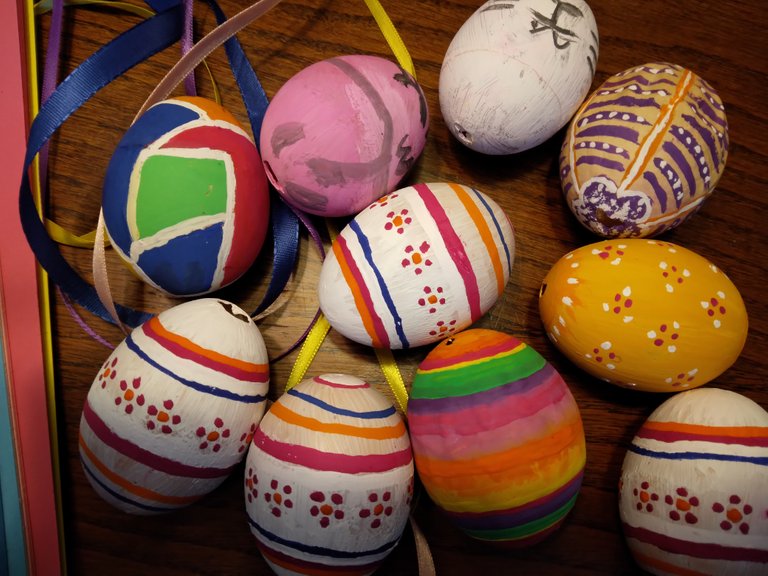
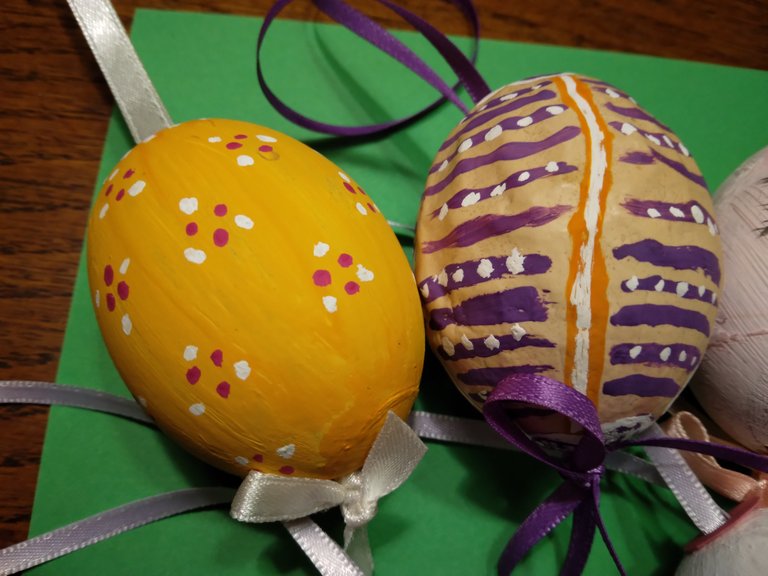
My mom wanted to repaint some of the old broken eggs that she had saved to have the pattern as a template:
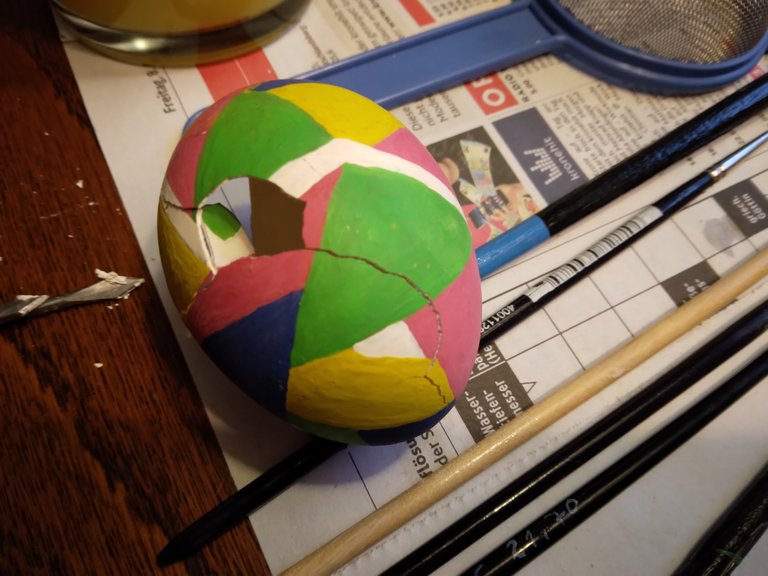
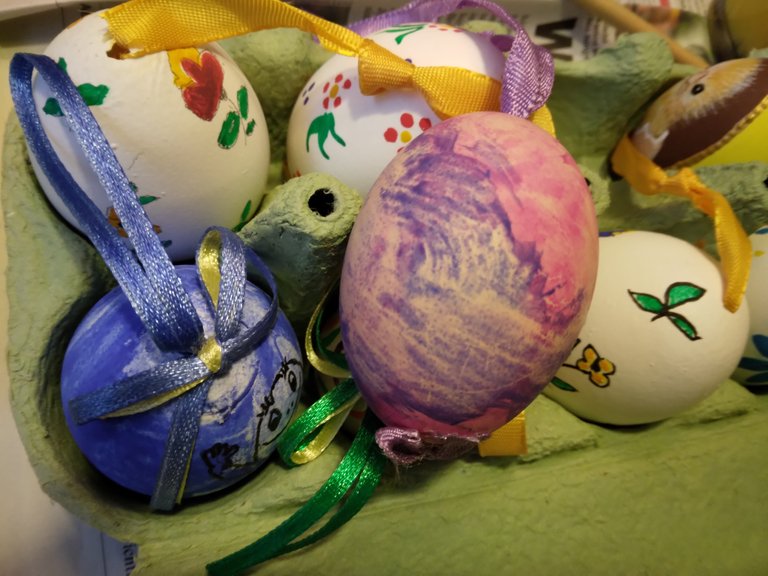
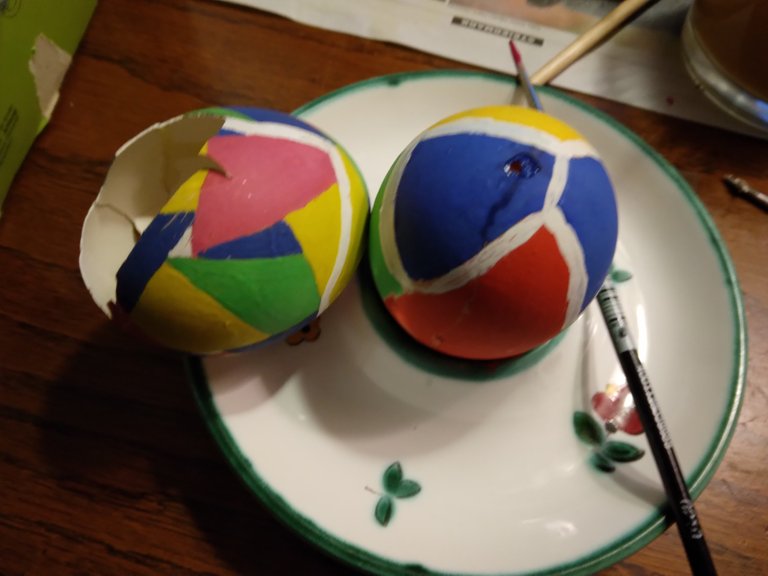
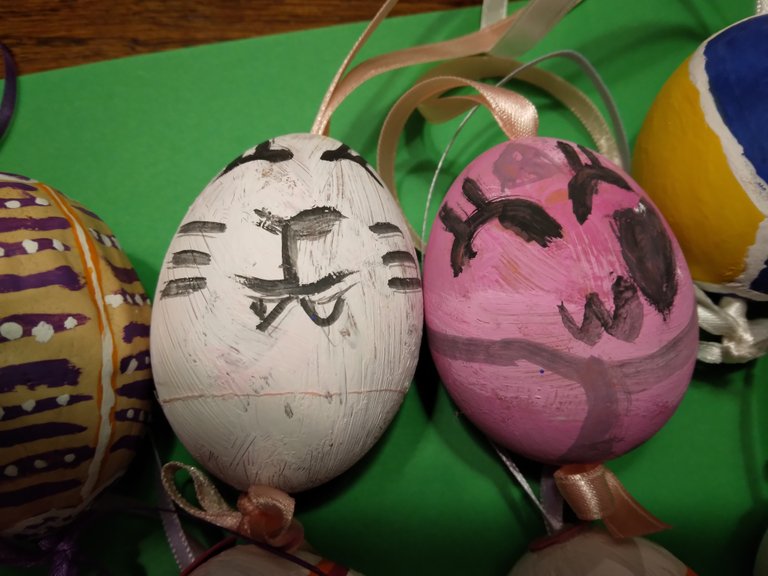
My 8 year old grand niece wanted to paint Easter bunnies on the eggs and of course one of her favorite colors was included:
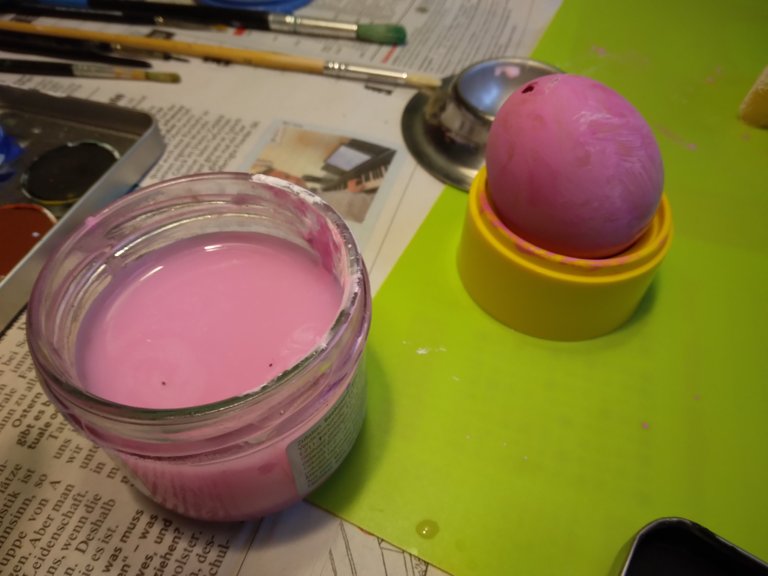
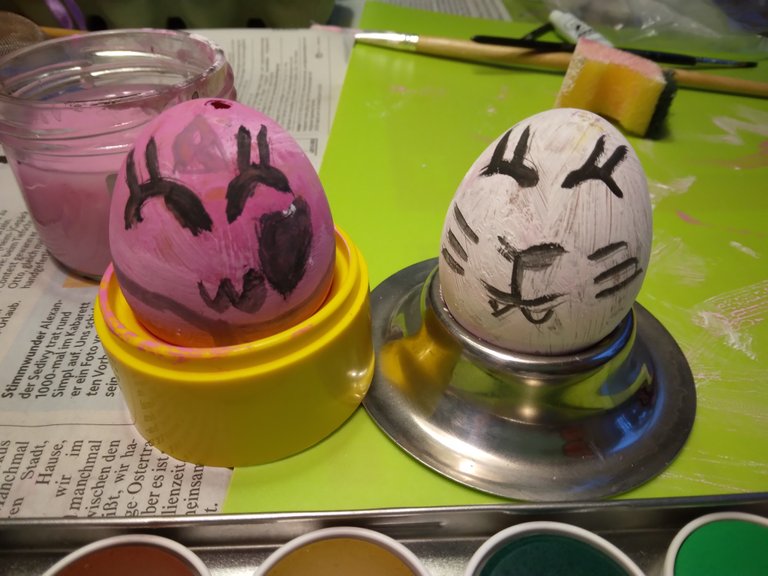
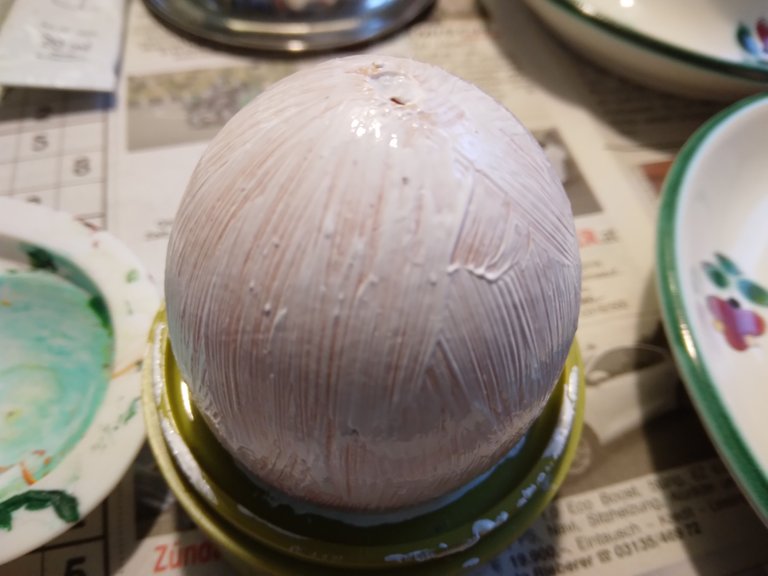
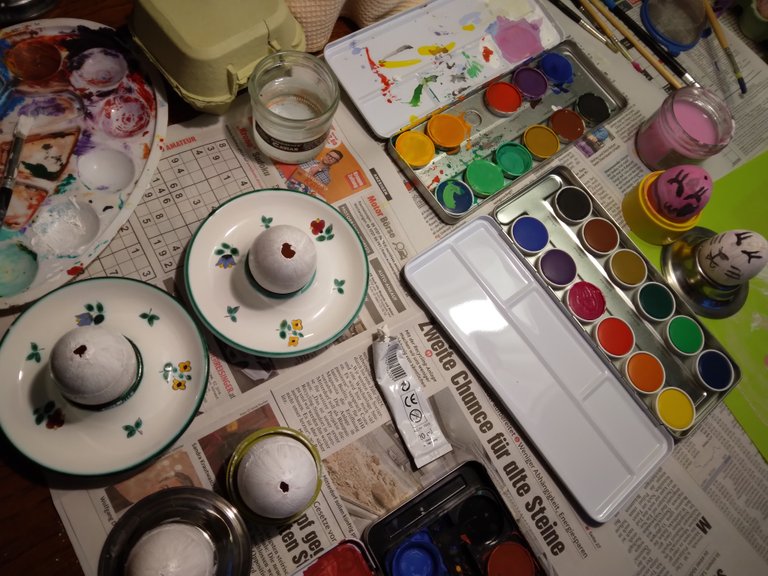
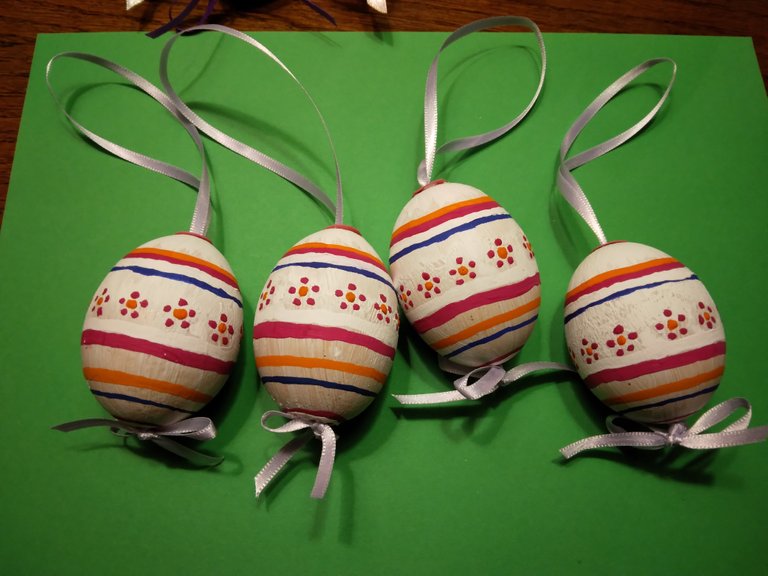
The little one was finished insanely fast with her two "bunnies", while I... yes I wanted to have primed my eggs white and there it took already very long until this color was dry. I also wanted to have 4 of them in the same style:
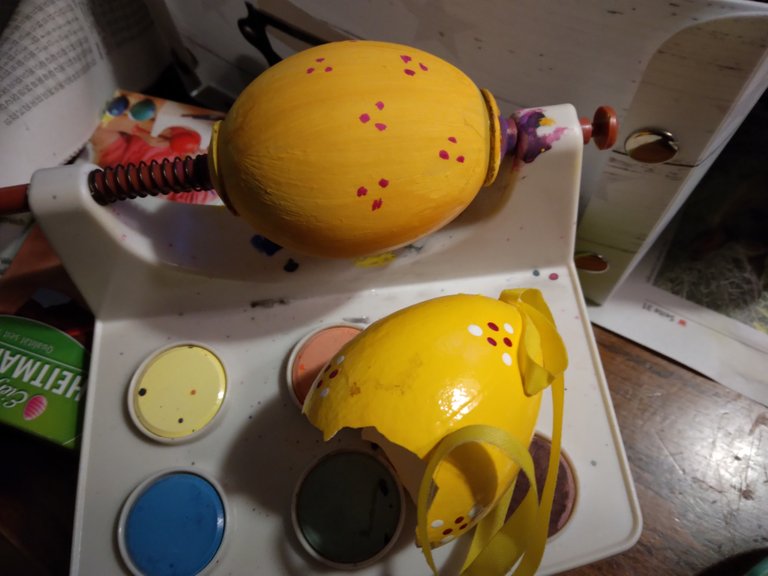
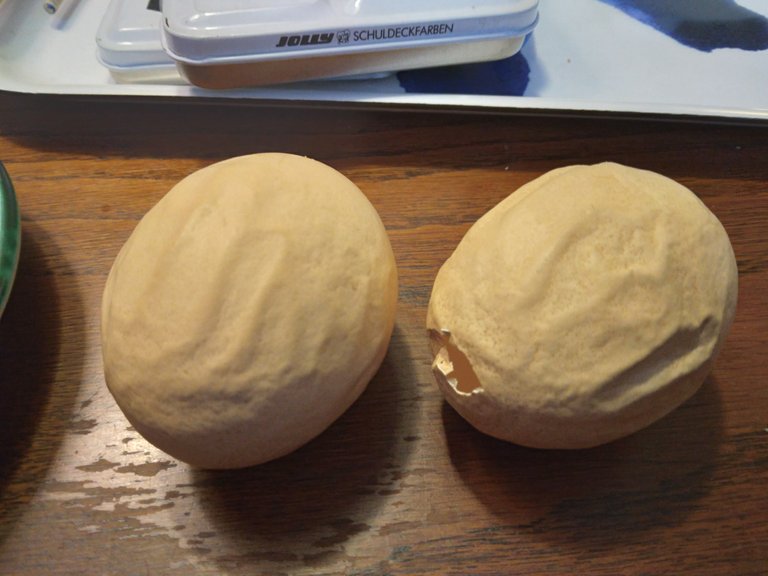
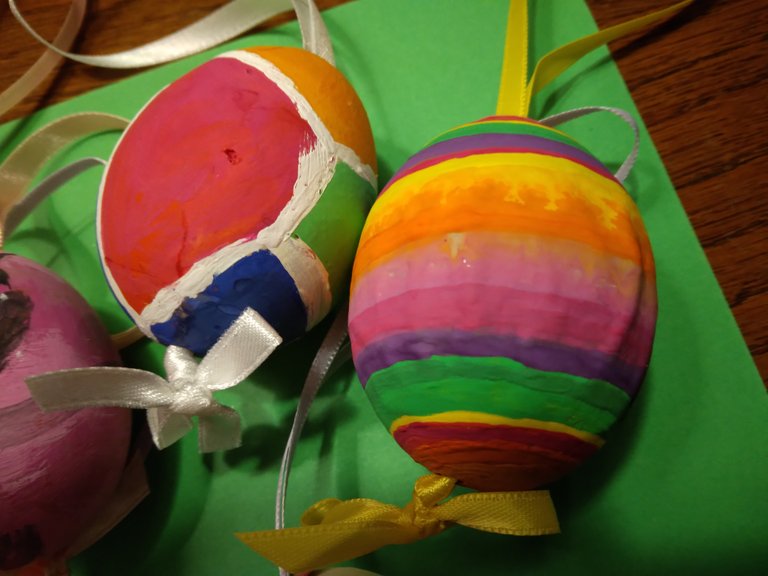
Last but not least, we had two very special eggs. Very rarely it happens that chickens lay such crumpled eggs. And these two we had received as a gift:
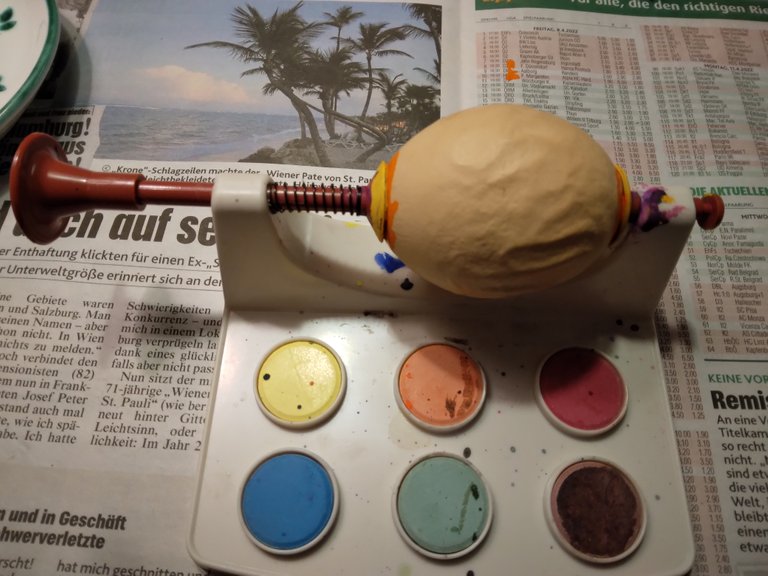
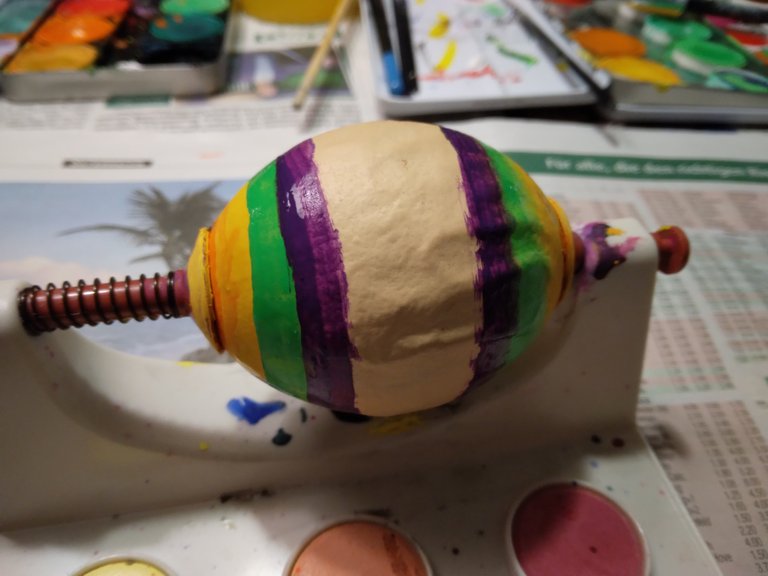
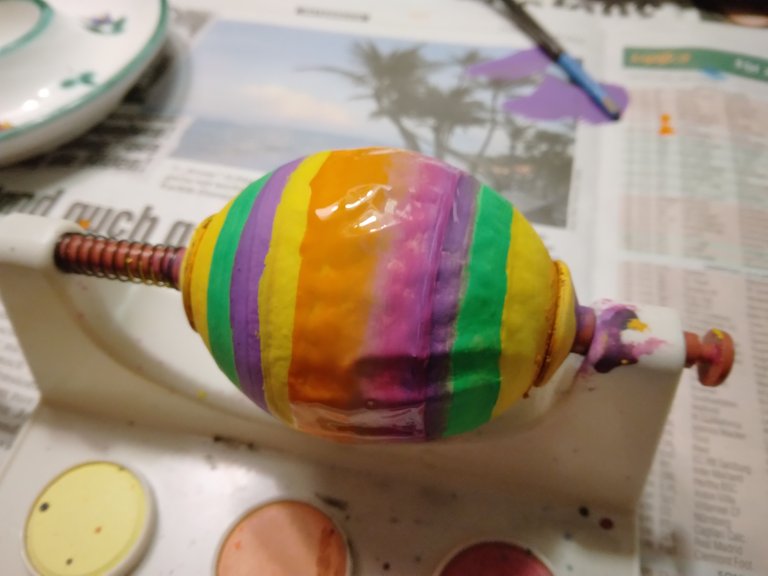
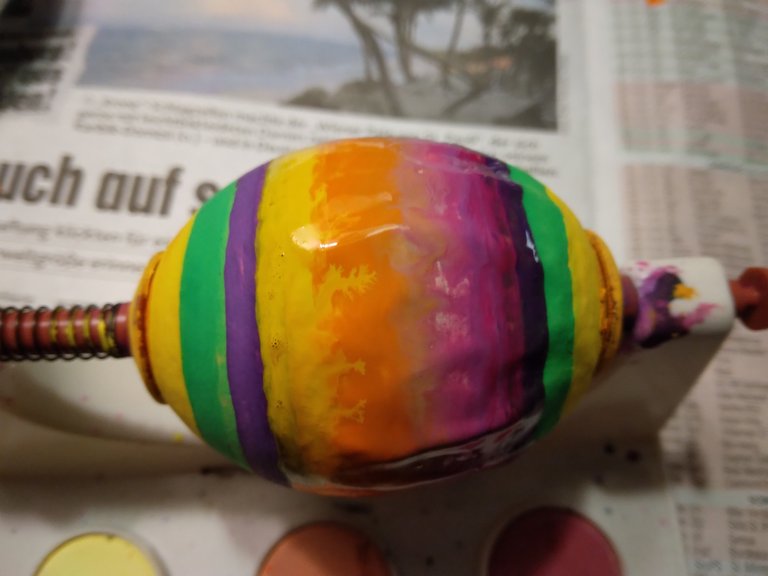
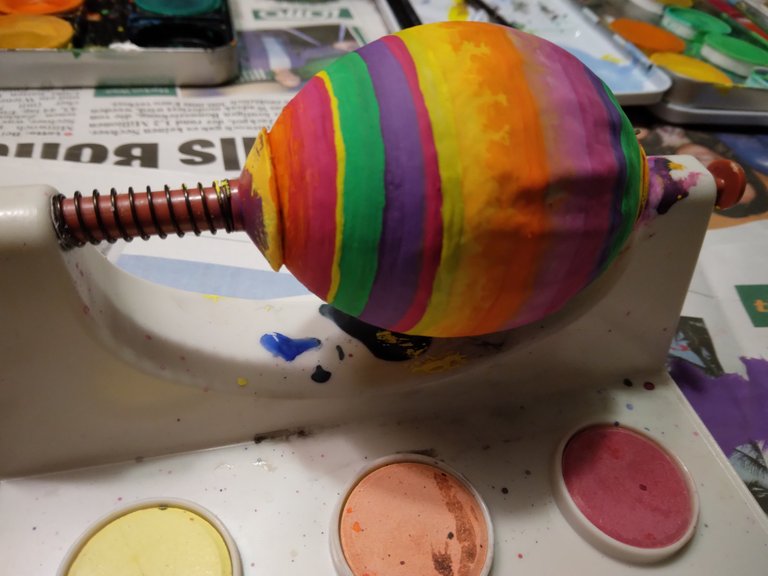
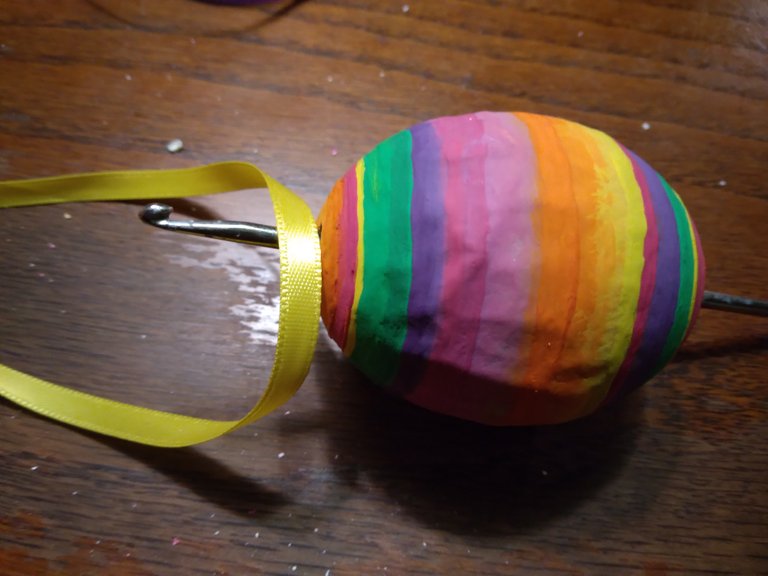
For this I tried this egg holder and was actually very excited about the handling. The egg became a real rainbow egg and is my absolute favorite:
When all are well dried you can begin to attach the ribbons to the eggs for hanging. For this you need a long needle or a thin crochet needle. The best option is to use wide fabric ribbons, but you can also use wool scraps.
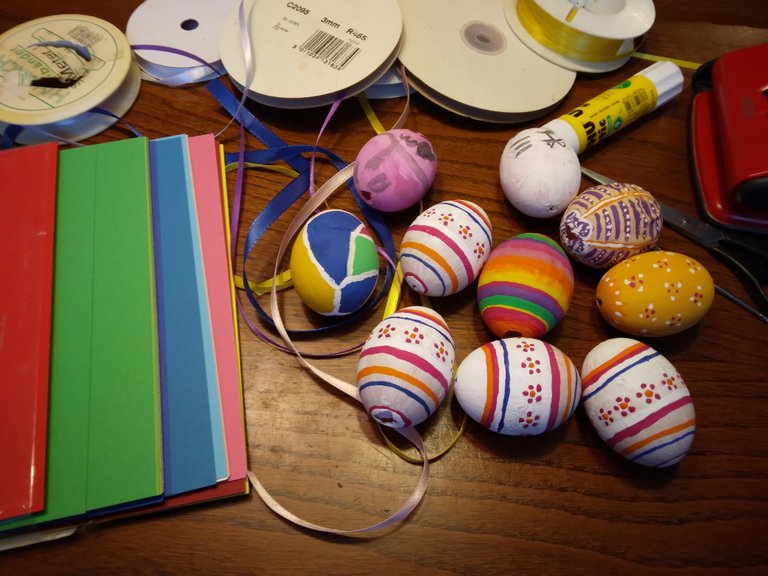
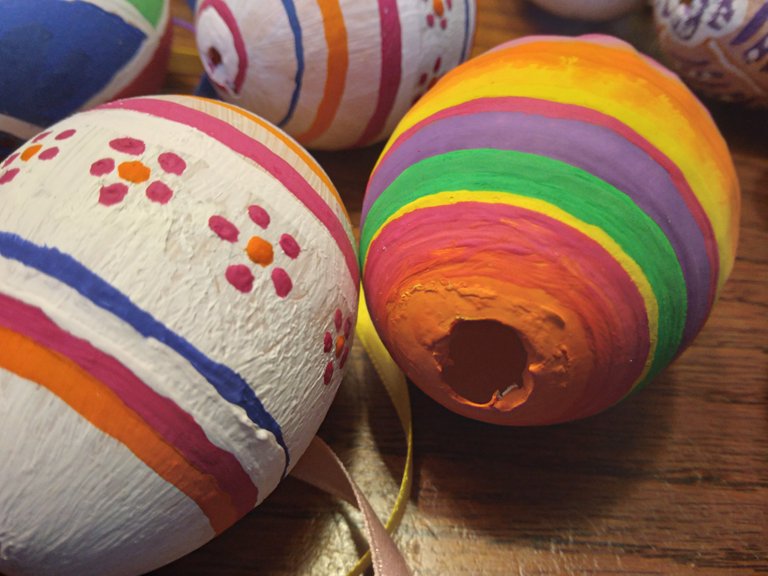
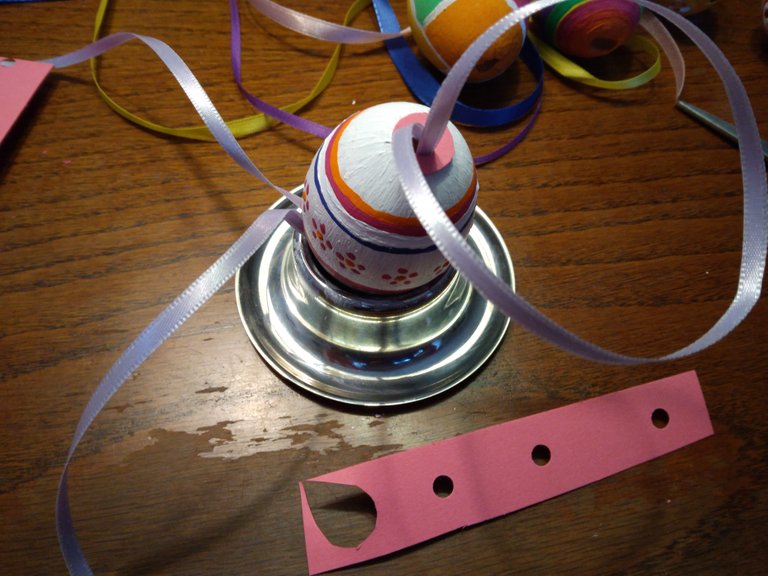
Since some of the holes were too big I also took some colored cardboard to cover the holes on top.
But as you can see here, this is not necessary if the holes are small enough:
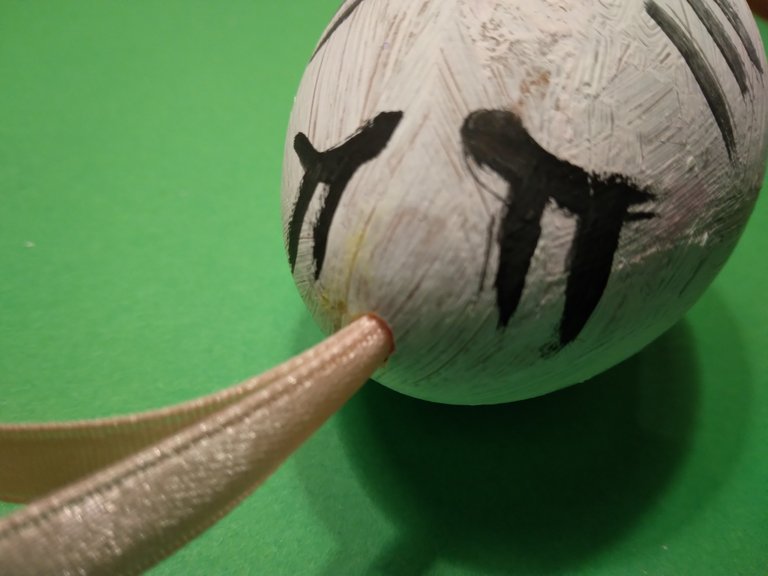
So you pull a ribbon through the egg with a crochet hook, then estimate the length you make the top edge for hanging. At the bottom end comes a knot and a purse, then cut off the remnants of the desired length.
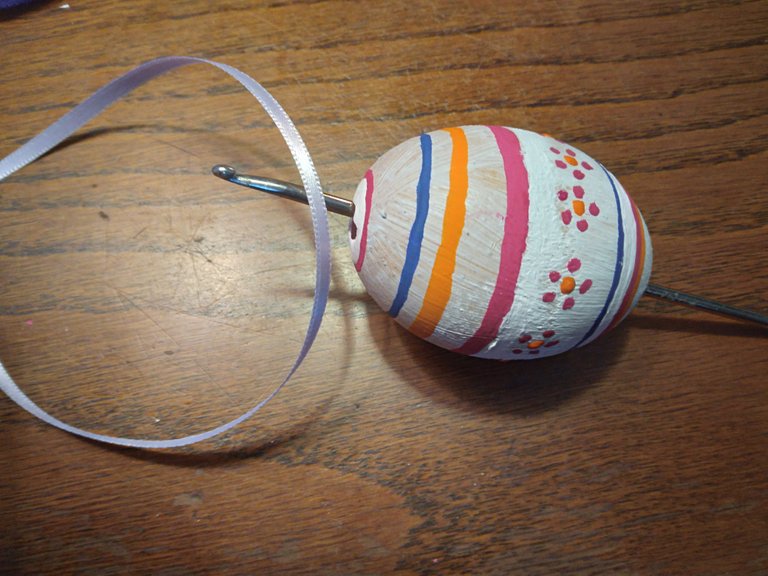
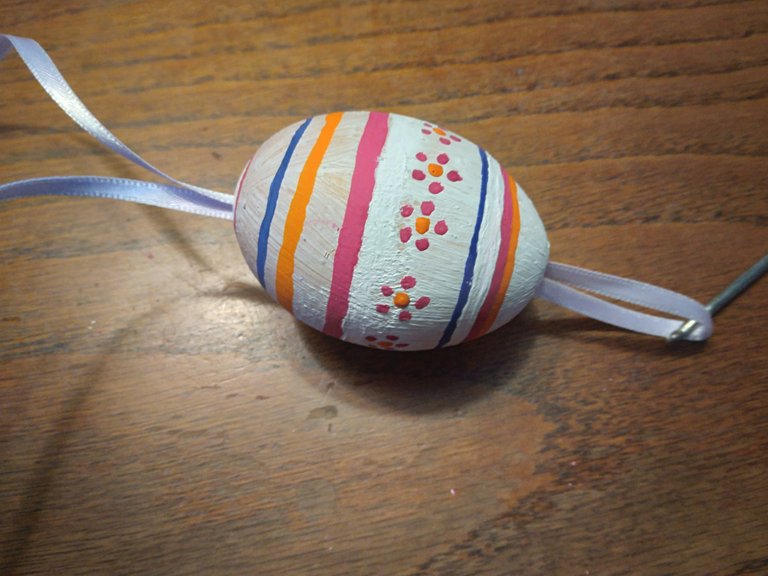
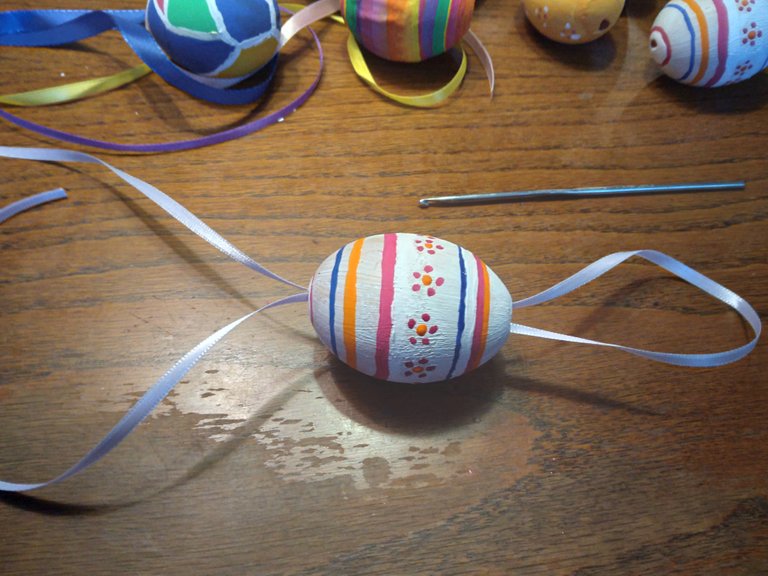
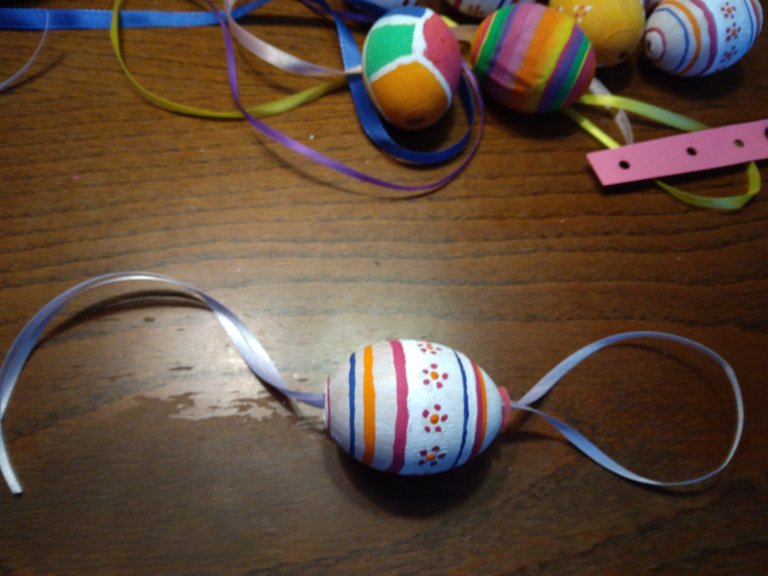
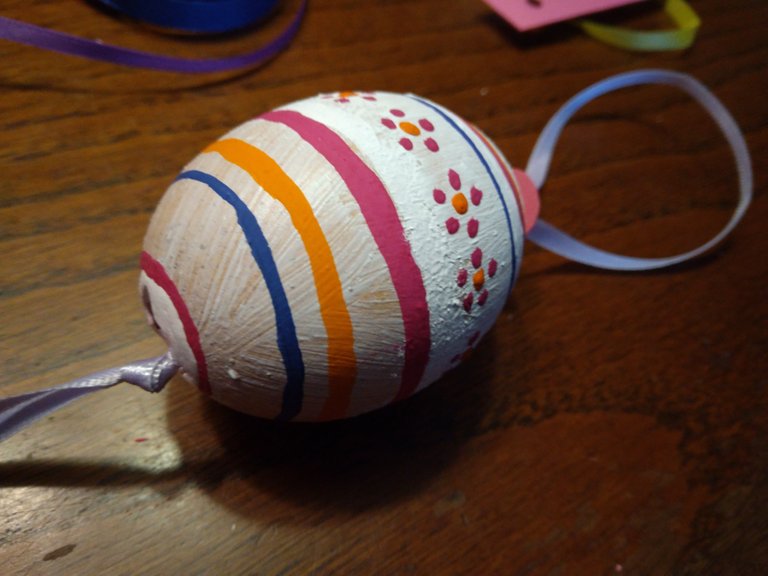
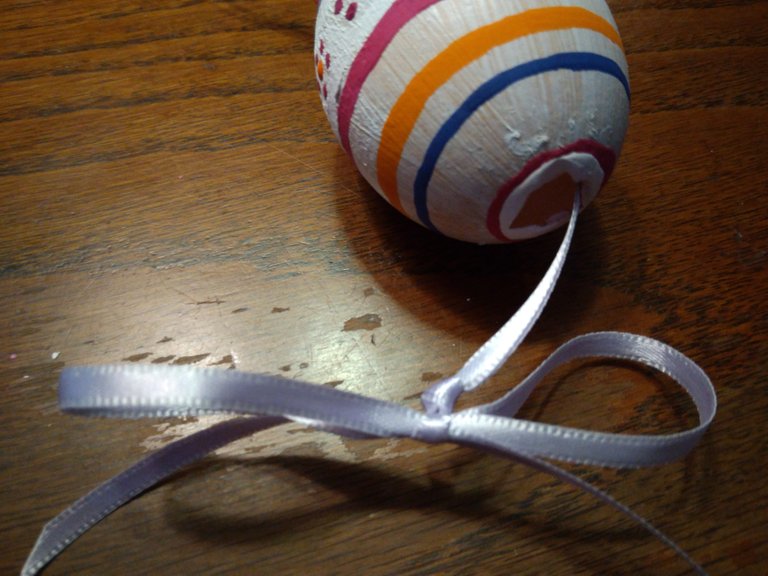
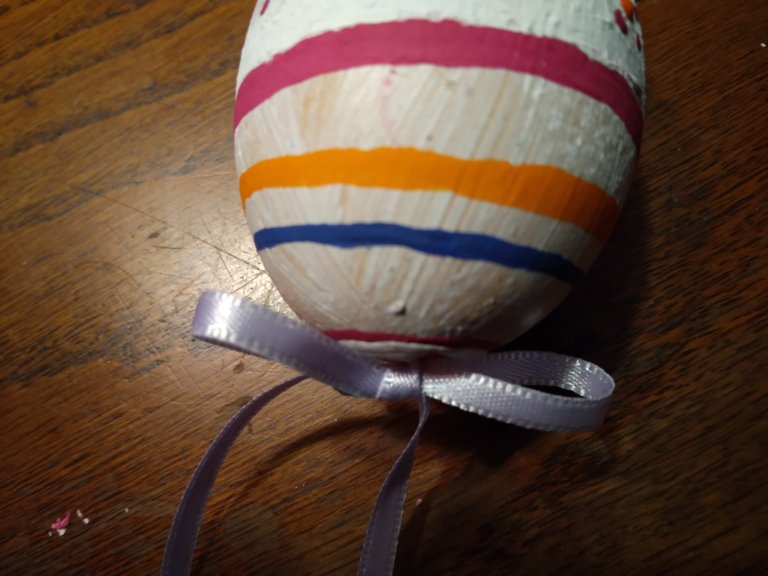
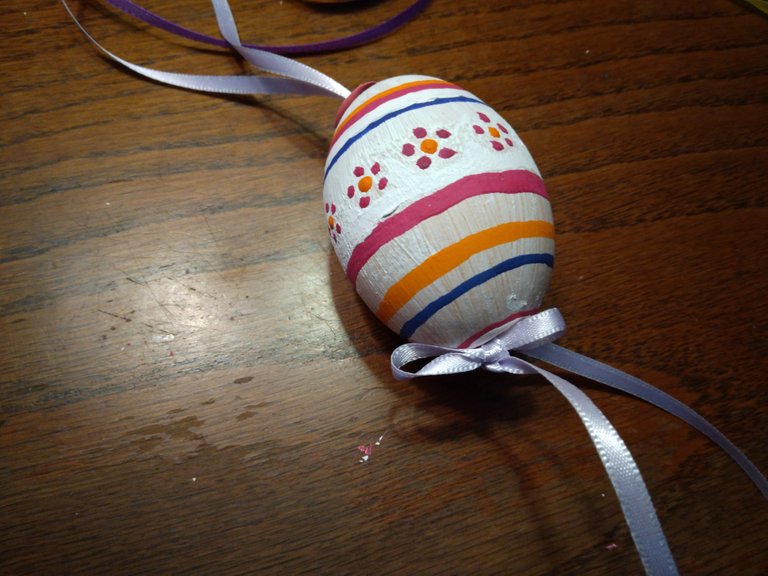
For the egg holes that were too big, I cut out small round paper rings to cover them and glued them on.
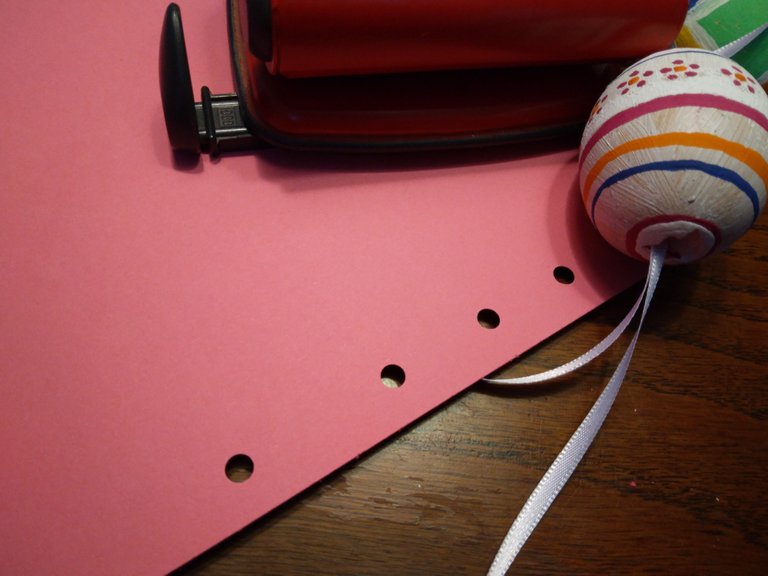
And ready for the Easter Bouquet they are! :-)
GERMAN / DEUTSCH
Wie man Ostereier für den Osterstrauß bemalt
Hallo ihr Lieben, heute wurden auch endlich meine neuen Ostereier fertig und ich möchte gerne mit euch teilen, wie wir sie gemacht haben. Nicht nur meine kleine Großnichte war begeistert, dass wir endlich einmal wieder gemeinsam mit meiner Mama, ihrer Ur-Oma etwas basteln und malen.
Es ist bei uns Tradition, echte Eier (ohne Inhalt) zu bemalen und über Ostern an einen Strauß zu hängen. Leider sind diese Eier natürlich sehr empfindlich und alle Jahre wieder gehen welche zu Bruch. Ist aber nicht schlimm, denn dann hat man die Gelegenheit mal wieder kreativ zu werden.
Als ersten Schritt muss man die Eier leer bekommen, ohne dass sie kaputt gehen. Das ist ein wenig Nervenkitzel, aber es geht doch. Man macht oben und unten ein kleines Loch in die Schale, dann hält man das Ei über eine Schüssel und bläst in das obere Loch, damit der Inhalt beim unteren Loch herauskommt.
Eidotter und Eiweiß auf keinen Fall wegwerfen, sie lassen sich ganz normal für die Zubereitung von Eierspeisen verwenden.
Die leeren Eier müssen nun unbedingt innen und außen mit sehr heißem Wasser ausgewaschen werden und sollten eine Weile gut trocknen, bevor man mit dem Malen beginnen kann. Zum Malen eignen sich am besten ganz einfach Wasserfarben und schon geht es los mit dem Spass.
Damit der Post nicht noch länger wird habe ich die einzelnen Schritte nur in Englisch beschrieben, die deutsche Community möge mir das bitte verzeihen. Allerdings denke ich nach wie vor, dass mein Englisch ein sehr leicht verständliches ist und die Making Of Bilder sprechen auch für sich.
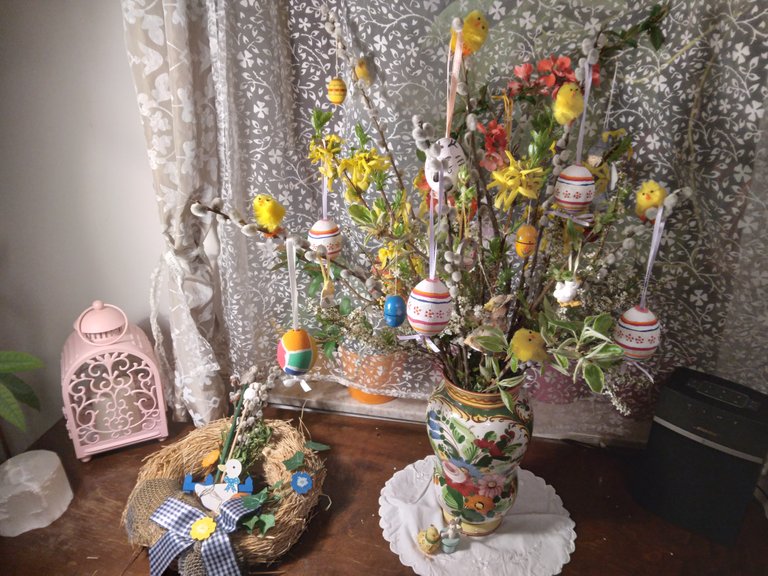
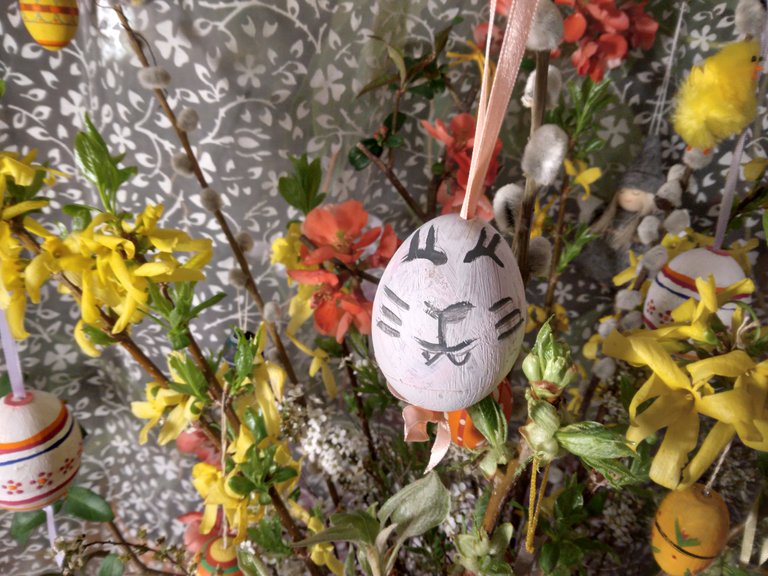
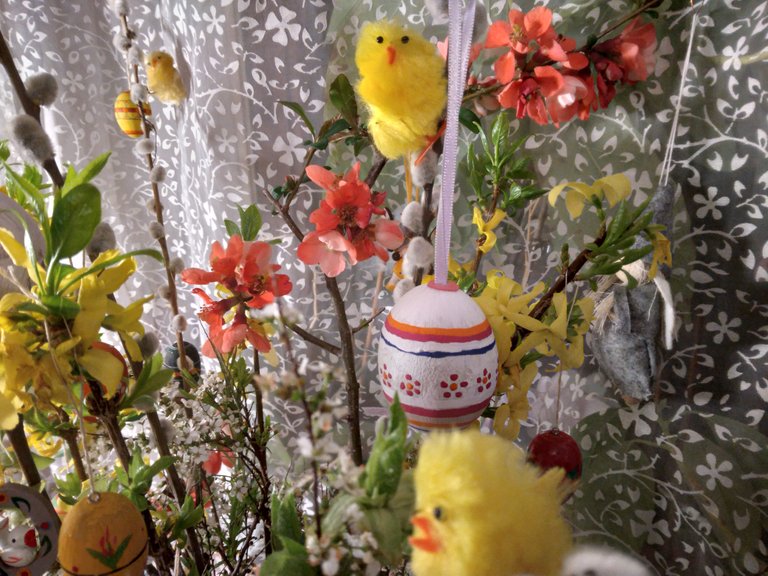
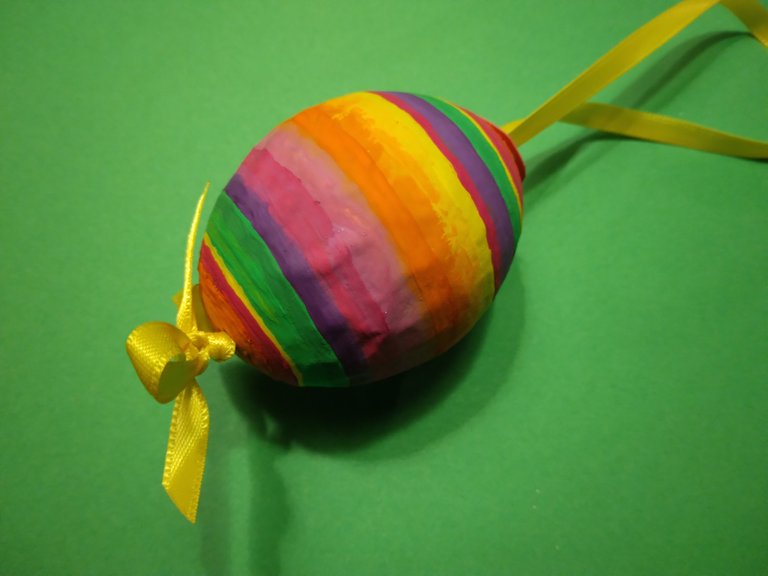
The rainbow egg I gave my mom, she was very happy about it. In return, I got the white Easter bunny egg from the little one and one of the repainted eggs of my Ma retour.
And so now my Easter bush looks much prettier than before. Since just a few Easter eggs were missing.
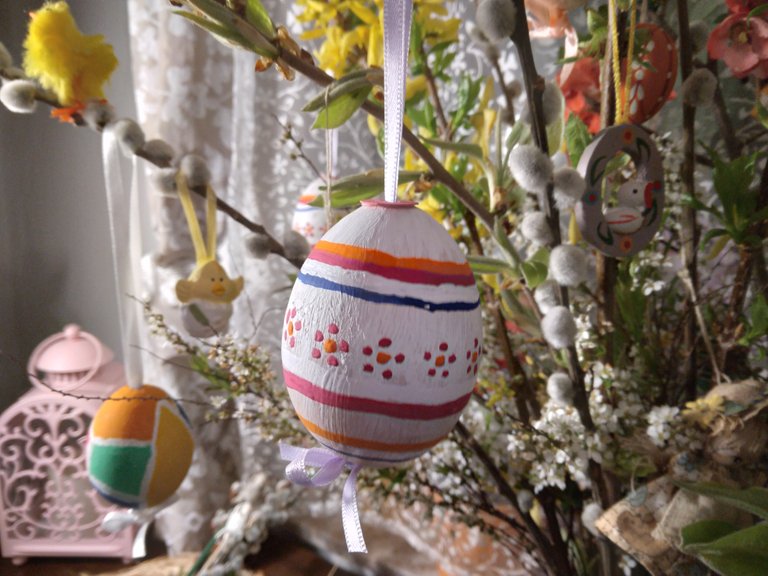
As always I hope you enjoyed my posting and whenever you try it out to paint Easter eggs, just let me know your experiance :-) Yours, B.
my post no. 13 for the #hiveblopomo
PS: sorry @tengolotodo ;-) not this time, but next year I'll paint a Nightowl Egg!
all photos by @beeber
mostly translated with www.deepl.com (free version)


