Hola linda comunidad de Hive espero que se encuentren bien.
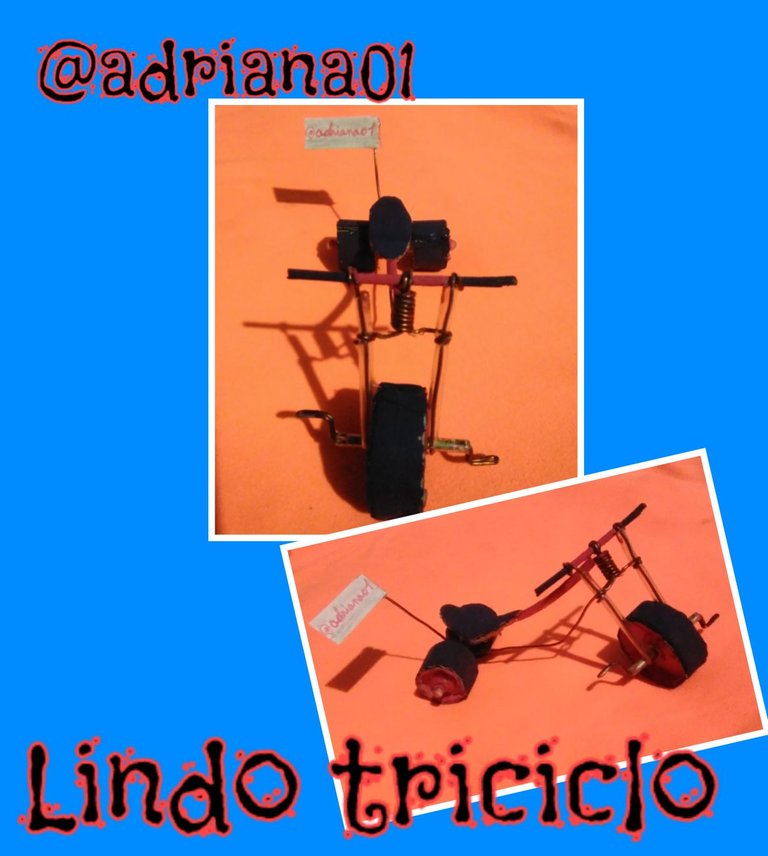
Hoy estoy con ustedes para mostrarles como hacer un lindo triciclo con material reusable.
Hello nice Hive community I hope you are doing well.
Today I am with you to show you how to make a nice tricycle with reusable material.
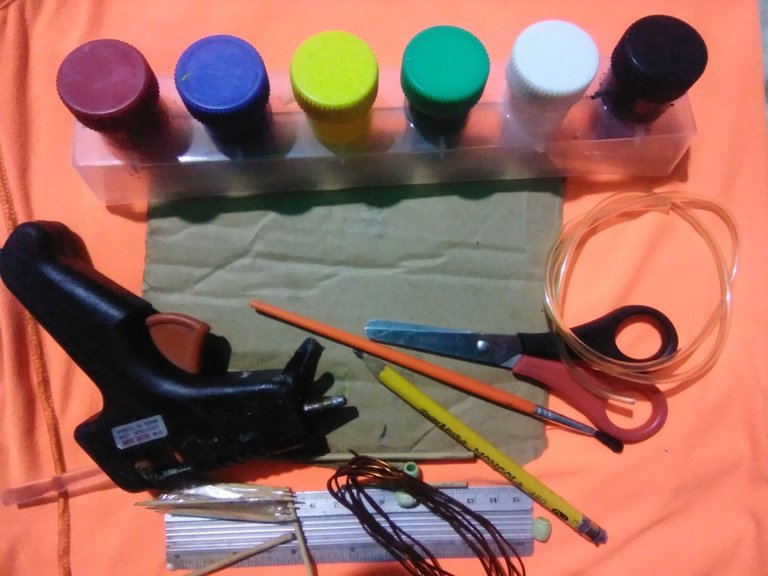
PARA ESO UTILICÉ LOS SIGUIENTES MATERIALES:
Tijera.
Tempera .
Pistola y barra de silicón.
Regla.
Palillos.
Cartón.
Cobre.
Manguera delgada transparente.
FOR THIS I USED THE FOLLOWING MATERIALS:
Scissors .
Tempera .
Silicone gun and silicone stick.
Ruler.
Chopsticks.
Cardboard.
Copper.
Thin transparent hose.
REALIZACIÓN:
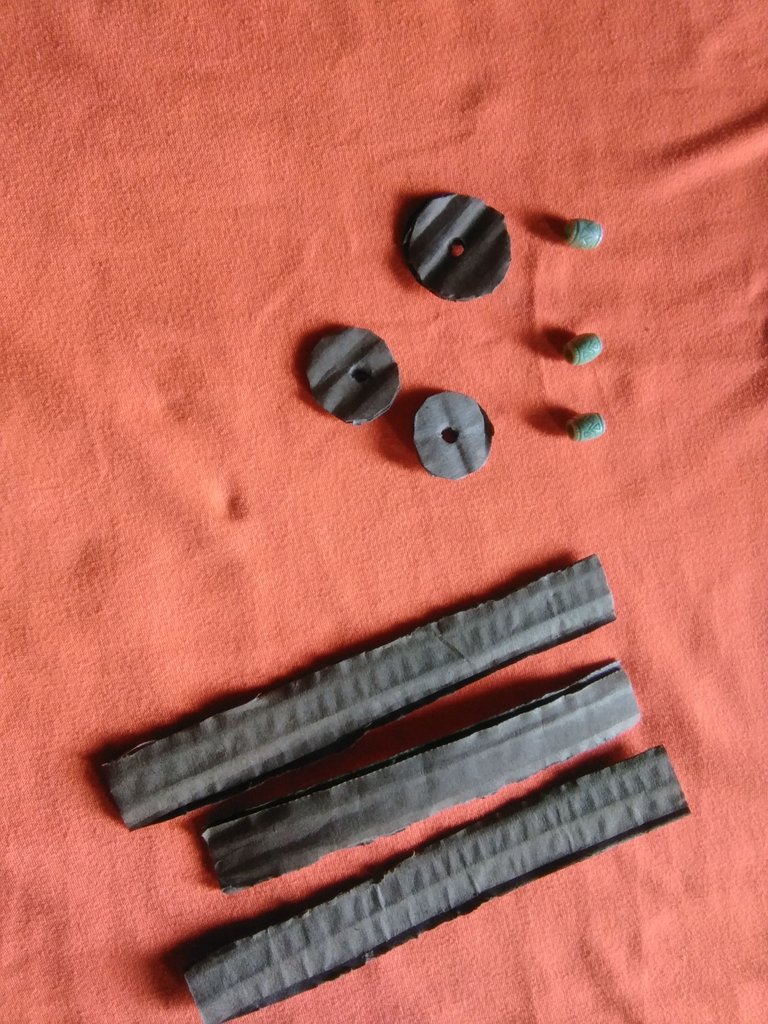
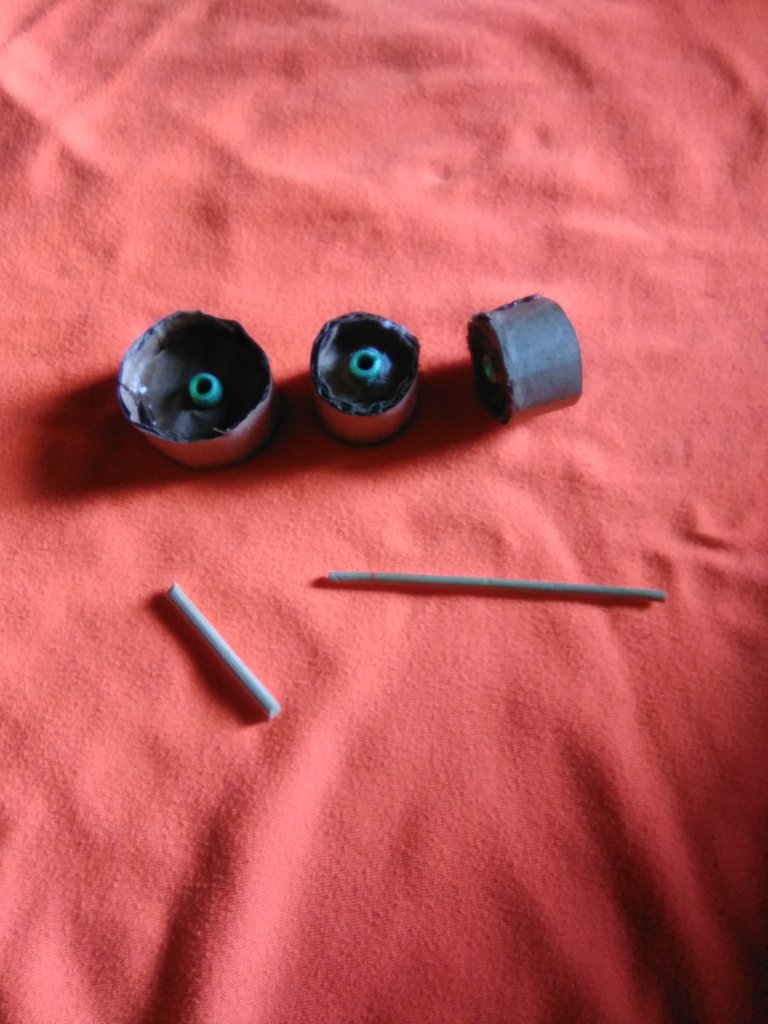
Para empezar recorté 3 tiras de cartón 2 fueron de 12 Cms de largo y 3 Cms de ancho,y la otra tira fue de 14 Cms de largo y 1 de ancho. Los círculos fueron 3 también uno fue de 3 Cms y los otros 2 fueron de 2 Cms cada uno,a los círculos le hice un pequeño agujero en el centro. La pelotitas que a continuación verán en la imagen ya un poco más adelante sabremos cómo serán utilizadas.
REALIZATION:
To start I cut out 3 strips of cardboard 2 were 12 Cms long and 3 Cms wide,and the other strip was 14 Cms long and 1 wide. The circles were 3 also one was 3 cm and the other 2 were 2 cm each, I made a small hole in the center of the circles. The little balls that you will see in the image below, we will know how they will be used a little later on.
Luego en los agujeros que les hice a los círculos le pegué las pelotitas,hasi como también le pegue las tiras de cartón al rededor del círculo para que me quedara en forma de unos cauchos así de esta manera.
Then in the holes I made in the circles I glued the little balls, as well as glued the cardboard strips around the circle so that it would be in the shape of a rubber band like this.
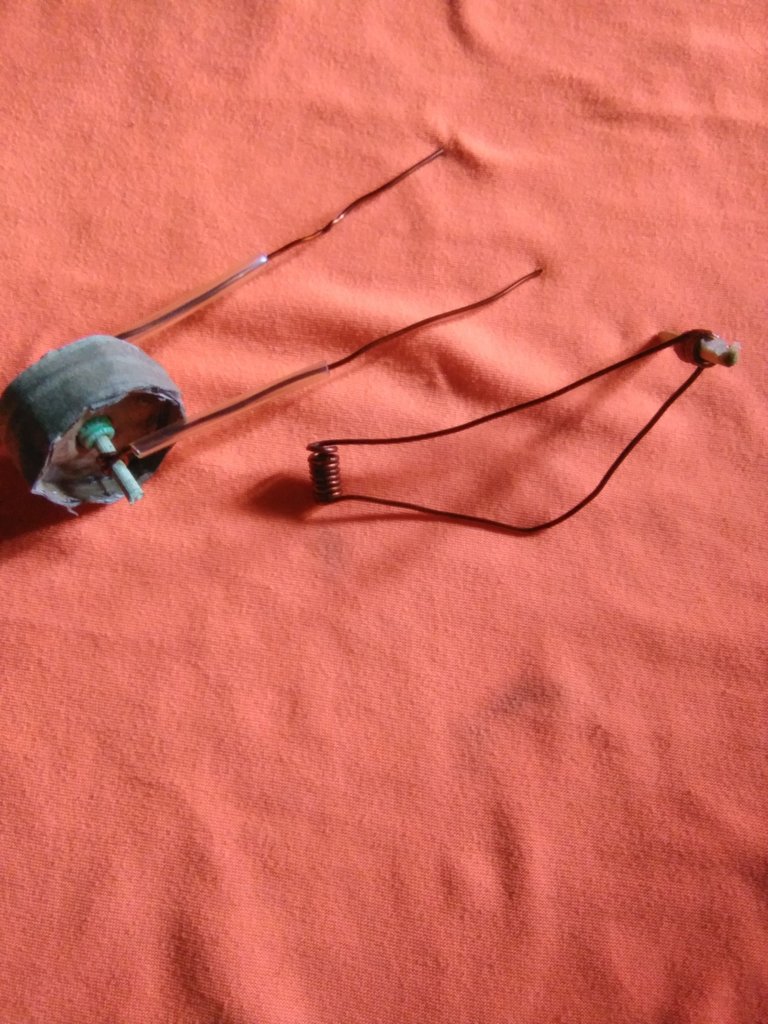
Una vez echo eso le metí por el medio de la peloticas un palillos de 3 Cms y le enrrolle de cada lado un pedacito de cobre de 4 Cms de largo, para realizar la parte delantera y el cuadro fue de 7 Cms. Al principio del cuadro le hice como especie de un resorte para unir la parte delantera como el cuadro.
Once that was done, I put a 3 cm toothpick in the middle of the ball and rolled a 4 cm long piece of copper on each side to make the front part and the frame was 7 cm long. At the beginning of the frame I made a kind of spring to join the front part and the frame.
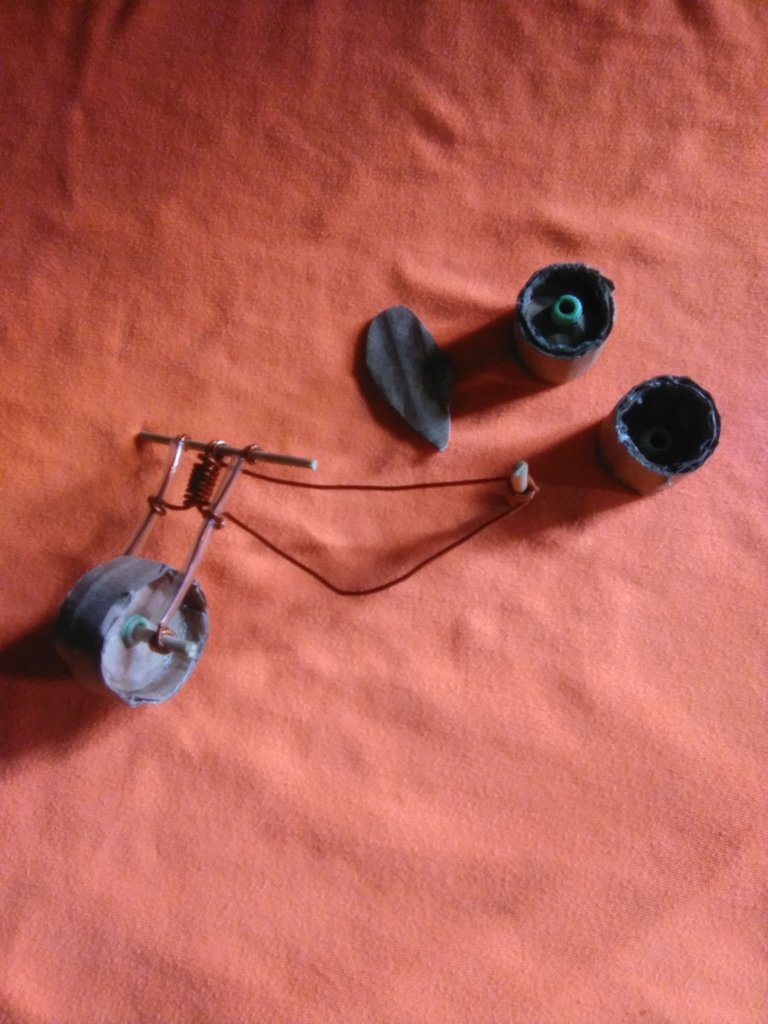
Después en la parte trasera hice el mismo procedimiento de a delante pero le metí un palillos un poco más largo de 7 Cms para aguantar los cauchos.La función de las peloticas es para que los cauchos den vuelta, delante de lo que vendría siendo el guidon le puse un palillo de 6 Cms. Y le hice el asiento con cartón.
Then in the rear I did the same procedure as in the front but I put a little longer 7 cm stick to hold the tires, the function of the balls is for the tires to turn, in front of what would be the guidon I put a 6 cm stick, and I made the seat with cardboard.
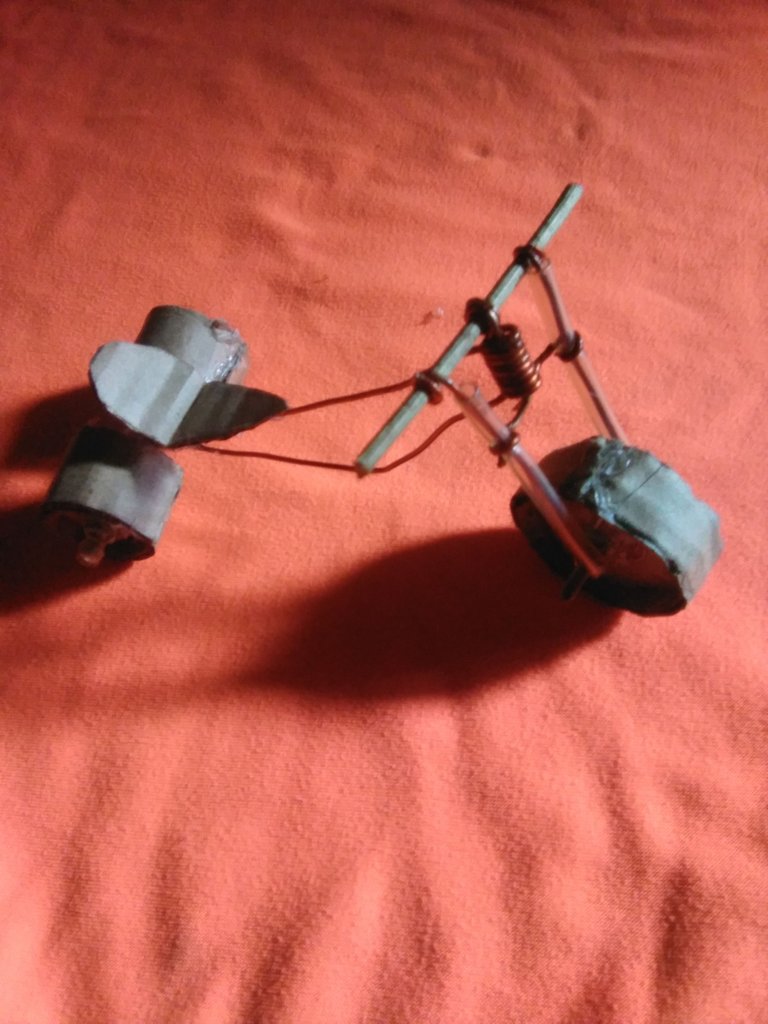
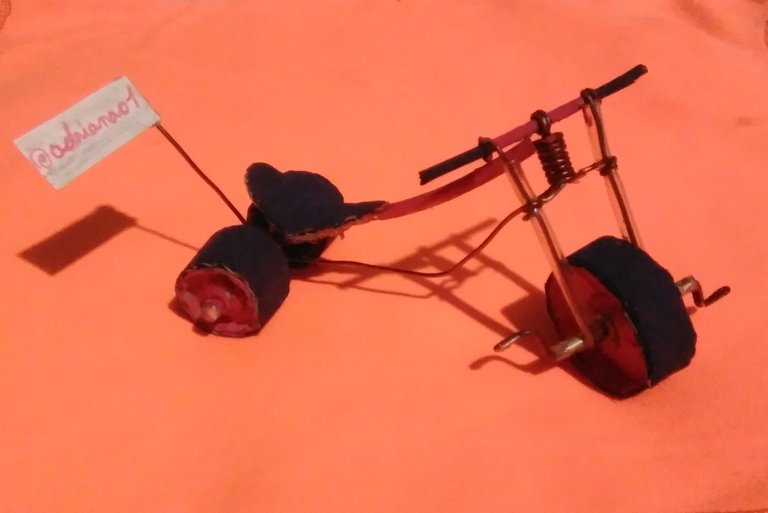
Para terminar le coloque un pedacito de manguera transparente a la parte de arriba del cuadro como también le coloque a la parte delantera y pinté los cauchos por fuera de negro y en el centro lo pinté de rojo, también pinté de rojo la parte donde le puse la manguera y en manulio también lo pinté de rojo,el asiento lo pinté de negro también le coloque unos pedales con cobre y para mí toqué final le hice un pequeño letrero con mi usuario y así quedo mi lindo triciclo.
To finish I put a little piece of transparent hose to the top of the frame as I also put to the front and painted the rubber on the outside in black and in the center I painted red, I also painted red the part where I put the hose and in the handlebars I also painted red, the seat I painted black I also put some pedals with copper and for my final touch I made a small sign with my user and so was my nice tricycle.
Bueno mis amigos de Hive espero que les haya gustado que Dios los bendiga.
Well my Hive friends, I hope you liked it, God bless you.
