Hello my loving Asean Hive community,
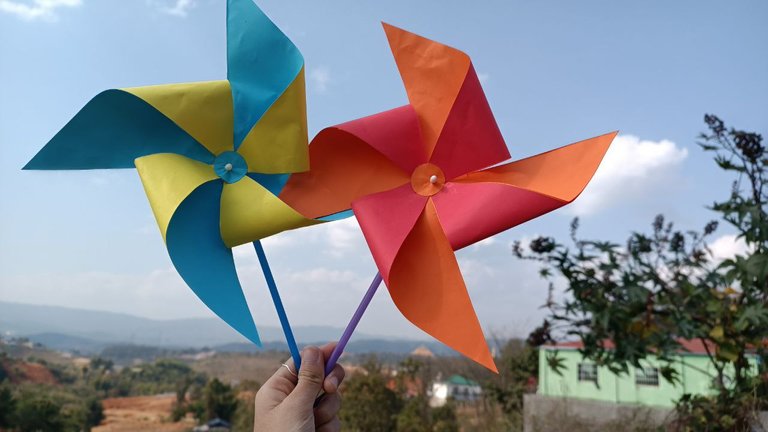
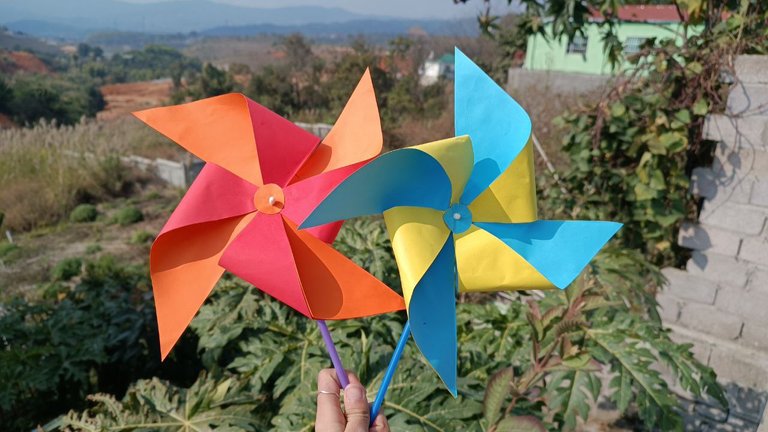
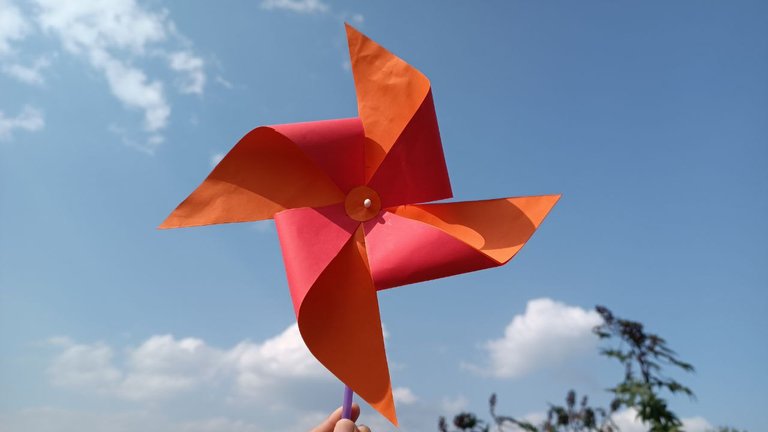
How is it going guys? How are you? I think everything will be fine. Do you enjoy making DIY and papercraft? Or do you enjoy teaching kids how to do papercraft and diy? I love making papercraft, and I love teaching kids how to make papercrafts. I spend almost every day at Hive sharing paperwork, diy, clay art. Today I am going to share with you how to make Papercraft that can made with your sisters or your kids. Today I am going to share how to make a paper windmill. These paper windmills are very easy to make and do not require a lot of materials. And they are very cute. Let me first tell you about the materials needed to make paper windmills.
Materials-
- color paper
- plastic pipe
- Scissors
- Glue
Step-1
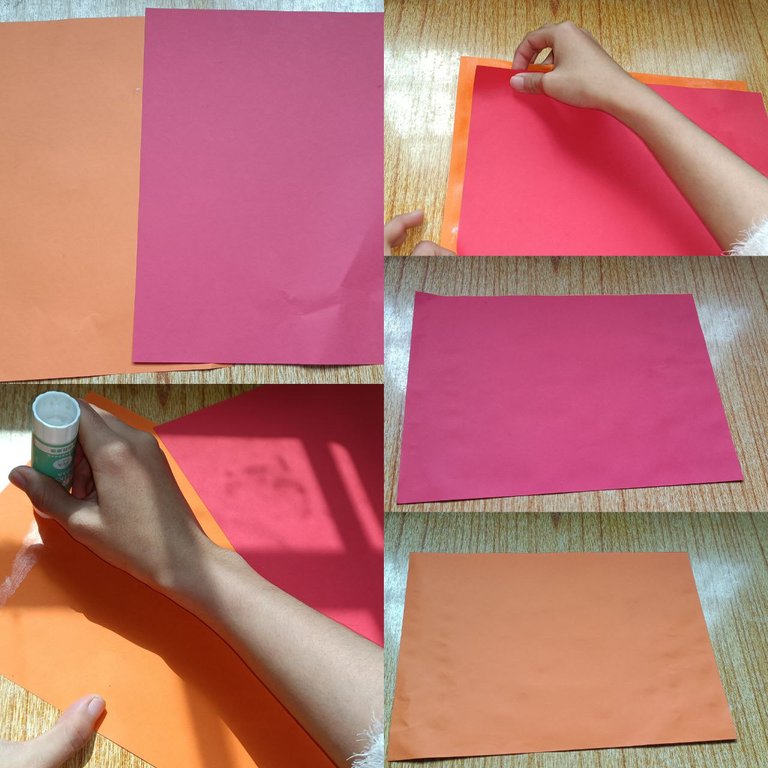
Because I do not want the color of each surface of the paper to be the same color, I glued two different color papers together. I glued two orange and red color papers together.
Step-2
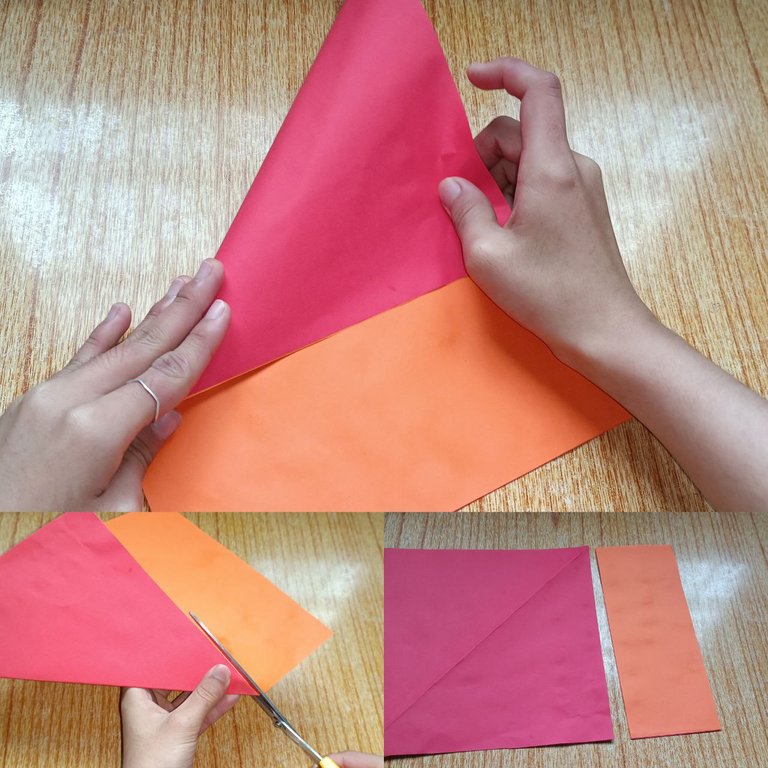
Then I folded the color paper into a triangle and clipped the rest. Then I put the color paper back on original shape.
Step-3
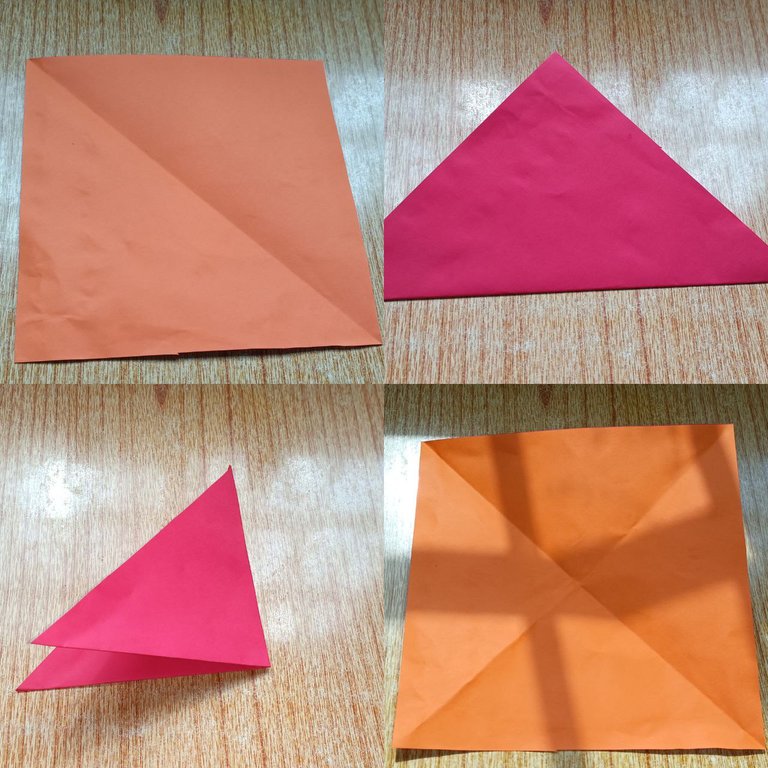
I folded the color paper into a triangle in the middle. Once again, I folded it into a triangle. Then I put the color paper back on its original shape.
Step-4
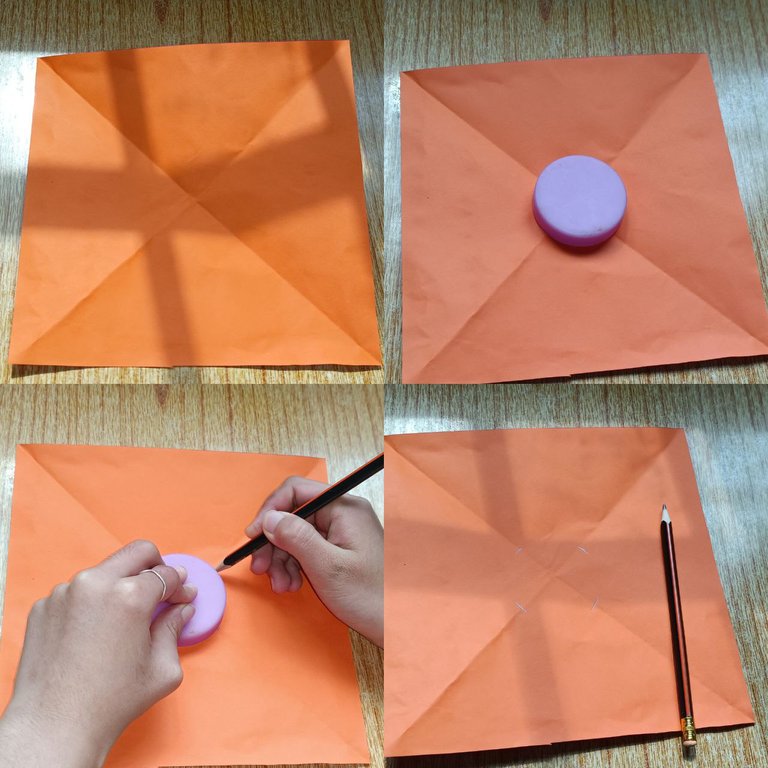
You can see four lines on the color paper in my picture. In the middle of that color paper, I put a circle and marked four dots, as shown in the picture on the four lines.
Step-5
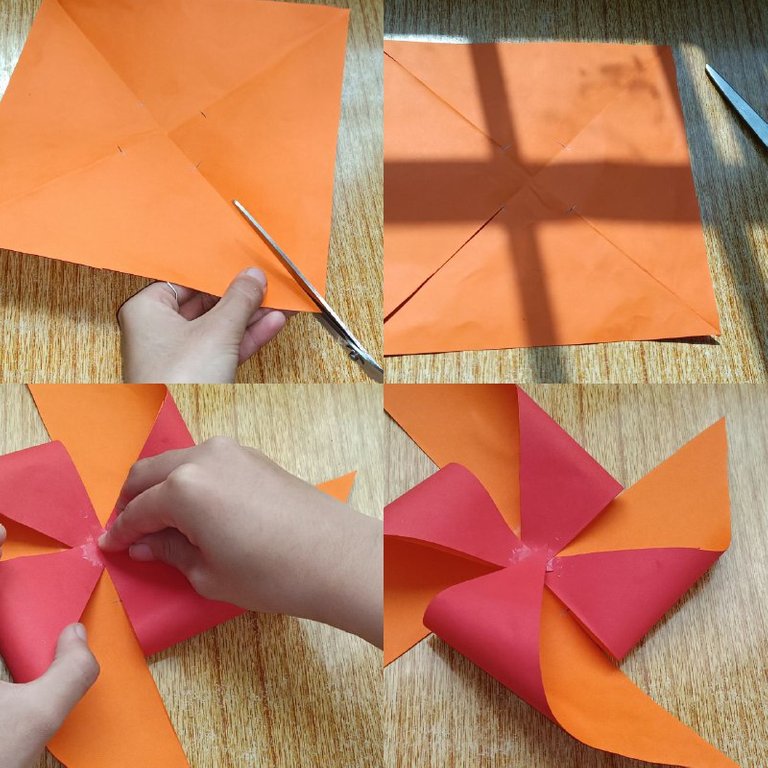
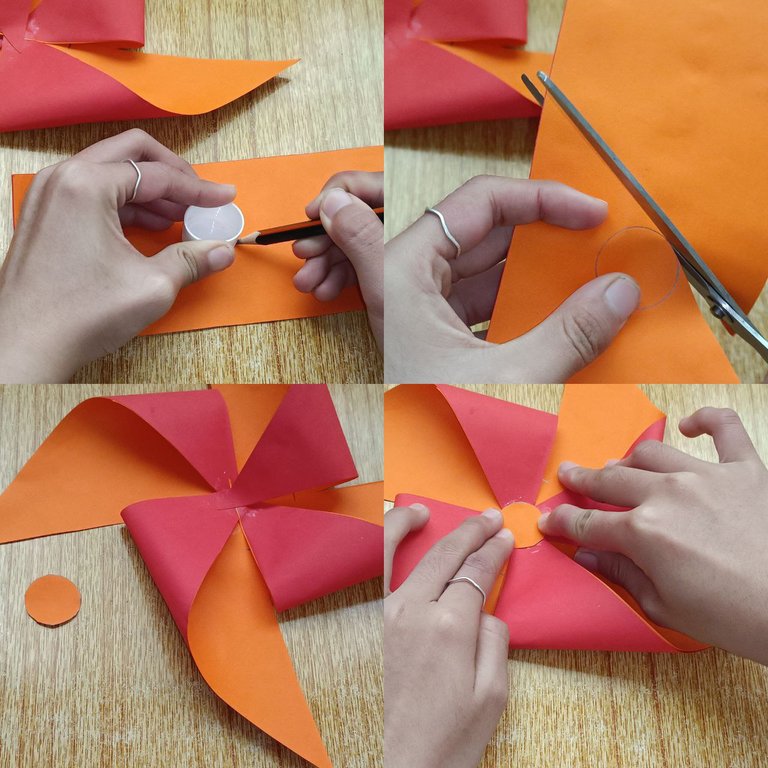
I cut all four lines according to those dots. Then I glued the four edges together in the middle as shown in the picture. I first drew a circle on the extra extra colored paper. I cut the circle with scissors and glued it to the paper windmill I was making now.
Step-6
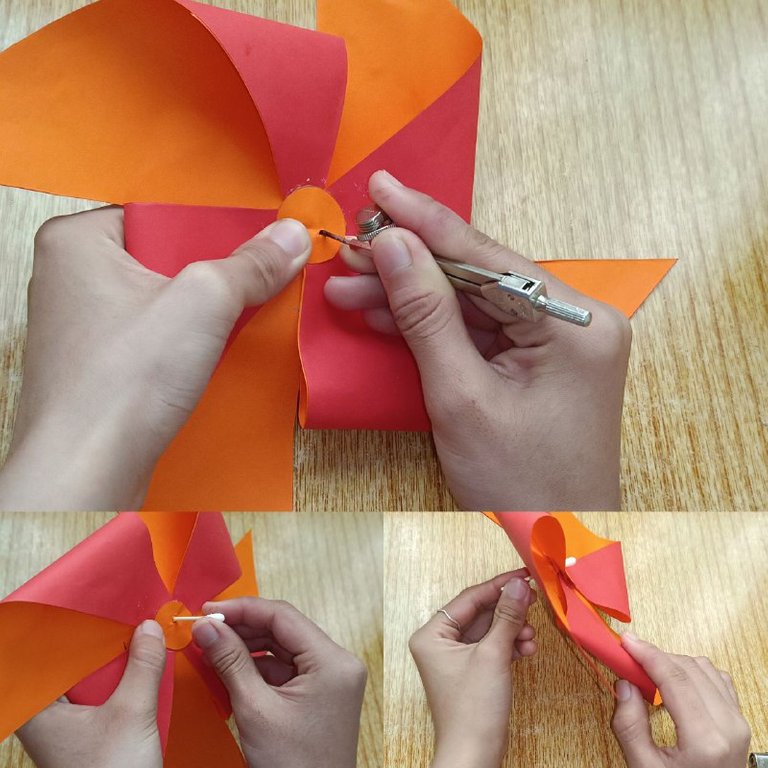
In the middle of that circle, I made a hole. In that small hole, I added a cotton swan as shown in the picture.
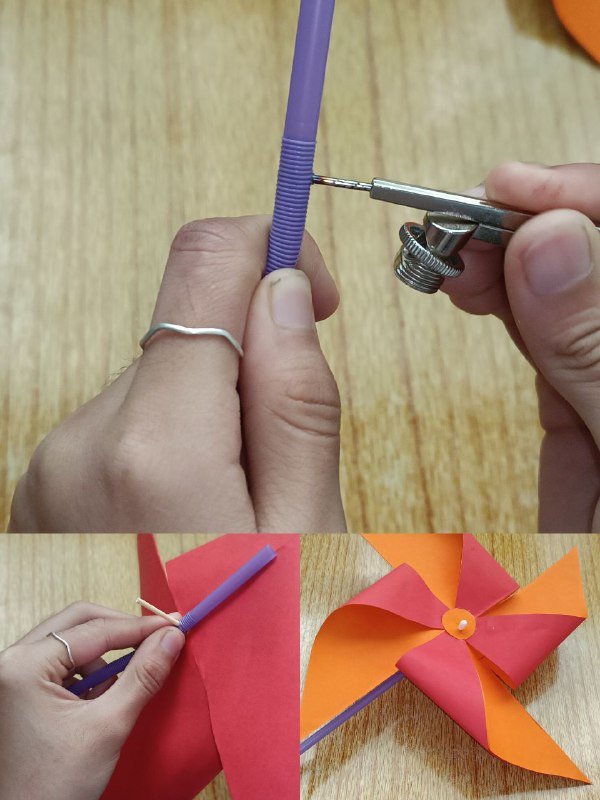
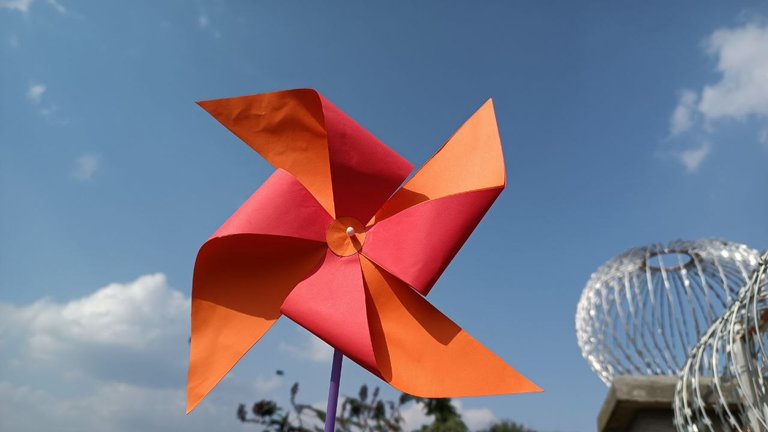
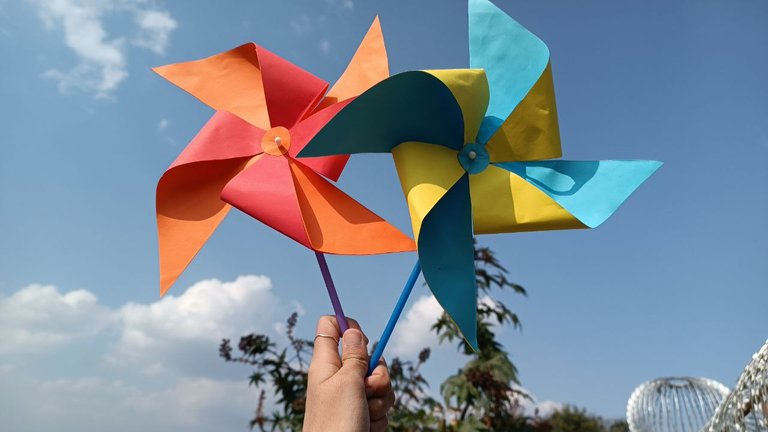
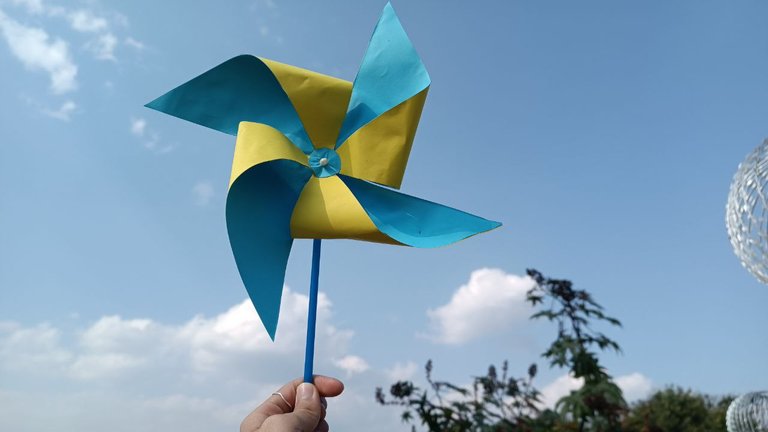

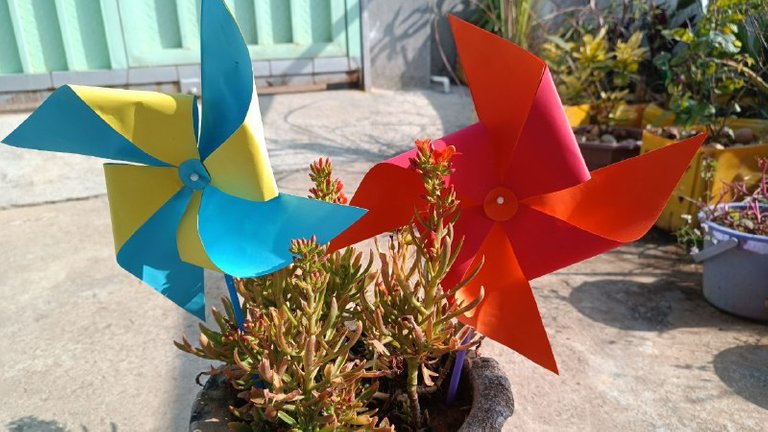
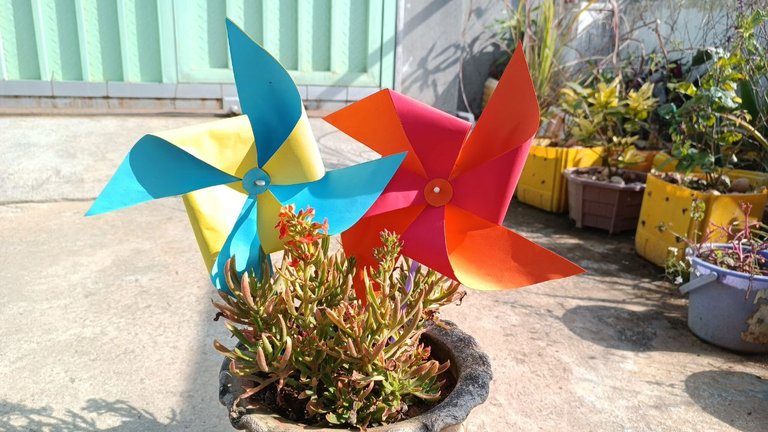
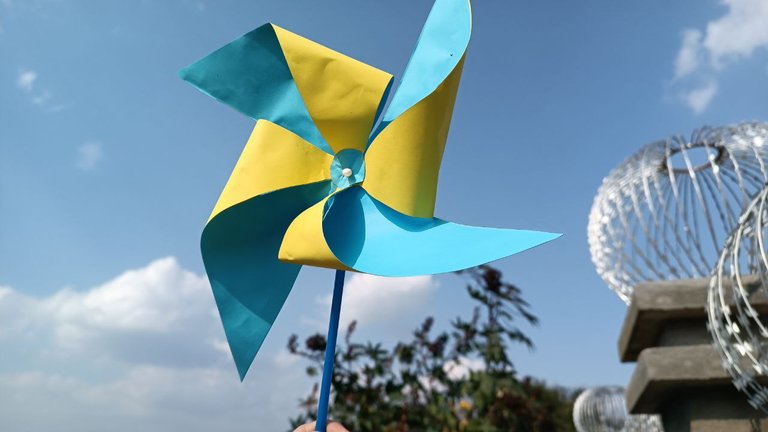
Add the remaining cotton swan to the hole in the plastic pipe and you have a lovely paper windmill. I made a paper windmill mixed with yellow and blue in the same way. If you like the paper windmill I just mentioned, you can give it a try. Thank you.🍇


