Namaste!
It is about my year and a half old Aparajita (Pigeonwings) flower plant. At the beginning of this year, I saw a small plant in another pot adjacent to my main and only Aparajita plant.
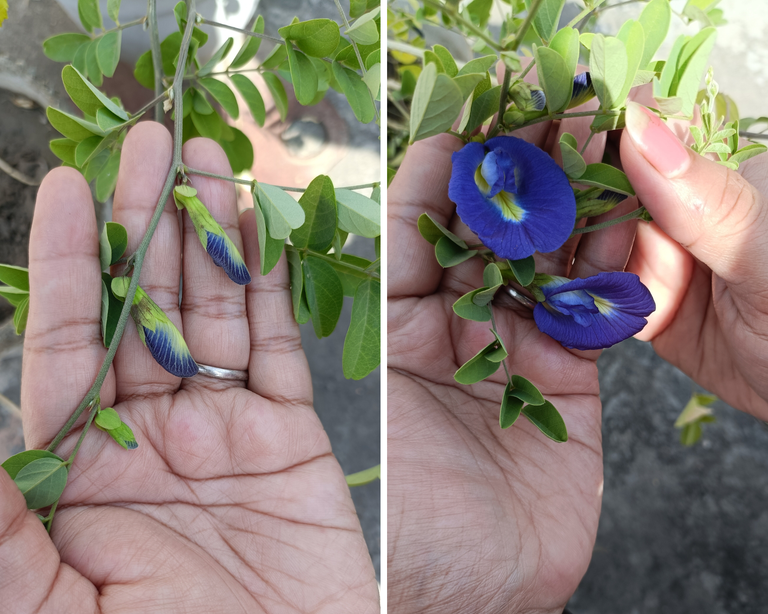
At first glance, I did not pay much attention and considered it a weed and uprooted it from the soil, but then I remembered the childhood of my main Aparajita plant and how its first two leaves had grown in the shape of tiny wings.
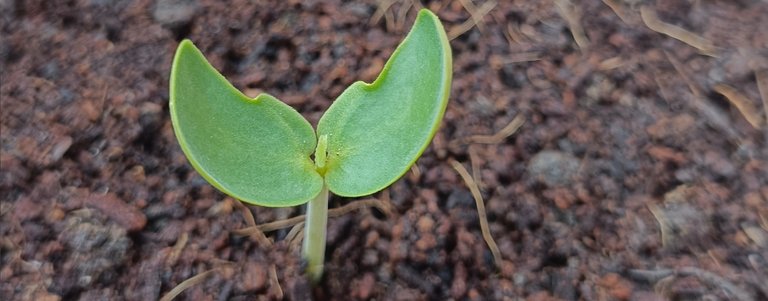
And the shape of this small plant was exactly the same which I had just uprooted considering it a weed. Then it did not take me long to understand that this is not a weed but another little member of my Aparajita family. :)
Then I immediately planted that seedling in a separate pot. Although, due to the brutality with which I had uprooted, no roots were left except the main root, but I sowed it properly on my part while hoping for the best. 🤞
Within a few days, I saw new growth in it and I was convinced that it still had the will to live and then I started fertilizing and watering it on time like all other plants.
Today it was raining lightly but continuously throughout the day, so instead of going out for a walk in the evening, I went for a walk on the terrace.
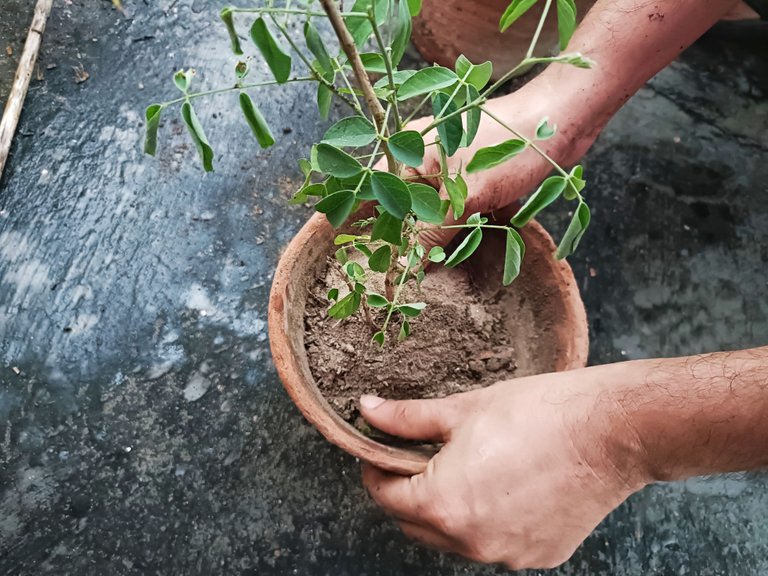
Seeing this plant growing about one and a half feet in a small pot, my wife said it needs a bigger pot now, so I said ok let's do it. Then we began the process of moving it to its new, bigger home! :)
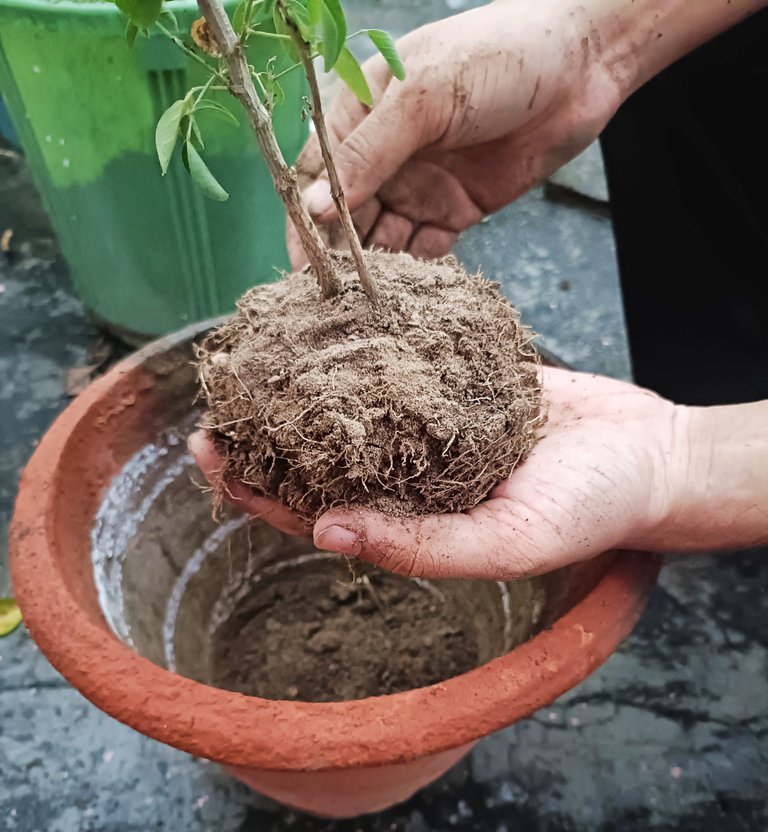
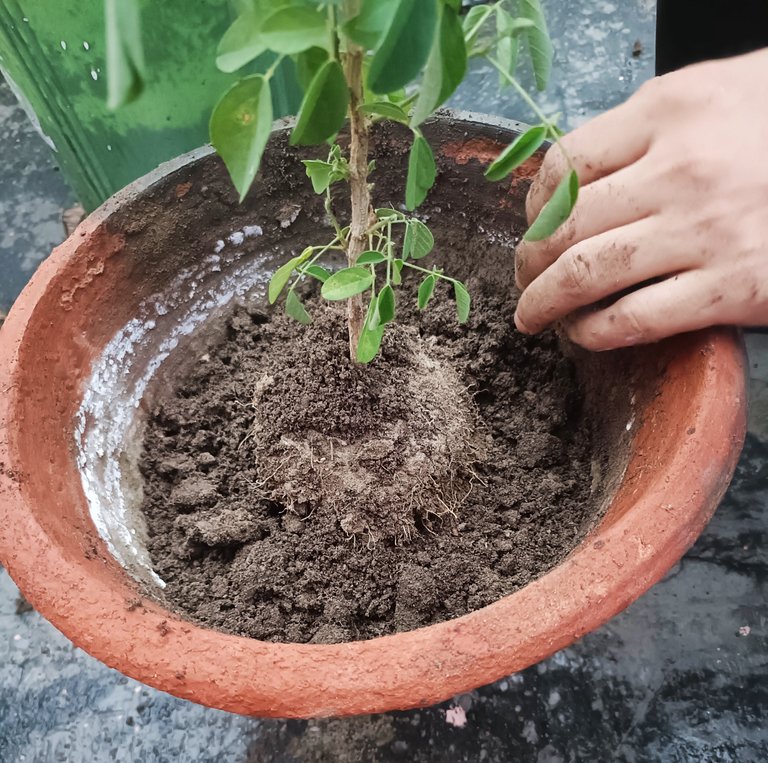
In the picture below, you can see this plant in my hand along with the soil. Because the pot was very small, there was a layer of about 1 inch of dry leaves at the bottom of it and then this plant was growing in just this much soil.
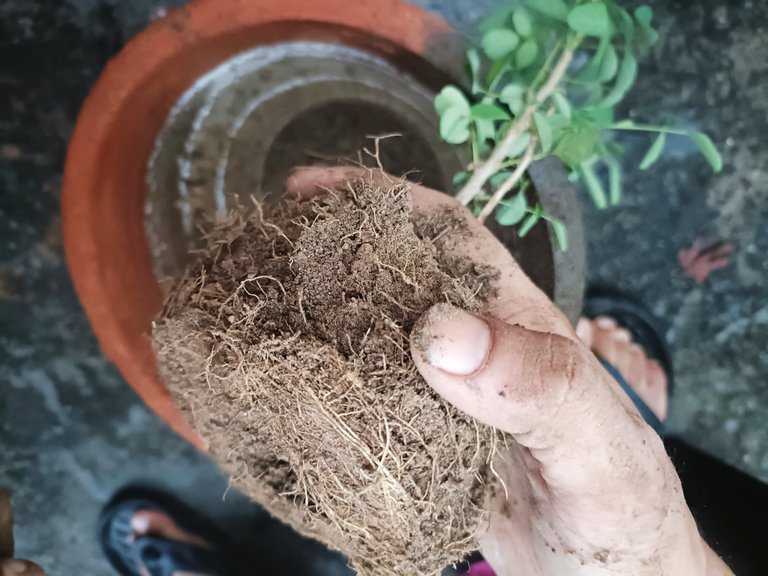
Also, you can see fine roots everywhere in the soil, this is also a sign that the plant now needs a bigger pot.
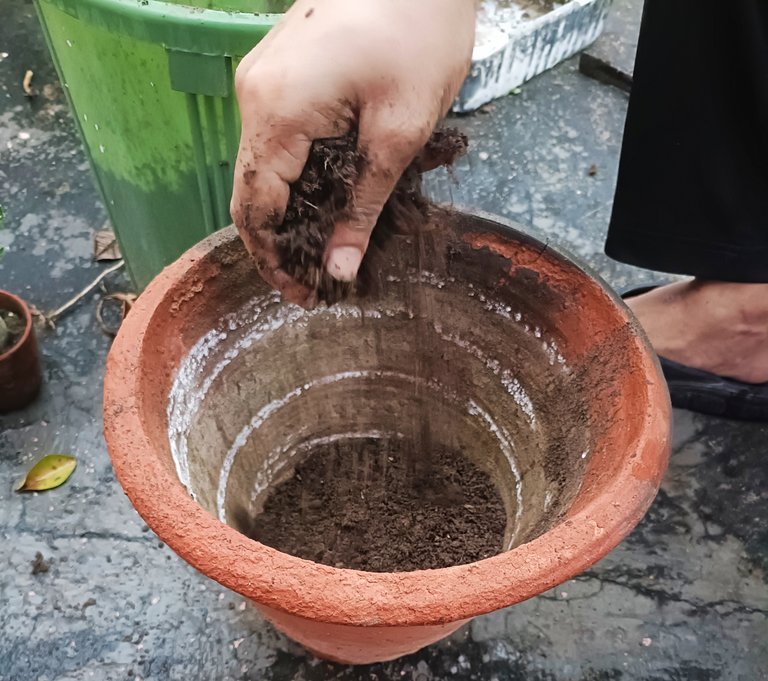
Since I already had a big empty pot, I spread some leaves at the bottom and started filling it with my soil mix. I prepared this soil mix by mixing equal quantities of normal garden soil, coco peat, sand, cow dung manure, and neem manure.
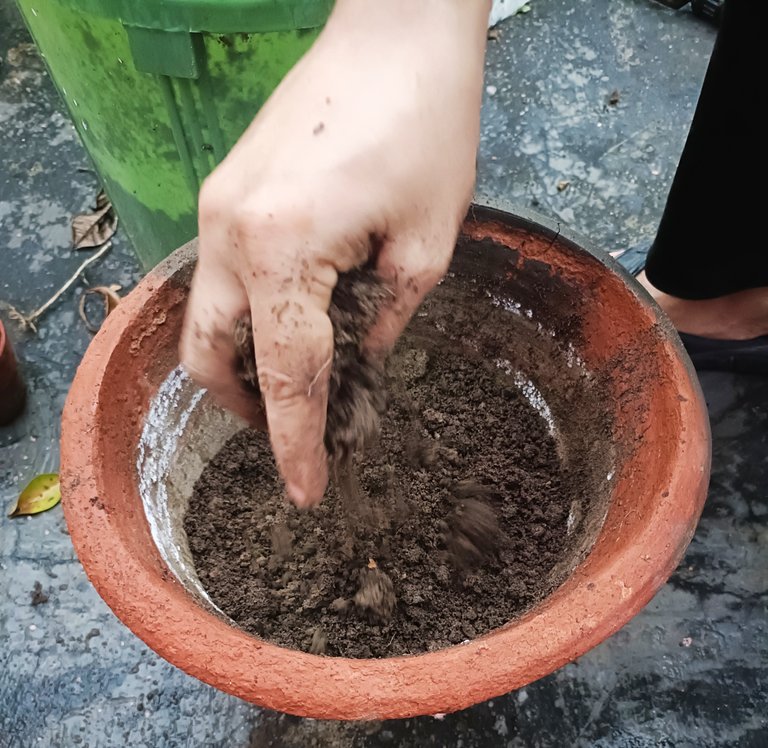
After filling the pot about 60% with this soil mix, I set my Aparajita plant in the middle of this new pot, taking care not to damage any of its roots.
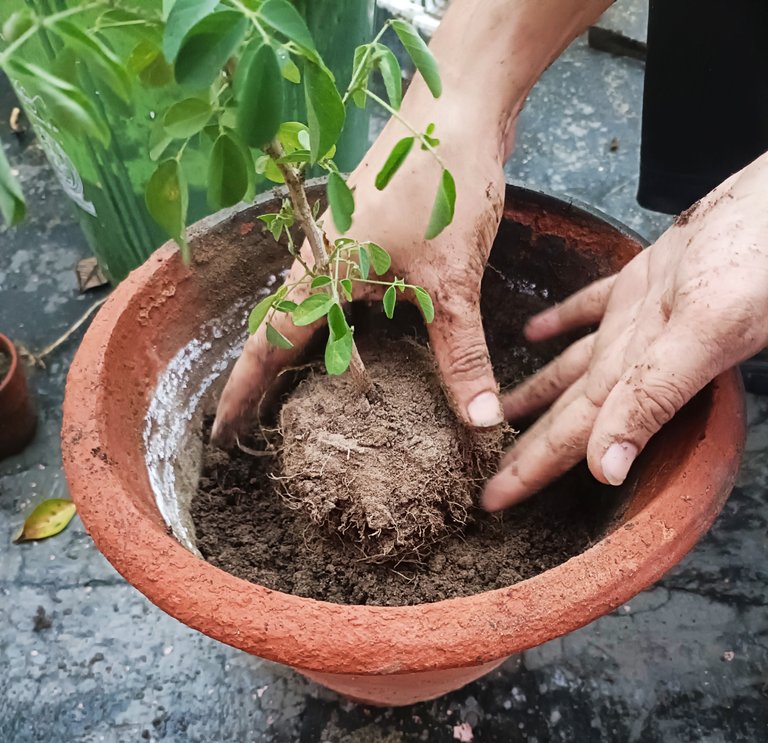
Then after that, again started filling the soil mix in this pot by pressing it lightly around the plant. This is also an important part because the plant should have to stand firmly and at the same time there should not be any air pockets in the soil, otherwise the chances of getting insects in it increase.
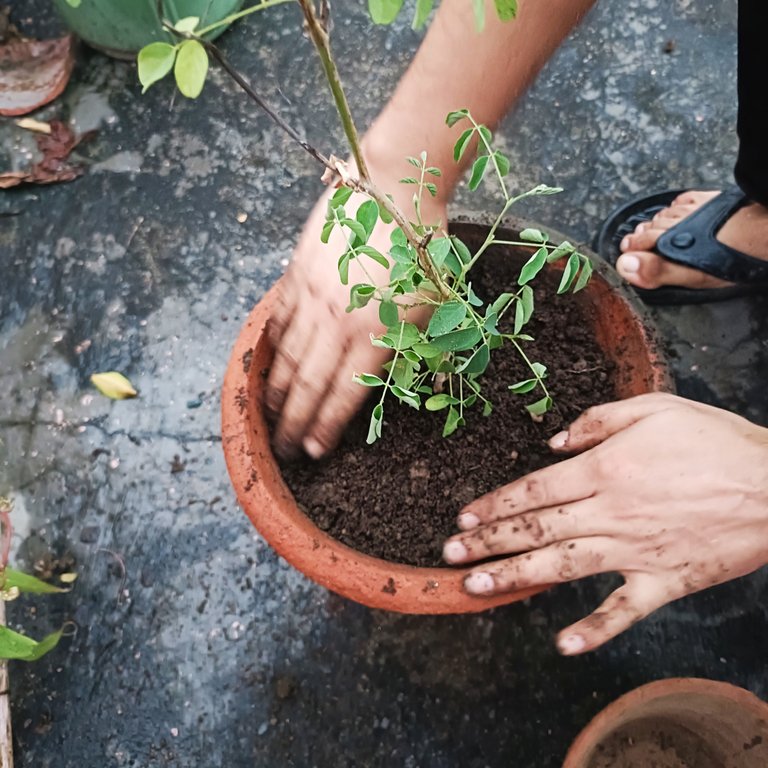
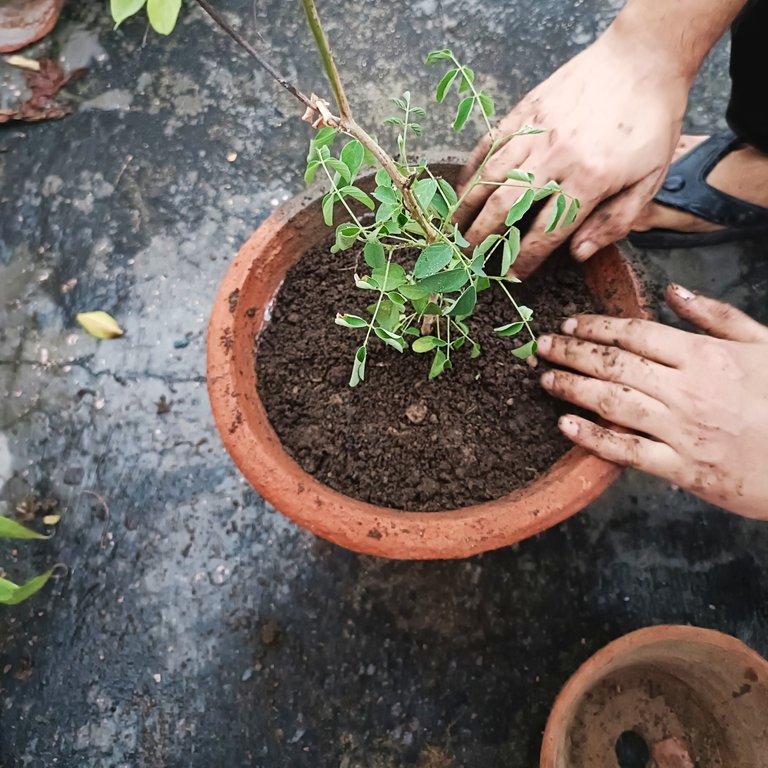
After filling the soil mix properly around the plant, it is usually watered properly, but because even while doing all this work, it was raining very lightly continuously, so I kept it there in a partially shaded place without watering it for now. Kept in a partially shady place so that if there is heavy rain at night, this plant does not get harmed and it also gets light raindrops.
Now hopefully in the next few months, I will see many Aparajita flowers on this plant too.
I hope you liked my Gardening and Phone Photography! :)
Here are all my green blogs
#16 | Let's grow Snake Plants together!
#15 | How to grow okra at home!
#14 | Golden Shower in a New Avatar!
#13 | A Tiny Seed Has Now Become a Fruit!
#12 | Growing Tomatoes From Seeds!
#11 | Growth Update of Indian Red Chilli Plant!
#10 | Growing Bottle Gourd From Seeds!
#9 | New Life of Old Curry Leaves!
#8 | Growing Pumpkin from Seeds
#6 | A Beautiful Flower from a Family of Prestigious Medicinal Trees.
#5 | Growing Indian Red Chilli from Seeds
#4 | Harvesting Radishes from Pots
#3 | Growing Carrot From Seeds
#2 | Growing Radish From Seeds
#1 | Growing dessert rose from seeds
Thank you for visiting and reading my blog. Generally, I keep writing blogs on life, nature, gardening, food and photography.

If you like any of these topics then you can also follow me. I deeply appreciate your comments and votes. 🙏

5% of this post reward goes to Ecency. Don't forget to support the projects you enjoy using.

Note:
Have a Happy and Blessed day!


