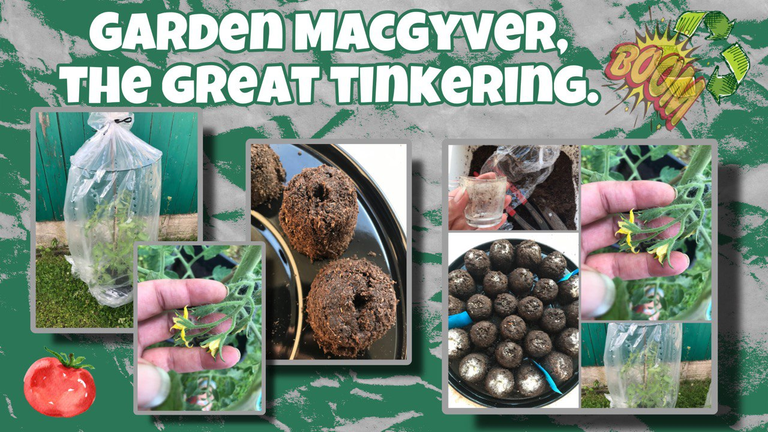
Hello lovelies and have a wonderful start to the week. Sometimes I underestimate gardening and have other ideas for posts, but here I have another new one for the garden and veg, a particularly inexpensive idea for sowing seeds that can manage without plastic and little soil.
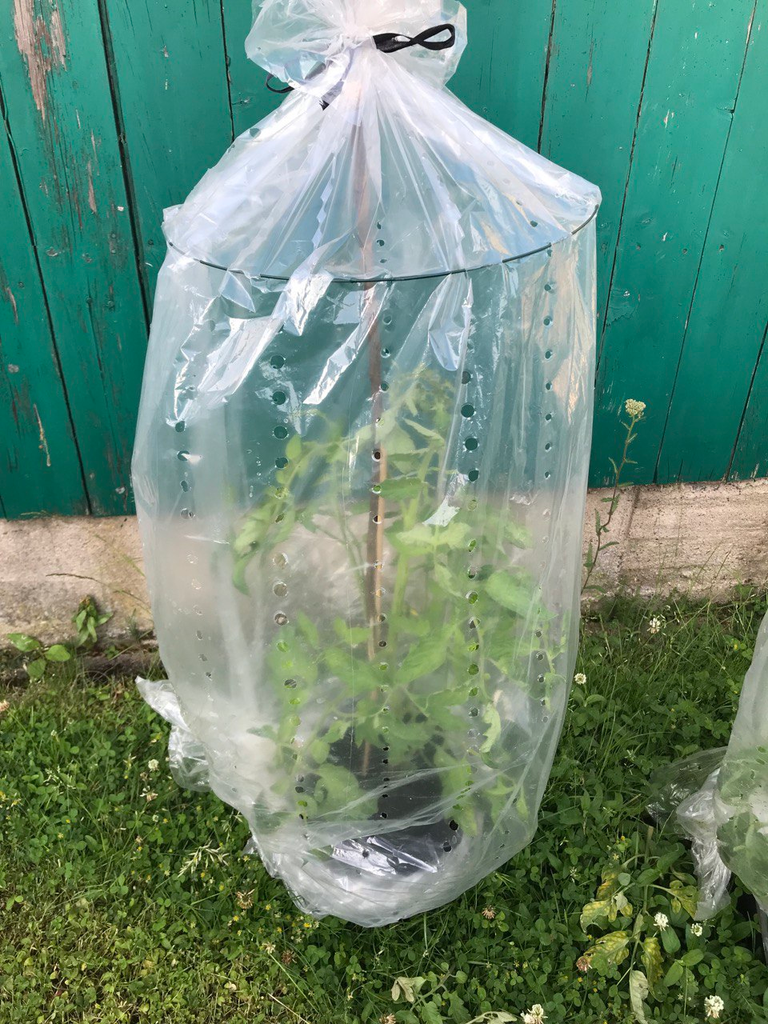
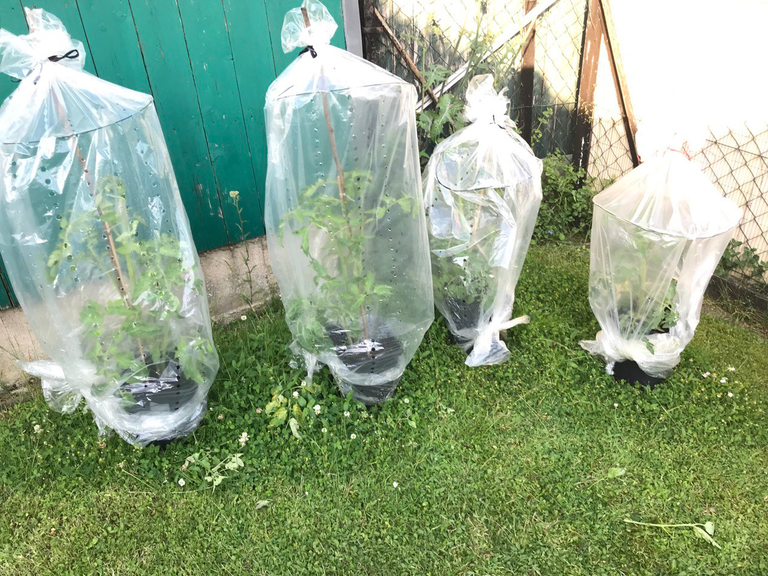
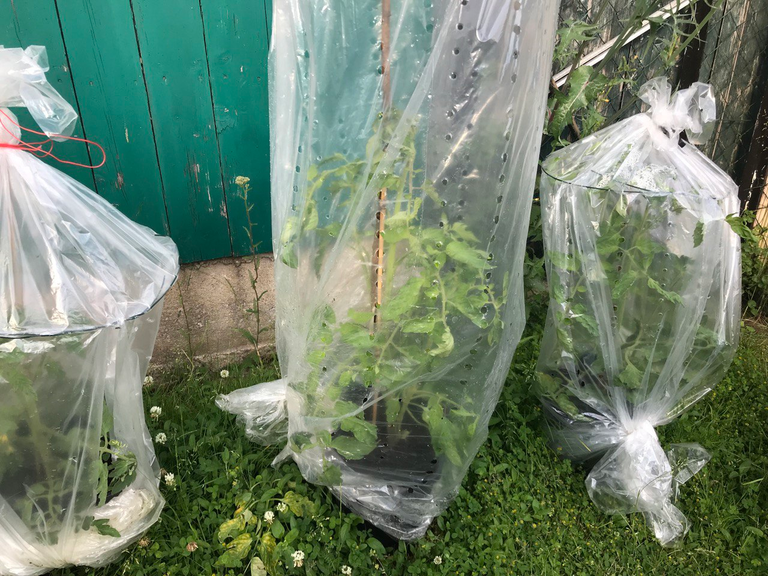
But I will start with the self-made tomato greenhouse bonnets and how the plants have developed underneath. I made this alternative because tomatoes don't want to get wet and they are susceptible to mildew (a fungal disease). I have already made a remedy for this from Mother Nature's wondrous garden.
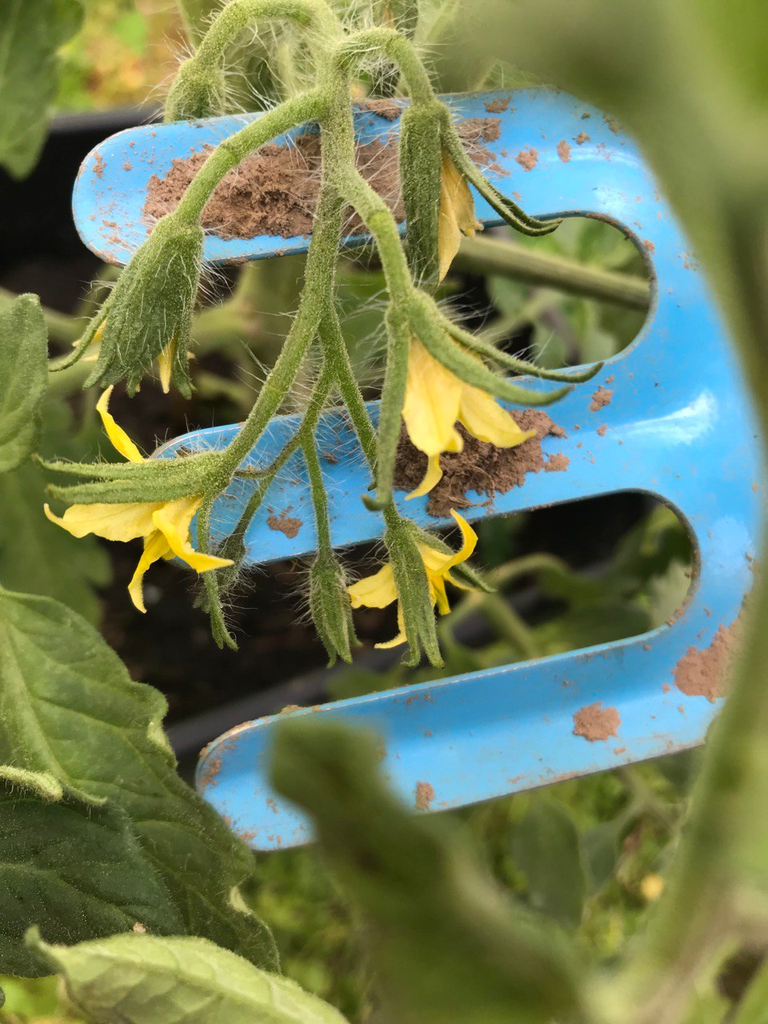
Apart from the fact that the pots are not particularly large, the tomato plants have developed beautifully. They are already bearing their first flowers and are now producing their first fruits. I had to lengthen the poles on two of the plants as they were getting quite cramped and were growing towards the roof. However, we now have less instability when the wind blows around. My conclusion for this method is that I wouldn't use it again any time soon, except in emergencies as was the case here. And even then, only if the tomatoes have a firm hold in the soil. I will get some tomato fleece for the next round. 🌱🍅
Hallo ihr Lieben und einen wunderbaren Start in die Woche. Manchmal unterschätze ich die Gartenarbeit und habe andere Ideen für Beiträge, aber hier habe ich wieder einen neuen für Garten und Gemüse, eine besonders preiswerte Idee für die Aussaat von Samen, die ohne Plastik und wenig Erde auskommt.
Aber ich beginne mit den selbstgebauten Tomatengewächshaushauben und wie sich die Pflanzen darunter entwickelt haben. Ich habe diese Alternative gemacht, weil Tomaten nicht nass werden wollen und sie anfällig für Mehltau (eine Pilzkrankheit) sind. Dagegen habe ich bereits ein Mittel aus Mutternaturs wundersamem Garten hergestellt.
Abgesehen von der Tatsache, dass die Töpfe nicht besonders groß sind, haben sich die Tomatenpflanzen prächtig entwickelt. Sie tragen bereits die ersten Blüten und bringen jetzt auch die ersten Früchte hervor. Bei zwei der Pflanzen musste ich die Stangen verlängern, da sie ziemlich eng wurden und in Richtung Dach wuchsen. Aber wir haben jetzt weniger Instabilität, wenn der Wind umherbläst. Mein Fazit für diese Methode ist, dass ich sie in nächster Zeit nicht wieder anwenden würde, außer in Notfällen, wie es hier der Fall war. Und selbst dann nur, wenn die Tomaten einen festen Halt in der Erde haben. Für die nächste Runde werde ich mir ein Tomatenvlies besorgen. 🌱🍅
This fleece is said to have worked well for the neighbours and is generally very sociable, quieter and more wind resistant than my version.
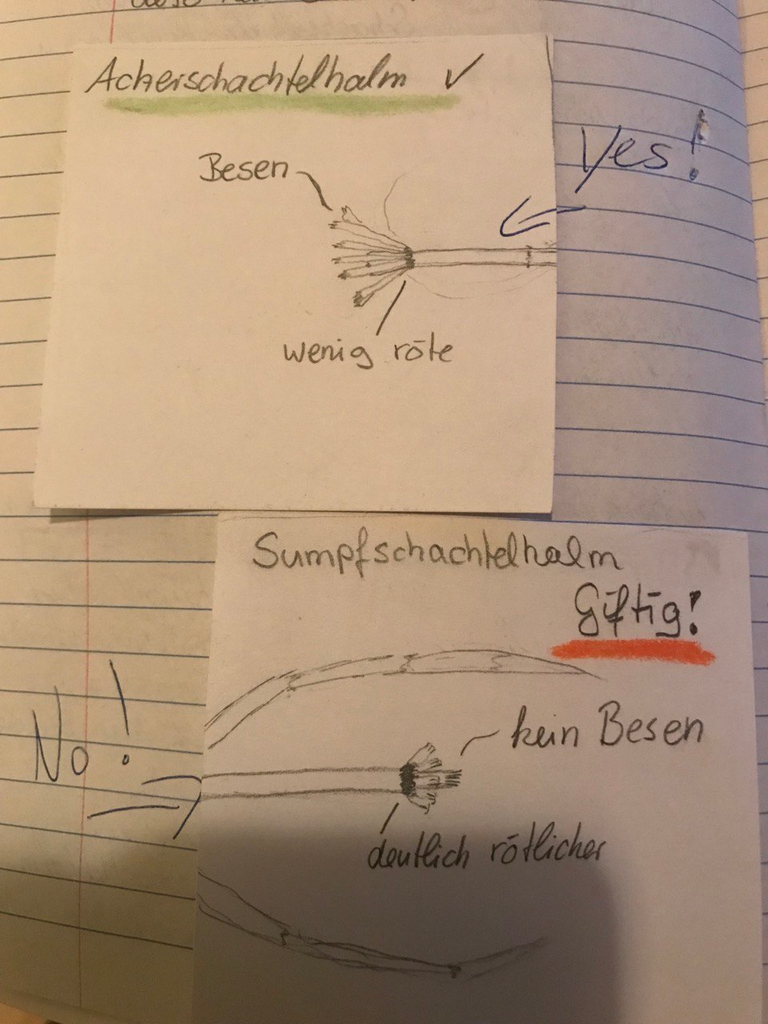
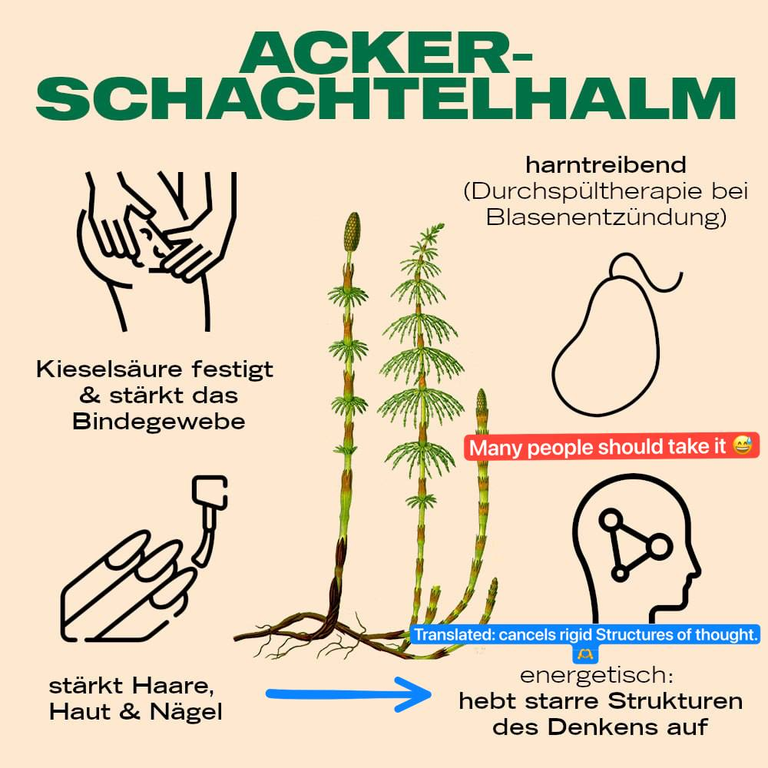
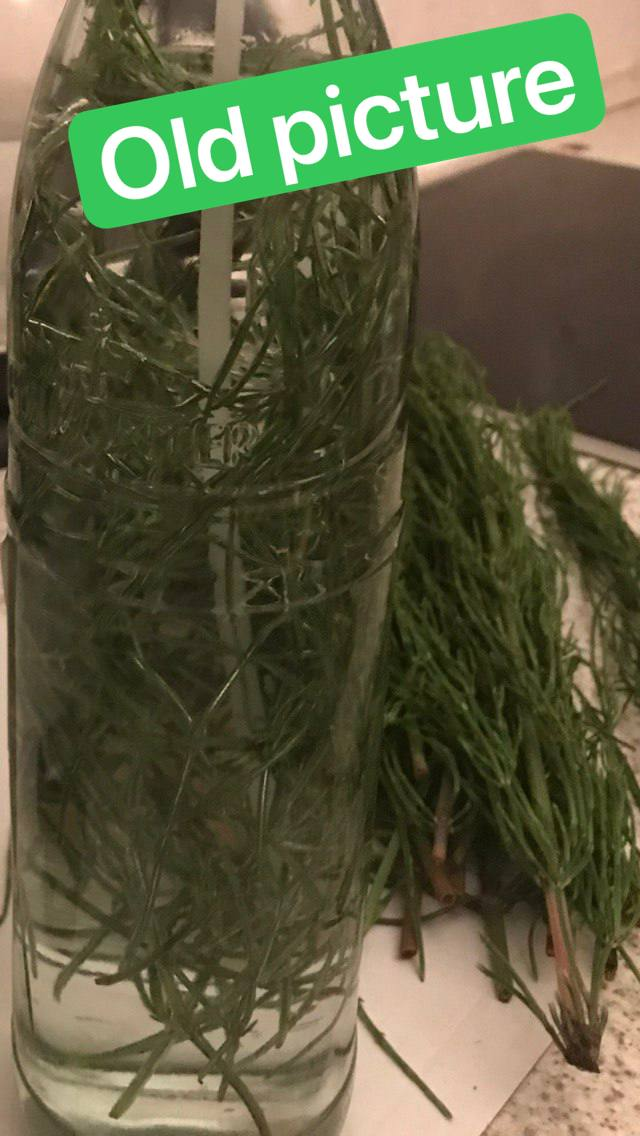
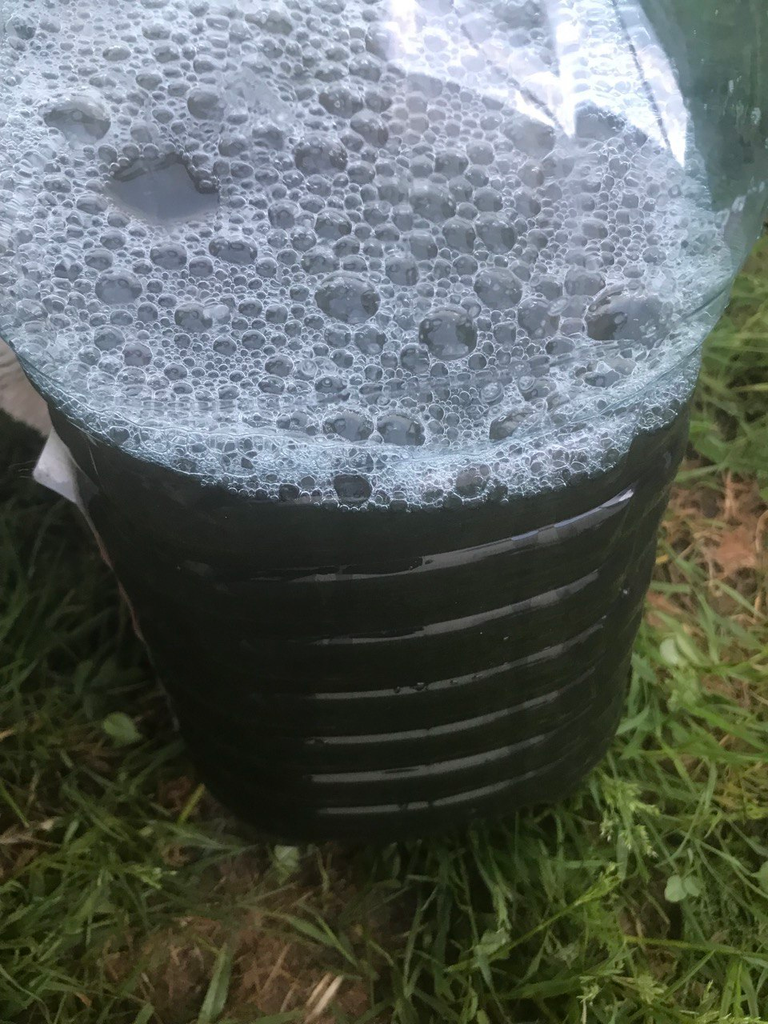
As tomatoes are very susceptible to mildew - as previously mentioned, I have already made a tincture of field horsetail so I have the perfect slurry to use when the tomatoes start to turn red and protect them from mildew. I spent half the weekend looking for the fine field horsetail and found it, but forgot to take a picture because I was so busy scraping water out of the rain barrel, which was really empty. Yesterday I asked for water, today it's raining and I can save myself the watering
I can save myself the watering and everything gets a big splash of water. Many people think horsetail is a pest, which I can't understand, because it is really useful and others buy its prepared tincture instead of looking for it themselves. Its effect reduces the risk of plants getting mildew, so it fights fungal diseases. Great plant!!!!
Dieses Vlies soll sich bei den Nachbarn gut bewährt haben und ist im Allgemeinen sehr verträglich, leiser und windresistenter als meine Version.
Da Tomaten sehr anfällig für Mehltau sind, habe ich bereits eine Tinktur aus Ackerschachtelhalm hergestellt, so dass ich die perfekte Brühe habe, die ich verwenden kann, wenn die Tomaten beginnen, sich rot zu färben und sie vor Mehltau zu schützen. Ich habe das halbe Wochenende damit verbracht, den feinen Ackerschachtelhalm zu suchen und habe ihn gefunden, aber vergessen, ein Foto zu machen, weil ich so damit beschäftigt war, Wasser aus der Regentonne zu kratzen, die wirklich leer war. Gestern habe ich um Wasser gebeten, heute regnet es und ich kann mir das Gießen sparen.
Viele Leute halten den Schachtelhalm für eine Seuche, was ich nicht verstehen kann, denn er ist wirklich nützlich, und andere kaufen seine zubereitete Tinktur, anstatt ihn selbst zu suchen. Seine Wirkung verringert das Risiko, dass Pflanzen an Mehltau erkranken, er bekämpft also Pilzkrankheiten. Tolle Pflanze!!!!
At the moment, the tomatoes are still receiving nettle liquid manure to give them the right kick and enable them to form their fruits well nourished. I always say: you can't just take from the soil, you also have to give something back. That's why I generally fertilise once a week, and my neighbour and I have a match about the best slurry method. LOOL. He has now started using rabbit dung slurry. He claims that his Bamberger Hörnchen (a very fine, noble potato variety) have doubled in size as a result. LOOOOL. Well, we'll see who can work the best plant magic here - not that EU regulations will have us burned at the stake with so much natural preservation by Mother Nature." 😄
Im Moment bekommen die Tomaten noch Brennnesseljauche, damit sie den richtigen Kick bekommen und gut genährt ihre Früchte bilden können. Ich sage immer: Man kann nicht nur vom Boden nehmen, man muss auch etwas zurückgeben. Deshalb dünge ich in der Regel einmal in der Woche, und mein Nachbar und ich streiten uns über die beste Güllemethode. LOOL. Er hat jetzt angefangen, mit Kaninchenmist zu düngen. Er behauptet, dass seine Bamberger Hörnchen (eine sehr feine, edle Kartoffelsorte) dadurch doppelt so groß geworden sind. LOOOOL. Na, wir werden sehen, wer hier am besten Pflanzen zaubern kann - nicht, dass uns die EU-Verordnungen bei so viel Naturerhaltung auf den Scheiterhaufen bringen." 😄
And now we come to the next topic: I saw a block press at a neighbour's house that you can use to form small to large lumps of growing soil to pre-grow seeds at home. I was immediately enthusiastic and researched on the internet how much such a soil block press costs - and my eyes almost fell out of my head. The prices range from 60 to 130 euros, which I think is pretty steep. So I thought about an alternative. I was already very impressed by this toy - no more plastic waste and no problems with too much soil. That particularly appealed to me. And lo and behold, I discovered an inexpensive option: I simply use an espresso cup as a block press.
Und nun kommen wir zum nächsten Thema: Ich habe bei einem Nachbarn eine Blockpresse gesehen, mit der man kleine bis große Klumpen Anzuchterde formen kann, um zu Hause Samen vorzuziehen. Ich war sofort begeistert und habe im Internet recherchiert, wie viel so eine Erdblockpresse kostet - und mir sind fast die Augen aus dem Kopf gefallen. Die Preise liegen zwischen 60 und 130 Euro, was ich ziemlich happig finde. Also habe ich mir eine Alternative überlegt. Von diesem Spielzeug war ich schon sehr angetan - kein Plastikmüll mehr und keine Probleme mit zu viel Erde. Das hat mich besonders gereizt. Und siehe da, ich entdeckte eine kostengünstige Möglichkeit: Ich verwende einfach eine Espressotasse als Blockpresse.
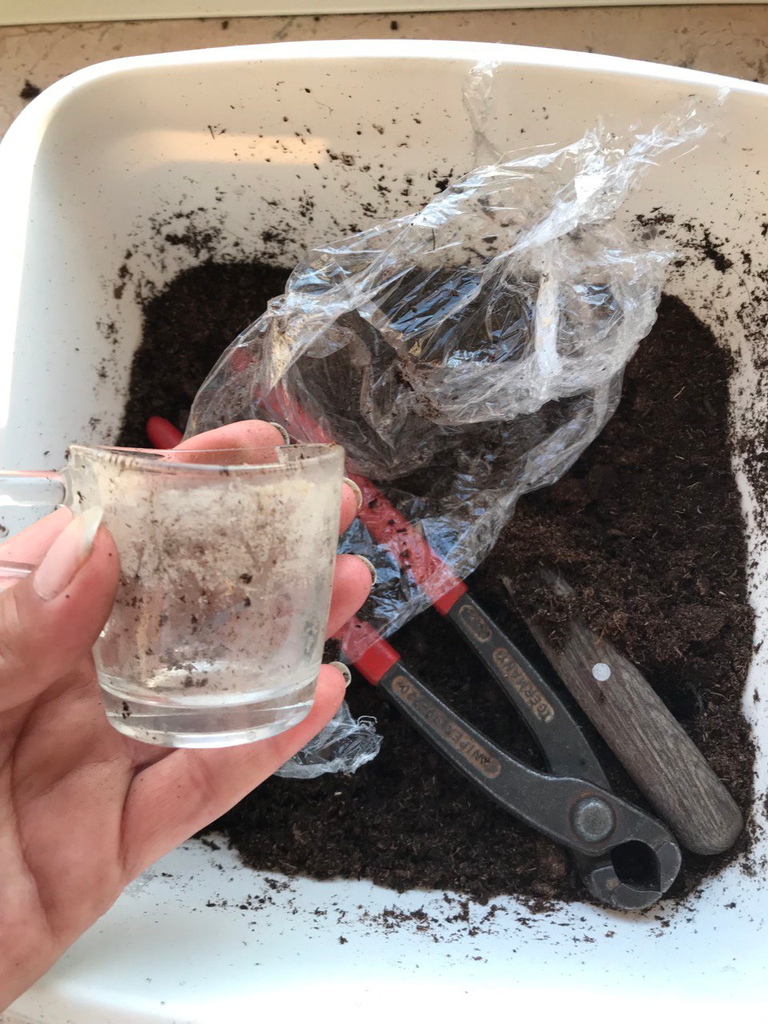
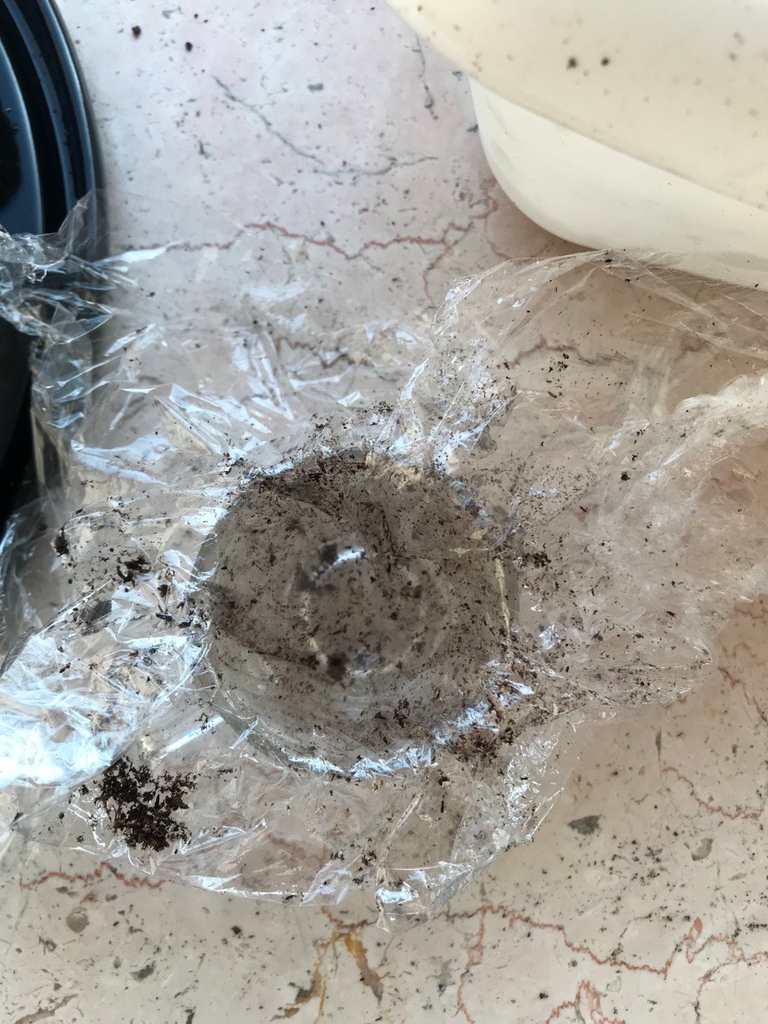
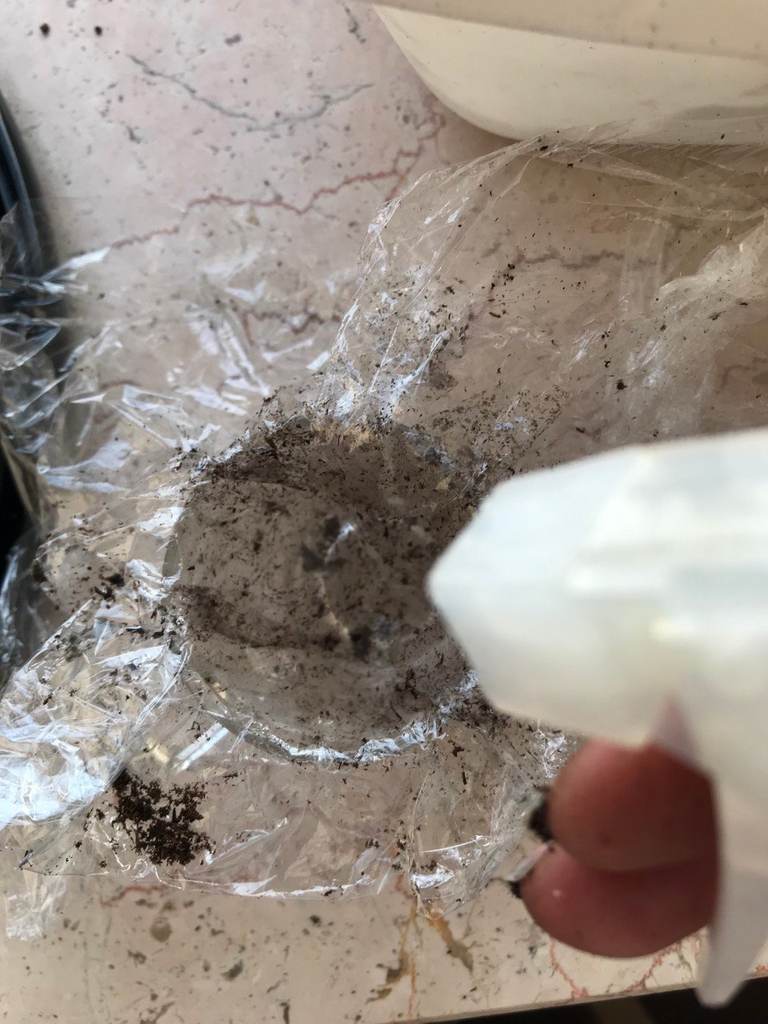
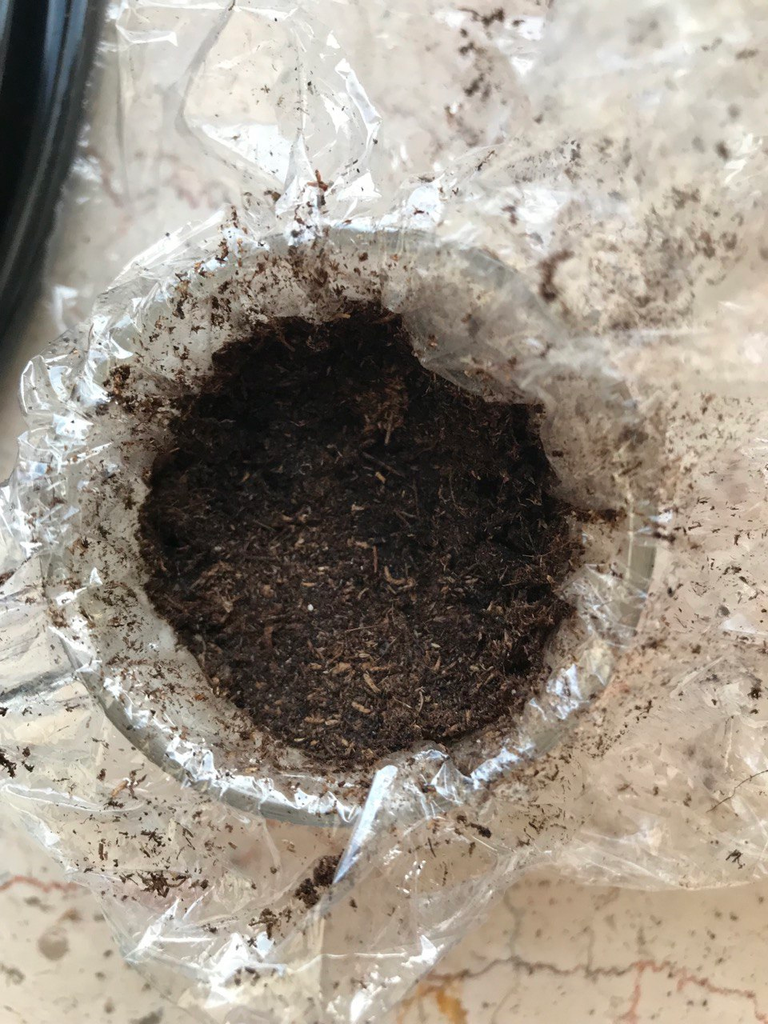
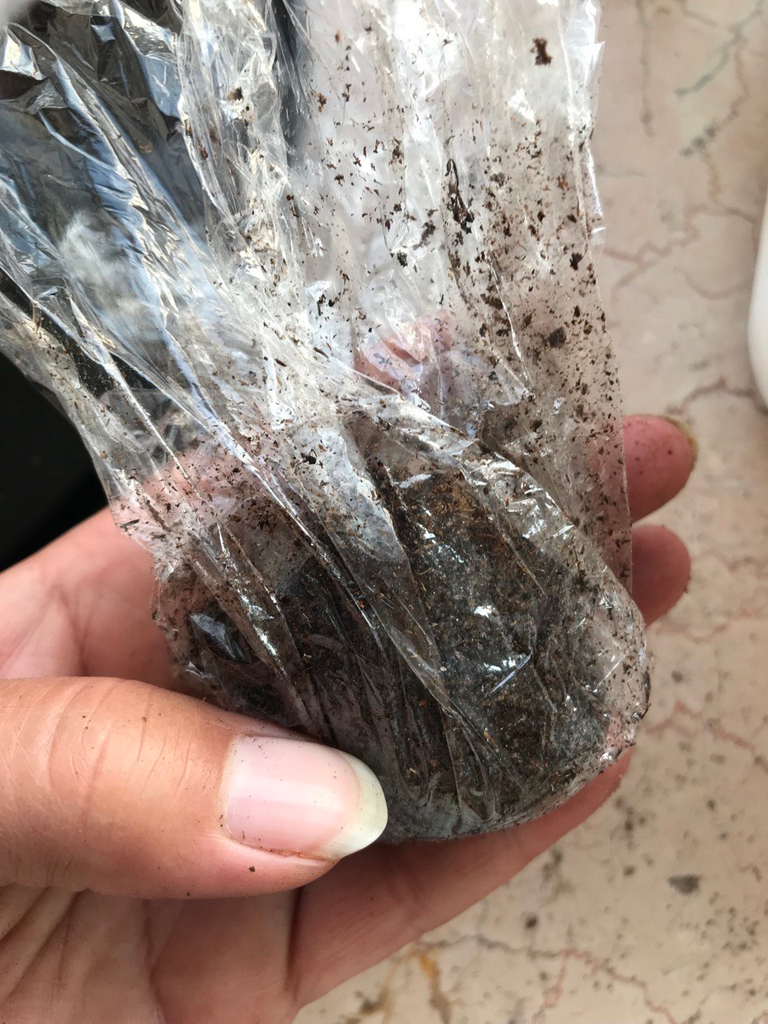
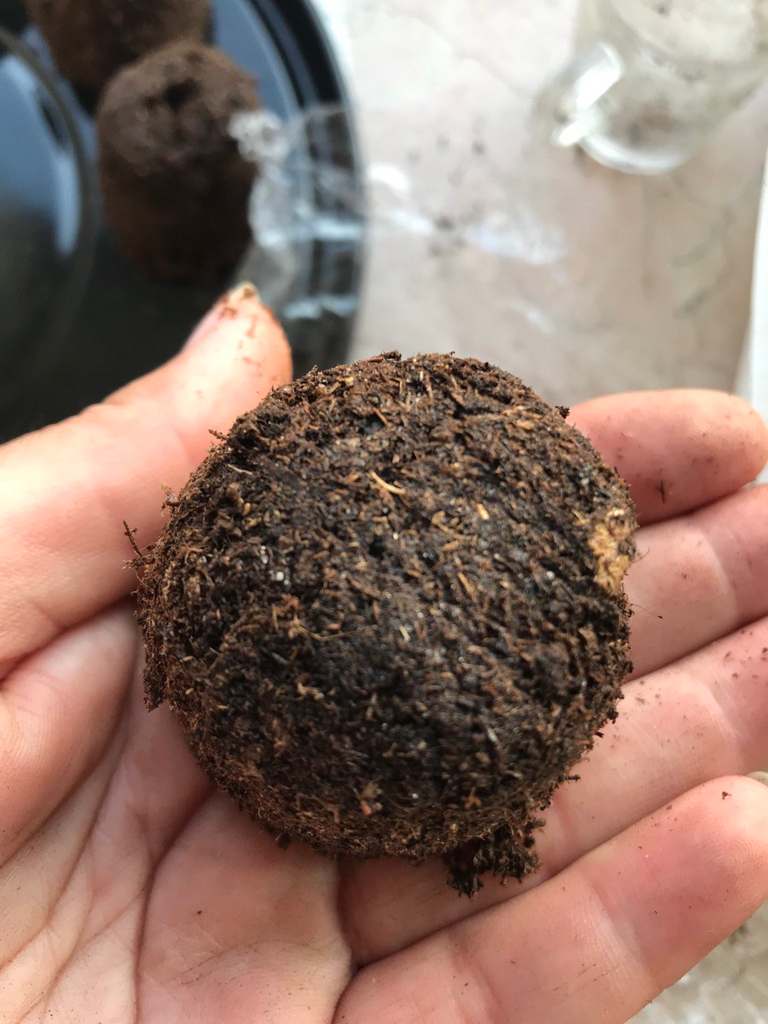
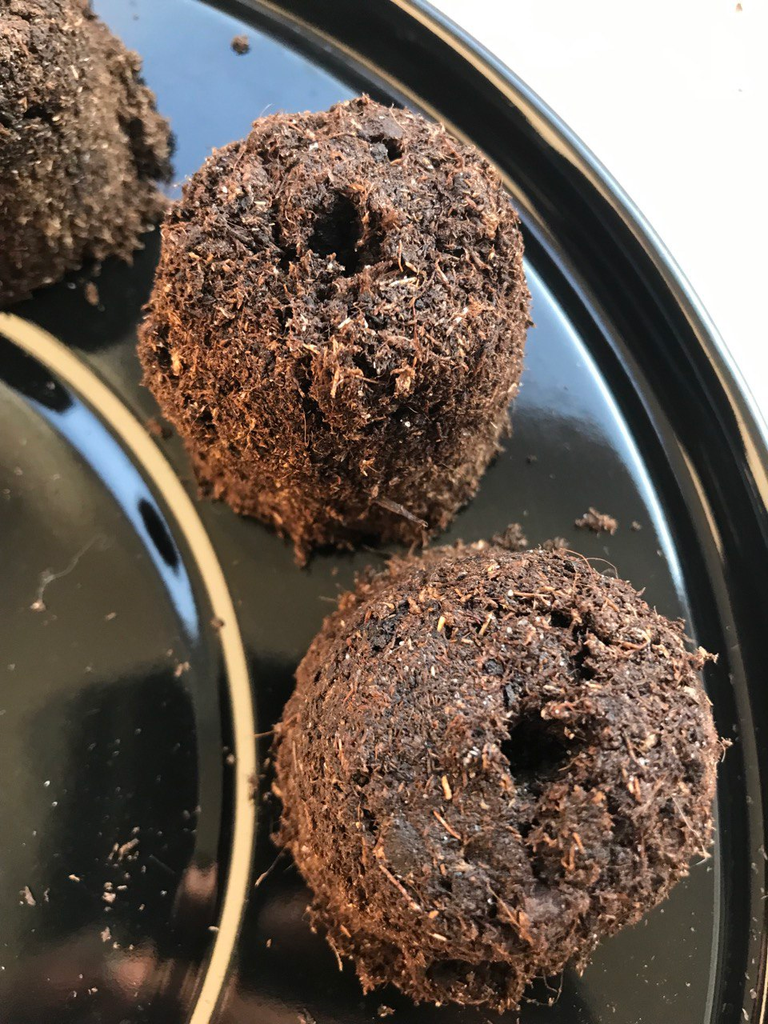
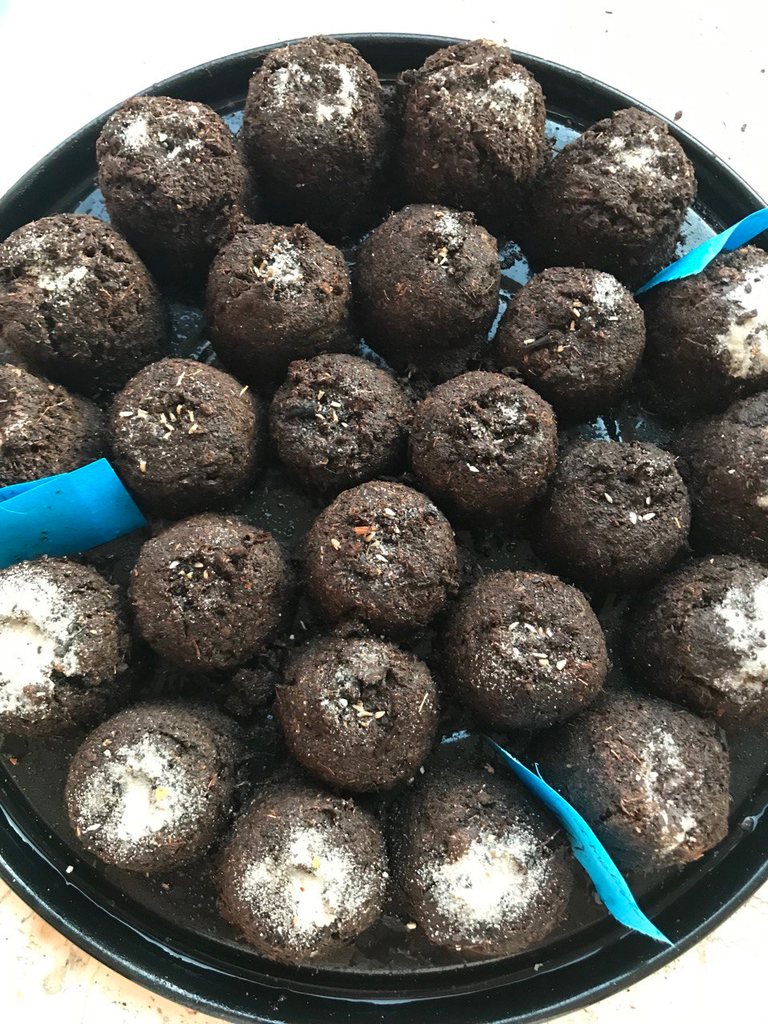
I needed a water syringe, cling film, soil, scissors, the espresso cup and a pair of tongs. I simply placed the cling film in the espresso cup, gave it a good splash of water with the water syringe, placed the soil in it and pressed the soil firmly into the cup with the tongs (because its head was so round). The ball of earth was immediately moist and had almost the right shape. All I had to do was make a small hole in the top for the seed with a pair of scissors and tadaaaa, my soil ball was ready.
Of course, the boys thought it looked like horse droppings. LOOOL. They were right, but that doesn't matter - the main thing is that it works the way I imagined it would. But I can't say yet whether the seed will germinate, because germination always takes a while. So we'll have to wait and see. Nevertheless, it was great fun to create something like this, even without an expensive press. 😄
Ich brauchte eine Wasserspritze, Frischhaltefolie, Erde, eine Schere, die Espressotasse und eine Zange. Ich habe einfach die Frischhaltefolie in die Espressotasse gelegt, mit der Wasserspritze einen kräftigen Spritzer Wasser gegeben, die Erde hineingelegt und mit der Zange die Erde fest in die Tasse gedrückt (weil ihr Kopf so rund war). Der Erdball war sofort feucht und hatte fast die richtige Form. Ich musste nur noch mit einer Schere oben ein kleines Loch für den Samen machen und tadaaaa, fertig war mein Erdball.
Die Jungs fanden natürlich, dass es wie Pferdeäpfel aussah. LOOOL. Sie hatten Recht, aber das ist egal - Hauptsache, es funktioniert so, wie ich es mir vorgestellt habe. Aber ob die Saat keimt, kann ich noch nicht sagen, denn die Keimung dauert immer eine Weile. Wir müssen also abwarten. Trotzdem hat es großen Spaß gemacht, so etwas zu schaffen, auch ohne teure Presse. Und ich konnte mal wieder das 'backe, backe, Kuchen' richtig ausleben. Wuhuuuuuu!“ 😄.
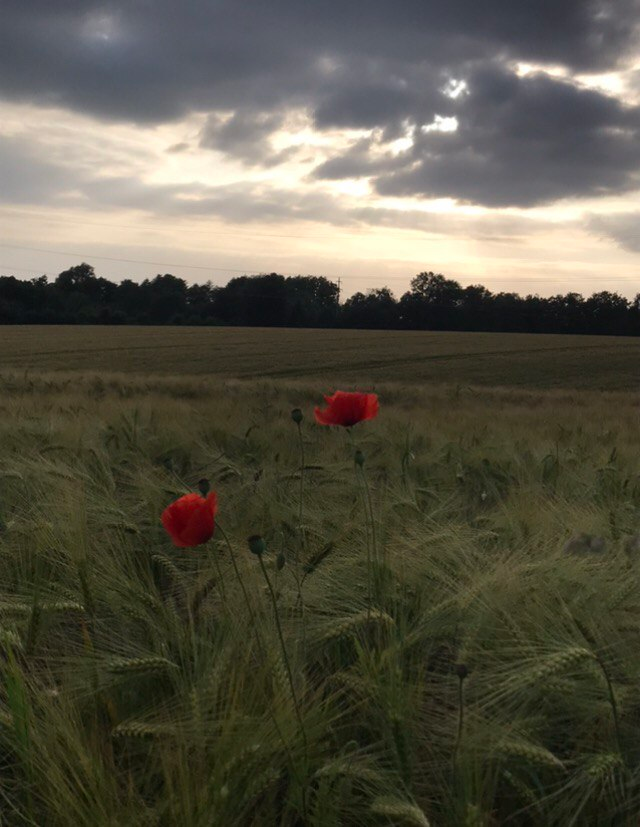
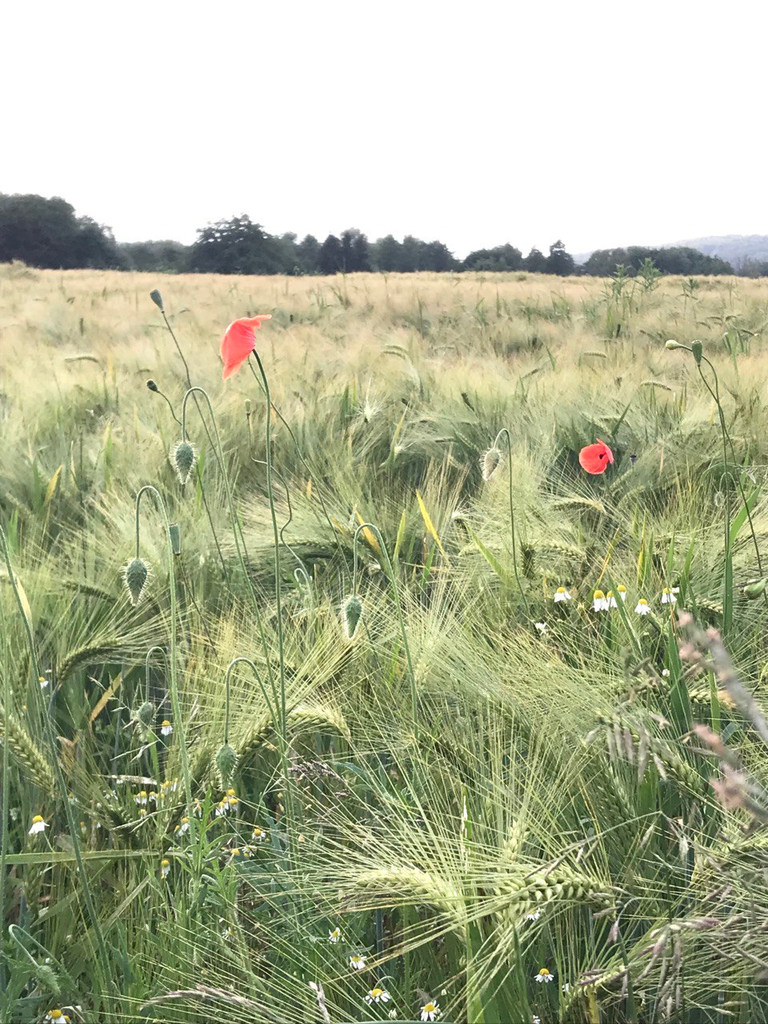
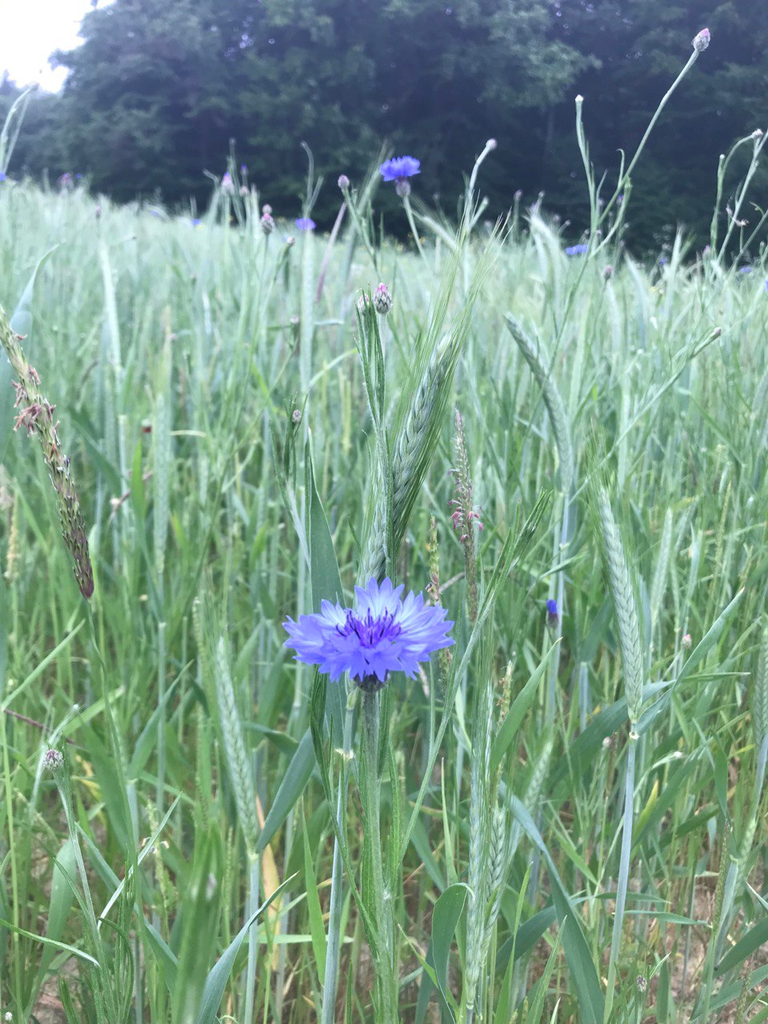
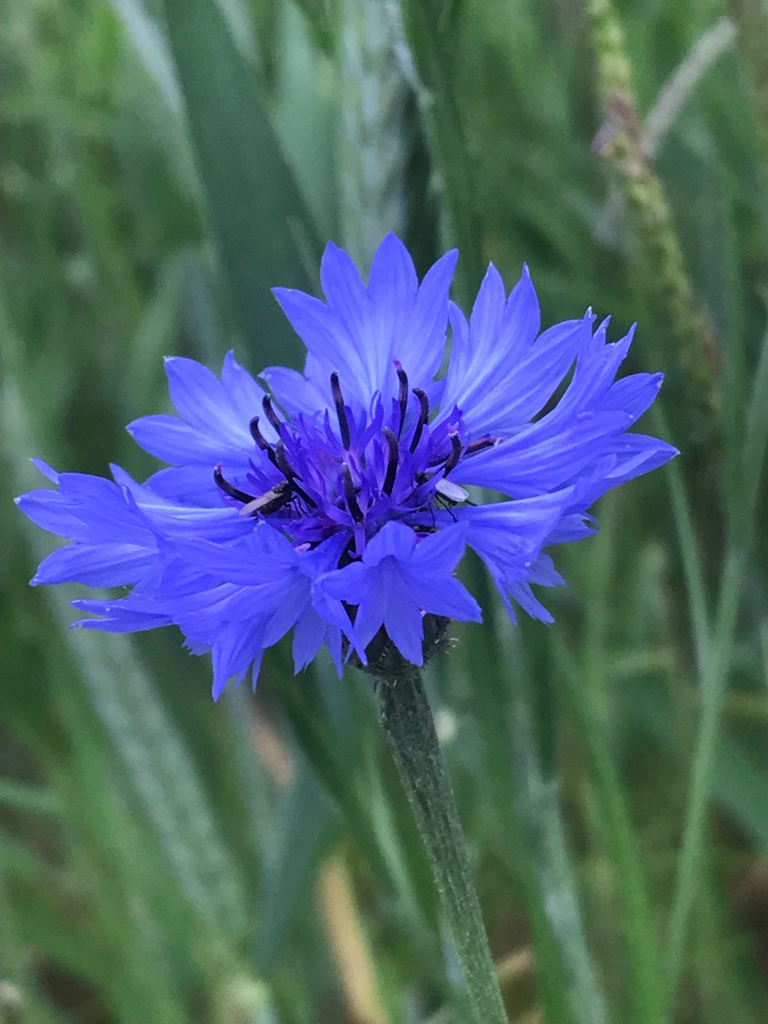
And after all the work, I didn't miss the chance to take another evening walk around the field and would like to share these pictures with you. I wish you all a great week and say see you next time.
Und nach all der Arbeit habe ich es mir nicht nehmen lassen, noch einen Abendspaziergang über das Feld zu machen und möchte diese Bilder mit euch teilen. Ich wünsche euch allen eine tolle Woche und sage bis zum nächsten Mal.
