Good morning dear friends and Hivers ! We're back in the garden for a little living construction using a weaving technique that I've always wanted to try and that I'll reproduce if it works this time.
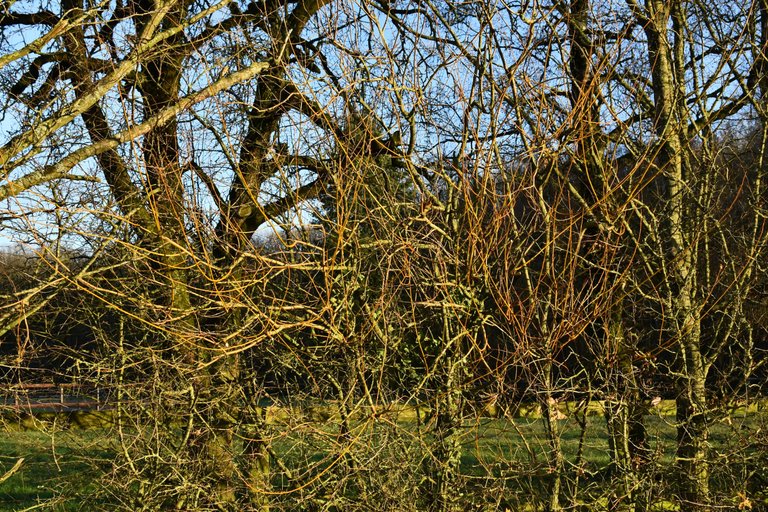
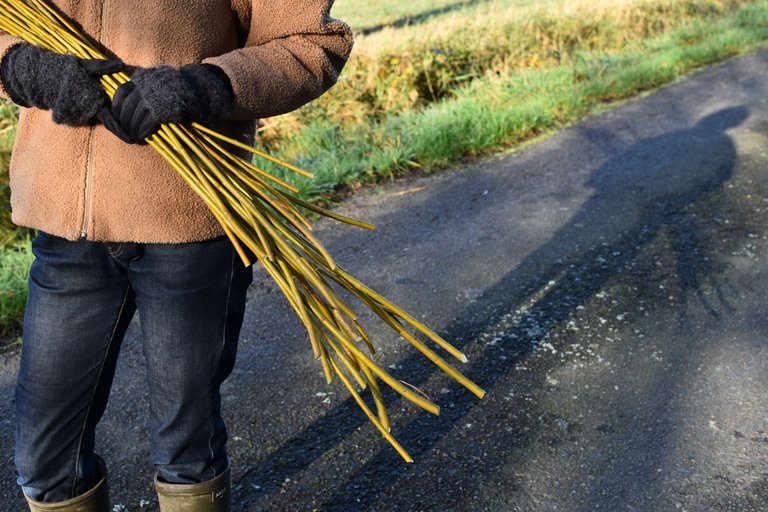
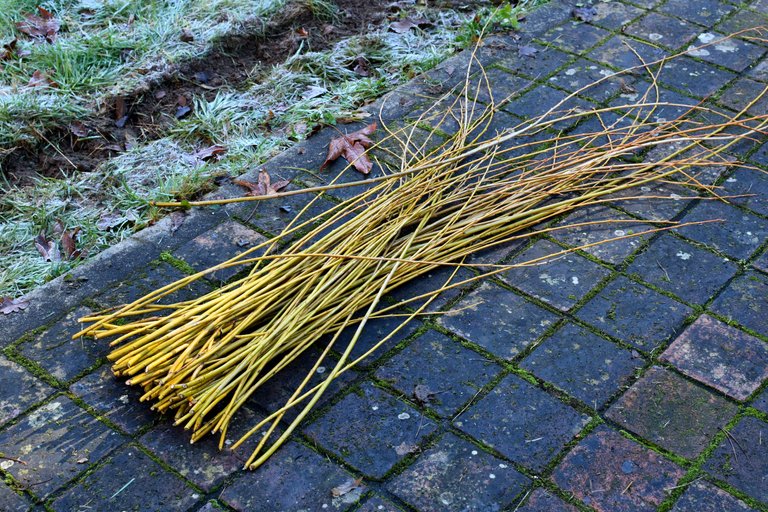
This is the willow we found on a walk and from which we collected around a hundred sprigs. It's Salix purpurea, one of the many varieties of willow also known as the basket willow because it's the same one used to make baskets.
Willow is one of the best plants for taking cuttings, and we even use it to make homemade cuttings hormone for use with other plants and to encourage root development.
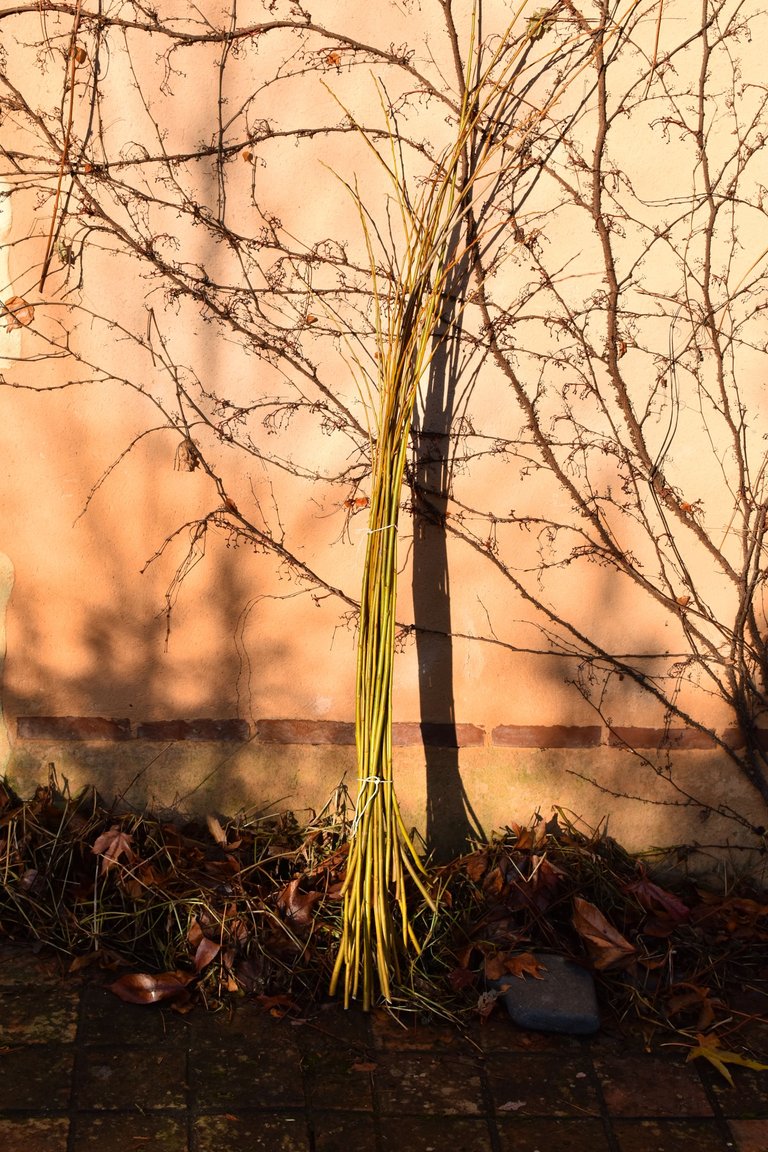
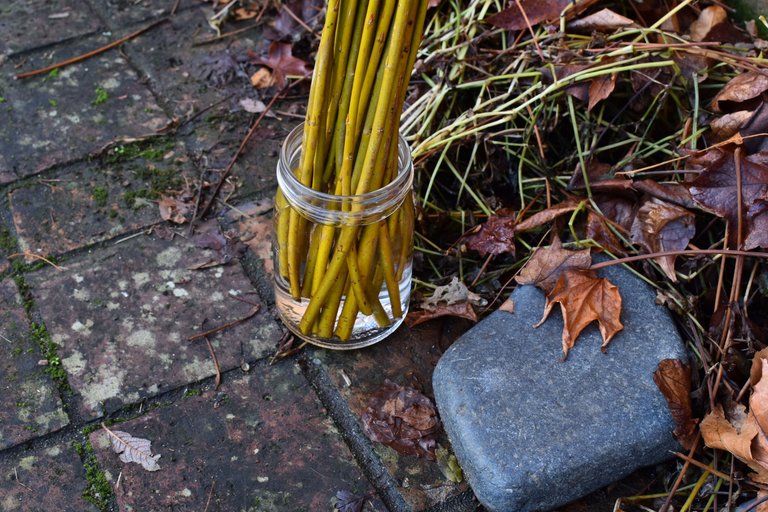
Here, we placed them in water to prepare the ground a little...
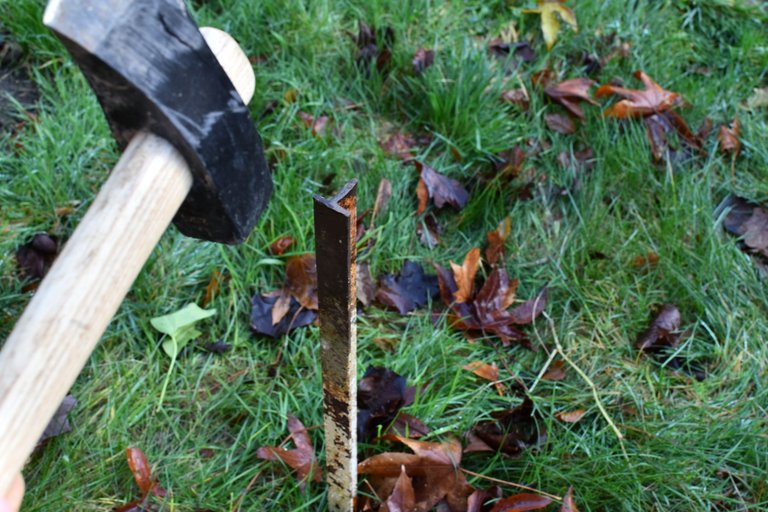
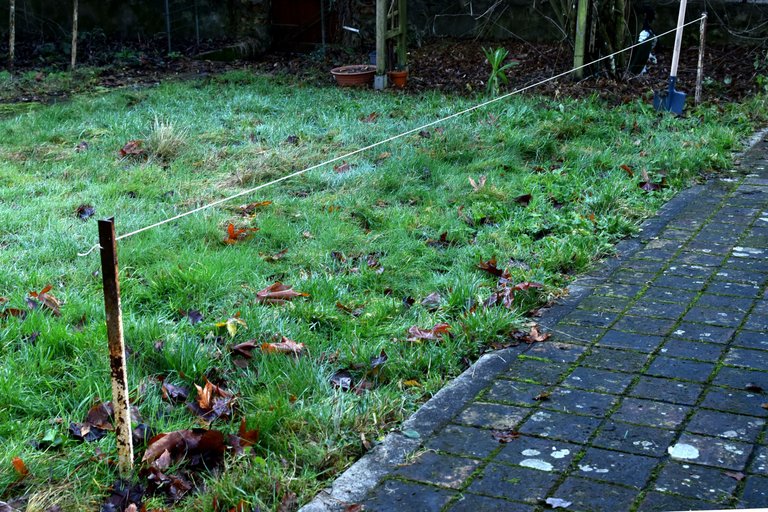
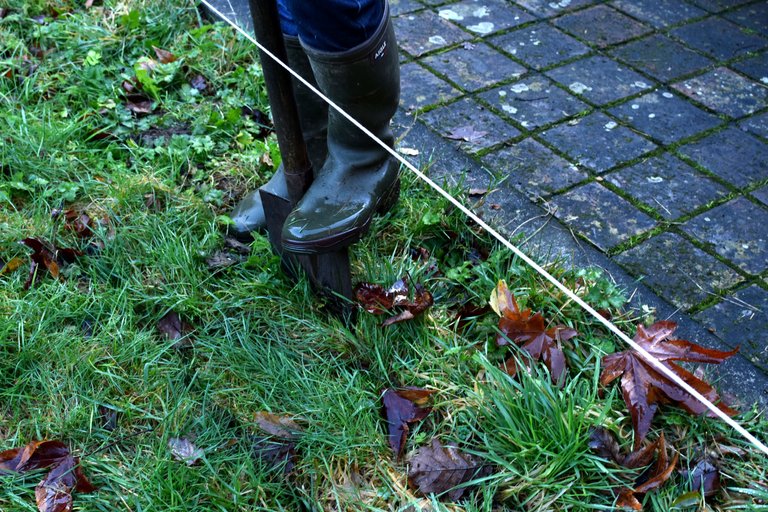
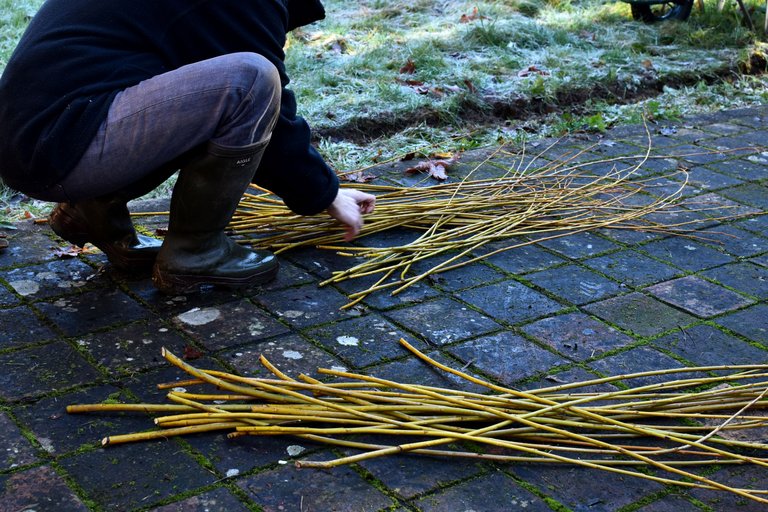
Stakes are planted, a rope tightened and off you go ! We dig and clear all the clumps of grass along our route. You also need to aerate the soil to ensure it is loose...
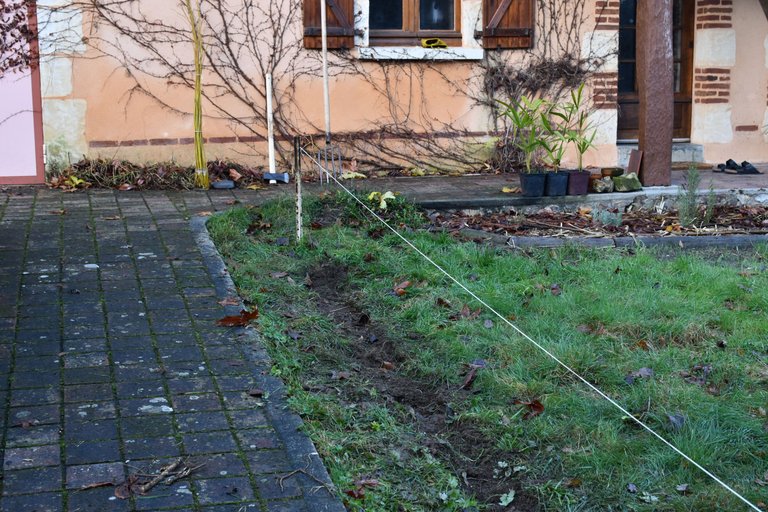
Now we're ready to plant !
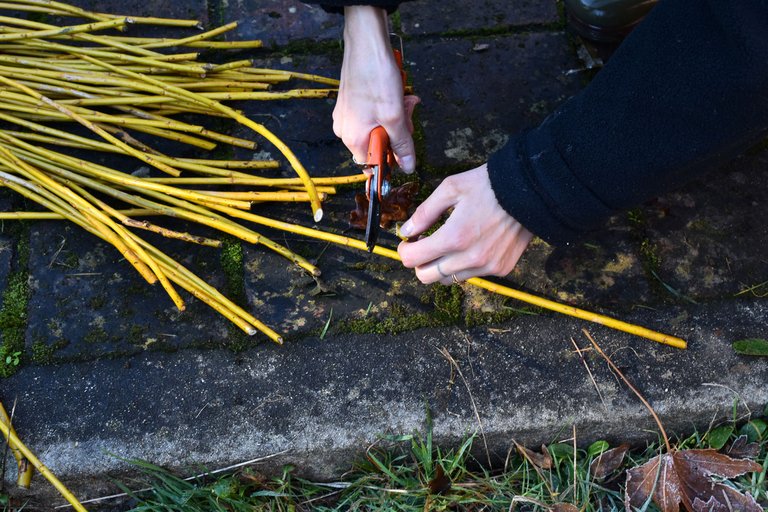
The stems are sorted according to their respective sizes and the ends are trimmed to ensure a clean cut !
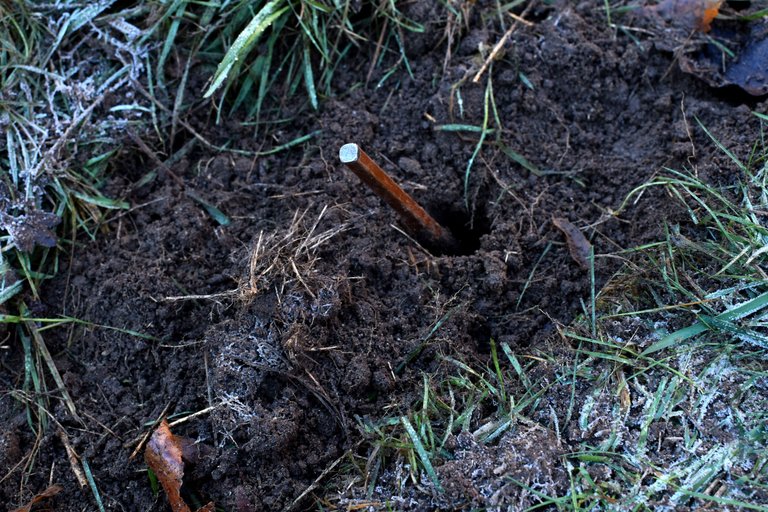
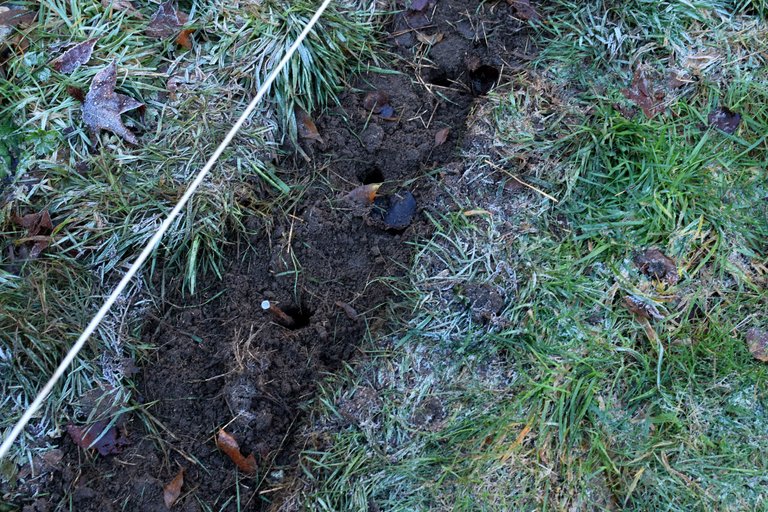
With a fairly long burin, you make holes for the stems that come afterwards. The idea is to make these holes at an angle to make braiding easier. I'd say about 30/35° in one direction and then offset in the other direction so that the willow strands intertwine.
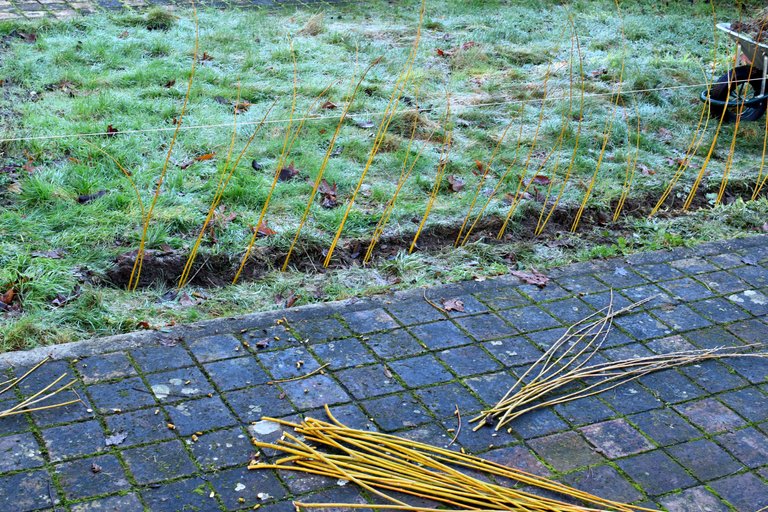
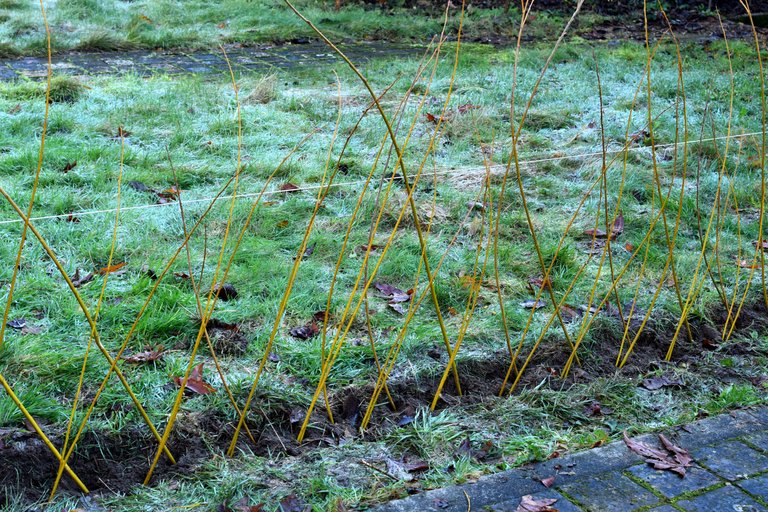
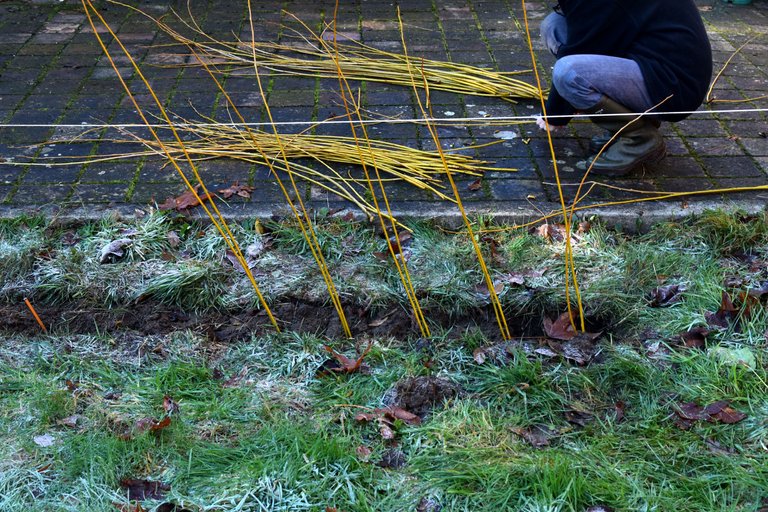
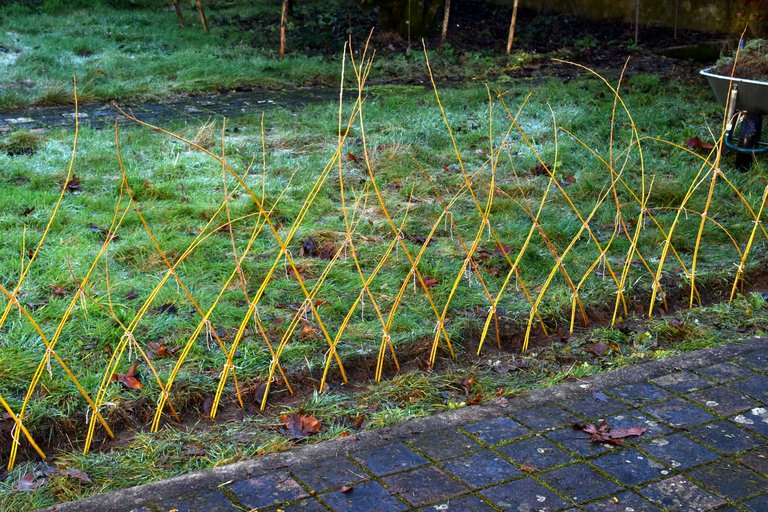
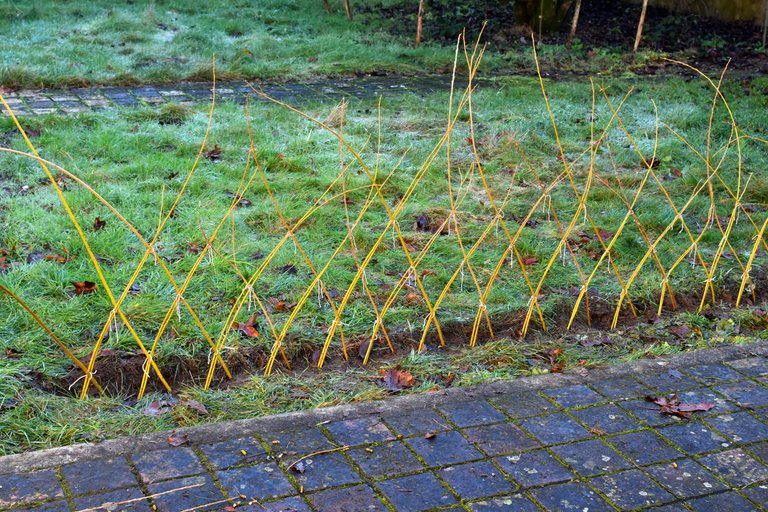
Now all the stems are well planted ! We pack the soil around them a little and then we can start braiding...
You simply pass one shoot over another, then underneath, then on top and so on. In the end, it's quite simple ! You just have to stick to the rhythm you've chosen...
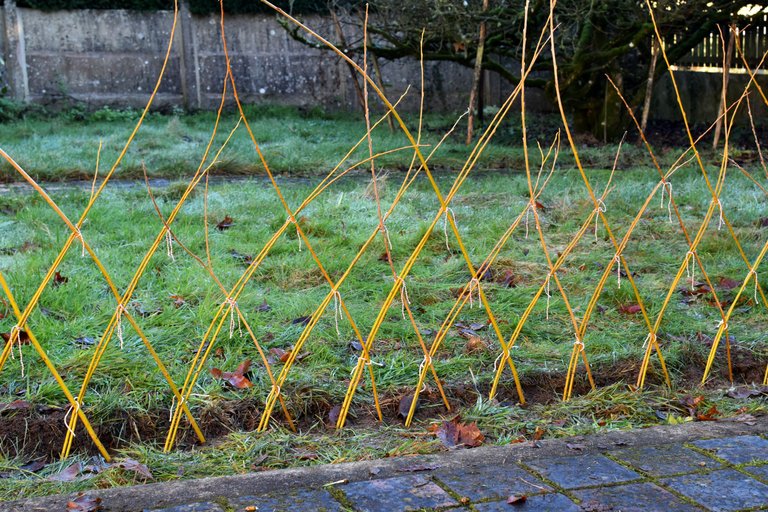
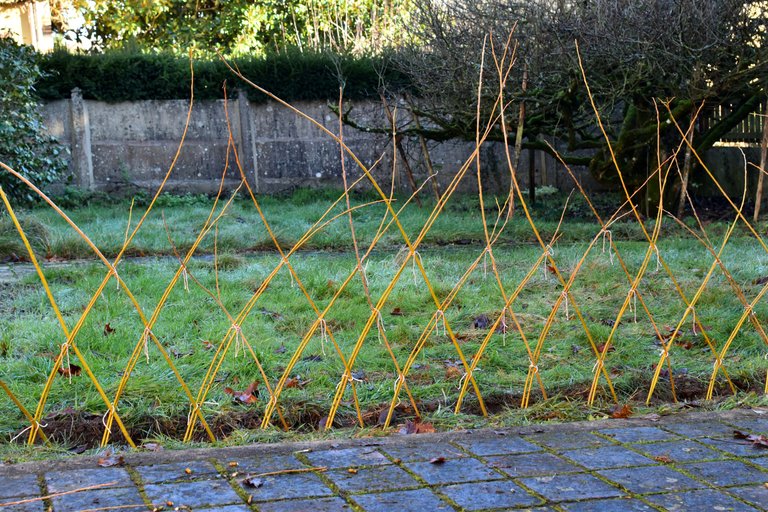
Here's the result after half an hour's braiding! It's more or less regular and there's an important little detail: try to put in more than one stem depending on their size and also so that the plant barrier is dense enough afterwards !
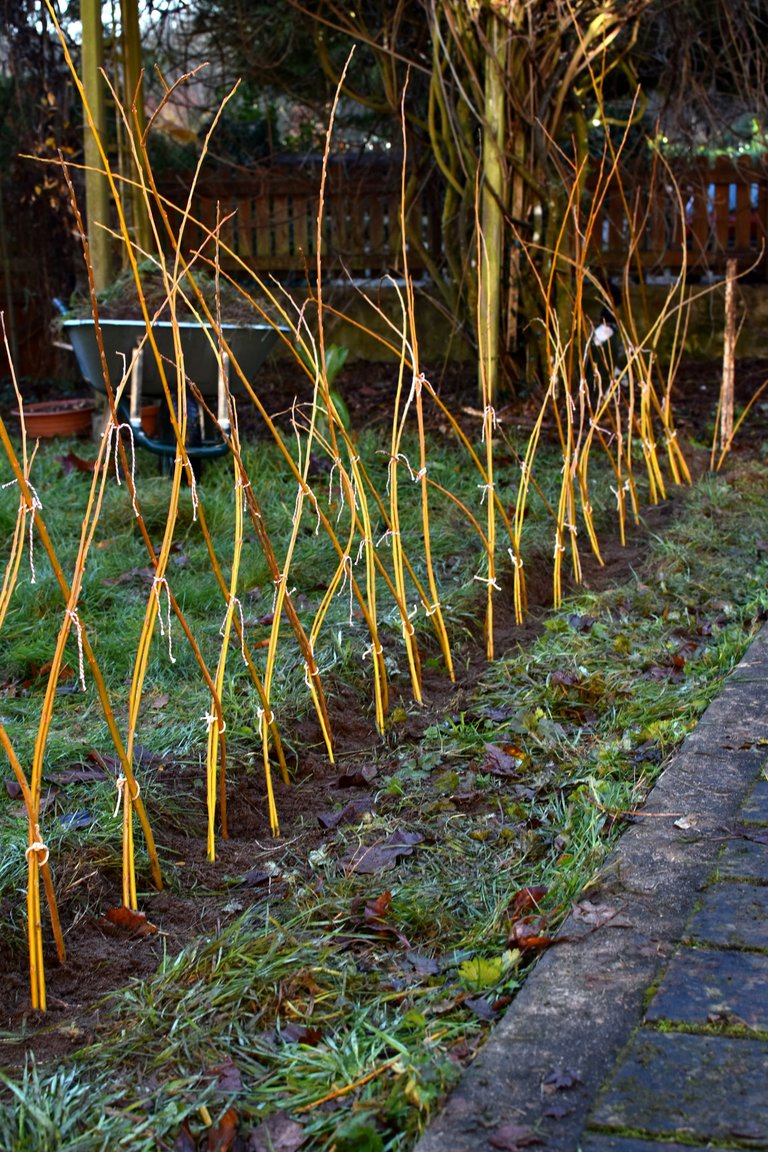
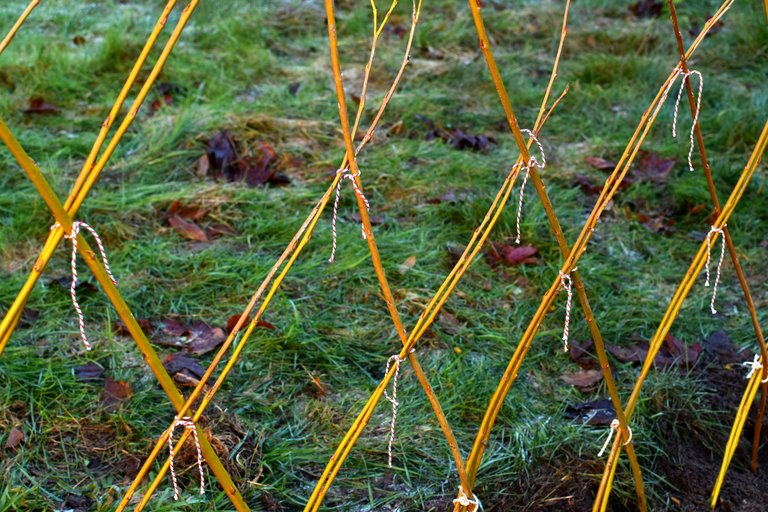
Putting little knotted strings at each intersection was the longest part of the whole operation, but already in this form, we really like the result !
We can't wait to see how well it holds up in the spring !
I hope you've found this article and technique inspiring, and I'd be delighted if you had any advice or feedback to share with us !
Thank you for visiting and I hope you have a lovely day,
<3
All texts and images presented here are my own.
Bonjours chers amis et Hivers ! Nous voilà de retour au jardin pour une petite construction vivante avec une technique de tressage que j'ai toujours voulu essayer et que je reproduirai si cela fonctionne cette fois-ci.
Voici le saule que nous avons trouvé lors d'une balade et dont nous avons récolté une centaine de brins environ. Il s'agit de Salix purpurea une des nombreuses variétés de saules qui s'appelle aussi le saule des vanniers car c'est le même qui est utilisé pour faire des paniers.
Le saule est une des plantes qui se bouture le mieux et on l'utilise même pour fabriquer de l'hormone de bouturage maison à utiliser avec d'autres plantes et pour favoriser la reprise des racines.
Là, nous les avons placé dans l'eau le temps d'un peu préparer le terrain...
On plante des piquets, on tend une corde et c'est parti ! On creuse et dégage toutes les mottes d'herbe le long de notre tracé. Il faut aussi bien aérer la terre pour que celle-ci soit bien meuble...
Nous voilà prêts à planter !
On trie les tiges suivant leurs tailles respectives et on en profite pour couper l'extrémité afin que la coupe soit nette et bien propre !
Avec un burin assez long, on aménage des trous pour les tiges qui viennent ensuite. L'idée est de déjà faire ces trous avec un angle pour que le tressage soit plus facile. Je dirai environ 30/35° dans un sens et puis en décalé, dans l'autre sens pour que les brins de saule s'entrecroisent.
Voilà, toutes les tiges sont bien plantées ! On tasse un peu la terre tout autour et nous pouvons dès lors passer au tressage...
Il suffit de passer une pousse sur une autre, puis en dessous, puis au dessus et ainsi de suite. C'est assez simple au final ! Il faut juste respecter le rythme que l'on a choisi...
Voilà le résultat après une petite demi-heure de tressage ! C'est plus ou moins régulier et petit détail important, c'est qu'il faut essayer de mettre plus d'une tige suivant leurs tailles et aussi pour que la barrière végétale soit assez dense par la suite !
Mettre des petites ficelles nouées à chaque intersections aura finalement été le plus long dans toute cette opération, mais déjà sous cette forme, nous aimons beaucoup le résultat !
On a encore plus hâte de voir si cela aura bien pris au printemps !!
J'espère que vous aurez trouvé cet article et cette technique inspirants et je serai ravi si vous aviez des conseils ou des retours d'expériences à partager avec nous !
Merci pour votre visite, je vous souhaite une très belle journée,
<3
Tous les textes et images présentés icic sont les miens.