Hello Hello Everyone!
Having been invited by @fixyetbroken to come around the @freecompliments community where love and compliments are shared among many, I finally decided to make my first appearance here worthwhile.
So having been reading the community guides and a few articles here as well, today I came across the challenge or contest post, I don't know what it is called, pardon me.
And in that article, we were asked to share our talents.
I don't know if this could be considered a talent but I do have a lot of skills and things I love doing, ranging from drawing, crafting, knitting, writing, cooking, etc.
So among these few mentioned, I picked the crafting for today's Talents Tuesday
So I will share with you guess my talent for today, I do hope you support and encourage my work, thank you.
Crafting Tools And Materials
These are all the tools and materials I needed to make an organizer:
- Cardboard Paper
- Top Gun
- A Pair Of Scissors
- A Biro
Steps And Procedure
The first thing I did was to measure the cardboard paper and cut them at first to measurable sizes in the length and width I wanted it
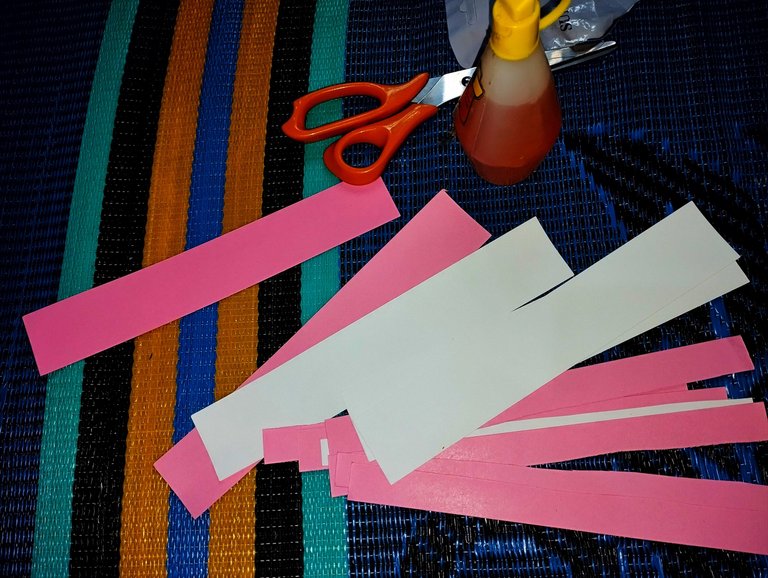
After cutting out the cardboard papers into the sizes above, I went further to piece them. I needed a smaller size but I had to first cut them in the shape and size I initially had before piecing them into a much smaller size, this way my organizer would look even more neat and attractive
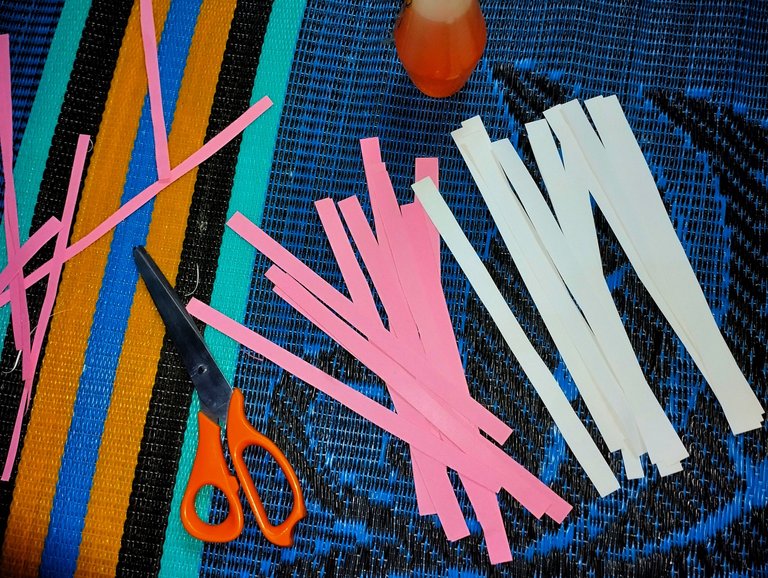
Here I started with sorting out the colours from the pieced cardboard and I started knitting it in rows and columns. I wanted to give it a simple design that's why I first used the white cardboard to begin
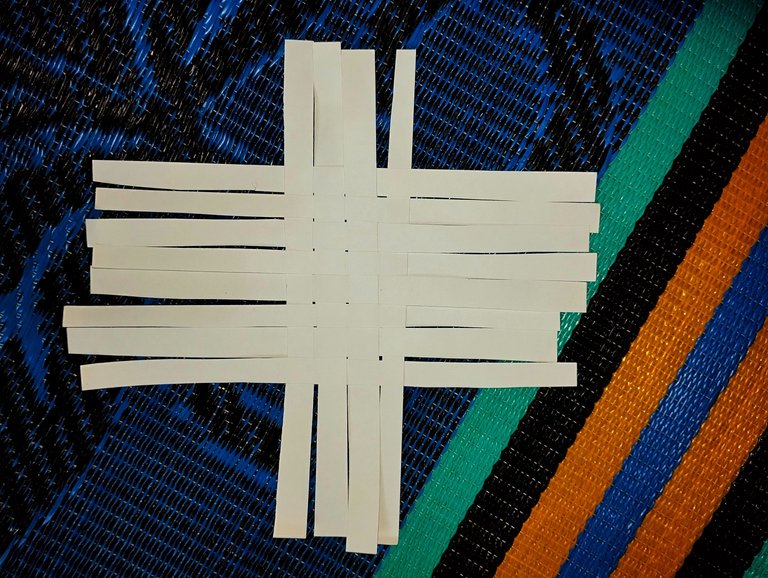
After finishing with a few lines of knitting the white cardboard, I added the pink color cardboard to style it up a bit and how I wanted it.
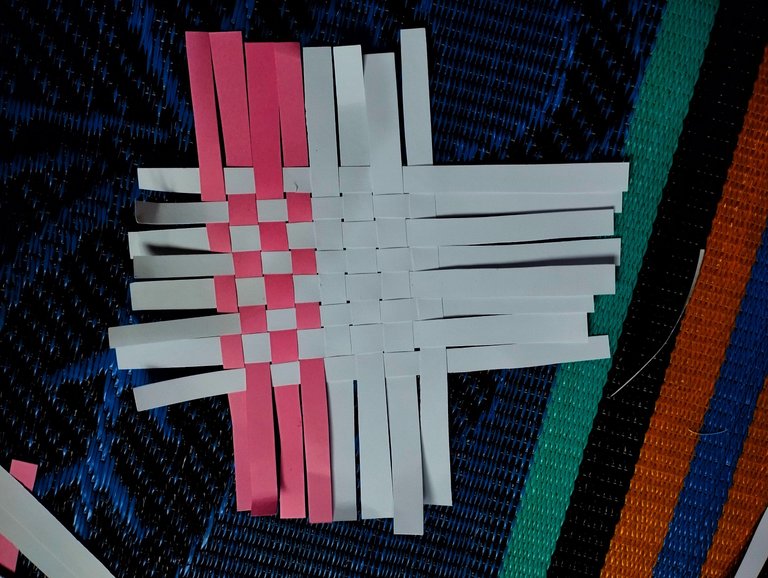
I continued with the knitting and styling with the pink cardboard. The more I knitted, the larger it became
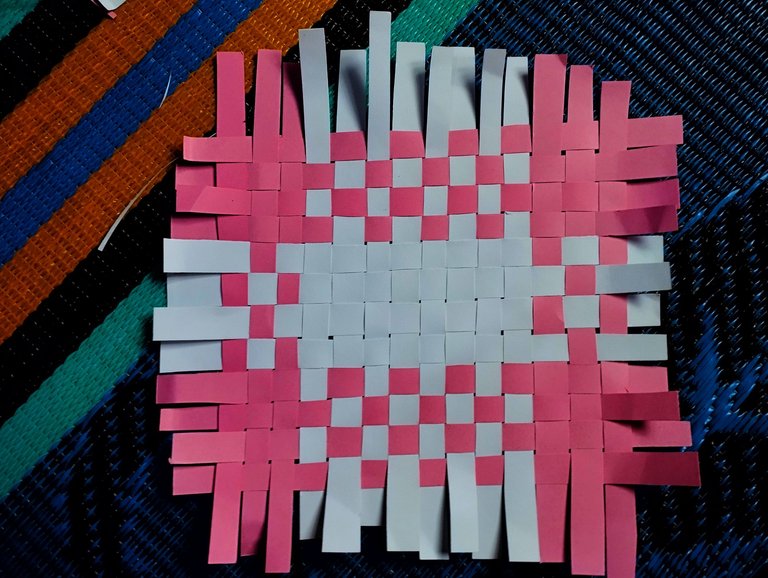
Here I was already done with the knitting and the commended size I wanted, so I went ahead to dress and finish up the knitting by working on the edges. I folded and bended the edges and fit them in and also gummed a few portions that wasn't long enough to be folded in.
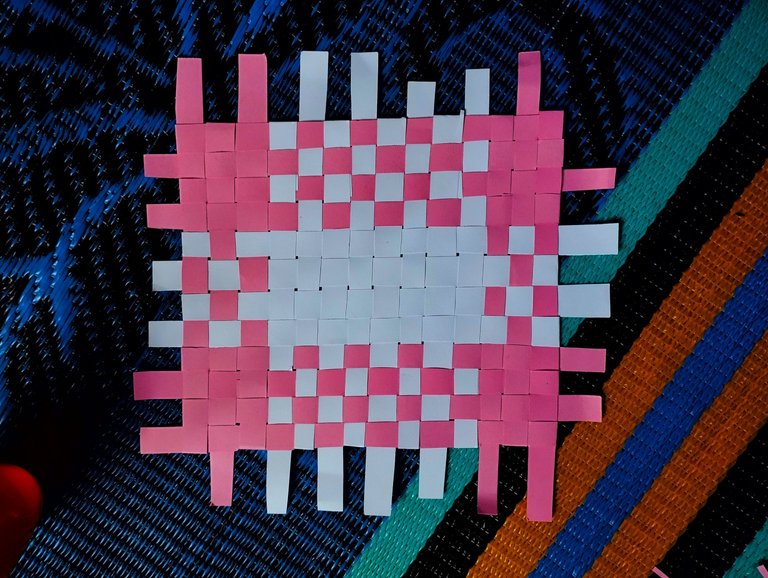
This is when I was done with the bending, folding and gumming the edges
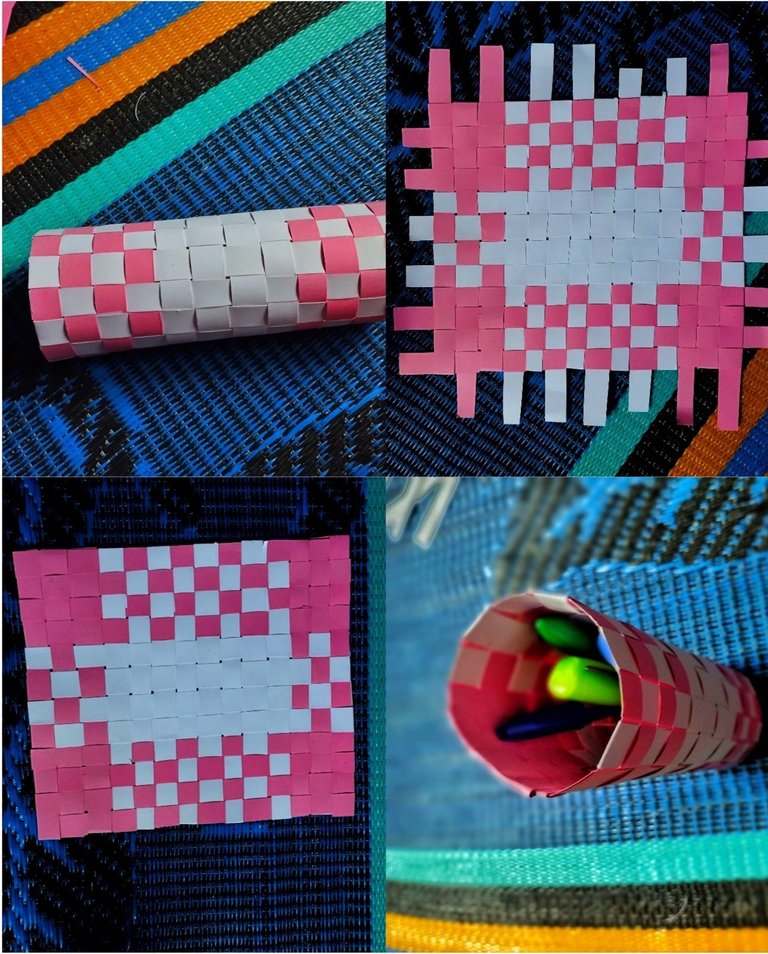
You can see how neat, detailed and all set this looks.
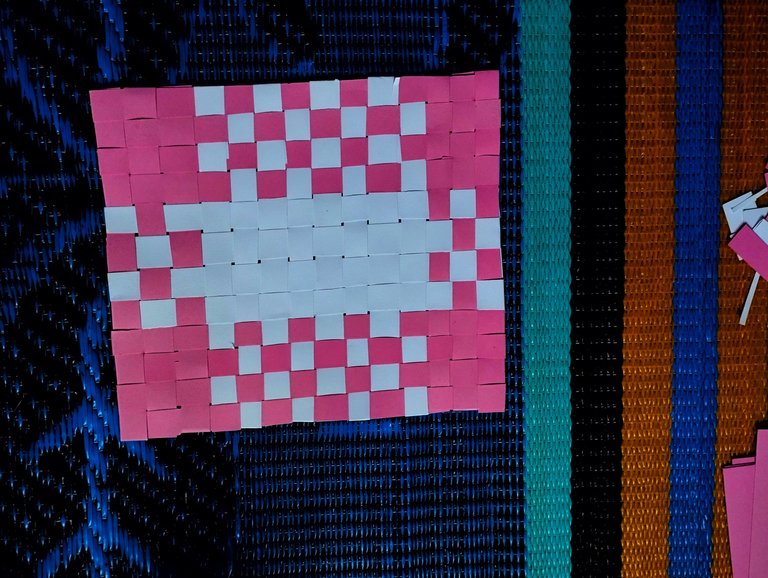
Having finished with the knitting and working on the edges, it was time to fold my finished piece into a round shape to give me what I needed.
I used an extra cardboard of desired shape to hold both ends of the knitted parts together to form this round shape
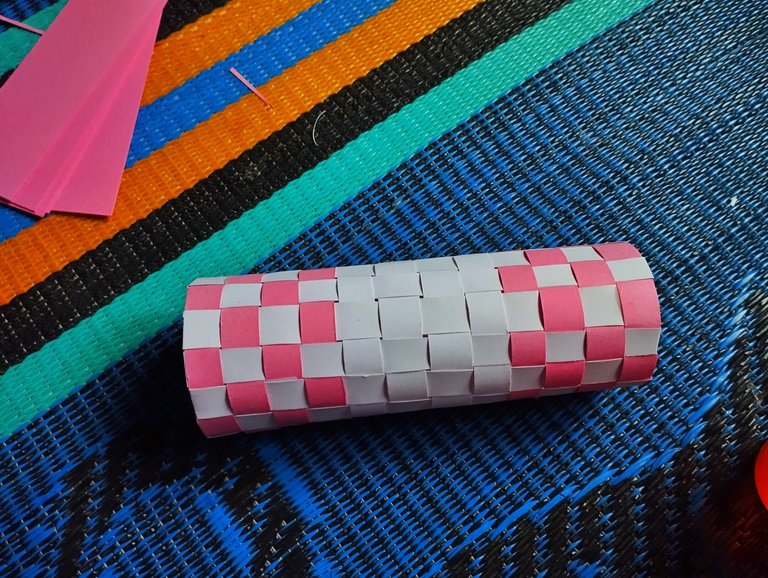
After gumming the two ends together, I covered the bottom with another piece of cardboard as well, I allowed it to dry out then I placed a few pen of mine to see how it looks
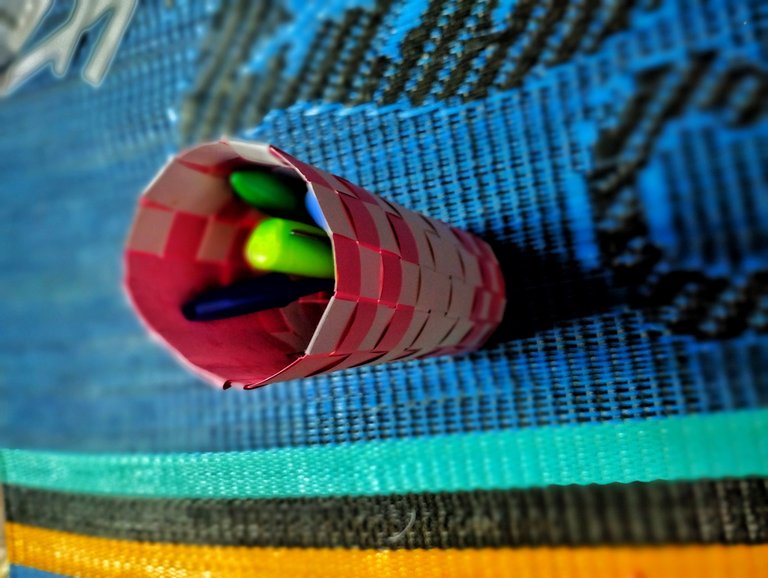
Here you can have a closer look of my pen and pencil organiser
It's not very large but it's wide enough to contain over 20 biro or more.
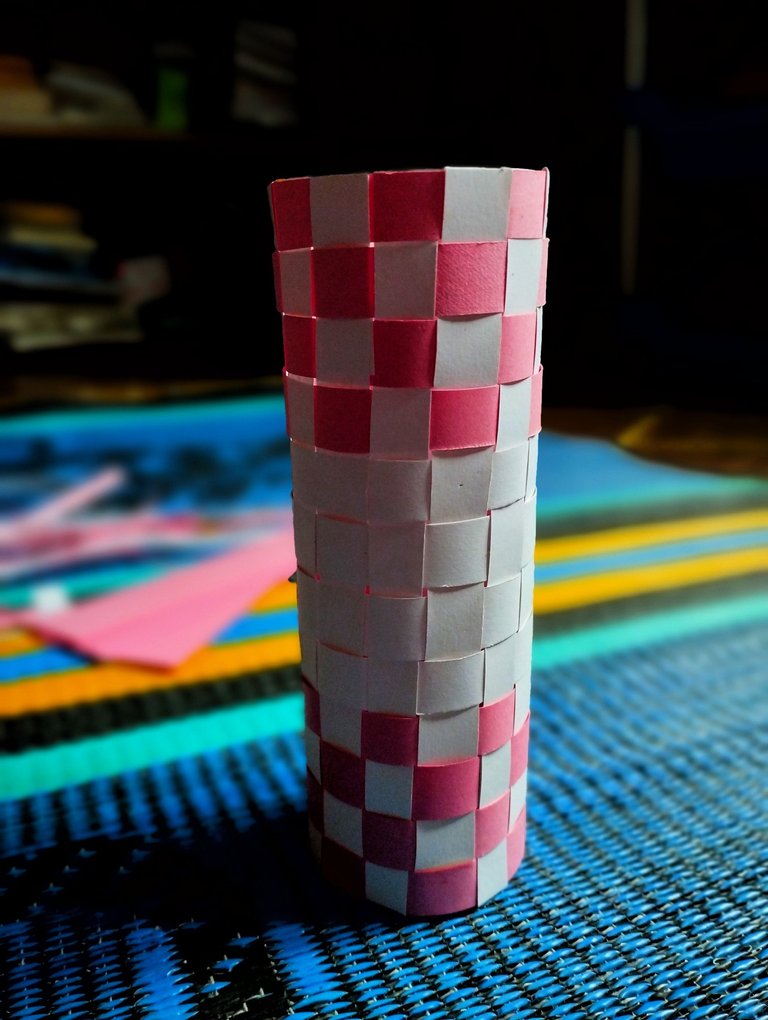
I like crafting but I only get to try these once in awhile.
And because of the @freecompliments community, I came out of my shell yet again to do this.
I do hope they like my entry for the #TalentsTuesday
You can as well, let's me know what next you would like to see in the next edition of Talent Tuesday.
Thanks for coming around, I appreciate your time
7 May, 2024