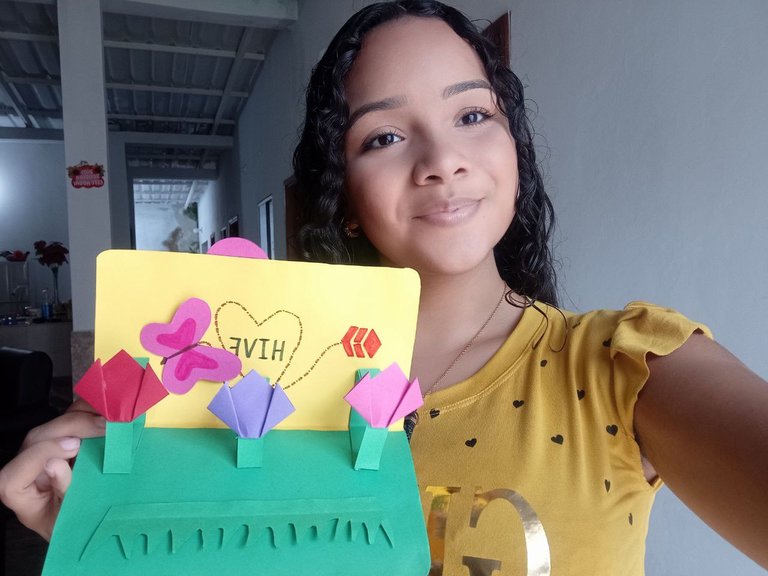
Hola amigos de #Hivearte hoy me motivó preparar una hermosa tarjeta de Flores 3D dedicada a la #Hive, para mostrar mi amor a la Colmena y qué mejor manera que involucrar los elementos de la naturaleza como flores y mariposas que también me gustan mucho.Antes de ubicar los materiales les cuento que yo me imagine el diseño de mi tarjeta con mucho amor y elegí amarillo y verde como colores base para la tarjeta. El verde para simbolizar la vegetación y el amarillo para simbolizar el sol que irradia nuestros días, que nos se llena de vida y alegría.
Hello friends of #Hivearte today I was motivated to prepare a beautiful 3D Flowers card dedicated to the #Hive, to show my love to the Hive and what better way than to involve the elements of nature such as flowers and butterflies that I also like very much.Before locating the materials I tell you that I imagined the design of my card with much love and I chose yellow and green as base colors for the card. The green to symbolize the vegetation and the yellow to symbolize the sun that radiates our days, that fills us with life and joy.
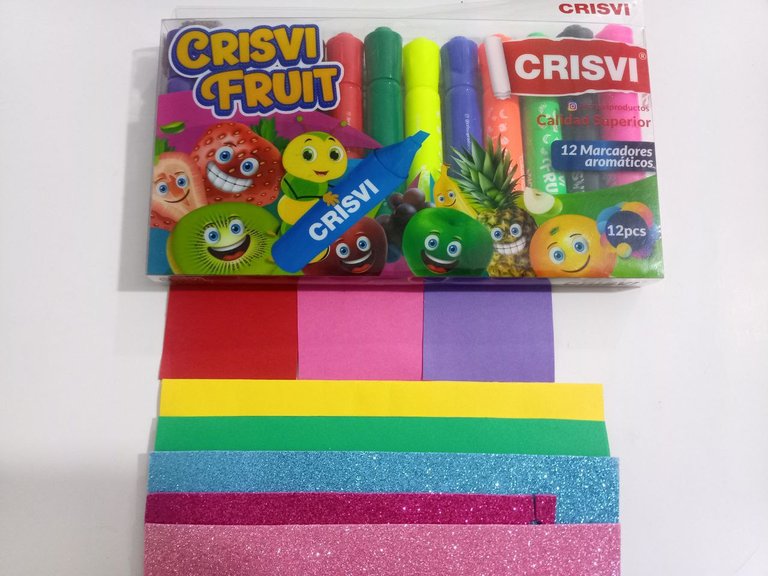
Materiales usados:.
- Marcadores de color varios.
- Cartulina de color amarillo.
- Cartulina color verde.
- Cartulina color rojo.
- Cartulina color rosado.
- Cartulina morado.
- Foami color azul claro brillante.
- Foami color rosado claro brillante.
- Foami color fucsia brillante.
- Regla, lapicero, tijera.
- Silicone líquido.
Materials used..
- Various color markers.
- Yellow cardboard.
- Green color cardboard.
- Red color cardboard.
- Pink poster board.
- Purple cardboard.
- Foami light blue shiny color.
- Foami light pink shiny color.
- Bright fuchsia colored foami.
- Ruler, pencil, scissors.
- Liquid silicone.
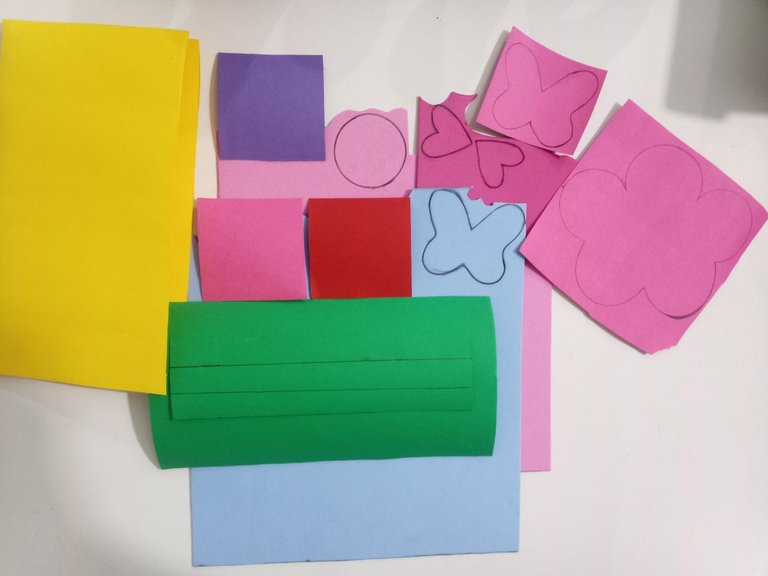
Procedimiento:
Paso 1: Después de organizar los materiales, use la regla y el lápiz para marcar en cada color de cartulina y cada color de foami, las piezas que necesito. Como puedes ver utilicé la cartulina amarilla para ser la base de la tarjeta. La cartulina verde para simular la base de la vegetación de mis flores. De los colores de cartón rojo, morado y morado marqué algunos cuadrados que se utilizarán para formar las flores.
En las piezas de foami marqué todo lo que necesitaba para hacer el diseño de la portada de mi tarjeta, que se centra en una flor, mariposas y corazones.
Procedure:
Step 1: After organizing the materials, use the ruler and pencil to mark on each color of cardstock and each color of foami, the pieces I need. As you can see I used the yellow cardstock to be the base of the card. The green cardstock to simulate the base of the vegetation of my flowers. From the red, purple and purple cardboard colors I marked some squares that will be used to form the flowers.
On the foami pieces I marked everything I needed to make the cover design of my card, which is focused on a flower, butterflies and hearts.
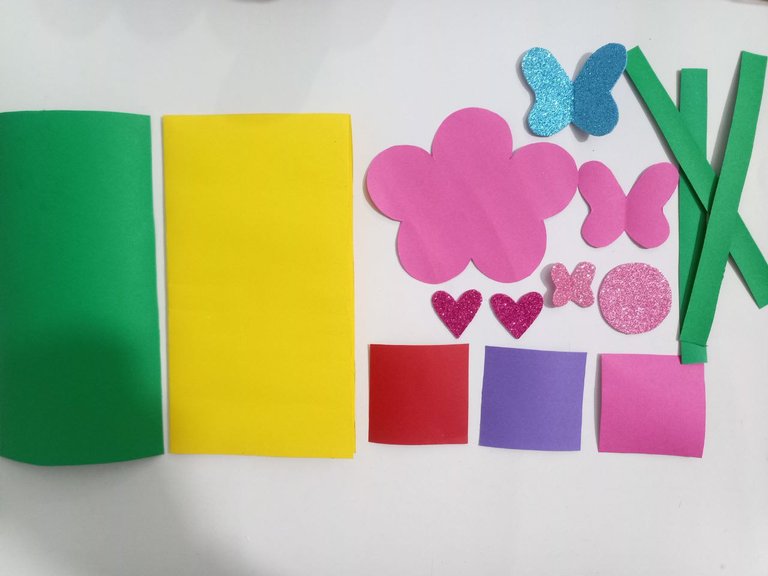
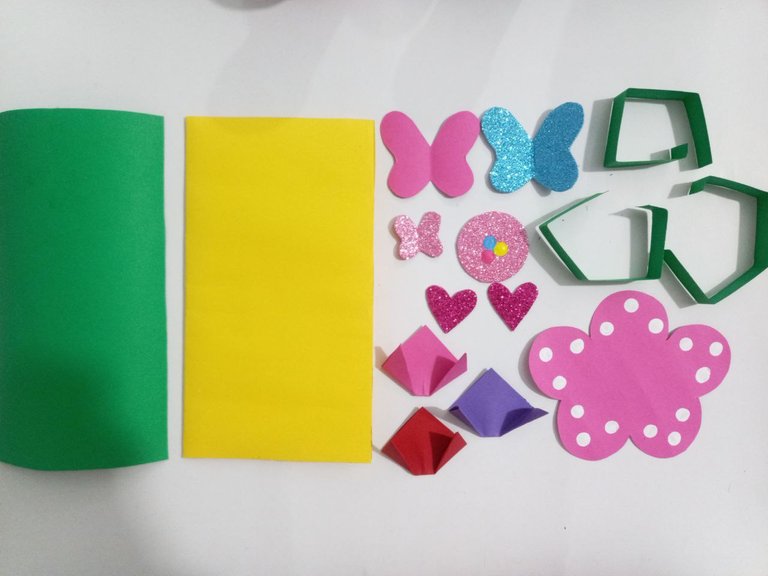
Paso 2: Usando la tijera recorte las piezas que ya estaban marcadas en los colores de foami y las cartulinas. Y ahora pueden ver la flor de la portada, mariposas, corazones y mariposas, las tiras y los cuadrados. Además las cartulinas color verde y amarillas ya posicionadas para formar la tarjeta 3D.
Step 2: Using the scissors cut out the pieces that were already marked on the foami colors and the cardstock. And now you can see the flower on the cover, butterflies, hearts and butterflies, the strips and the squares. Also the green and yellow cardstock already positioned to form the 3D card.
Paso 3: Ahora inicie con darle forma a las flores, para eso tome los cuadrados de cartulina rosado, morado y rojo para doblarles dos esquina dejando un pico tipo triangulo. Las tiras de la cartulina verde las doble como si quisiera hacer un cuadradro pero es para darle la forma que necesito para pegarla y que abra en la tarjeta 3D.
Use un poco de pintura blanca para dibujar cirlulos alrededor de la flor, y también le dibuje detalles en el centro del circulo de foami color rosado claro.
Step 3: Now start with shaping the flowers, so take the pink, purple and red cardboard squares and fold them in two corners leaving a triangle type peak. The strips of green cardboard I folded as if I wanted to make a square but it is to give the shape I need to paste it and open in the 3D card.
I used some white paint to draw circles around the flower, and I also drew details in the center of the light pink foami circle.
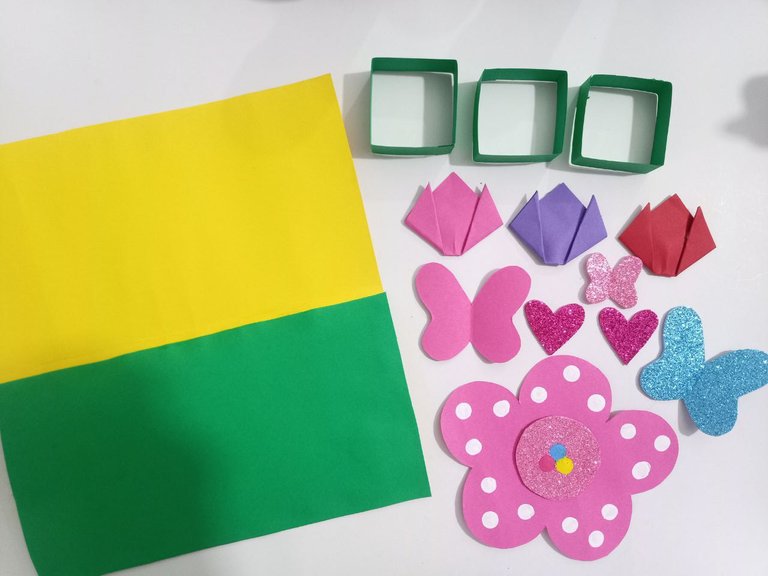
Paso 4: Seguidamente use el silicon líquido para pegar, como pueden ver pegue la cartulina verde en la mitad de la cartulina amarilla, también pegue las tiras de cartulina verde y flores. A la flor rosada de la portad el pegue el centro de foami previamente decorado.
Step 4: Next use the liquid silicone to glue, as you can see glue the green cardboard in the middle of the yellow cardboard, also glue the strips of green cardboard and flowers. To the pink flower on the front cover I glued the previously decorated foami center.
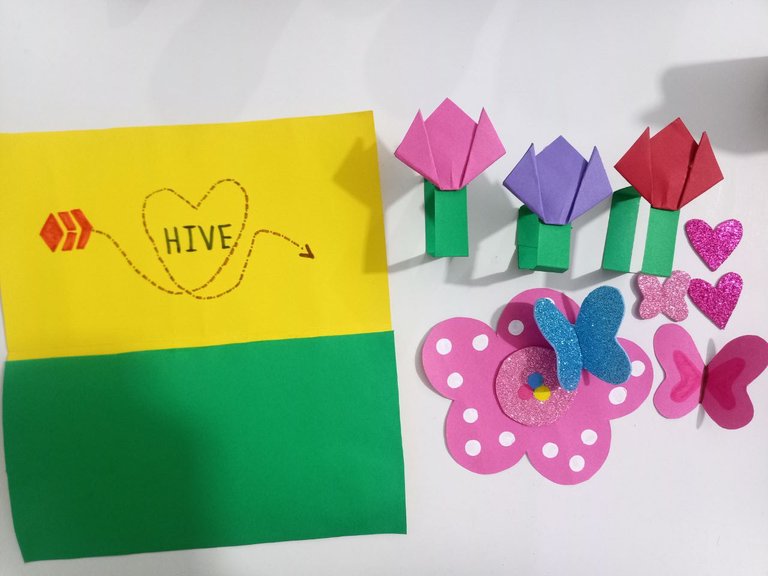
Paso 5: Use un lapiz para dibujar el logo de Hive y un corazón que sigue una linea punteado para colorear en la cartulina amarilla. Pegue los cuadritos formados con la tiras de cartulina color verde de las flores. Tambien le pegue a la flor de la portada una mariposa color azul claro. Ya estamos cerca del final.
Step 5: Use a pencil to draw the Hive logo and a heart that follows a dotted coloring line on the yellow cardstock. Glue the squares formed with the strips of green cardstock to the flowers. I also glued a light blue butterfly to the flower on the cover. We are close to the end.
Paso 6: Darle el estilo 3D a la tarjeta y decorar la portada. Para eso pegue distribuidas en el mismo espacio las flores miren como deben quedar para las flores puedan abrir con la tarjeta y cerrarse con ella. También le pegue una de las mariposas de decore y se me ocurrio también pegar como especie de la grama del jardín.
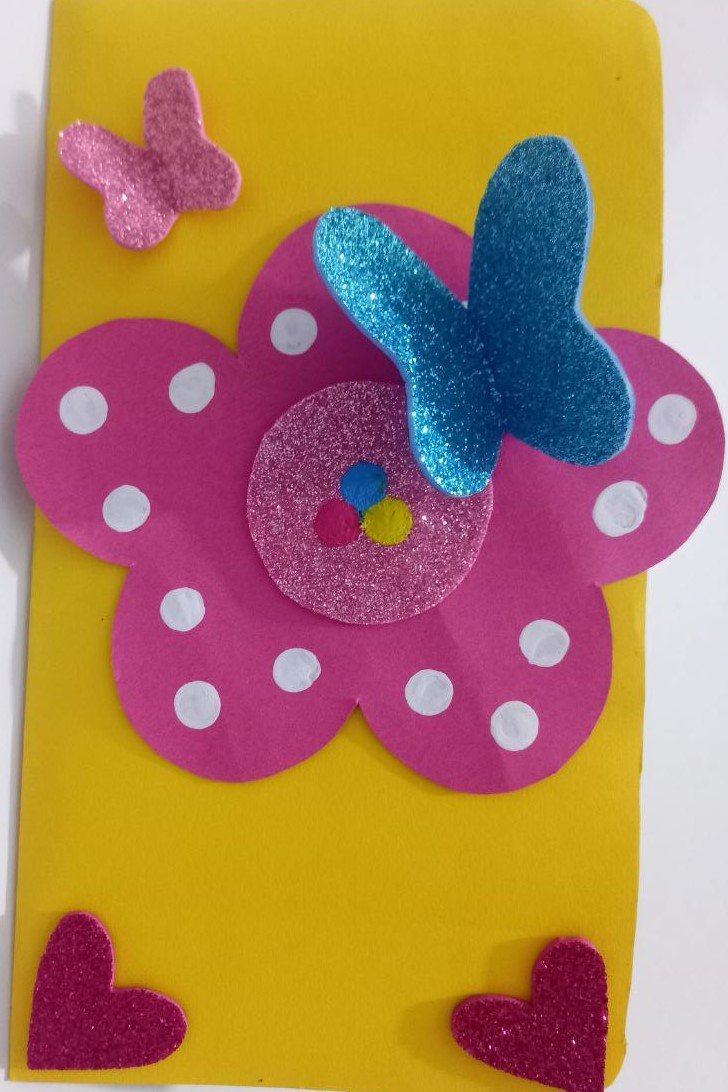
Miren como decore la portada de tarjeta, pegue la flor en el centro una mariposa arriba en un lado y los corazones en la parte inferior.
Step 6: Give the 3D style to the card and decorate the cover. To do this I glued the flowers distributed in the same space, look how they should be so that the flowers can open with the card and close with it. I also glued one of the butterflies from the decoration and I also glued it as a kind of garden grass.
Look how I decorated the card cover, I glued the flower in the center, a butterfly on top on one side and the hearts on the bottom.
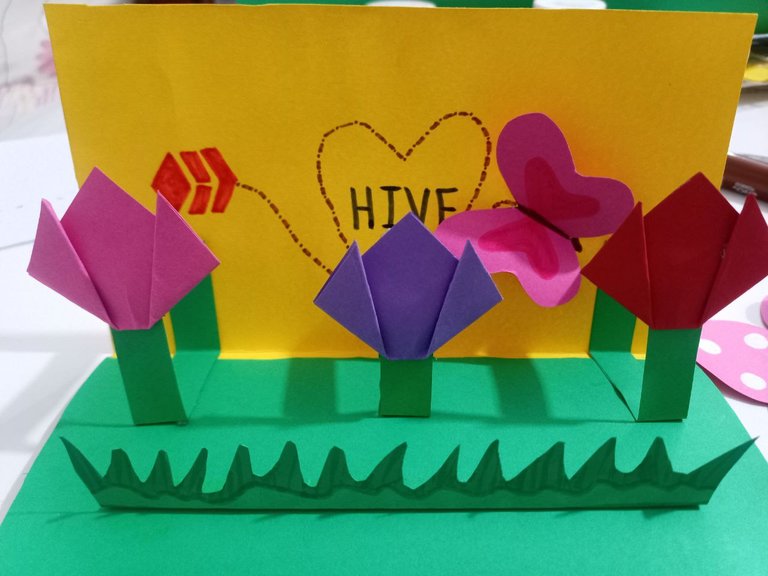
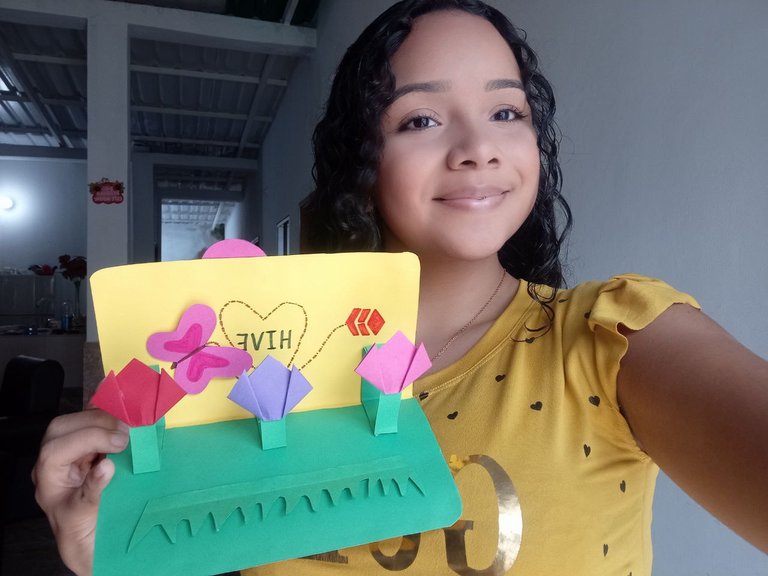
Feliz con mi tarjeta dedica a #Hive les muestro como luce abierta y cerrada la idea es que puedan apreciar el estilo 3D de la tarjeta.
Happy with my card dedicated to #Hive I show you how it looks open and closed the idea is that you can appreciate the 3D style of the card.

Todas las fotos son de mi propiedad y exclusivas para esta publicación. Camara usada: Teléfono Redmi Note 9. All photos are my property and exclusive for this publication. Camera used: Redmi Note 9 phone.
He usado el traductor Deepl.com versión gratuita.
Muchas gracias por leer y visitar mi post.💖
I used Deepl.com translator free version.
Thank you very much for reading and visiting my post.💖
