Friends,Grettings everyone
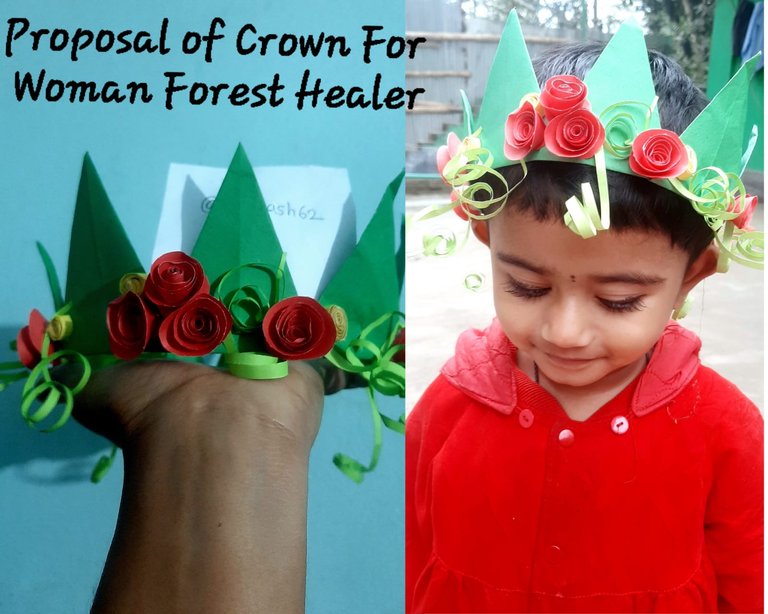
Hello community I hope you are doing well. At the same time, I am giving respect and love to the hive lovers. You can see Crown For Woman Forest Healer.Let's do a canvas before we prepare it.
Today I tried to make the crown worn by the Forest Healer female character a bit unique by using my own inspiration and experience. In the contest, healer male and female characters have been selected for various topics, so that we can give new forms of characters according to our own preferences.Hair style, eye glasses, dress, ornaments, background, I have designed a crown for forest female healer head wear. I tried to make it with finished color paper.I tried to keep it green as the color of nature as I liked it for the forest female healer.So let me share with you how I made this beautiful crown.
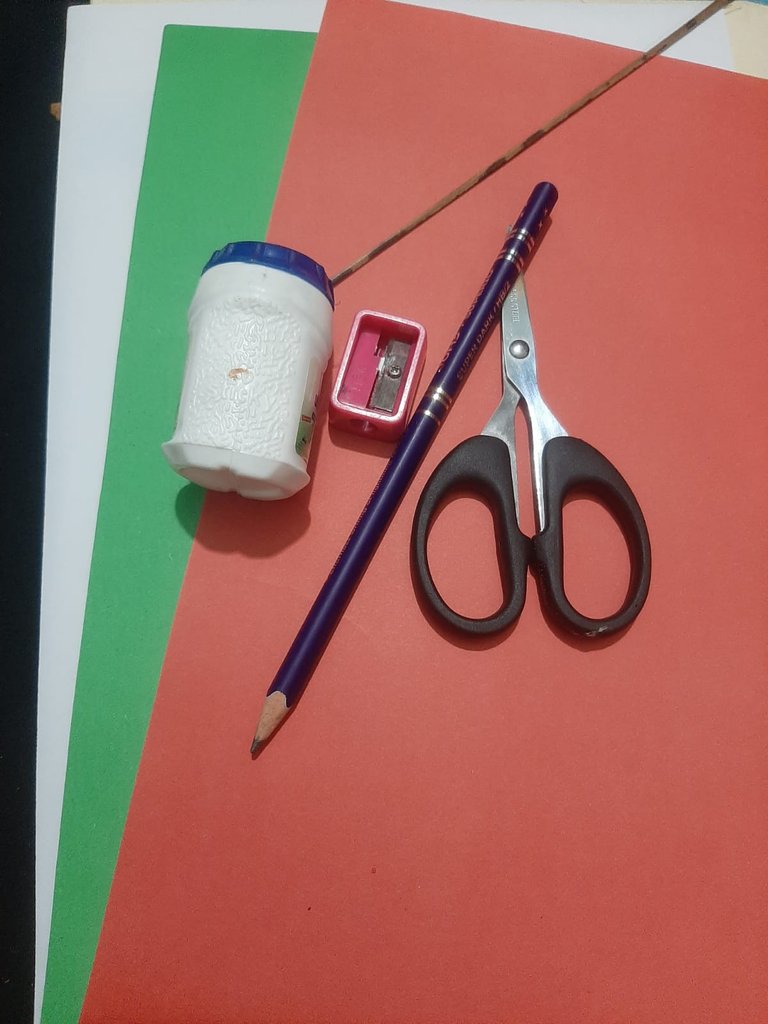
<>center Equipment:-
- Scissor
- Pencil-2B Dark
- Sharpner
- fevicol Glue
- Stick
- A4 color paper(red,green,light green)
Step by step making plan
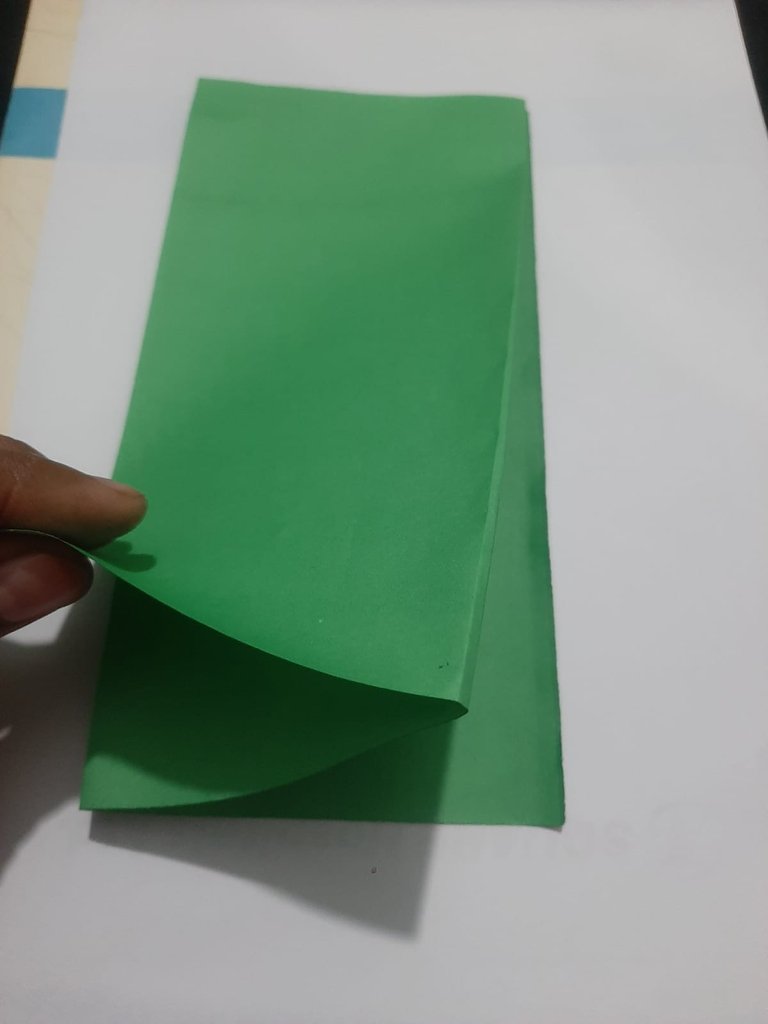
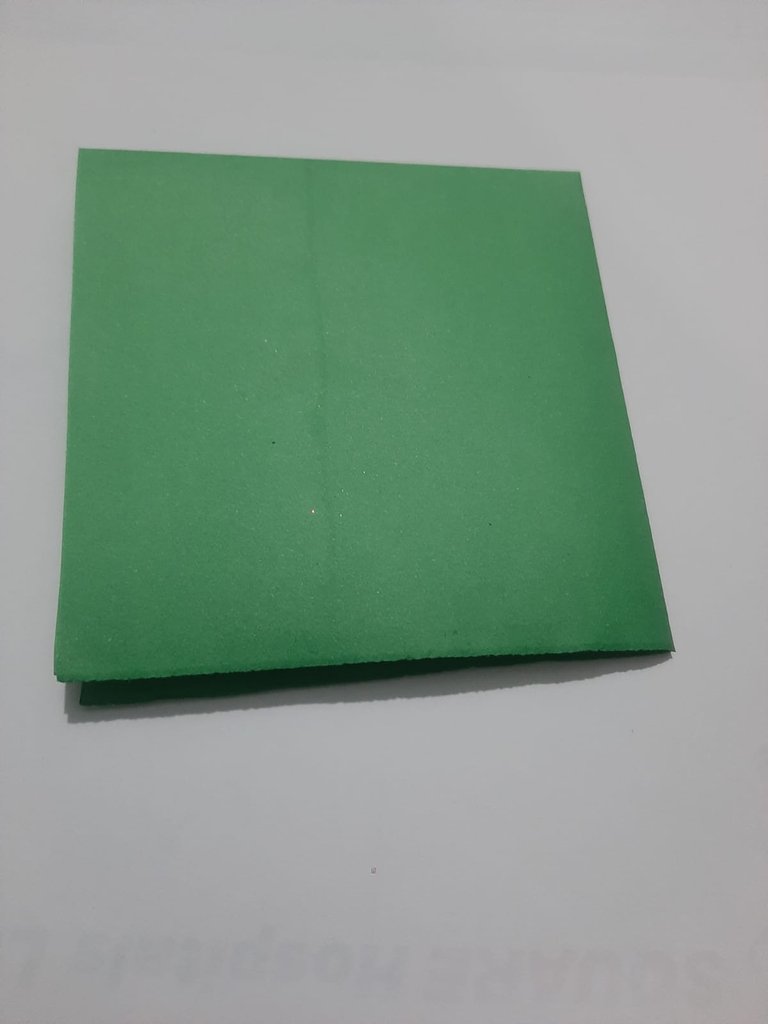
I painted this beautiful crown in mango nature color.For this first I took an A4 size green paper. Cut the paper into small squares.For this reason,I have divided the paper into four equal parts.Then I folded it in the middle.
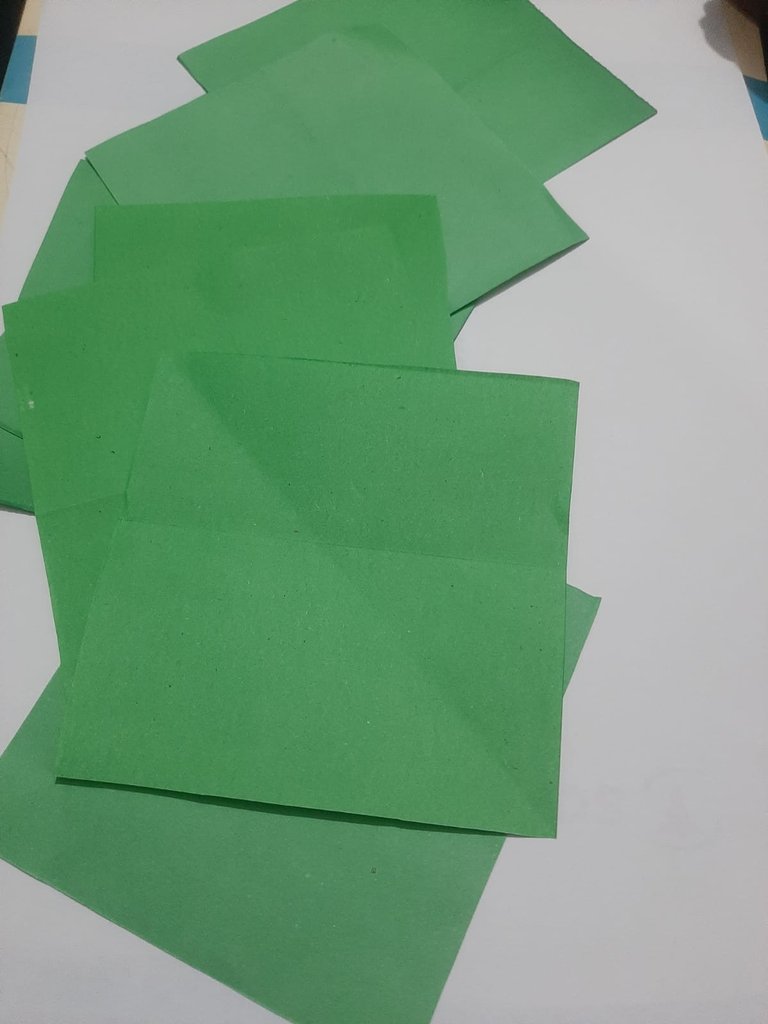
Then the paper was cut into many small pieces.I have cut the papers to measure 7×7 cm each.
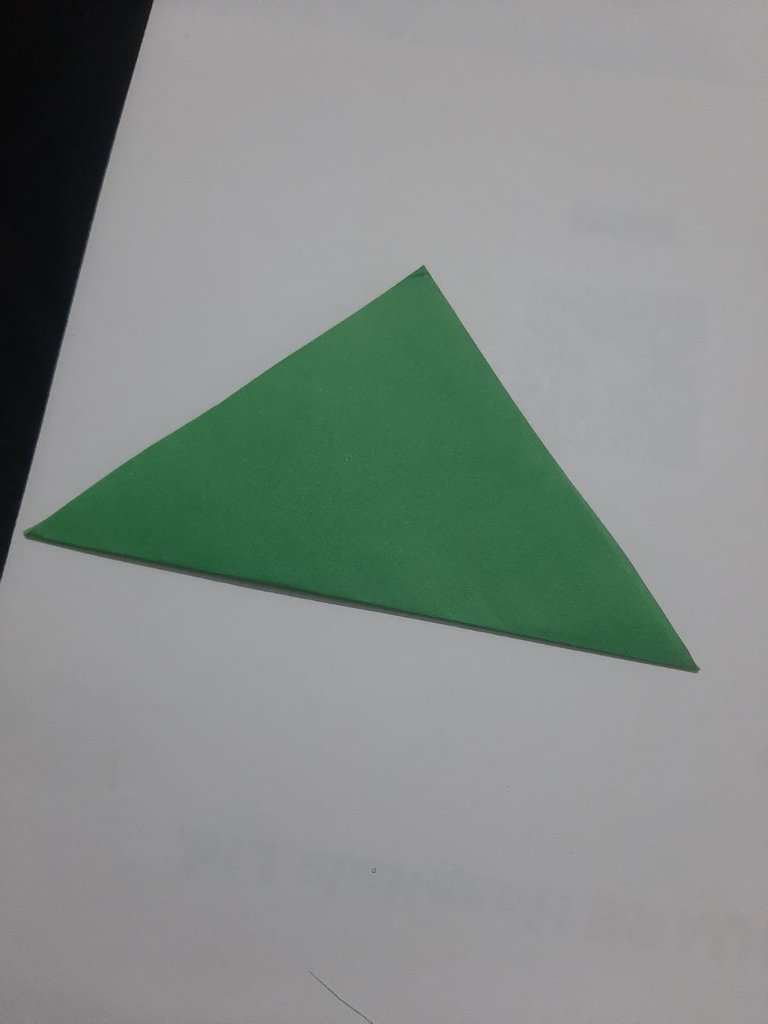
Then took a paper and folded it in any way.
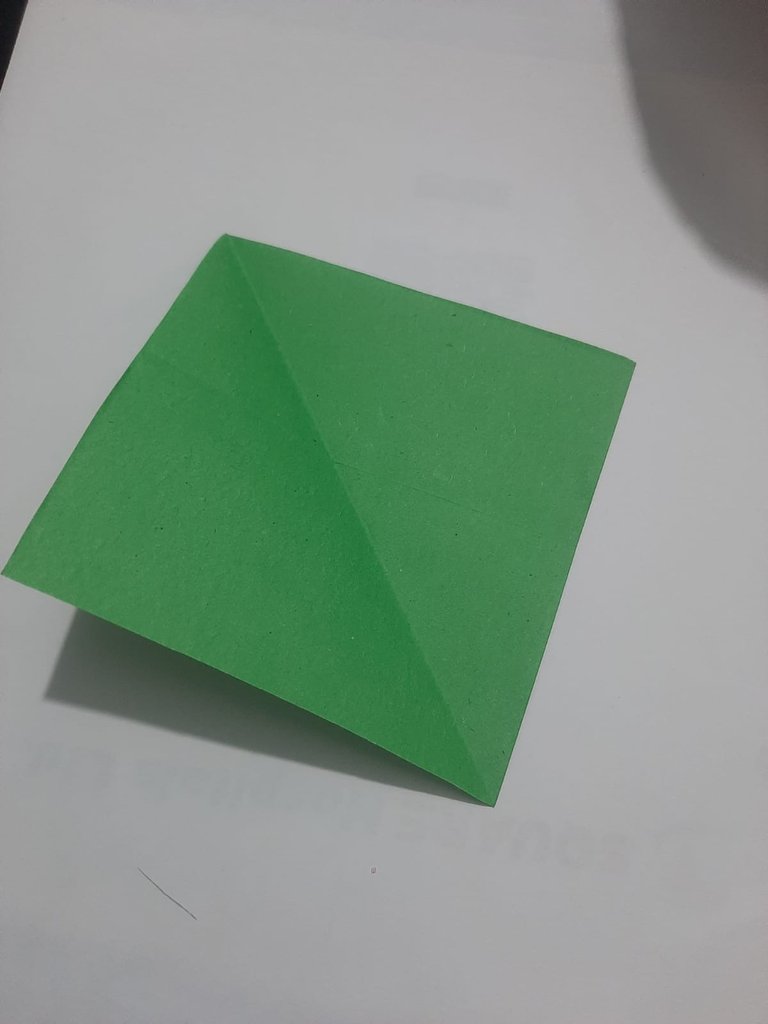
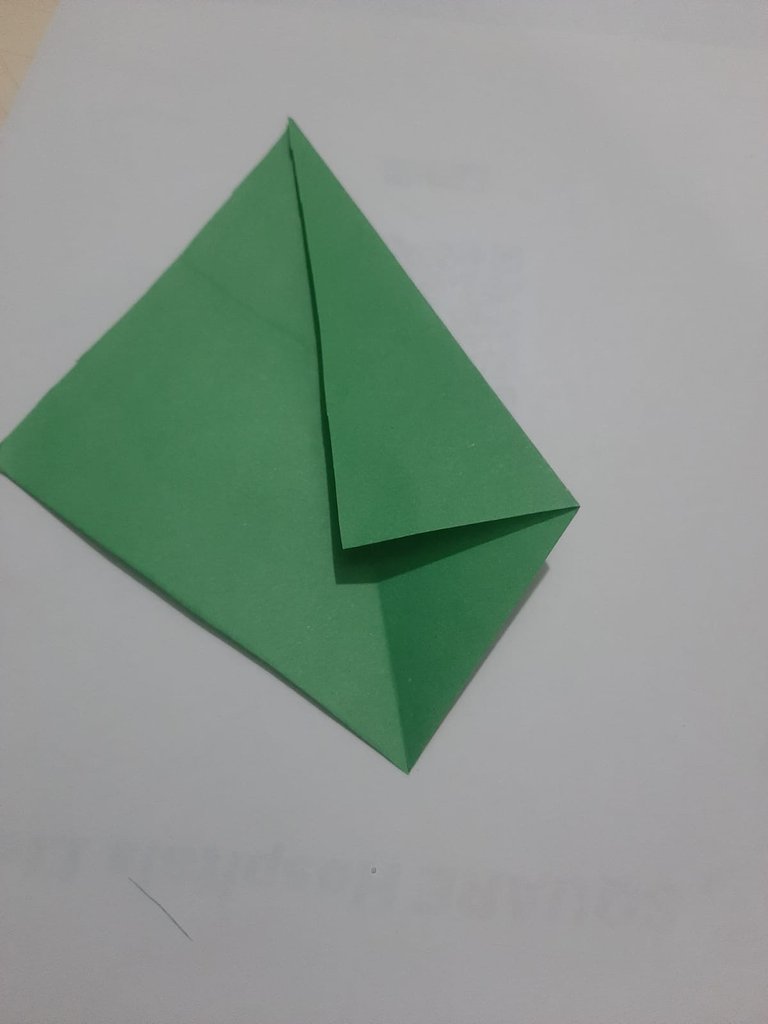
After that, I took off the folds of the paper, when I opened the fold, I could see that there was a stain along the fish. According to the line of that mark, first pull the paper from the right side and fold it as shown in the picture.
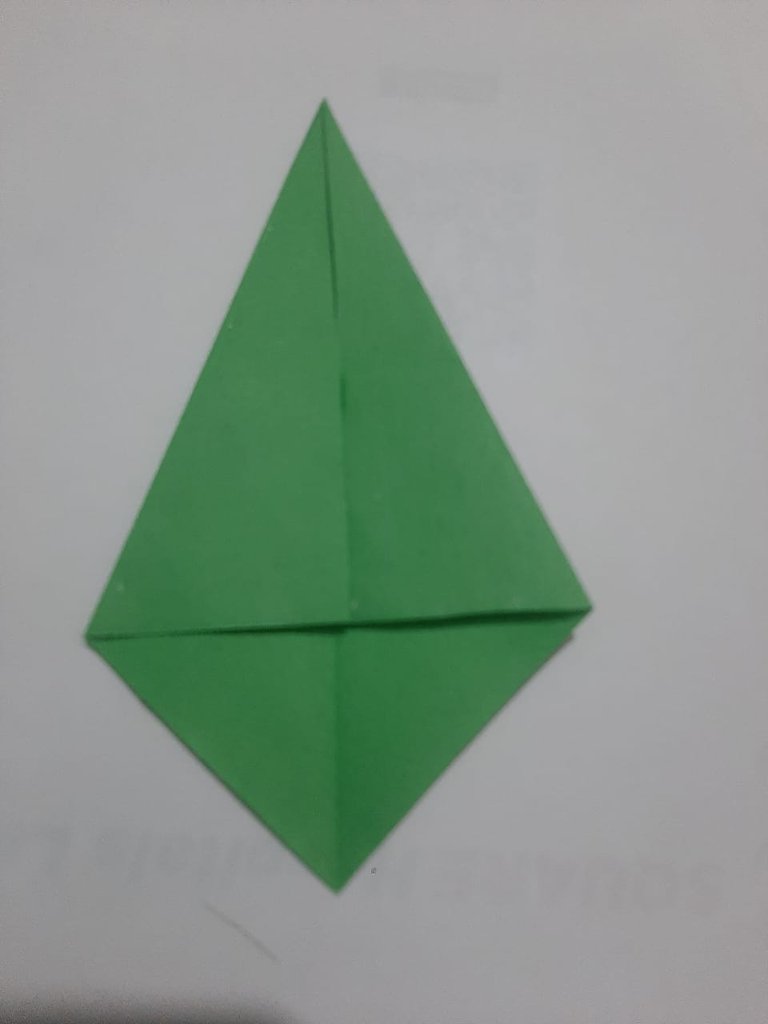
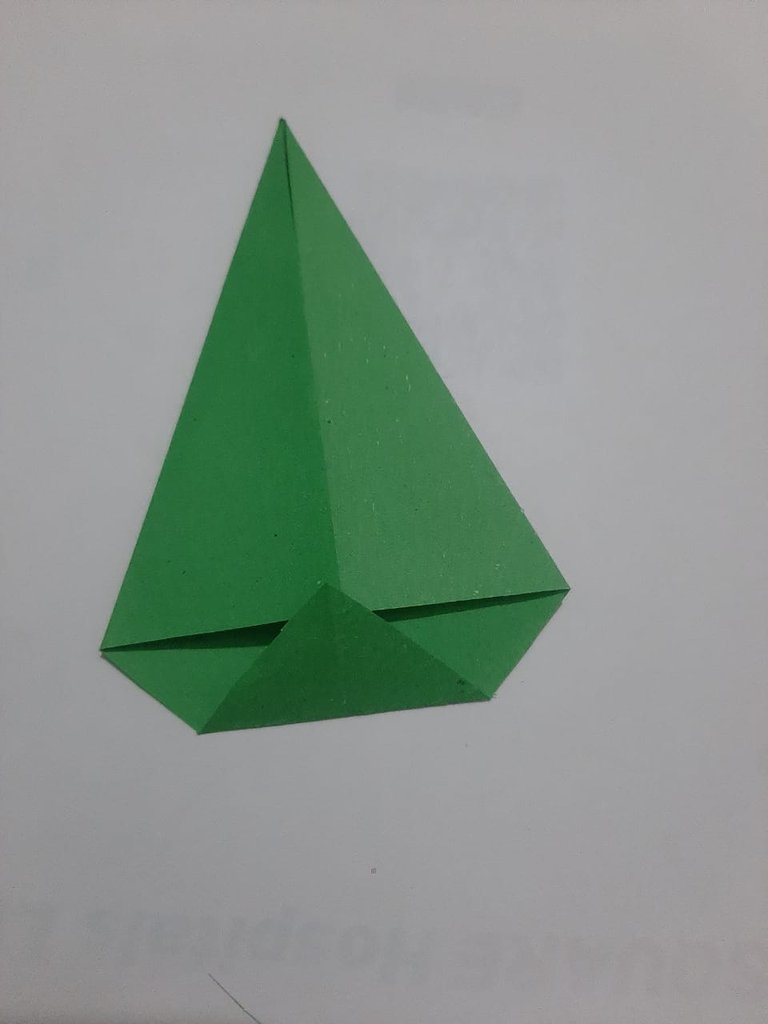
This time, I have folded the paper on the left side evenly. Then I folded the half amount of the excess part at the top.

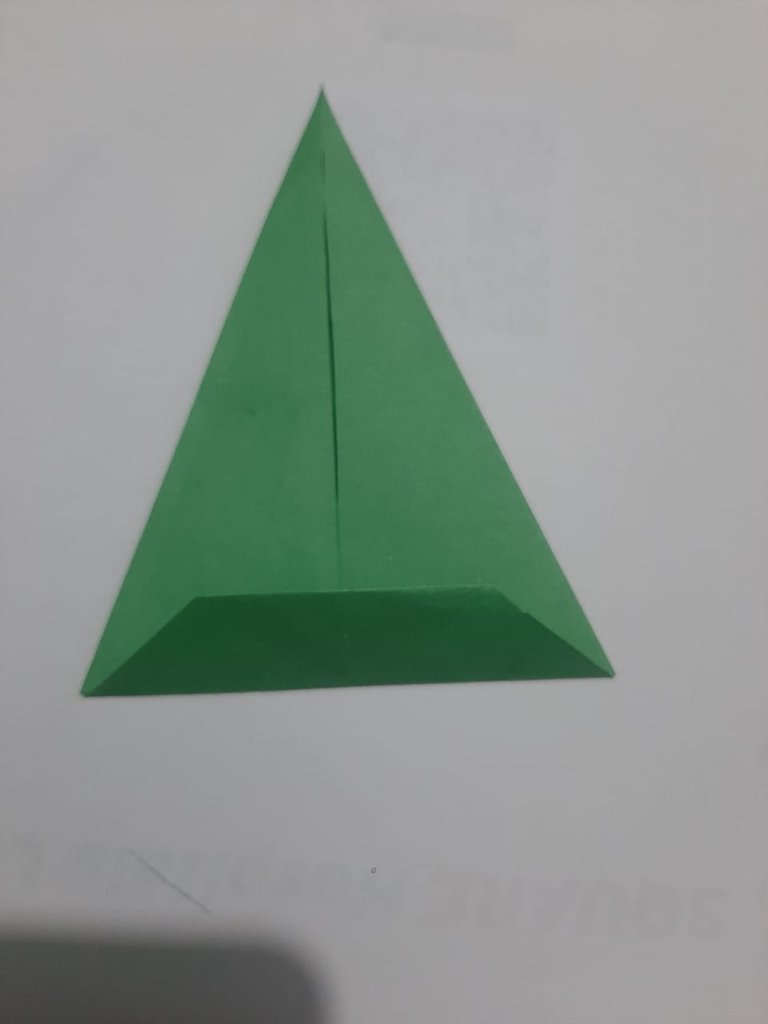
At this stage, I folded the remaining half of the extra portion and folded it again on top. Then I folded an equal portion of the folded part once more. The extra part that is now created will help to assemble the remaining parts of the crown.
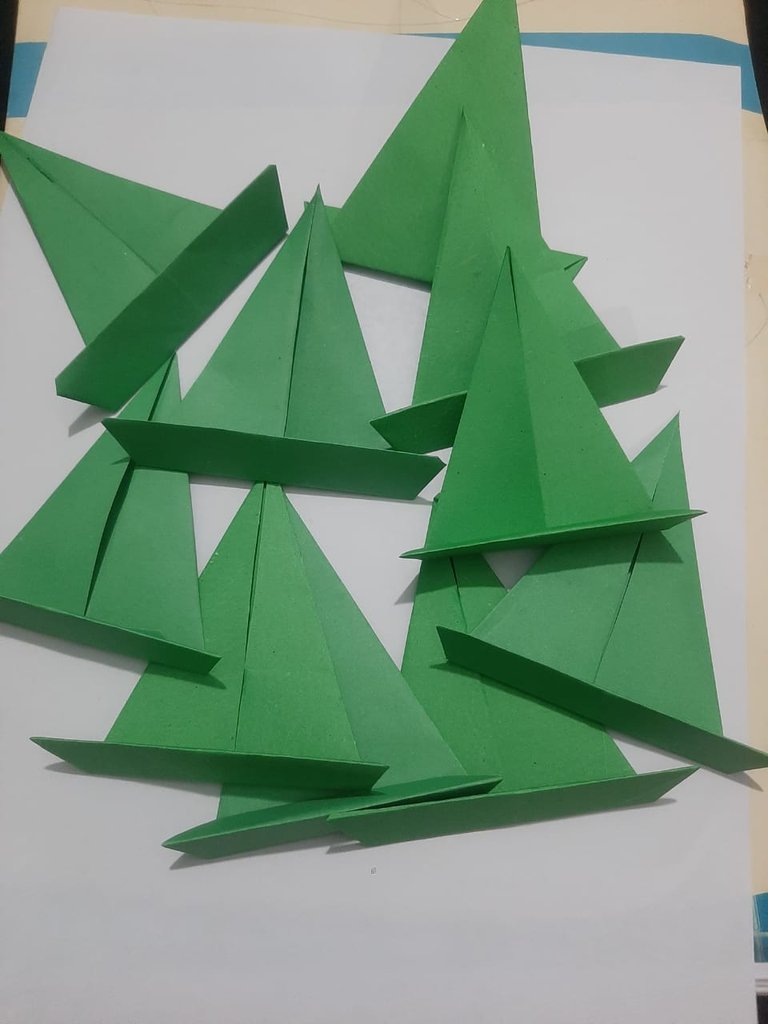
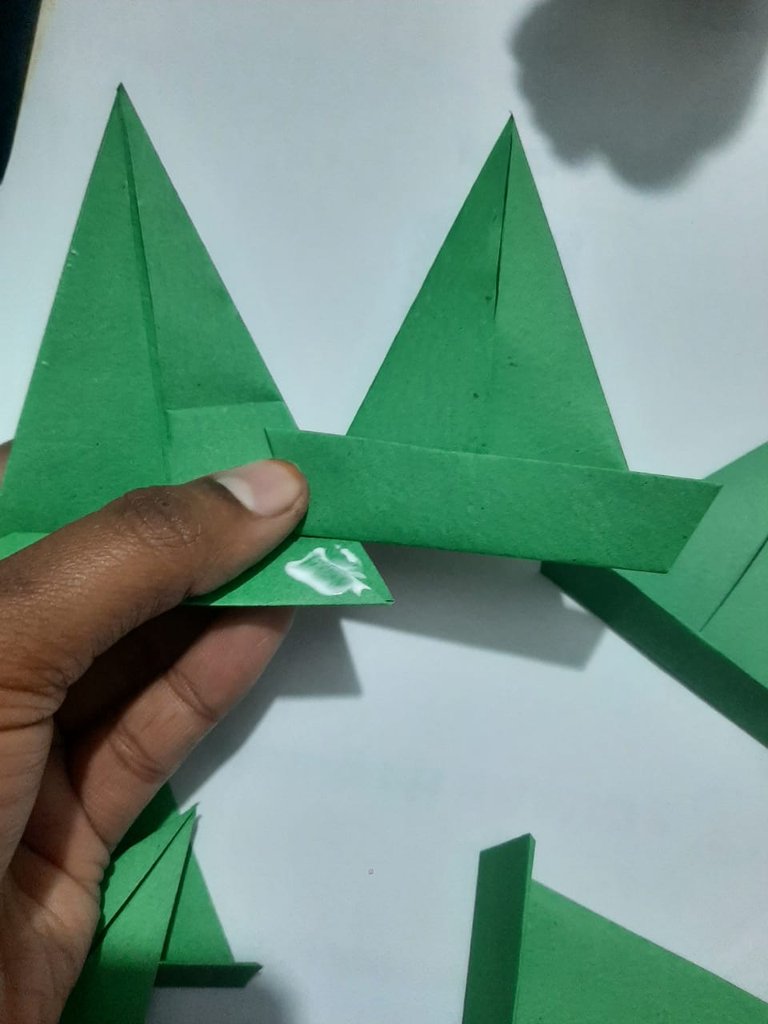
Thus I used a total of nine pieces of paper to make the crown. Now I have glued the pieces of paper together. For this reason, I put glue under the excess part of the right side of a piece of paper and attached the excess part of the left side of another piece of paper.
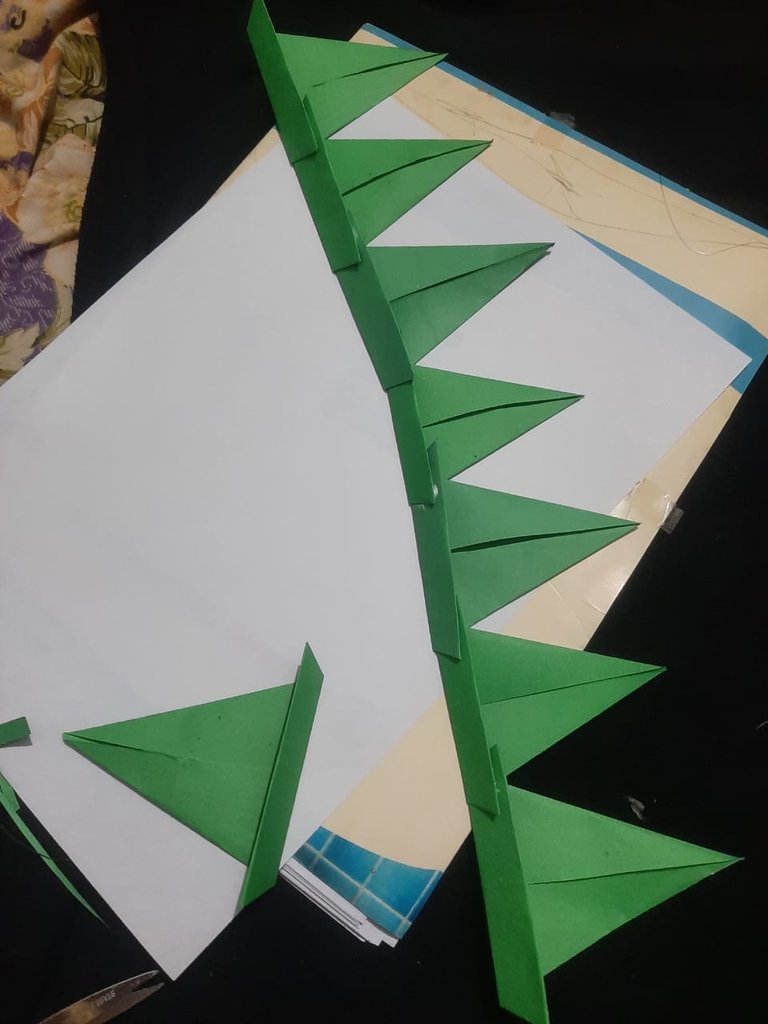
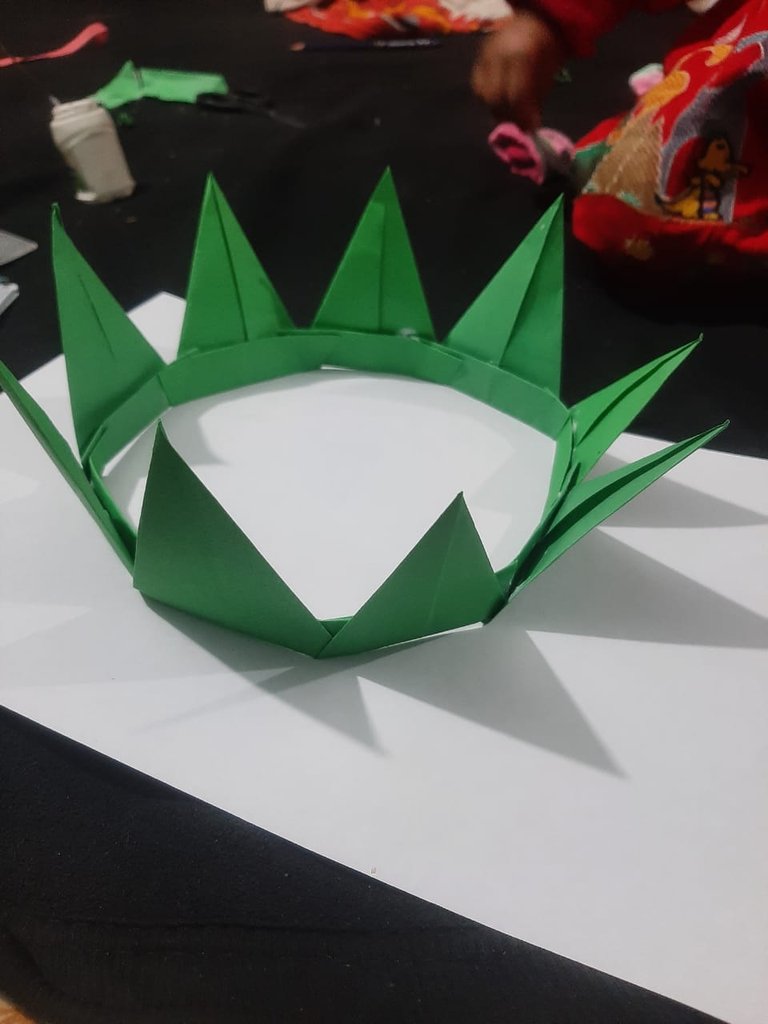
In this way, after gluing all the papers together, I attached the last piece of paper to the first piece of paper. Then a round crown will be made. Then it's time for decoration.
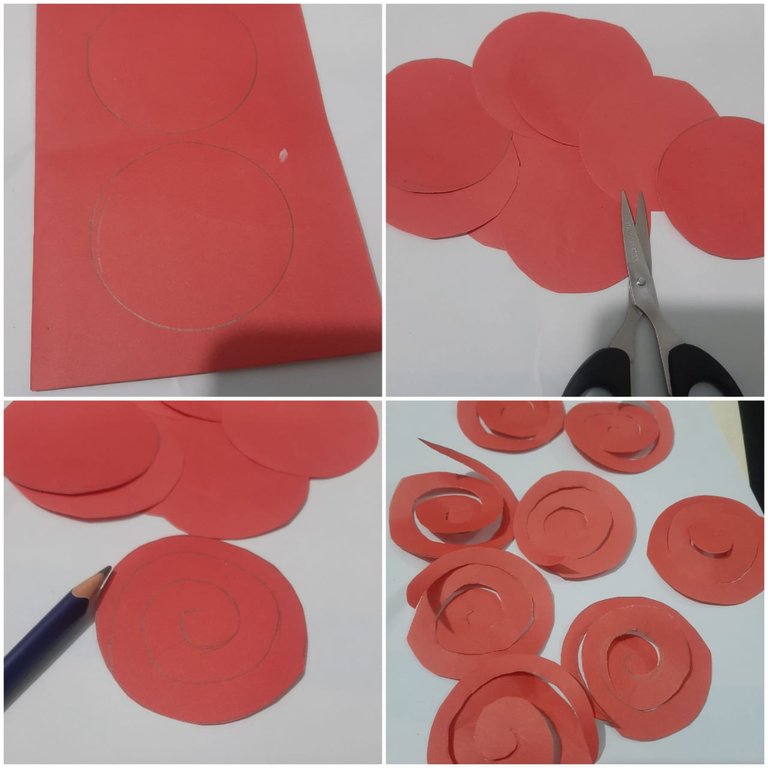
Then I made some roses. For this I drew a circle with a pencil on a piece of paper. Then I cut the circles with scissors. After that, I made marks like the picture with a pencil on the rounded papers. Then I cut them with scissors according to the line.

Then I made some roses. For this I drew a circle with a pencil on a piece of paper. Then I cut the circles with scissors. After that, I made marks like the picture with a pencil on the rounded papers. Then I cut them with scissors according to the line.
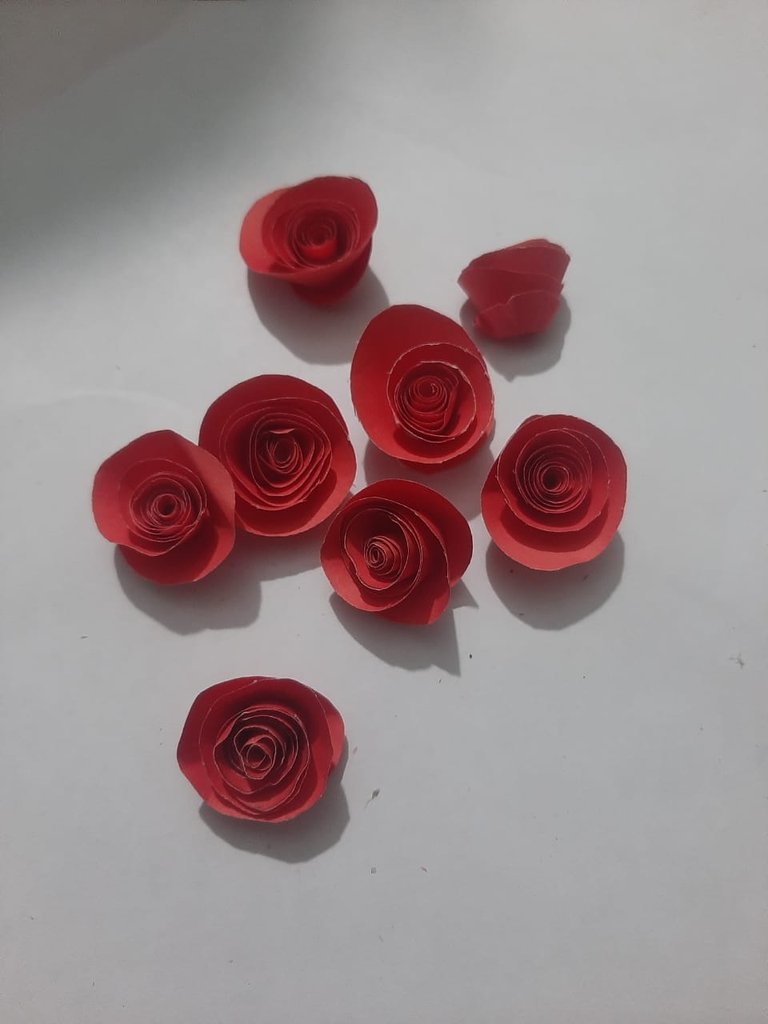
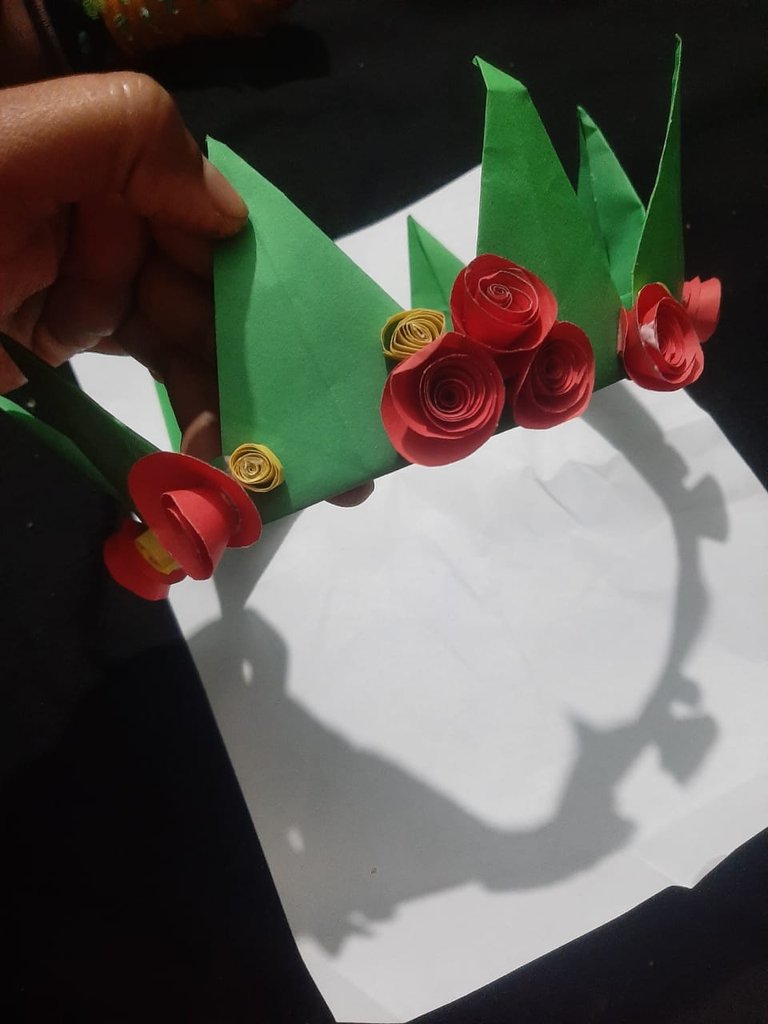
After that, I made a rose flower with all the papers. Then in the same way, I made some yellow roses and put them around the crown.
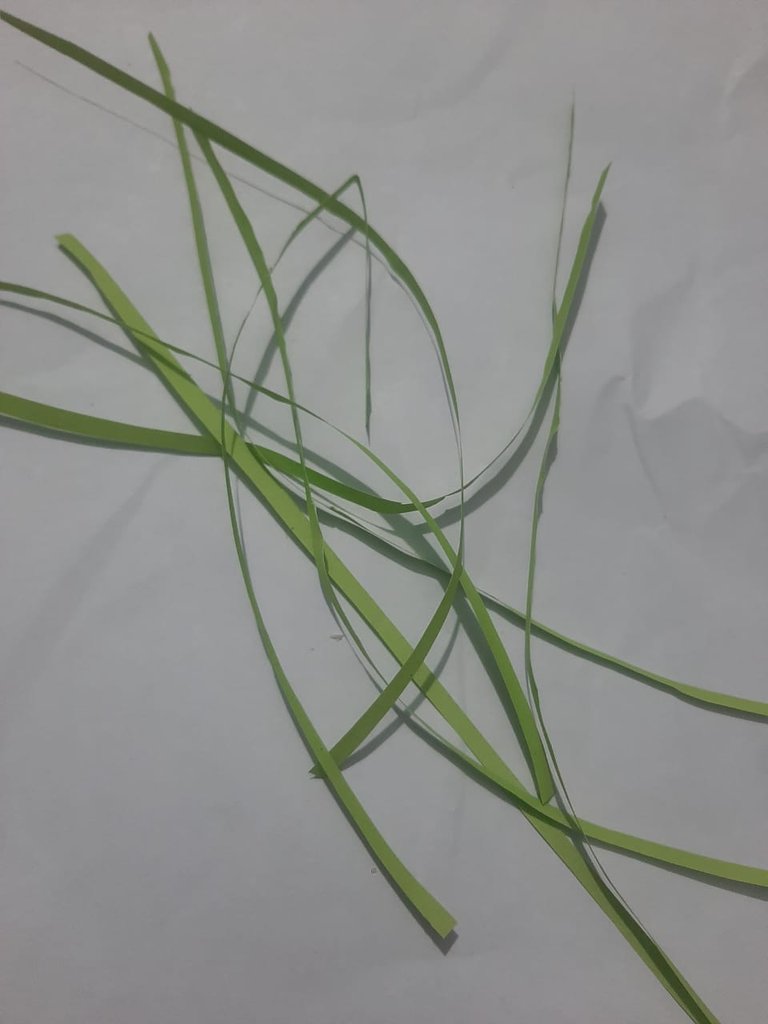
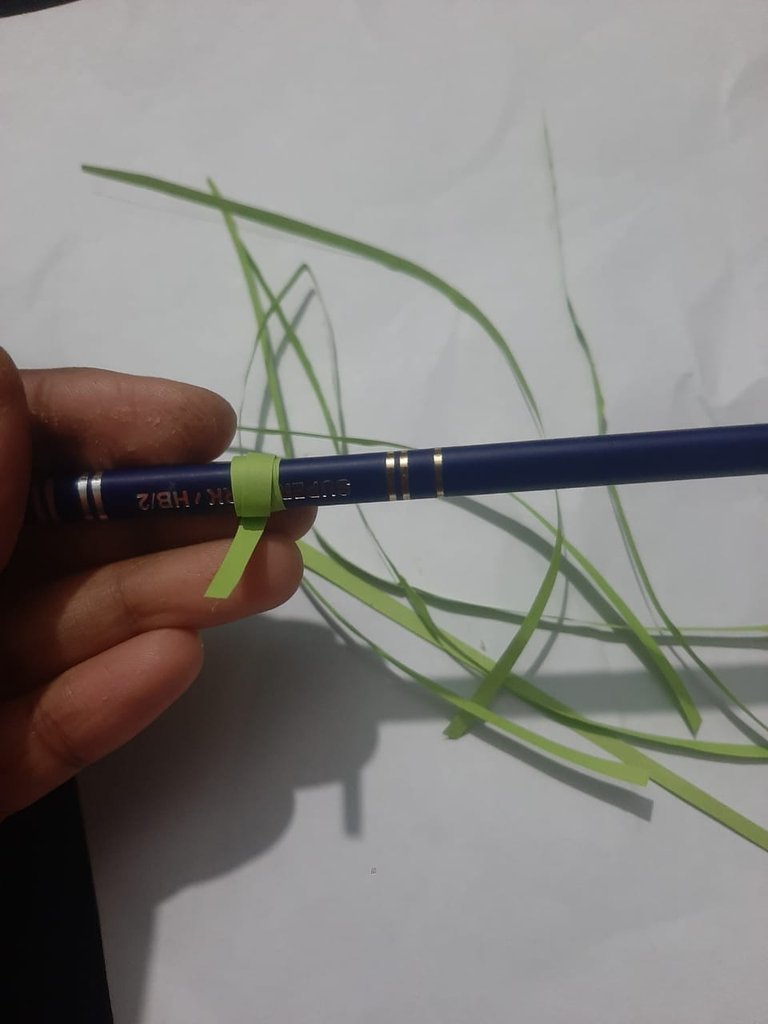
This time I have cut some light green paper thinly. Then I have patched the paper one by one with a pencil. Then it has a very beautiful vine-like shape.
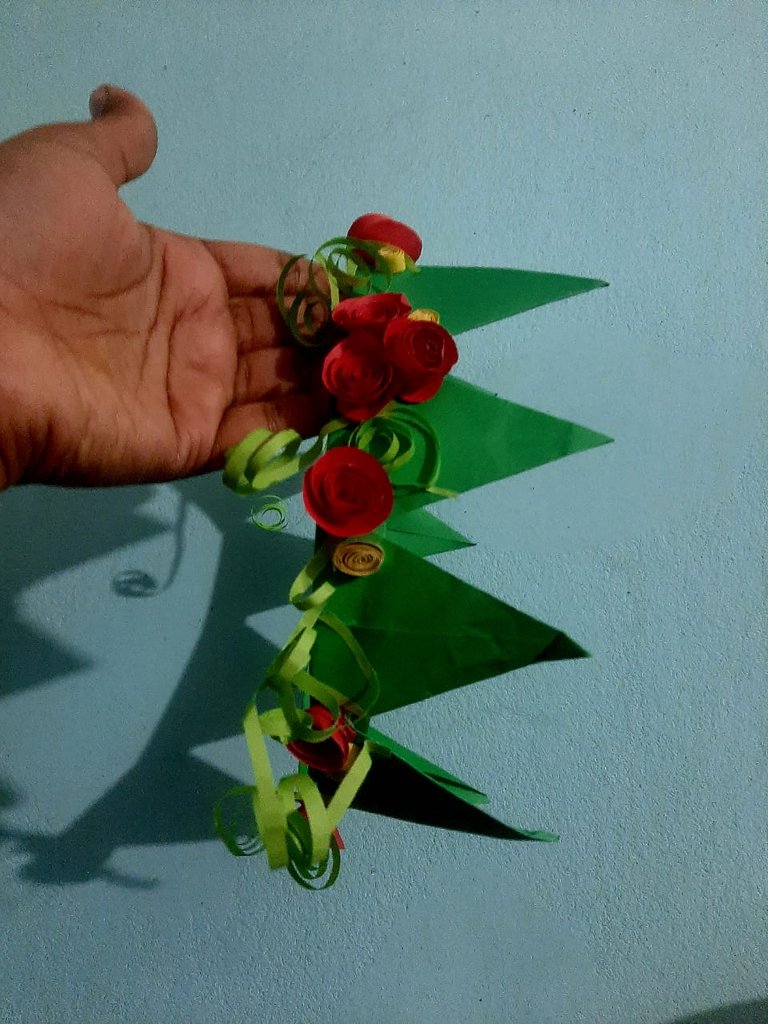
| This is final making process |
|---|
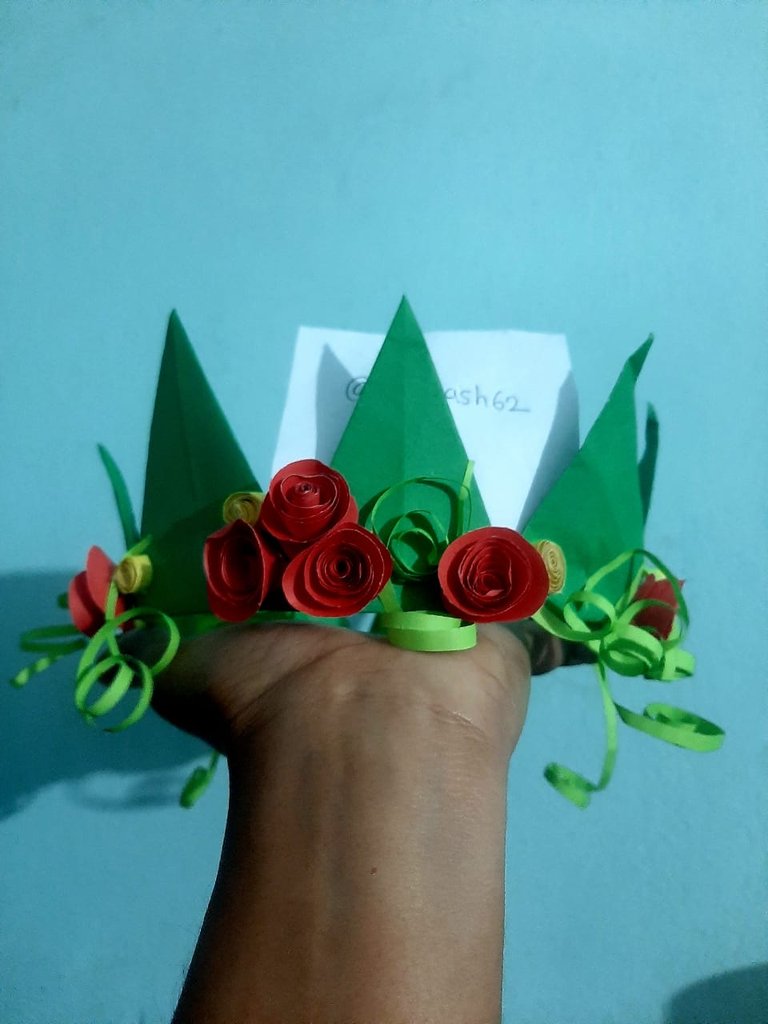
This is the final look of my designed crown. I was feeling a great feeling of full vine leaves.

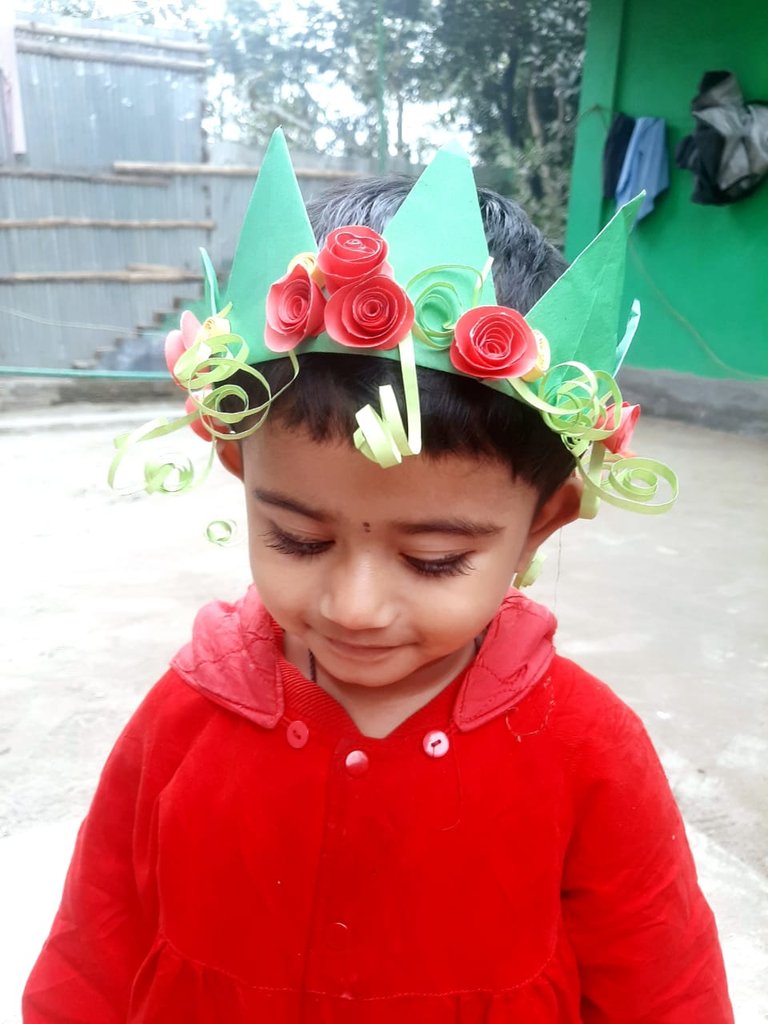
Finally,I put the crown on my daughter's head. My daughter was extremely happy after wearing the crown 😊🤗.

Thank you for reading my creative article blog .Stay safe,stay happy.i think if you find any mistake in writing or something. Please allow me to correct it.And find me on social media.
| Class | Crafts photography |
|---|
| Device | Tecno spark 48 Ultra sensing all camera |
| Photographer | @mdakash62 |
Twitter Discord
My introduced link
