
Feliz fin de semana amigos de la comunidad Holozing, saludos y bendiciones para cada miembro presente, espero se encuentren muy bien y que estén disfrutando del sábado, hoy me encuentro con ustedes para compartir la elaboración de un lindo colgante de una de las nuevas criaturas que ha presentado Holozing recientemente.
Happy weekend friends of the Holozing community, greetings and blessings for each member present, I hope you are feeling very well and that you are enjoying your Saturday, today I am meeting with you to share the making of a nice pendant of one of the new creatures that has recently introduced Holozing.
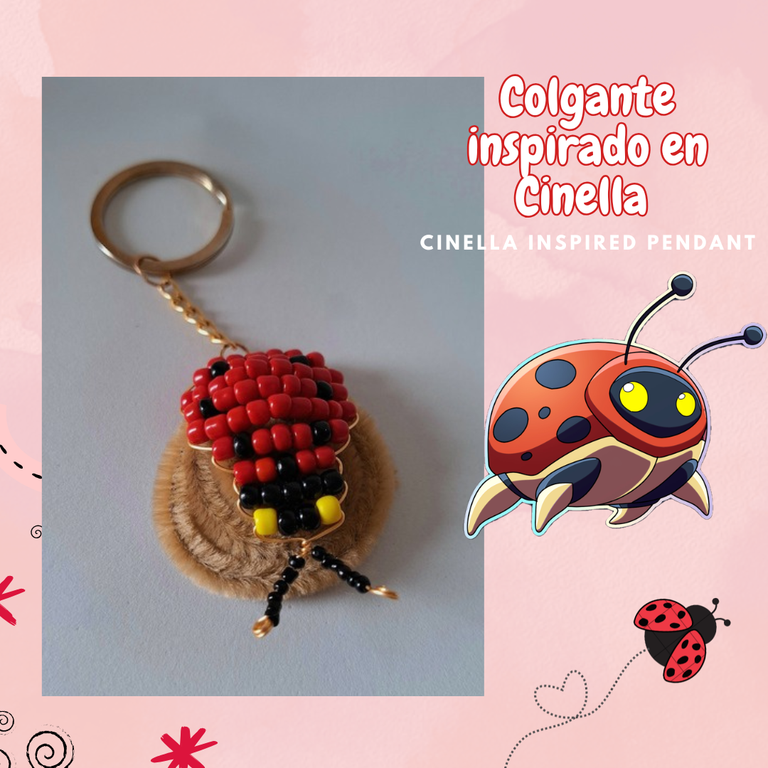
Se trata de un colgante inspirado en Cinella, utilicé mostacillas y alambre, este colgante se ve muy lindo, apenas ví quise realizar a esta mariquita me parece tierna y al leer su descripción también interesante, espero les guste, a continuación les muestro el paso a paso.
This is a pendant inspired by Cinella, I used beads and wire, this pendant looks very cute, as soon as I saw I wanted to make this ladybug it seems cute to me and when reading its description it is also interesting, I hope you like it, below I show you the step to passed.

Materiales:
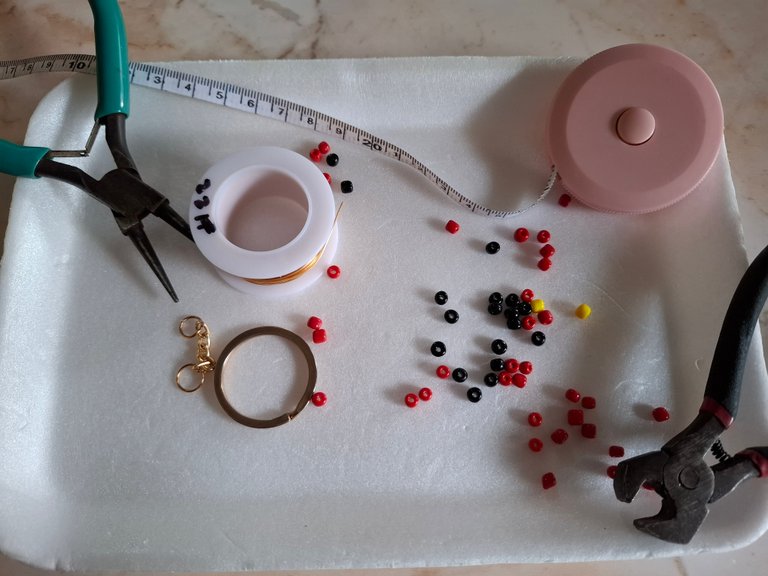
🐞44 mostacillas rojas.
🐞14 mostacillas negras medianas.
🐞12 mostacillas pequeñas.
🐞2 mostacillas amarillas.
🐞60 cm de alambre dorado.
🐞Pinzas de bisutería.
🐞Aro de llavero.
Materials:
44 red beads.
14 medium black beads.
12 small beads.
2 yellow beads.
60 cm of gold wire.
Jewelry tweezers.
Keychain ring.
Paso a paso / Step by step
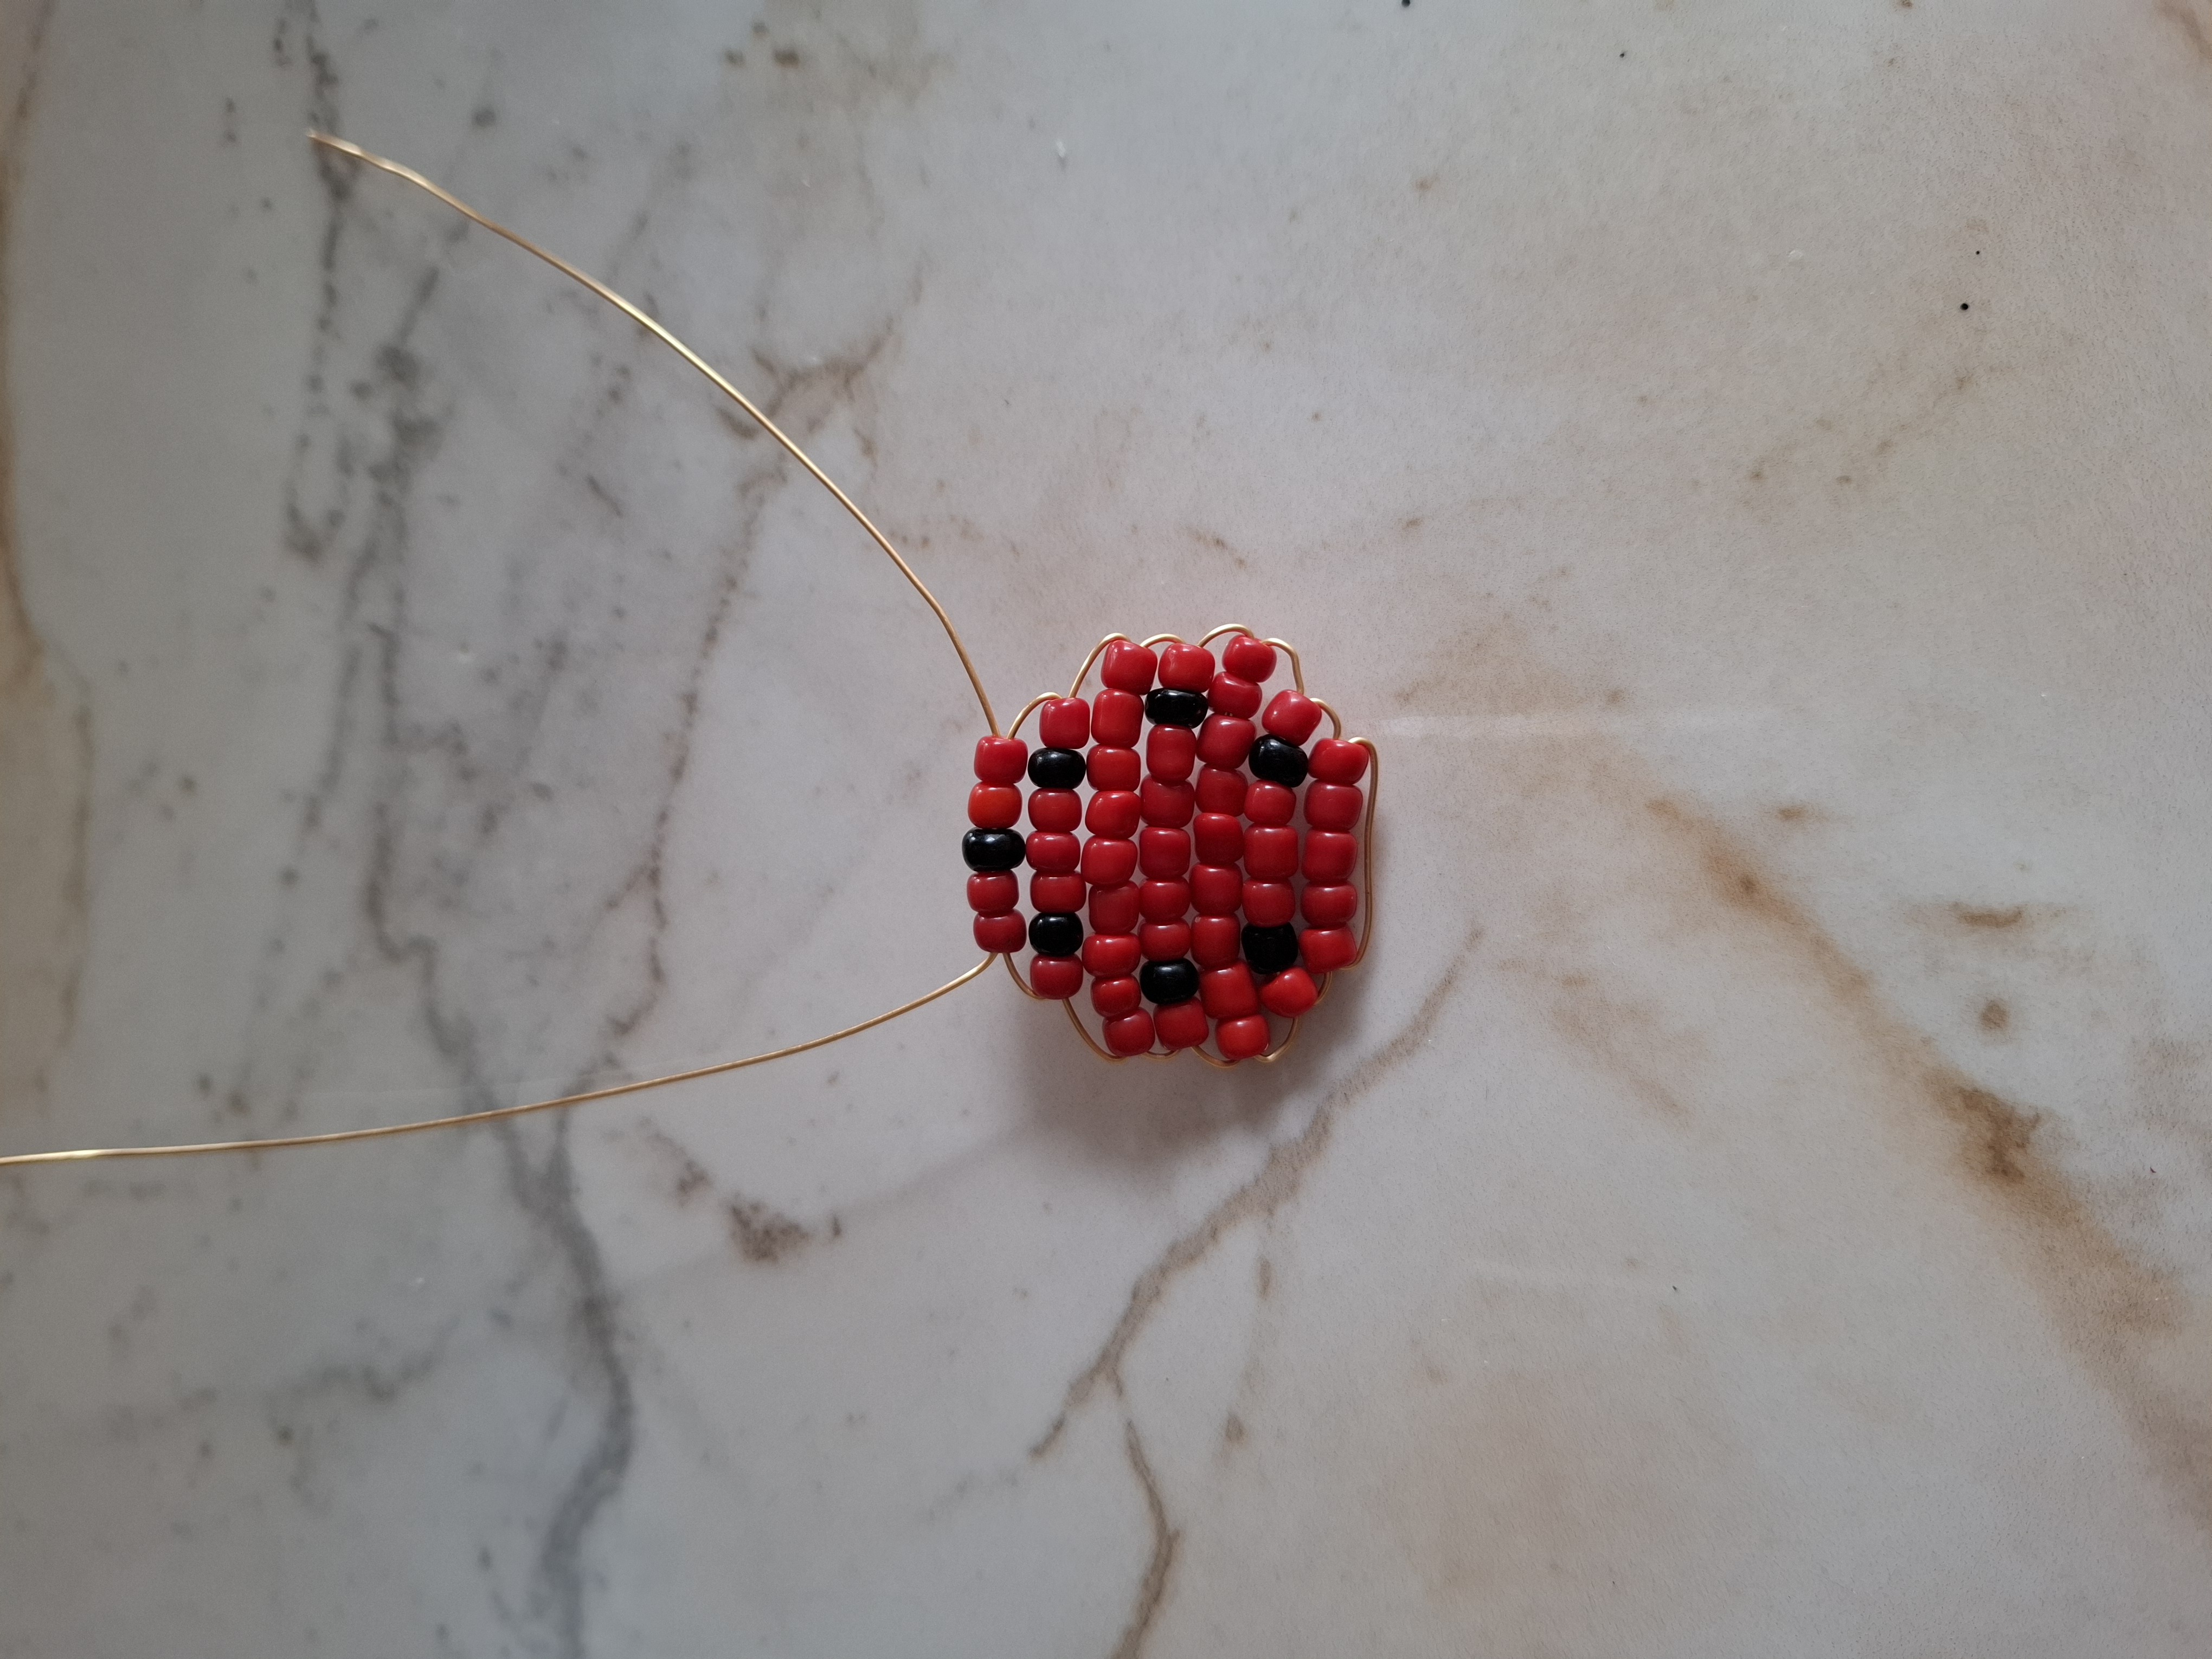
El primer paso se trata de cortar 60 cm de alambre dorado, voy a doblar un poco a la mitad y voy a introducir cinco mostacillas color rojo en una de las puntas y con la otra punta pasamos a través de las mostacillas llevándolas hasta el medio.
The first step is to cut 60 cm of gold wire, I am going to fold it a little in half and I am going to insert five red beads into one of the ends and with the other end we pass through the beads taking them to the middle.


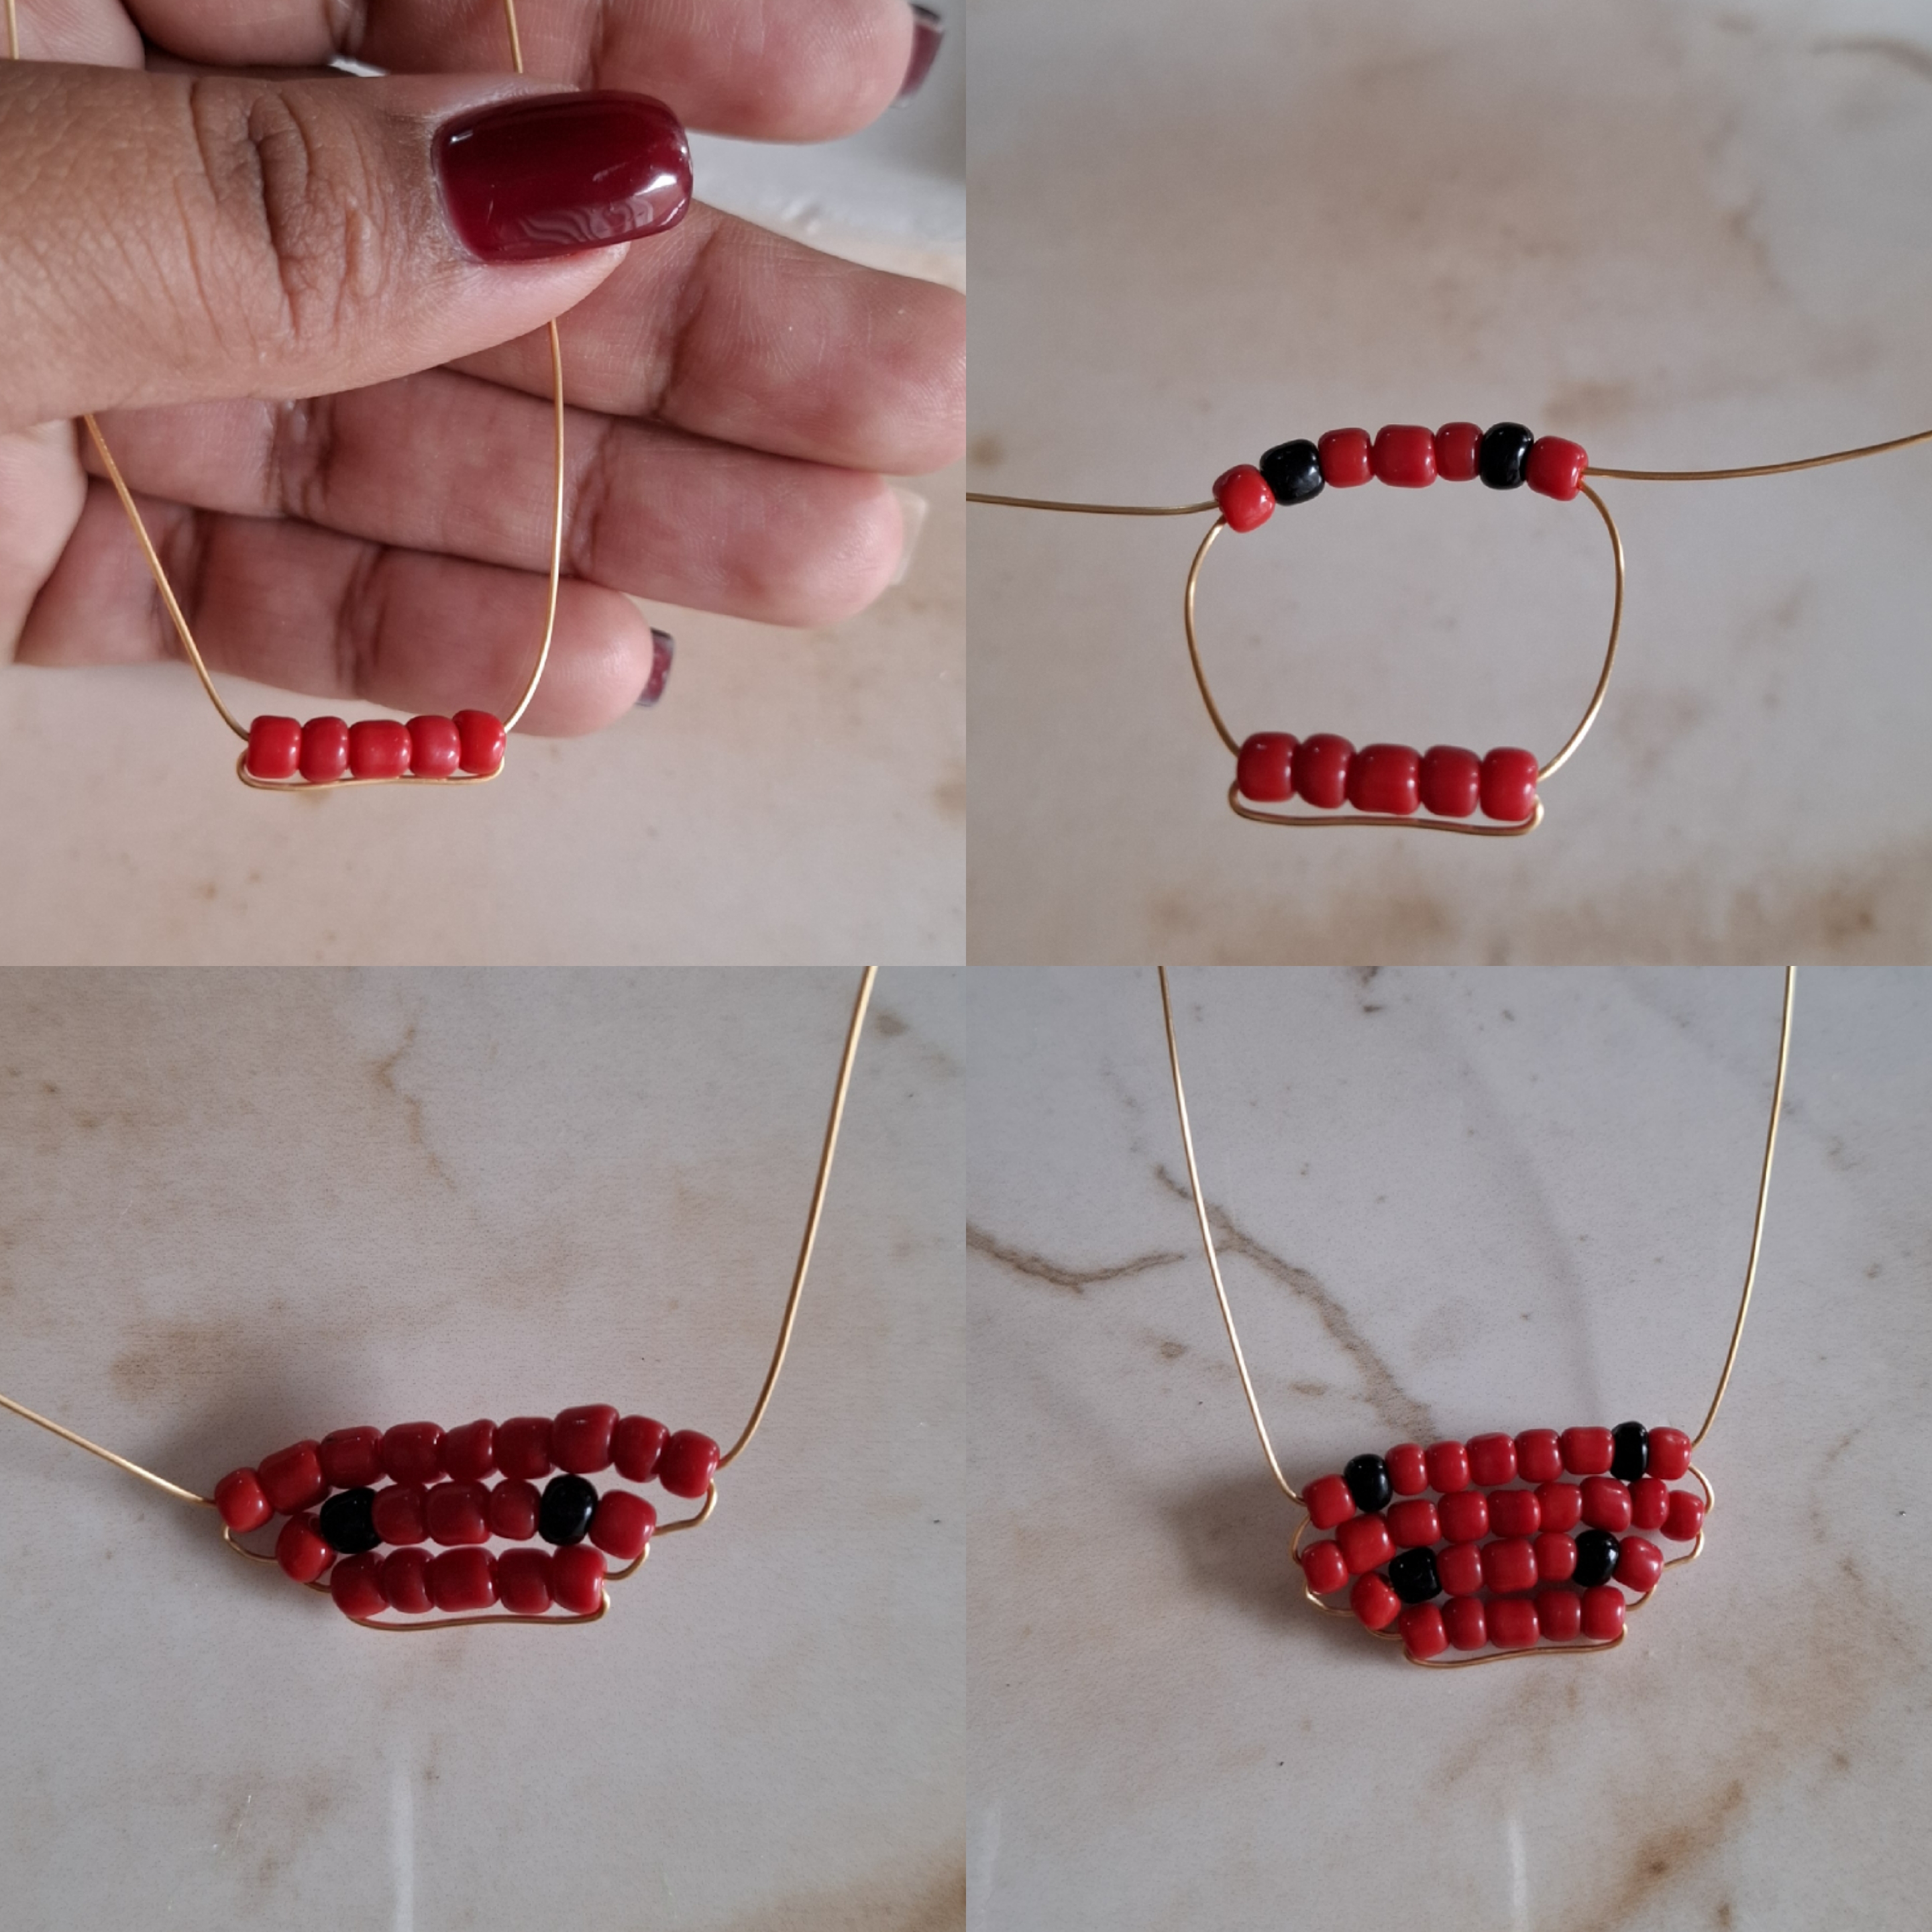
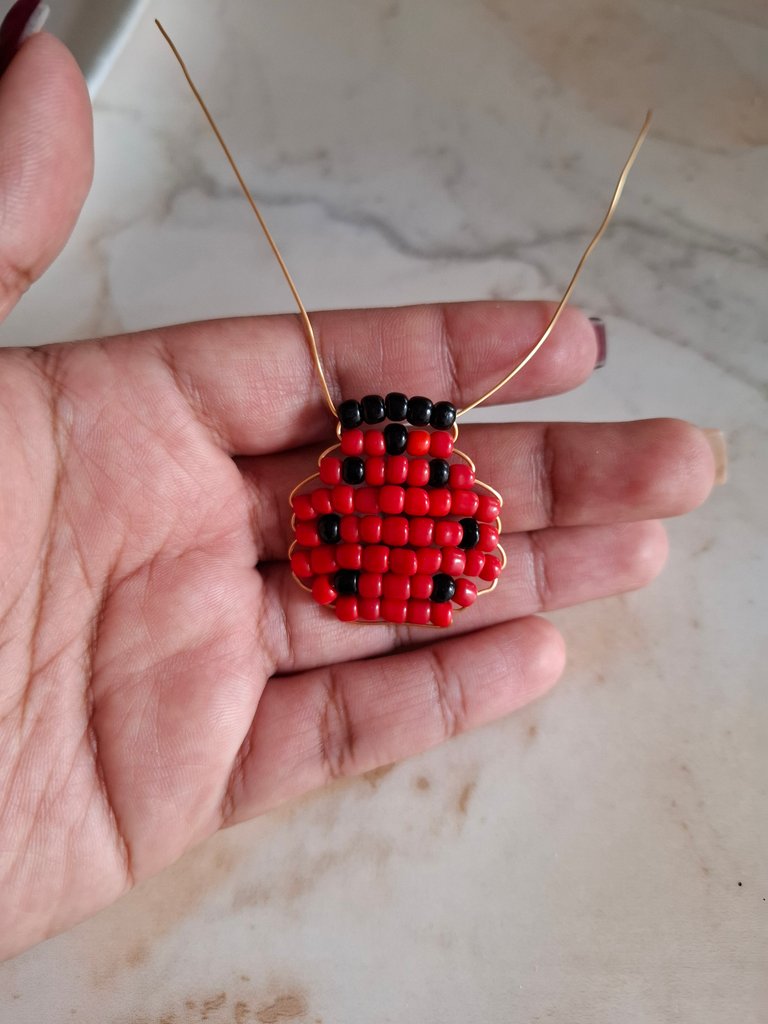
Luego voy a introducir una mostacilla roja seguido de una negra, tres rojas una negra y una roja para finalizar esta fila, luego voy a formar otra fila de nueve mostacillas rojas, seguí la secuencia de mostacillas rojas y dos negras intercaladas y luego nuevamente una fila de solo rojas.
Then I am going to introduce a red bead followed by a black one, three red ones, one black and one red to finish this row, then I am going to form another row of nine red beads, I followed the sequence of red beads and two black beads interspersed and then again a row of only reds.
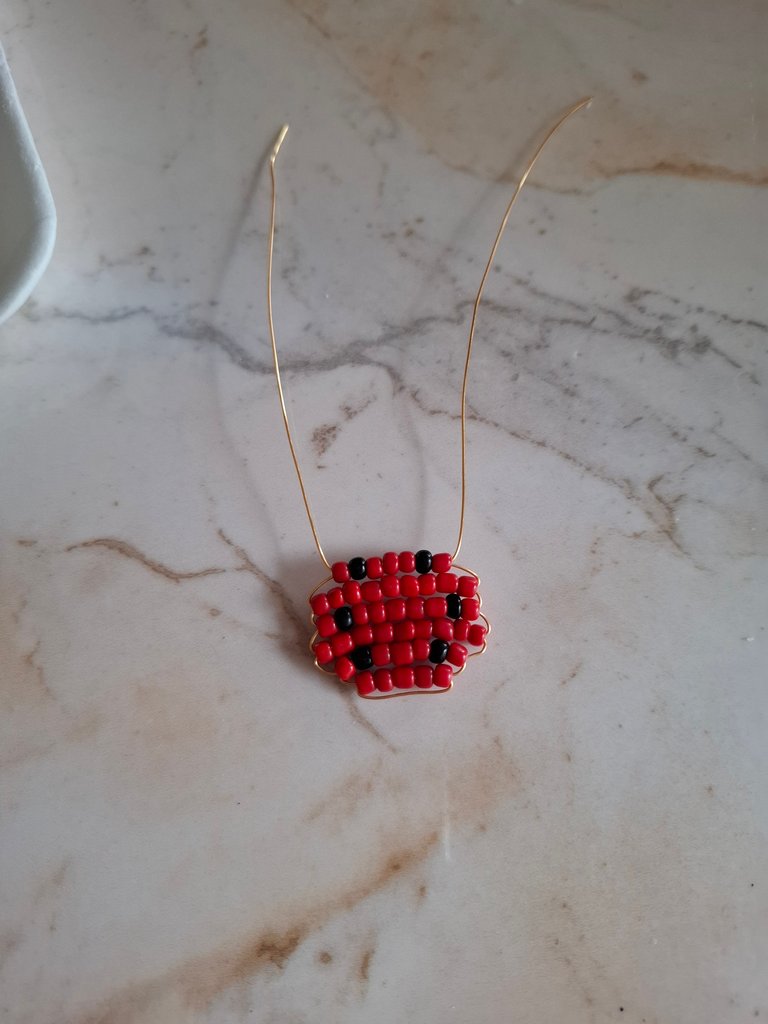
Ahora voy a colocar siete mostacillas rojas con dos mostacillas negras intercaladas en el principio y final, luego cuatro rojas y una negra en medio, luego una fila de cinco mostacillas negras, por último una mostacilla amarilla al inicio, dos negras y una amarilla estos serían los ojitos.
Now I am going to place seven red beads with two black beads interspersed at the beginning and end, then four red and one black in the middle, then a row of five black beads, finally a yellow bead at the beginning, two black and one yellow these would be the little eyes

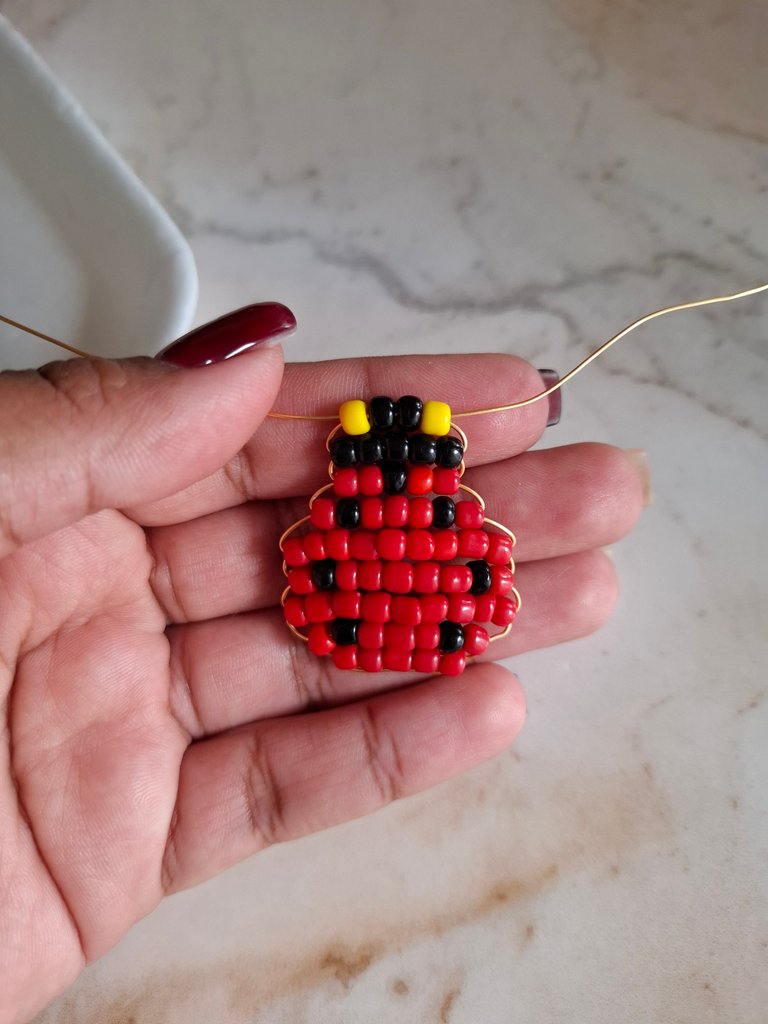
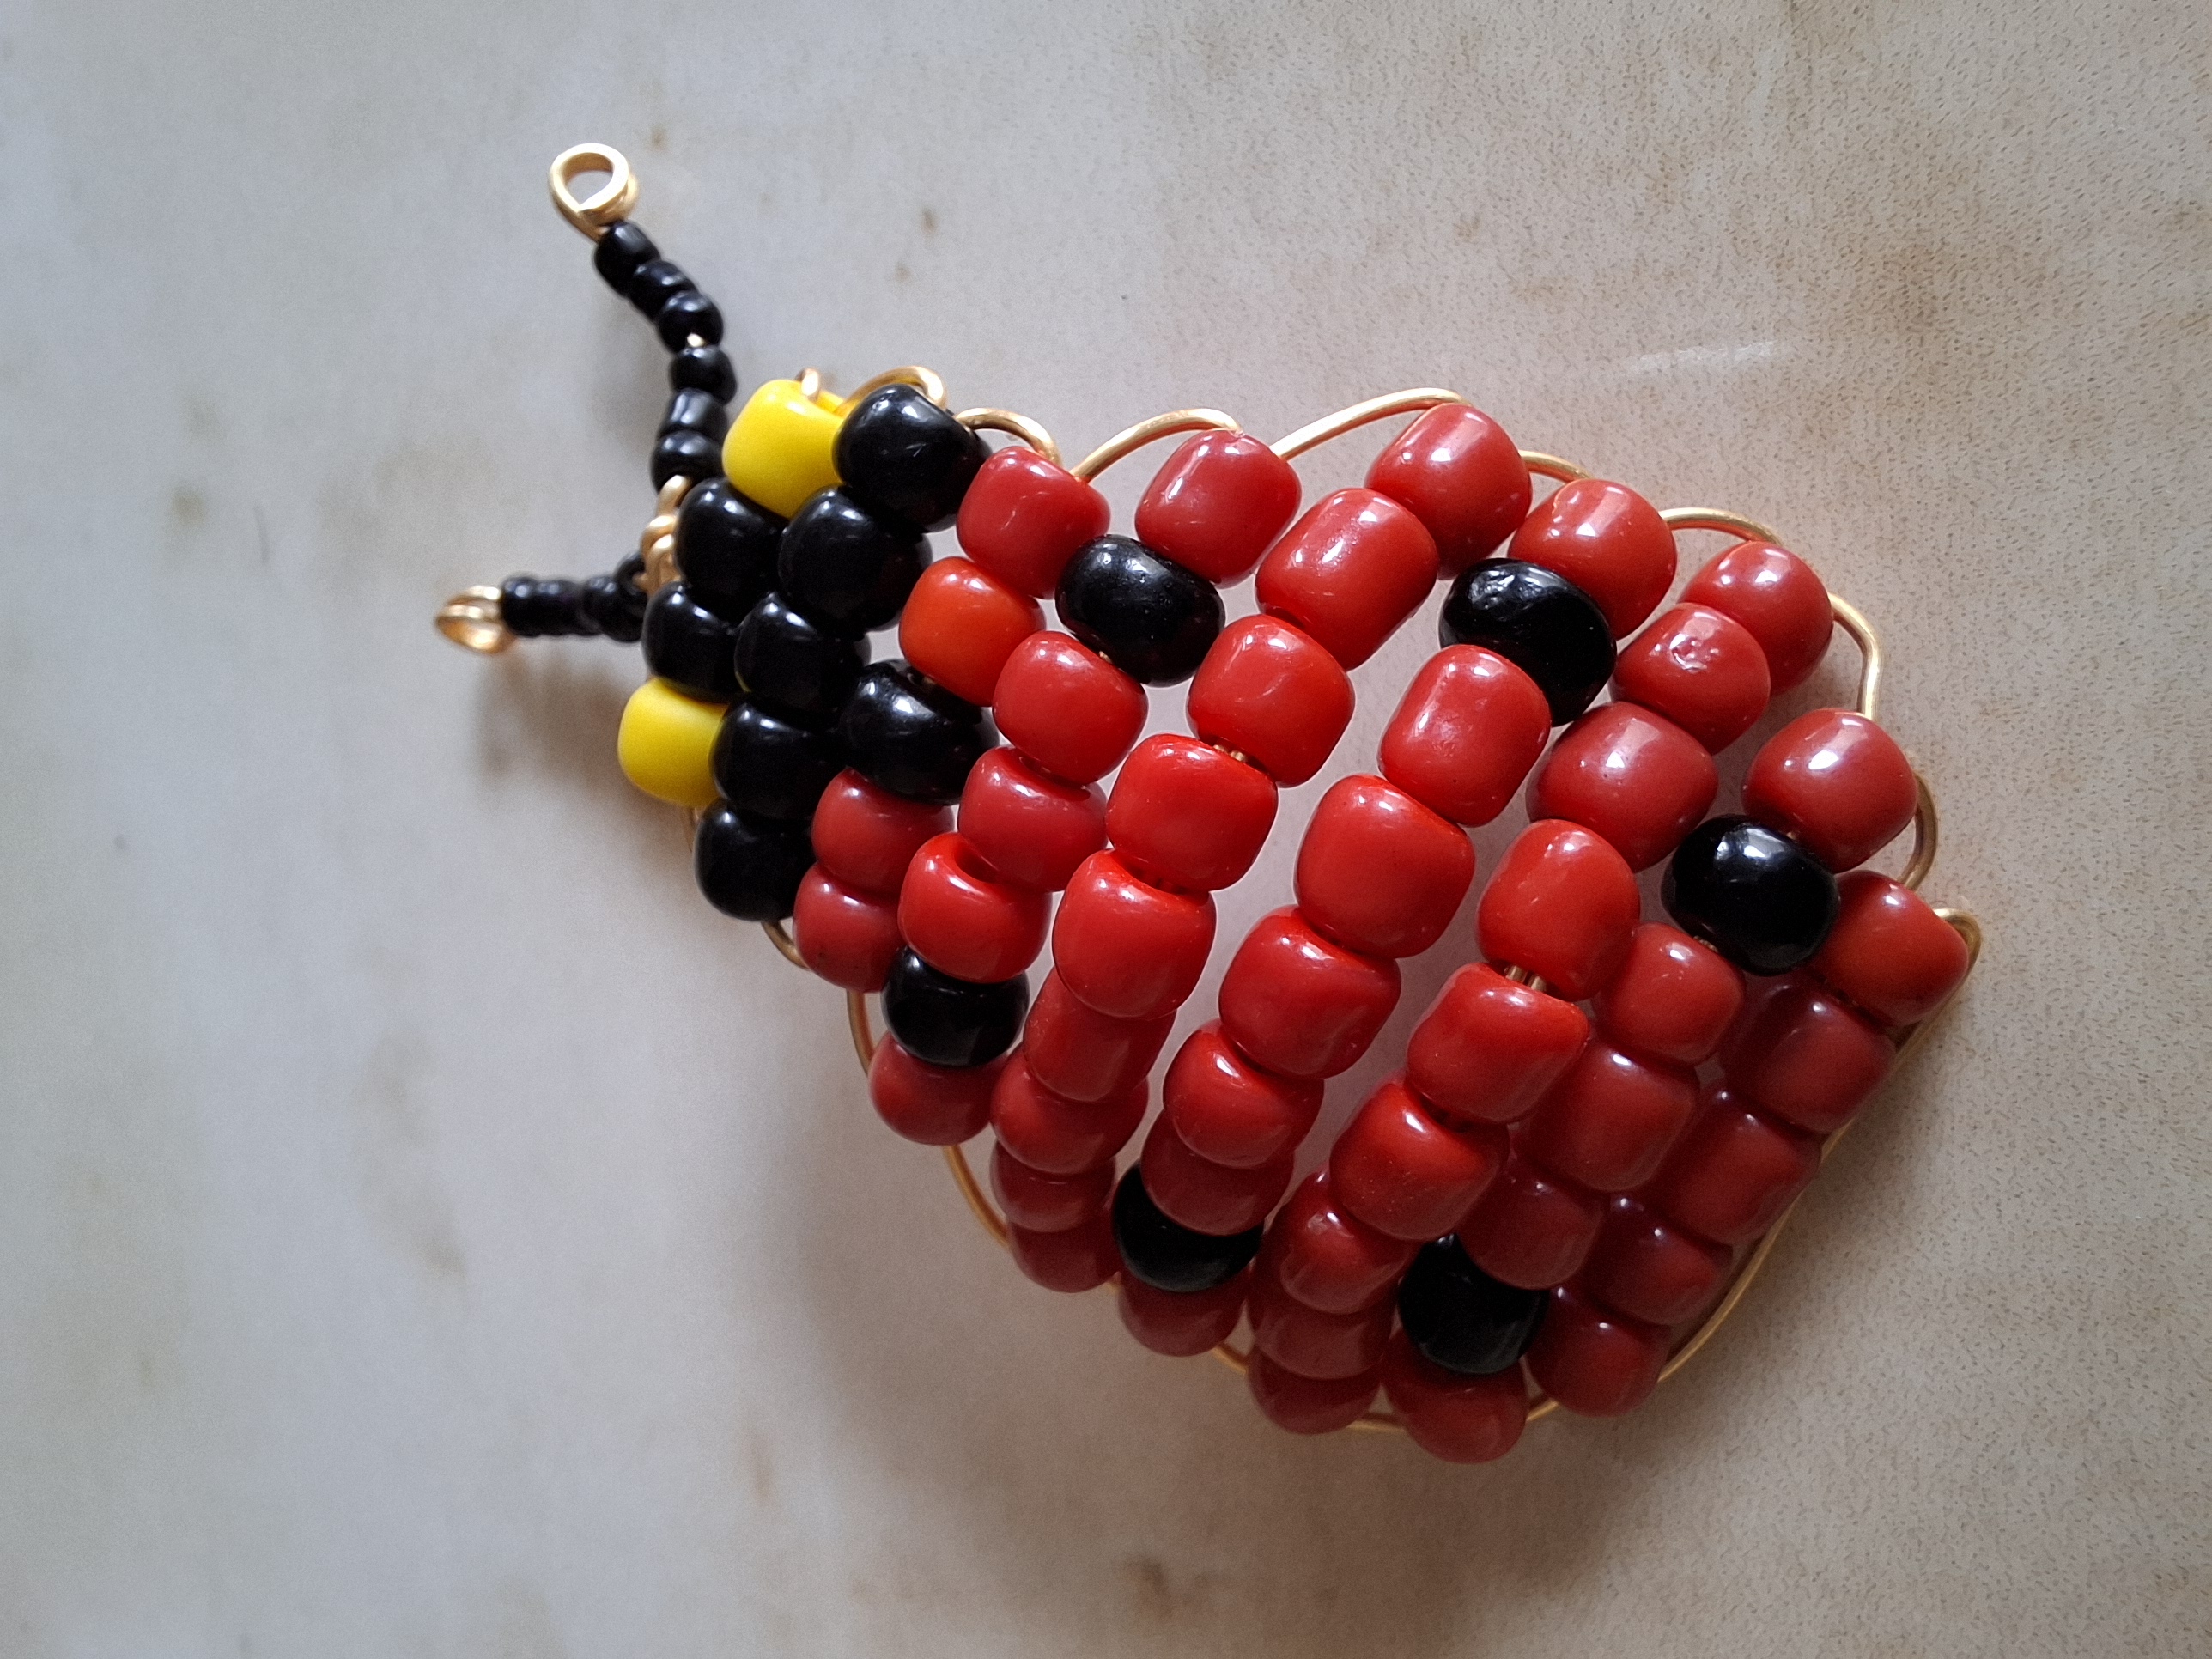
Luego voy a cruzar un poco el alambre, cortamos un poco y para realizar las antenas, coloqué seis mostacillas negras pequeñas en cada alambre dorado y con la pinza punta redonda realicé un aro pequeño al final. Por último colocamos el aro para llavero junto a una argolla y retazo de cadena.
Then I'm going to cross the wire a little, we cut a little and to make the antennas, I placed six small black beads on each gold wire and with the round tip pliers I made a small ring at the end. Finally we place the key ring next to a ring and a piece of chain.
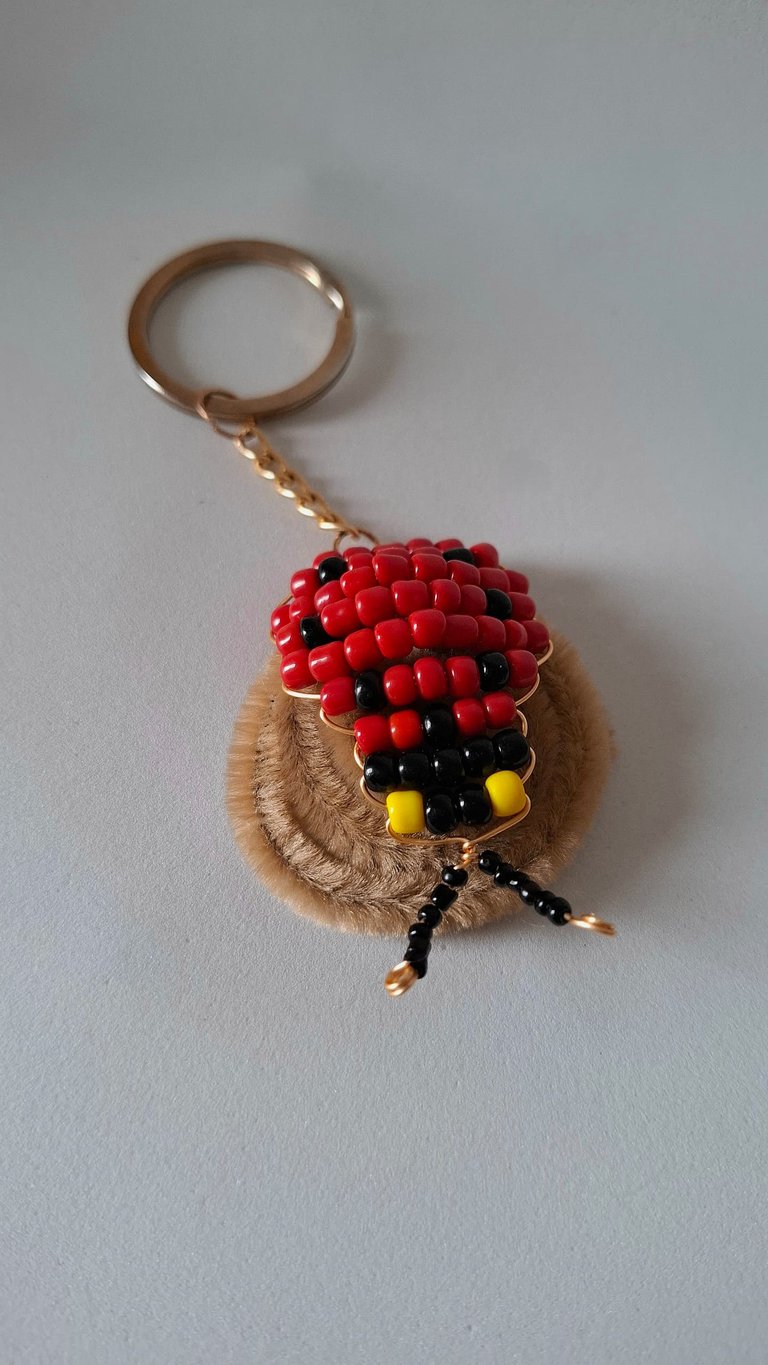
De esta forma terminé terminé este colgante inspirado en Cinella, espero les haya gustado, muchas gracias por visitar mi publicación nos vemos en una próxima oportunidad.
In this way I finished this pendant inspired by Cinella, I hope you liked it, thank you very much for visiting my publication, see you next time.


Contenido original. - original content.
Los separadores y banner fueron realizados en Canva. - The dividers and banner were made in Canva.
Las fotografias son tomadas con mi teléfono Redmi Note 11s y editadas en PicsArt - The photographs are taken with my Redmi Note 11s phone and edited in PicsArt.
Traducción de: Google traductor - Translation of: Google translator.
