Greetings, blessed start to the week for everyone in the Community. I'm going quickly to share a couple of things with you, because I have a job to do and I'm against time. I wanted to share with you that I have "new toys", some spectacular alcohol-based markers and the tone they give is phenomenal. However, I am not very practical with making art with markers, since it is my first Set. I love discovering new things in relation to drawing, whether traditional or digital. Therefore, whenever possible, I have drawing materials on hand and in my free moments what I do for fun is draw.
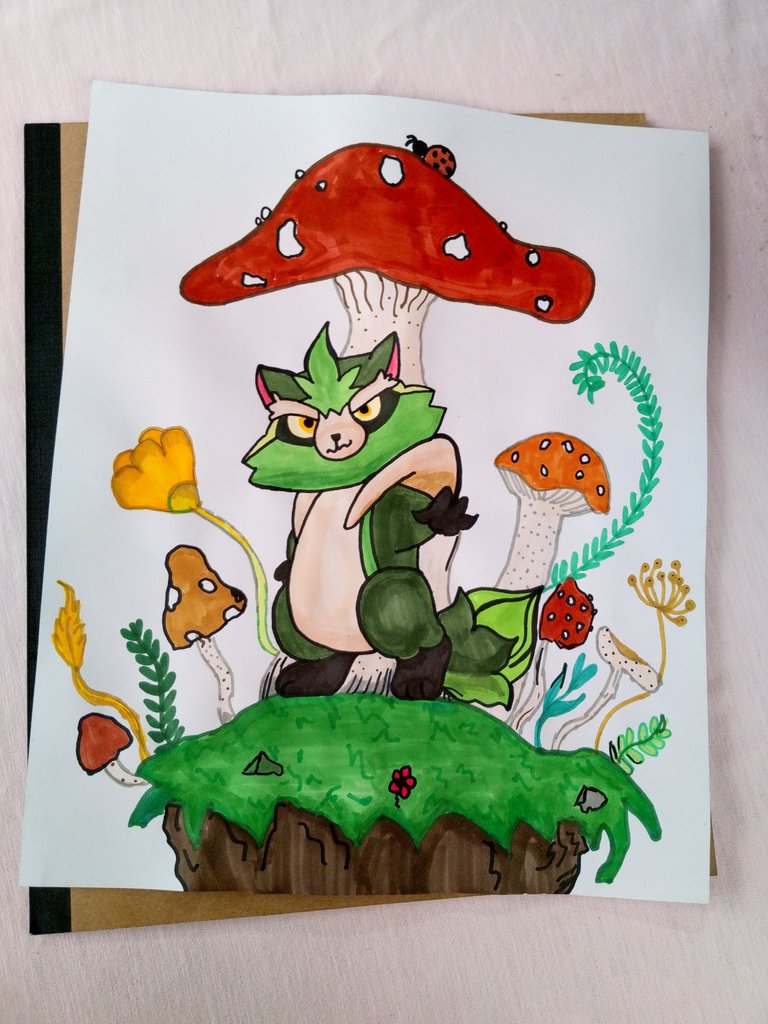
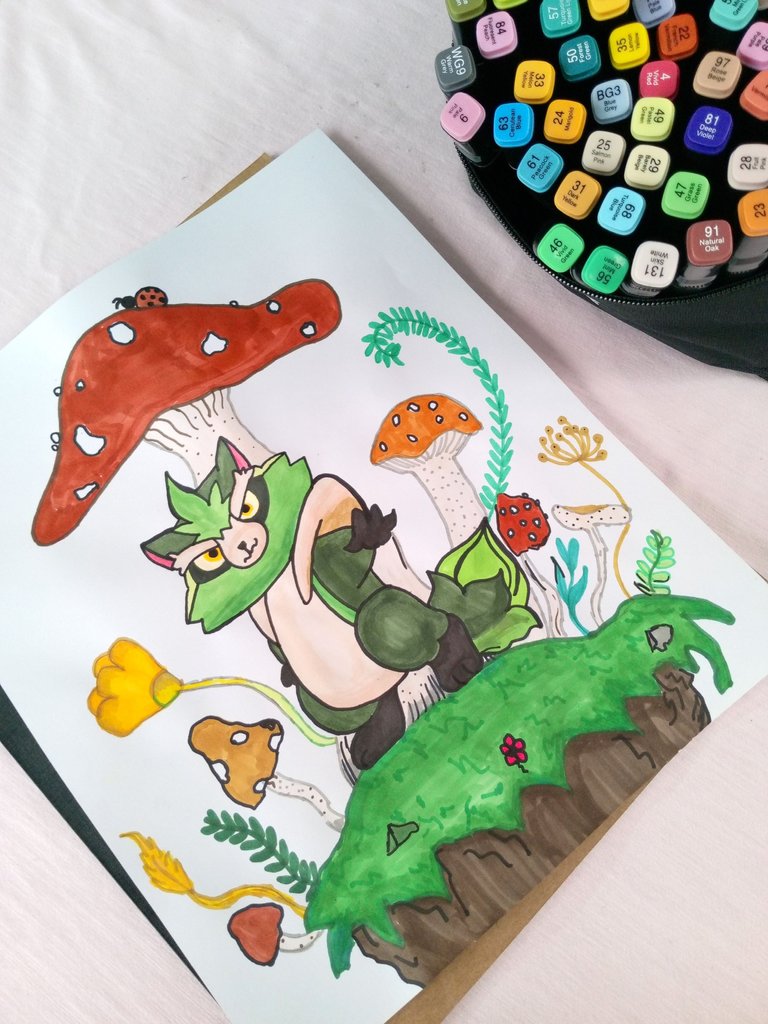
Continuing along the lines, I want to share with you a cute Grass Racoon that I drew and painted using my new markers. I thank you for not being so harsh, it is my first time dabbling with this material!
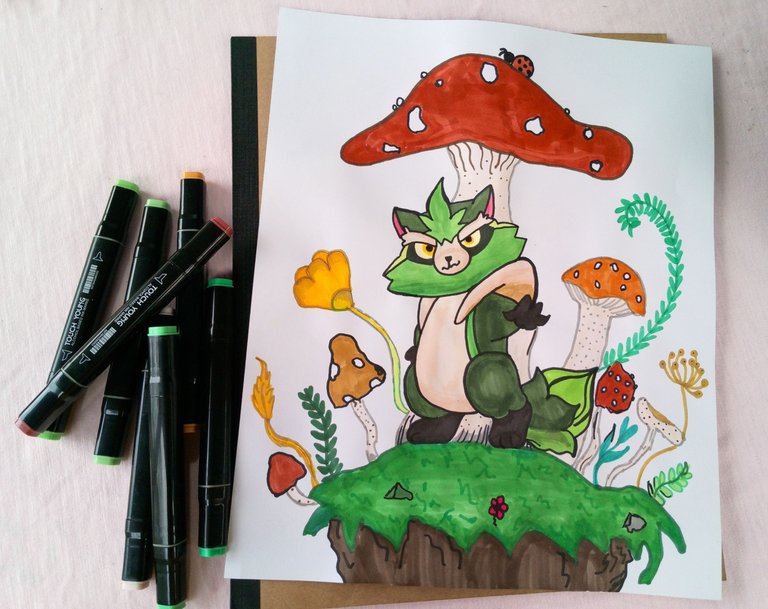
If, like me, you are new to using Alcohol-based markers, I will tell you a couple of tips that would be good to keep in mind so that you can save yourself some minor headaches! Let's go!
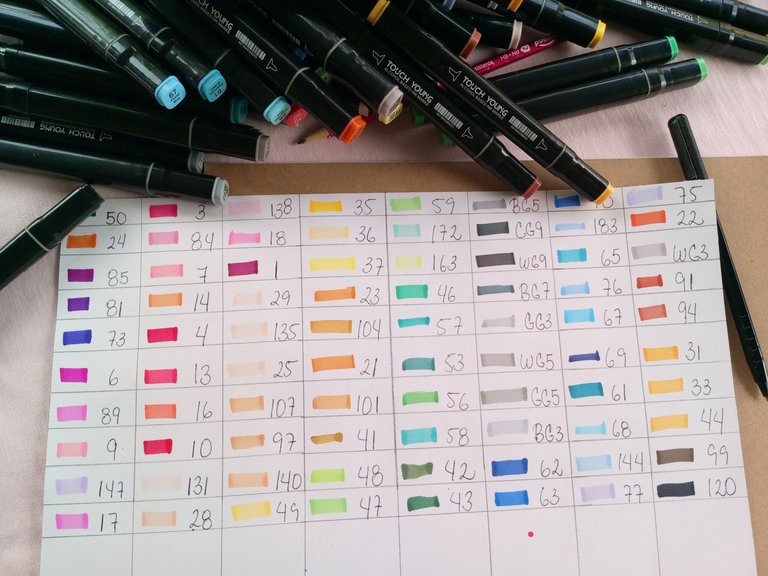
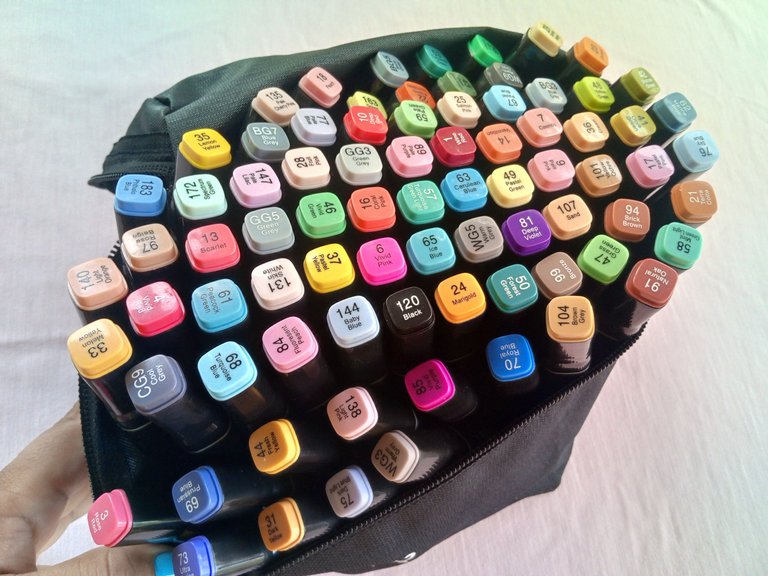
- Create your color guide: On the lid of the markers there is a "review" of what the color is like, but they are vaguely the same when used on the material (whether paper or cardboard). That's why I recommend making your own color guide. Take the material on which you will use the markers and make strokes and identify each one with its respective code that appears on the cover. So when you go to color, consult the color guide and you will be clear about the marker codes you will use.
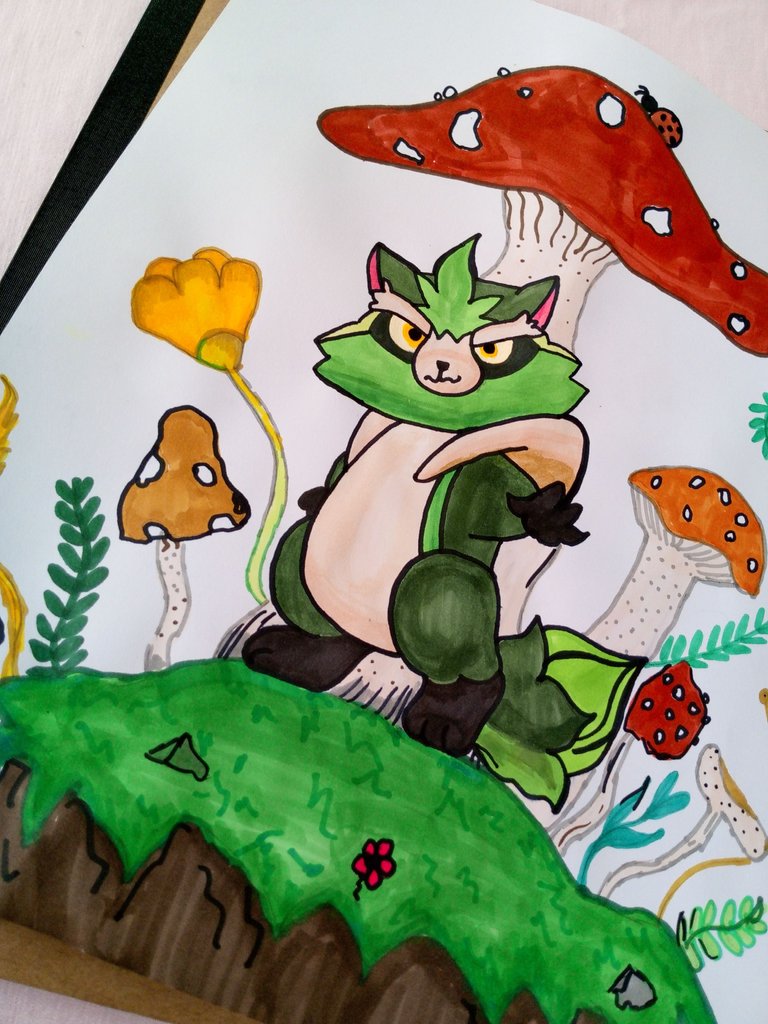
- Be very quick: To color, you tend to use a base color and a darker color for the shadow, but make it the same base. That is, black is no longer used so much (depending on the style you want to achieve), but rather a stronger one in the same color line. To do this with alcohol markers, speed is key, so that the base can blend with the shadow and thus not fix the difference so marked. It's like, it's there, but in a subtle way. In my drawing of Grass Racoon you can see the technique, but... I am practicing it, remember it is my first drawing with markers.
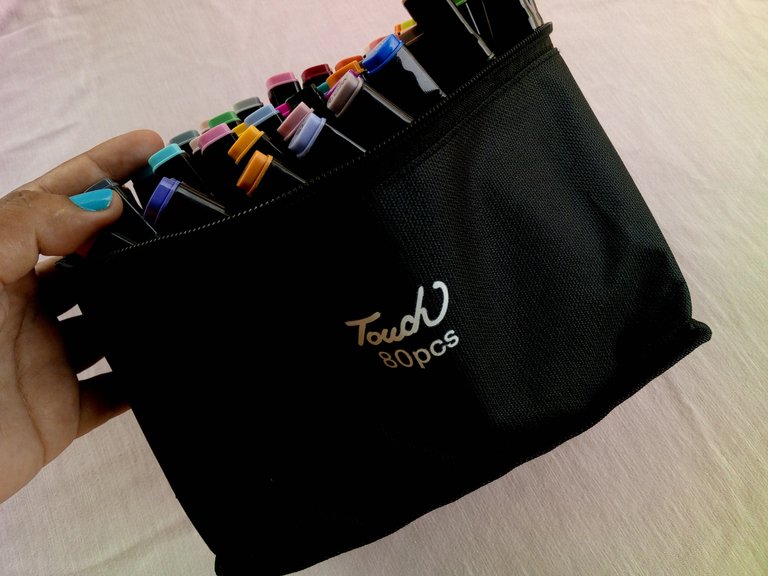
- The correct tip: The markers I am using are Touch brand and have 80 pieces. Each piece has a double tip, one is a bullet tip and the other is a thick tip. The bullet tip or also known as the fine tip is used to outline or cover small surfaces. While the thick tip is used to speed up coloring in larger areas, achieving greater coverage in the fewest number of strokes.
 |  |
I hope these tips are useful to you if you want to get into coloring with markers! 💖

Now...
Let's take a look at the Grass Racoon drawing and coloring process:
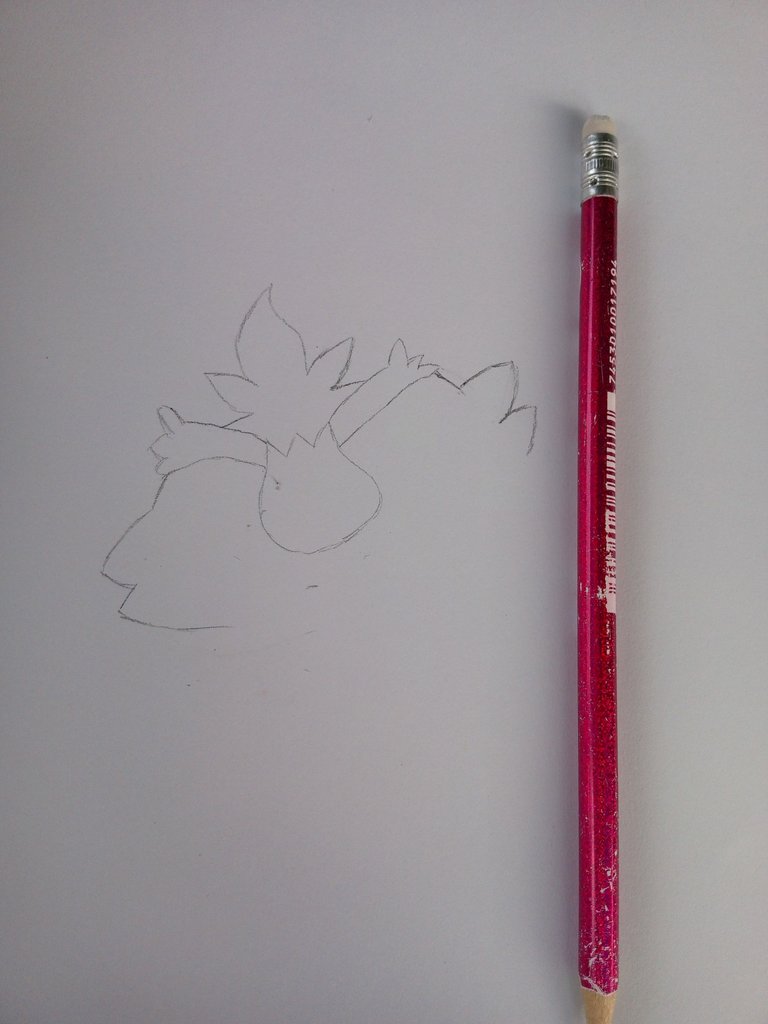
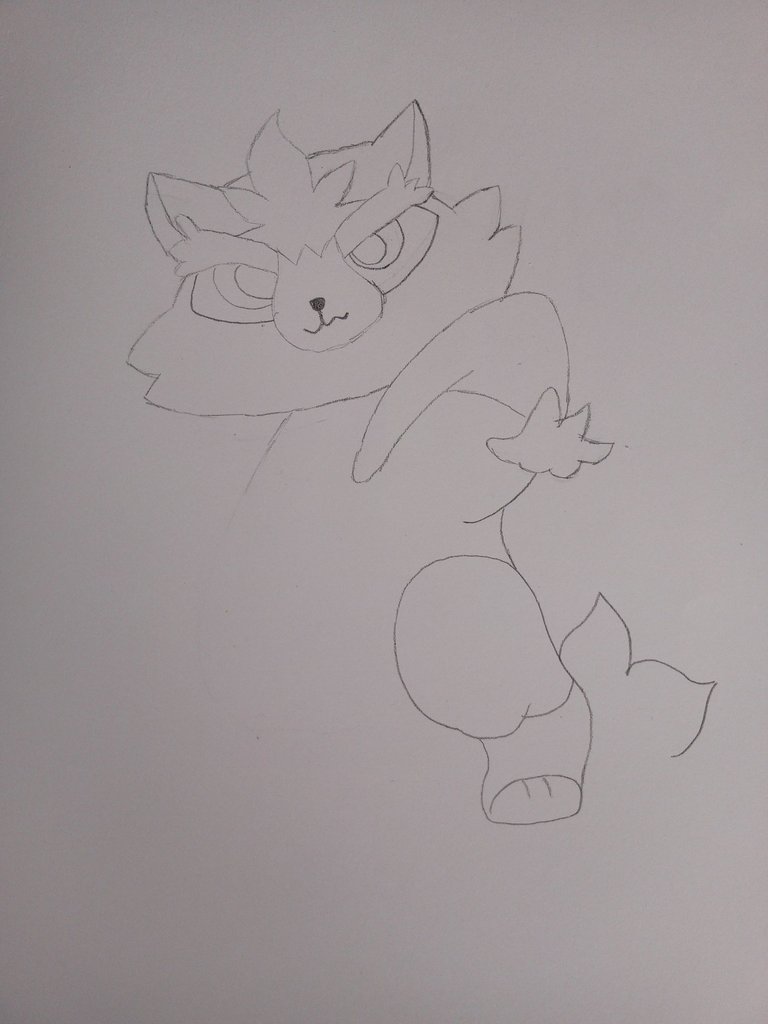
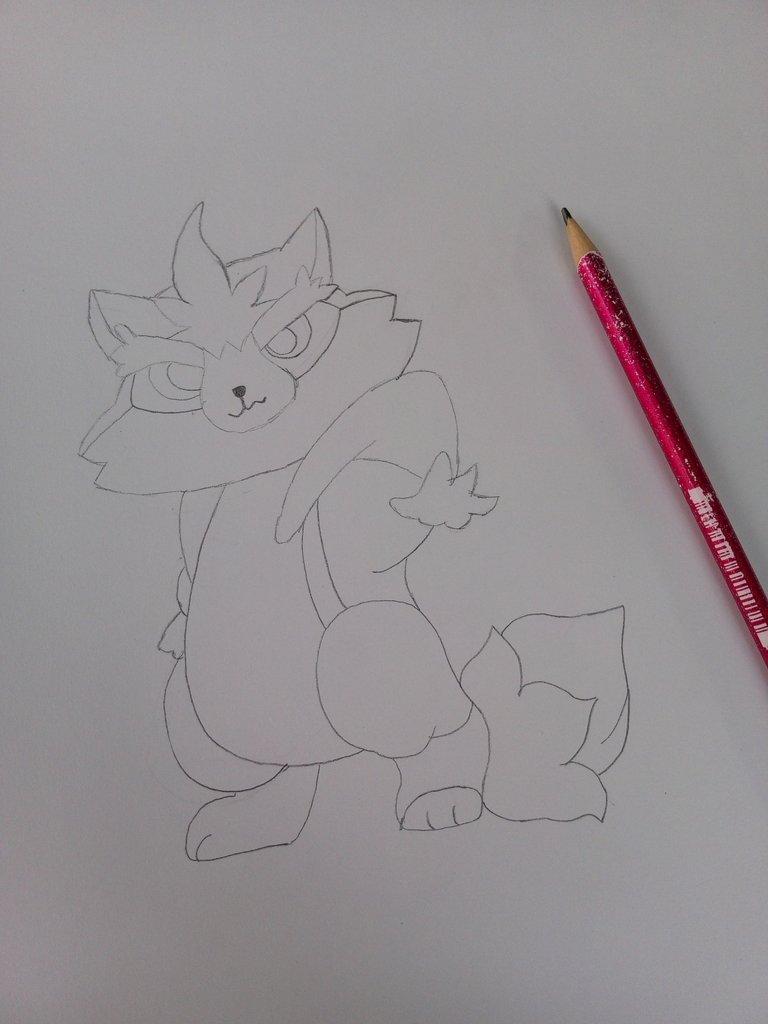
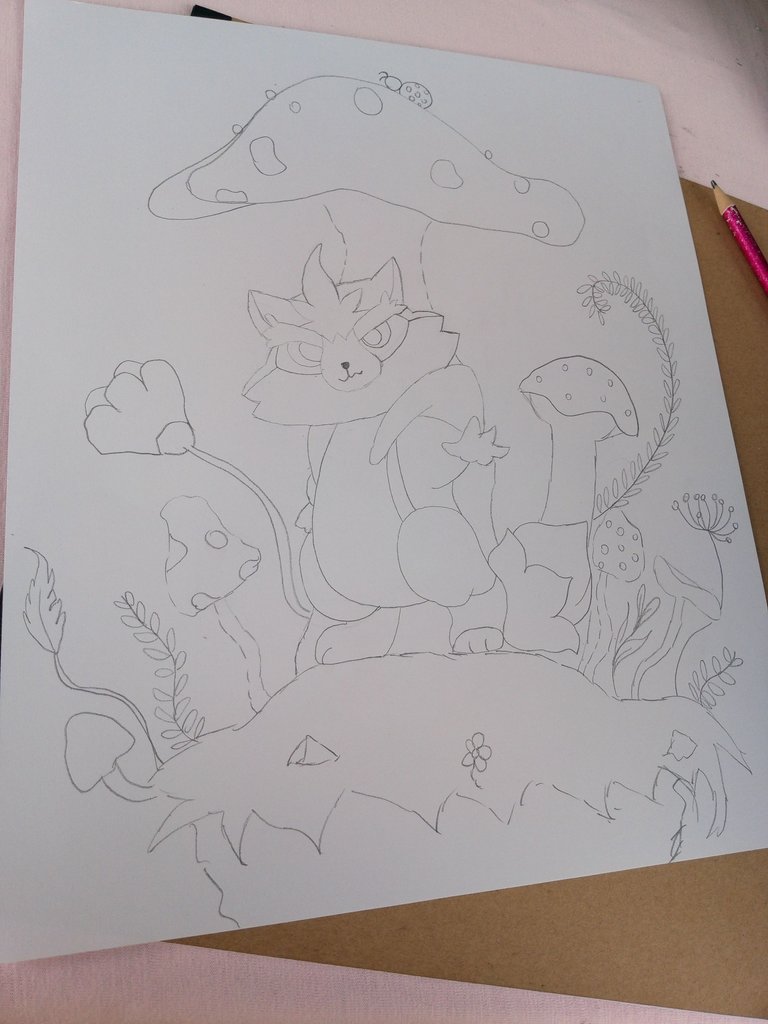
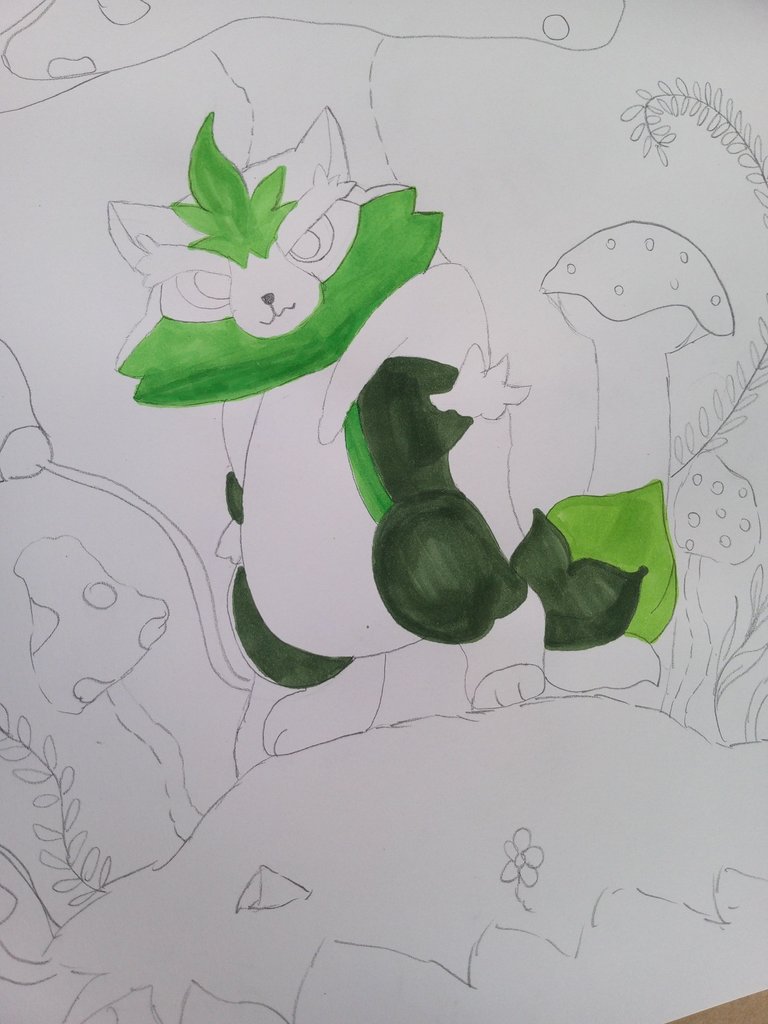
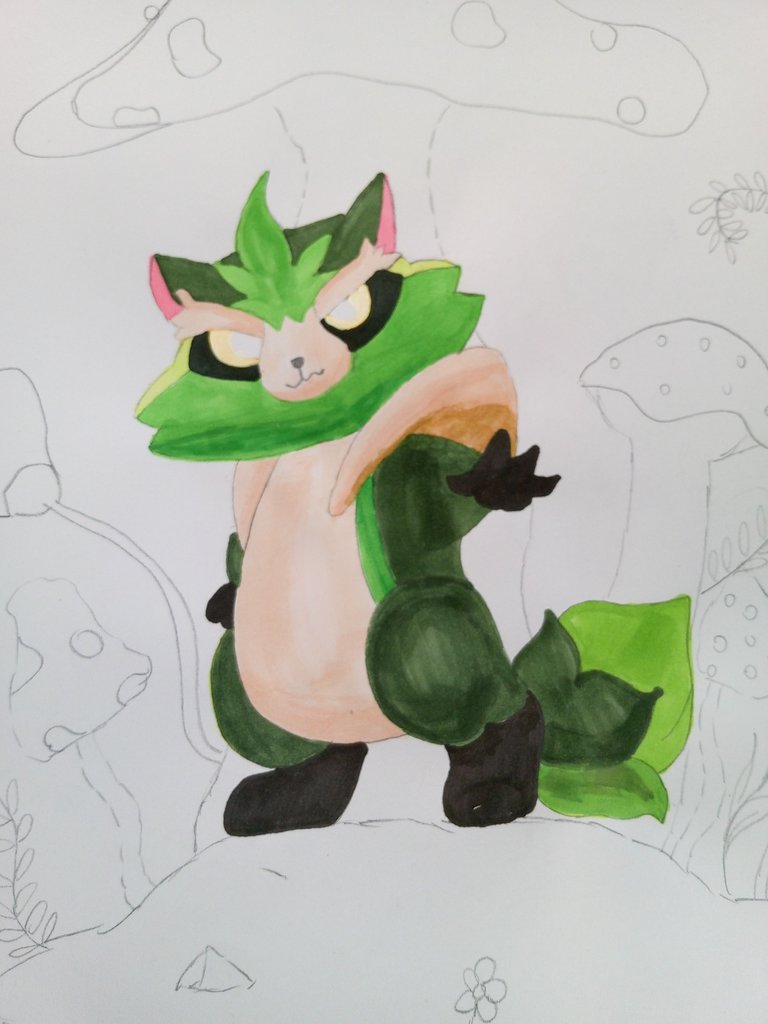
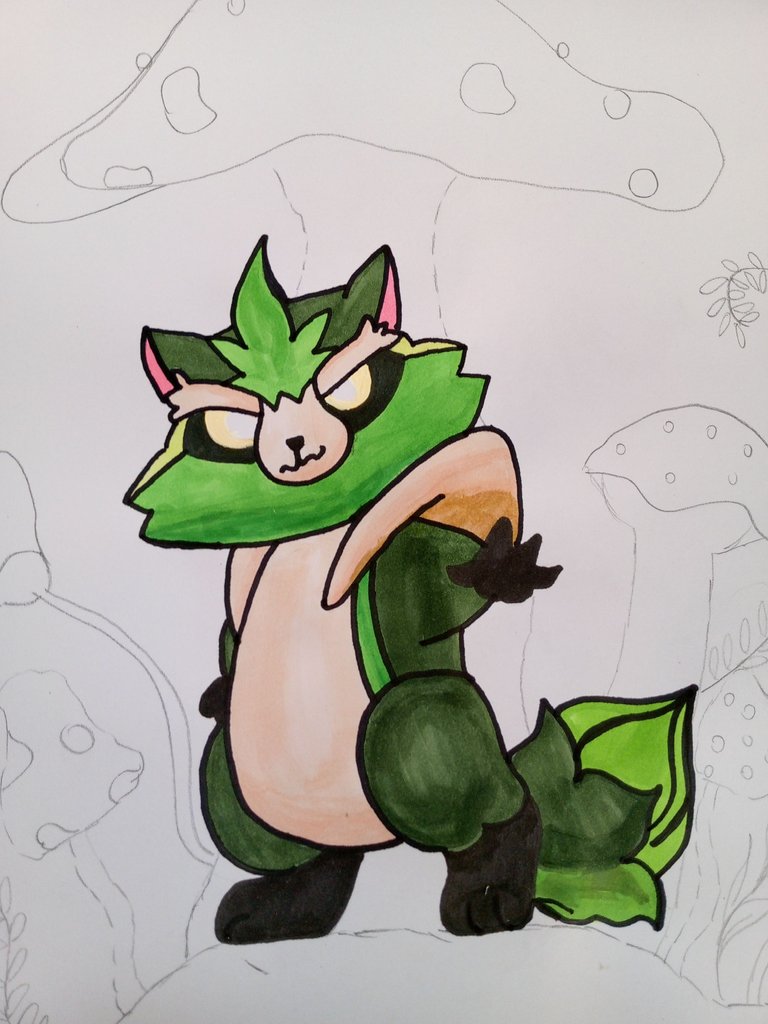
For the drawing I used smooth white cardboard, Marca Touch alcohol-based markers, regular graphite pencil and an eraser. I started by making a sketch of Grass Racoon in the middle of my cardboard, I had the original character from the Holozing Project as a reference. Then I drew an environment, including mushrooms, plants and a piece of floating earth, as a kind of podium for the main character. Next I went on to color, alternating color and base in separate areas. I also did it with the environment, it was quite fun, I love the colors I applied. Finally I just erased some baselines from the initial sketch. I confirm that the color we have placed remains intact, only the graphite lines disappear. Let's see the process:
Sketch:
 |  |  |
Grass Racoon Coloring and Shading::
 |  |  |
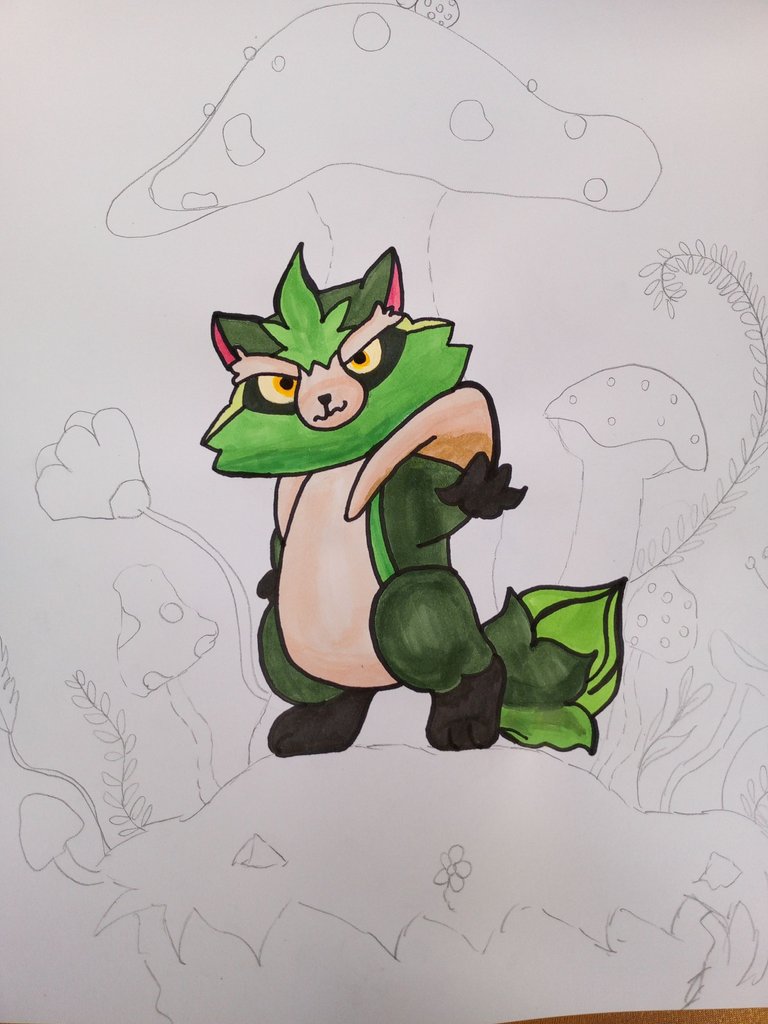
Coloring and Shadows of the Environment:
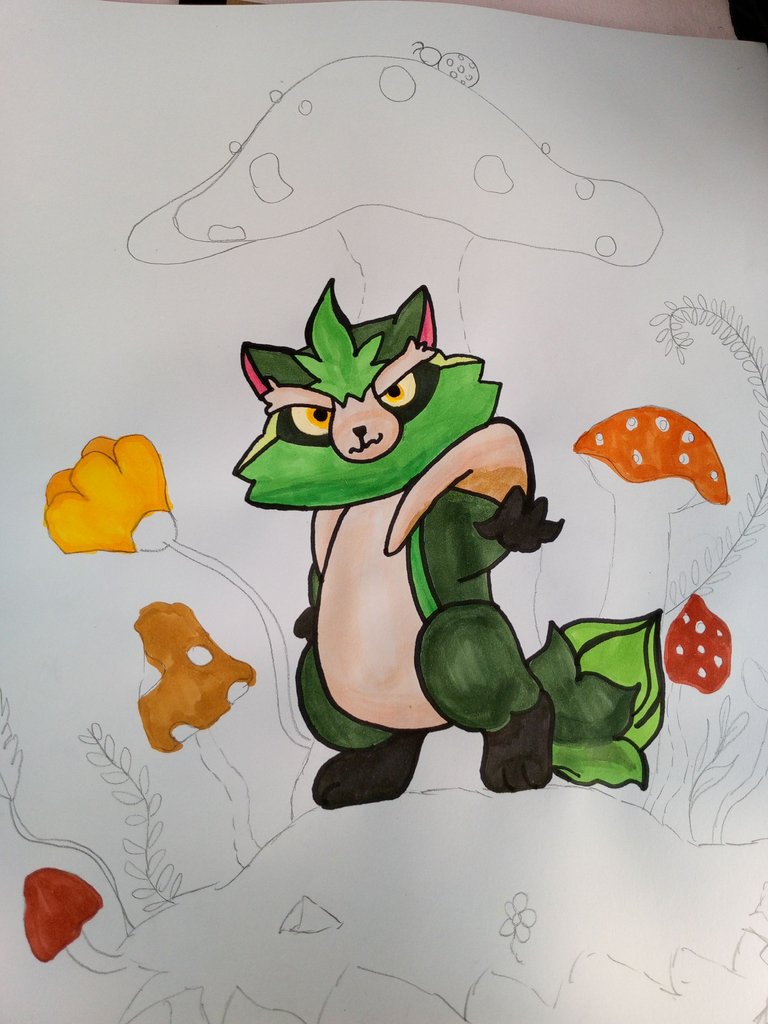 | 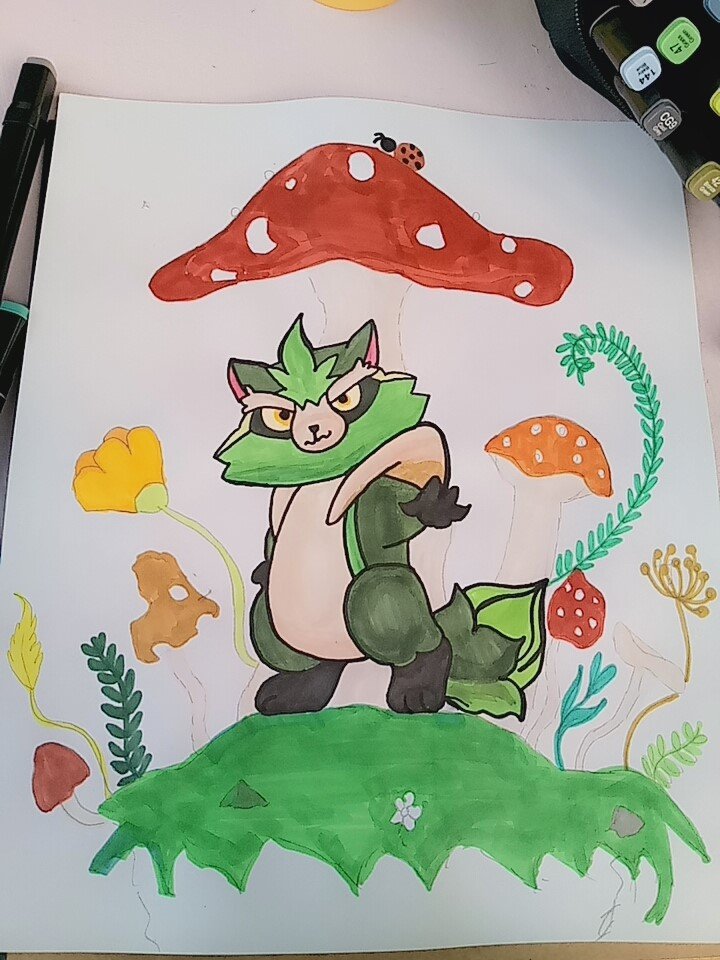 |
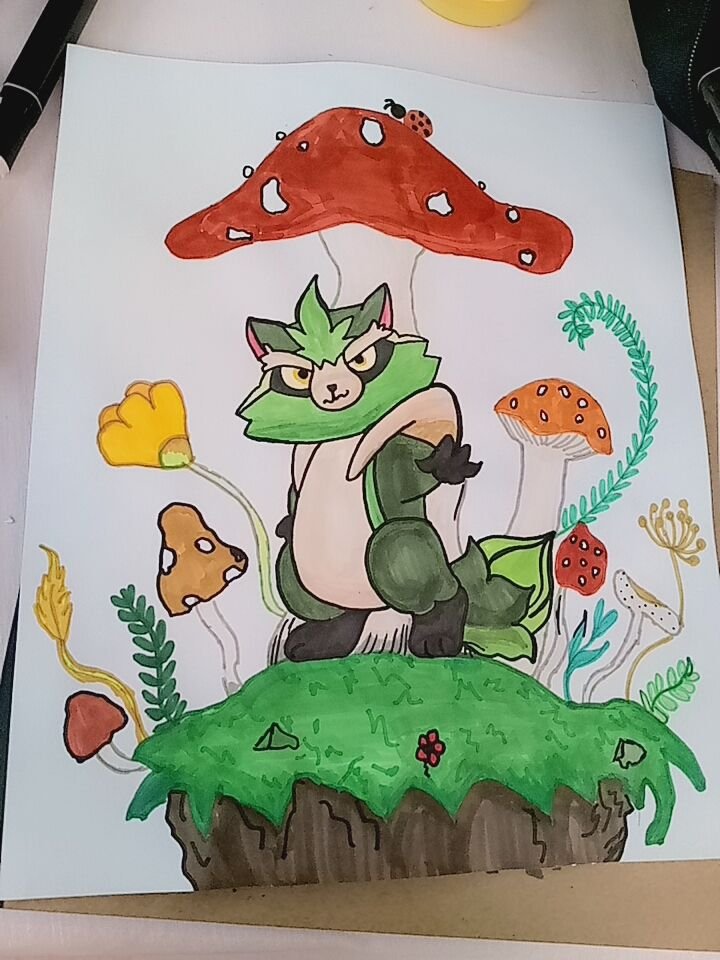
Here the final result:

Texts, photographs, screenshots and editions of my authorship/original content.
