Personalized Macramé Bracelet with flowers Inspired by Miu

in #hive-1311317 months ago

pulsera (13).jpeg


Hello #holozing community again with you in this beautiful community to share my creative project.
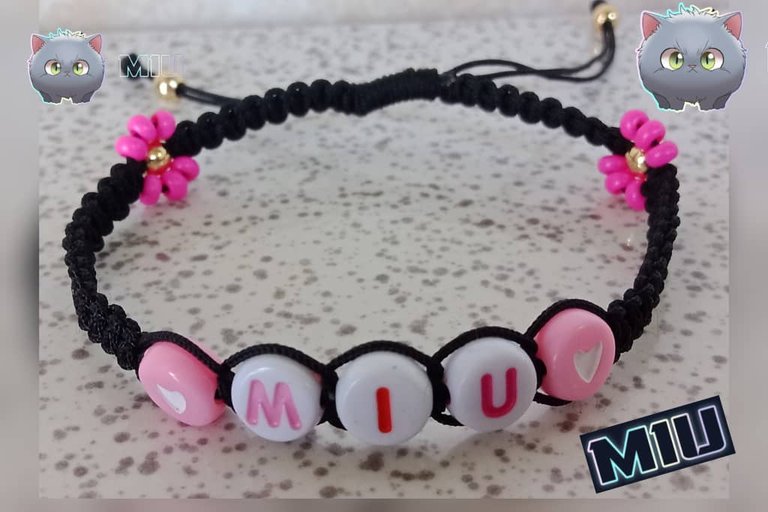
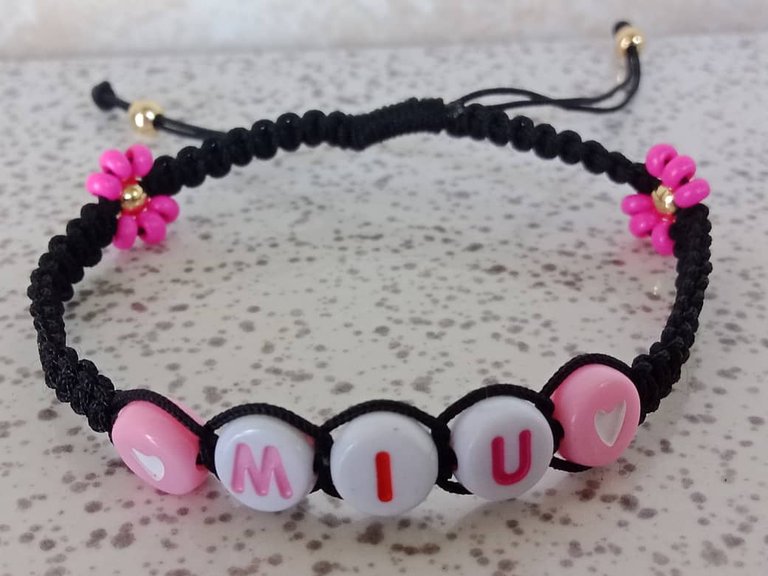
Today I want to share with you a fan art inspired by Miu. It is a beautiful macramé bracelet with flowers and flat knot. It turned out very delicate, beautiful and attractive to wear on your hand.
It is very easy to make and in just a few minutes we have it ready to wear.
God bless you and I hope you like my creation.


Hola comunidad #holozing nuevamente con ustedes en esta hermosa comunidad para compartir mi proyecto creativo.
Hoy quiero compartir con ustedes un fan art inspirado en Miu. Se trata de una hermosa pulsera macramé con flores y nudo plano. Quedó muy delicada, hermosa y atractiva para llevar en la mano.
Es muy sencilla de hacer y en tan sólo pocos minutos la tenemos listo para lucir.
Que Dios les bendiga y espero les guste mi creación.
pulsera (1).jpeg


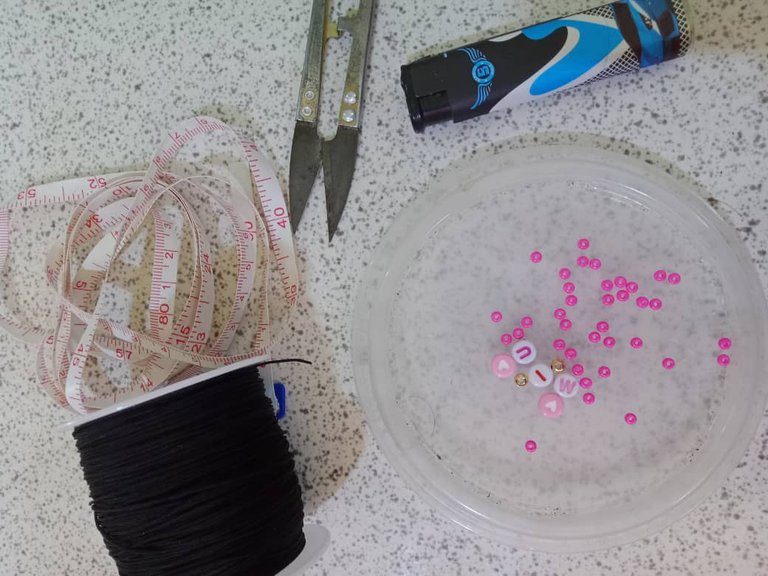
MATERIALS
Scissors
Adhesive tape
Chinese thread
Tape measure
golden ball
Lighter
beads

MATERIALES
Tijera
Cinta adhesiva
Hilo chino
Cinta métrica
balín dorado
Encendedor
mostacillas
pulsera (7).jpeg


PROCEDURE
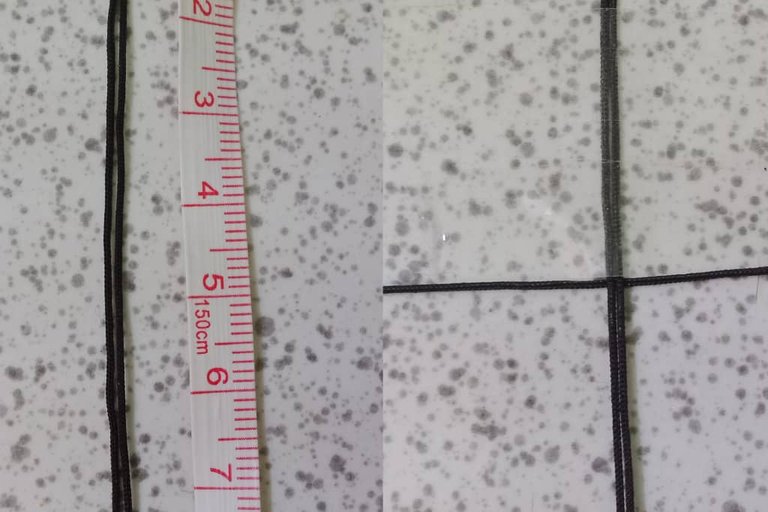
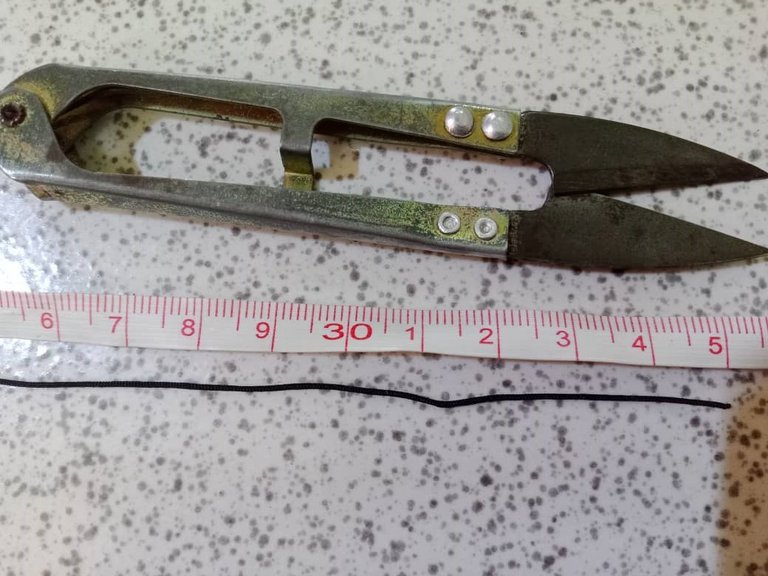
To start this delicate bracelet we are going to cut a 35cm strand of thread that we will use as a base to introduce the pellets.

PROCEDIMIENTO
Para comenzar ésta delicada pulsera vamos a cortar una hebra de hilo de 35cm que usaremos como base para introducir los balines
pulsera (6).jpeg


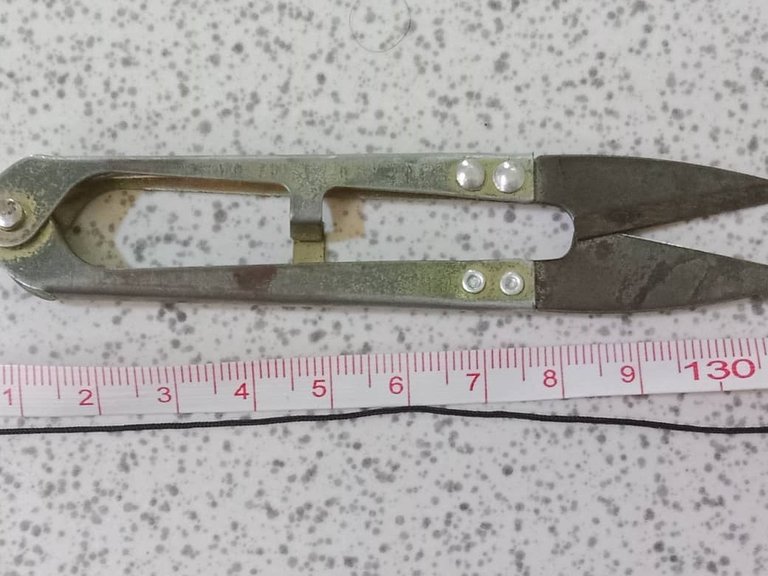
Then I cut a 130cm strand of thread that I will use to weave the flat knot and insert the beads to make the flowers.
Luego corté una hebra de hilo de 130cm que usaré para realizar el tejido nudo plano e introducir las mostacillas para hacer las flores

pulsera (5).jpeg


We start our flat weaving as follows: First we take the base yarn and measure 7cm from the top downwards and fasten with a strap, from that distance we start weaving.
Comenzamos nuestro tejido plano de la siguiente forma: Primero tomamos el hilo base y medimos 7cm de la parte superior hacia abajo y sujetamos con un tirro, a partir de esa distancia comenzamos a tejer

pulsera (11).jpeg


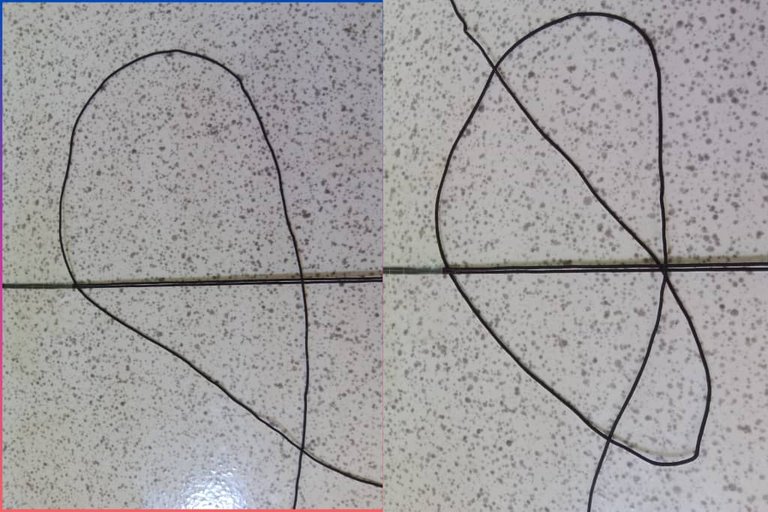
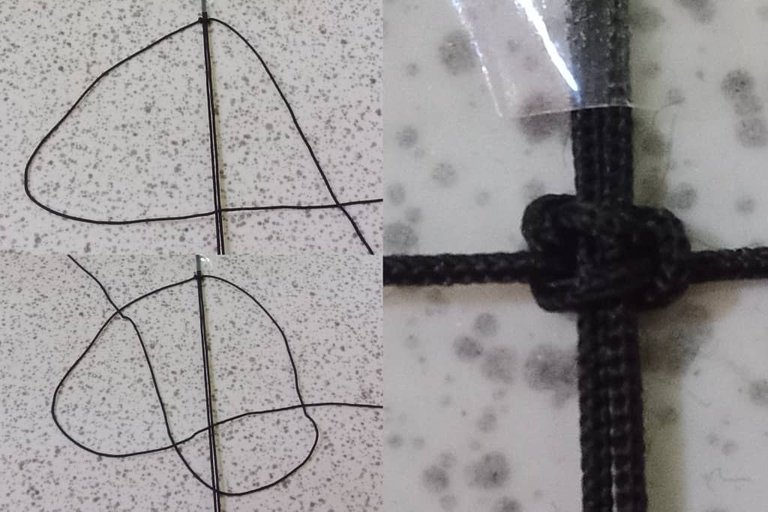
Then we pass the 120cm yarn under the base yarns and make a simple knot, the yarn must match at the ends. Then we pass the thread on the right side over the base threads in the form of a P. Then we pass the thread on the left side over the right thread that is on the left side and pass it under the base threads and pull it through the inside or ring of the thread as shown in the image, then we press and tie the knot
Luego el hilo de 120cm lo pasamos por debajo de los hilos base y hacemos un nudo sencillo, el hilo debe coincidir por las puntas. Después pasamos el hilo del lado derecho por encima de los hilos base en forma de P. Después pasamos el hilo del lado izquierdo por arriba del hilo derecho que se encuentra en el lado izquierdo y lo pasamos por debajo de los hilos base y lo sacamos por el interior o argolla del mismo como se muestra en la imagen, después presionamos y hacemos el nudo

pulsera (12).jpeg


After this step, now, we pass the thread on the left side above the base threads and form a kind of four, then we pass the thread on the right side above the left thread that is on the right side, then we pass it under the base threads and take it out through the inside of the ring on the left side, then pressed so that we have a knot as shown in the image
Después de realizar ese paso, ahora, pasamos el hilo del lado izquierdo por arriba de los hilos base y formamos una especie de cuatro, luego pasamos el hilo del lado derecho por encima del hilo izquierdo que se encuentra en el lado derecho , después lo pasamos por debajo de los hilos base y lo sacamos por el interior de la argolla del lado izquierdo, después presionados para que nos quede un nudo como se nos muestra en la imagen

pulsera (9).jpeg


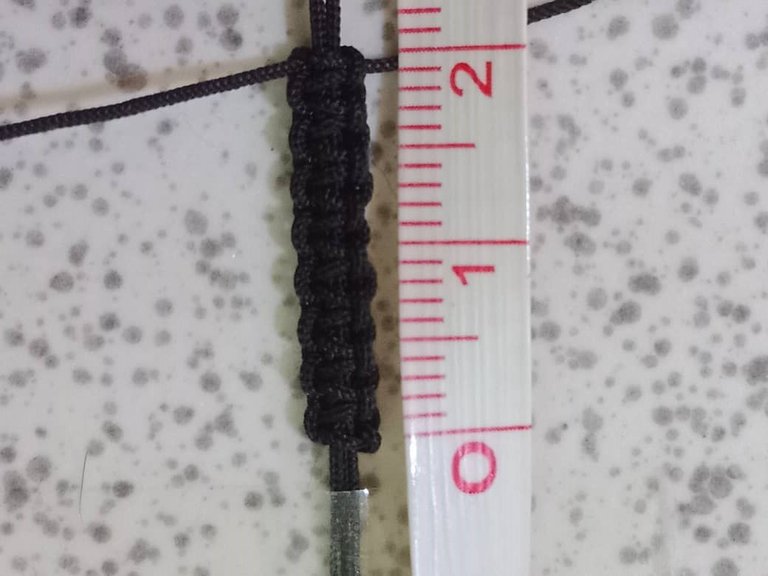
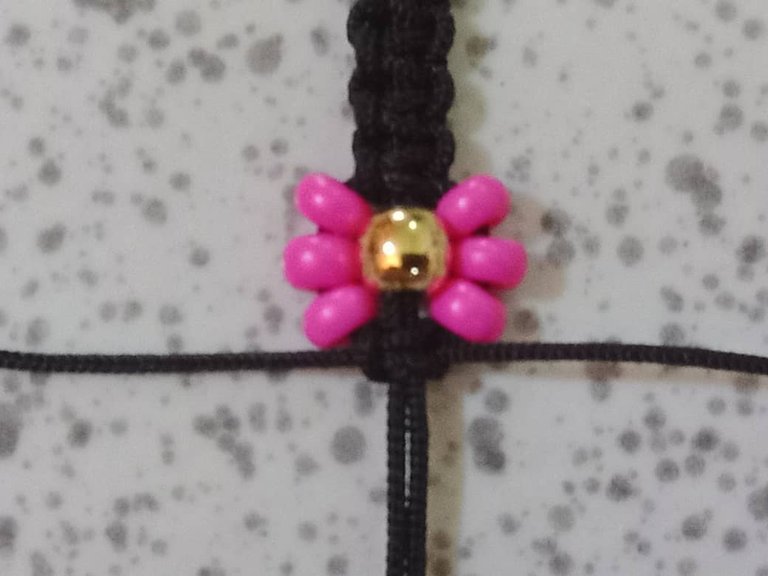
After making the flat knot at a distance of 2 cm, we introduce a ball in the base threads, then in the threads on both sides we place three beads, then we make a flat knot to form the flower.
Después de hacer el nudo plano a una distancia de 2 cm, introducimos en los hilos base un balín, luego en los hilos de ambos lados colocamos tres mostacillas , a continuación, hacemos un nudo plano para formar la flor

pulsera (4).jpeg

pulsera (3).jpeg


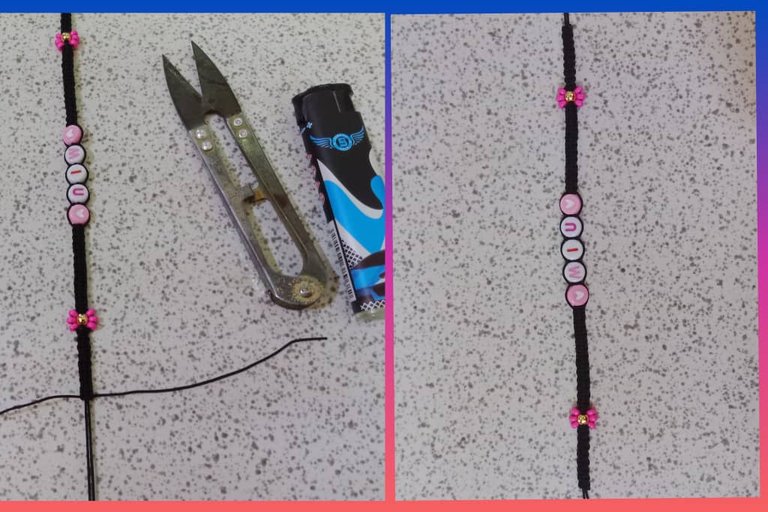
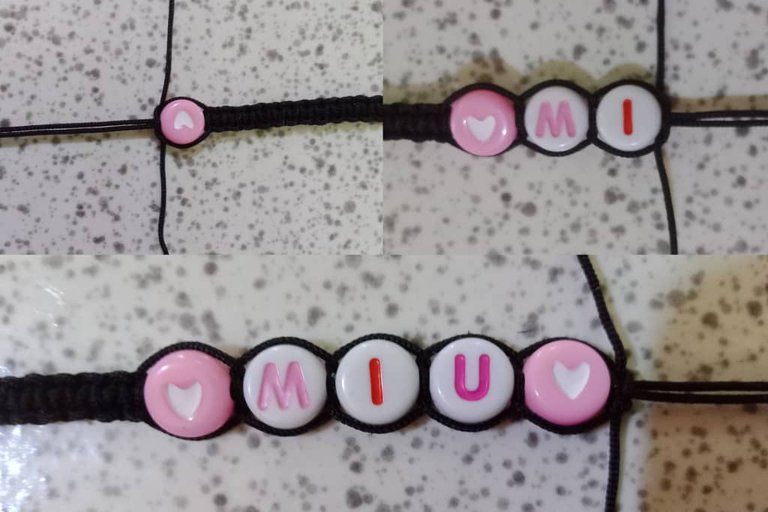
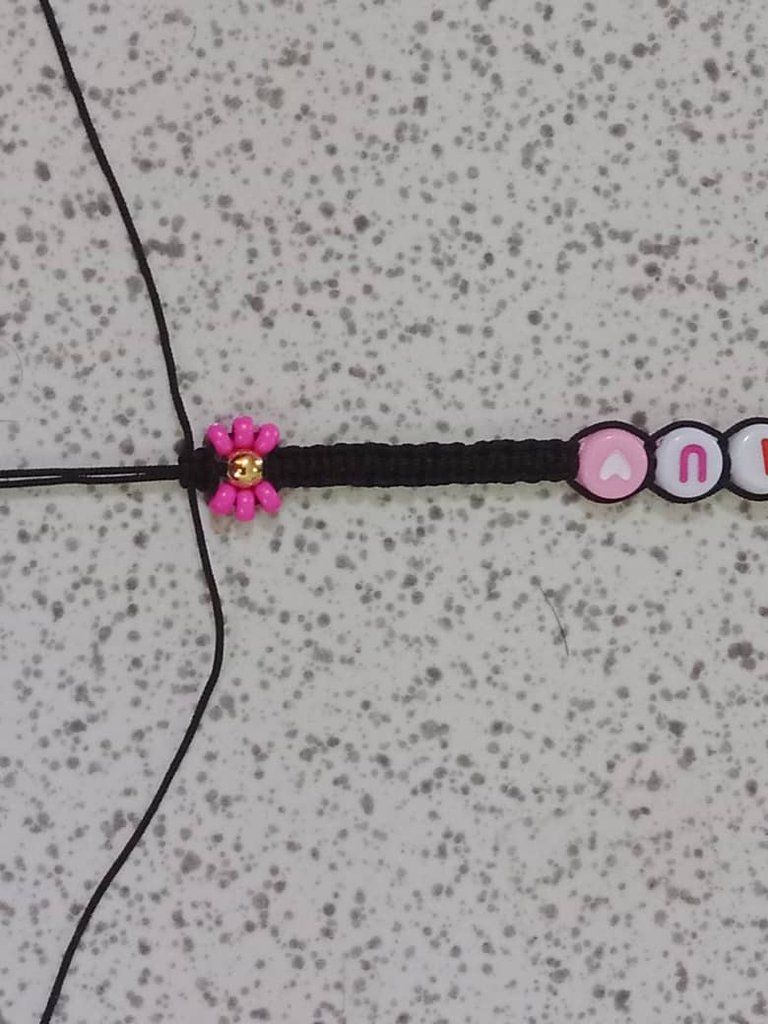
We continue making the same flat knot until we reach a distance of 3cm where we introduce a bead with a heart and then the beads with the name of the character (Miu) and we close with a heart bead.

Seguimos realizando el mismo nudo plano hasta llegar a una distancia de 3cm donde introducimos una cuenta con un corazón y después las cuentas con el nombre del personaje(Miu) y cerramos con una cuenta de corazón
pulsera (8).jpeg


After the name (miu) we continue making the same flat knot until we reach a distance of 3cm where we will make another flower.
Después del nombre (miu) seguimos realizando el mismo nudo plano hasta llegar a una distancia de 3cm donde realizaremos otra flor

pulsera (2).jpeg


Once the weaving was finished at the desired distance, I cut the excess threads with a scissors and sealed them with a lighter. Finally, we made a flat knot to make the bracelet's locking loop. We cut the excess threads and sealed
Una vez terminado el tejido a la distancia deseada con una tijera corté los hilos sobrante y con un encendedor sellé. Finalmente realizamos un nudo plano para hacer el trancadero de la pulsera. Cortamos los hilos sobrante y sellamos

pulsera (10).jpeg


This is how our beautiful bracelet for Miu turned out

Así quedó nuestra preciosa pulsera para Miu

pulsera (1).jpeg


Translated with https://www.deepl.com/translator

     Todas las imágenes son de mi autoría

      All the images are of my authorship
Sort:  

Congratulations @evelin71! You have completed the following achievement on the Hive blockchain And have been rewarded with New badge(s)

You published more than 90 posts.
Your next target is to reach 100 posts.

You can view your badges on your board and compare yourself to others in the Ranking
If you no longer want to receive notifications, reply to this comment with the word STOP

Check out our last posts:

Feedback from the May Hive Power Up Day
Hive Power Up Month Challenge - April 2024 Winners List
Hive Power Up Day - May 1st 2024