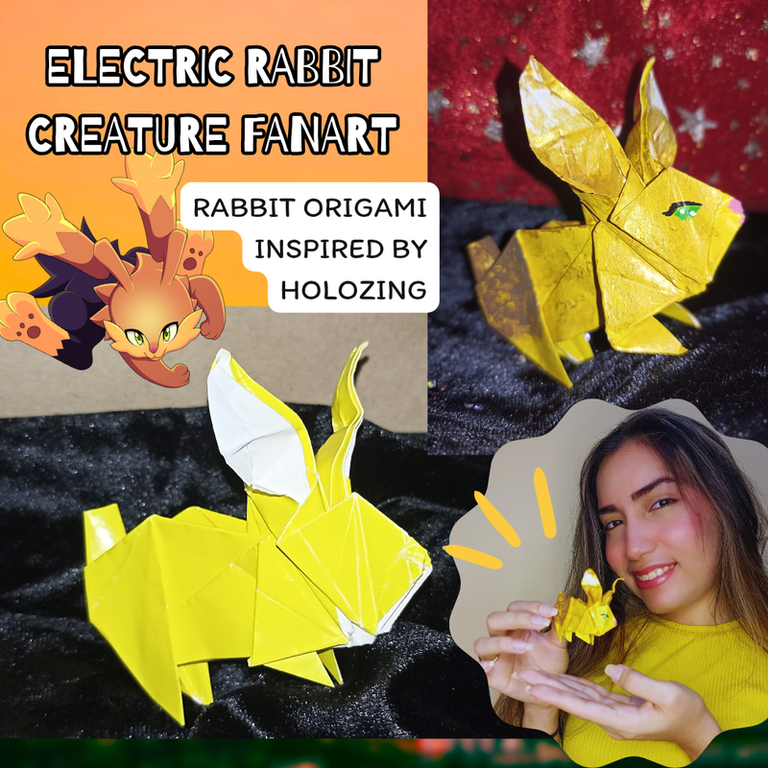

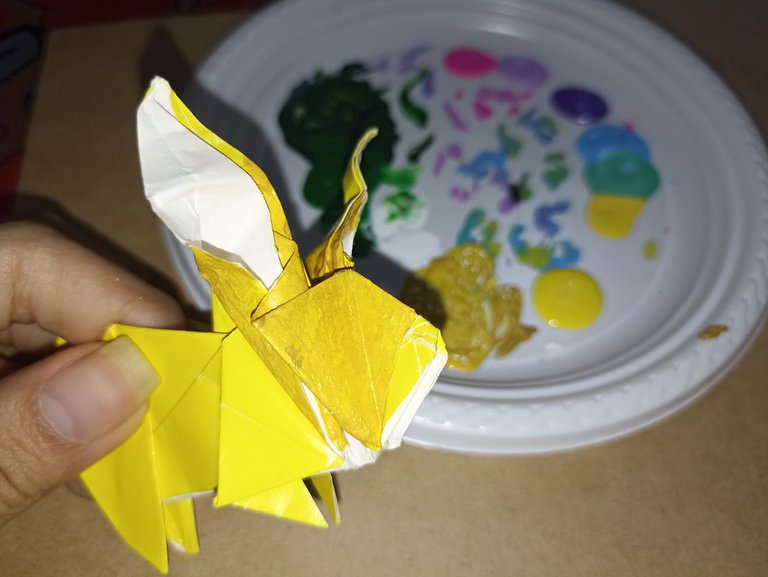
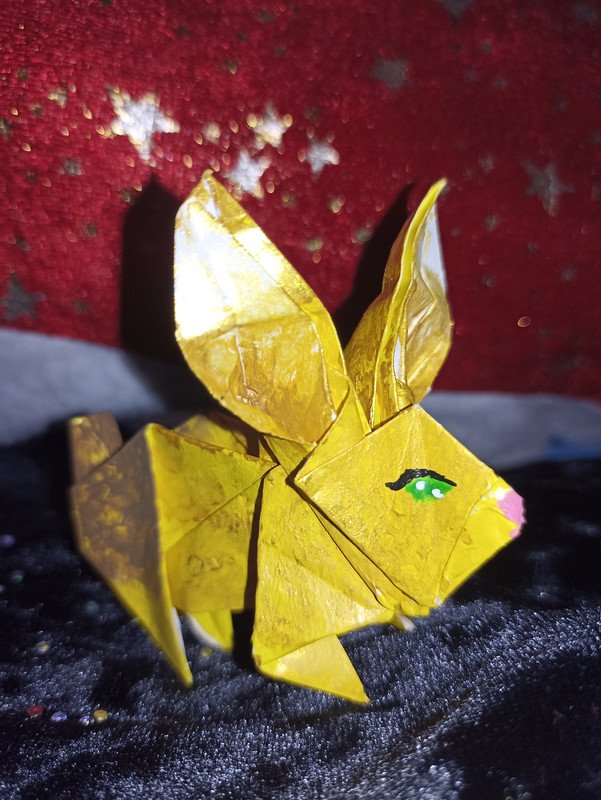
Hello friends of Hive ♥️ welcome to my blog to all who visit me this time to share with you a new step by step or rather a creative process that was more complex than I thought, and after doing it I learned that you should never underestimate the art of origami, those who have tried it will understand what I mean 😅. In the end I think that the result was not so bad, although I think that if I had done it with another type of paper, the right one to work this origami technique would have been much better, but to have been a project to start and practice is fine 😁👍🏻. Why I decided to make an origami in the shape of a rabbit? Because this fanart is inspired by the electric rabbit, one of the initial creatures of the Holozing game, so I tried to use among the materials the yellow color, adding at the end a personalized detail with paints 🤭⚡✨, so that there was no doubt that my work was inspired by this character. So below I will show you the whole creative process of this ingenious origami in the shape of a rabbit inspired by the electric bunny.

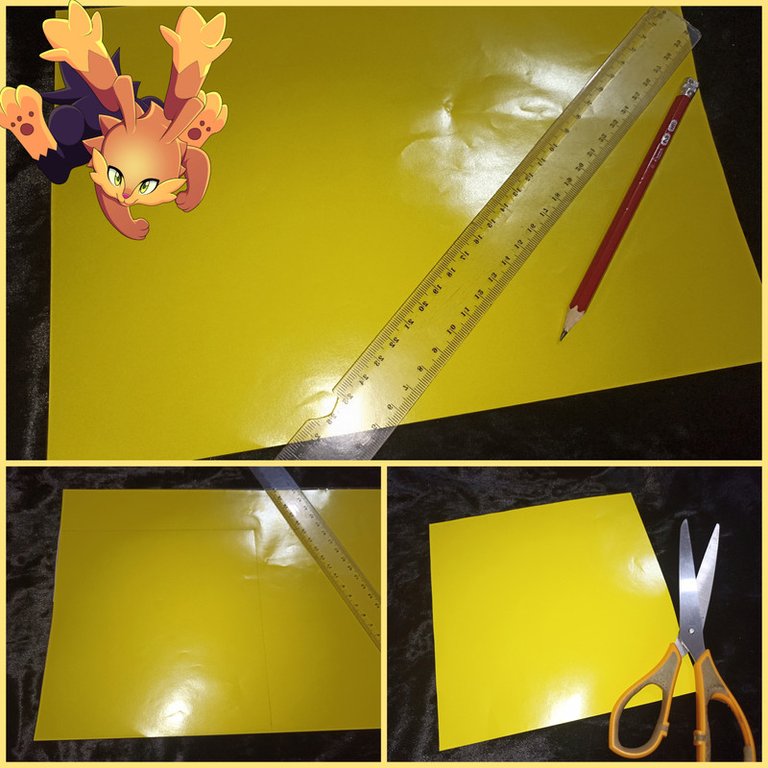
🐰⚡Materials⚡🐰
- Lustrillo paper (cardboard)
- Scissors
- Pencil
- Ruler


First you have to start by cutting out a square of 17.5x17.5 cm on our sheet, I used lustrillo paper which is a manageable paper, and also has two sides, that is, two colors on both sides. Another good option would also be cardboard but a very thin one that allows us to make several folds easily, because for origami a little more complex like this one, we will need it, just as advice I recommend you to have a lot of patience and practice above all, do not get frustrated at the first attempt because if you continue I am sure you will succeed in making figures like these or even more impressive.
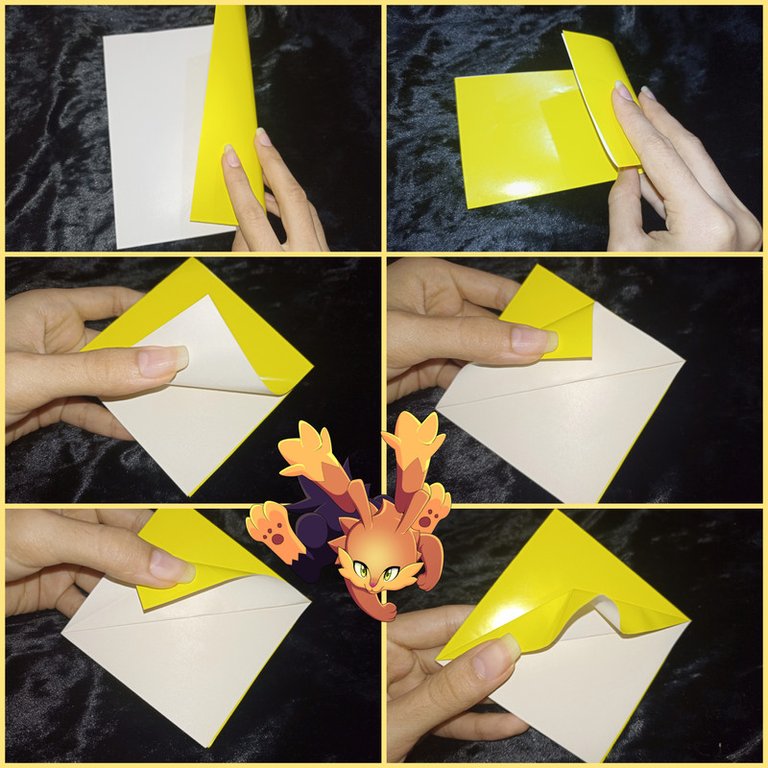
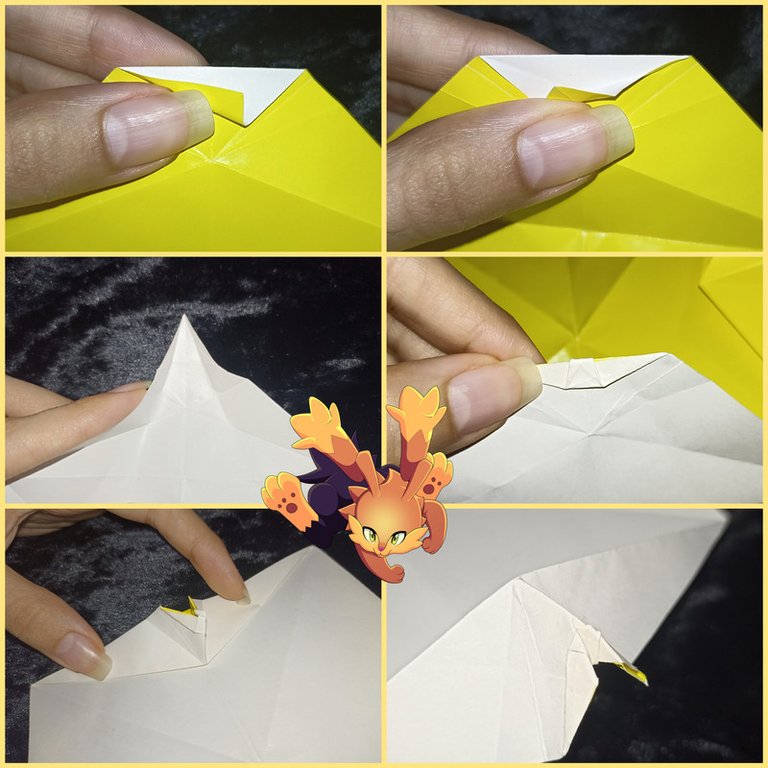
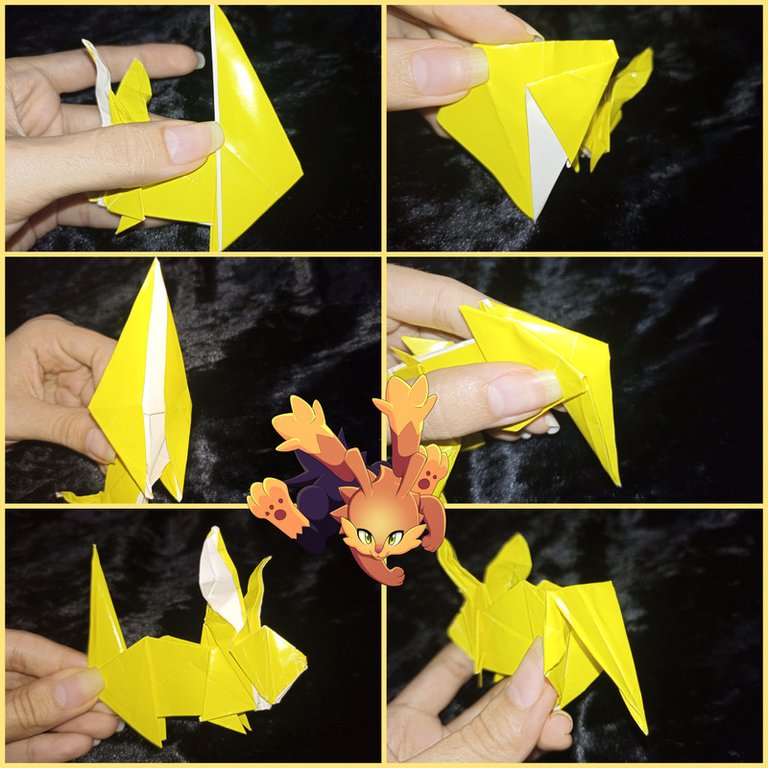
The next thing will be to make the folds by folding the paper in the direction I show you, as I tell you, it really takes a lot of practice not to die trying 😅.
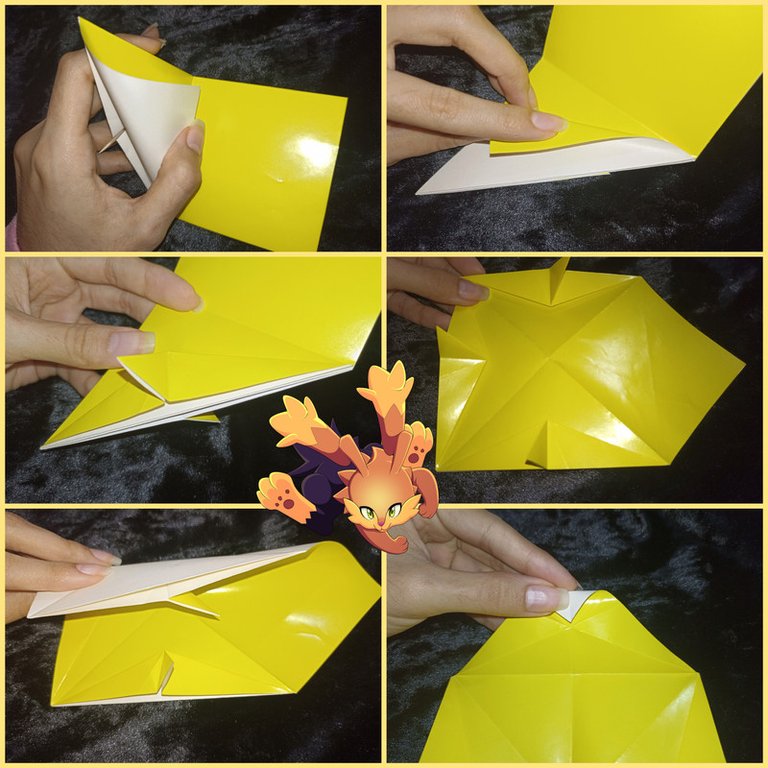

More than a tutorial this could be considered a creative process 😁, in the previous part we are basically already forming the body and part of the head, and here we continue shaping it, creating details that later will make a lot of sense in the figure, such as the ears, the front and back legs.
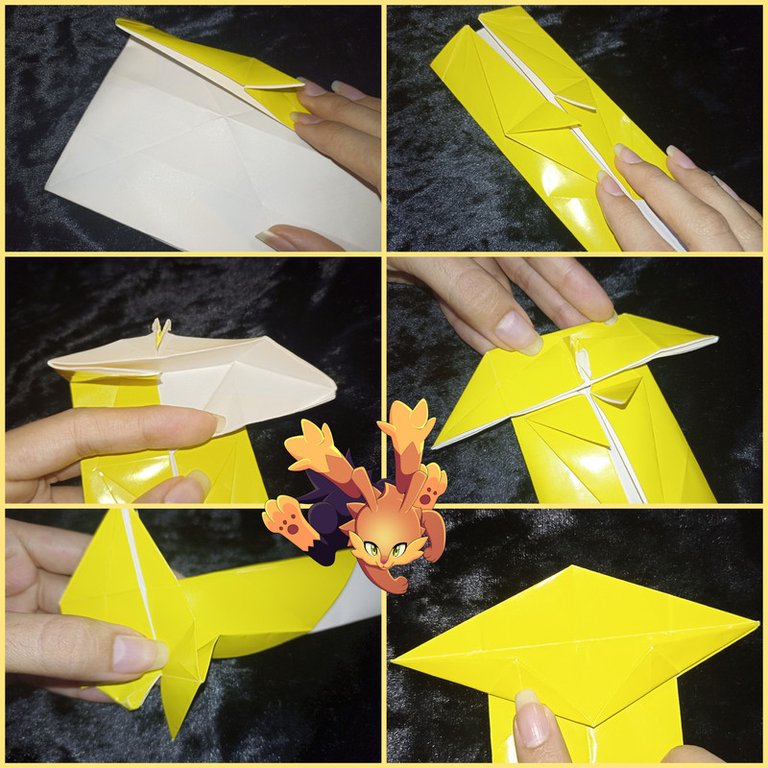
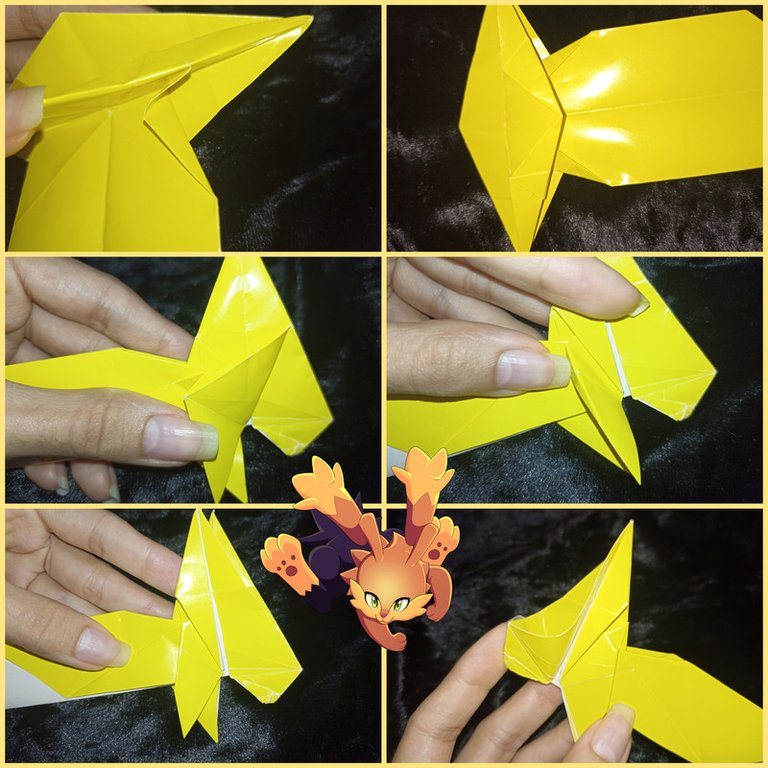

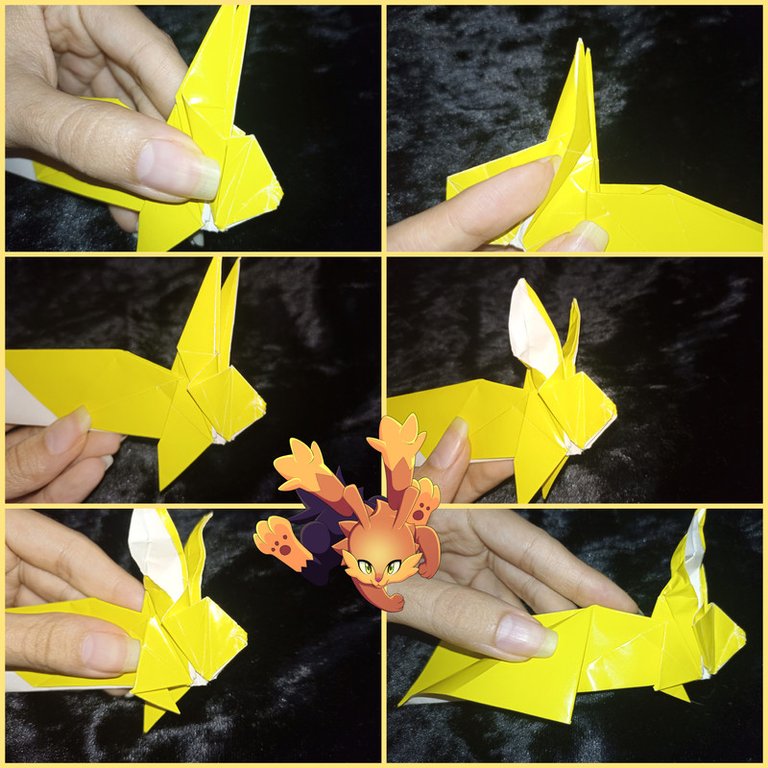
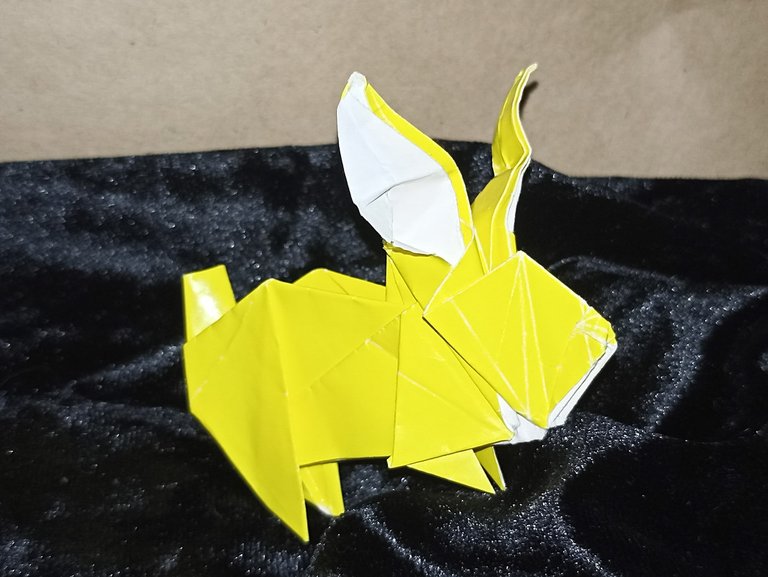
One of the things I liked most about this model is that it had a resemblance to the electric creature, or a bit of a mix of the two 😅, the normal one and the one from the game. Once the front legs, back legs, head and ears are formed, only the tail is missing, which is tiny. And after several folds I show you the final result, as I said what I liked most about this paper is that as it has two colors, at the end there is a very nice contrast between yellow and white especially in the ears, but this is if you want to leave the figure there, not like me who decided to take it to the next level by adding color and make it as similar as possible to the electric creature 😁.
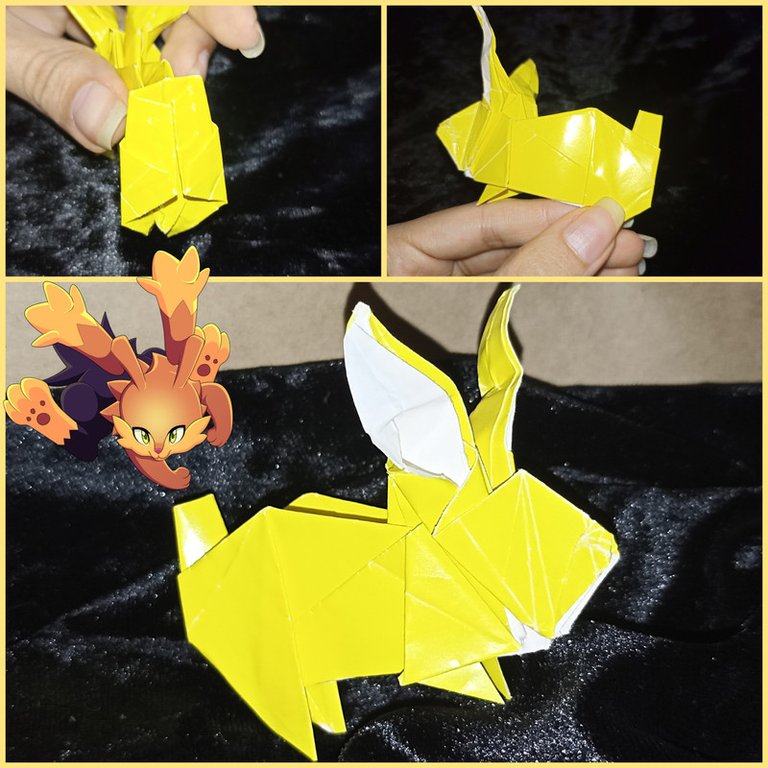

And this is how our finished project would look like with my personal touch 😄...I hope you liked it, here I leave you the whole creative process so that if you want you can be inspired in one you too, with love I say goodbye and it will be until next time !💕


All content is my own and images are my property
Camera: Redmi note 10s
I use an LED light ring as a base for my phone to take pictures of myself

Editing and Separator
App PicMonkey - App Picsart - App Canva
Translator
DeepL


