Hello dear friends of Hive, I hope you are well. Water Hearle invites us to admire the beauty of water, algae, oysters and snails.
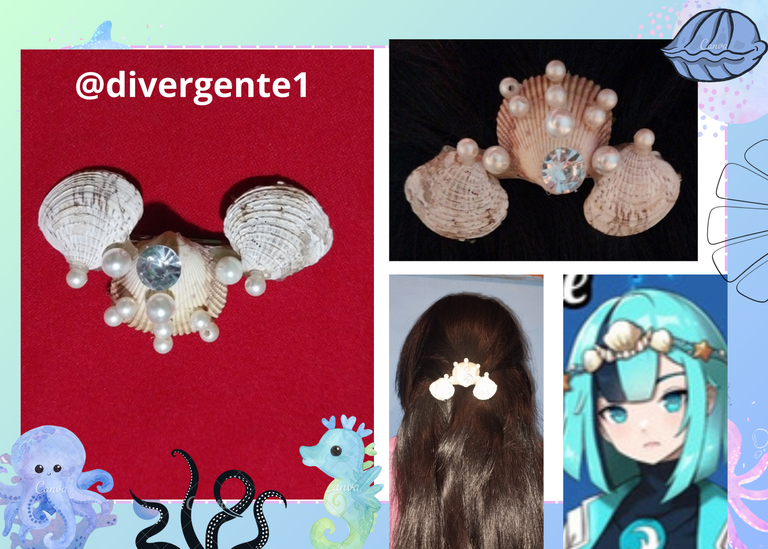
This time I wanted to make a fantasy crochet of oyster shells and pearls. I hope you like it!
These are the materials:
- 3 seashells
- 3 large pearls 8 small pearls
small - A crystal
- A hook
- Hot Silicon
Step by Step
1
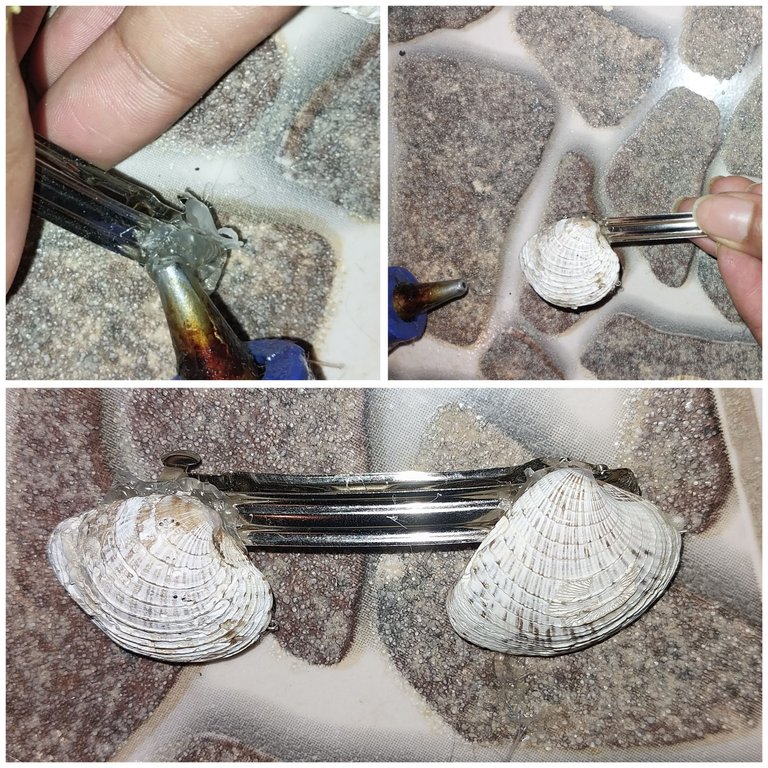
The first thing to do is to take the hook or comb and put two drops of silicone on both ends of it, then glue the oysters on both sides, facing downwards from the hook.
2
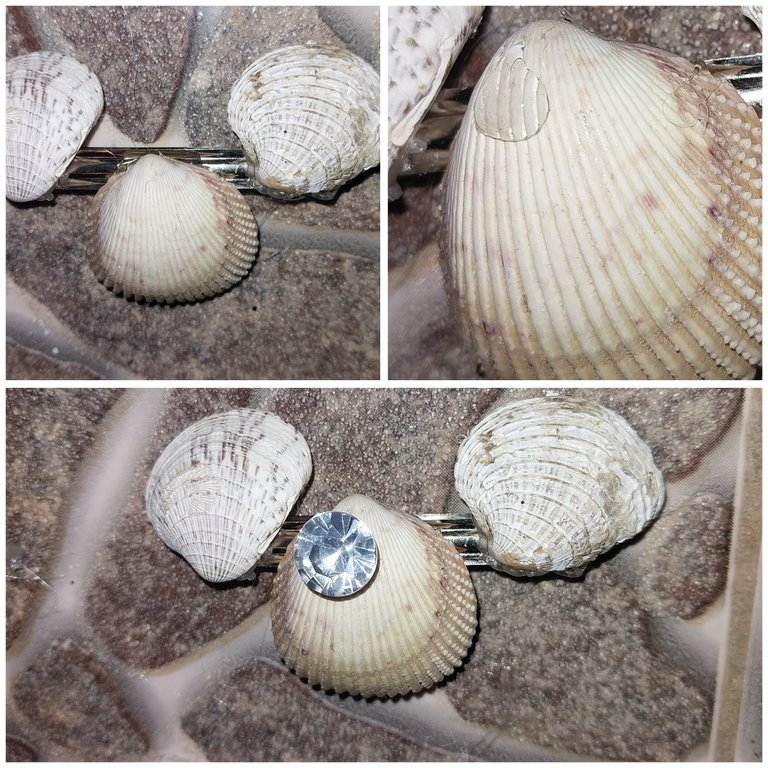
Next we must glue the biggest oyster in the center of the hook and on this we are going to put a drop of hot silicon and glue the crystal.
3
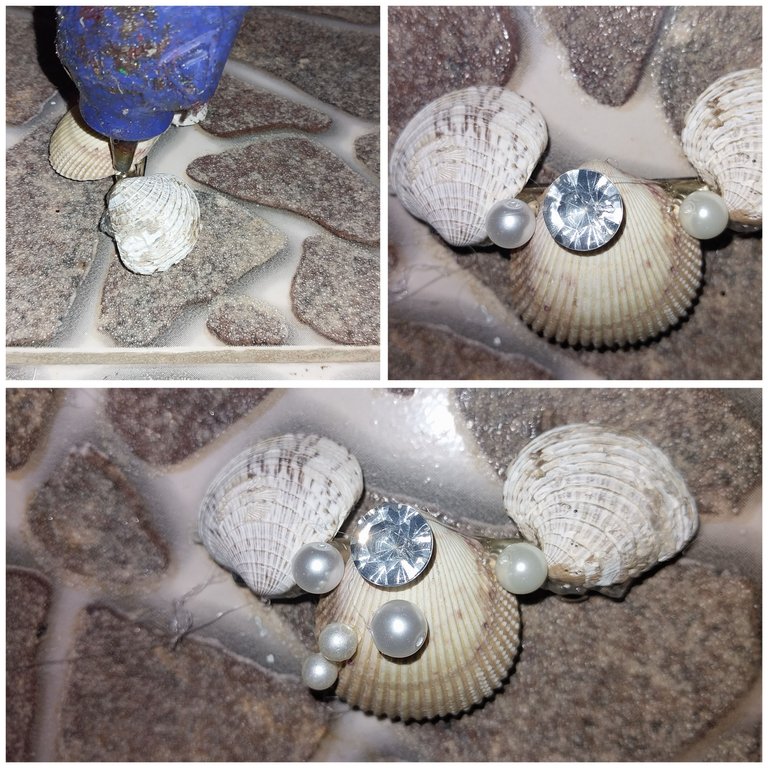
Then we glue the big pearls in the empty spaces between the oysters. So we glue two pearls in both spaces.
Then we glue one pearl in the center of the biggest pearl.
And we glue the small pearls in columns of two by two.
4
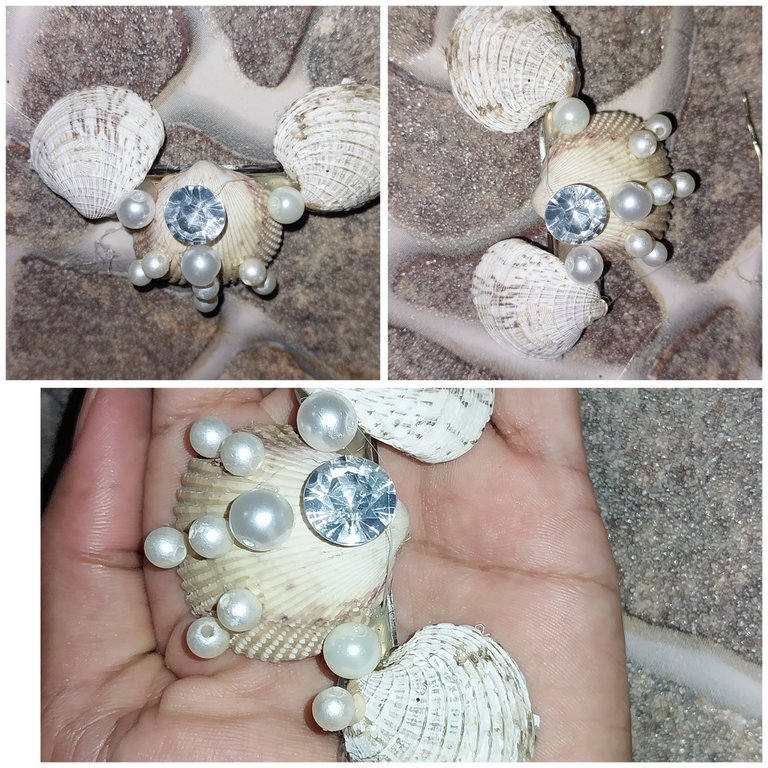
This would be the order for the gluing of the small pearls.
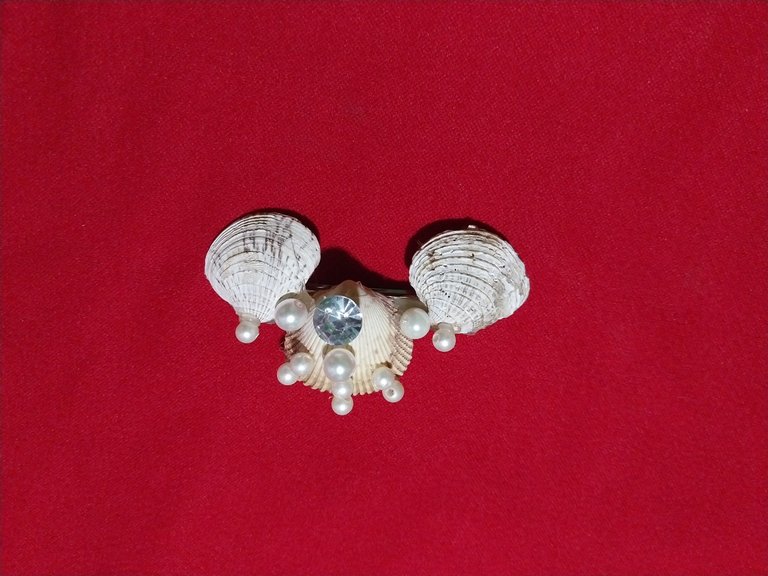
This is the final result, I hope you like it.
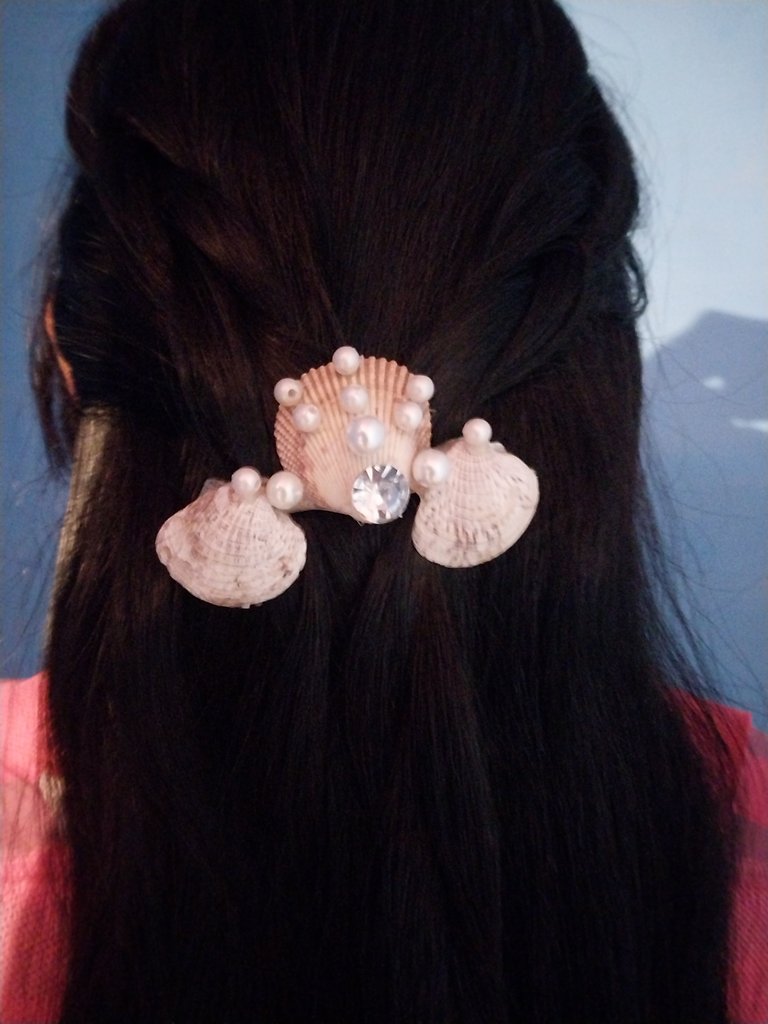
This is how we can use our hair comb. A very beach style.
Thank you very much!
- Las imágenes me pertenecen
- Traductor: Deelp traslator
- Edicion: Canva
Hola queridos amigos de Hive, espero que estén bien. Water Hearle nos invita a admirar la belleza del agua, de las algas, las ostras y caracoles.

En esta oportunidad quise realizar una gancheta de fantasía de conchas de ostras y perlas. Espero les guste!
Estos son los materiales:
- 3 Conchas marinas
- 3 perlas grandes 8 perlas
pequeñas - Un cristal
- Un gancho
- Silicon Caliente
Paso a Paso
1

Lo primero que debemos hacer es tomar el gancho o la peineta y echar sobre esta dos gotas de silicon en ambos extremos de esta, luego pegar las ostras en ambos lados, con dirección hacia abajo del gancho.
2

Seguidamente debemos pegar la ostras más grande en el centro del gancho y sobre este vamos a echar una gota de silicon caliente y pegamos el cristal.
3

Después debemos pegar las perlas grandes en los espacios vacíos entre las ostras. Así pegamos dos perlas en ambos espacios.
Seguidamente pegamos una perla en el centro de la perla más grande.
Y pegamos en columna de dos en dos las perlas pequeñas.
4

Este sería el orden para el pegado de las perlas pequeñas.

Este es el resultado final, espero les guste.

Así podemos usar nuestra peineta para el cabello. Un estilo muy playero.
Muchas gracias!
- Las imágenes me pertenecen
- Traductor: Deelp traslator
- Edicion: Canva