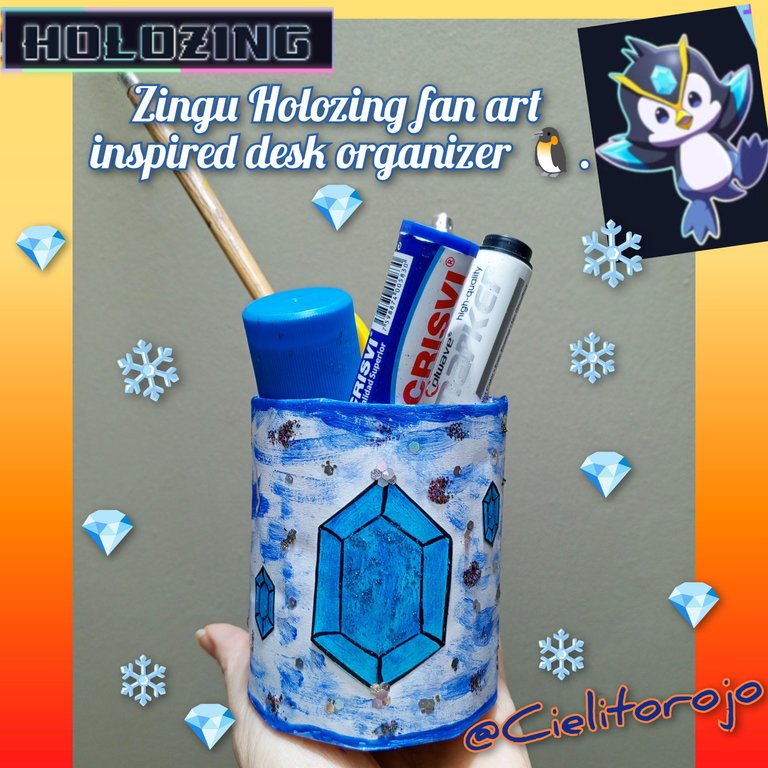
A big hug to all of you my dear friends readers, I wish you are having many successes and creativity in the creation of your content, I am pleased once again to share in this fabulous community #holozing this time I want to share with all of you, the creation of a desktop organizer inspired by Zingu🐧, one of the fan art that make up the characters of the games, which is generating expectations and we are eager to start, so I invite you to join me until the end of this publication.
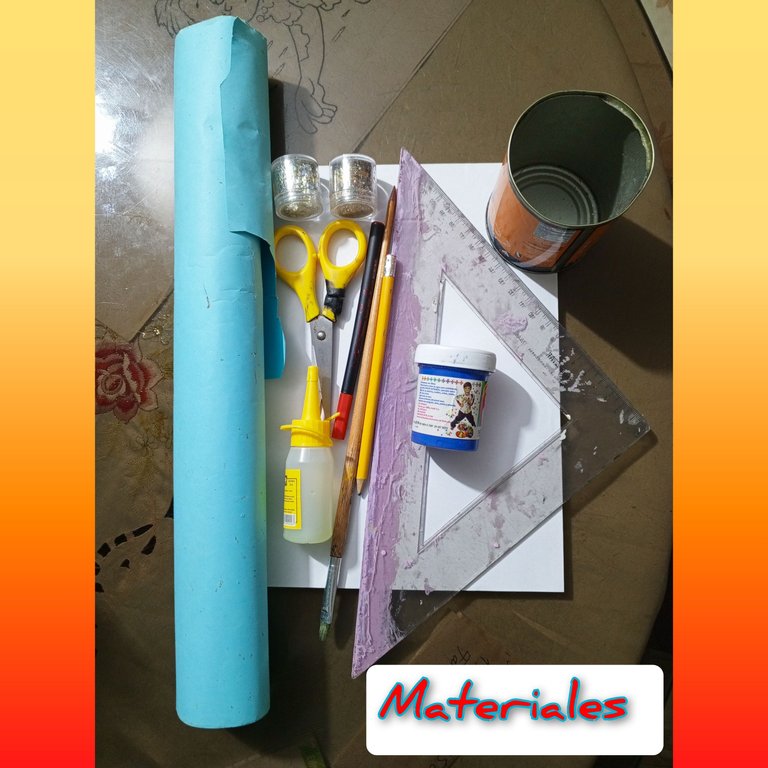
💎🐧Materials🐧💎
White sheet of paper.
Graphite pencil.
Scissors.
Glue.
Ruler.
Paintbrush.
Liquid silicone.
Blue cardboard.
Recycled metal can.
Silver glitter frosting.
Iridescent frosted glitter.
Blue cold paint.
Black fine marker.
💎🐧Step by Step 🐧💎
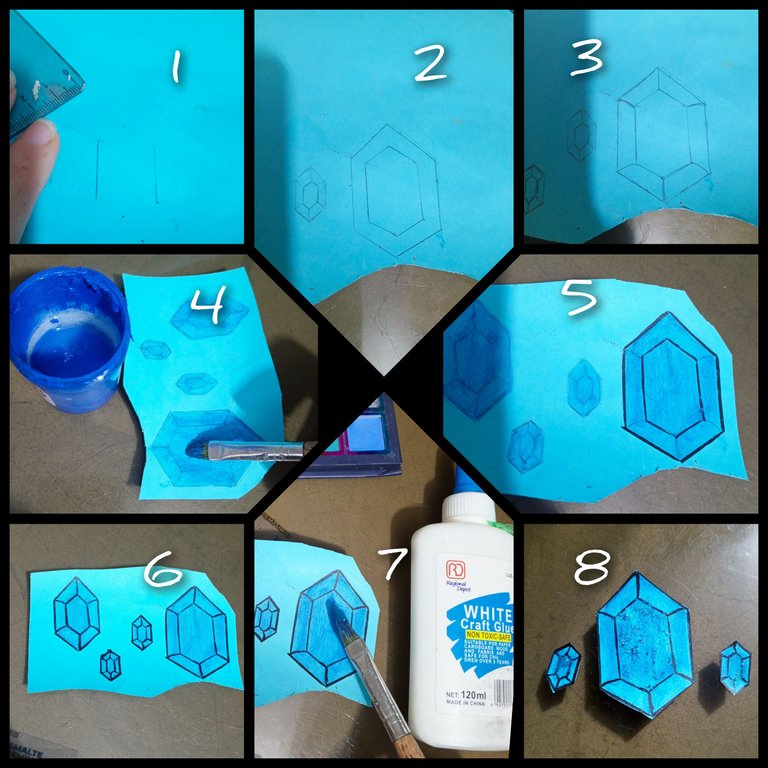
Step #1 through #8.
To start we draw on the cardboard with the help of a ruler, two vertical straight lines of approximately 2 cm each then we draw two inclined lines at the top and bottom of approximately 2 cm then we will perform the same procedure adding 1 cm more on each side to form the same figure we will also draw a straight line at each junction of the vertices, staying as I show you the images in the same way we will perform the same procedure in order to make two smaller figures of 1 . 5 cms each one then we proceed to apply blue paint to the figures until we cover them all, in the same way a black marker we are going to trace the edges of the figures to continue I added a little white glue and to give it shine to place a little blue frosting.
💎🐧Step #9 to #15🐧💎.
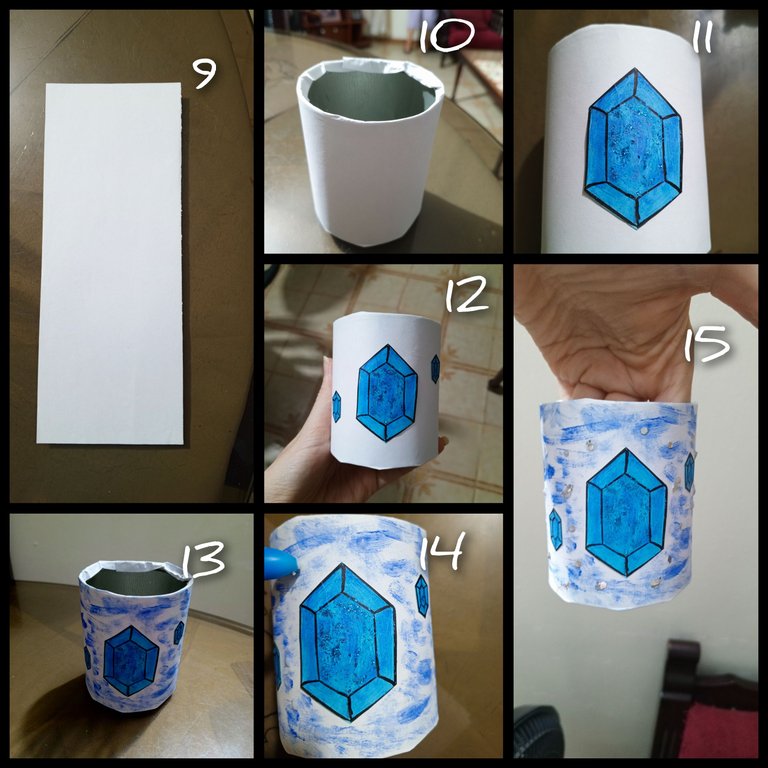
We proceed to chop the white sheet in half vertically then with liquid silicone we will line our can then proceed to paste on the front of the can, each of the diamond-shaped figures and performed in the previous steps, with the blue paint we perform to give some shades around the diamond figures I will also add some glue dots to place the silver glitter.
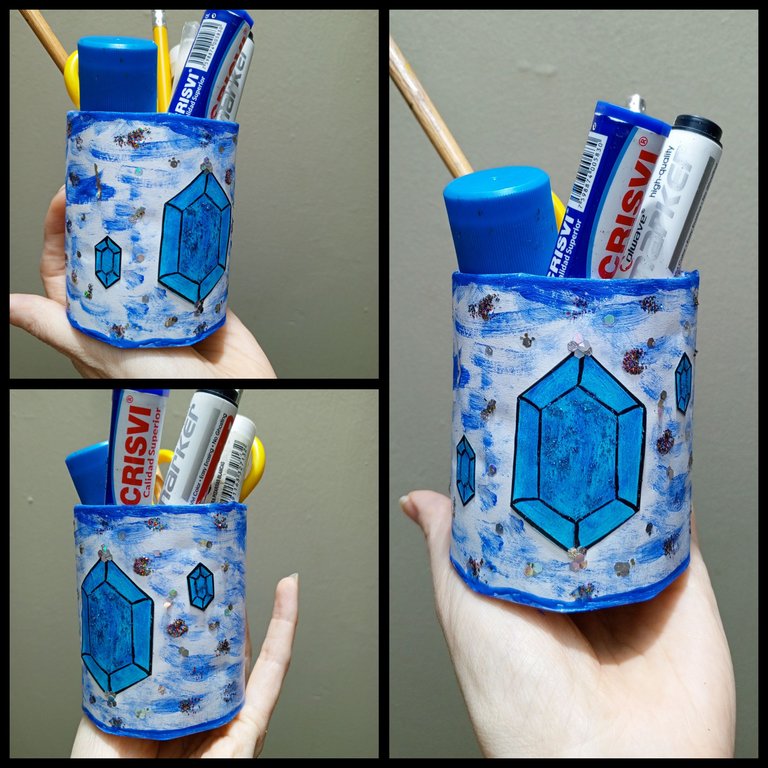
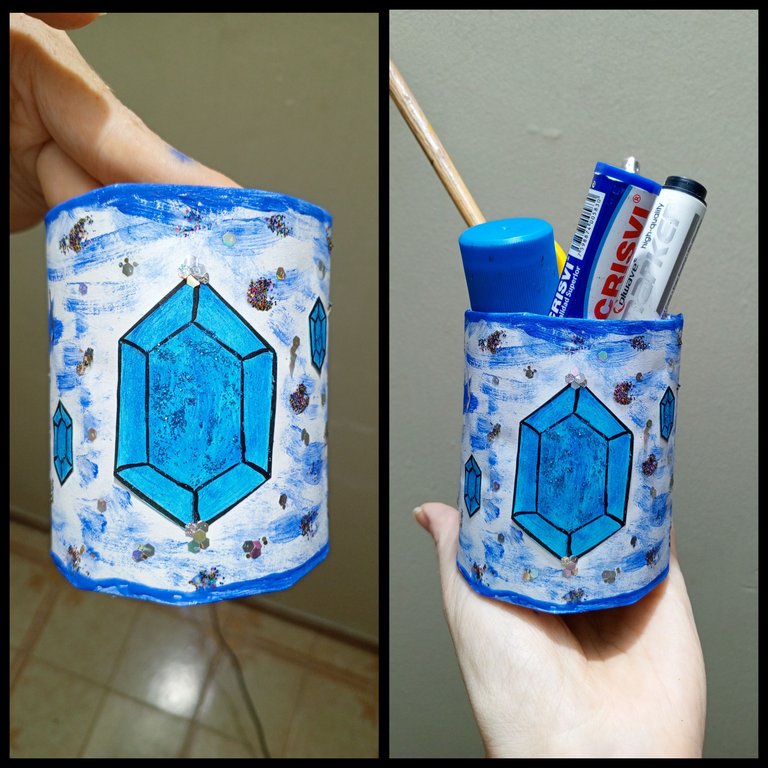
To give a better shade to our tabletop organizer I also added some frosted glitter and painted blue the top and bottom edges of the can as a final result as well as I present the different images.
Thank you for joining me here and see you another time.
Thanks for reading me and your valuable support.
The photos are of me @cielitorojo with my Tecno Spark 10 Pro.
Translated with Deepl translator.

Un fuerte abrazo para todos ustedes mis apreciados amigos lectores, deseo que estén teniendo muchos éxitos y creatividad en la creación de su contenido, yo complacida una vez más de poder compartir en esta fabulosa comunidad #holozing en esta ocasión quiero compartir con todos ustedes, la creación de un organizador de escritorio inspirado en Zingu🐧 uno de los fan arte que conforman los personajes de los juegos, que nos está generando expectativas y estamos ansiosos de que inicie, así que los invito a que me acompañen hasta el final de esta publicación.

💎🐧Materiales🐧💎
Hoja de papel blanca.
Lápiz grafito.
Tijera.
Pega.
Regla.
Pincel.
Silicón líquido.
Cartulina azul.
Lata de metal reciclada.
Brillo escarchado plateado.
Brillo escarchado tornasol.
Pintura al frío azul.
Marcador fino negro.
💎🐧Paso a Paso 🐧💎

Paso #1 al #8.
Para iniciar trazamos en la cartulina con ayuda de una regla, dos rectas verticales de aproximadamente 2 cm cada una luego trazamos dos líneas inclinadas en la parte superior e inferior de aproximadamente 2 cm seguidamente vamos a realizar el mismo procedimiento agregándole 1 cm más a cada lado hasta formar la misma figura también trazaremos una recta en cada unión de los vértices, quedándose como les muestro las imágenes de igual manera vamos a realizar el mismo procedimiento con la finalidad de hacer dos figuras más pequeñas de 1 .5 cms cada una después procedemos a aplicarle a las figuras pintura azul hasta cubrirlas todas, de igual manera un marcador negro vamos a trazar los bordes de las figuras para continuar le agregué un poco de pegada blanca y para darle brillo colocar un poco de escarcha azul.
💎🐧Paso #9 al #15🐧💎

Procedemos a picar la hoja blanca por la mitad de forma vertical seguidamente con silicón líquido vamos a forrar nuestra lata luego procedemos a pegar en la parte frontal de la lata, cada una de las figuras en forma de diamante y realizamos en los pasos anteriores, con la pintura azul realizamos a darle unos matices alrededor de las figuras de diamantes también le voy a agregar unos puntos de pega para colocarle las brillantinas plateadas.
Para dar un mejor matiz a nuestro organizador de sobremesa también añadí algo de purpurina escarchada y pinté de azul los bordes superior e inferior de la lata como resultado final así como presento las diferentes imágenes.


Gracias por acompañarme por aquí y hasta otra ocasión.
Gracias por leerme y su valioso apoyo.
Las fotos son mías @cielitorojo con mi Tecno Spark 10 Pro.
Traducido con el traductor Deepl.
