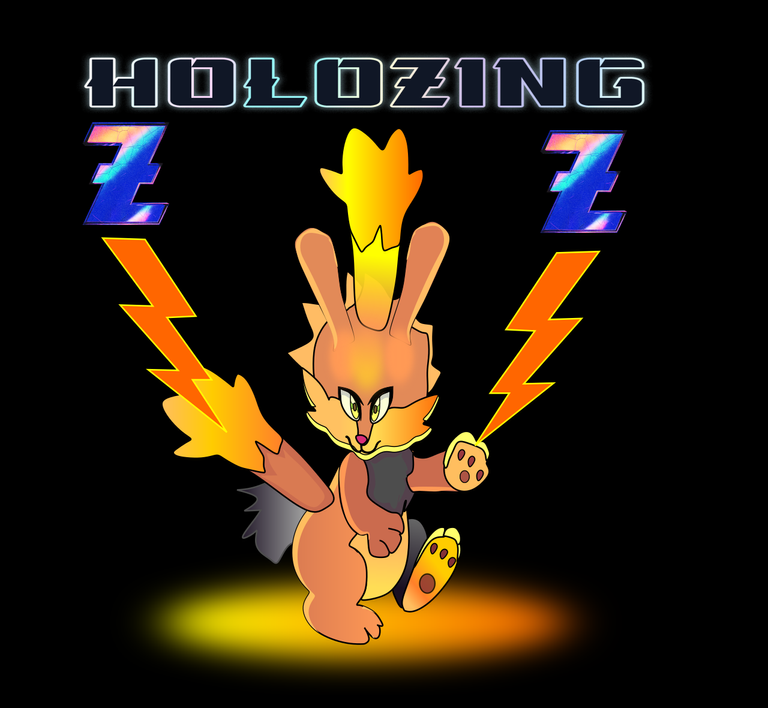
Greetings friends of Colmena and the #Holozing Community, today I bring you again an illustration of a character from the game Holozing, called Electric Rabbit, which I imagine launches electric rays, this illustration was made with the Inkscape vector tool. Below I am going to show how my design process was:
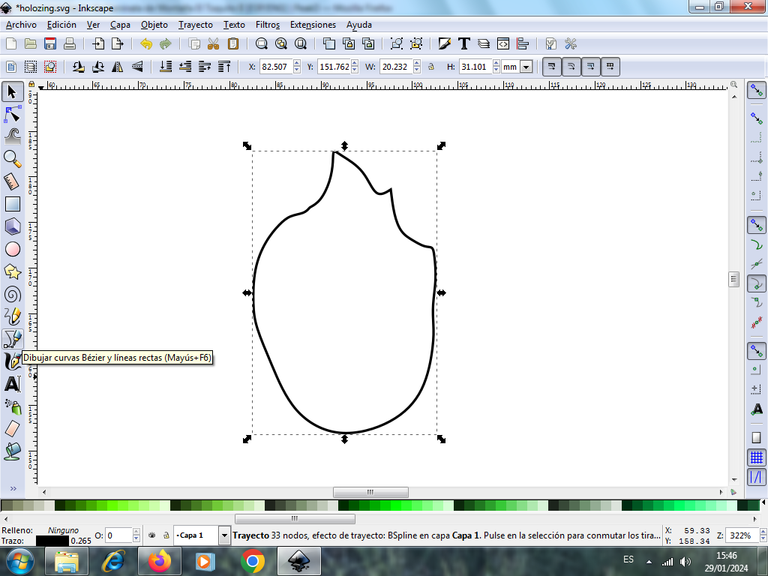
Step 1:
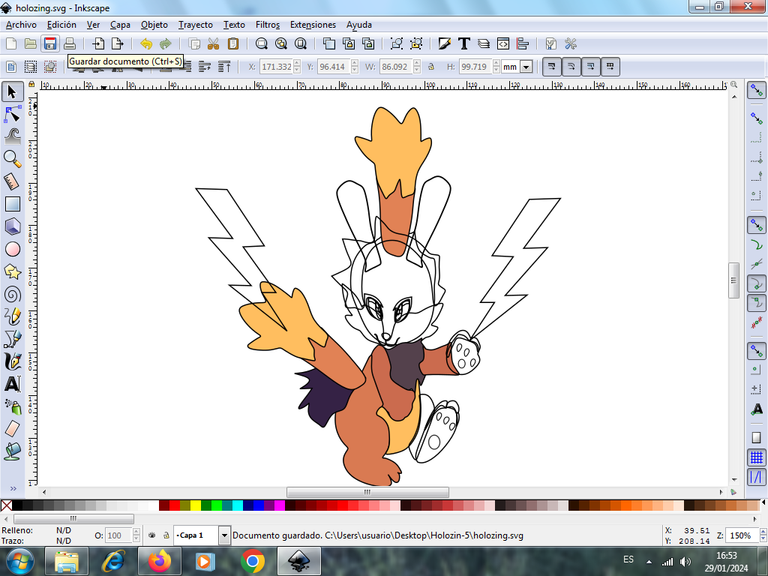
We open the Inkscape tool and begin to trace part of the Rabbit's head, which is oval in shape, using the Bézier curves option, which is in the toolbar, on the left.
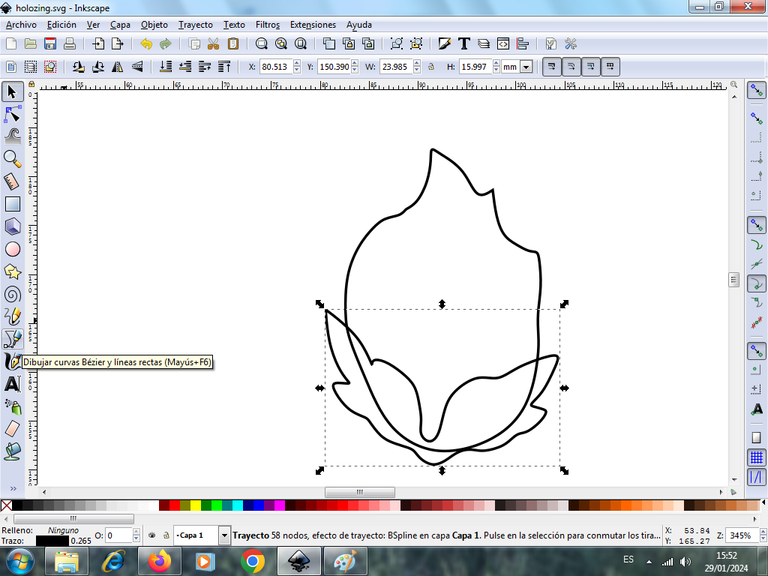
Step 2:
We continue tracing the rabbit's whiskers or beard, which is above the bottom part of the character's face, with the same tool.
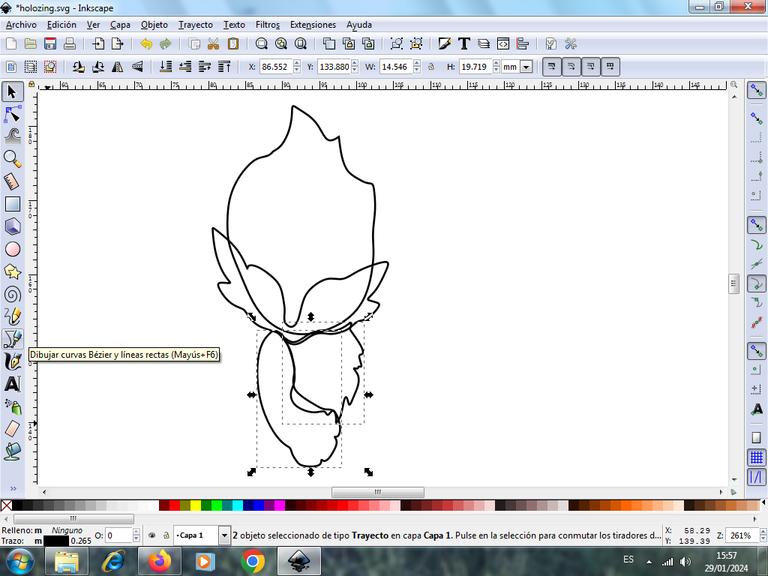
Step 3:
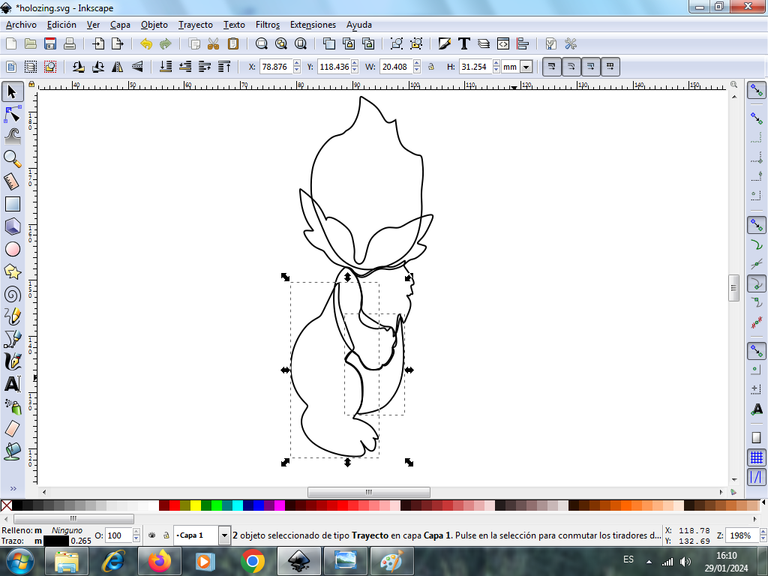
Next we trace the chest and one of the arms, with the Bézier curves tool.
Step 4:
Then we trace in the center of the chest and one of the character's legs, using the same tool.
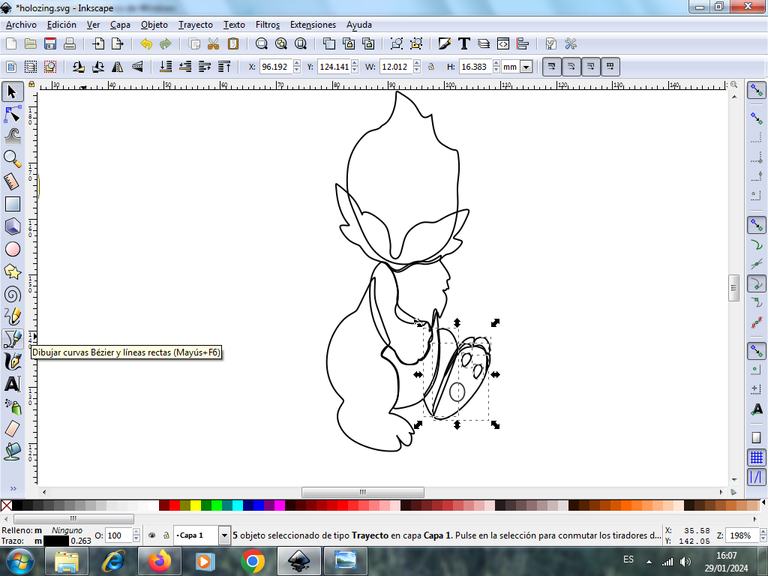
#Step 5:
We continue tracing the other leg, with oval figures that are like the footprint, using the Bézier curves tool.
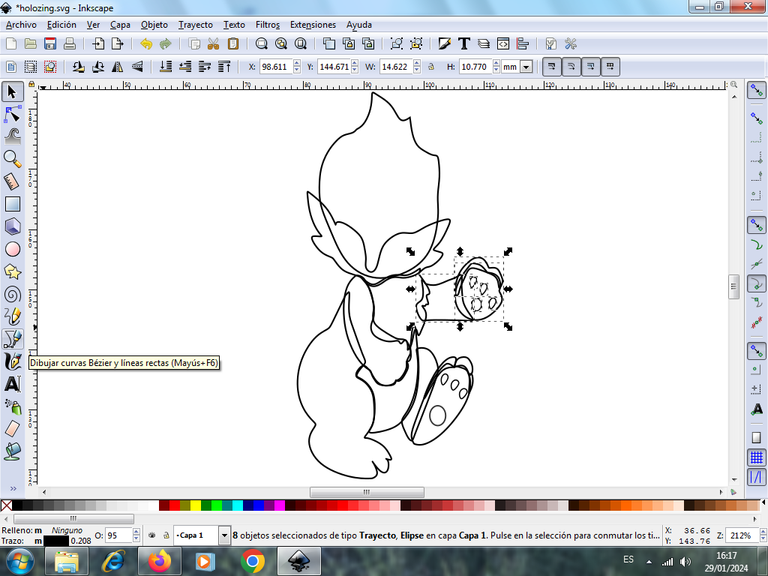
Step 6:
Then we draw the character's right arm in a way as if he were pointing at something.
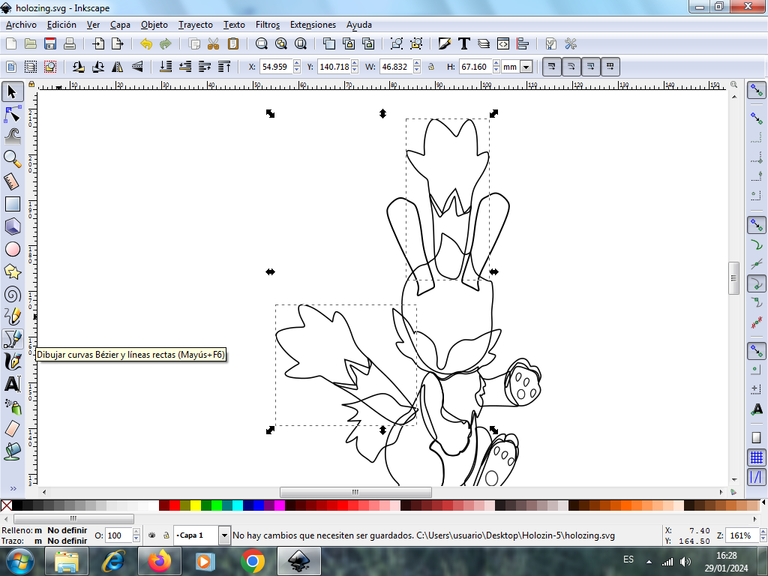
Step 7:
Next we draw the shapes that, like the chubs, that go on top of the head, also have, I don't know if they are two ridges or 2 tails, we trace everything with the Bézier curves tool.
Step 8:
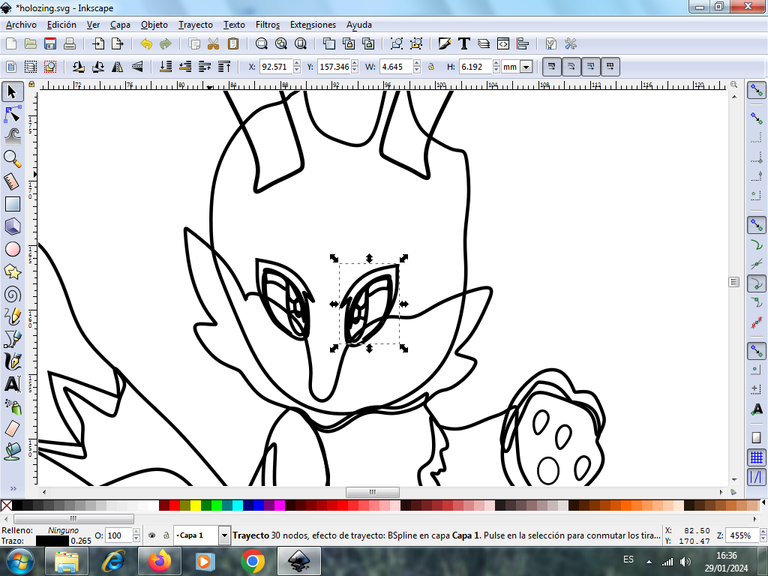
Two circular shapes are drawn, with the tool to create circles, in this way we are tracing the eye, which has five figures to give it the effect. Then we trace the other right eye and the two eyelashes that go above the eye.
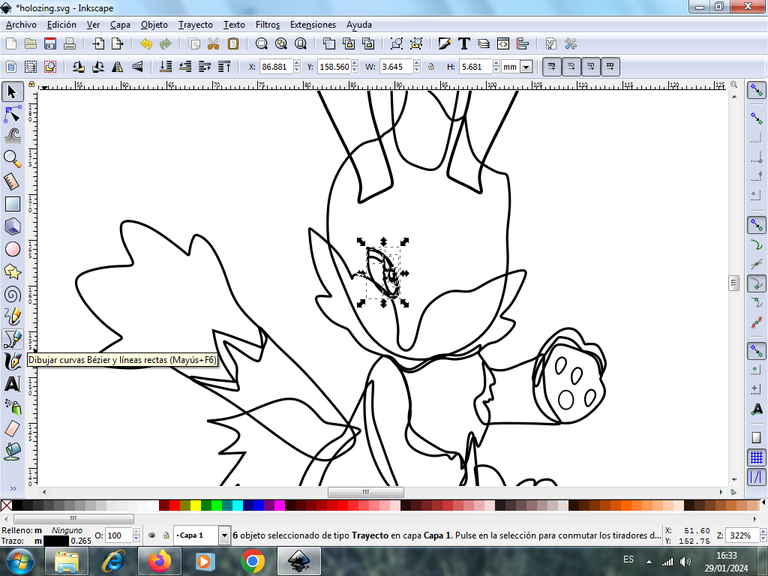
Step 9:
Next we draw two lightning-shaped figures, like this rabbit is electric, one on top of the right arm and the other in the shape of a tail that is on the left side.
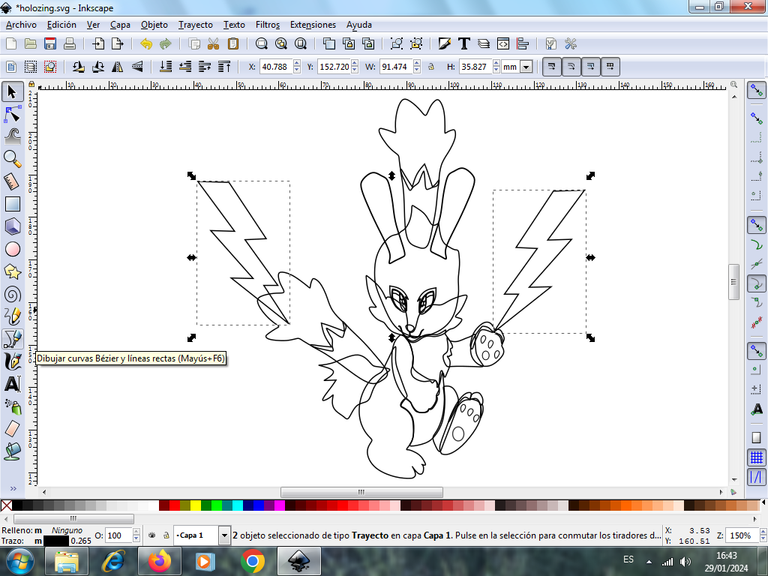
Step 10:
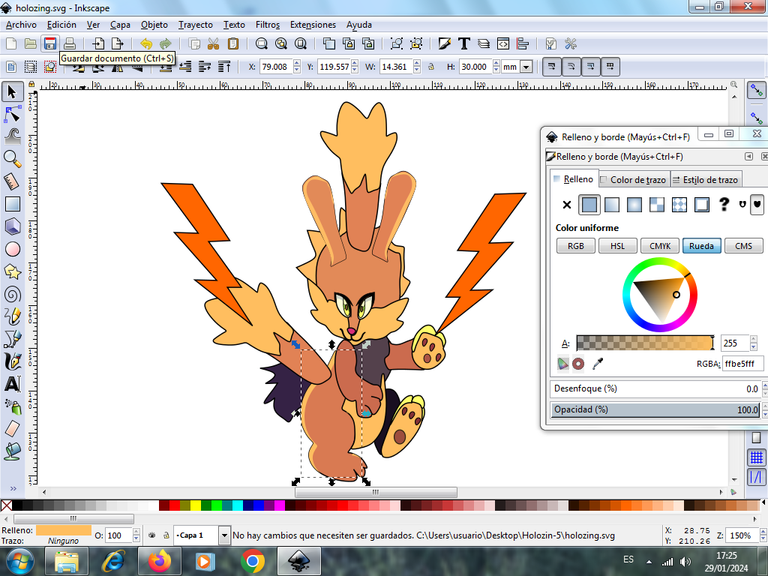
Now we begin to apply the color to our character, we select the part of the two arms and choose the light brown color in the color palette found at the bottom of the application.
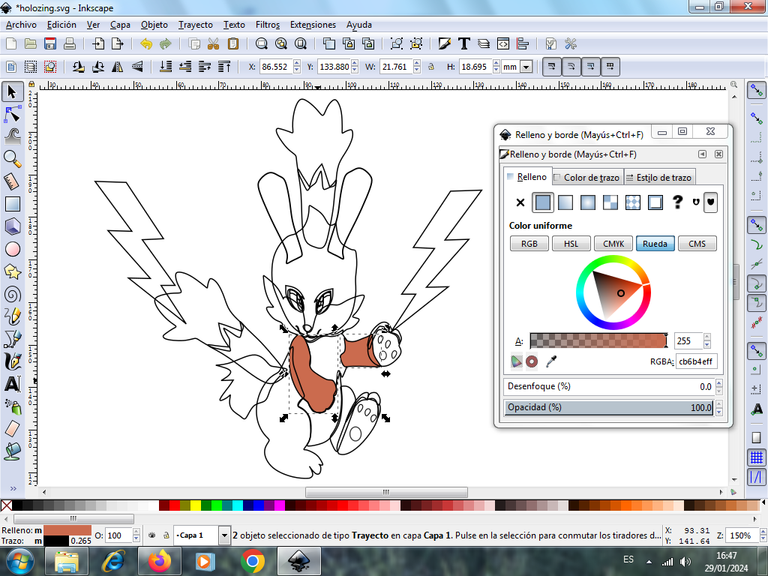
Step 11:
We continue placing the colors in the other parts of our Electric Rabbit.
Step 12:
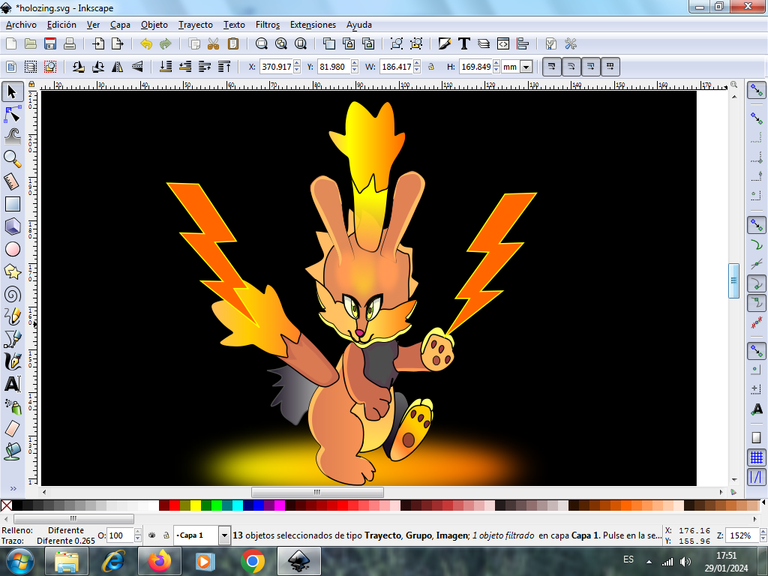
Then we trace several shapes on different parts of the rabbit's body, to give it a greater effect and finish. The gradient effect is also applied to various parts of the rabbit's body, starting first with the head, we select it, we click on the gradient option at the bottom left, a stripe will appear with the first color, we click to that the second point appears, where we will choose the second darkest color, so that the gradient effect can be seen. This is how we do it in the other parts of the drawing, the gradient is an effect produced by two or more colors, that's why we have to do it this way.
Step 13:
We draw a figure and give it a gradient effect with yellow and orange colors and send them to the bottom. Then we insert the logo of the Z application at the top of the word Holozing, in this way we finish our illustration.

I hope you liked it, and I encourage you to invest and promote this Holozing game.
Design applications used: Inkscape
The logo and figure from the page https://holozing.com was used

Vote la-colmena for witness By @ylich
