
Español
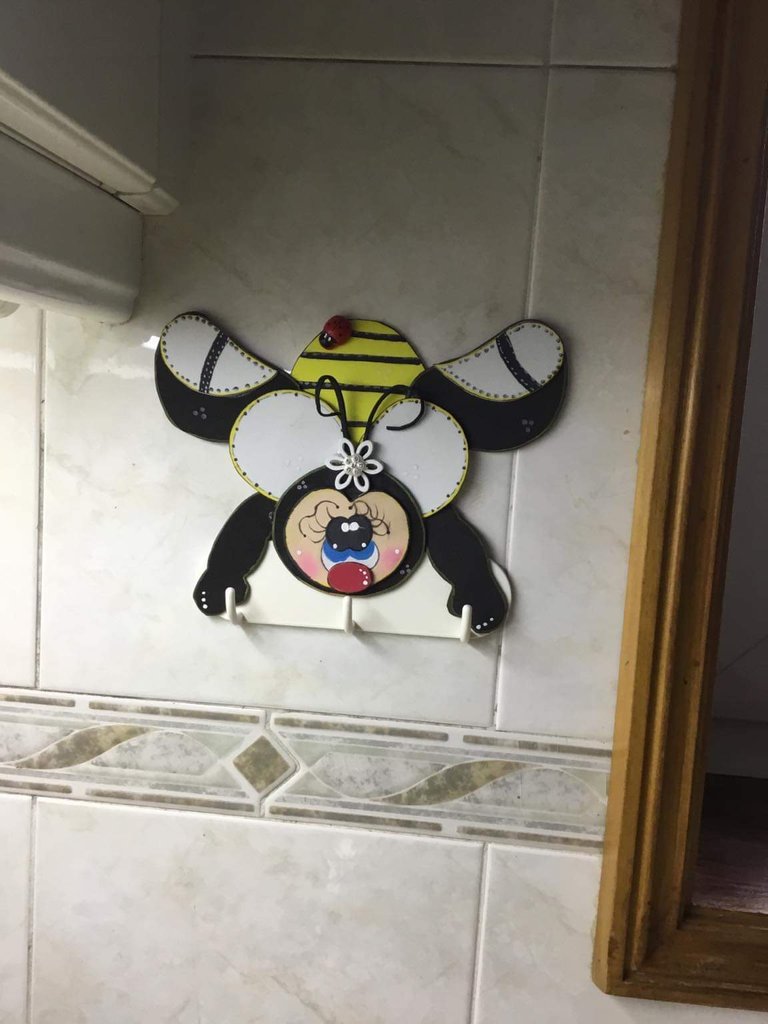
Hola amigos como están hoy? Espero que todos se encuentren excelentes; les envio un caluroso saludo y que el padre todo poderoso me los Bendiga. El trabajo manual de hoy es muy simple de realizar; compré un sujetador de paños de cocina o toallas( colgante) que necesito para mi cocina, pero los únicos que tenían en el local comercial estaban sin decorar y los compré así muy económico por cierto, y pensé decorarlo con una abejita🐝 para que me hiciera juego con la que tengo en el toma corriente que realicé en otro tutorial. Como siempre acompañenme a realizar esta linda abejita para decorar el colgador de paños de cocina.Me gusta trabajar con el foami o goma eva; los trabajos quedan muy bonitos, pero debe saberse usar.El foami o goma eva es:
♡ Es fácil de pegar.
♡ Es fácil de cortar.
♡ Es fácil de pintar.
♡ Baja absorción de
agua.
♡ Es lavable.
♡ No es tóxico.
♡ No es dañino al medio ambiente,
se puede reciclar o incinerar.
♡ Fácil de moldear al
calor.

Materiales a utilizar para hacer la abeja🐝

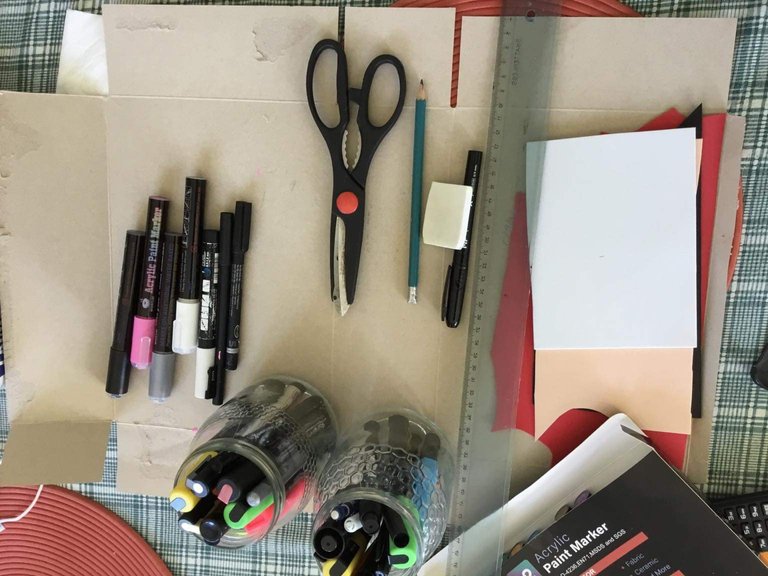
Foami o goma eva de color amarillo, blanco, negro, rojo y color piel
Tijera
Marcador permanente de colores amarillo, blanco, negro y azul claro
Pegamento universal o silicon
Lápiz
Cartón
Un colgador de paños de cocina
Rubor de color rosado

Pasos a seguir para hacer la abejita 🐝

1👣🐝. En el cartón vamos a realizar los moldes de la abeja. El cartón que se utilizó fue de una caja de cereal, puede también utilizar cartulina.
2👣🐝. Con el lápiz, cartón y la regla vamos a dibujar dos patas para la abeja con las medidas 5cm de largo por 3cm y 2cm de ancho arriba y abajo
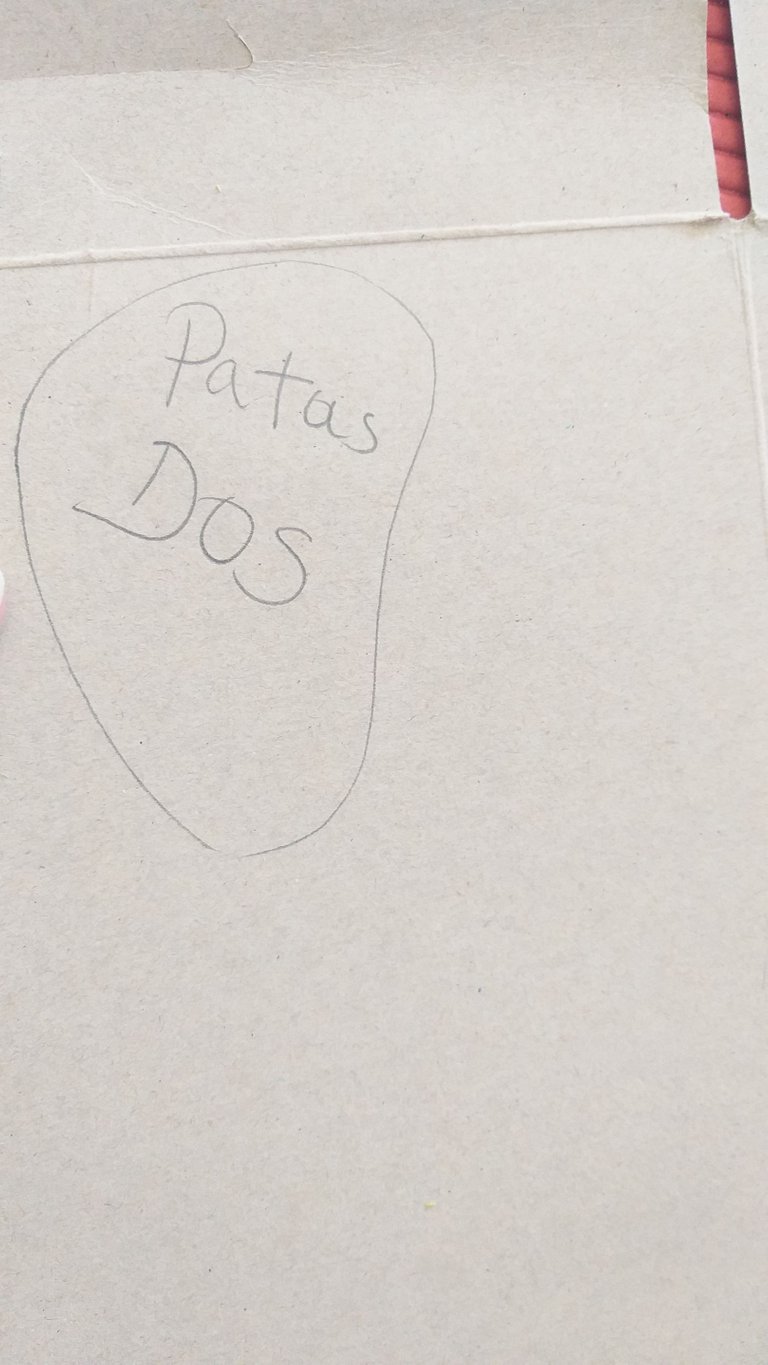
3👣🐝.vamos a utilizar un plato de servir café para hacer la cabeza de la abeja; éste tiene las medidas de 7cm 1/2 por 7cm 1/2 y lo marcamos en el cartón.
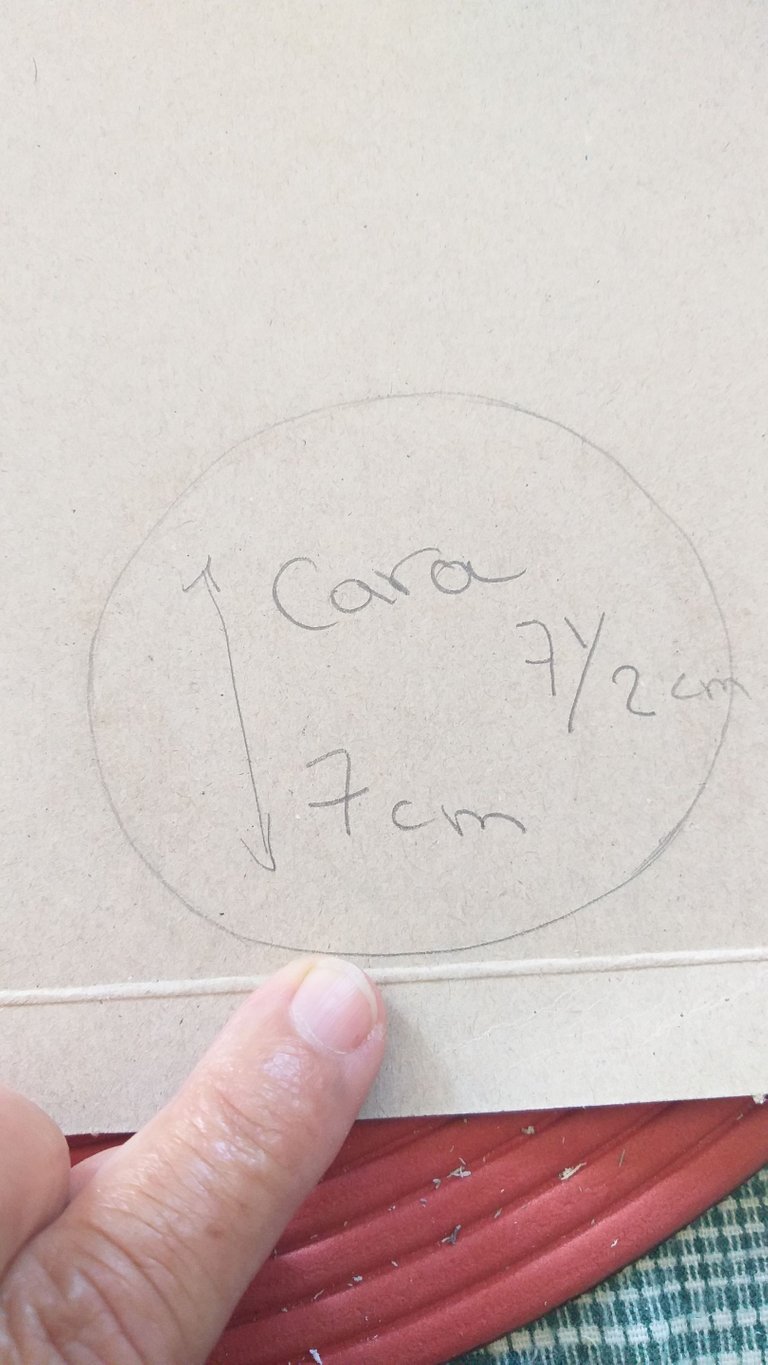
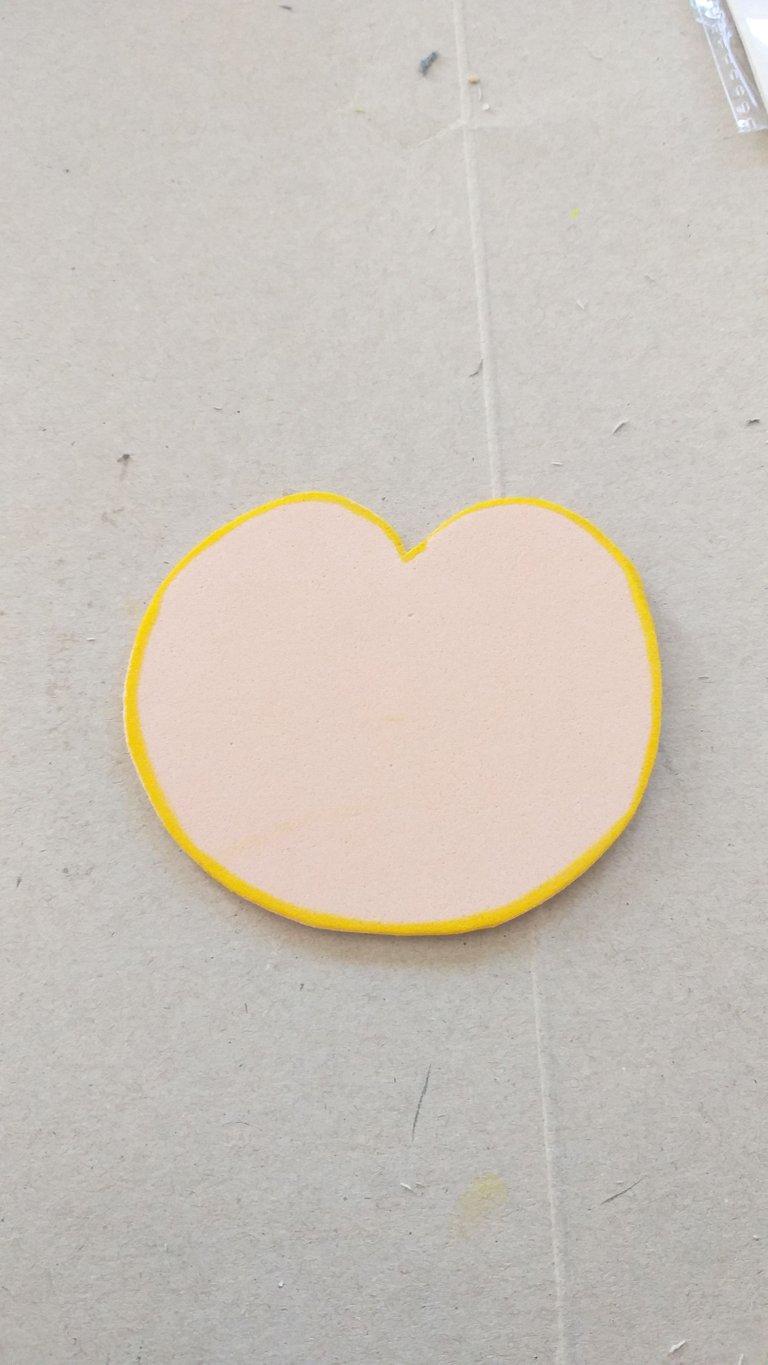
4👣🐝.Para la cara lo que hice reduci la cabeza en medio centímetro menos y luego le hice la figura como una letra M arriba. Observar en la imagen.
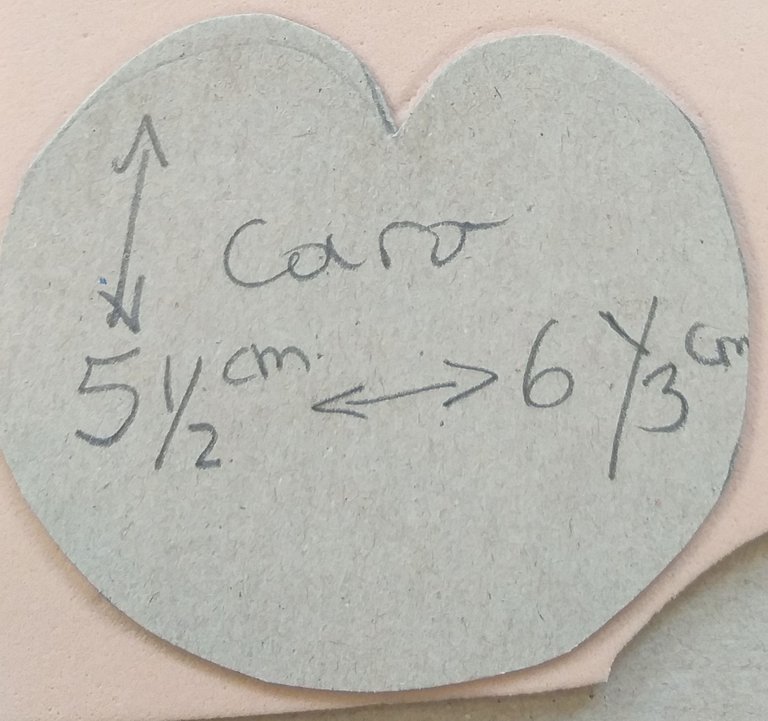
5👣🐝.También vamos a dibujar las dos alas con las medidas que pueden ver en la imagen.
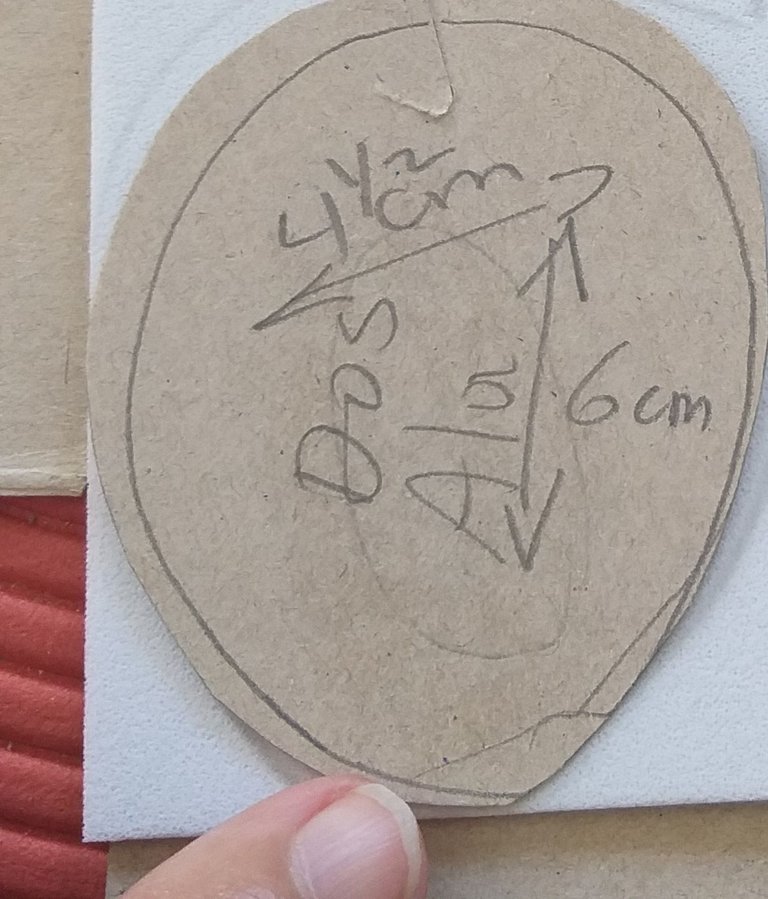
6👣🐝. Le dibujé dos figuras como una gotas para que sirvieran como las medias que van en los patas (zapatos)
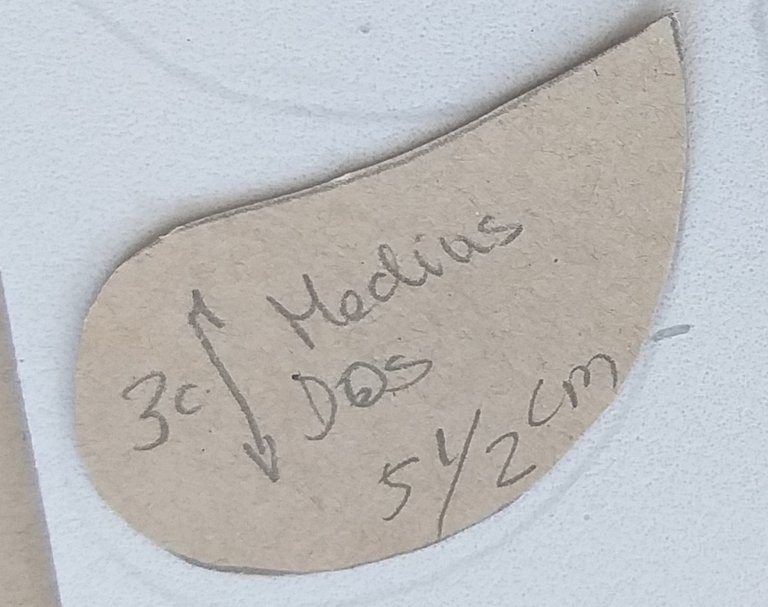
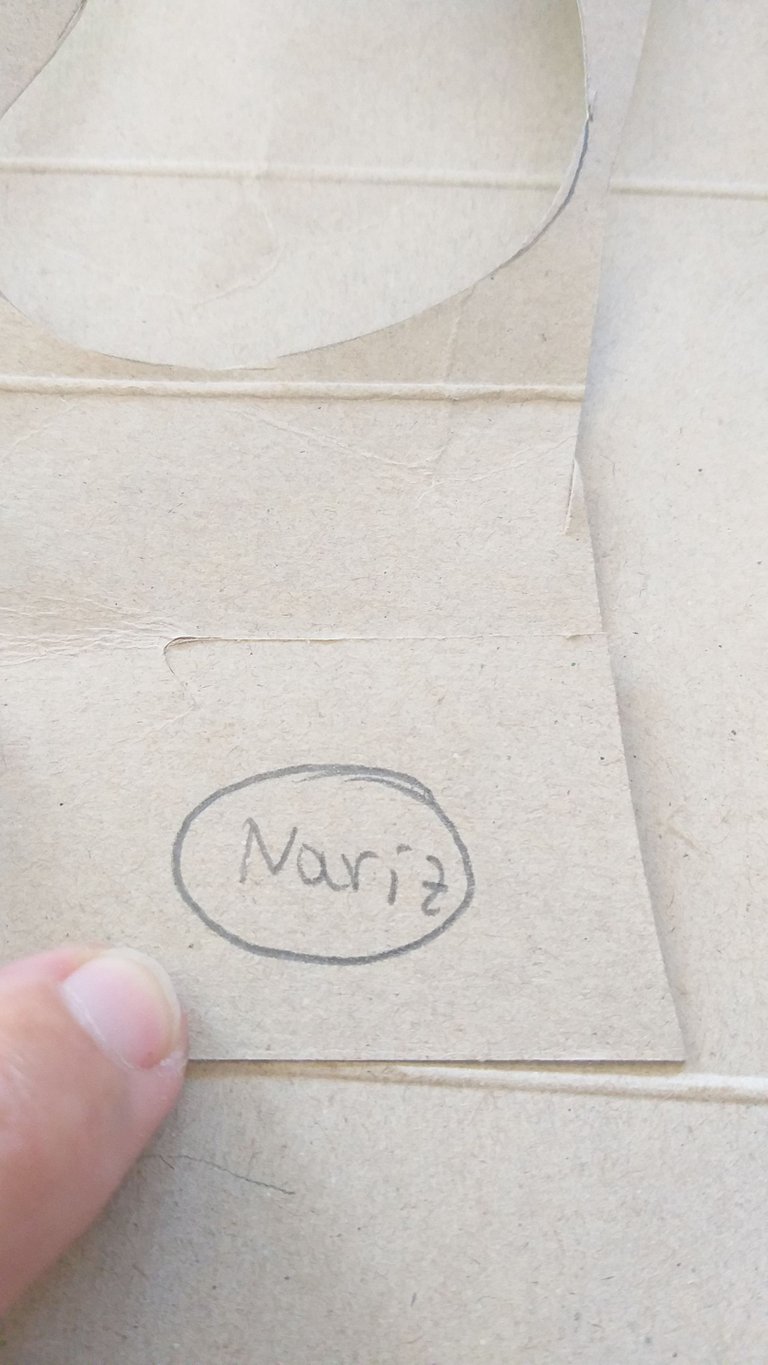
7👣🐝. Para la nariz dibujé un óvalo pequeño de 1cm de ancho por medio centímetro de largo
8👣🐝. En el siguiente paso vamos a transferir todos los moldes a los respectivos foami del color de cada pieza y después recortar.
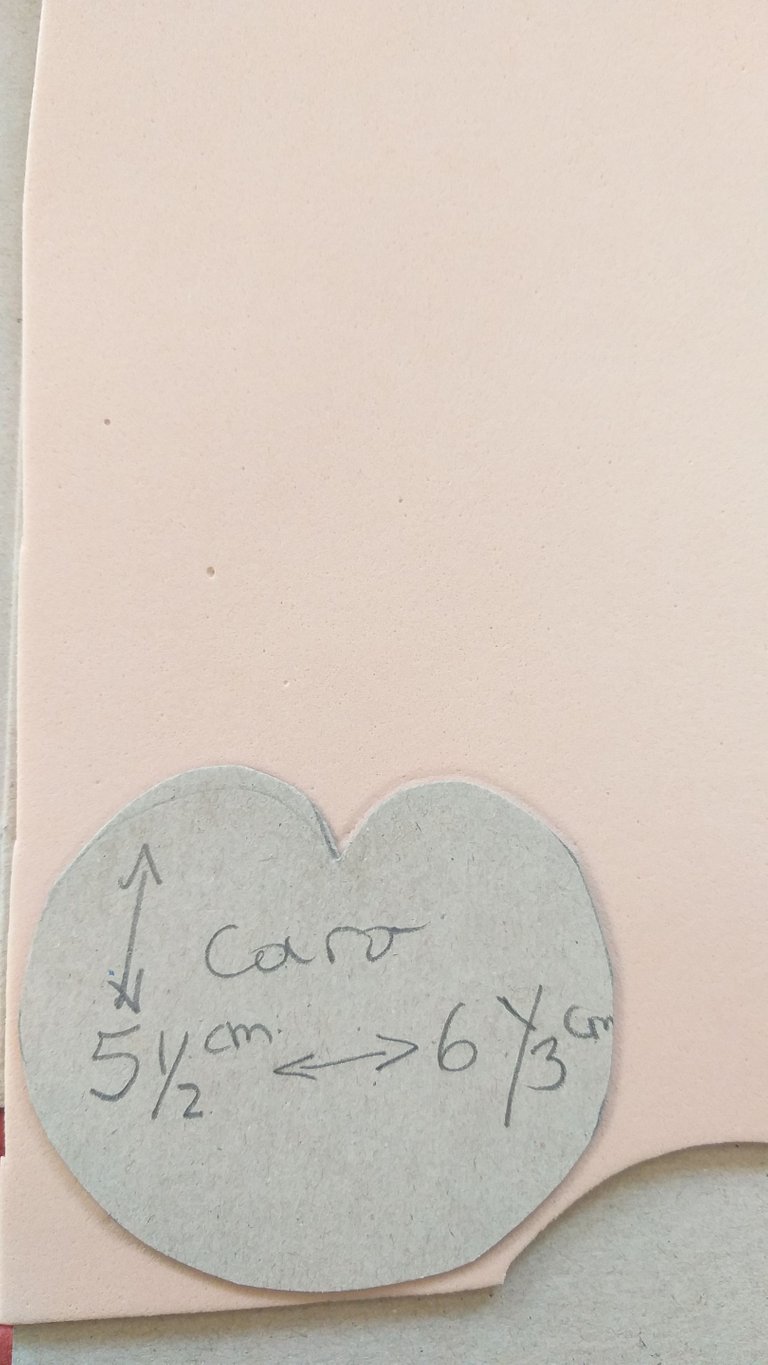
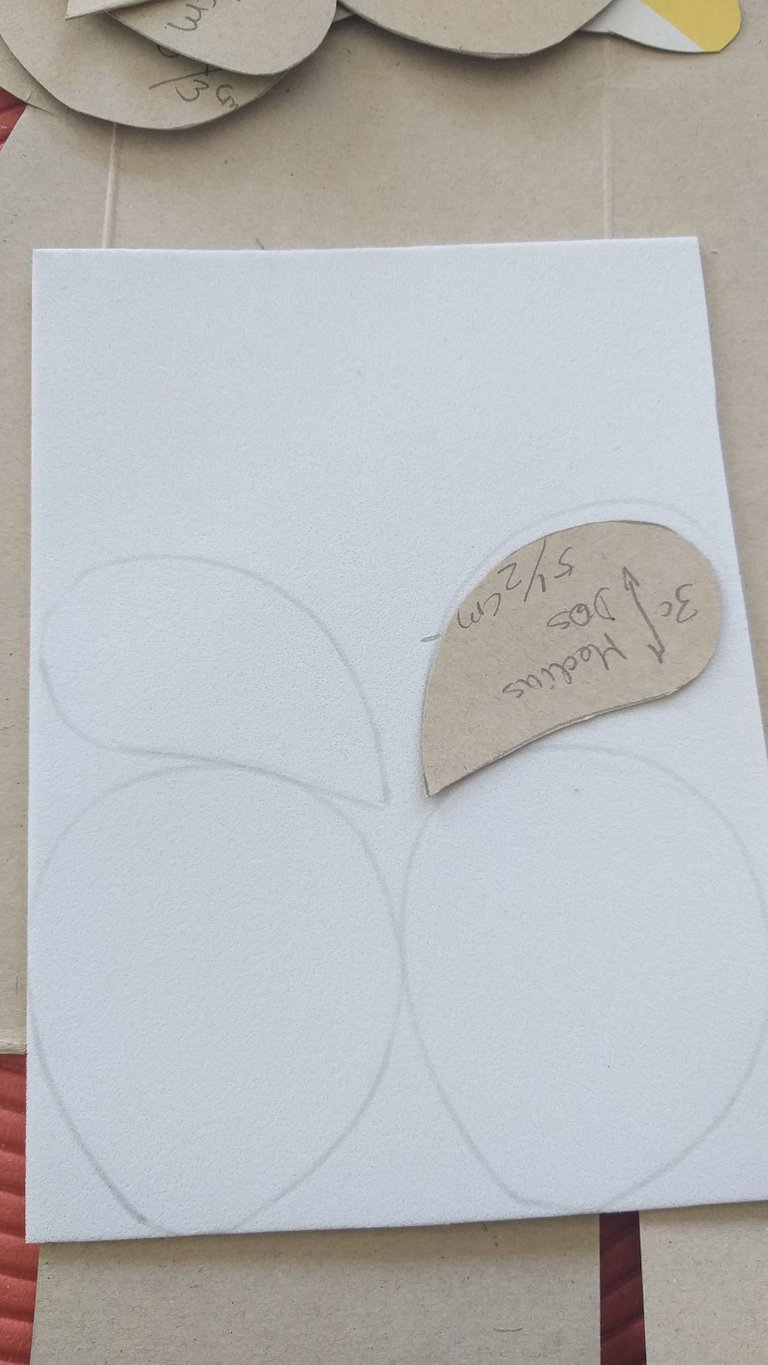
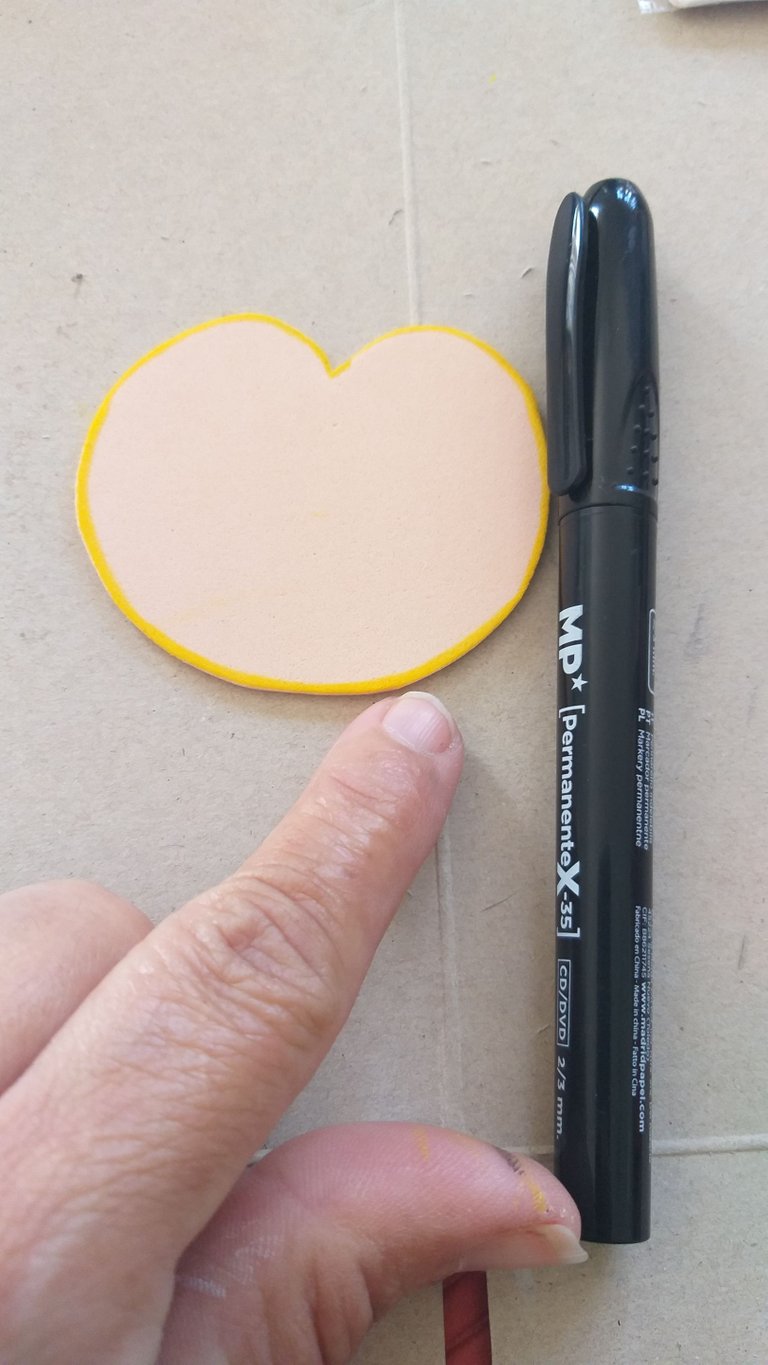
9🐝. Siempre me gusta resaltar las piezas en material de foami o goma eva con pinturas acrílicas o en este caso marcadores permanentes para el foami de color negro , blanco y piel con el color amarillo y después con el negro también pueden sustituir el amarillo por el color naranja.
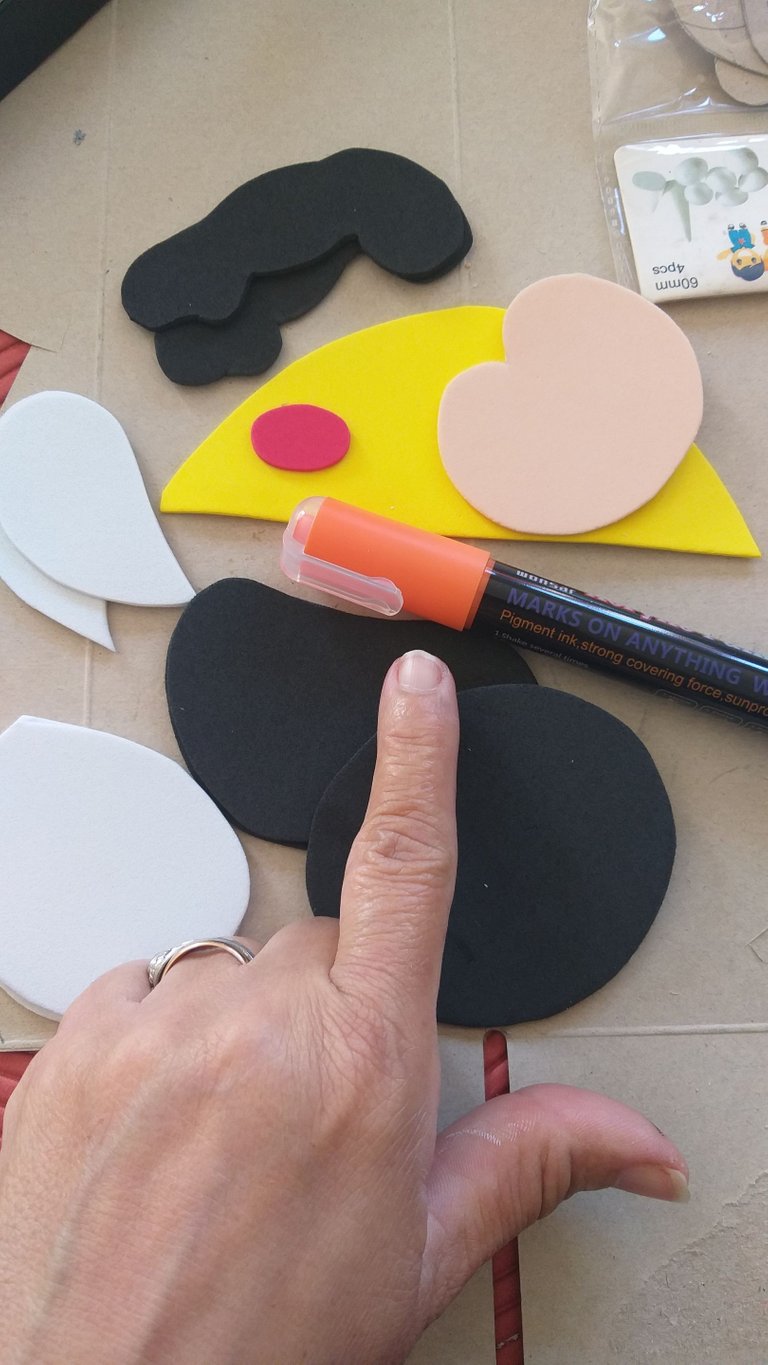
10👣🐝. Luego que tengamos todas las piezas listas vamos a trabajar dibujando la cara pintando ojos, ceja,cachete, pestañas para eso utilicé marcadores permanentes.También pueden dibujar y pintar la cara a su gusto.Primero los dibujo con el lápiz y luego con el marcador extra fino lo delineo y luego relleno.

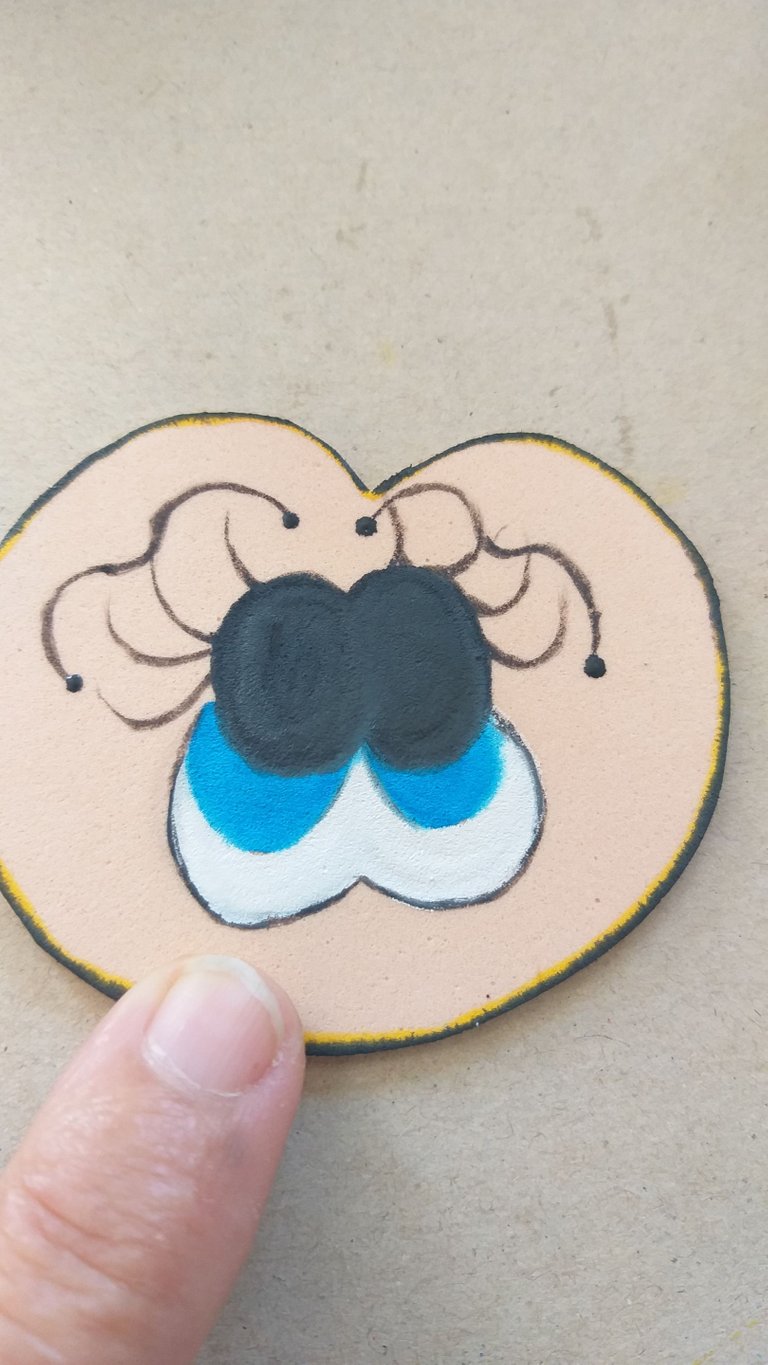
11👣🐝. Los cachetes se los pinté con rubor de color rosado; el cual se lo apliqué con los dedos. Una recomendación para pintar los ojos es mejor pintarle azul o verde entre el medio del blanco y el negro; eso hace que resalten y porsupuesto queden más bonitos.
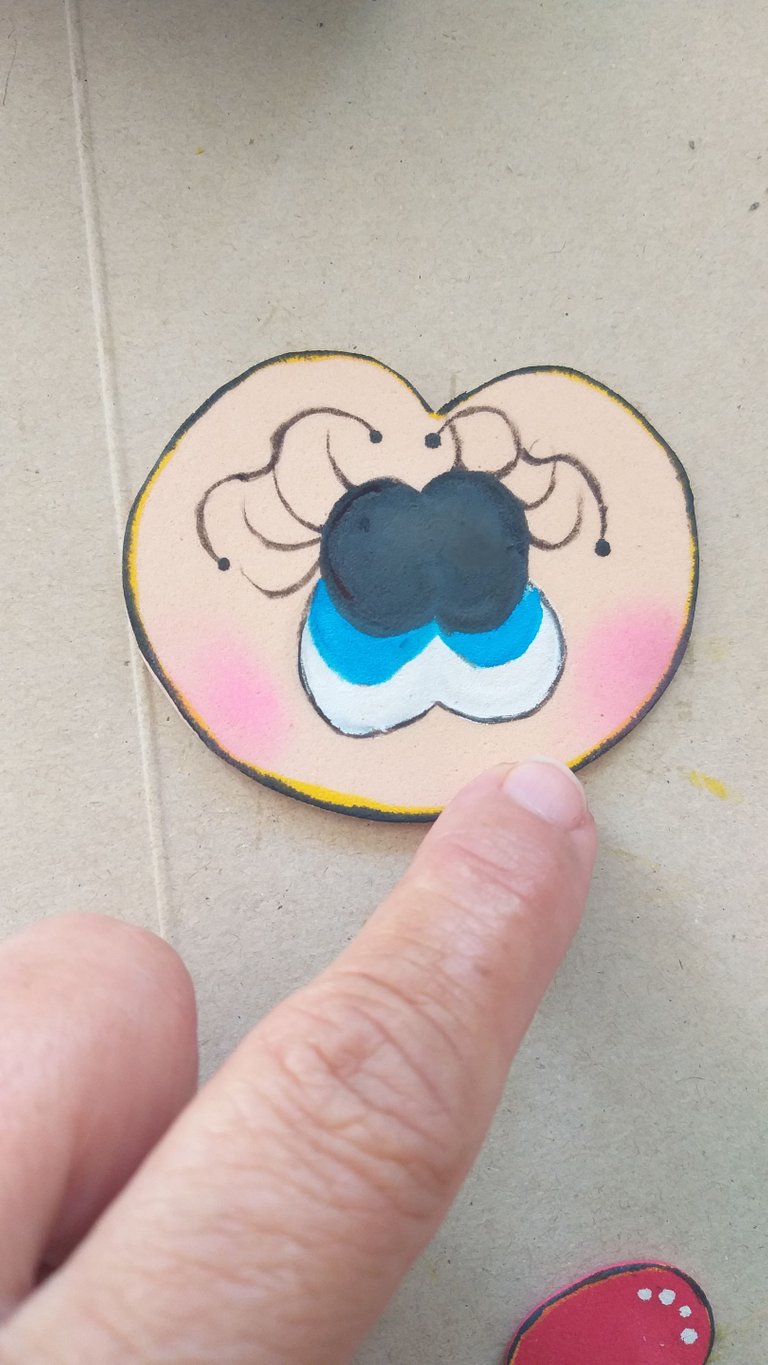
12👣🐝. En este paso vamos a pegar la nariz con el pegamento y detallar los ojos, nariz y toda la cara con puntos blancos
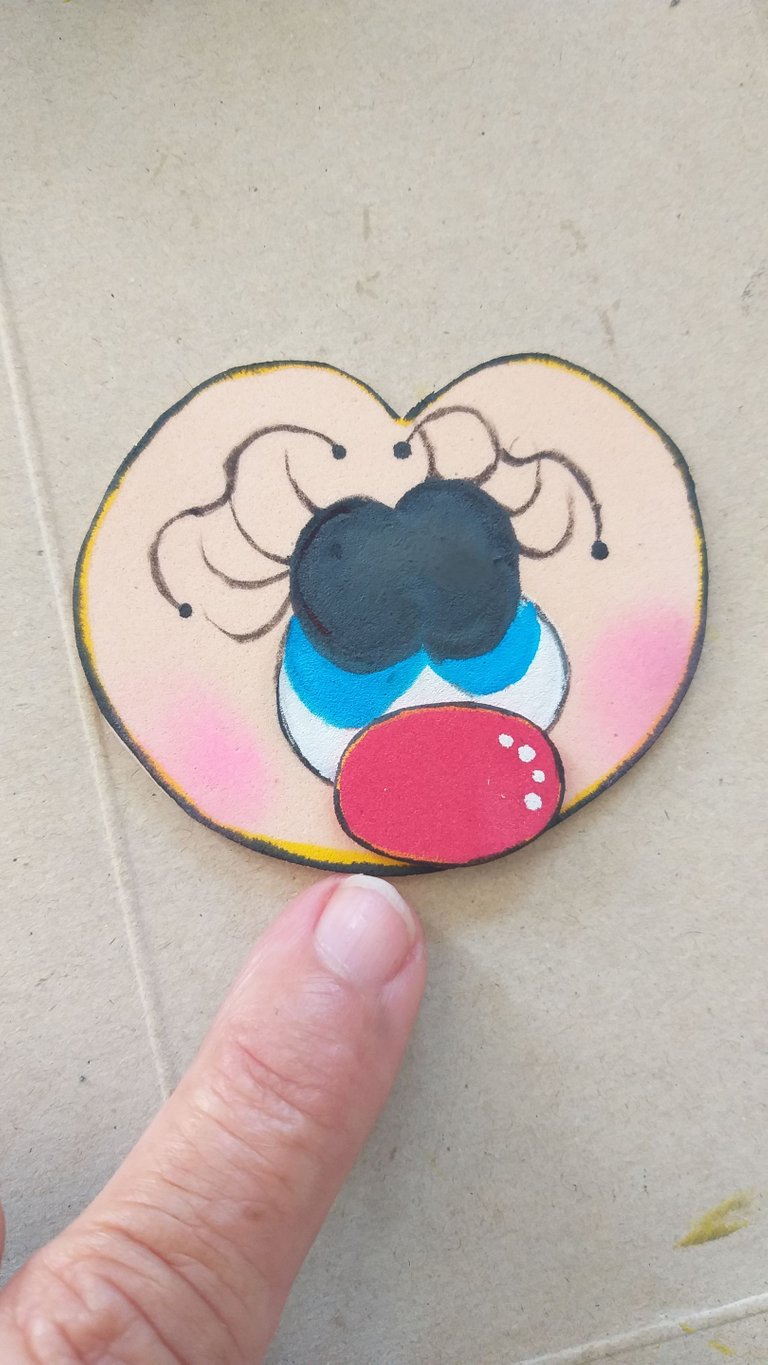
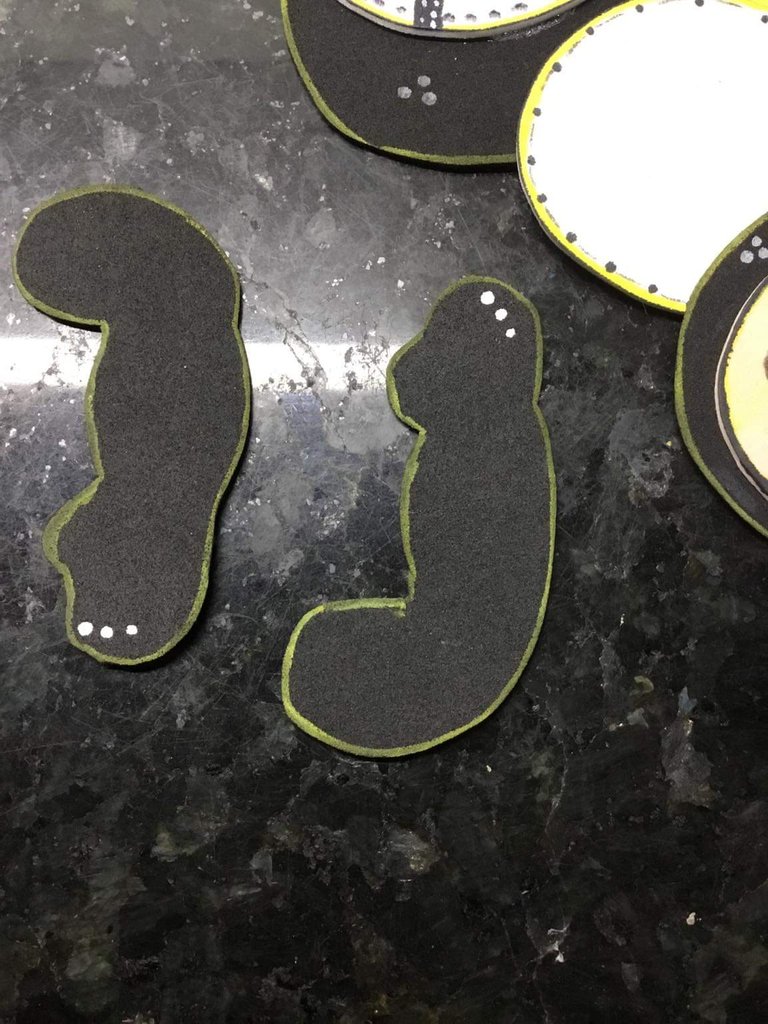
13👣🐝. Una vez detallada la cara y cabeza de la abeja vamos a proceder a armar y pegar todas las piezas al organizador de paño de cocina.Primero pegamos las dos piezas que son las medias al zapato de la abeja, luego lo pegamos al cuerpo y las alas y cabeza.
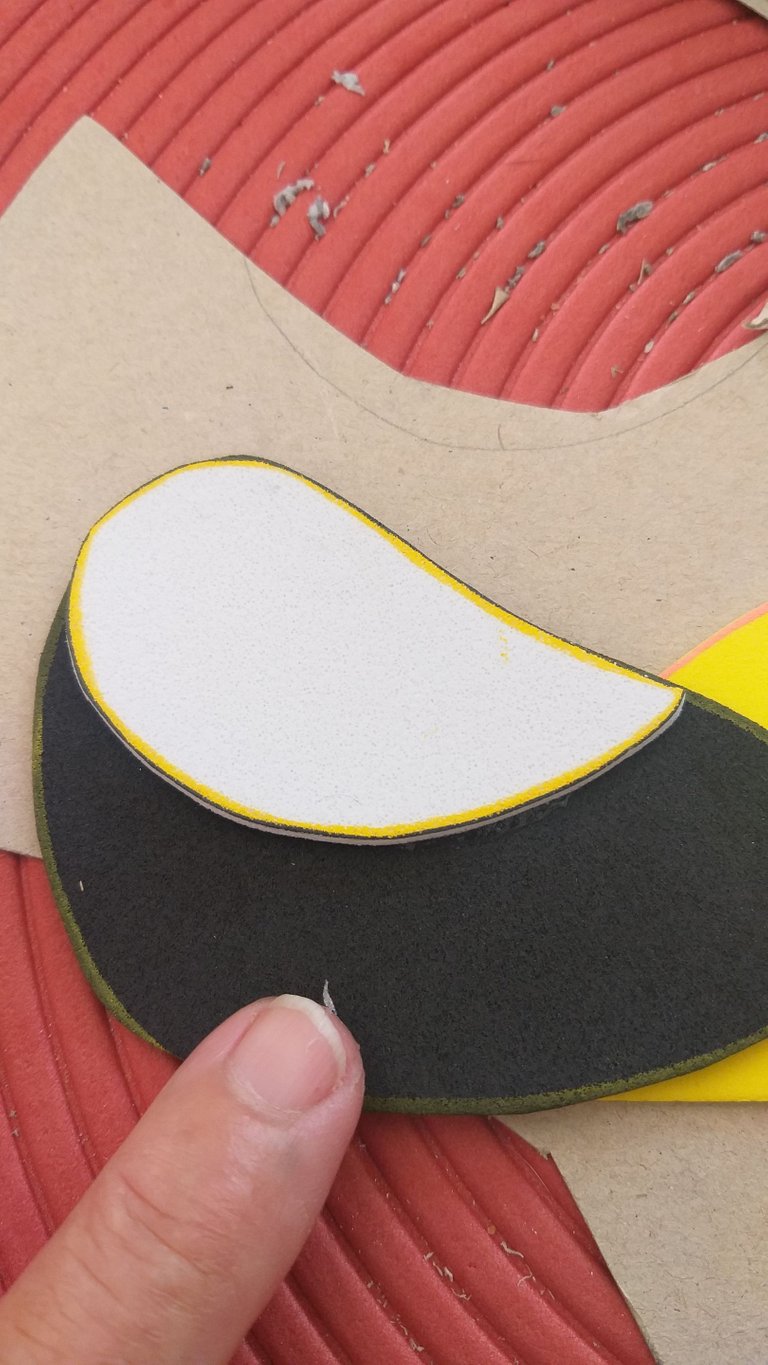
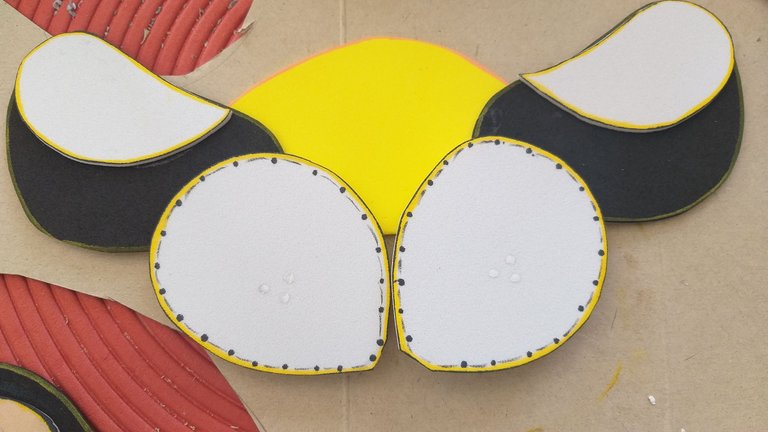
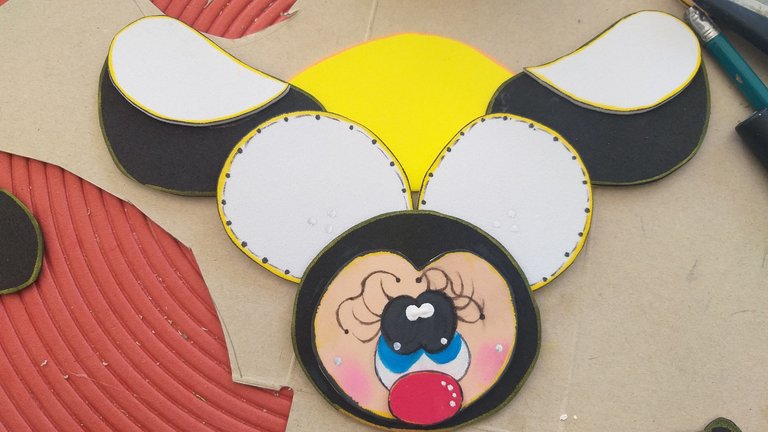
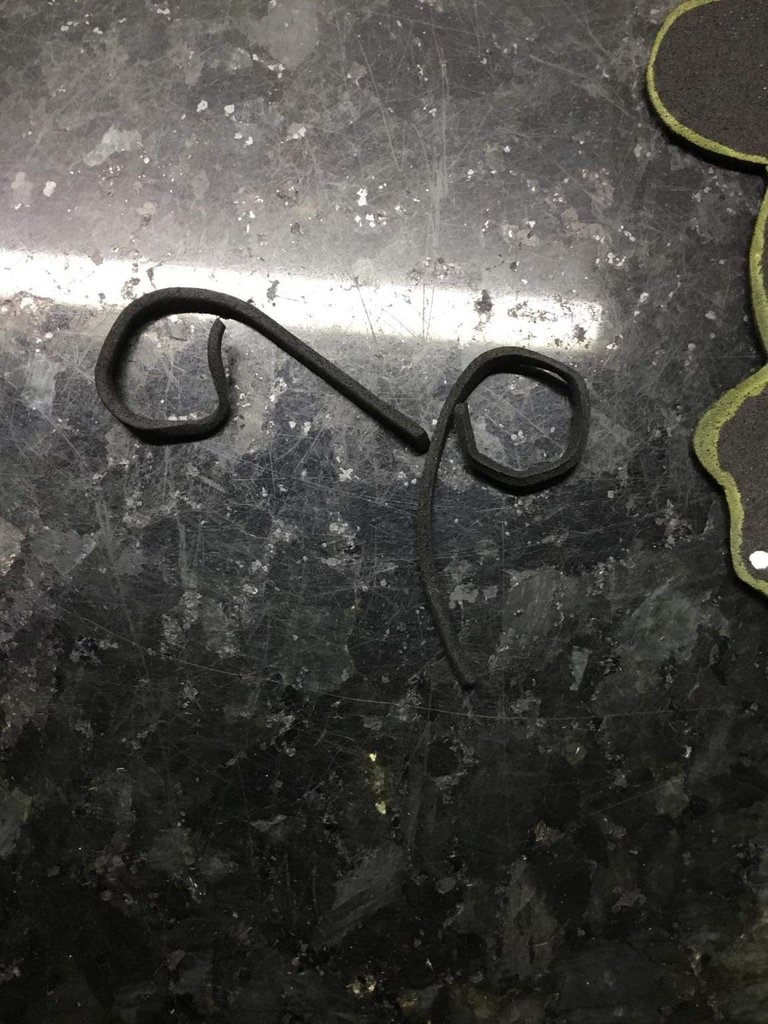
14👣🐝. Después vamos a pegar la abeja al organizador y por último los brazos como si estuvieran sujetando el organizador de paños de cocina y las antenas que las hacemos con dos tiras finas con el foami o goma eva de color negro.
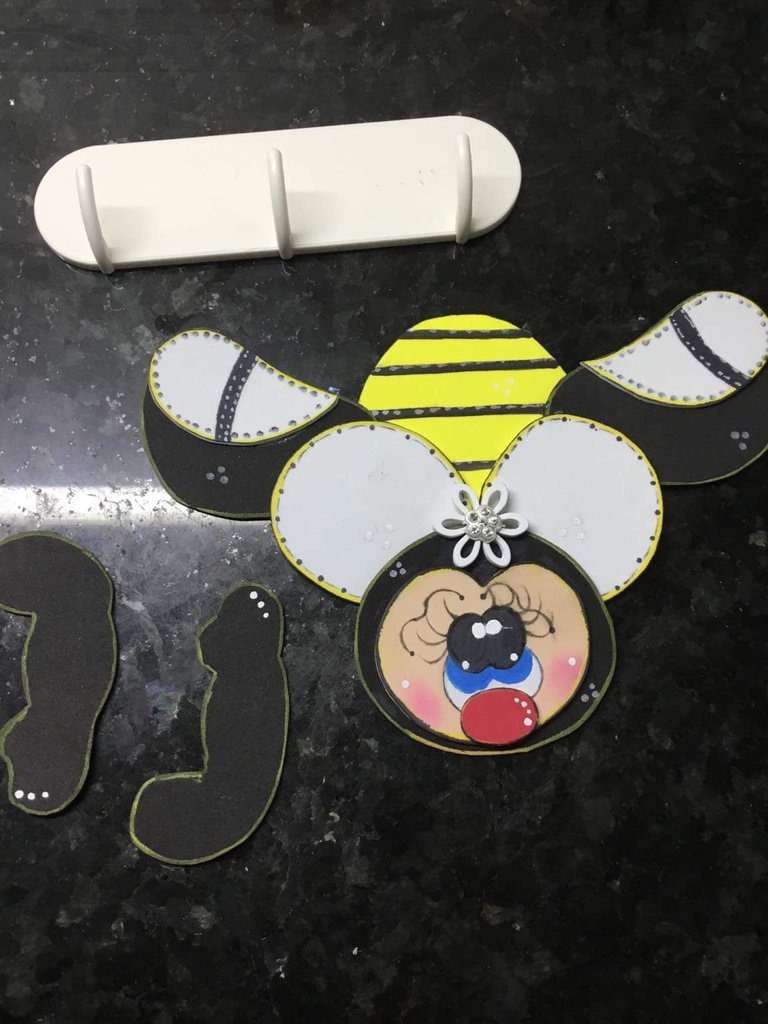
15👣🐝. El último paso es detallar y decorar la abeja; puede pegarle flores, lazos o lo que ustedes deseen.
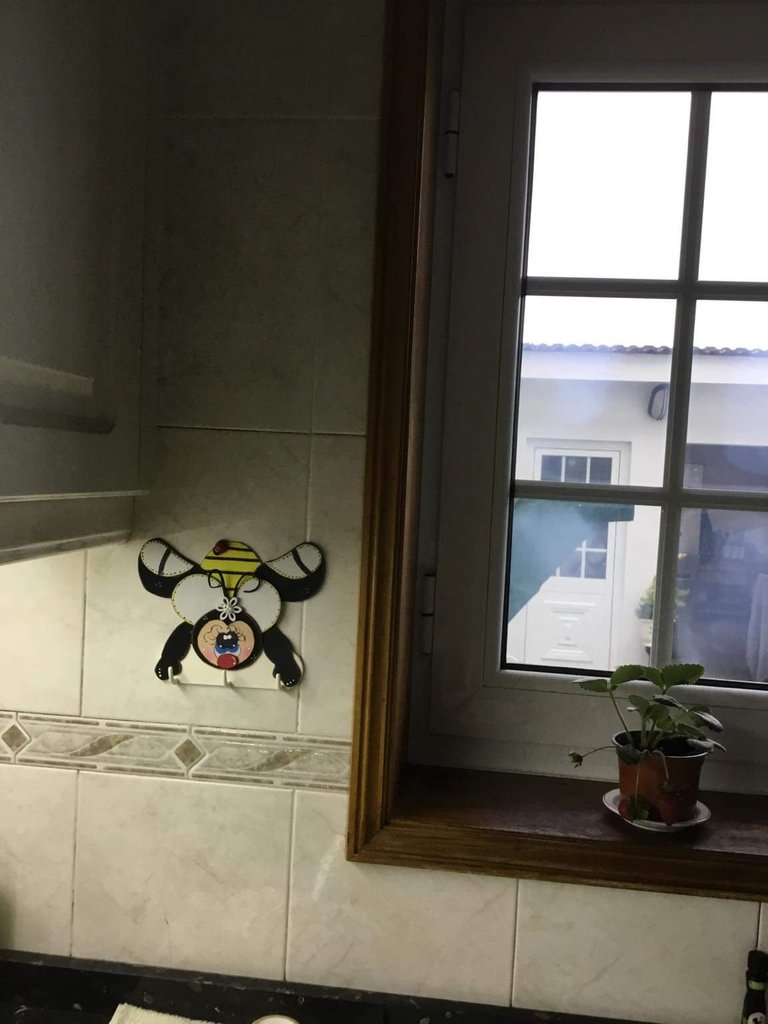

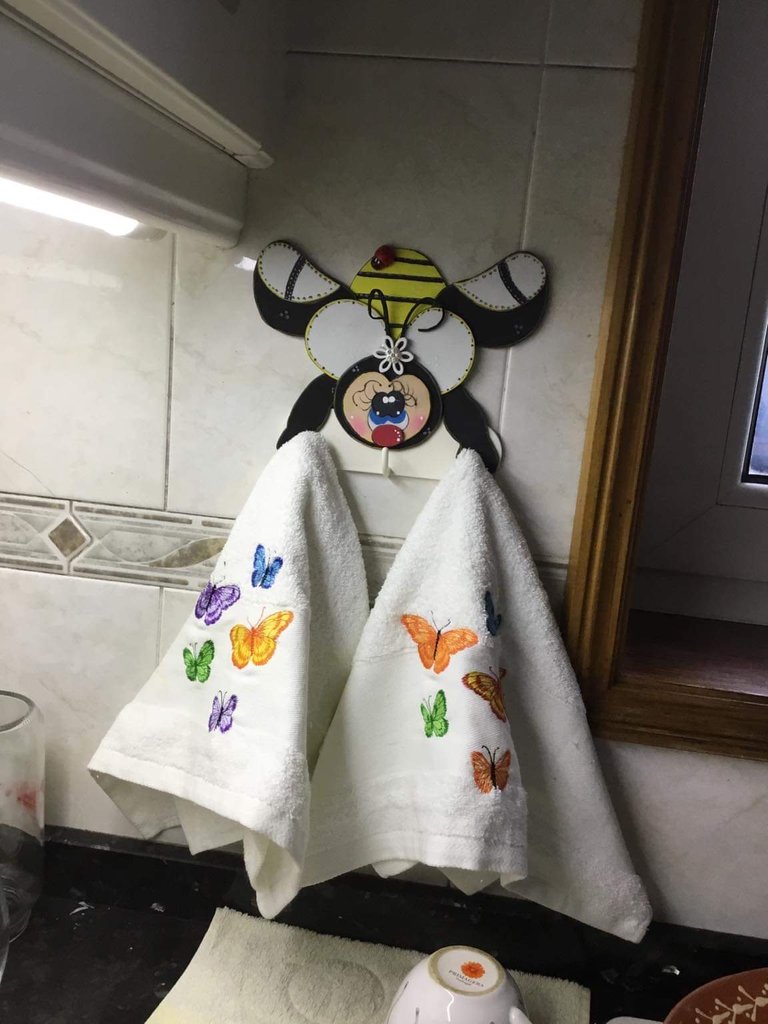
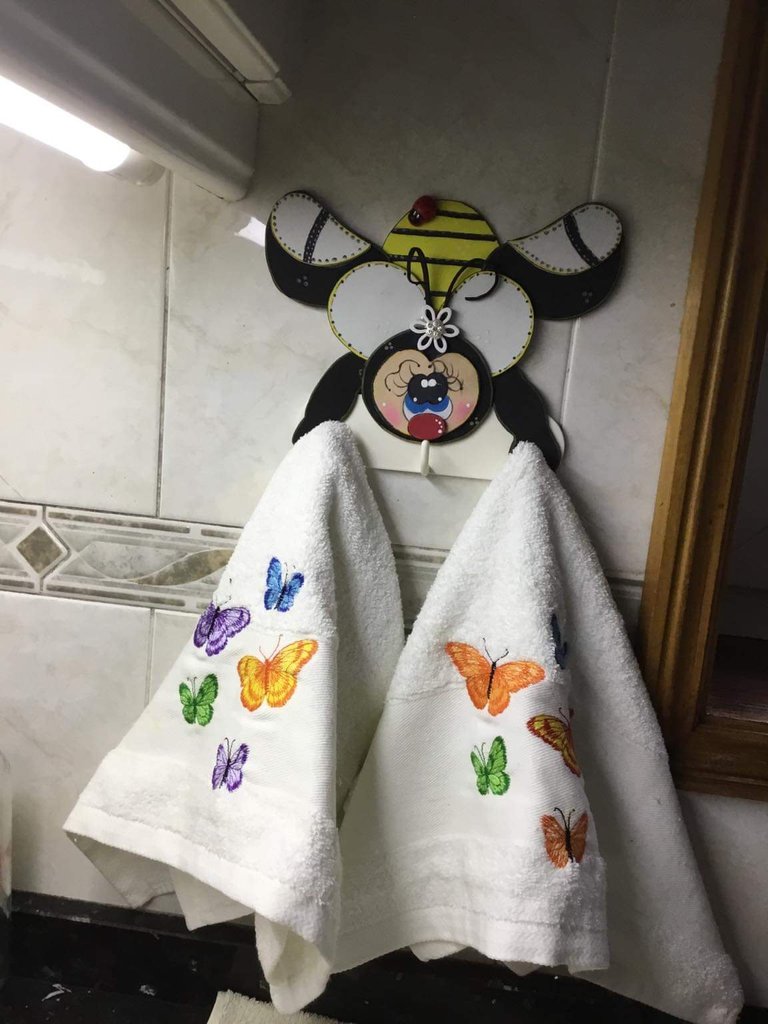

Espero que le haya gustado mi abeja decorando éste organizador de paños de cocina. Gracias por su apoyo y tomar un tiempo para realizar cualquier comentario positivo y leer mi publicaciones, muy agradecida a todas esas personas y a las diferentes comunidades de hive. Mil bendiciones y un excelente fin de semana.
Las fotos son tomadas de mi teléfono móvil Samsung Galaxy A6.

English
Hi friends, how are you today? I hope everyone is excellent; I send you a warm greeting and may the almighty father bless you. Manual work today is very simple to perform; I bought a holder for kitchen towels or towels (hanging) that I need for my kitchen, but the only ones they had in the store were undecorated and I bought them that way, very cheap by the way, and I thought I would decorate it with a little bee🐝 so I could do I play with the one I have in the outlet that I made in another tutorial. As always, come with me to make this cute little bee to decorate the kitchen towel hanger. I like to work with foami or eva rubber; the works are very nice, but you must know how to use it. The foami or eva rubber is:
♡ It is easy to paste.
♡ It is easy to cut.
♡ It is easy to paint.
♡ Low absorption of
Water.
♡ It is washable.
♡ It is non-toxic.
♡ It is not harmful to the environment,
can be recycled or incinerated.
♡ Easy to shape
heat.

Materials to use to make the bee🐝

Foami or EVA rubber in yellow, white, black, red and skin color
Scissor
Yellow, white, black and light blue permanent marker
Universal glue or silicone
Pencil
Paperboard
A kitchen towel hanger
*pink blush


Steps to follow to make the little bee 🐝

1👣🐝. In the cardboard we are going to make the molds of the bee. The cardboard used was from a cereal box, you can also use poster board.

2👣🐝. With the pencil, cardboard and the ruler we are going to draw two legs for the bee with the measures 5cm long by 3cm and 2cm wide at the top and bottom

3👣🐝.we are going to use a coffee serving plate to make the head of the bee; This one has the measurements of 7cm 1/2 by 7cm 1/2 and we mark it on the cardboard.

4👣🐝. For the face, what I did was reduce the head by half a centimeter less and then I made the figure as a letter M above. Observe in the image.

5👣🐝. We are also going to draw the two wings with the measurements you can see in the image.

6👣🐝. I drew two figures like drops to serve as the stockings that go on the legs (shoes)

7👣🐝. For the nose I drew a small oval 1cm wide by half a centimeter long

8👣🐝. In the next step we are going to transfer all the molds to the respective foami of the color of each piece and then cut.


9🐝. I always like to highlight the pieces in foami material or eva rubber with acrylic paints or in this case permanent markers for foami in black, white and skin with yellow and then with black they can also replace yellow with orange .


10👣🐝. After we have all the pieces ready we are going to work drawing the face painting eyes, eyebrow, cheek, eyelashes for that I used permanent markers. You can also draw and paint the face to your liking. First I draw them with the pencil and then with the extra marker fine I outline it and then I fill.


11👣🐝. I painted her cheeks with pink blush; which I applied with my fingers. A recommendation to paint the eyes is better to paint it blue or green between the middle of white and black; that makes them stand out and of course they are more beautiful.

12👣🐝. In this step we are going to stick the nose with the glue and detail the eyes, nose and the whole face with white dots

13👣🐝. Once the face and head of the bee have been detailed, we will proceed to assemble and glue all the pieces to the kitchen towel organizer. First, we glue the two pieces that are the stockings to the bee's shoe, then we glue it to the body and the wings. and head.


14👣🐝. Then we are going to glue the bee to the organizer and finally the arms as if they were holding the kitchen towel organizer and the antennas that we make with two thin strips with the foami or black eva rubber.


15👣🐝. The last step is to detail and decorate the bee; you can glue flowers, bows or whatever you want.


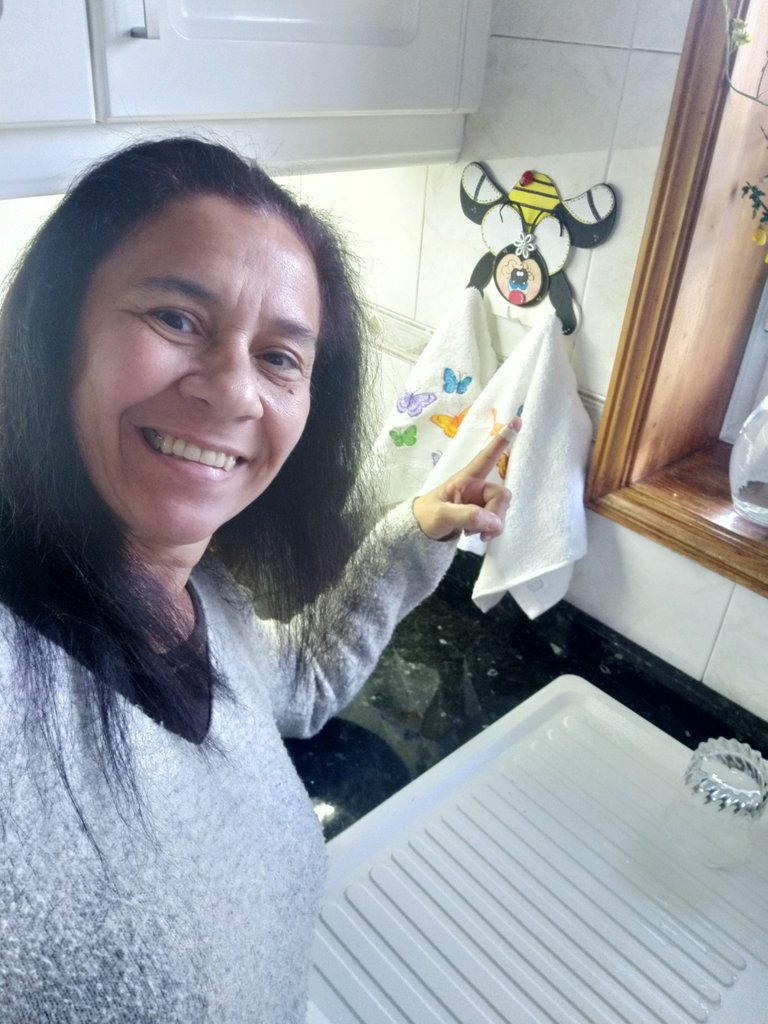
I hope you liked my bee decorating this kitchen towel organizer. Thank you for your support and taking time to make any positive comments and read my posts, very grateful to all those people and the different hive communities. A thousand blessings and an excellent weekend.
The photos are taken from my Samsung Galaxy A6 mobile phone.
(