Hola mis hiveamigos mis arañitas laboriosas o abejas tambien ambas son trabajadoras y creativas asi como los que hacemos vida en esta comunidad dedicada a la creacion de cosas lindas.
A pesar de que ahorita en Venezuela estamos en la epoca de invierno con lluvias, a veces hay sus momentos en los que no da algo de calor, al menos en mi casa no mucho, porque tenemos aires acondicionados, pero cuando se la energia, como se alborota el calor, pero para eso, me idee de hacerme un abanico, aunque tengo uno real, pero es un recuerdo una reliquia que conservo de mi abuelita, creo que debe tener mas de 50 años y se esta deteriorando.
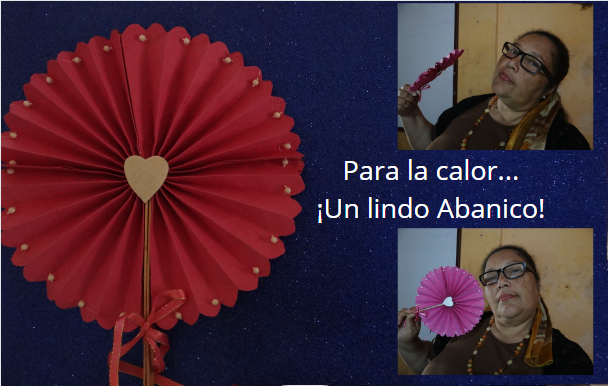
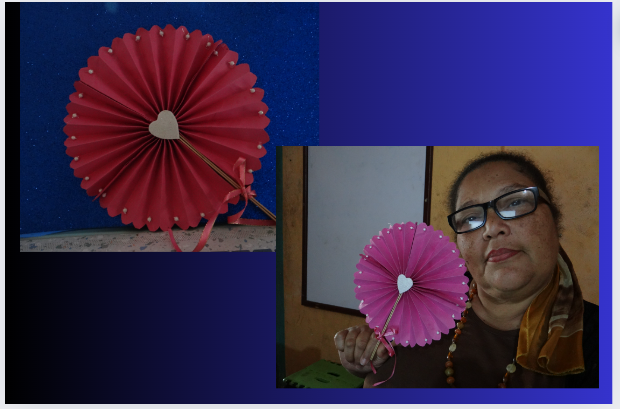
Como ya vieron en la portada es un abanico bonito y sencillo de hacer, que ahora les enseñare como.
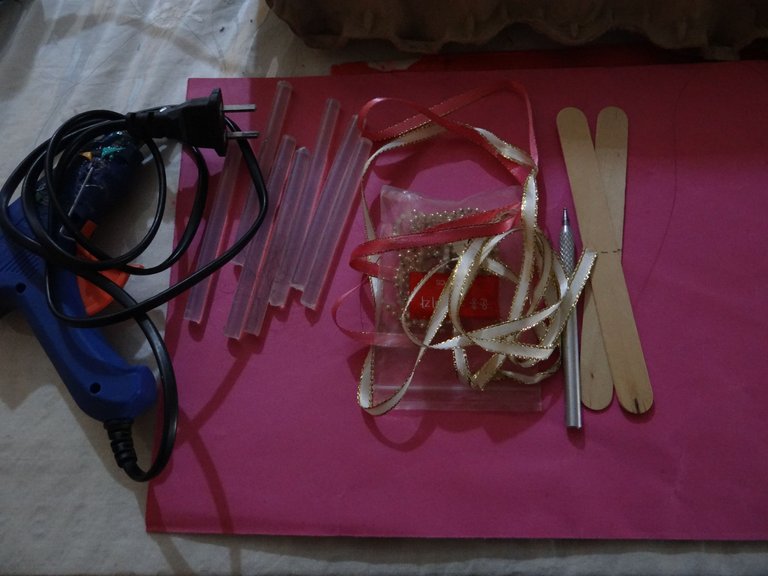
Los materiales y herramientas:
-Cartulina de dolores: use unas rosadas fucsia.
-Paletas de helado.
-Foami blanco escarchado retazo.
-Perlitas blancas cosidas.
-Cinta de raso fucsia con dorado (recicle)
-Repujador.
-Tijera, lapiz, regla.
-Pistola y barras de silicon.
Paso a paso:
Primero me inspire en los abanicos tipo chino.
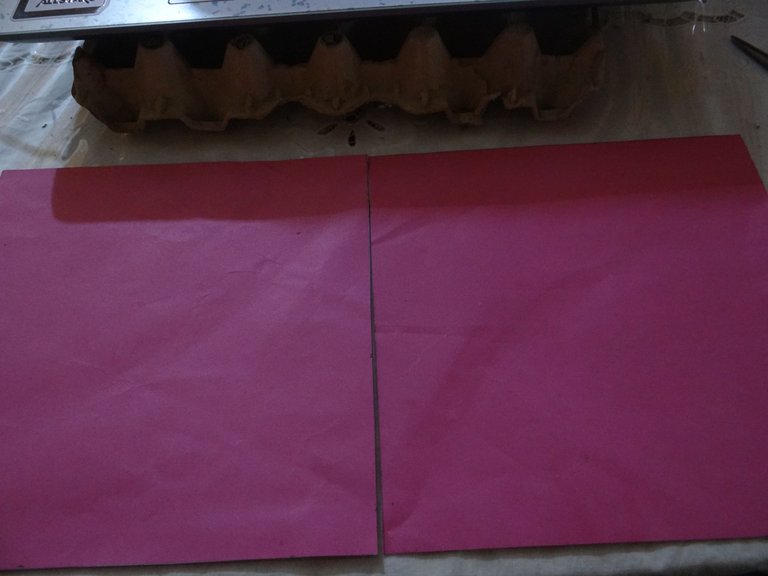
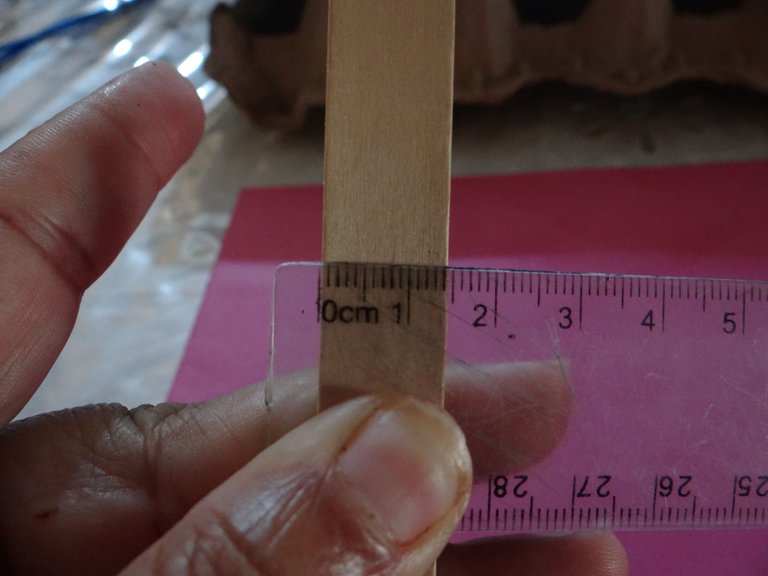
1.Con las cartulinas trabajar mejor las medi para que sea un cuadrado, que todos los lados sean de la misma medida, por eso las mias fueron de 25 x 25 cms. Recorte lo que sobraba.
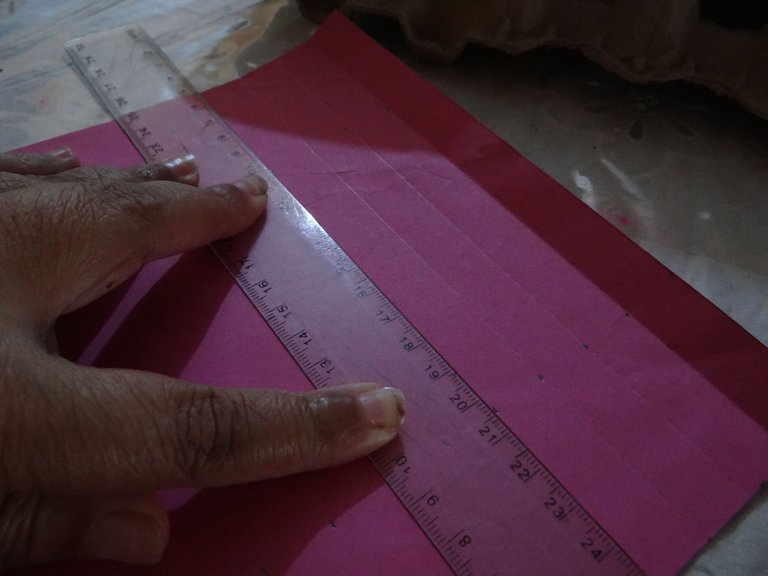
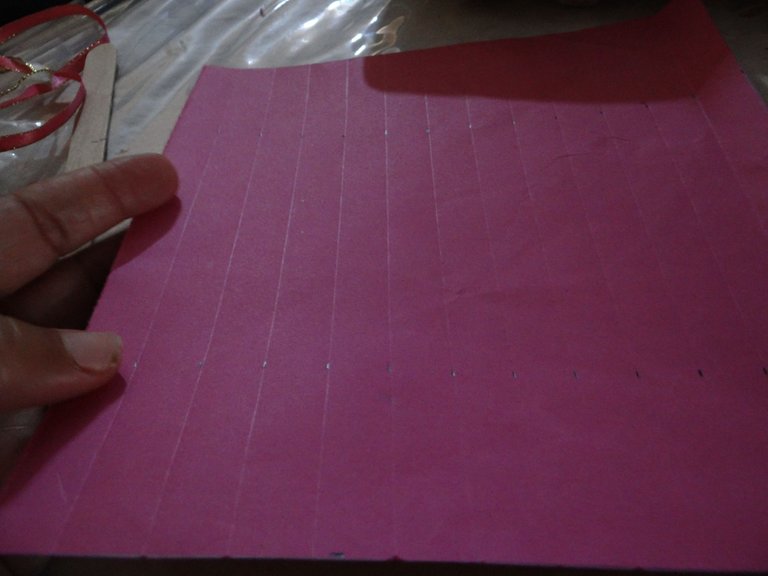
2.Los abanicos de papel son plegados doblados asi como un acordeon, pero para que me quedaran iguales, con una regla trace lineas fui midiendo 1,5 cms hasta el final, no se cuantas salieron no conte, pero sobraba un pedacito y lo recorte. En las dos cartulinas lo hice lo mismo, las lineas las marque muy finas para que luego no se vean.
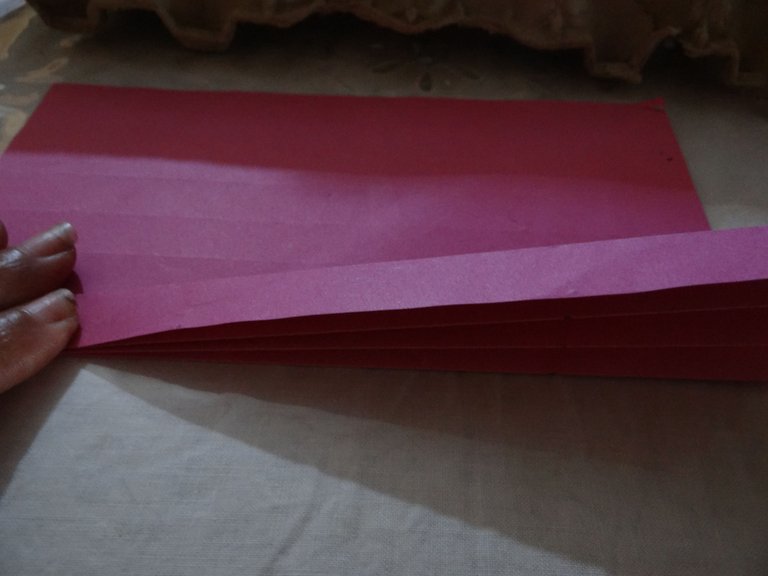
3.En cada linea era la guia para ir doblando el papel, de un lado y de otro, hasta el final, que igual pase varias veces las manos para reafirmar los dobleces.
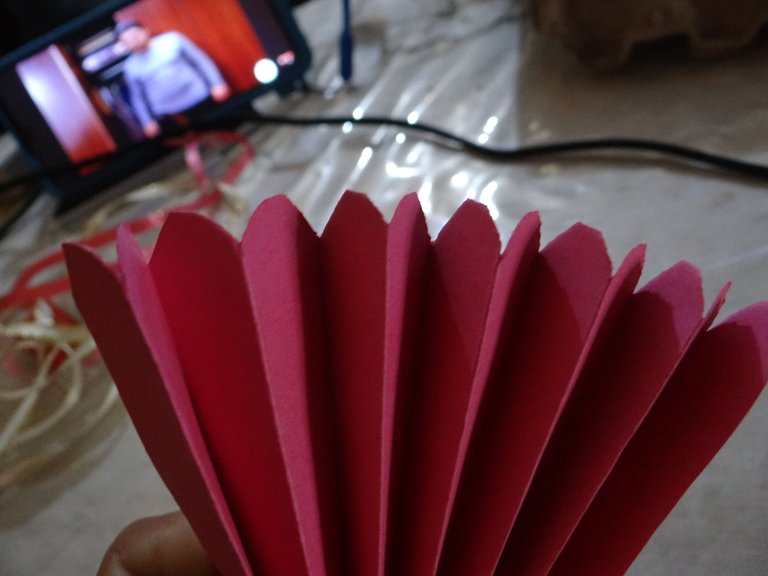
4.Aqui cada extremo con ayuda de la paleta le marque un bordo semicirculo y recorte para que le diera una forma como de flor o corazon.
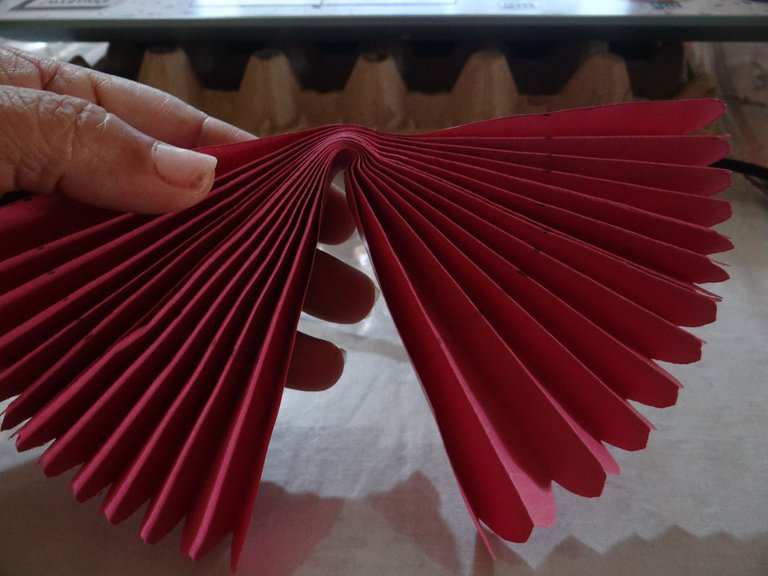
5.Doblo a la mitad y pego ambas partes con silicon, en el medio con una cinta o un hilo como pabilo, aunque yo use una cinta de regalo que le saque una tirita fina y le amarre en el medio de la cartulina, que luego ambos extremos que quedarian hacia adentro los pegue con silicon caliente. Cuidado con quemarse.
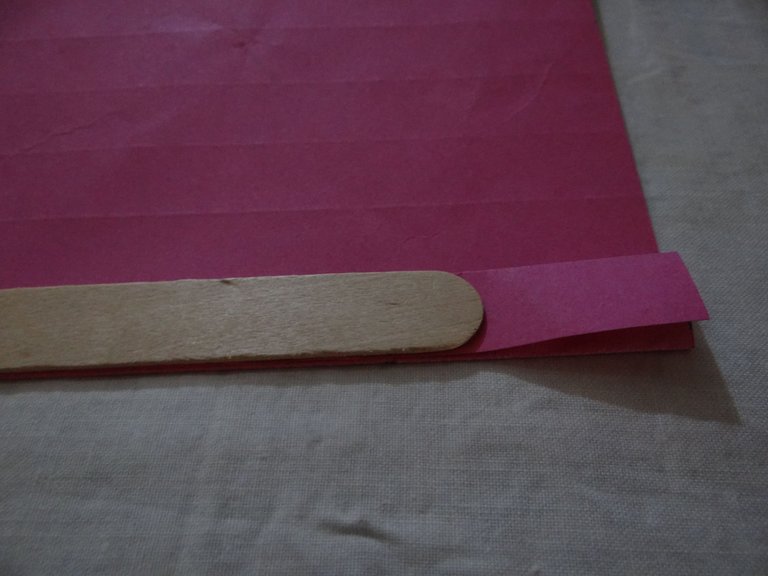
6.En los otros extremos pegamos las paletas no toda, debe quedar como 5 cms que seria por donde agarrar el abanico. Donde esta pegada la cartulina pegar la cinta que ya la he cortado a la mitad.
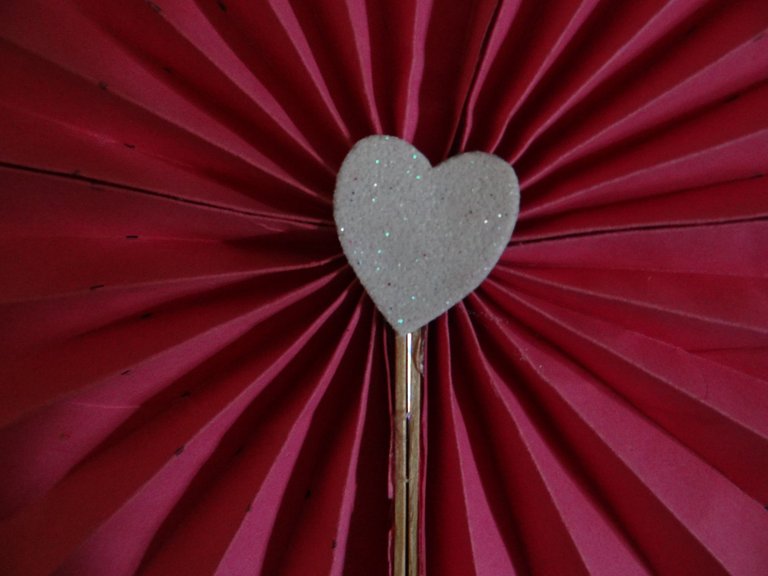
7.Para tapar el centro del abanico en cada lado, gice unos corazones de foami blanco.
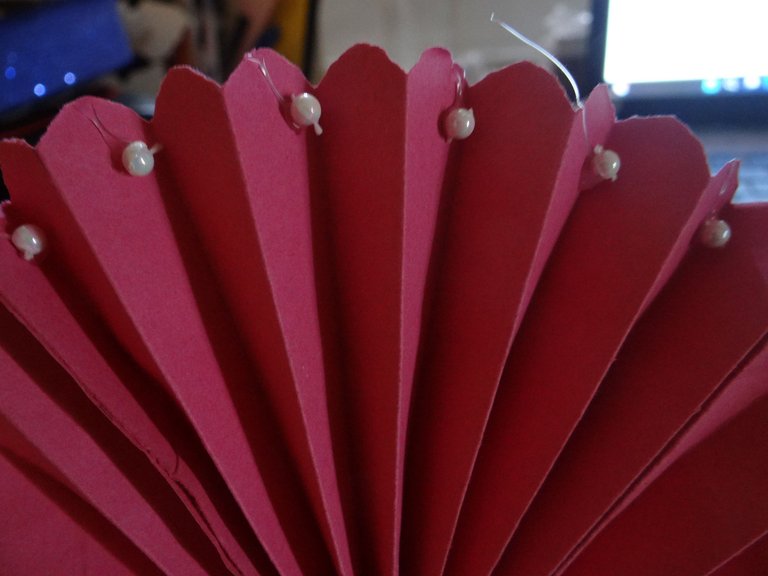
8.Para que sea como mas bonito y elegante le pegue unas perlitas en unos dobleses uno si y otro no.
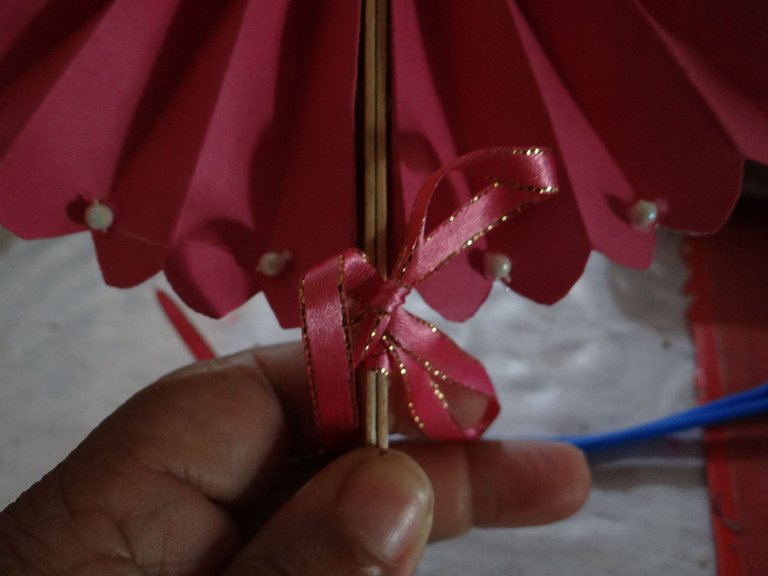
9.Ya casi, voy a las paletas, amarro las cintas, hago un lindo lazo.
10.Otra idea que les doy de este abanico es que si lo decoran con otra cosa que sea plana, no perlas, podrian guardar el abanico doblado, porque desatan las cintas y doblan hacia adentro, las paletas arriba, y amarran con las cintas, asi es ideal para llevarlo en los bolsos. Pasa que no me quedo material sino hago otro y les enseño, pero creo que asi ya tienen la idea. Como tambien la cartulina que vayan a usar no sea tan rigida, para que puedan hacer los dobleces mas faciles, hay quienes usan papel de regalo tambien.
Ha sido todo en esta oportunidad, espero que les guste, que lo puedan hacer, para cuando tengan calor se abaniquen.
Todas las fotos tomadas como mi camara Sony, editadas algunas como la portada y los collage en Canva.
Contenido propio, traducido con la app DeepL, version gratis.
Hasta otra manualidad que les pueda traer.

Hello my hivefriends my industrious little spiders or bees also both are hardworking and creative as well as those of us who make life in this community dedicated to the creation of beautiful things.
Although right now in Venezuela we are in the winter season with rains, sometimes there are moments when there is some heat, at least in my house not much, because we have air conditioners, but when the energy, as the heat is disturbed, but for that, I thought of making me a fan, although I have a real one, but it is a memory a relic that I keep from my grandmother, I think it must have more than 50 years and is deteriorating.
As you saw on the cover it is a nice and simple fan to make, which I will now show you how.
Materials and tools:
-Pain cardstock: I used fuchsia pink ones.
-Ice cream popsicle sticks.
-Frosted white frosted Foami patchwork.
-Sewn white beads.
-Fuchsia satin ribbon with gold (recycle).
-Paper pusher.
-Scissors, pencil, ruler.
-Silicone gun and sticks.
Step by step:
First I was inspired by the Chinese type fans.
1.With the cardboard to work better to measure them to be a square, that all sides are the same size, so mine were 25 x 25 cms. Cut out what was left over.
2.The paper fans are folded folded like an accordion, but to make them equal, with a ruler tracing lines I measured 1.5 cm to the end, I do not know how many came out I did not count, but there was a little piece left over and I cut it out. I did the same on the two cardboards, I marked the lines very thin so that they would not be seen later.
3.In each line was the guide to go folding the paper, from one side and the other, until the end, that same pass several times the hands to reaffirm the folds.
4.Here each end with the help of the trowel I marked a semicircle on the edge and trimmed it to give it a shape like a flower or heart.
5.Fold it in half and glue both parts with silicone, in the middle with a ribbon or a thread as a wick, although I used a gift ribbon that I took a thin strip and tied it in the middle of the cardboard, and then glued both ends that would be inside with hot silicone. Be careful not to burn yourself.
6.In the other ends we glue the paddles not all, it should be about 5 cms that would be where to grab the fan. Where the cardboard is glued glue the ribbon that I have already cut in half.
7.To cover the center of the fan on each side, make some white foami hearts.
8.To make it more beautiful and elegant I glued some pearls on a double one and one not.
9.Almost there, I go to the pallets, tie the ribbons, I make a nice bow.
10.Another idea I give you about this fan is that if you decorate it with something else that is flat, not pearls, you can keep the fan folded, because you untie the ribbons and fold it inside, the lollipops on top, and tie it with the ribbons, so it is ideal to carry it in the bags. It happens that I don't have any material left, otherwise I'll make another one and show you, but I think you already have the idea. As well as the cardboard that you are going to use is not so rigid, so that you can make the folds easier, there are those who can use it.
That's it for this opportunity, I hope you like it, that you can do it, for when you are hot you can fan yourself.
All photos taken with my Sony camera, edited some as the cover and collages in Canva.
Own content, translated with the app DeepL, free version.
Until another craft I can bring you.