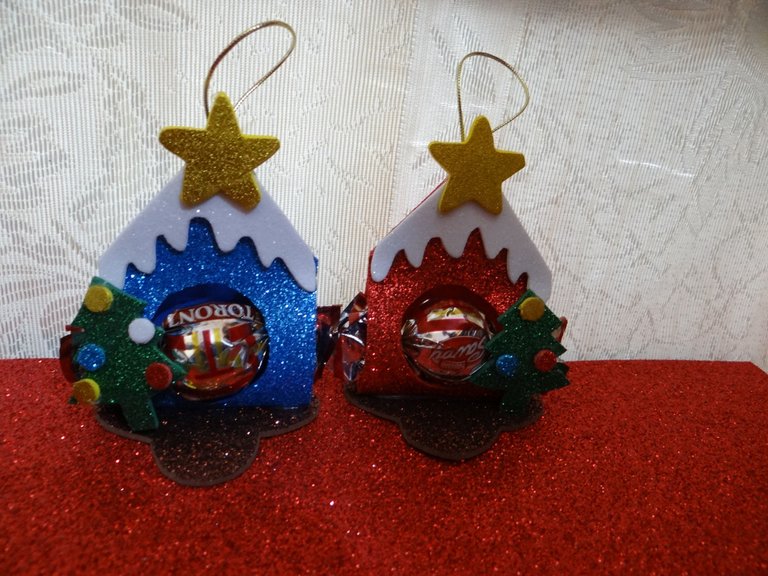
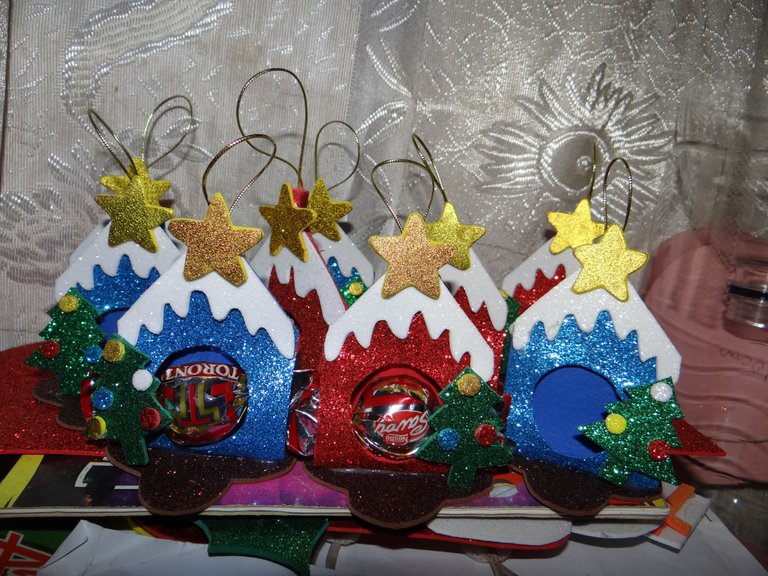
Hola mis abejitas laboriosas, que siempre estan haciendo algo y no paran esas manos de crear cosas bellas, y en navidad mas cosas bellas creamos, tanto para decorar nuestras casas pero también podemos hacer cosas lindas para regalar en navidad con un rico dulce, chocolate, u otra golosina pero pequeña ya verán porque.
Muy pronto me voy donde mi mama a pasar las navidades y siempre llevo un detalle para obsequiar a todos mas que todos los mas pequeños mis sobrinos.
Hello my industrious little bees, who are always doing something and do not stop those hands to create beautiful things, and at Christmas we create more beautiful things, both to decorate our homes but we can also make nice things to give away at Christmas with a rich candy, chocolate, or other treat but small but you'll see why.
Very soon I will be going to my mom's for Christmas and I always bring a little something to give to everyone, especially the youngest ones, my nephews and nieces.
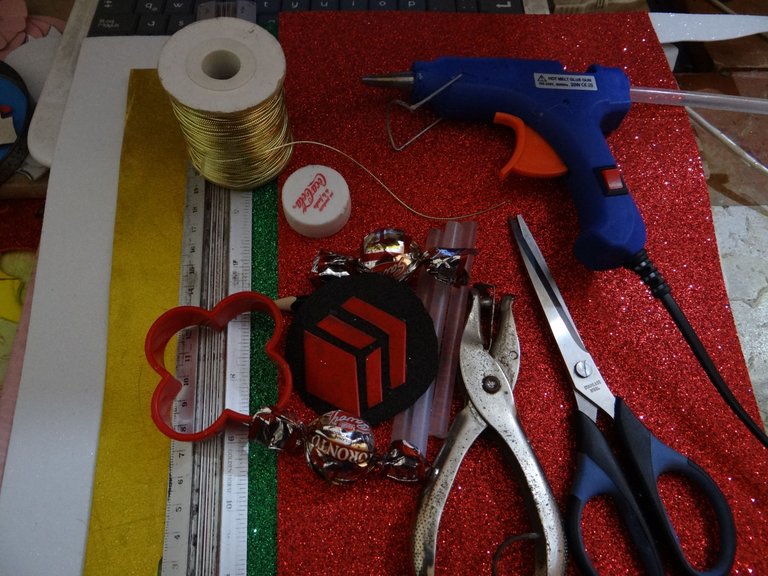
Los materiales utilizados son estos:
- Foami escarchado de varios colores preferiblemente los de navidad.
- Lapiz, tijera, regla y algunos objetos como tapas.
- Pistola y barra de silicon.
- Cordón dorado.
- Peforadora o abrehuecos.
The materials used are these:
- Frosted Foami of various colors preferably Christmas colors.
- Pencil, scissors, ruler and some objects such as lids.
- Silicone spray gun and stick.
- Gold cord.
- Hole punch or hole punch.
Empezamos:
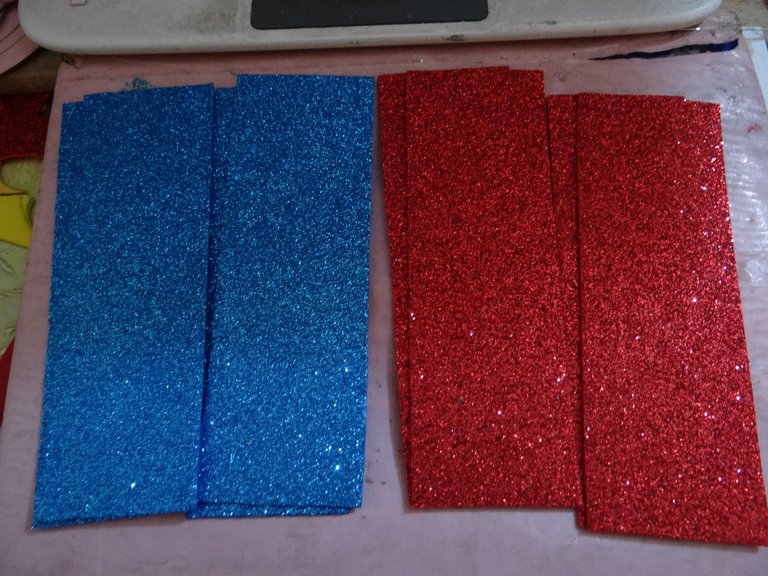
1.- Trazemos sobre el foami por el reves, rectangulos de 15 cms de largo por 5 cms de ancho, primero.
1.- Let's trace rectangles of 15 cm long by 5 cm wide on the foami from the reverse side, first.
2.- Ahora los dos extremos le cortamos como una punta de flecha.
2.-Now we cut the two ends like an arrowhead.
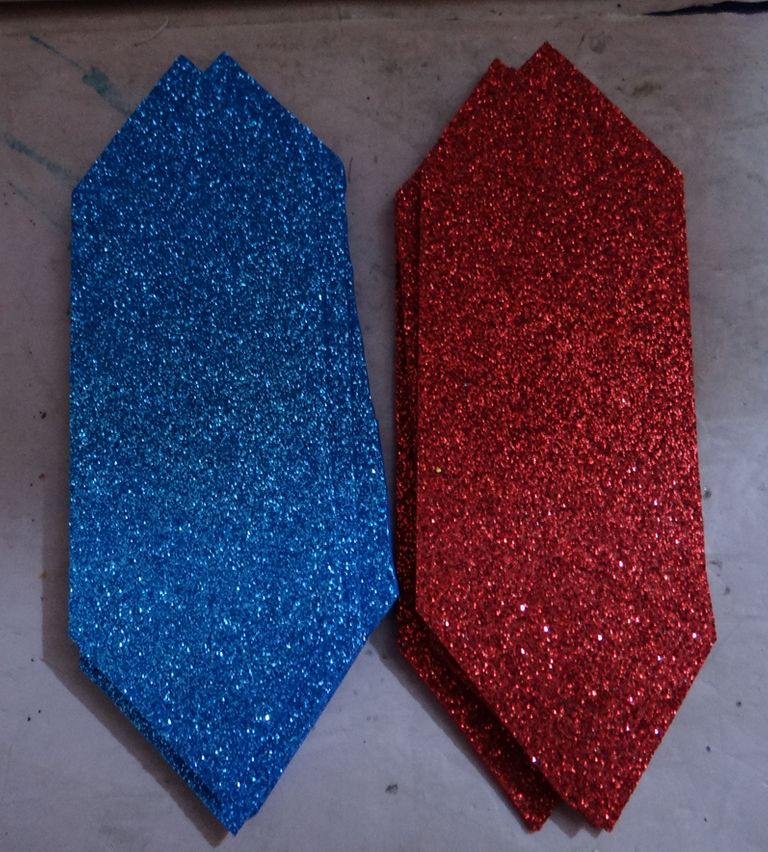
3.- En uno de los extremos marcar un circulo con una tapa de refresco.
3.- In one of the ends mark a circle with a soda cap.
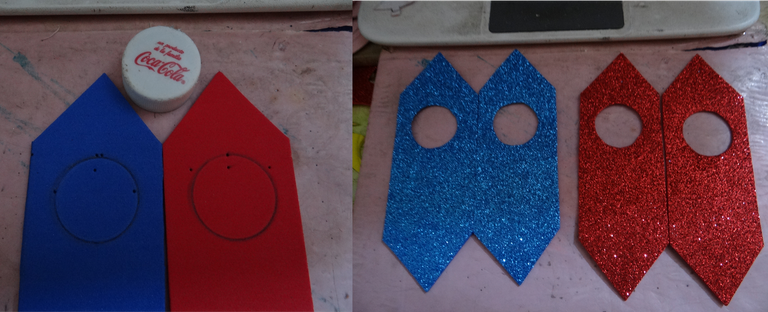
Siempre me gusta recortar todas las piezas de lo que voy hacer, trabajar con foami es como un rompecabezas, que es mejor tener todas las piezas listas y or ultimo armar la figura.
I always like to cut out all the pieces of what I am going to make, working with foami is like a puzzle, it is better to have all the pieces ready and finally assemble the figure.
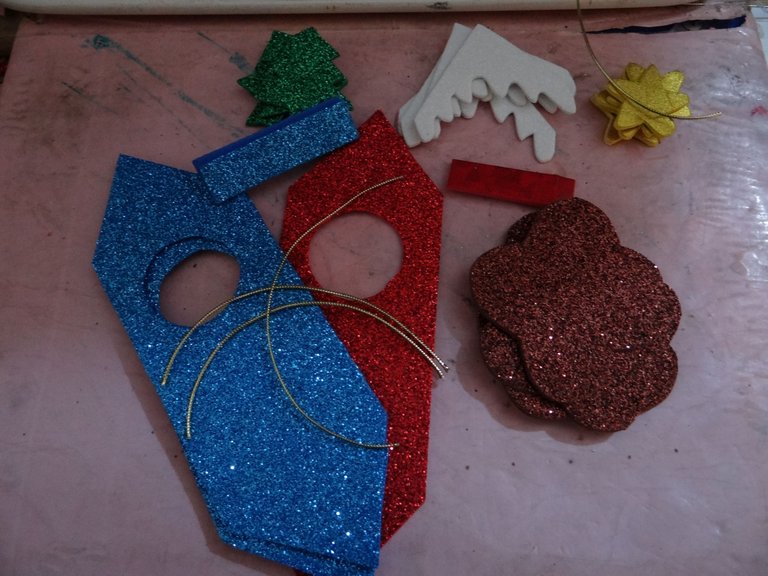
4.- Luego marcar y recortar lo que parece la nieve y el arbolito a y la base de la casita.
4.- Then mark and cut out what looks like the snow and the tree and the base of the little house.

5.- Ya tengo todas la piezas listas para empezar a armar la casita dulcera.
5.- Now I have all the pieces ready to start assembling the candy house.
6.- Del rectángulo pegamos las puntas y extremos con poquito silicon, luego la nieve, la pegamos sobre la base, después el arbolito, que lo decore con taquitos de foami sacados con el abrehuecos.
6.- From the rectangle we glue the tips and ends with a little silicone, then the snow, we glue it on the base, then the tree, which I decorate with small pieces of foami taken out with the hole opener.
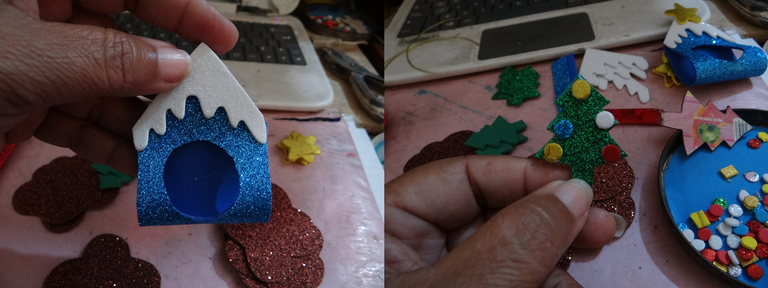
7.- Falta poco, colocar por detrás el colgadero, en una tira de foami pegamos el cordón, enrollamos y pegamos.
7 .- Just a little bit left, place the back of the hanger, in a strip of foami glue the cord, roll and glue.
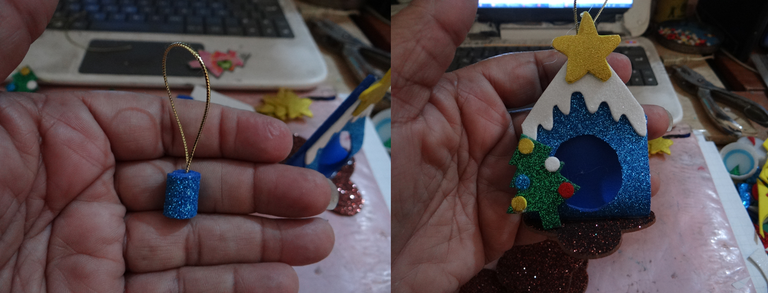
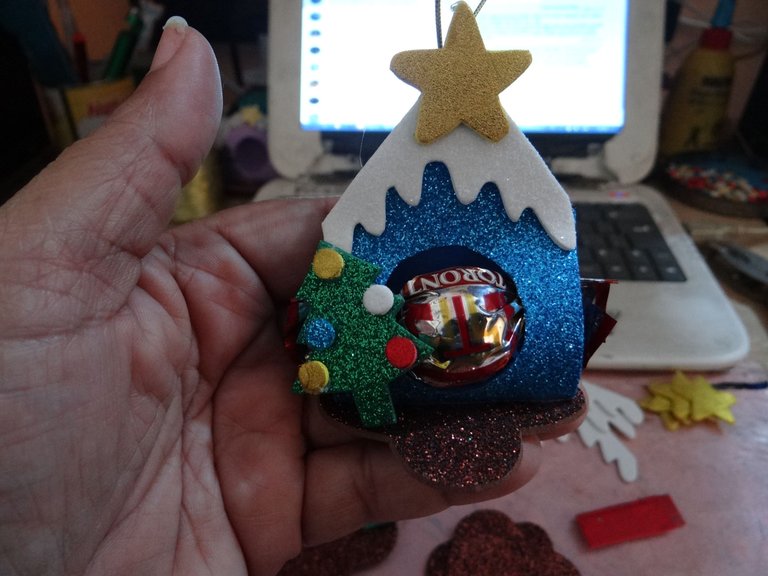
8.- Trabajo final.
8.- Final work.

Ahora solo me faltara comprar mas dulces para llevar las casitas a la familia, el cual se que se alegraran y tendrán un bonito recuerdo.
Espero que les guste a ustedes también y la puedan hacer en sus casas.
Todas las fotos son de mi propiedad y autoria.
Now I just need to buy more candy to take the little houses to the family, which I know they will be happy and will have a nice souvenir.
I hope you like it too and you can make it at home.
All photos are my property and authorship.

