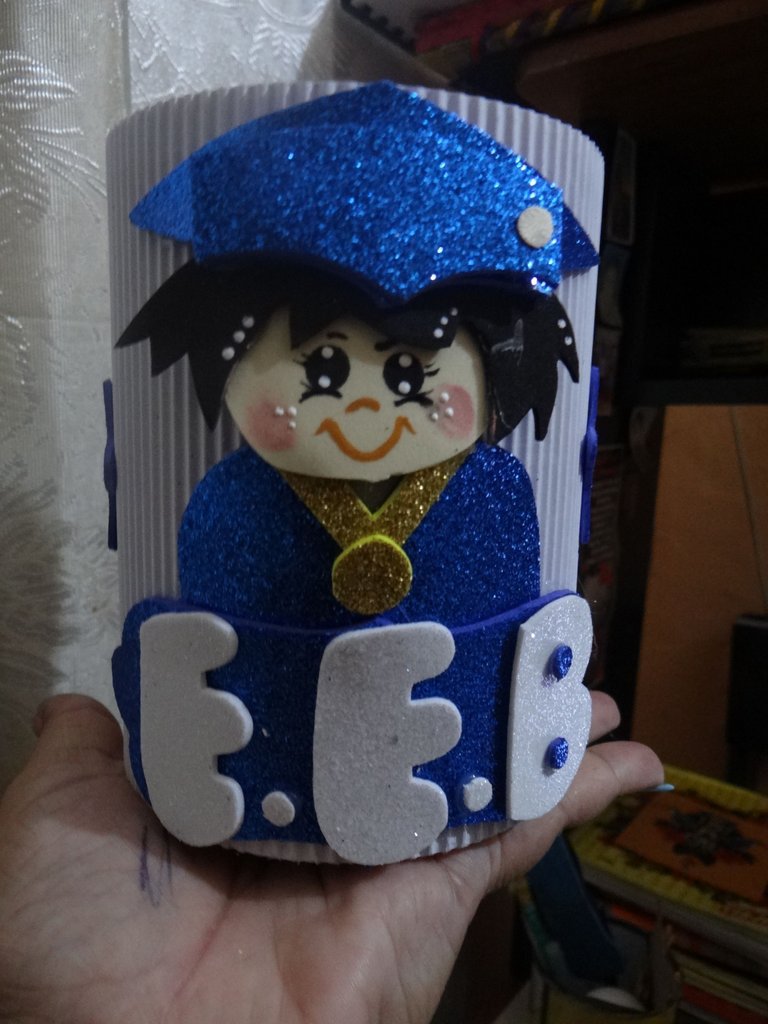
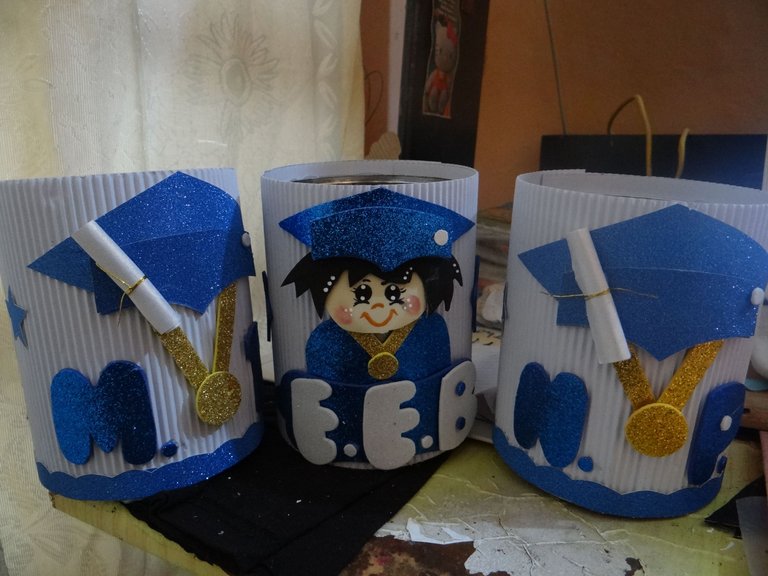
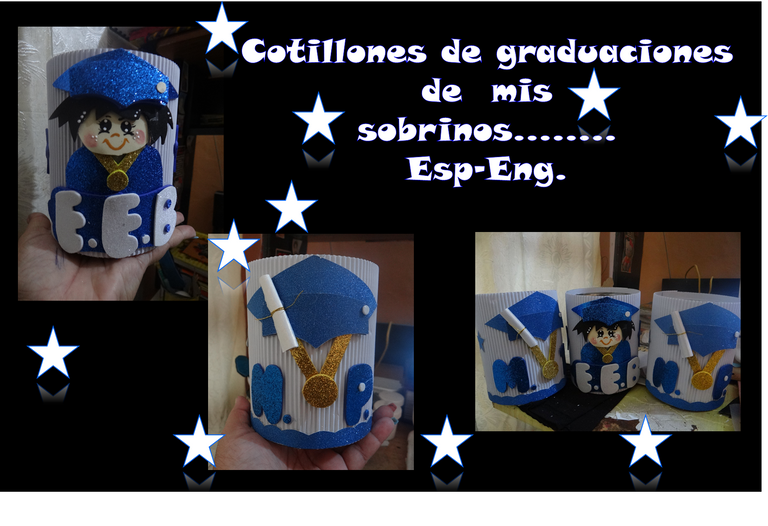
Hola, de nuevo por aquí con algo que les debía, si en mi anterior publicación, de las carpetas, mencione unos cotillones, aquí están para compartir como lo hice.
Materiales:
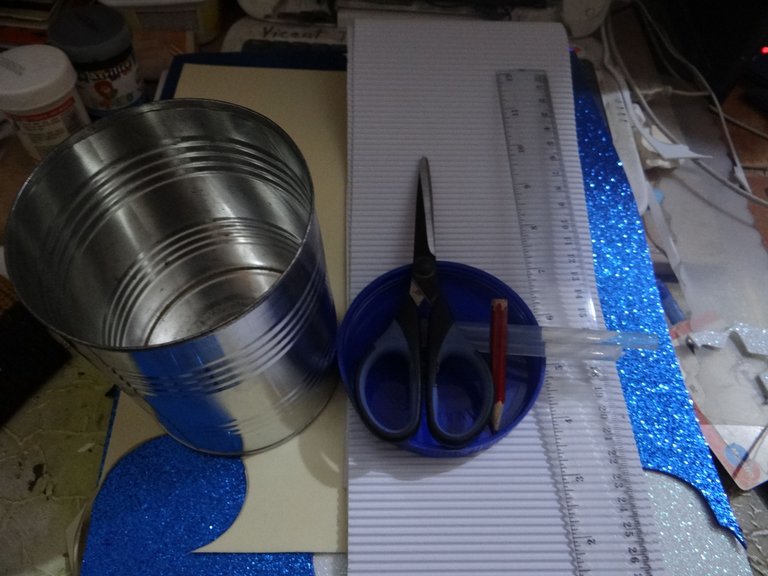
-3 latas de leche materna (recicladas hace tiempo tengo muchas).
-Cartulina corrugada blanca.
-Foami escarchada: azul, blanco, dorado.
-Foami normal: piel, negro, gris.
-Papel blanco nacarado.
-Cartulina microescarchada.
-Tijera, lápiz, regla, pistola/barras de silicon.
Paso a Paso.
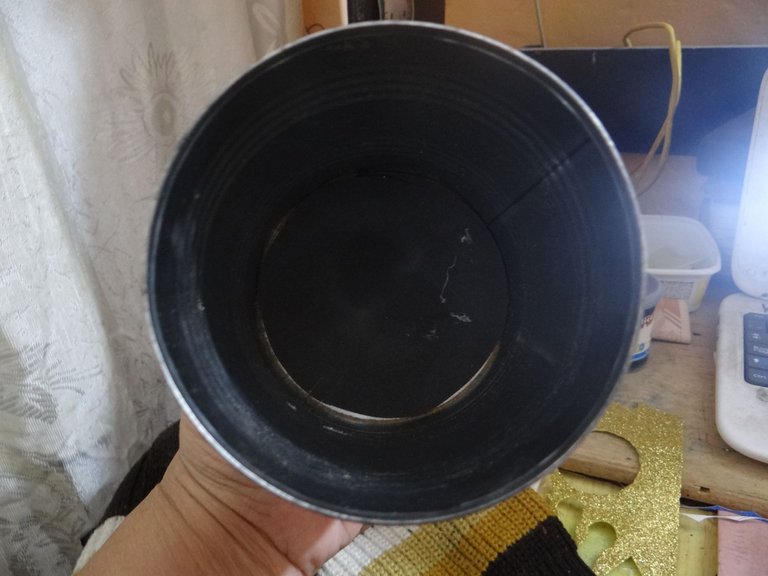
1-.Así tenga las latas listas, le recorte el borde con el abrelata, no debe haber nada filoso, que evite cortaduras. Limpiar las latas.
2.-Con el foami gris corte unos círculos para ponerlos de fondo de la lata.
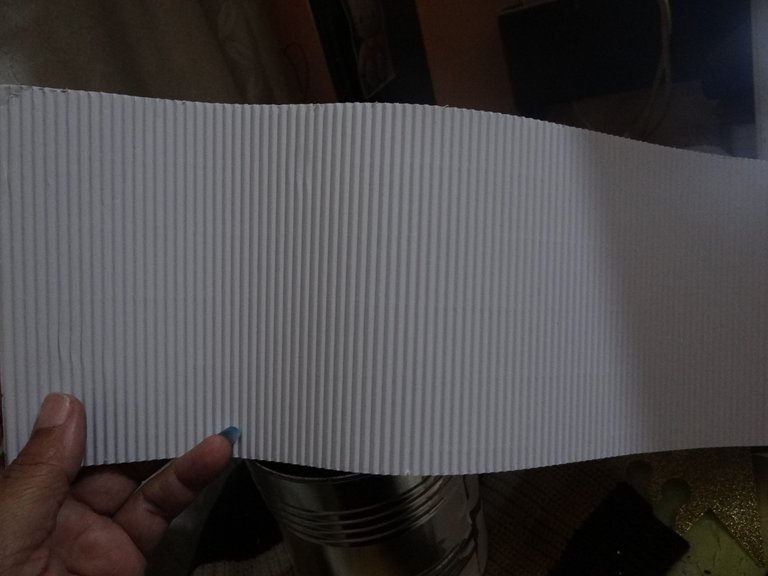
3.-La cartulina corrugada cortar unos rectángulos de 13 cms de alto por 35 cms del contorno de la lata.
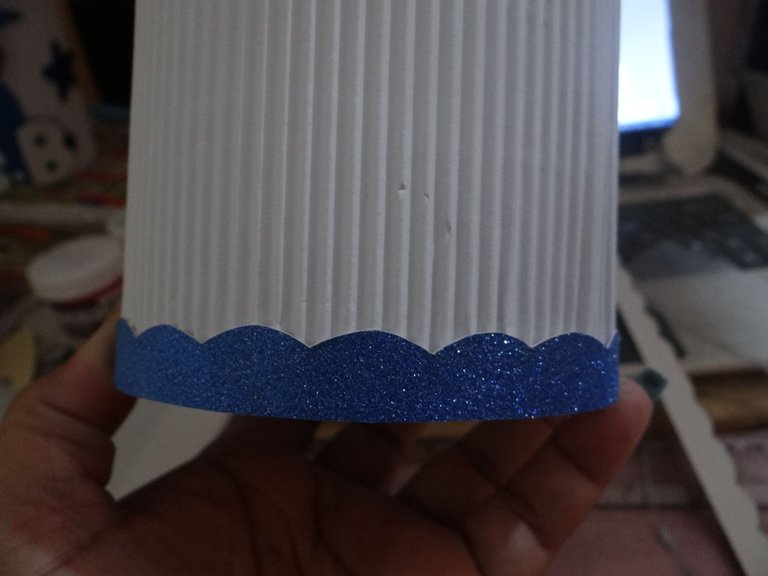
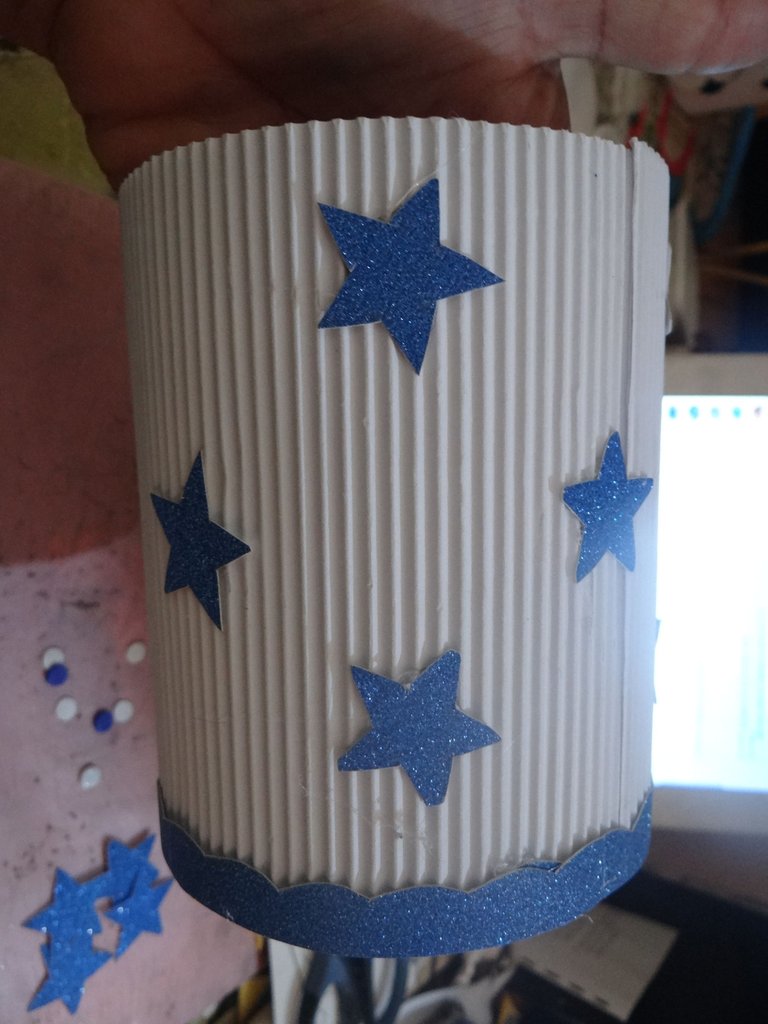
4.-Luego pegar este rectángulo a la lata con la pistola de silicon. Y en la parte baja un borde de cartulina microescarchada azul.
5.-Ya la lata esta lista y la dejamos a un lado.
6.-Los patrones en el caso del varón los reduje, marque, recorte, arme y pegue en la lata.
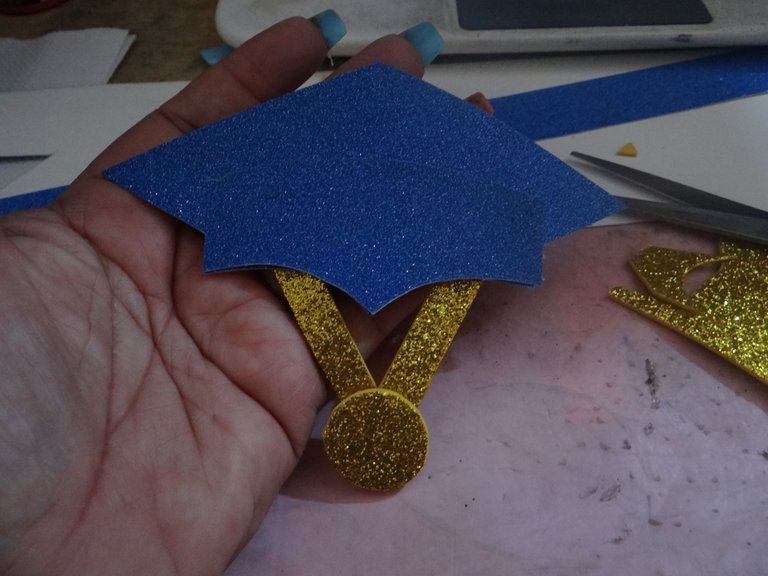
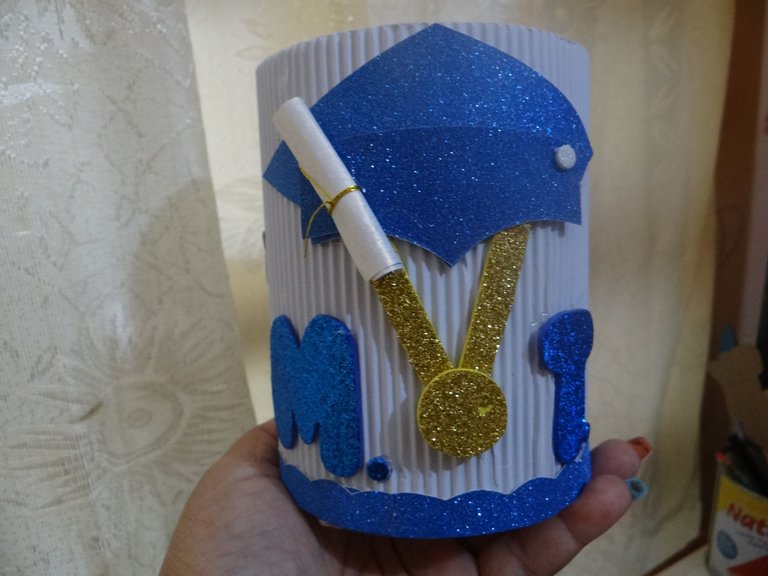
7.-Lo mismo hice para las hembras pero un modelo diferente ya que el patrón de hembras es muy grande y como también mis sobrinas son casi adolescentes se lo hice con birrete en cartulina microescarchad, medalla en foami dorado y diploma con el papel nacarado.
8.-Cuando tuve listo pegue también a la lata.
9.-Ahora solo faltaban las letras iniciales de los nombres, en foami escarchado.
10.-Para finalizar unas estrellas azul en el foami escarchado.
11.- Ya listo los cotillones.
Quedo pendiente con la carpeta de mi hijo que se va graduar de Bachiller y es muy diferente ya que son jóvenes.
Todas las fotos con mi cámara Sony.
Contenido original, traducido con la aplicación DeepL.

Hello, here again with something I owed you, if in my previous post, of the folders, I mentioned some cotillions, here they are to share how I did it.

Materials:
-3 breast milk cans (recycled long ago I have many).
-White corrugated cardboard.
-Frosted Foami: blue, white, gold.
-Regular Foami: leather, black, gray.
-Pearl white paper.
-Frosted microfrosted cardboard.
-Scissors, pencil, ruler, silicon gun/sticks.
Step by Step.
1.-As soon as you have the cans ready, trim the rim with the can opener, there should be nothing sharp, to avoid cuts. Limpiar las latas.
2.-With the gray foami cut some circles to put them at the bottom of the can.
3.-The corrugated cardboard cut some rectangles of 13 cm high by 35 cm of the contour of the can.
4.-Then glue this rectangle to the can with the silicon gun. And at the bottom a border of blue microfrosted cardboard.
5.-The can is ready and we put it aside.
6.-The patterns in the case of the male I reduced, mark, cut, assemble and glue them on the can.
7.-The same thing I did for the females but a different model because the pattern for females is very large and as my nieces are also almost teenagers I did it with a biretta in microfrosted cardboard, medal in gold foami and diploma with pearly paper.
8.-When I had ready I also glued to the can.
9.-Now I only needed the initial letters of the names, in frosted foami.
10.-To finish some blue stars in the frosted foami.
11.- Already ready the cotillions.
I am still pending with my son's portfolio who is graduating from high school and it is very different since they are young.
All photos with my Sony camera.
Original content, translated with the application DeepL.

