

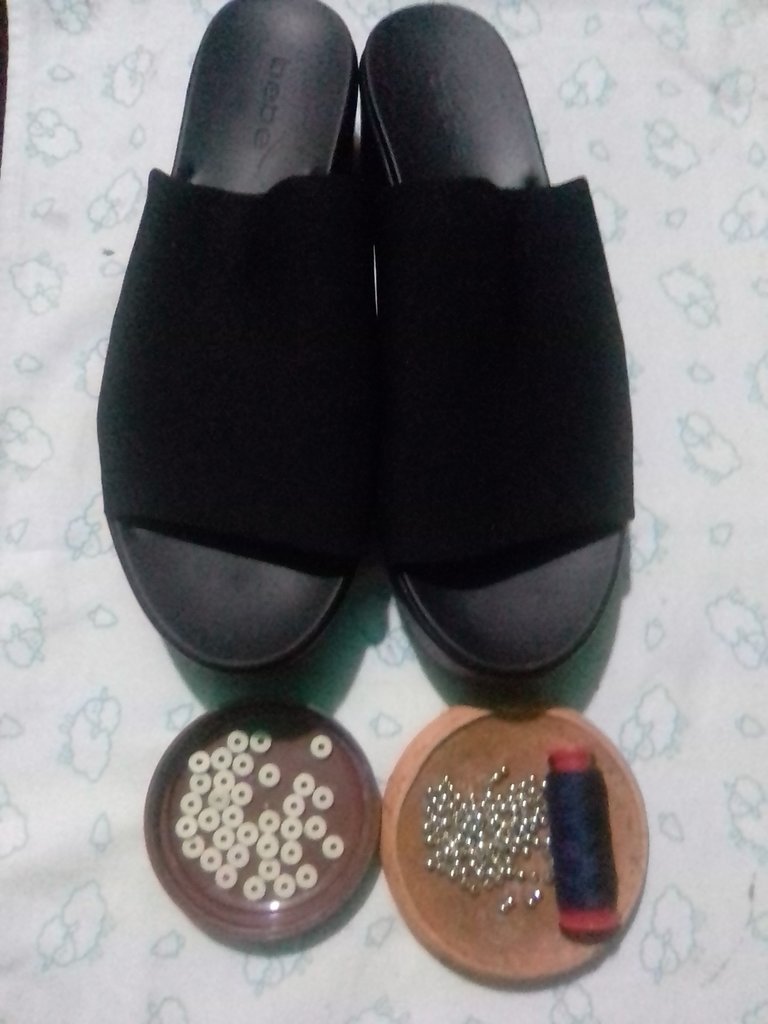
MATERIALS
✓ White beads.
✓ Small golden pearls.
✓ Dark blue thread
✓ Needle.
STEP BY STEP
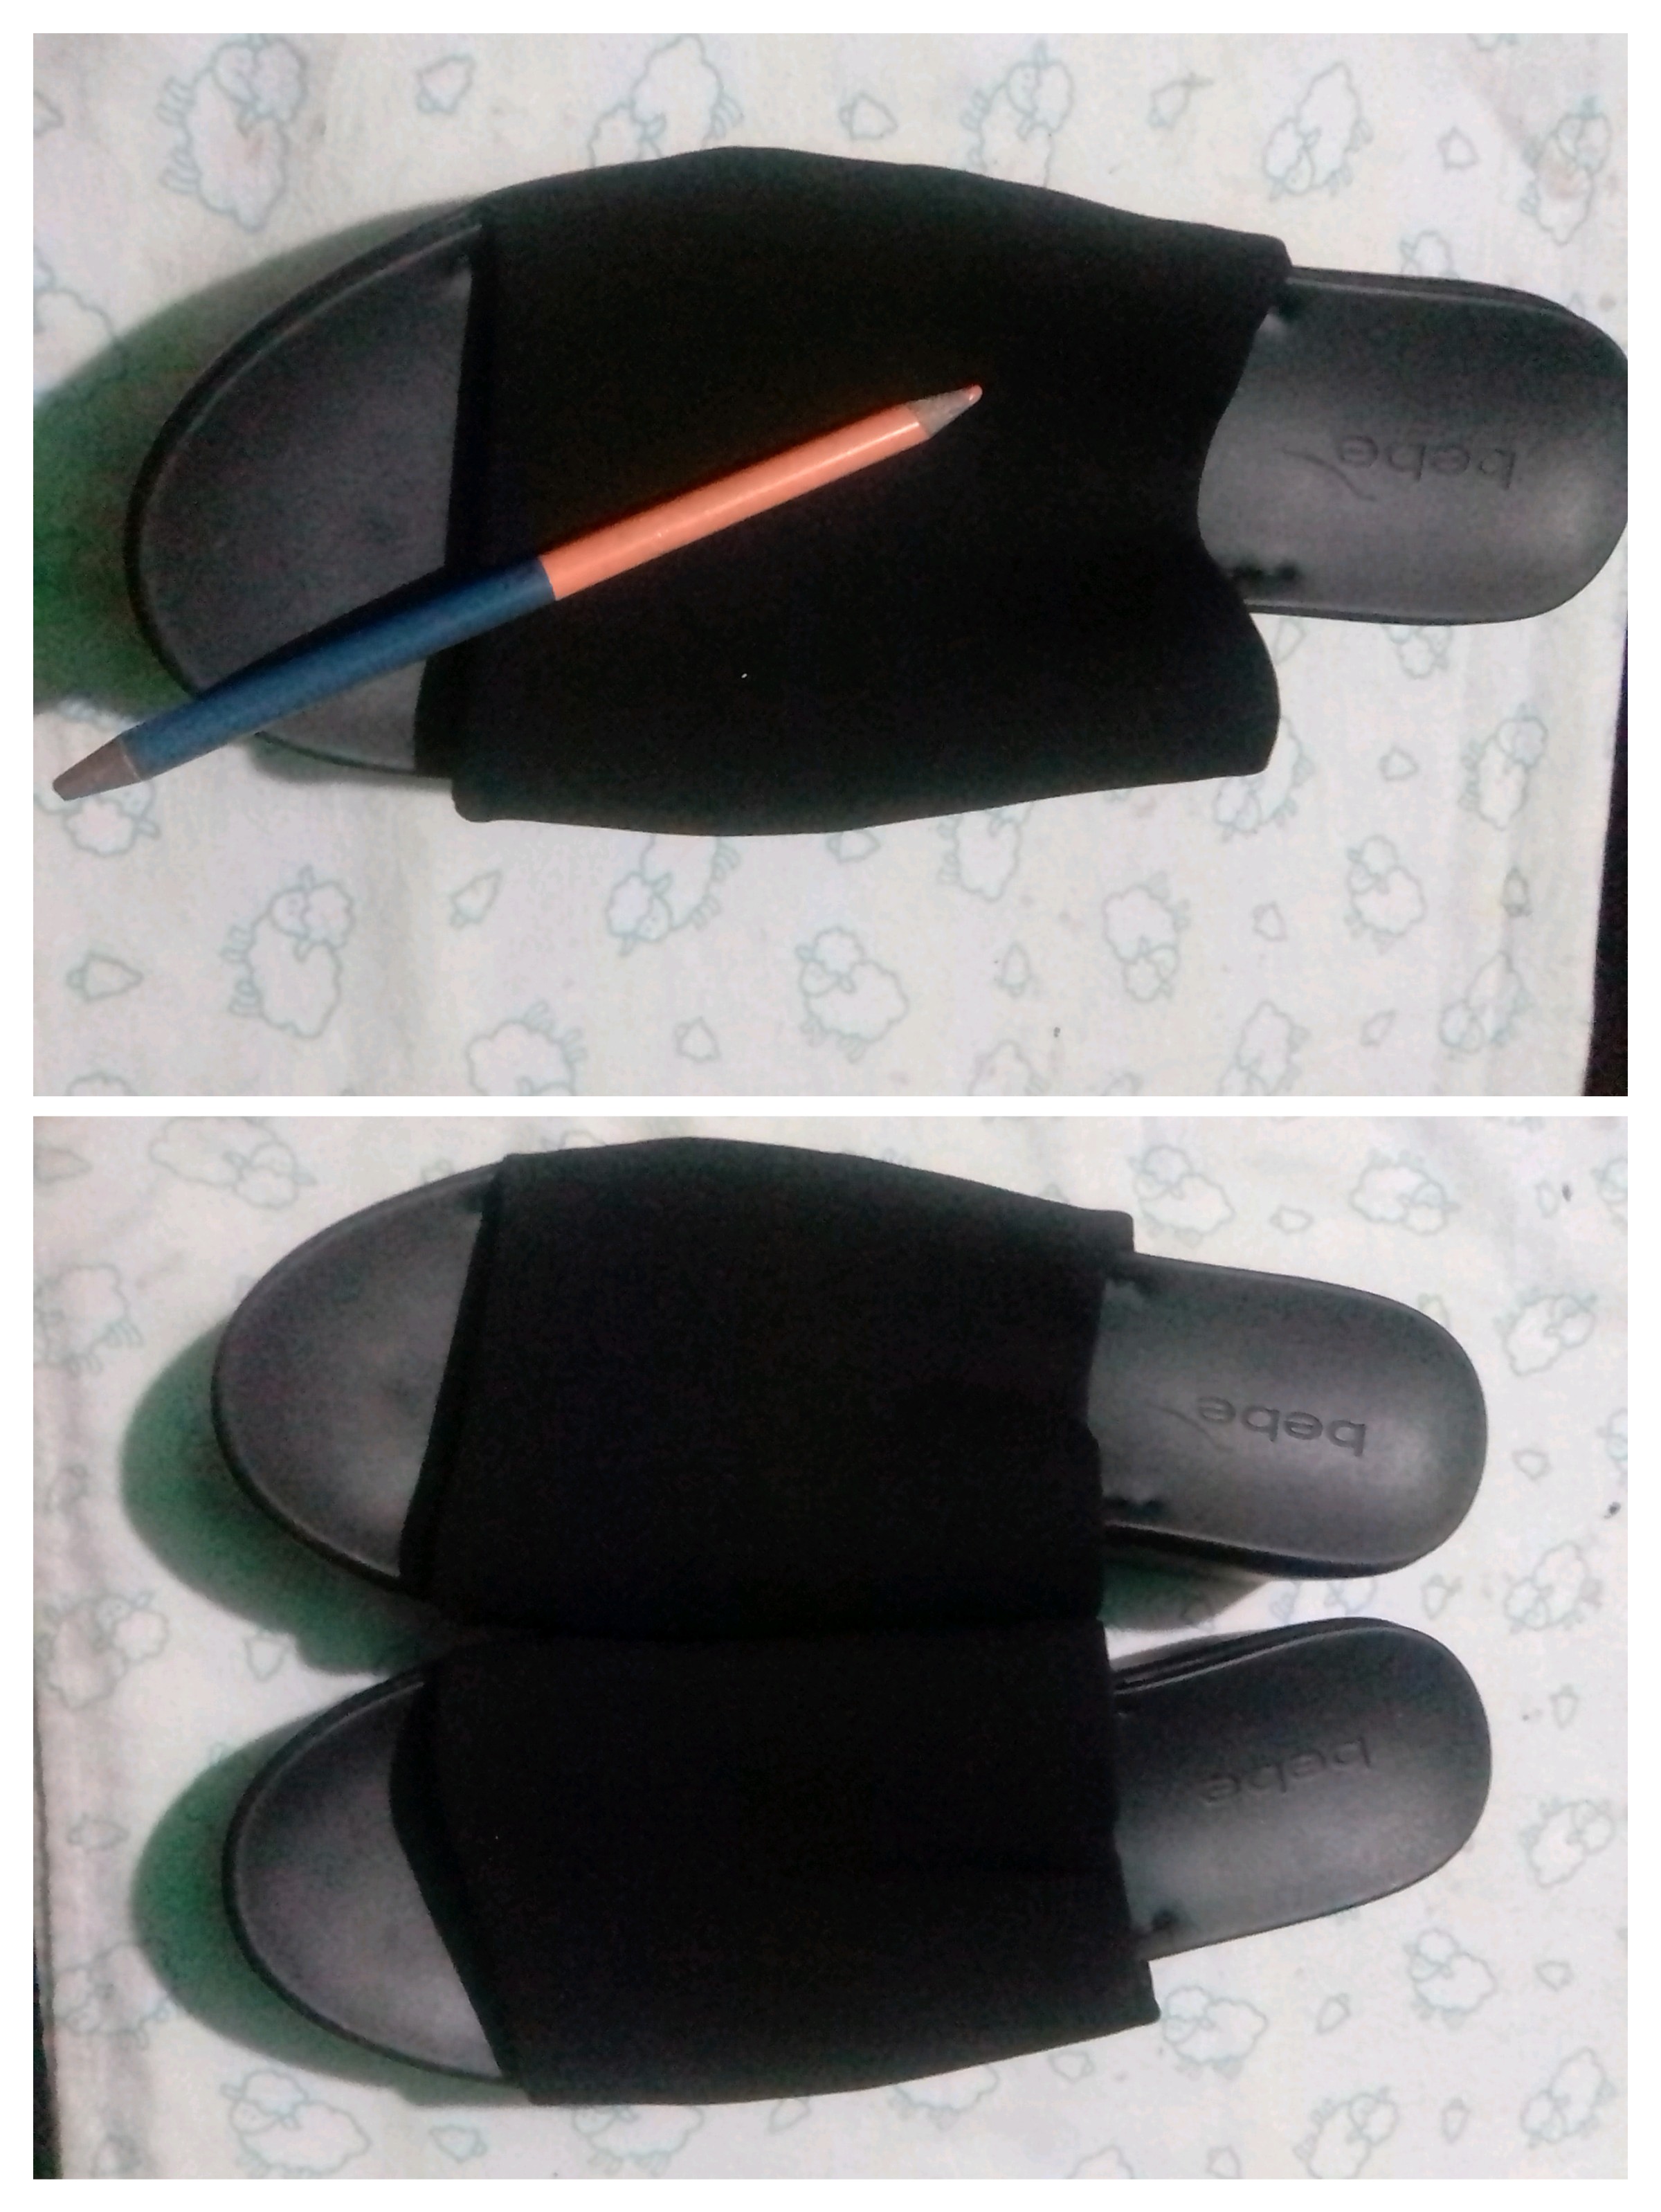
To begin, select the jewelery stones that stand out in the sandals, which are completely black. I wanted a simple design, nothing extravagant, because these sandals are so comfortable that I use them to go shopping. After thinking about some alternatives, I decided to make a curved line, which I outlined with a light colored pencil, to have a guide when placing the jewelry.
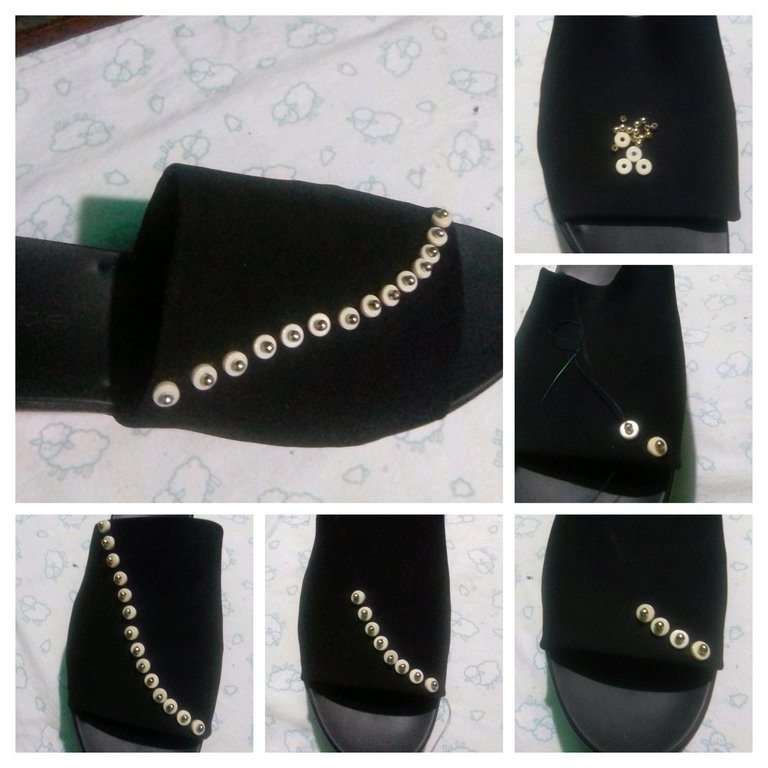
Put dark blue thread on the needle and I tied a knot, I inserted the needle through the bottom of the sandal fabric, put the white bead and then the gold one and from there pass the needle twice so that the beads are well fixed to the sandal, and in this way I was fixing each pair of beads, until the guide line was finished, and without interrupting the thread, because it seemed to me the most practical way to fix the beads.
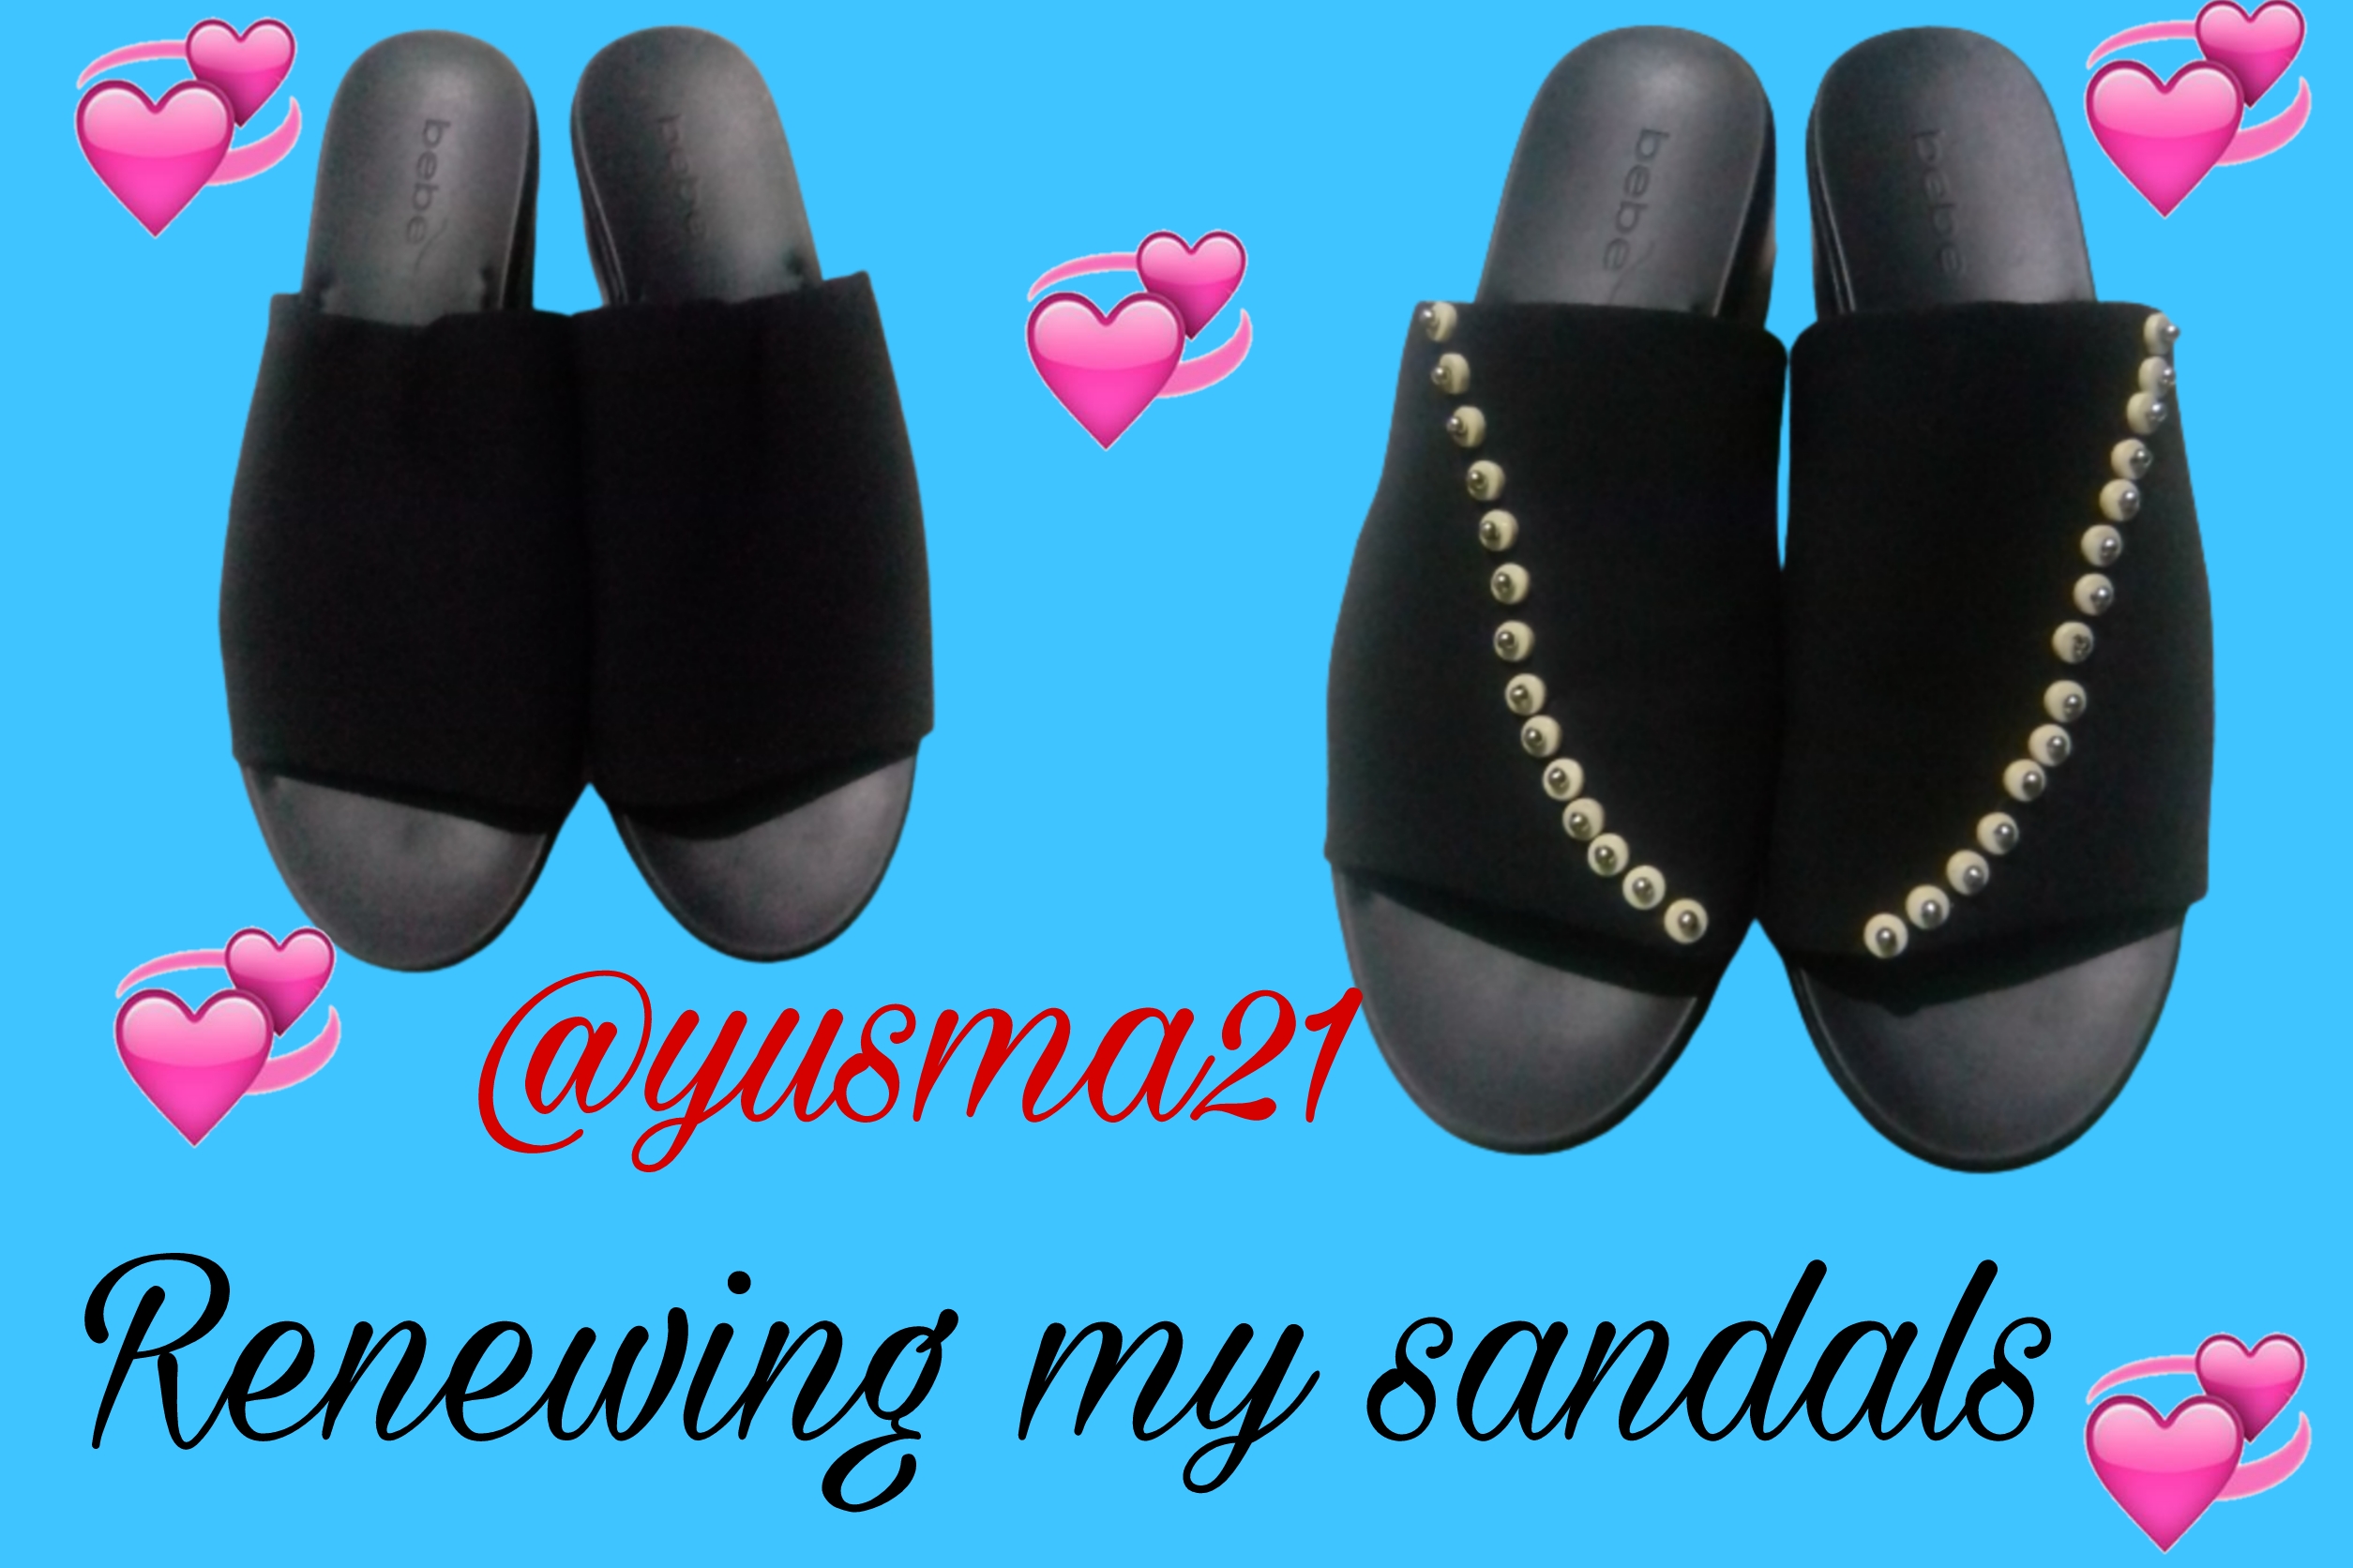
I placed the stones on each sandal, and I really liked its design, this renovation was really a success, it seems to me that I have new sandals, the truth is that their appearance changed pleasantly and they look like new sandals, I am very pleased with the result. I no longer see them as casual sandals, now simple but elegant sandals.
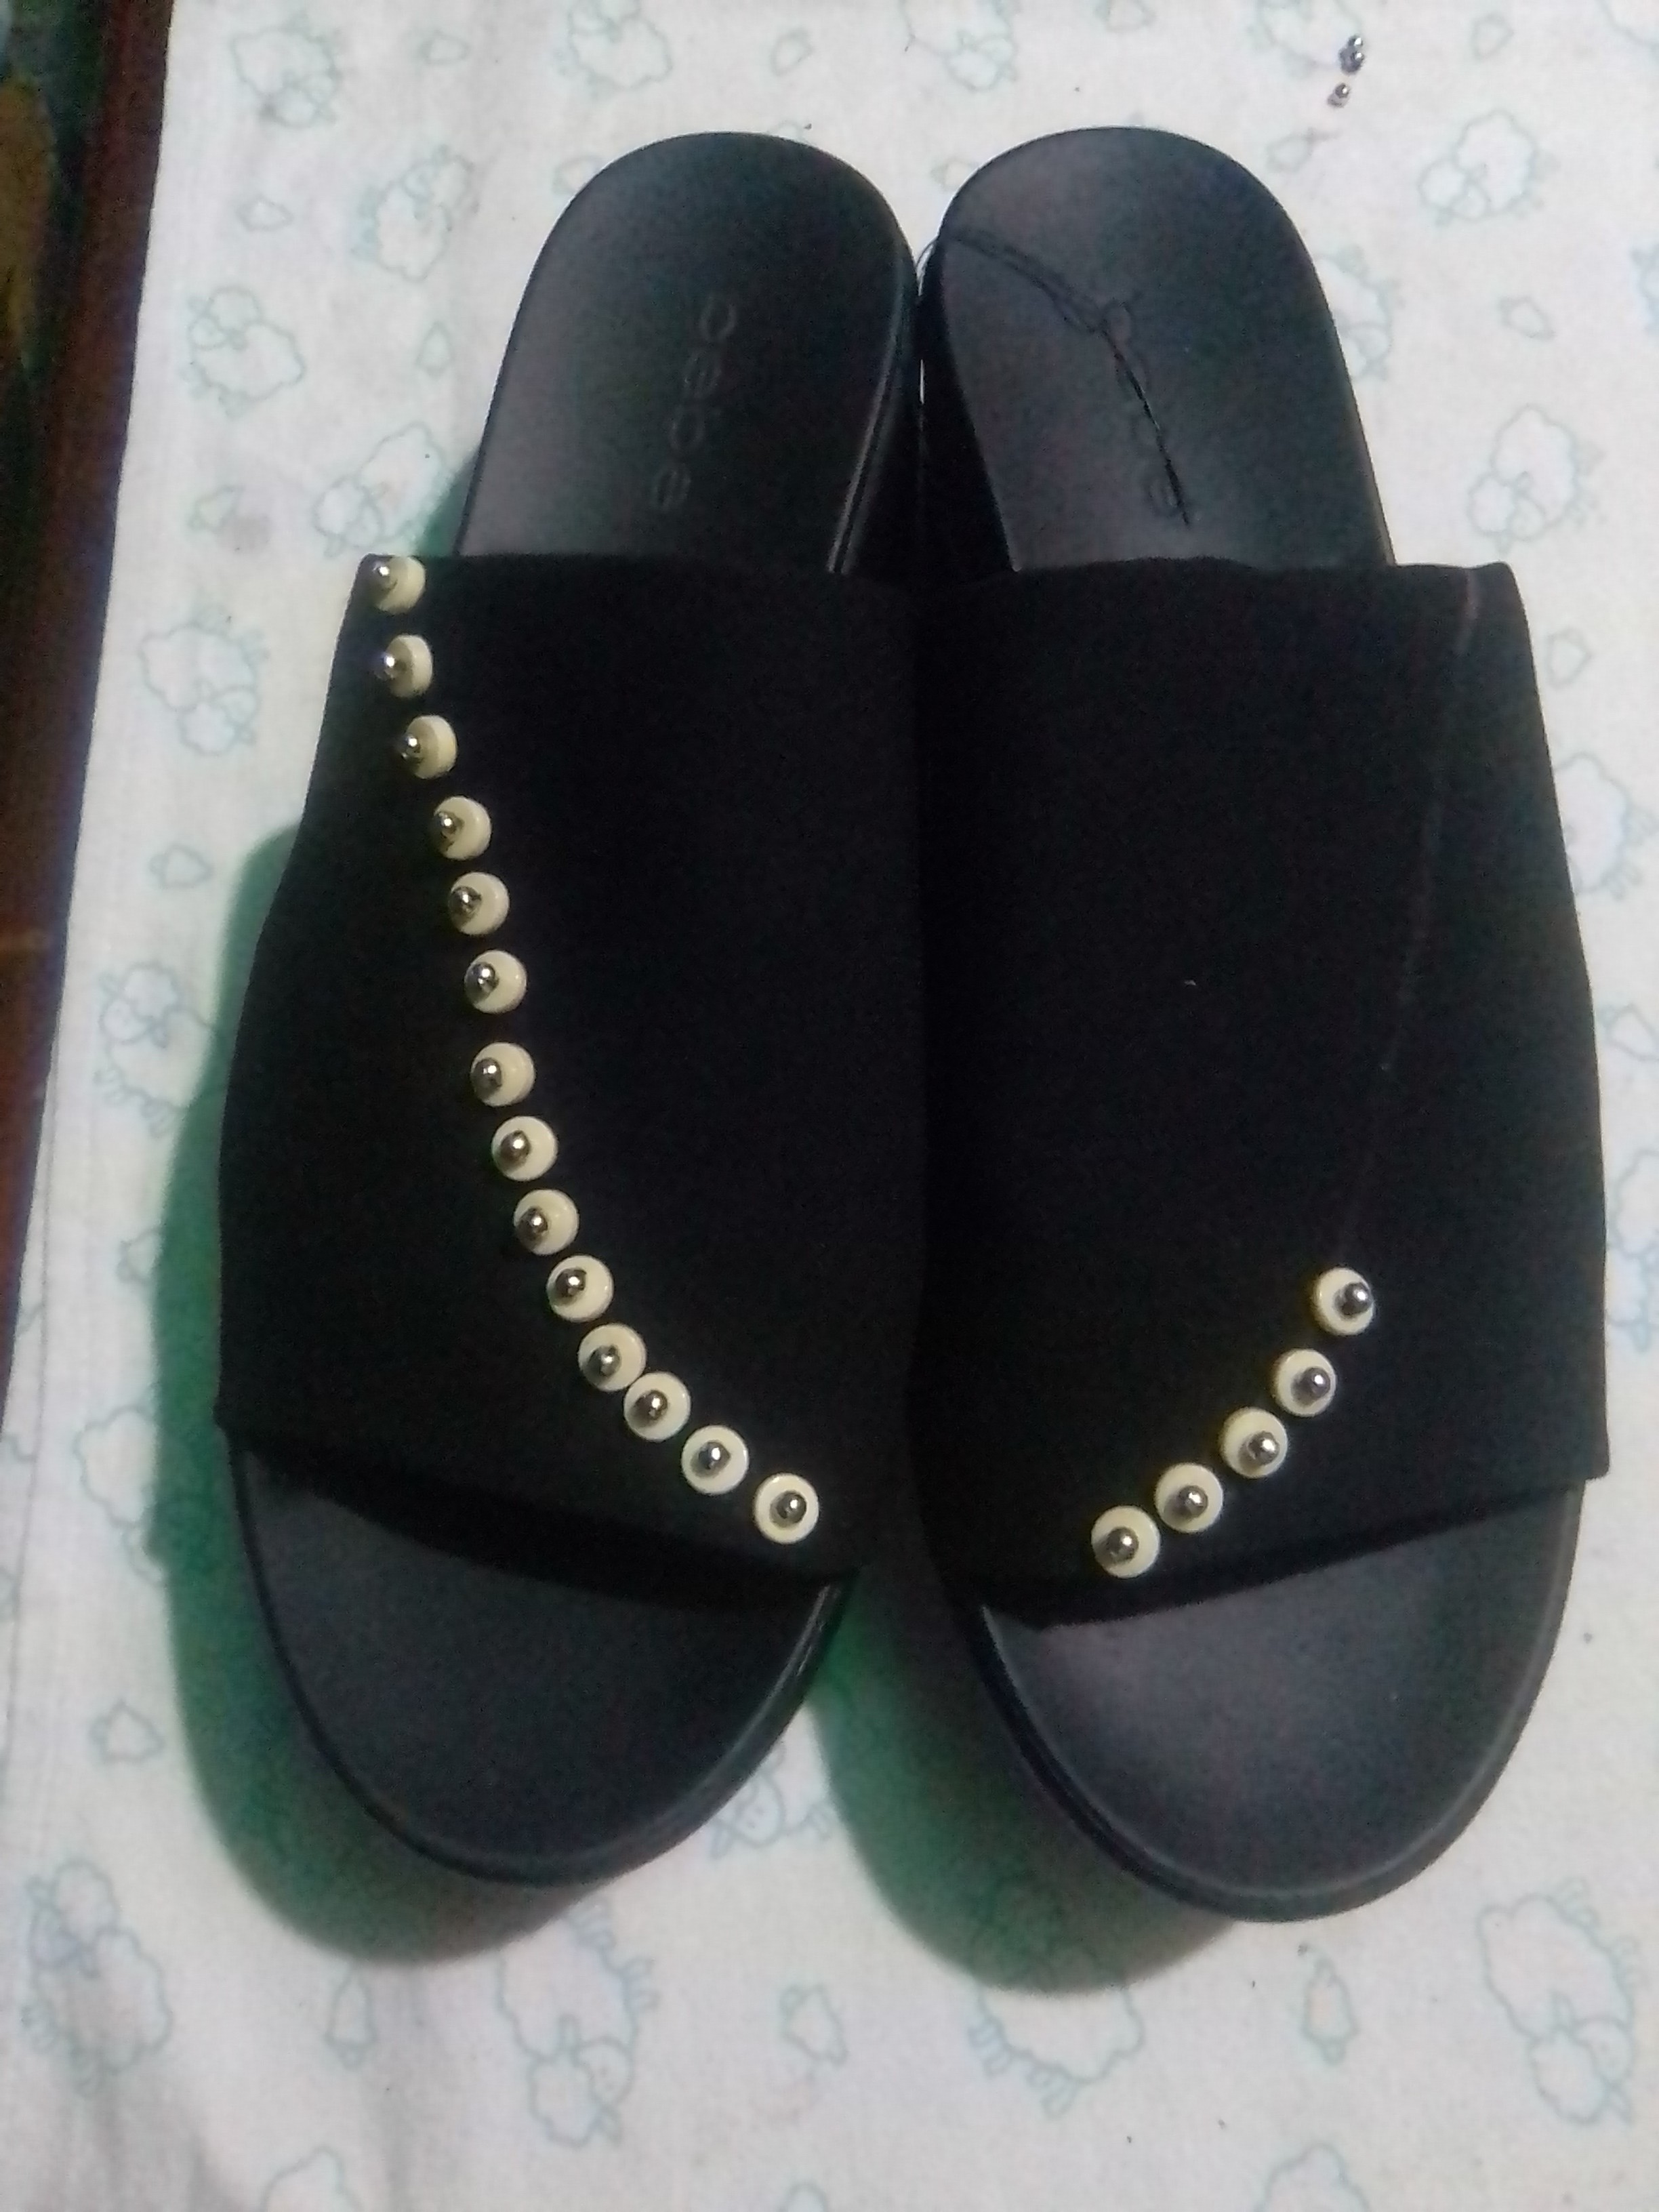
I hope you have enjoyed this renovation project for my sandals, and I hope you will also join me in my next post and thank you for your support.
Result
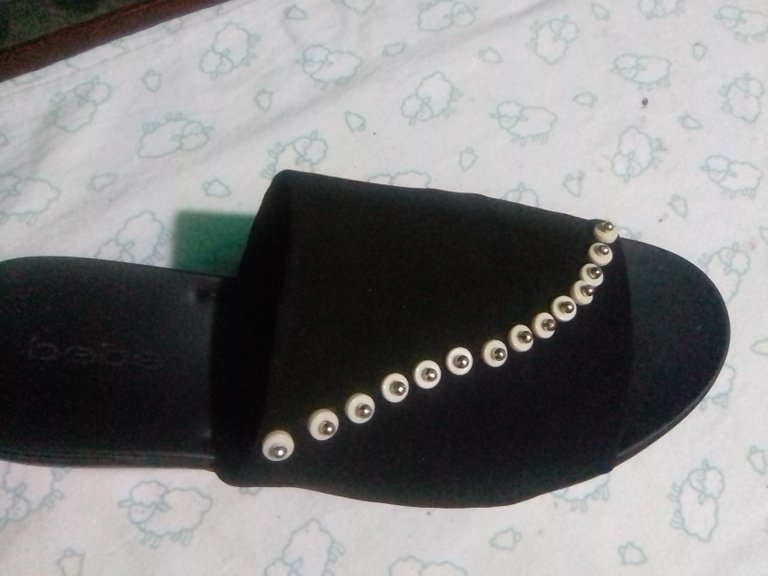
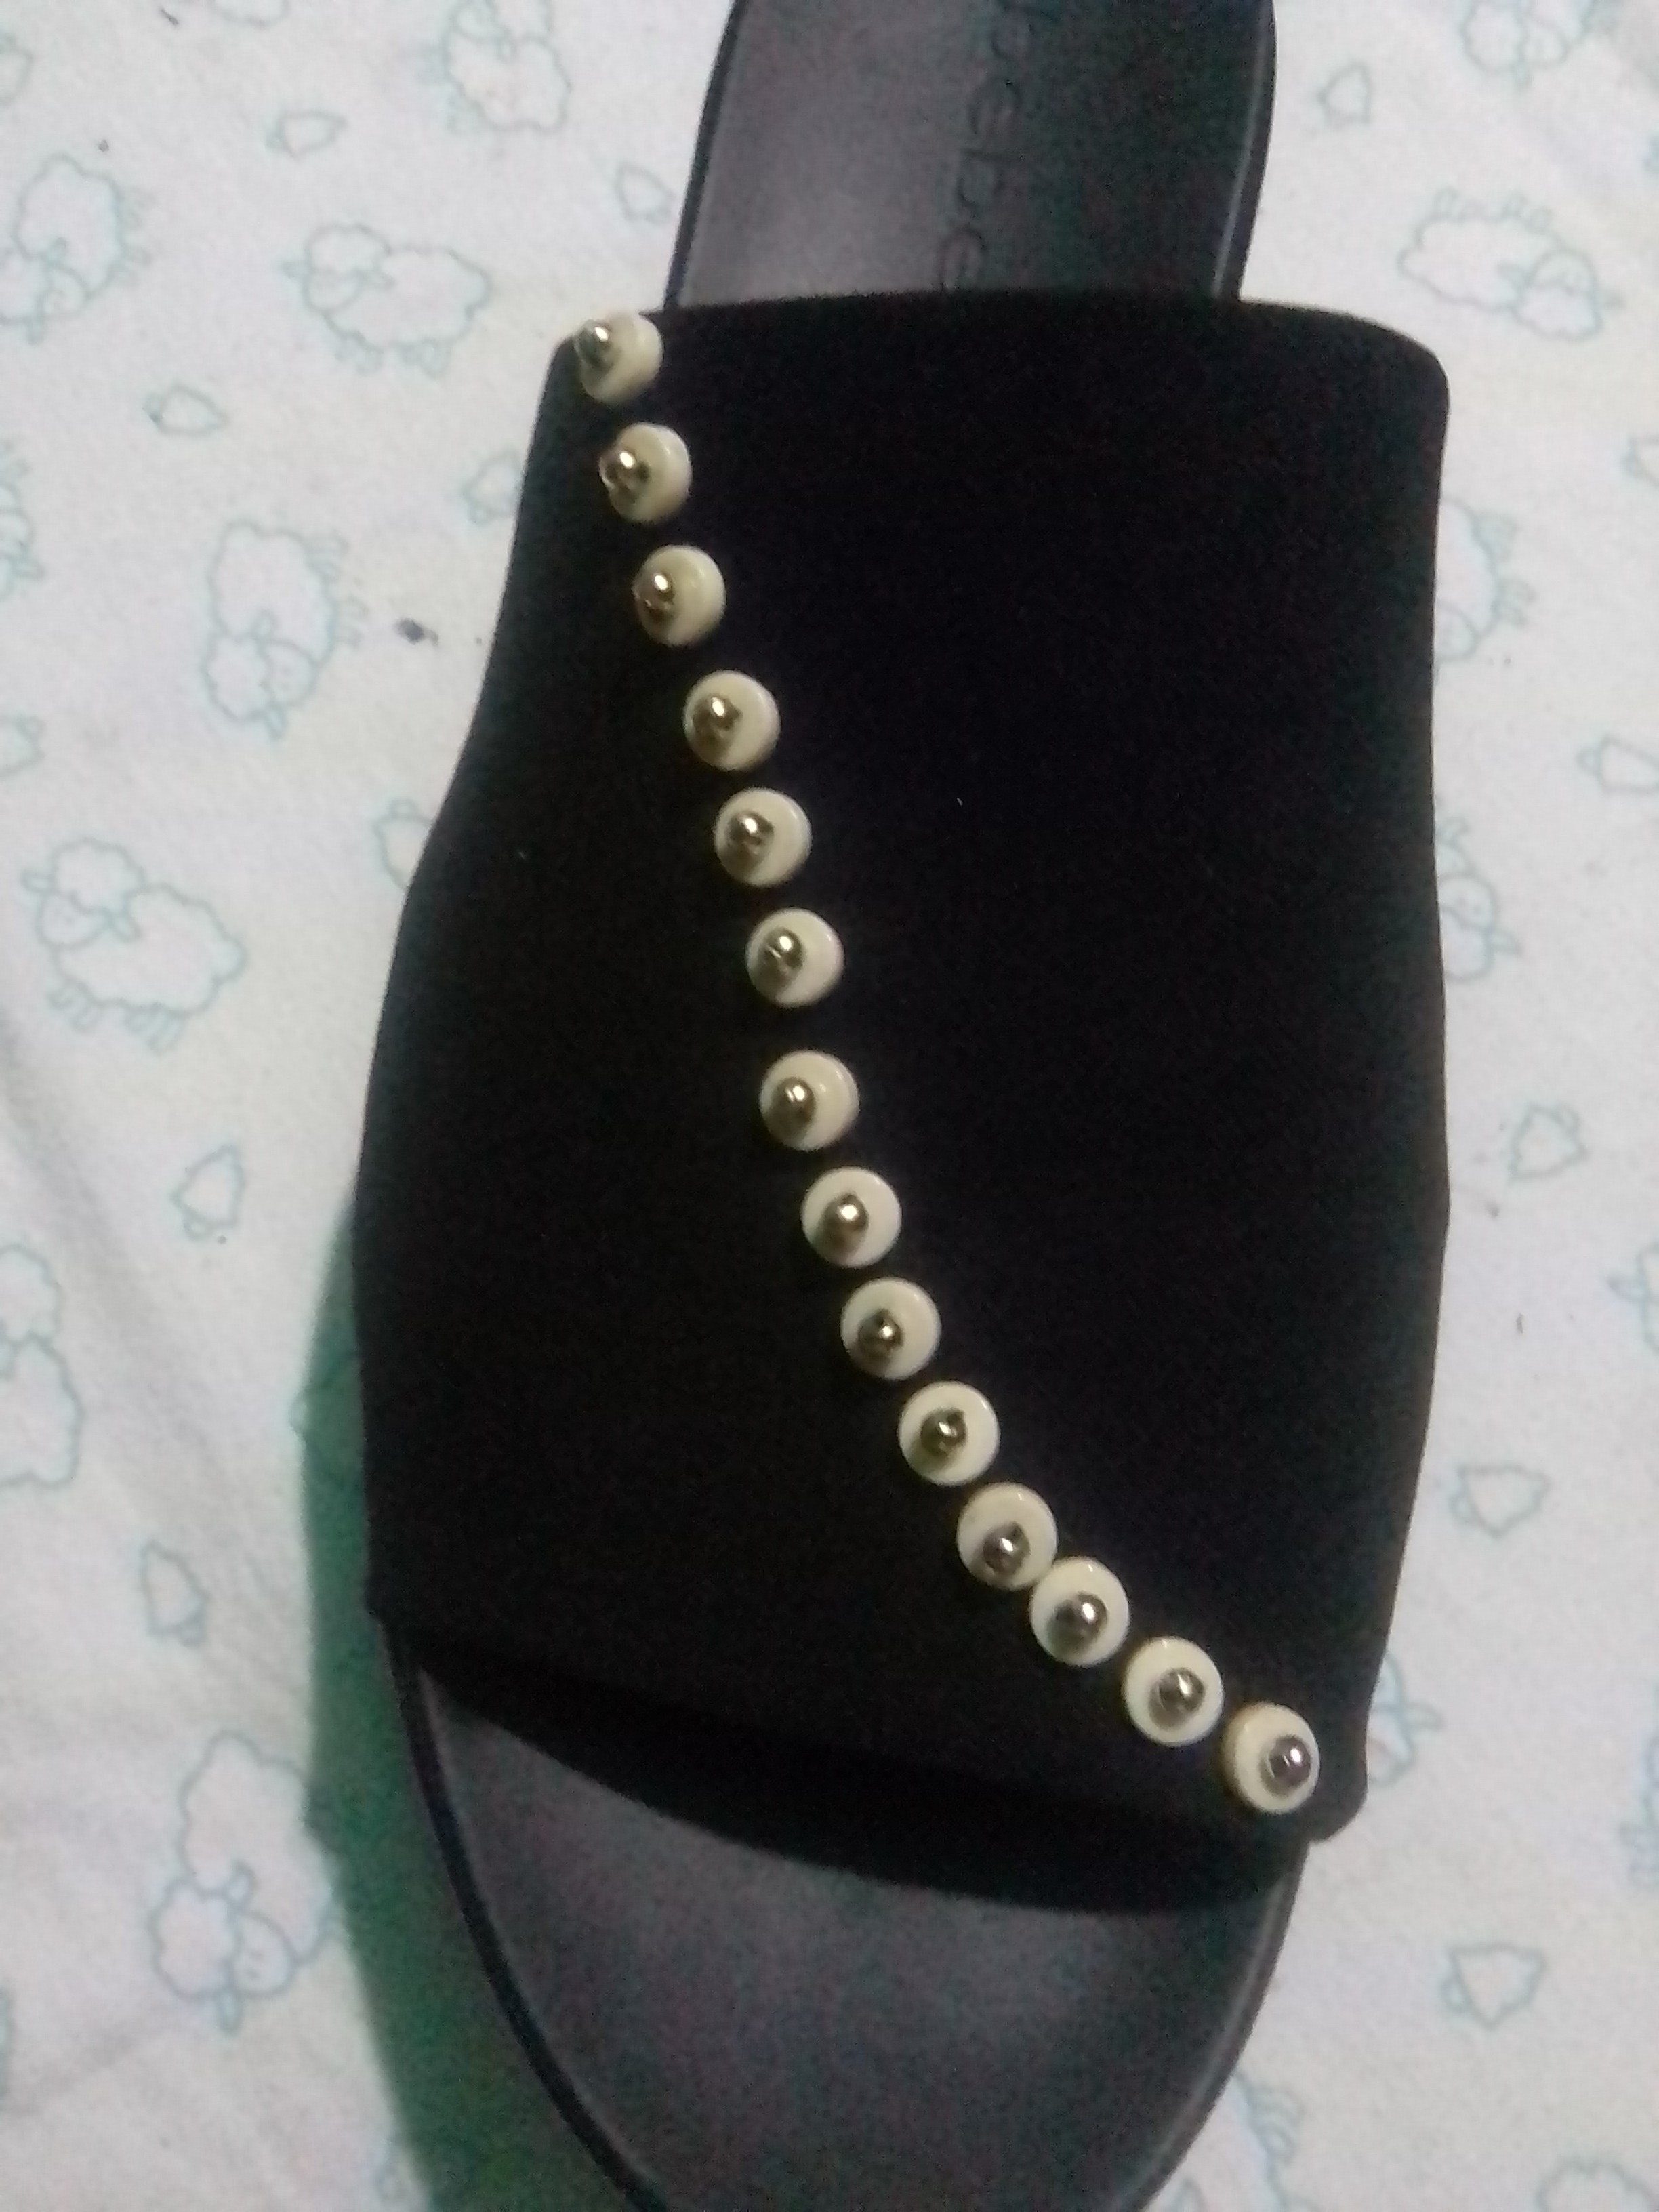
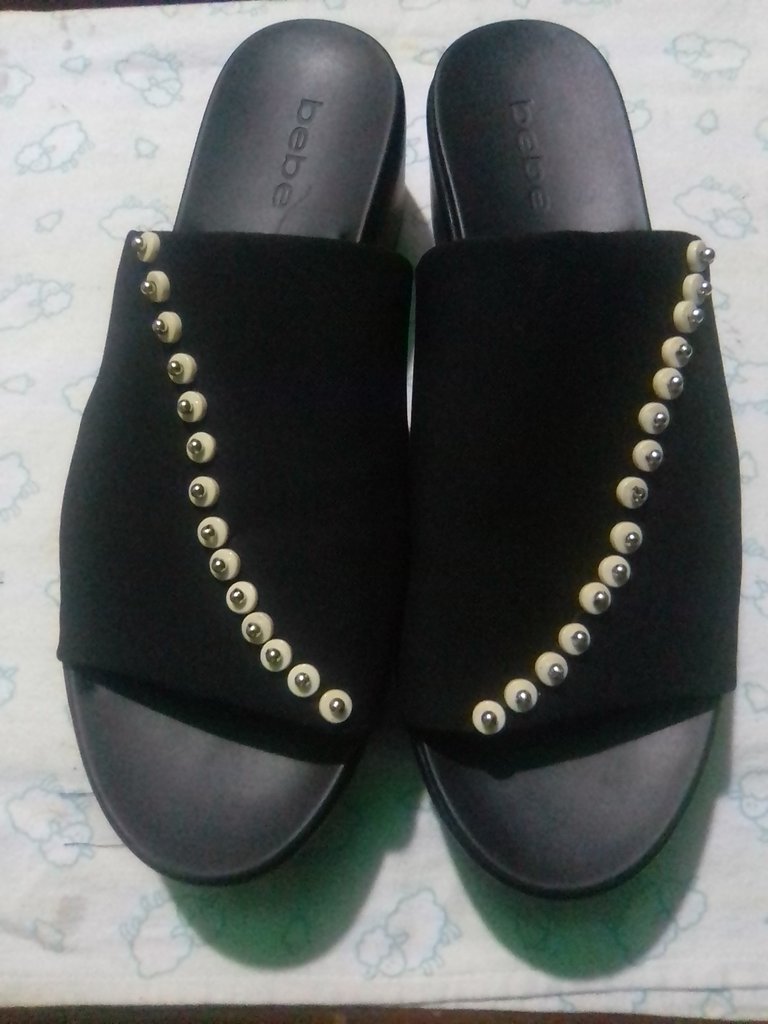

The photos are my property taken exclusively in this project.
The collages of the procedure were made with the tool of my Blue C6 and the main one in Canva
The dividers and the banners were edited by me in Canva
The translation was made with
DeepL Translator


MATERIALES
✓ Cuentas blancas.
✓ Perlas doradas pequeñas.
✓ Hilo azul oscuro
✓ Aguja.

PASO A PASO
Para comenzar seleccione las piedras de bisutería que resalten en las sandalias, que estas son completamente negras. Quería un diseño sencillo, nada extravagante, pues estas sandalias son tan cómodas que las uso para salir de compras. Después de pensar en algunas alternativas, dicidi realizar una línea curva, la cual delinee con una lápiz de color claro, para tener una guía al momento de colocar la bisutería.

Coloque hilo azul oscuro en la aguja e hice un nudo, introduje la aguja por la parte de abajo de la tela de la sandalia, coloque la cuenta blanca y luego la dorada y de allí pase la aguja dos veces para que las cuentas queden bien fijas a la sandalia, y de esta manera fui fijando cada par de cuentas, hasta culminar la línea de guía, y sin interrumpir el hilo, pues me pareció la forma más práctica de fijar las cuentas.

Coloque las piedras a cada sandalia, y su diseño me gustó mucho, realmente está renovación fue un éxito, me parce tener sandalias nuevas, la verdad su apariencia cambio gratamente y parecen unas sandalias nuevas, estoy muy a gusto con el resultado. Ya no las veo como las sandalias casuales, ahora unas sencillas pero elegantes sandalias.

Espero haya sido de su agrado este proyecto de renovación de mis sandalias, y espero que me acompañen también en mi próximo post y gracias por su apoyo.
Resultado


Las fotos son de mi propiedad tomadas exclusivamente en este proyecto.
Los collages del procedimiento los hice con la herramienta de mi Blue C6 y el principal en Canva
Lo separadores y el banners fueron editados por mi en Canva
La traducción fue realizada con
DeepL Traductor
