
Very affectionate greetings to all the creative colleagues of the Hive Diy community, already in the spirit of making Christmas crafts, since I have observed the beautiful creations recently presented in this community, I think it is a good time to start making the decorations for our trees , doors and others, so that we move forward and on the day ready to put up Christmas we have all the decorations ready, and that is precisely what I am going to do. Every year we renew the Christmas tree decorations and this time I am going to show you how to make some cute mini foami crowns with a cardboard base, as part of the decoration of my Christmas tree, hoping that it will be to your liking, I invite you to read until the end so that they realize how easy it is to make these mini Christmas wreaths for our trees and even better using few materials.

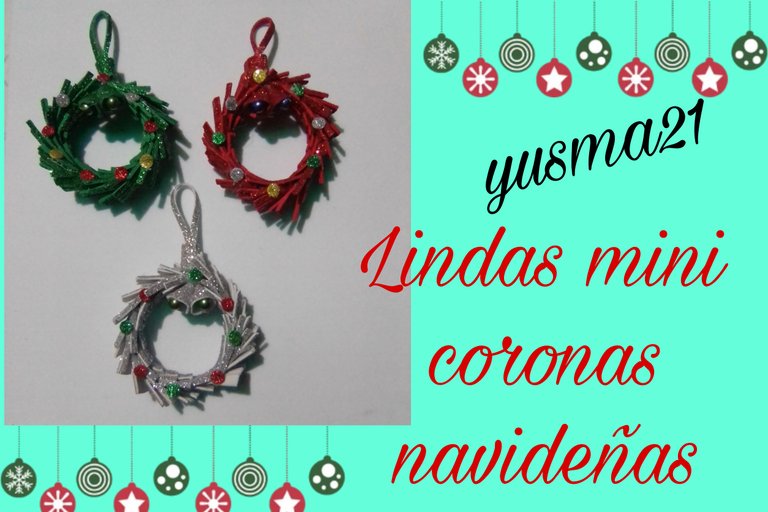
MATERIALS
✓ Frosted foami in red, green and silver.
✓ Gun and silicone bar.
✓ Toilet paper roll
✓ Scissors.
✓ Ruler and pencil.
✓ Drill
STEP BY STEP
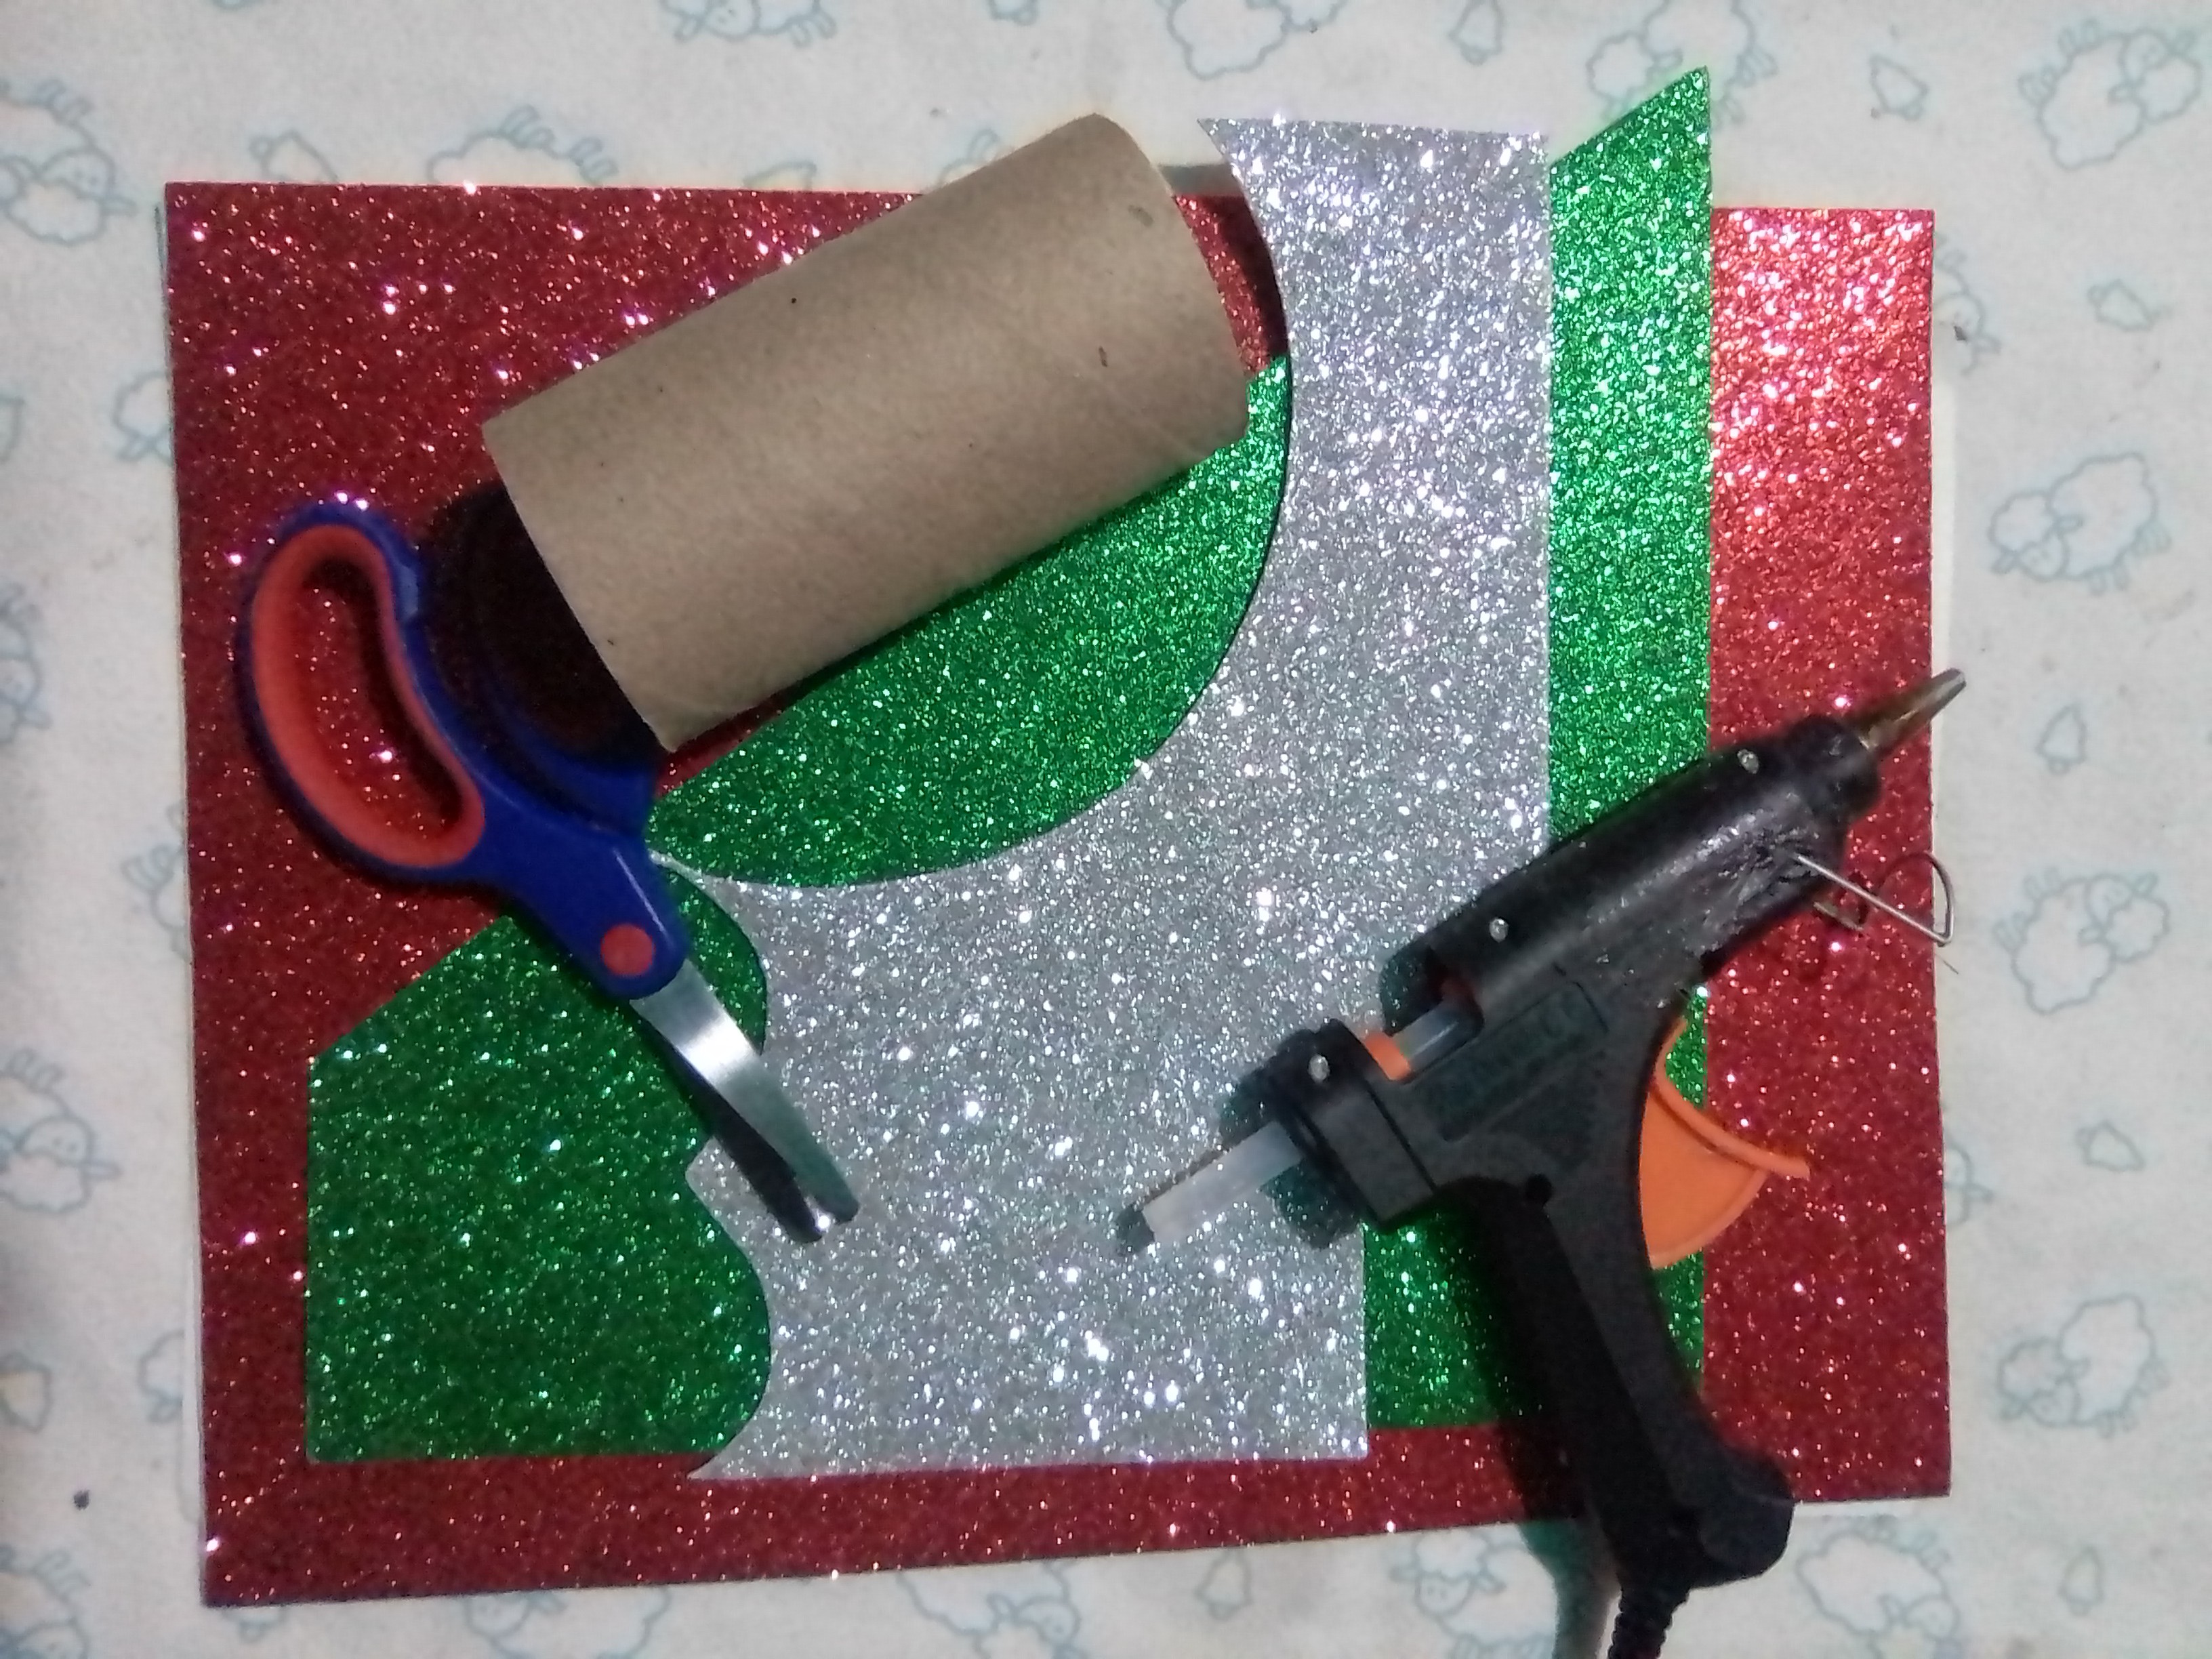
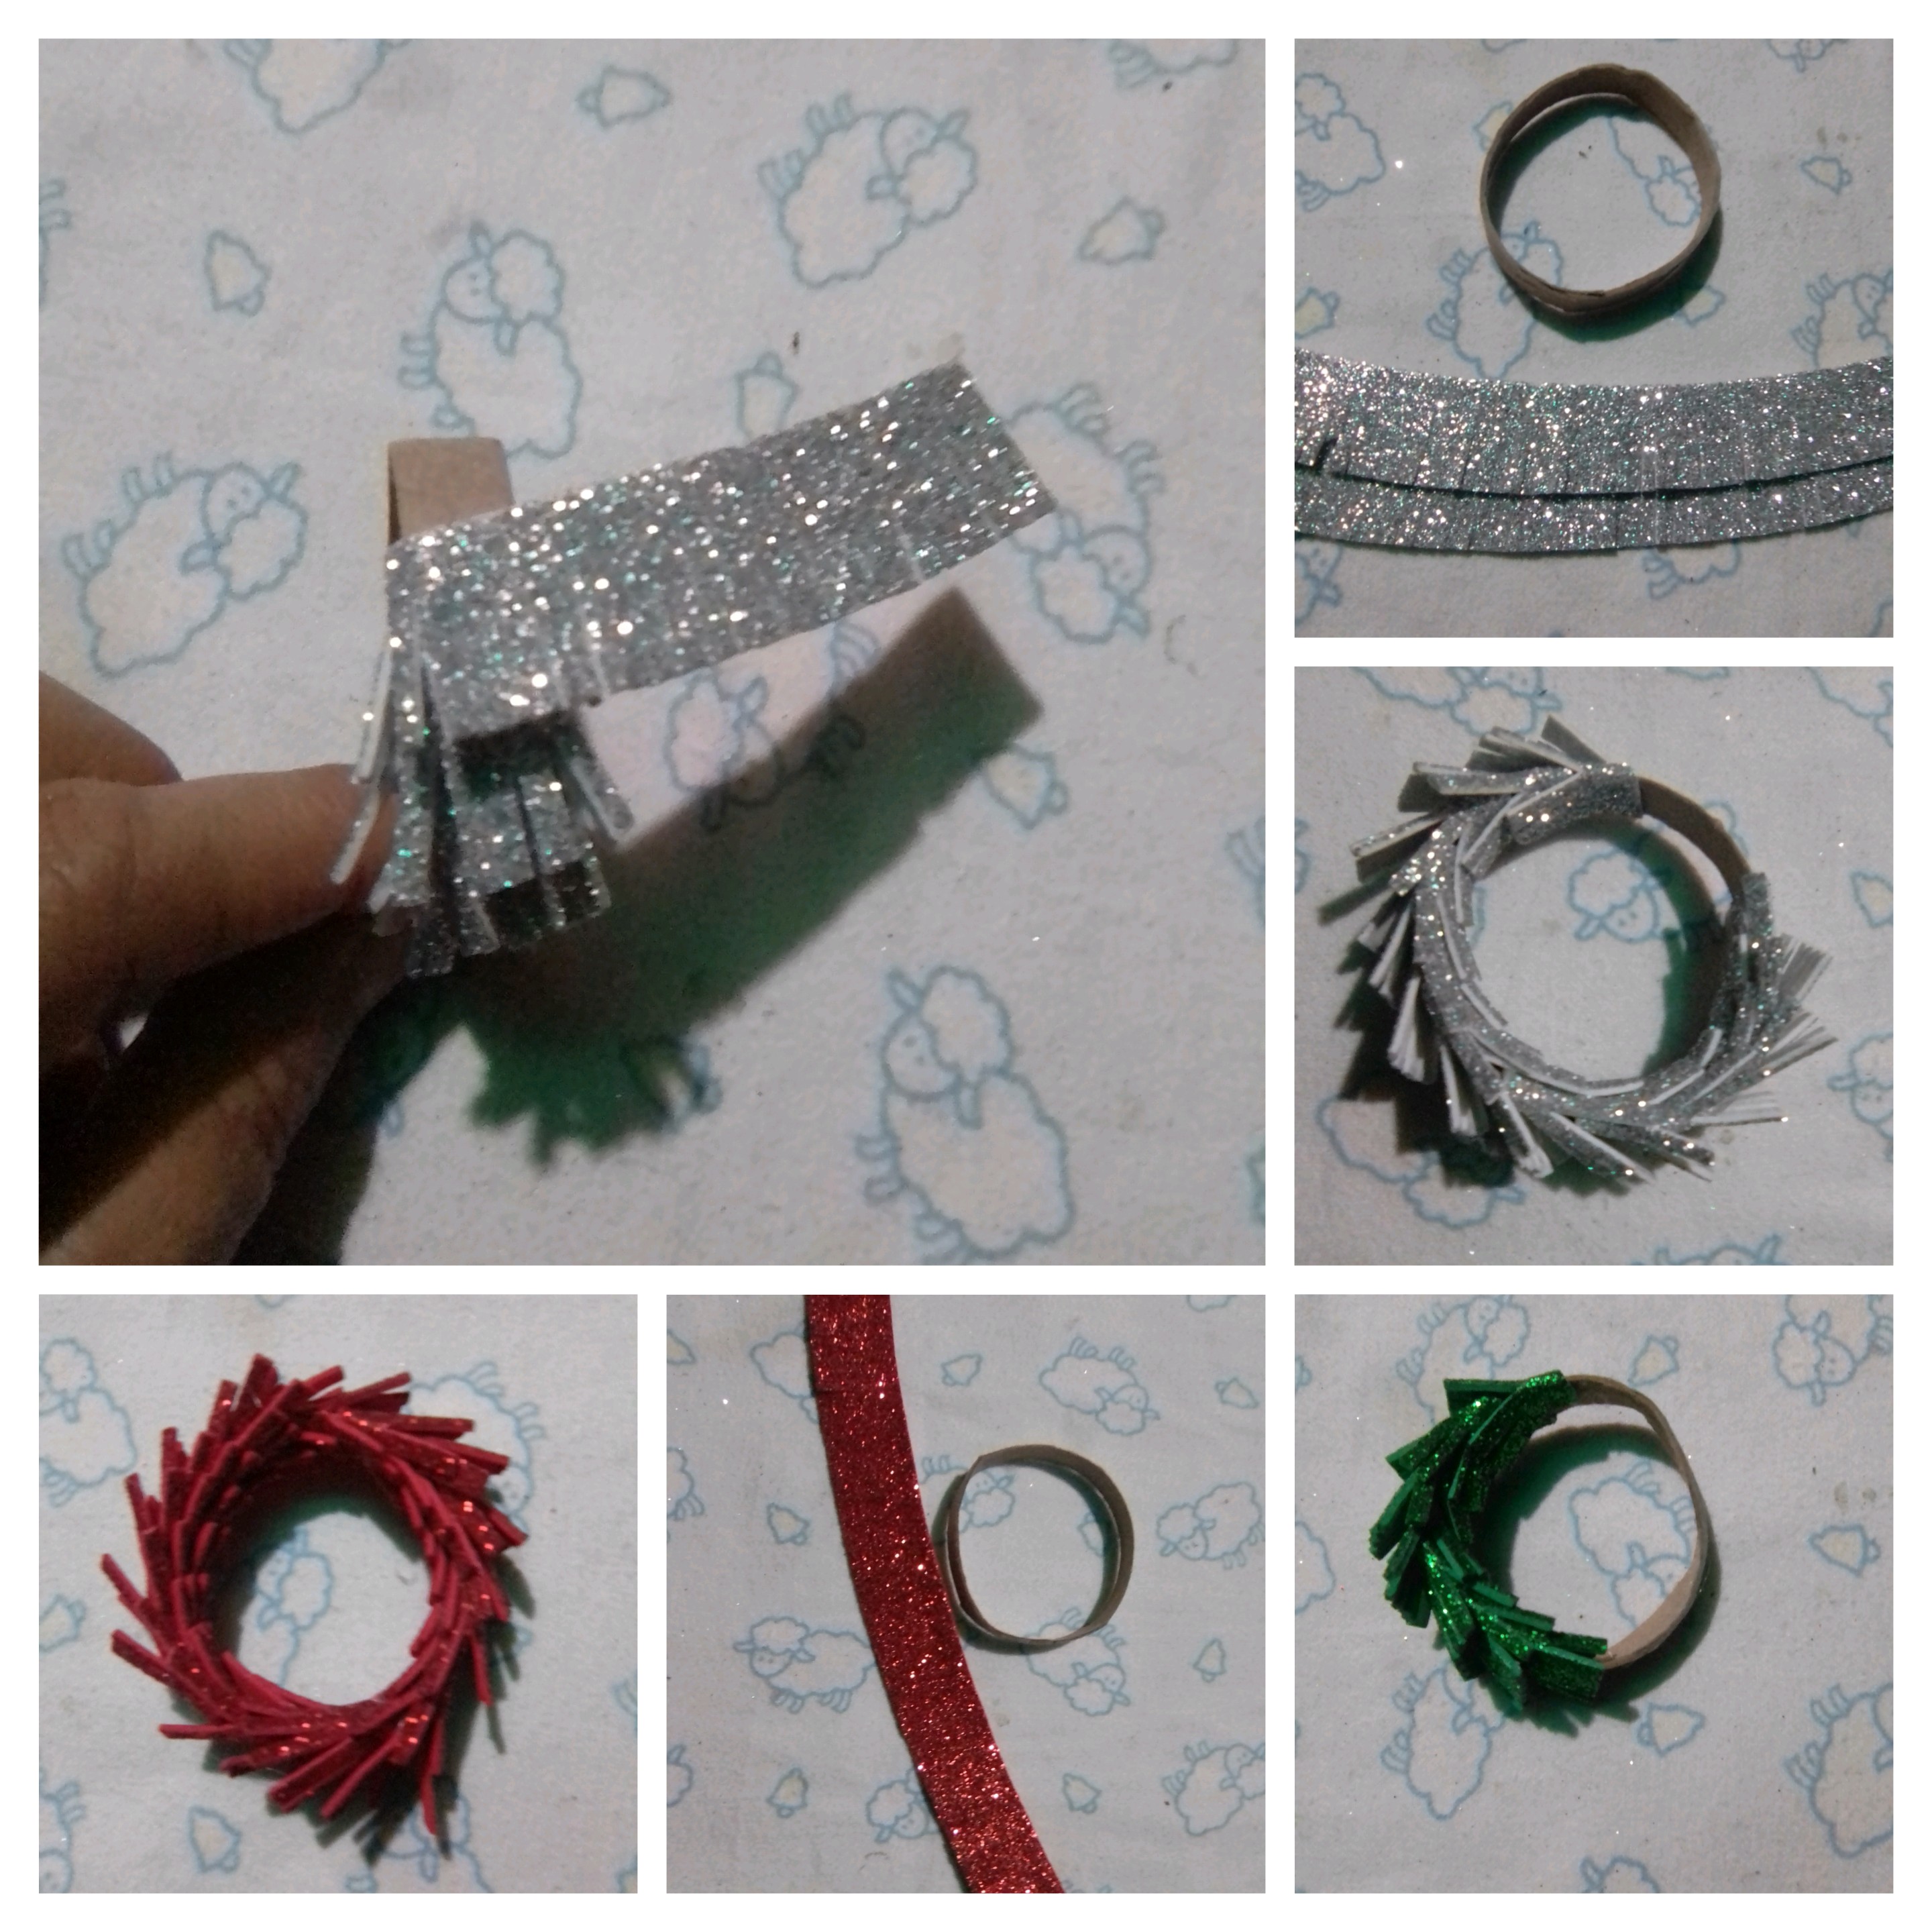
My mother's Christmas tree is tall, so the decorations must be in proportion to its size. Therefore, the size that I will use is the diameter of a roll of toilet paper, if in any case we want them smaller, we can use this measurement and reduce the diameter. In my case I am going to make three crowns for the purposes of the tutorial, the first thing is to measure 1 centimeter at one end of the paper roll to obtain a cardboard circumference, which will be the base for making the mini Christmas crowns.
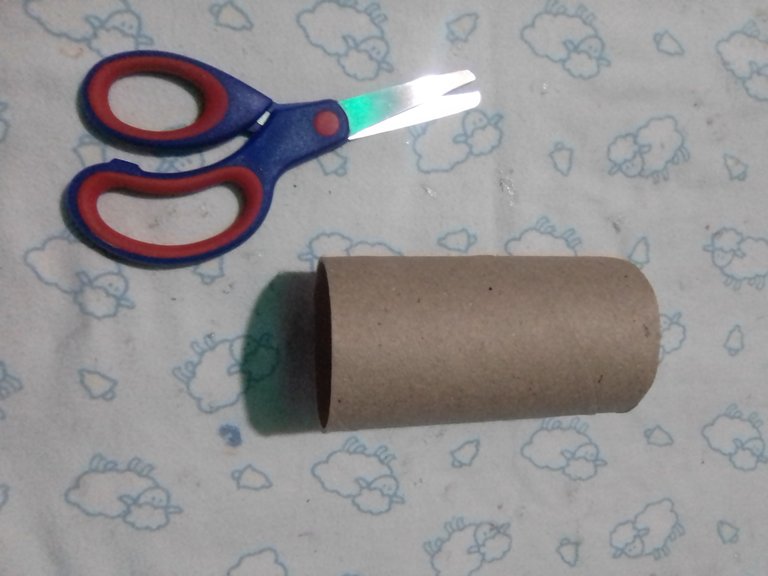
Cut out the three cardboard circumferences, and then I proceeded to measure 2 centimeter wide strips of the three colors of foami, cut the strips and then measure 0.5 centimeters on each foami strip and mark with a pencil to have a guide.
Using the guide I made on each strip of foami, I began to make cuts with the scissors along the strip of foami, without going over the guide.

With the foami strips and the cardboard bases ready, it is time to start covering the cardboard base with the foami strips, placing hot silicone on the cardboard and passing the foami strip around the cardboard, leaving a small space in each turn, until all the cardboard is covered. The chosen colors are red, green and silver. I wanted to make the mini green crown to see the result in that color, since many have trees in white, this can be a nice option to decorate it.
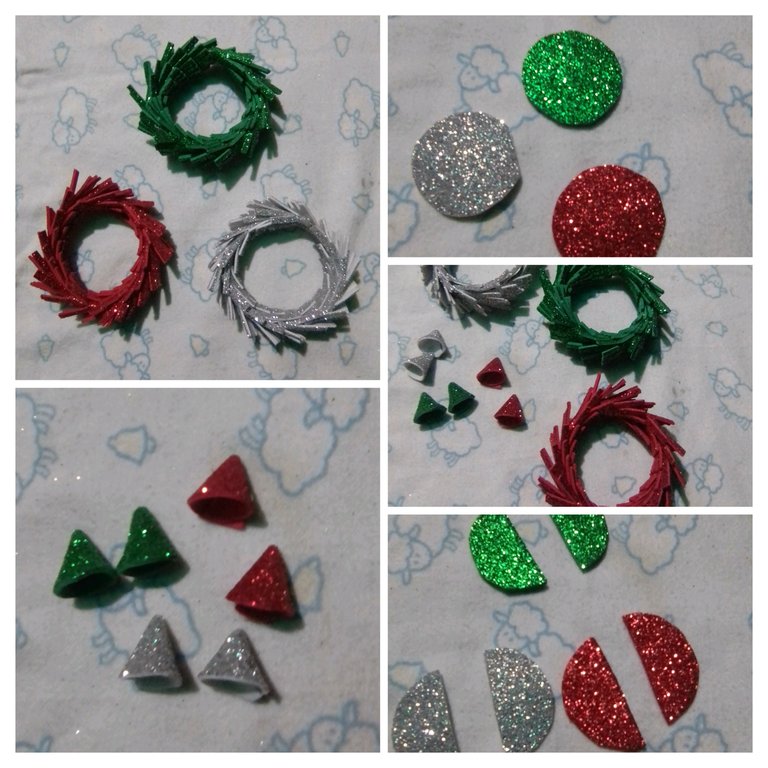
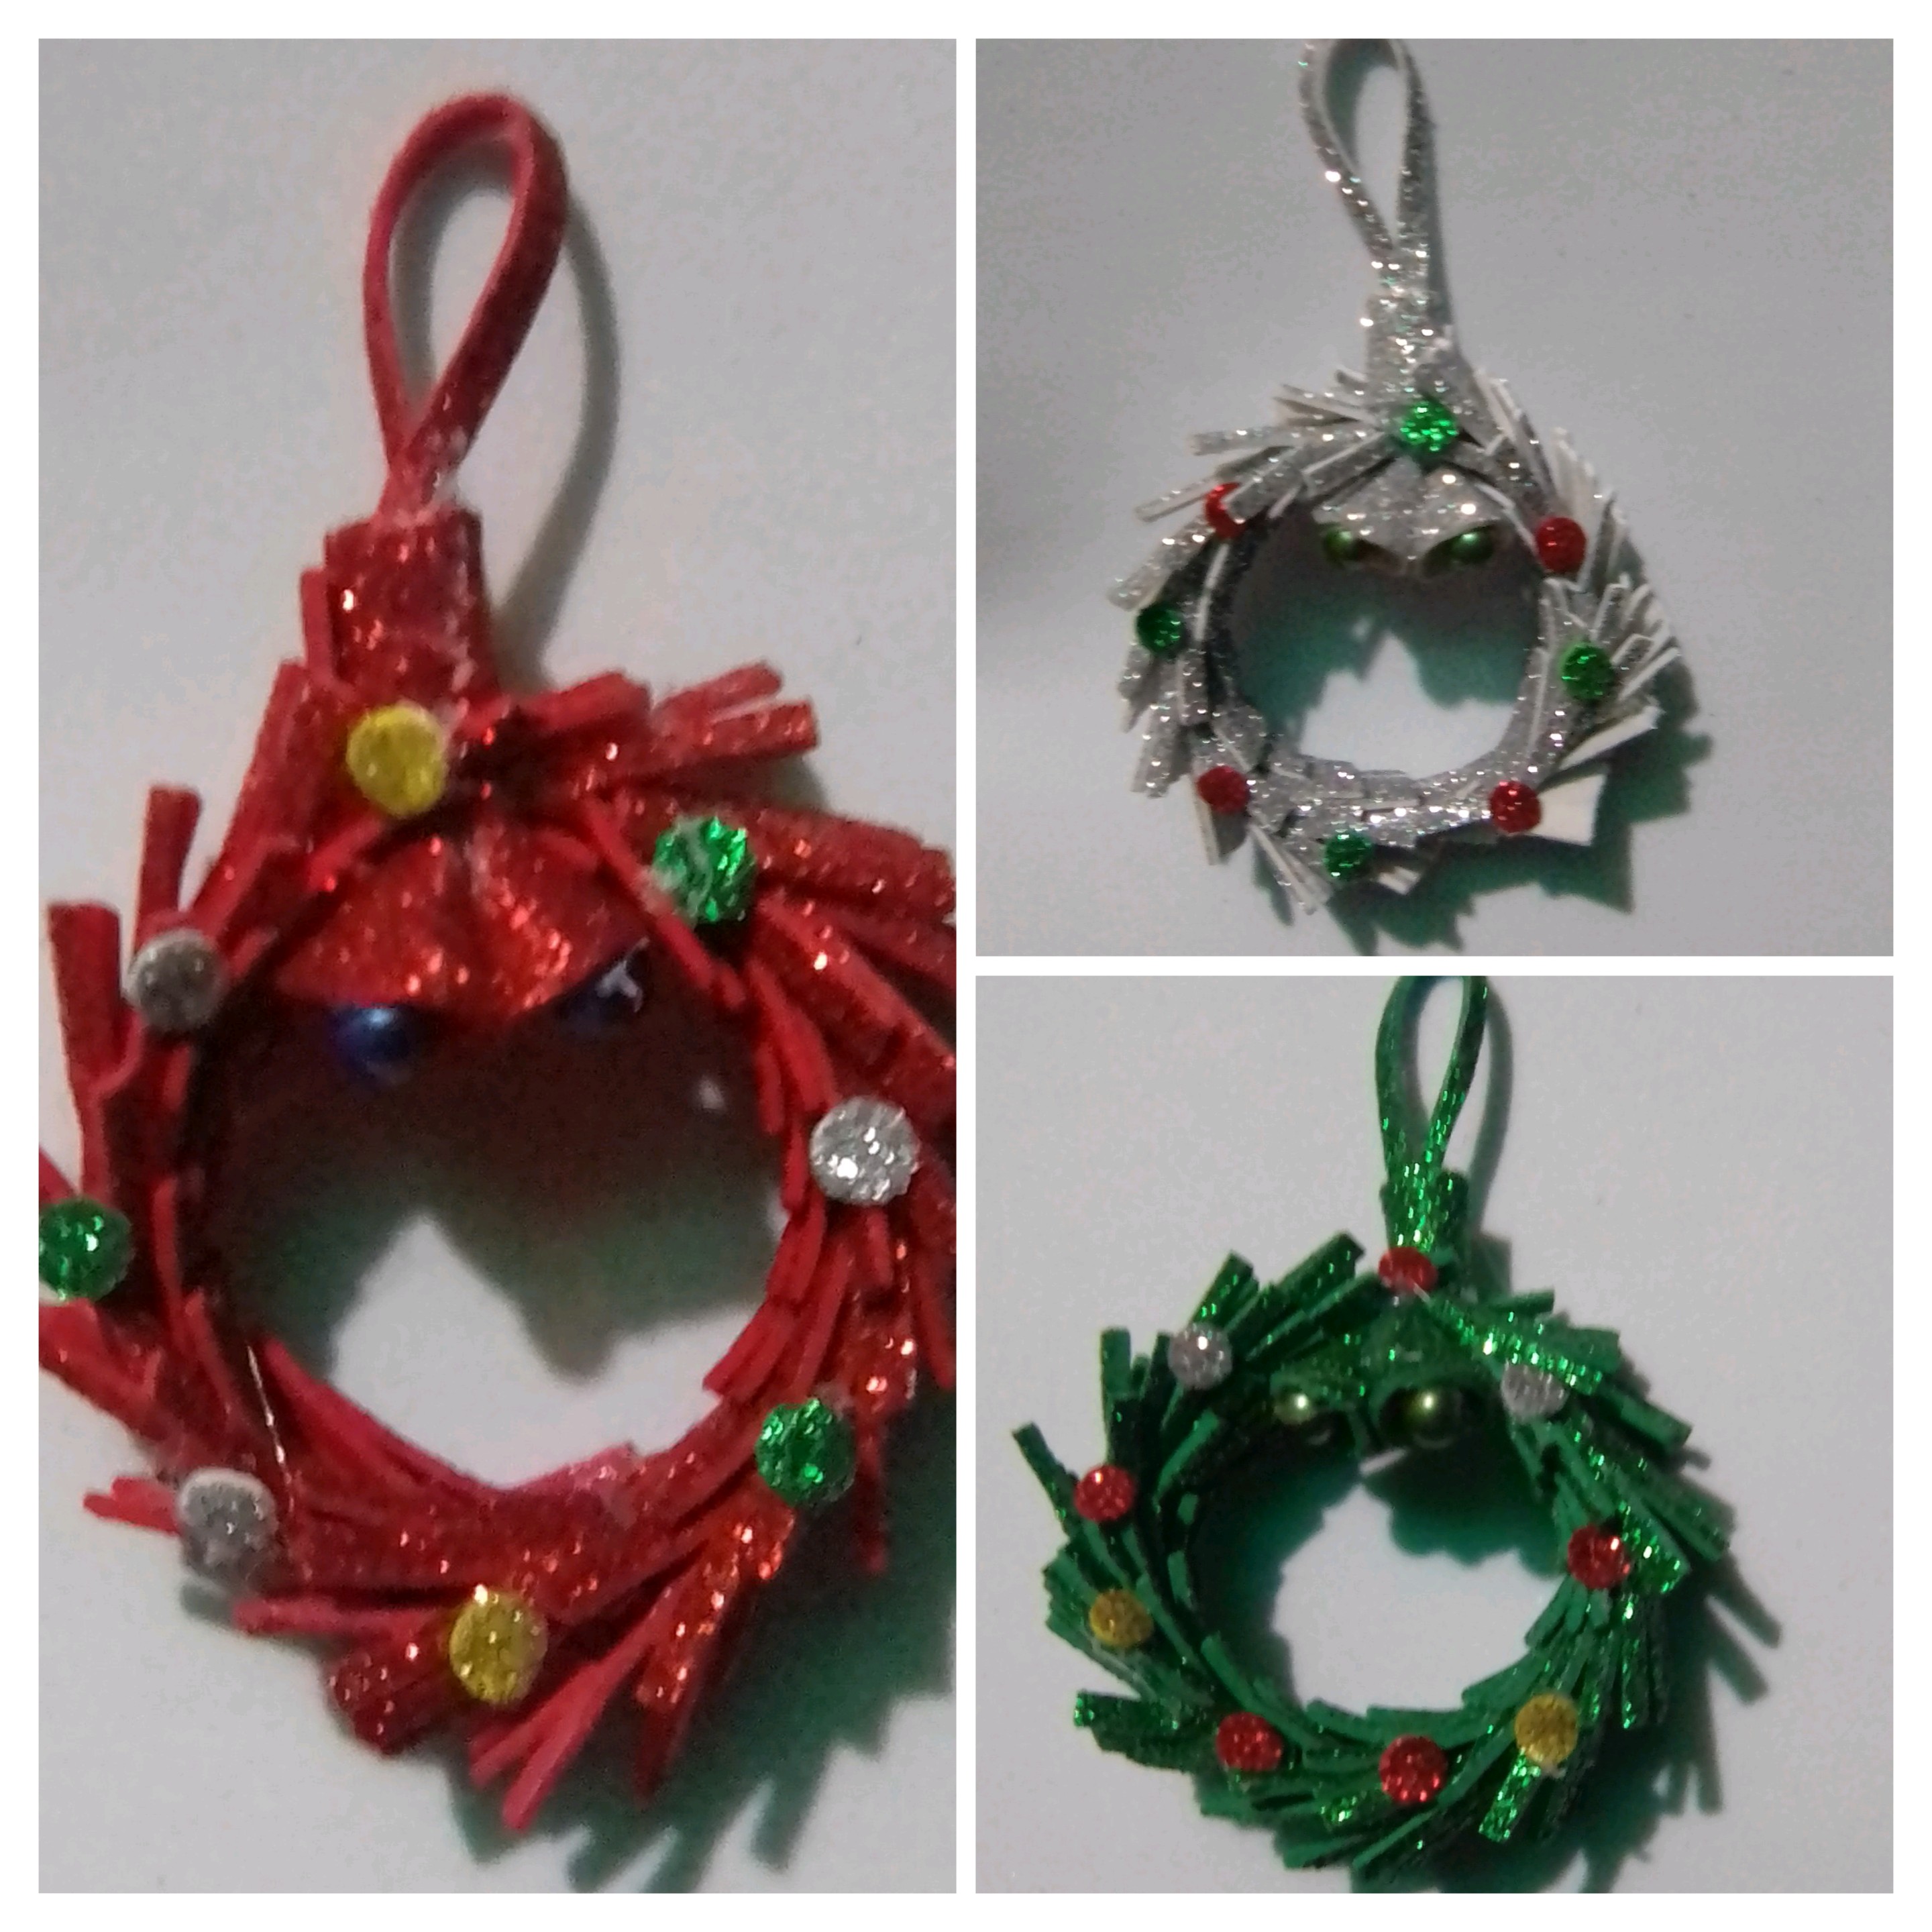
With this same process, I covered the three crowns, then made three circles, one of each color of the mini crowns, taking the size of a soda cap, then fold in half and cut, with each part of the circle make a small cone, for my bells, I joined them with hot silicone and glued a pearl to them.
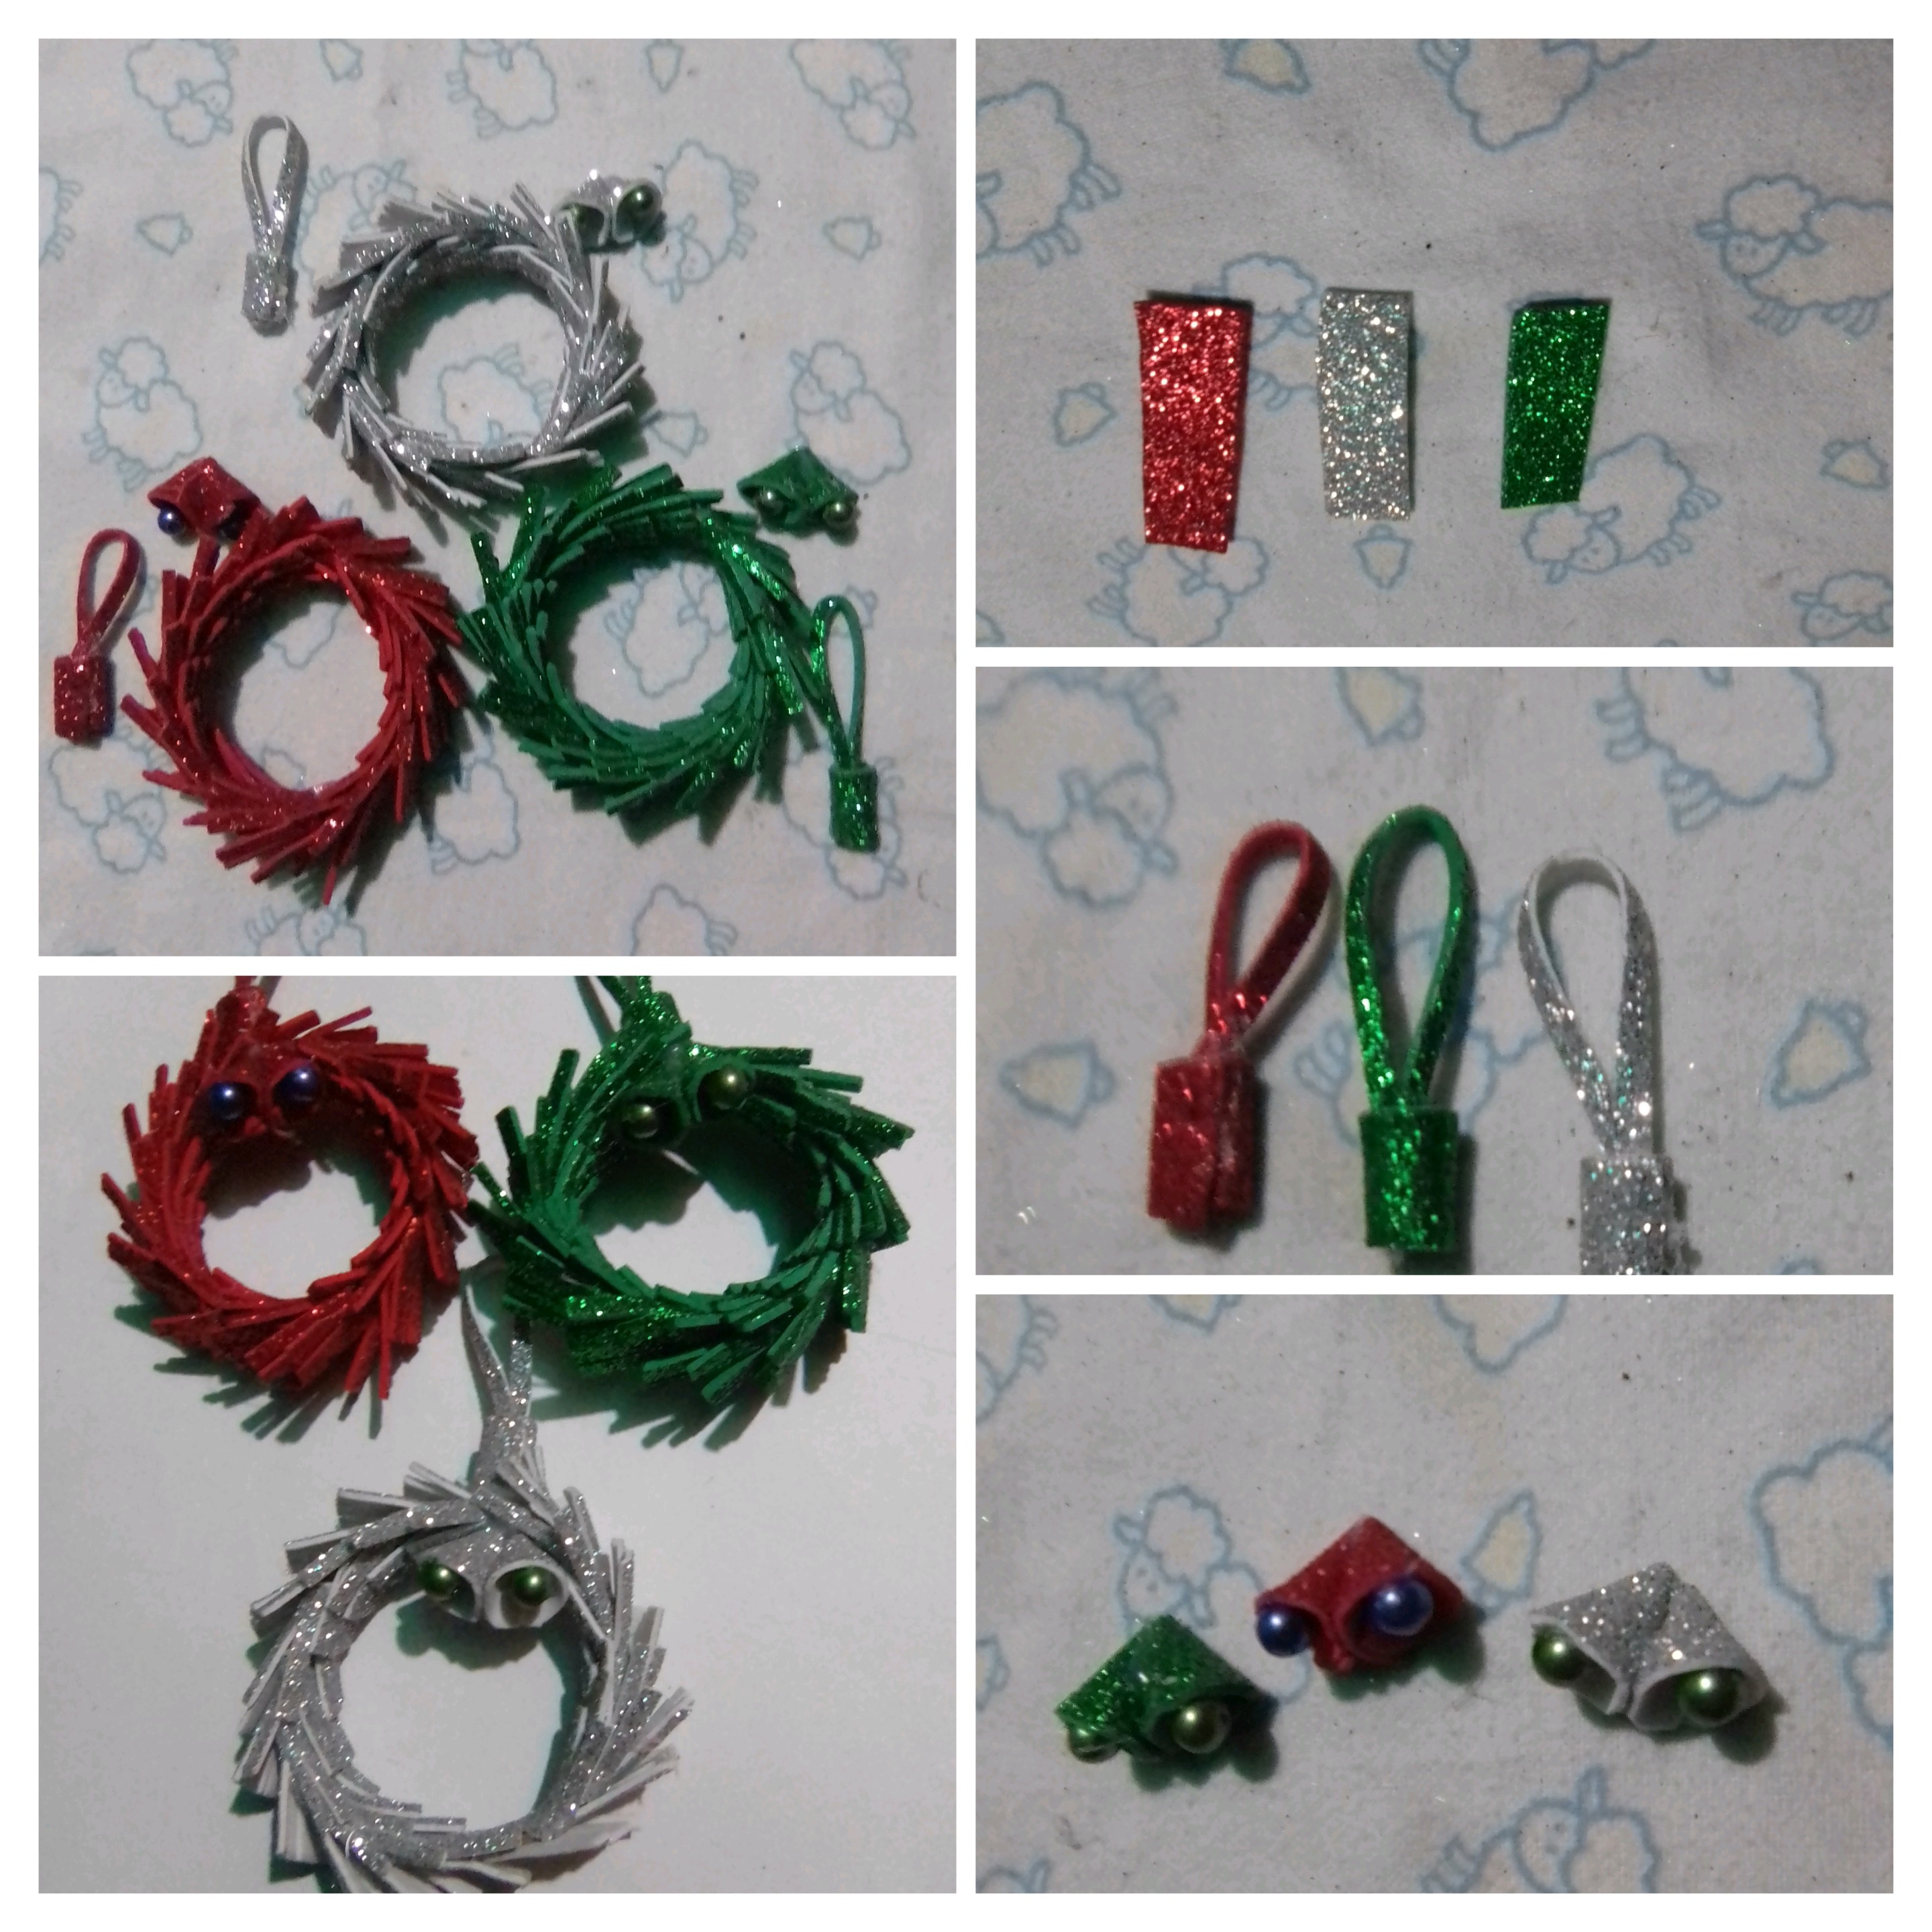
Cut three strips of 2 x 5 centimeters in the colors of the bells, and three very thin strips for pendants. I fixed each pendant on the strip of its respective color and wound it on itself. Once the pendant and the bells are ready, fix them on the mini crowns, the bells on the inside and the pendant on the crown and at the same time on the campaign.
To finish, I obtained several colored circles of foami, with the help of the punch and glued them to give color to the mini Christmas crowns.
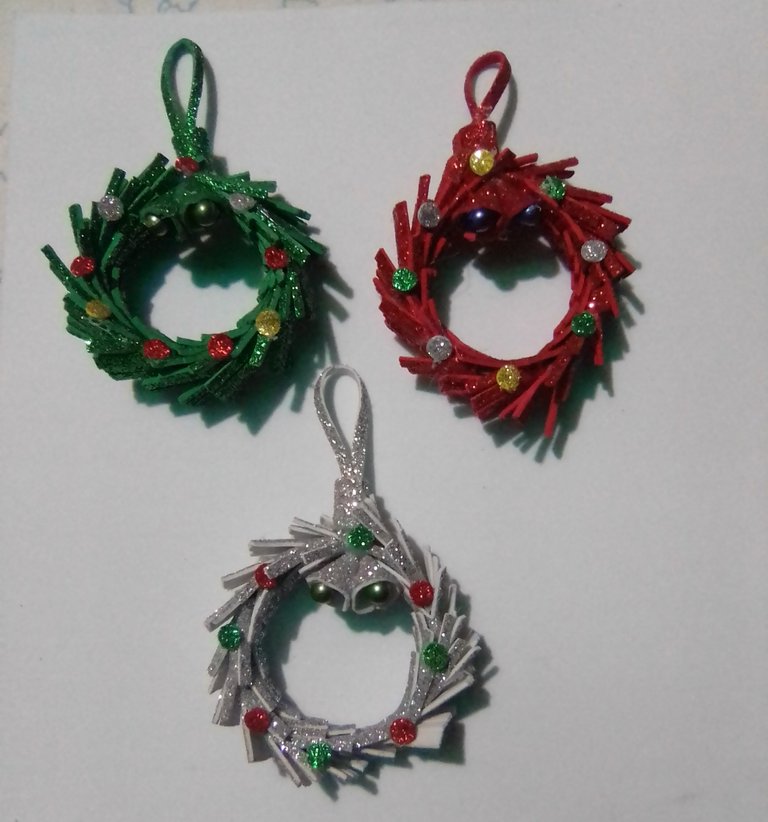
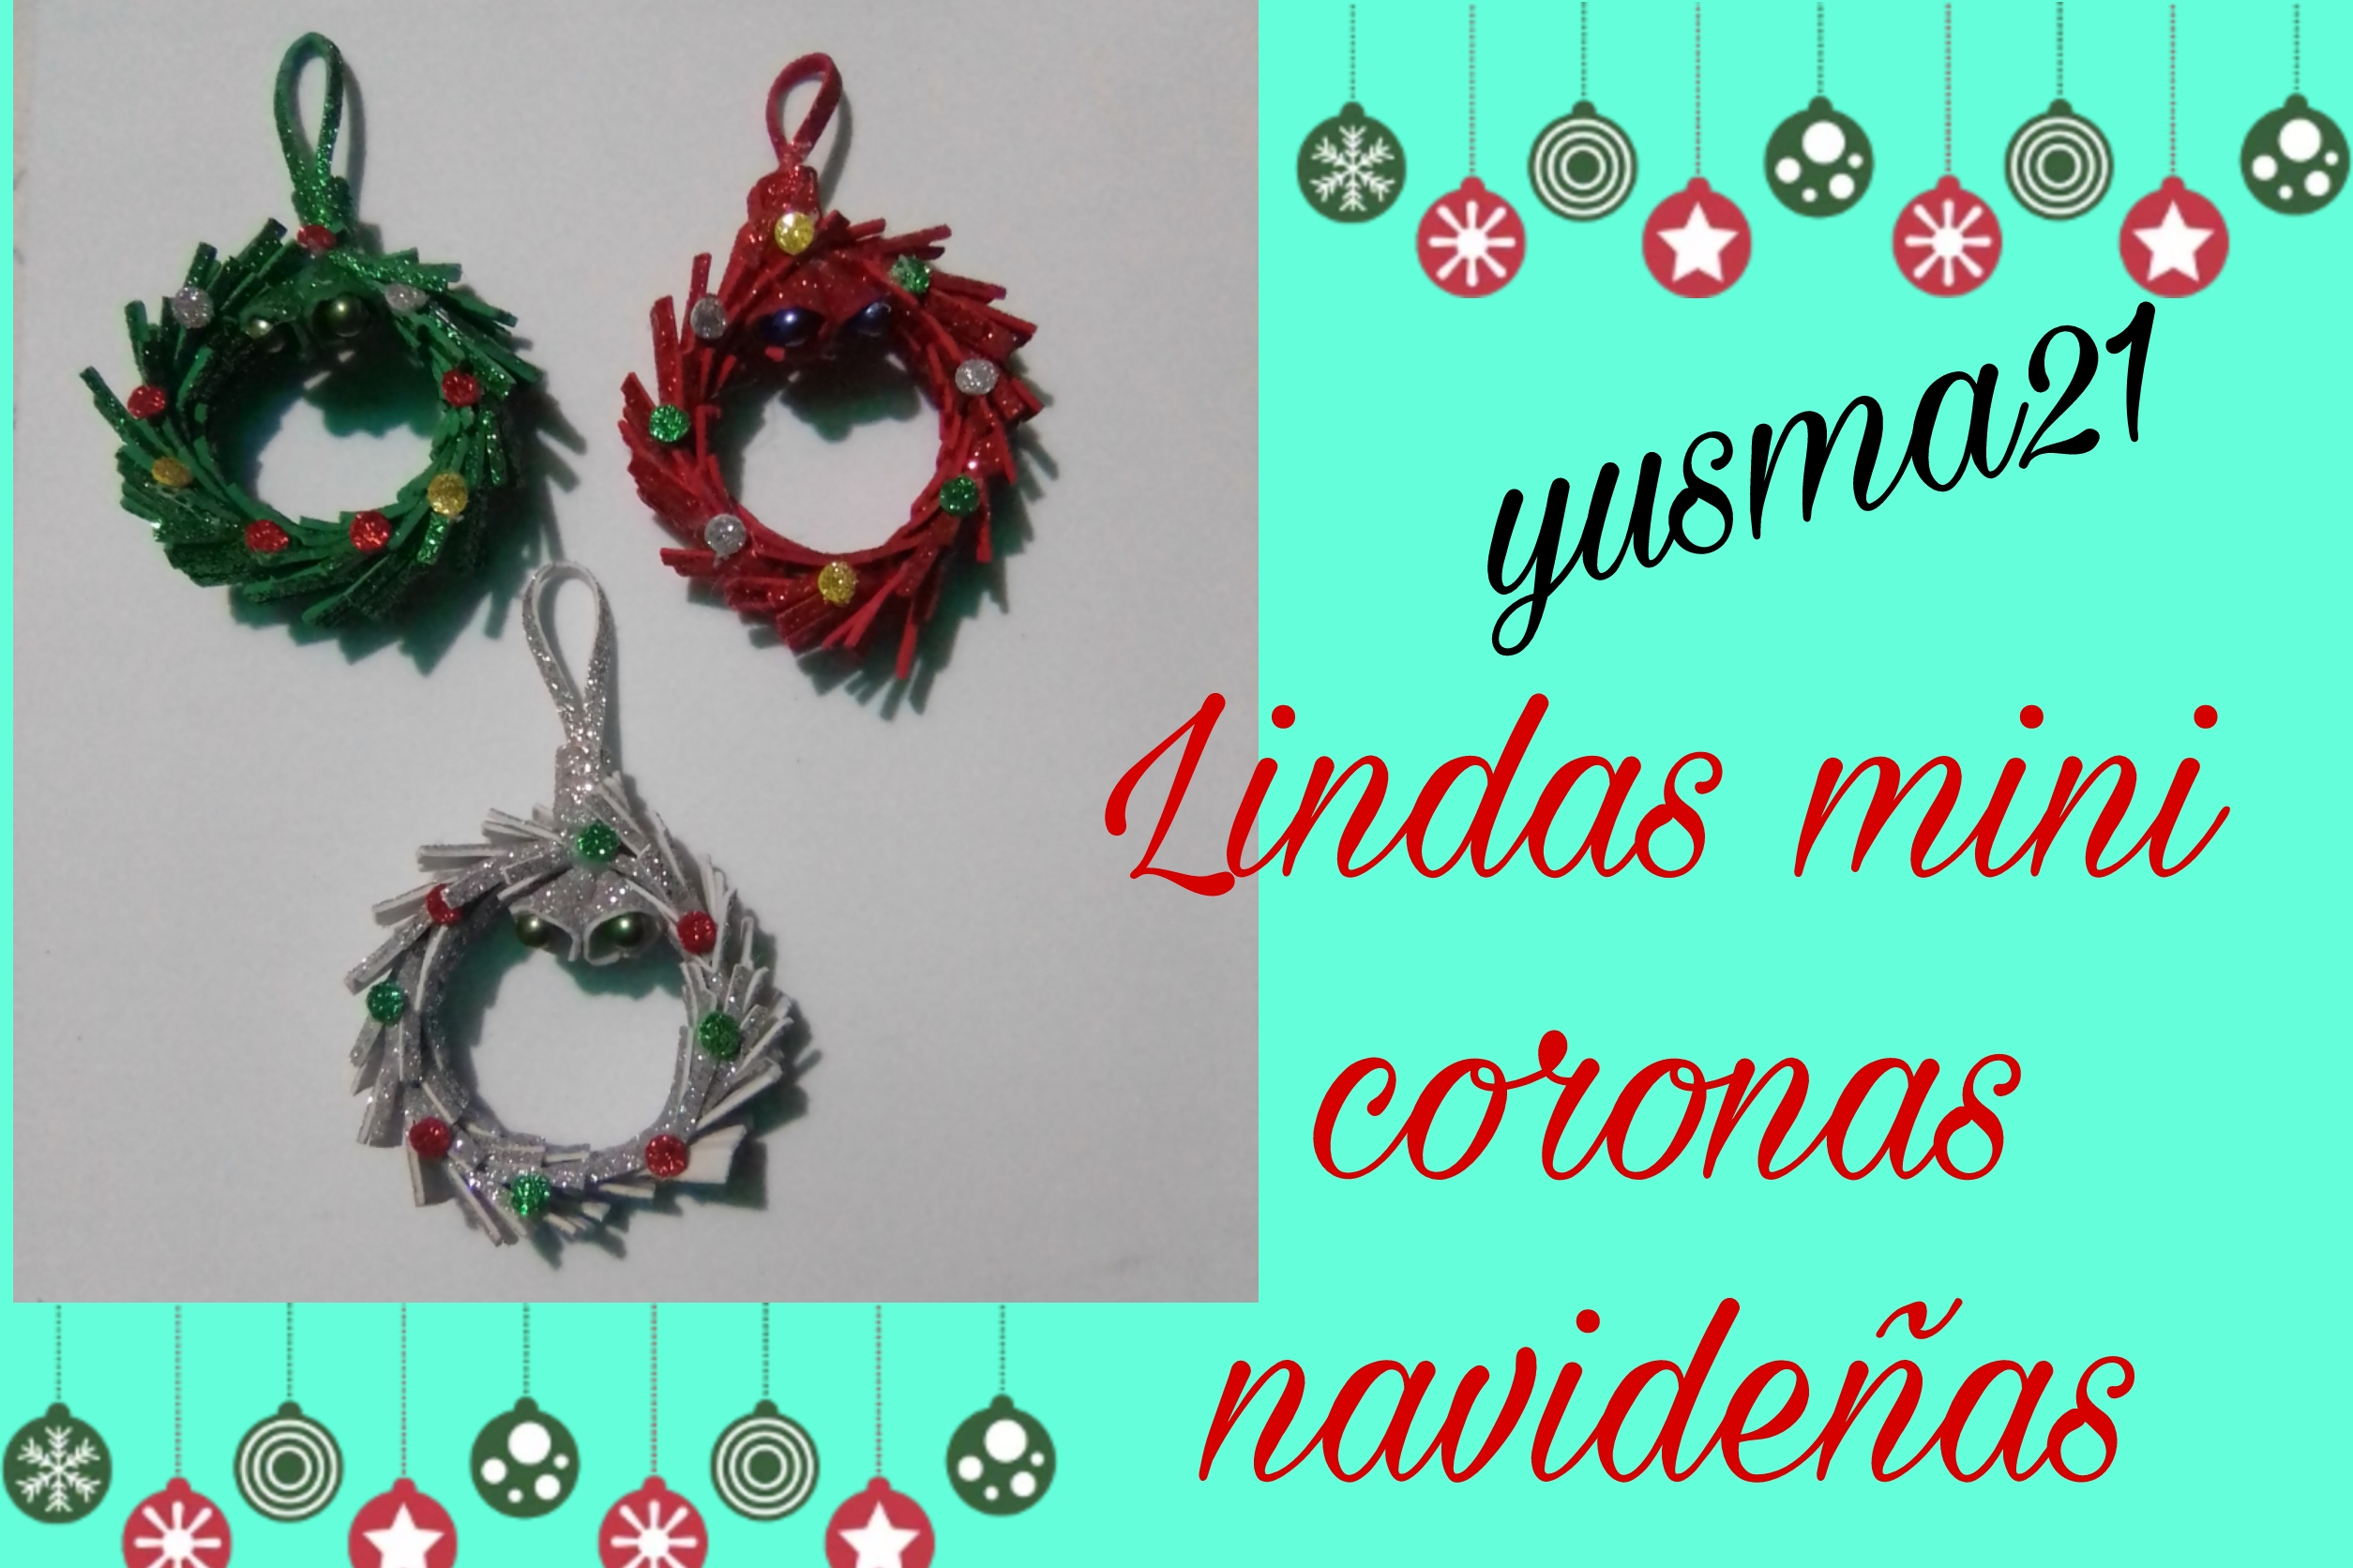
So I have finished these cute and simple mini Christmas wreaths, which can be used to decorate the Christmas tree, or used as door decorations or mobiles at the entrances of the house. I hope you liked it and are encouraged to do it at home.
Result
The photos are my property taken exclusively in this project.
The collages of the procedure were made with the tool of my Blue C6 and the main one in Canva
The dividers and the banners were edited by me in Canva
The translation was made with
DeepL Translator


Saludos muy afectuosos para todos los compañeros creativos de la comunidad de Hive Diy, ya con los ánimos de elaborar manualidades navideñas, pues he observado las lindas creaciones presentadas recientemente en esta comunidad, creo que es buen momento para comenzar a realizar los adornos para nuestros árboles, puertas y demás, de manera que adelantemos y el día dispuesto para colocar la navidad tengamos todos los adornos listo, y es precisamente lo que voy hacer. Todos los años renovamos los adornos del árbol de navidad y está ocasión voy a mostrarles como hacer unas lindas mini coronas de foami con base de cartón, cómo parte de la decoración de mi árbol de navidad, esperando que sea de su agrado, los invito a leer hasta el final para que se den cuenta de lo sencillo que es elaborar estás mini coronas navideñas para nuestros árboles y mejor aún usando pocos materiales.
MATERIALES
✓ Foami escarchado de color rojo, verde y plateado.
✓ Pistola y barra de silicón.
✓ Rollo de papel higiénico
✓ Tijera.
✓ Regla y lápiz.
✓ Perforadora
PASO A PASO
El árbol de navidad de mi madre es alto, entonces los adornos deben estar en proporción al tamaño de este. Por consiguiente el tamaño que usaré es el del diámetro de un rollo de papel higiénico, si en todo caso los queremos más pequeños, podemos usar esta medida y reducir el diámetro. En mi caso voy a realizar tres coronas para efectos del tutorial, lo primero es medir 1 centímetro a un extremo del rollo de papel para obtener una circunferencia de cartón, que será la base para la elaboración de las mini coronas navideñas.
Recorte las tres circunferencias de cartón, y luego procedí a medir tiras de 2 centímetros de ancho de los tres colores de foami, recorte las tiras y seguidamente medi en cada tira de foami 0,5 centímetros y marque con lápiz para tener una guia.
Utilizando la guia que realice en cada tira de foami, comencé a realizar cortes con la tijera a lo largo de la tira de foami, sin pasarme de la guia.
Con las tiras de foami y las bases de cartón listas, es el momento de comenzar a cubrir la base de cartón con las tiras de foami, colocando silicón caliente en el cartón y pasando la tira de foami alrededor del cartón, dejando un espacio reducido en cada vuelta, hasta cubrir todo el cartón. Los colores elegidos son rojo, verde y plateado. La mini corona en color verde quise realizarla para ver el resultado en ese color, ya que muchos tienen árboles en color blanco, está puede ser una linda opción para decorarlo.
Con este mismo proceso, cubri, las tres coronas, luego realice tres círculos uno de cada color de las mini coronas, tomando para ello la medida de una tapa de refresco, luego doble a la mitad y corte, con cada parte del círculo realice un pequeño cono, para mis campanas, las uni con silicón caliente y les pegue una perla.
Corte tres tiras de 2 x 5 centímetros de los colores de las campanas , y tres tiras muy delgadas para colgantes. Fijé cada colgante en la tira de su respectivo color y la enrrolle sobre si misma. Ya listo el colgante y las campanas los fije en las mini coronas, las campanas en la parte interior y el colgante sobre la corona y a la vez sobre la campaña.
Para culminar, obtuve varios círculos de colores de foami, con ayuda de la perforadora y los pegue para dar colorido a las mini coronas navideñas.
Así tengo terminadas estás lindas y sencillas mini coronas navideñas, las cuales pueden ser usadas para adornar el árbol de navidad, o usarse como adornos de puertas o móviles en las entradas de la casa. Espero les haya gustado y se animen a realizar en casa.
Resultado
Las fotos son de mi propiedad tomadas exclusivamente en este proyecto.
Los collages del procedimiento los hice con la herramienta de mi Blue C6 y el principal en Canva
Lo separadores y el banners fueron editados por mi en Canva
La traducción fue realizada con
DeepL Traductor