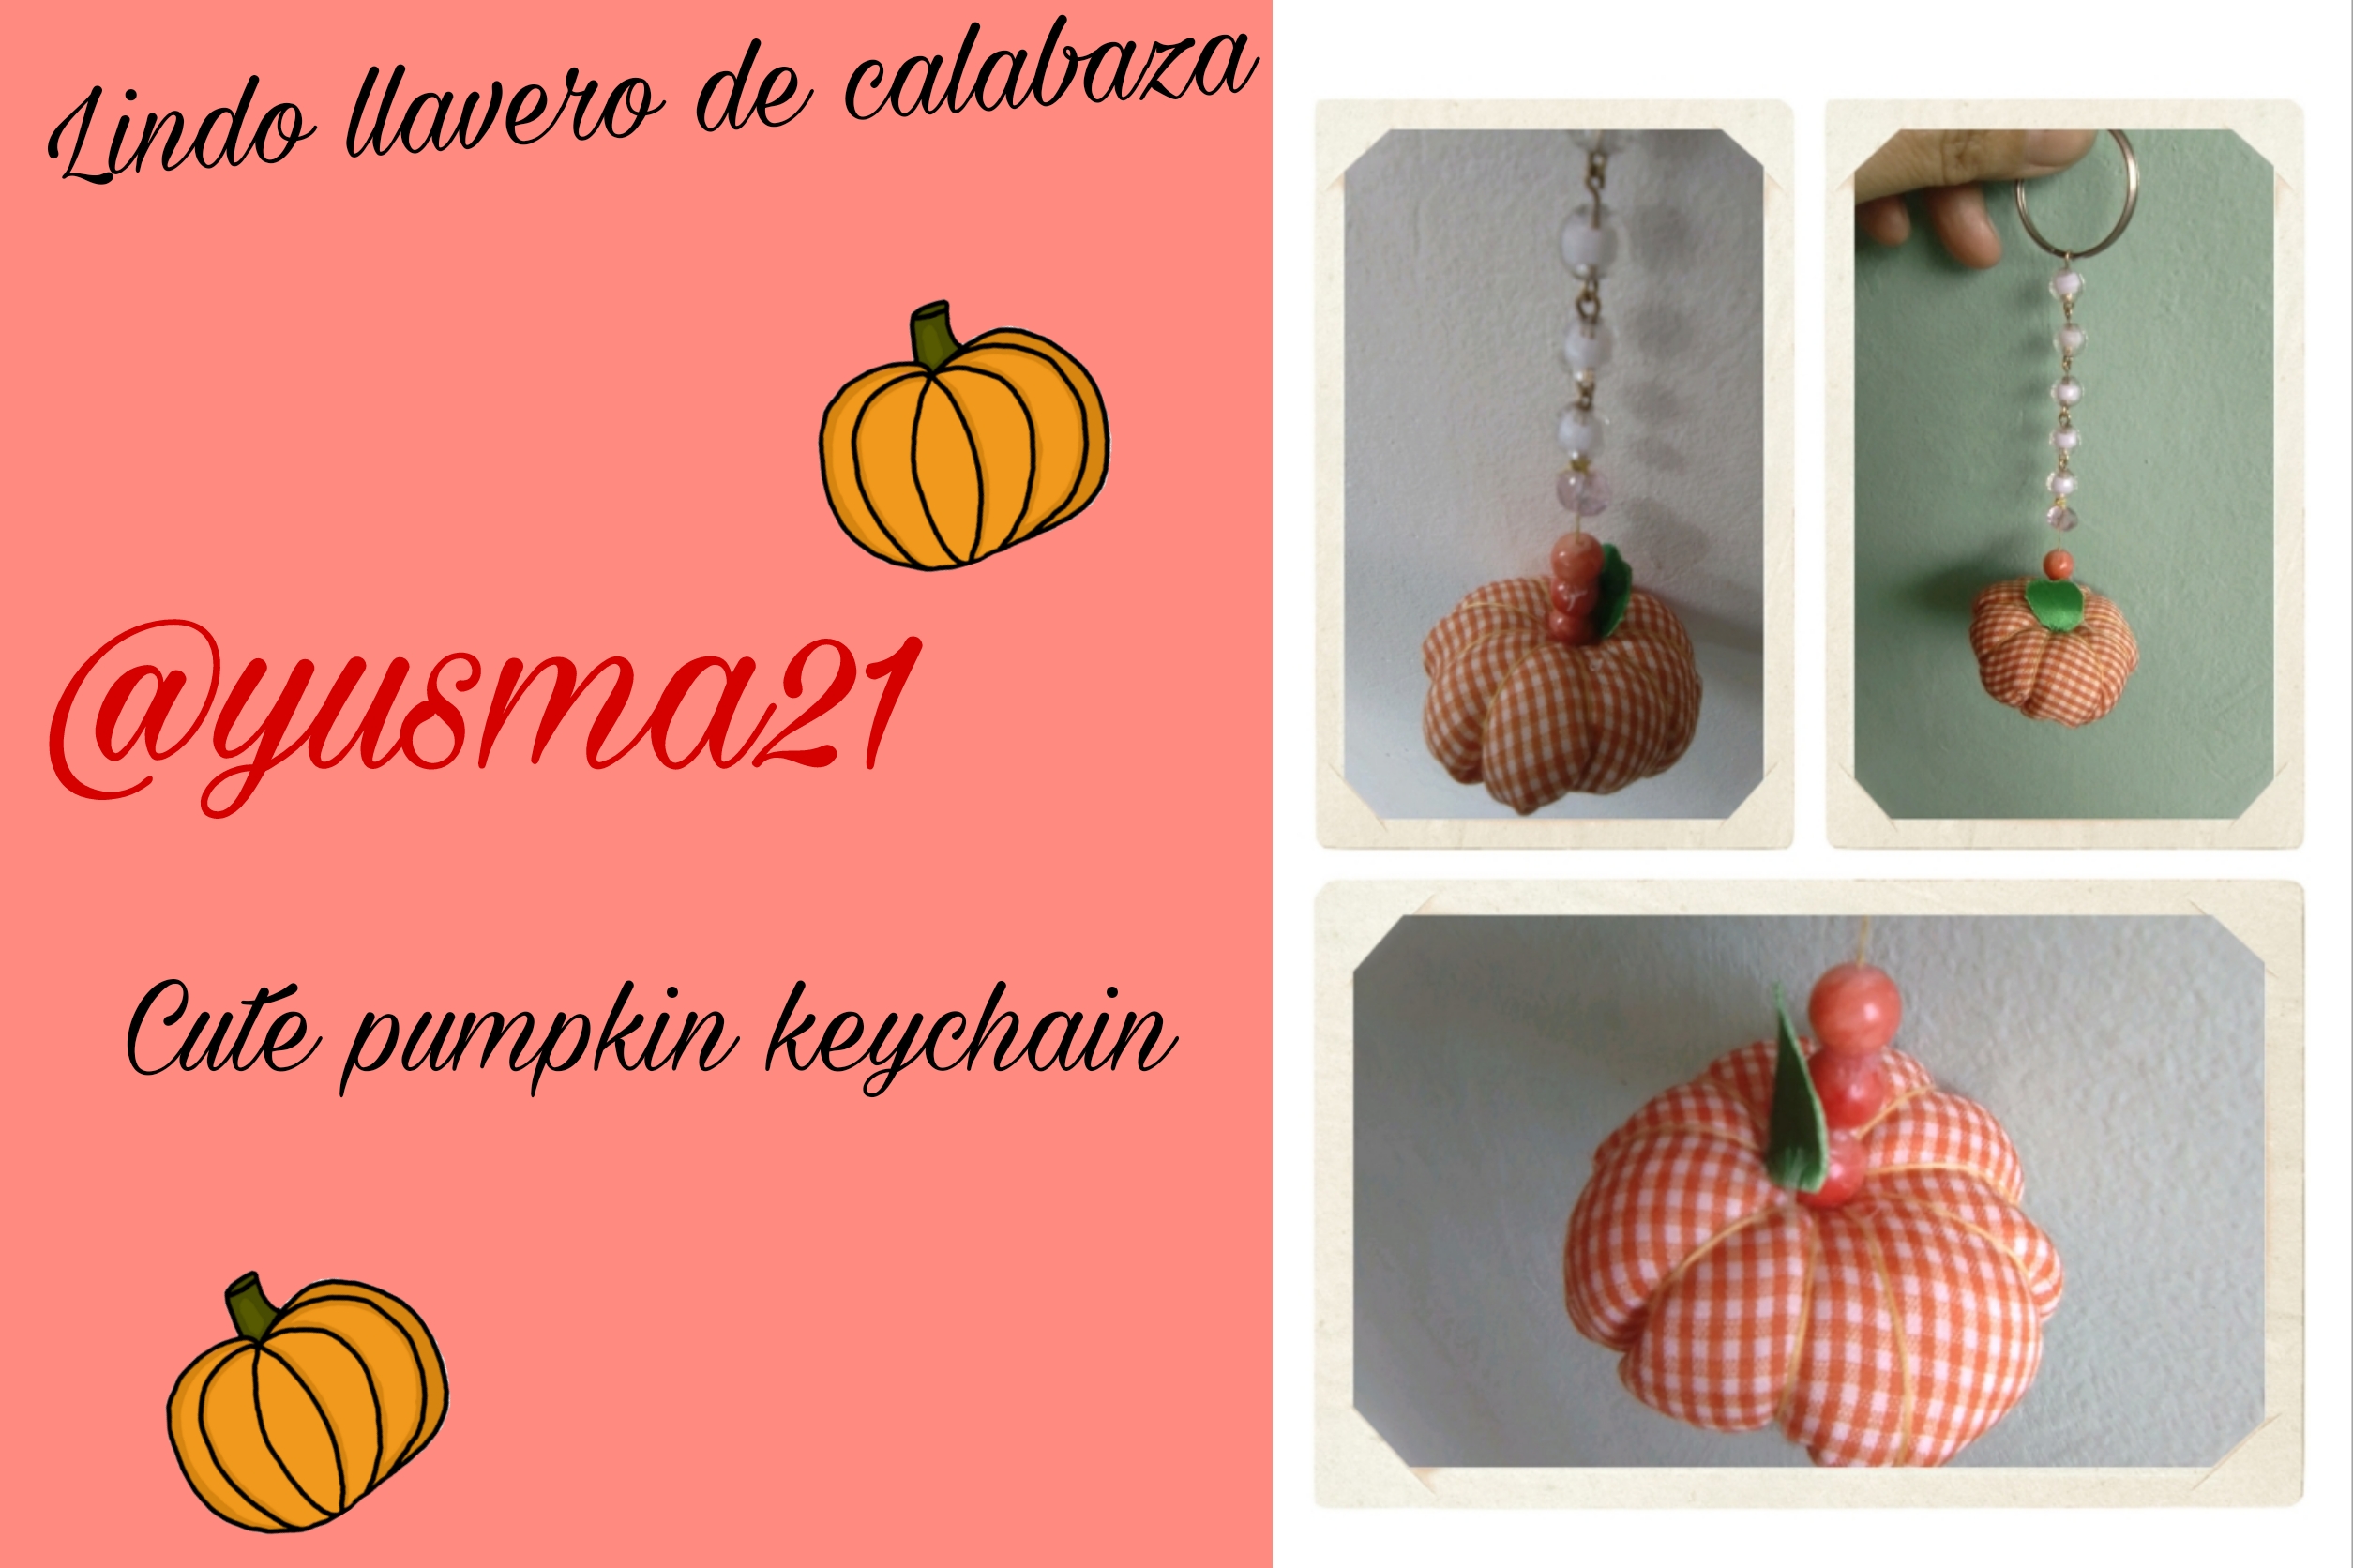
A big hello to the creative community of Hive Diy, and we continue with the theme of Halloween, and today I am going to present a keychain, although it is not horror, it is a cute pumpkin motif, made with a patchwork, which gives you a lot of showiness, in addition to the pretty stone jewelry that make up the chain. Then I will show you how to make it step by step.

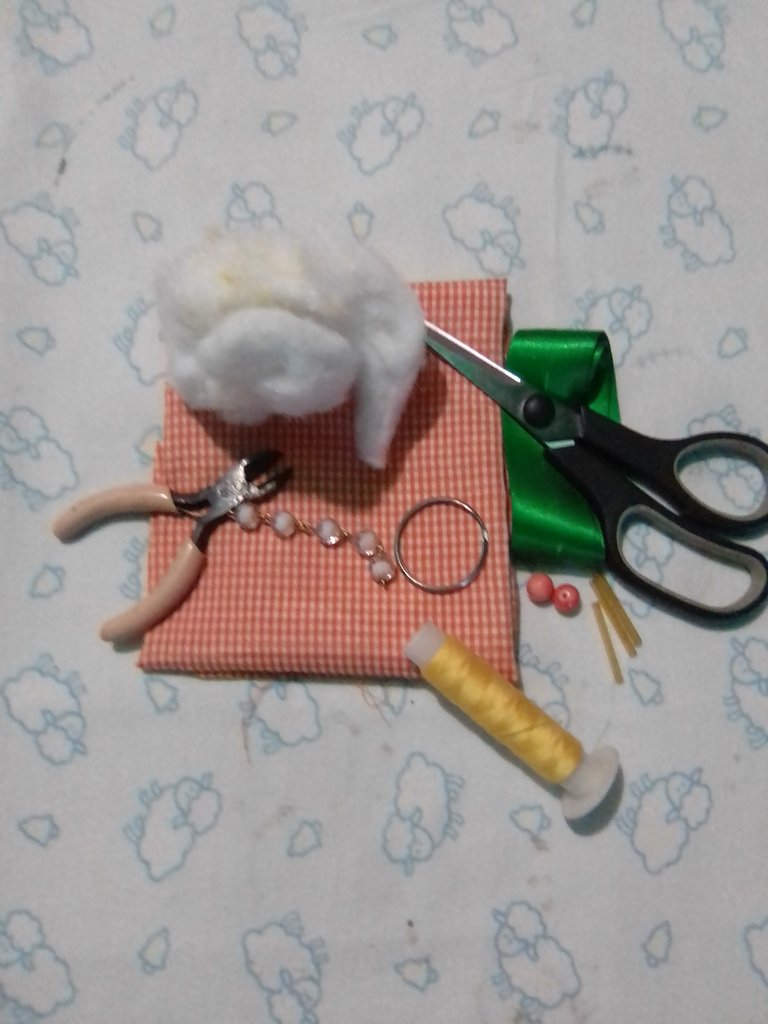
MATERIALS
✓ Orange Vichy fabric
✓ Yellow thread
✓ Fill
✓ Scissor
✓ Key Ring
✓ Costume jewelry beads
✓ Jewelry clamp.
STEP BY STEP
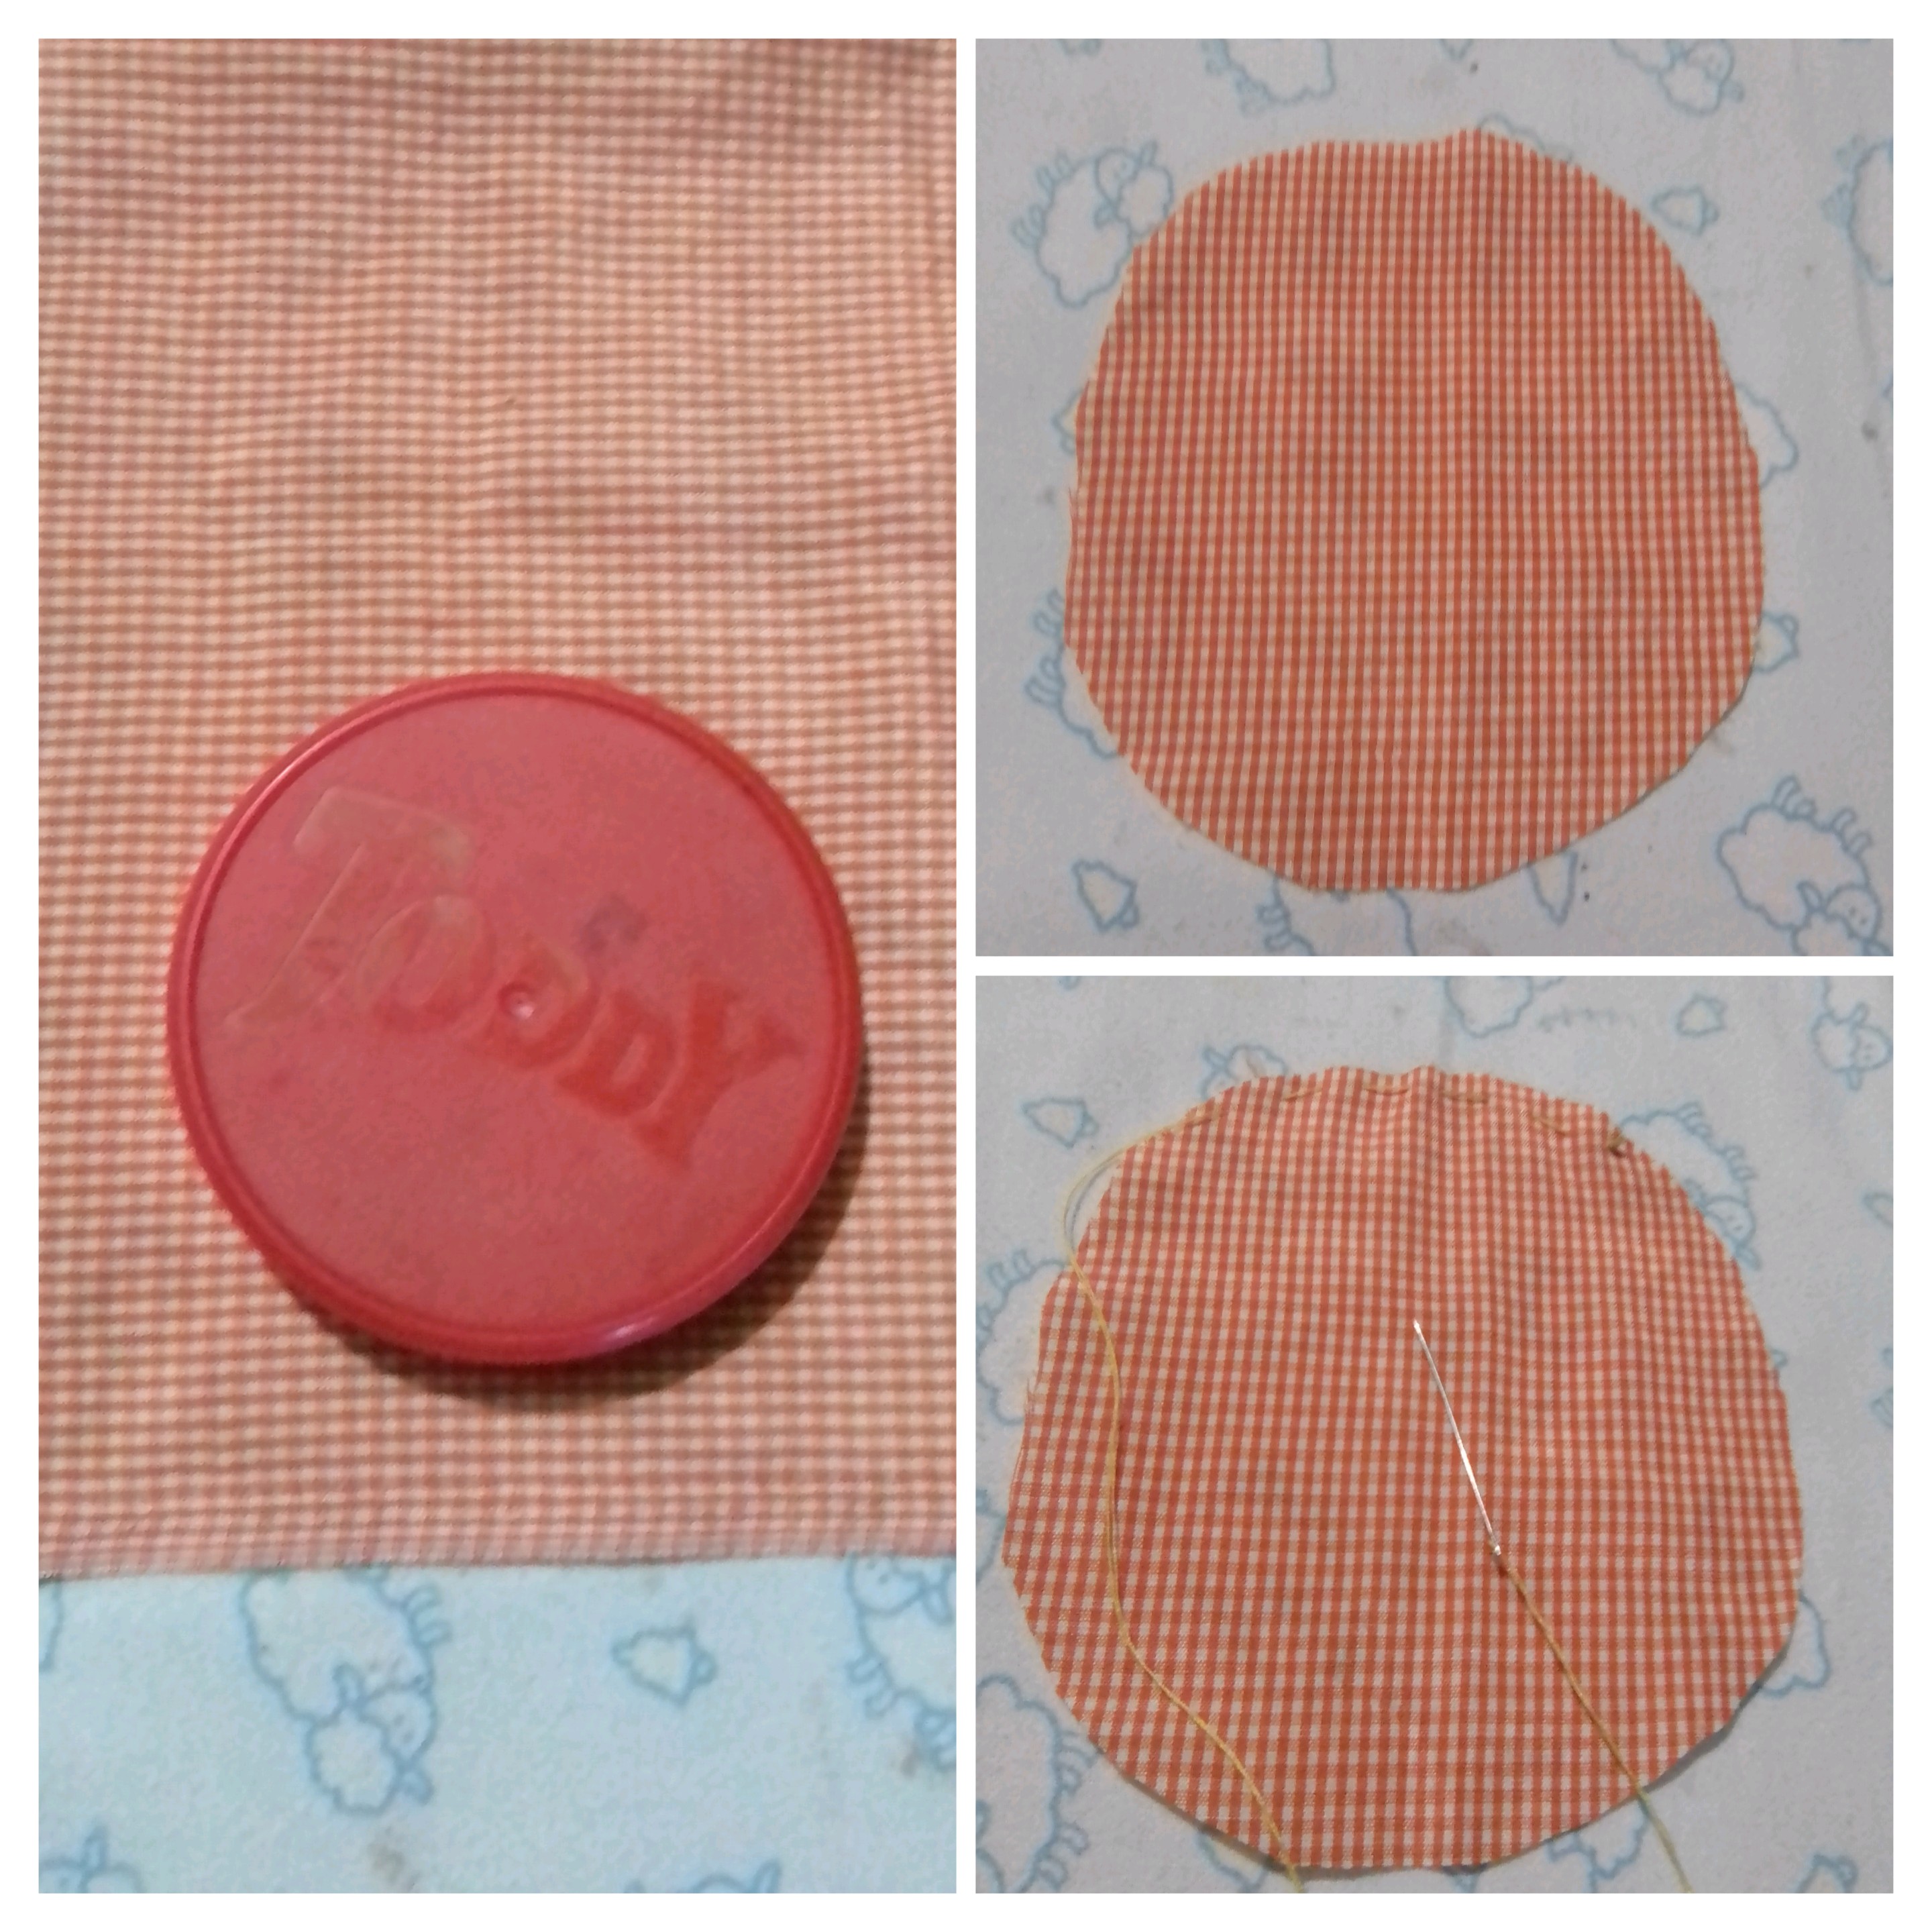
The first step to make this cute pumpkin keychain is to make a circle of Vichy fabric, use this fabric because it is orange with white, the diameter of the circle is 7 centimeters. With the circle ready, I run water with thread around the entire edge, without picking up the thread.
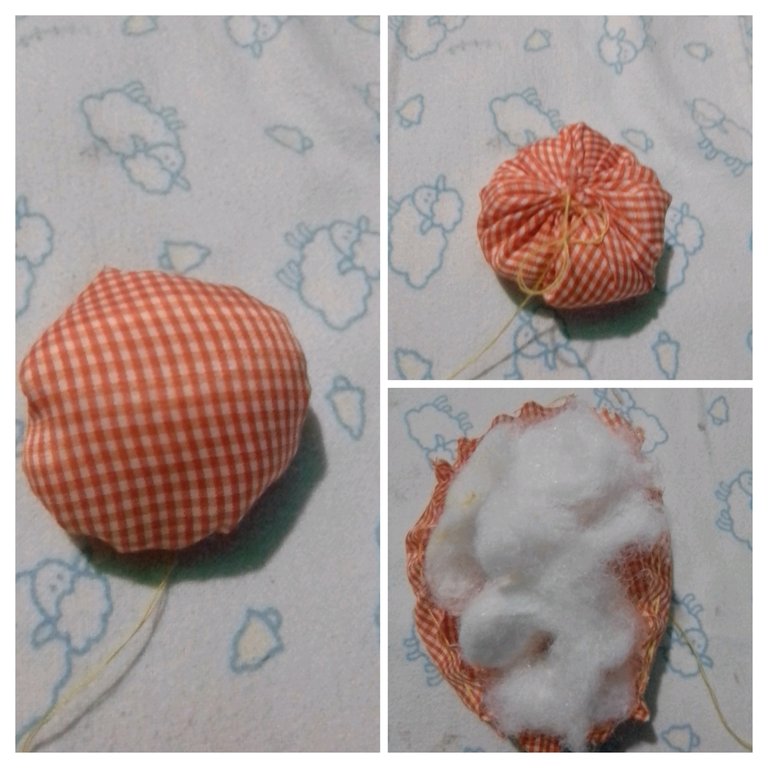
In the extended circle, I put stuffing and I was picking up the thread, to close and add more stuffing because it was loose. I close the stuffed ball and secure the thread, passing the needle from end to end in the knot.
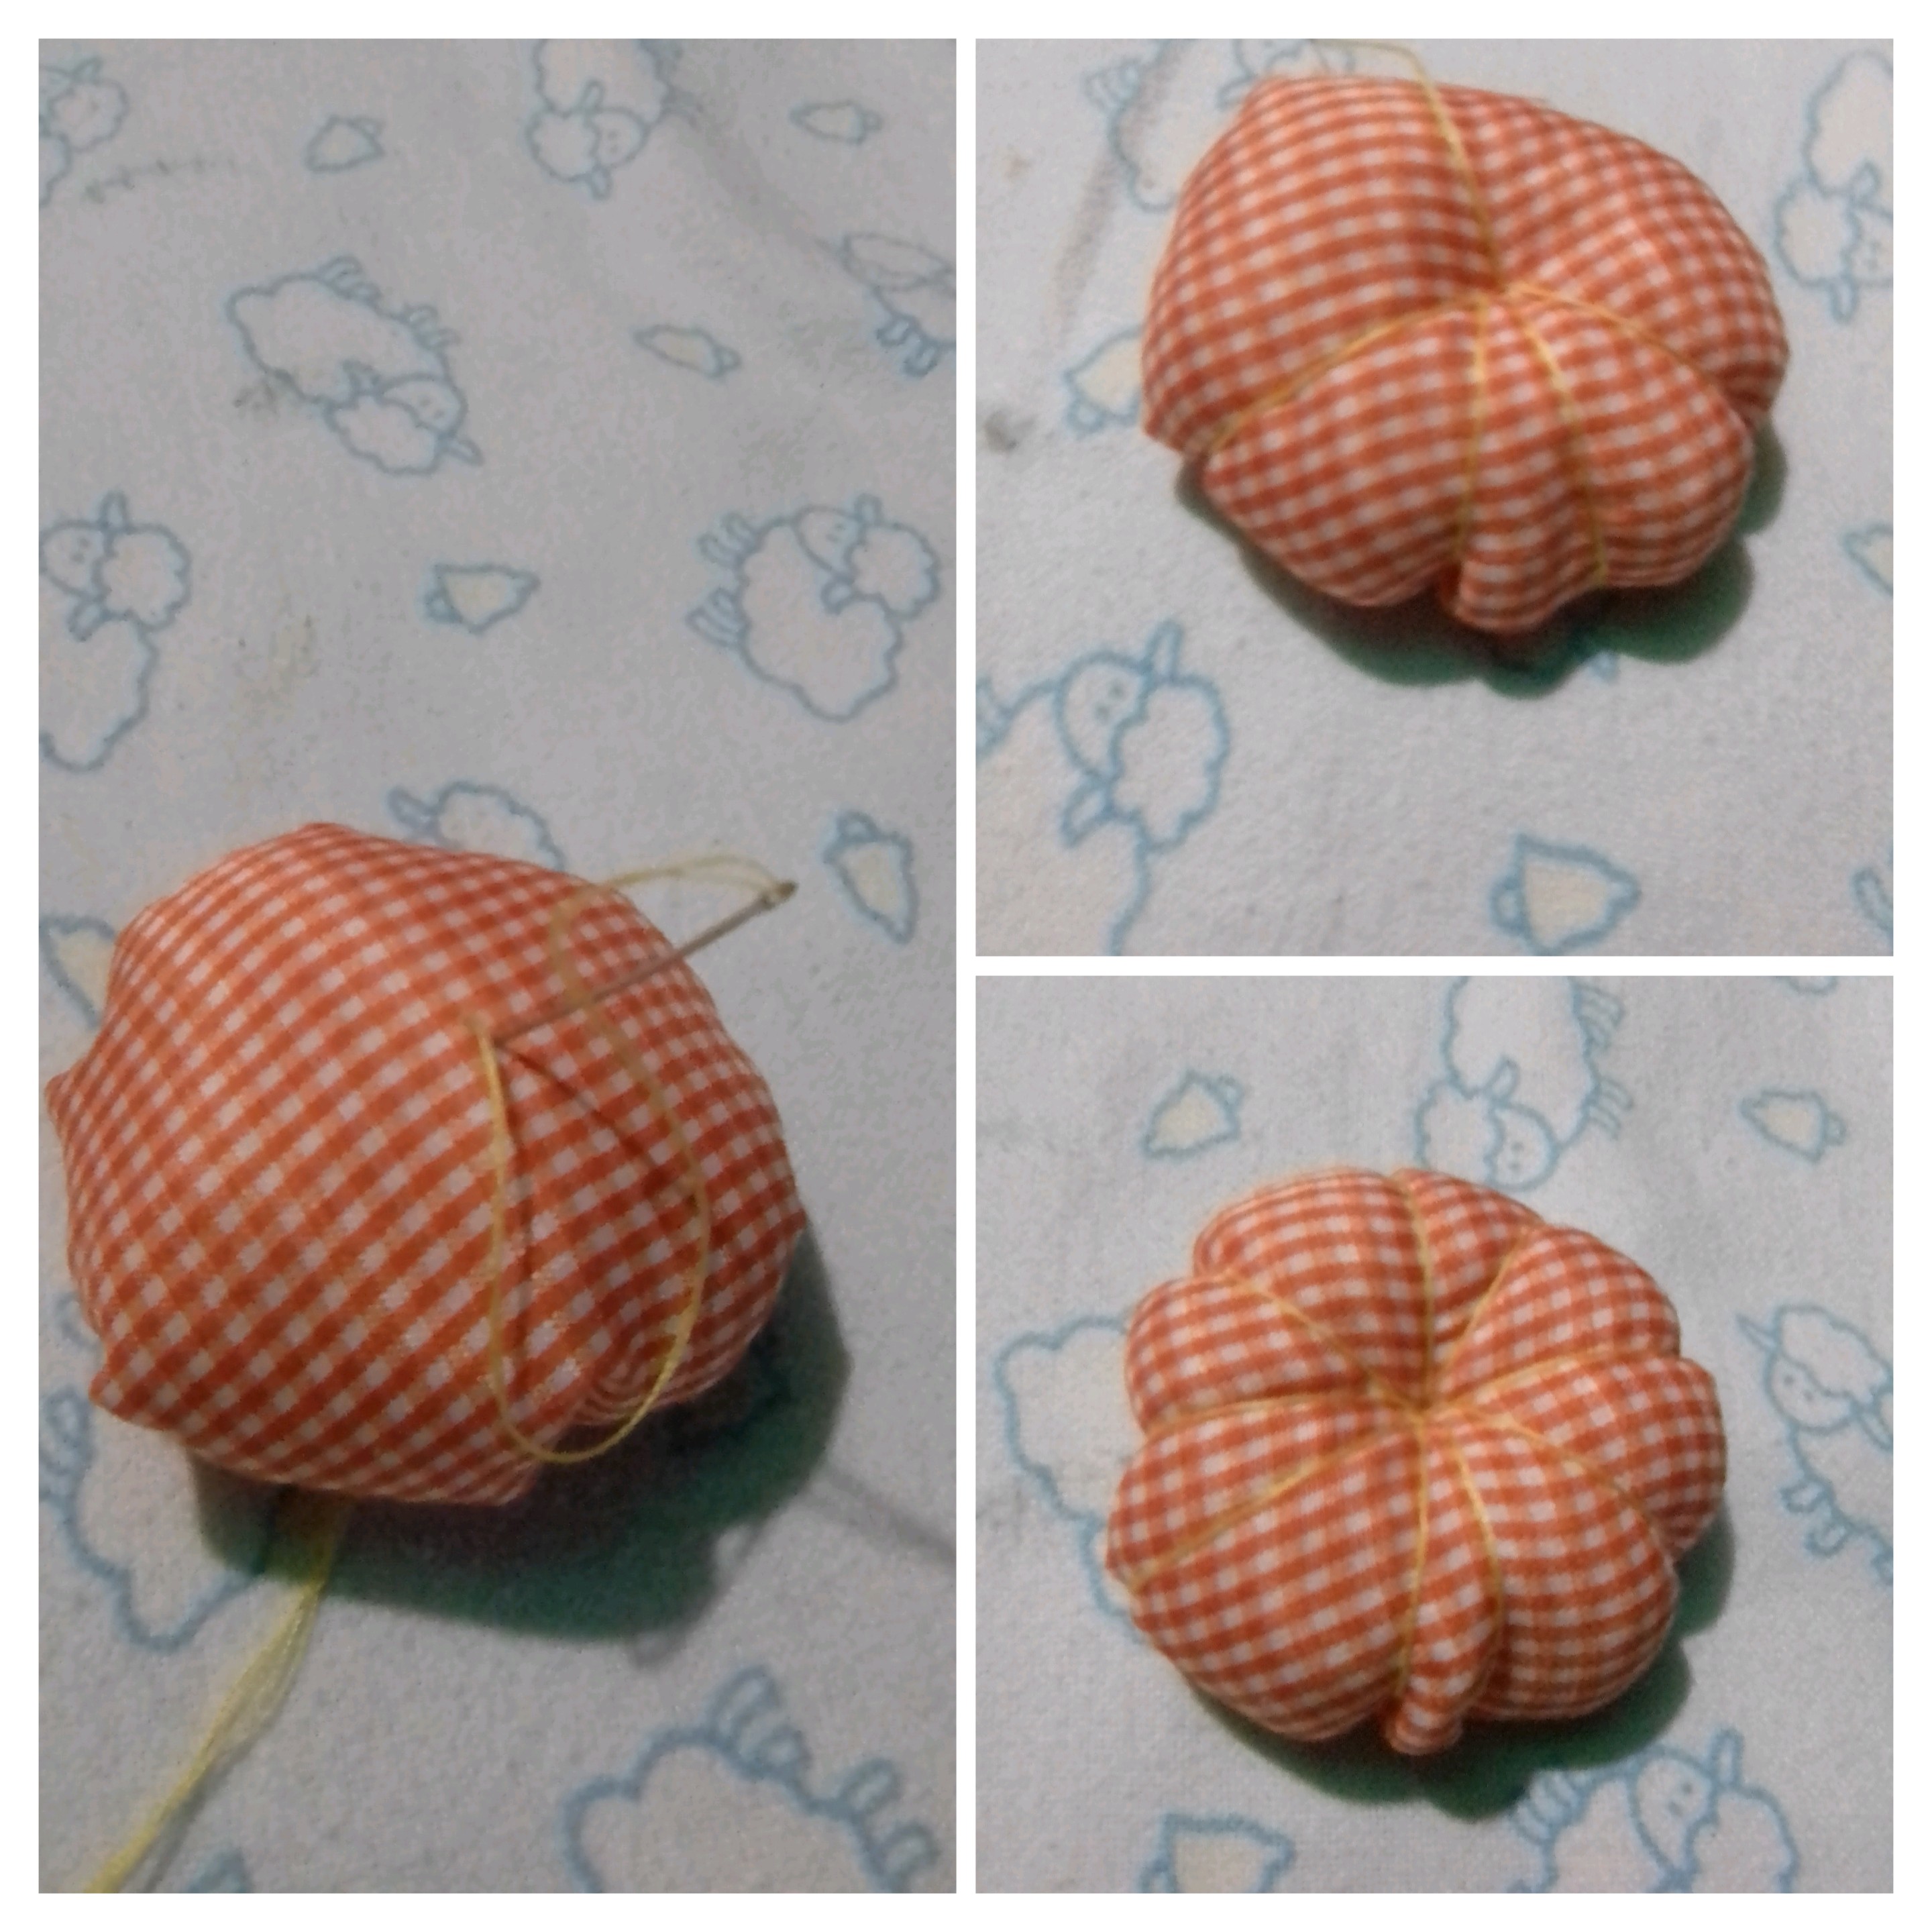
Without cutting the thread, I put the needle from the knot, to the center of the other end and passed the thread over it to the knot and pressing to mark the thread, repeating this action until my stuffed ball was covered, the pressure of the thread will give the characteristic pumpkin shape.
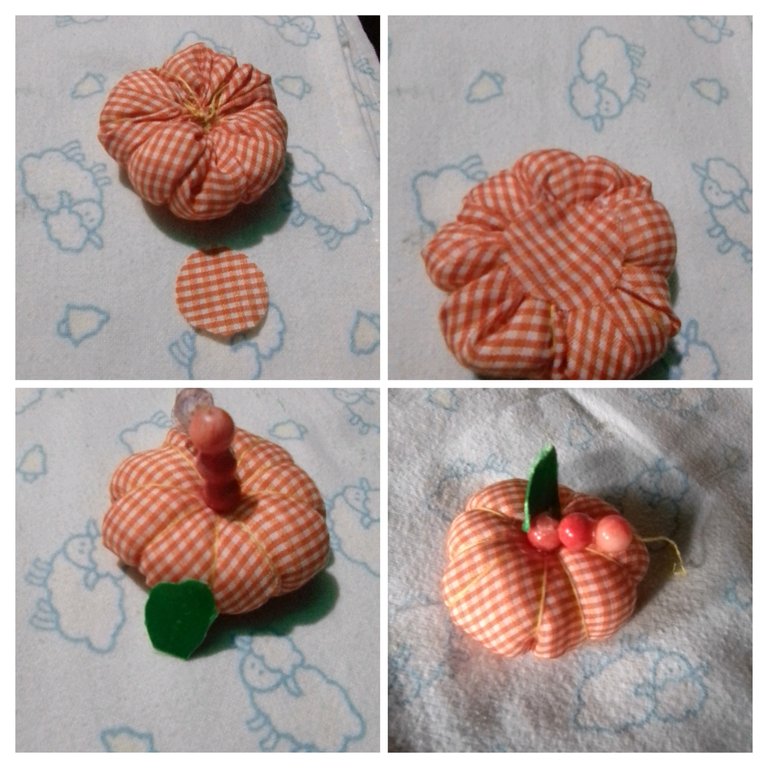
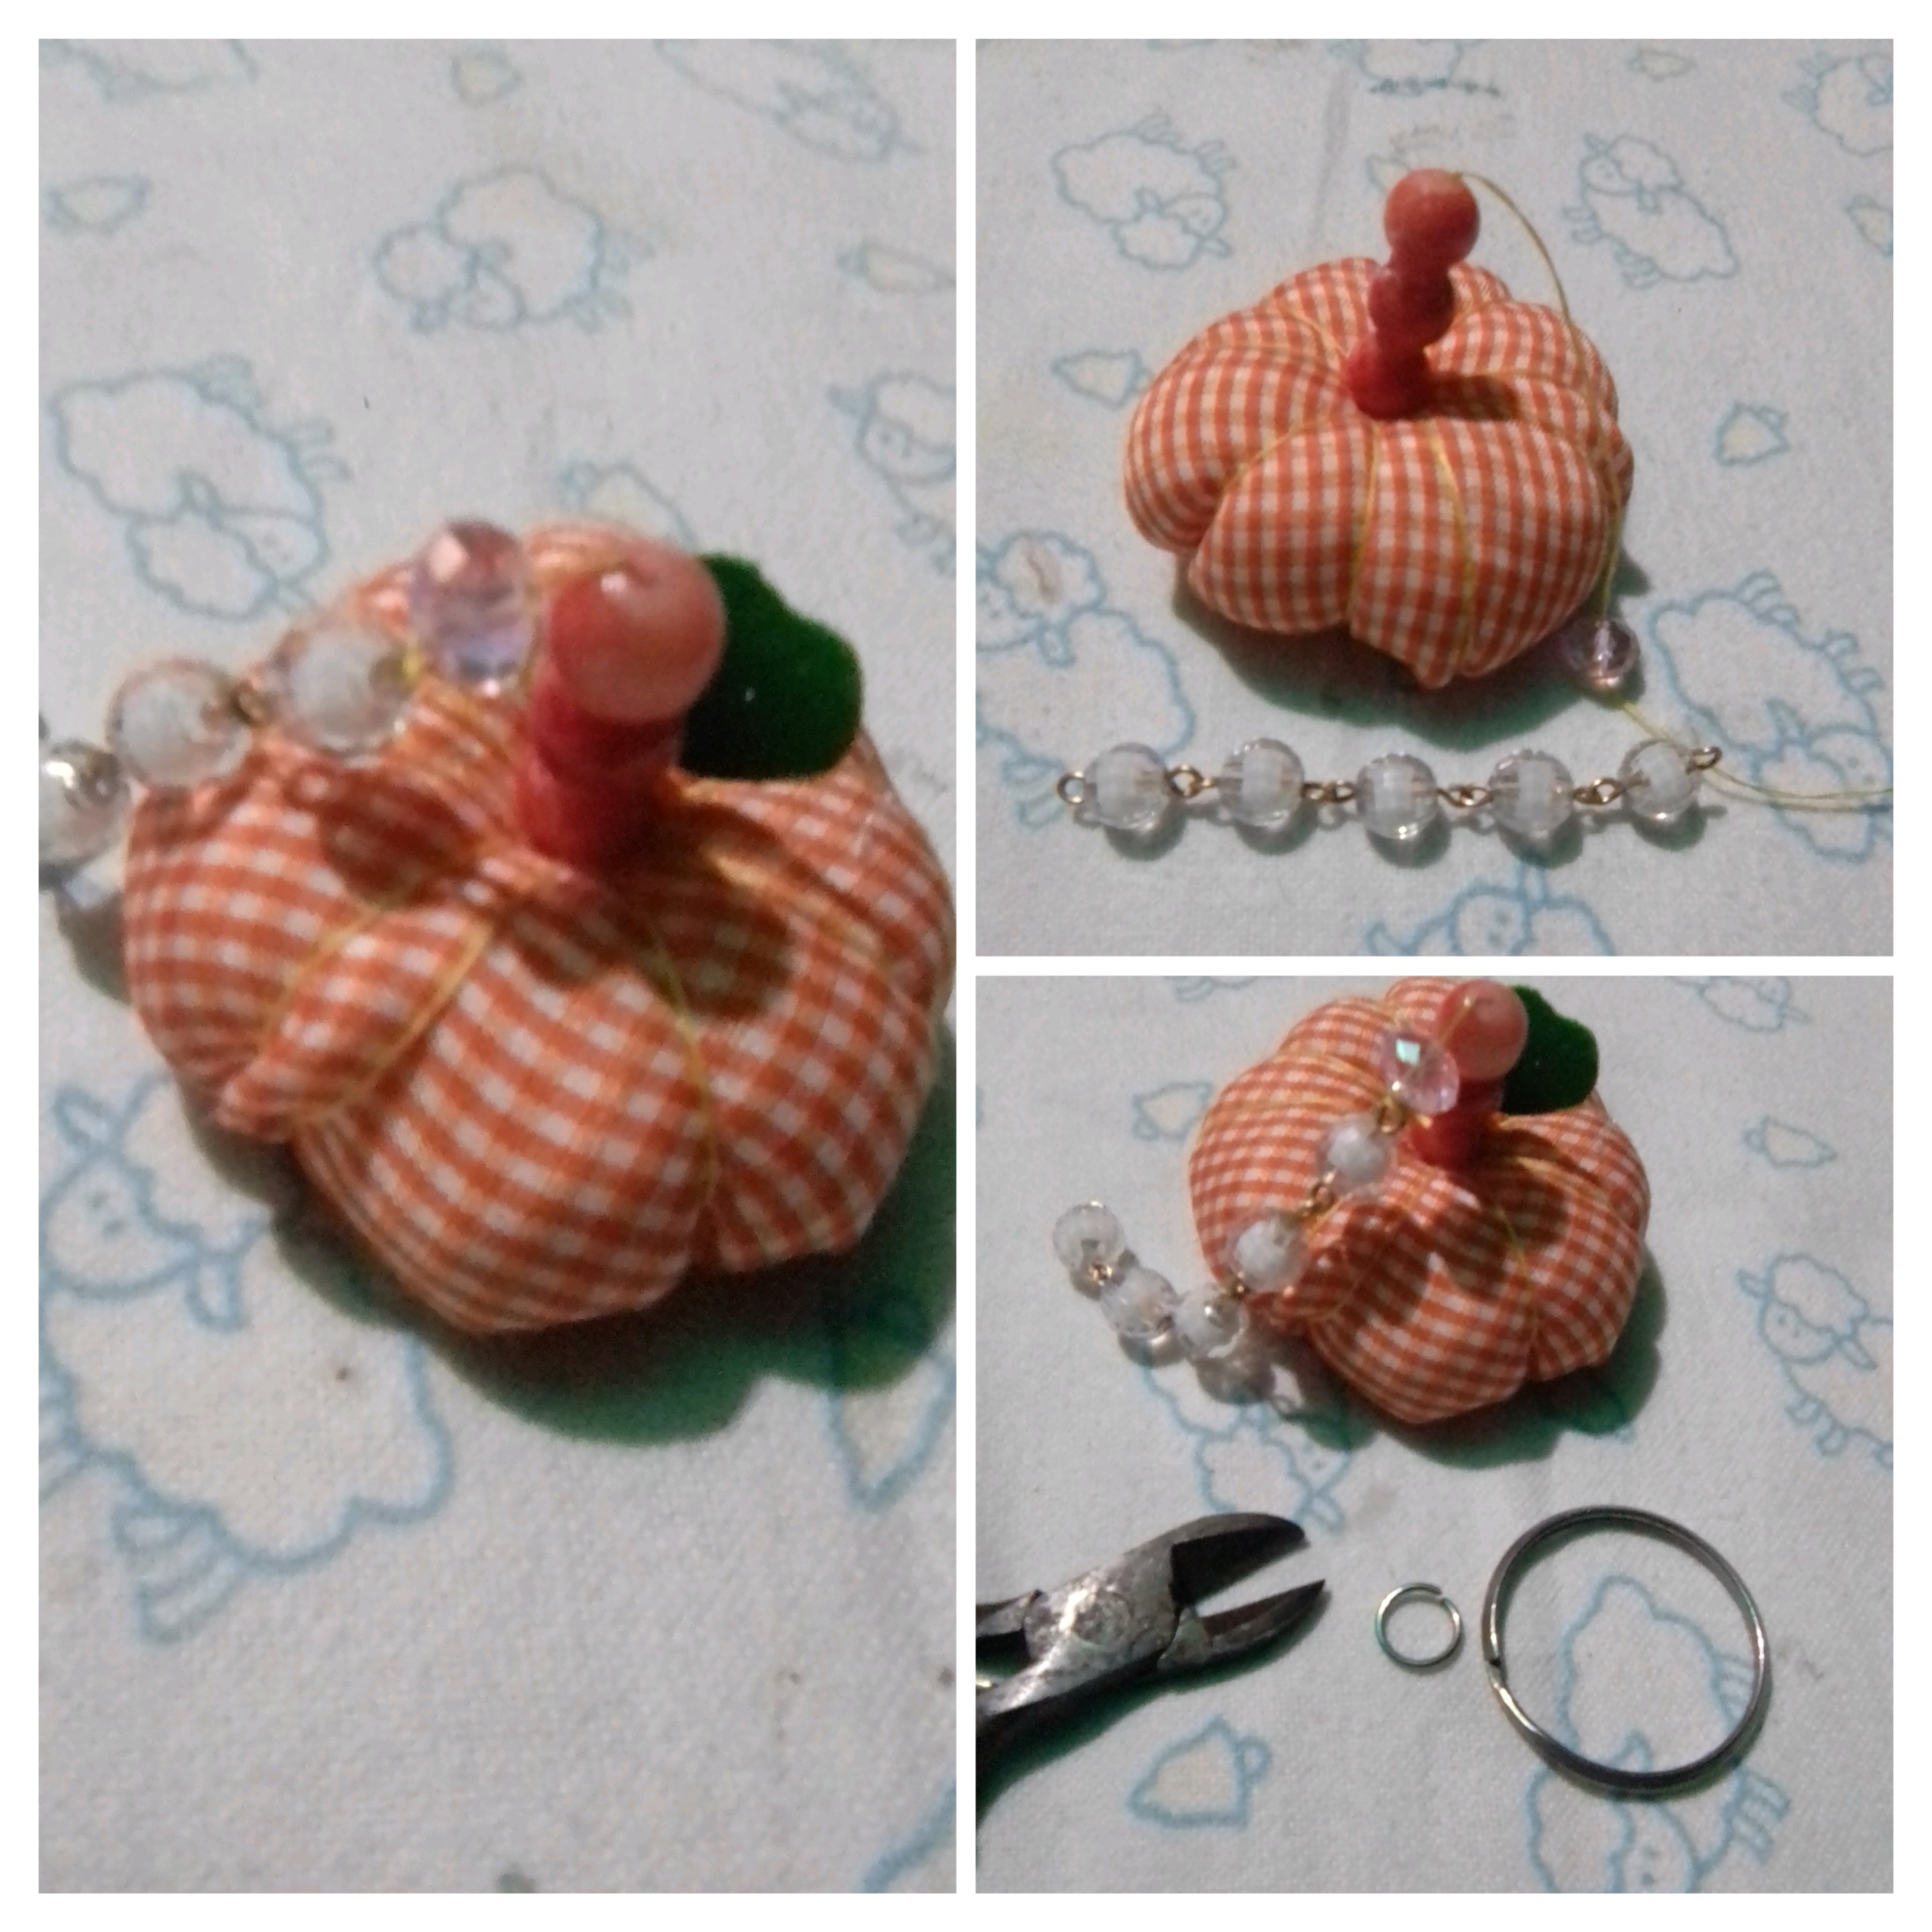
To form the small stem, use three orange beads, join them with the same thread and fix them in the center of the pumpkin, to finish the details of the pumpkin, make a leaf from a green fabric ribbon and glue it to the stem. Cut a small circle of fabric to cover the bottom of the pumpkin.
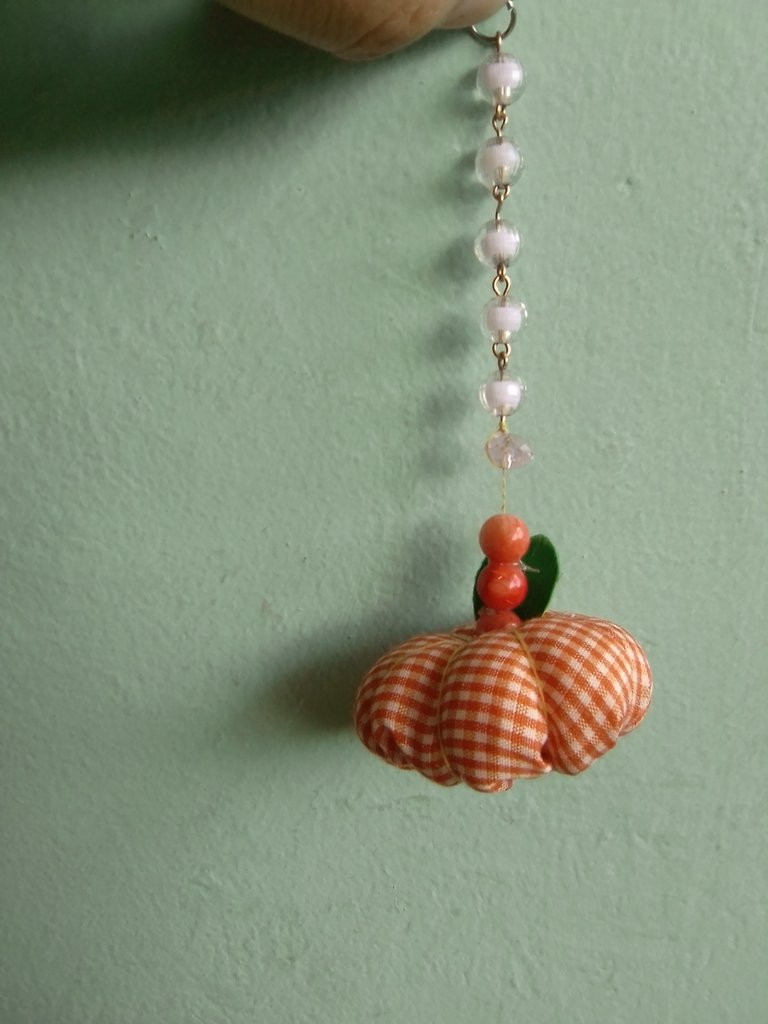
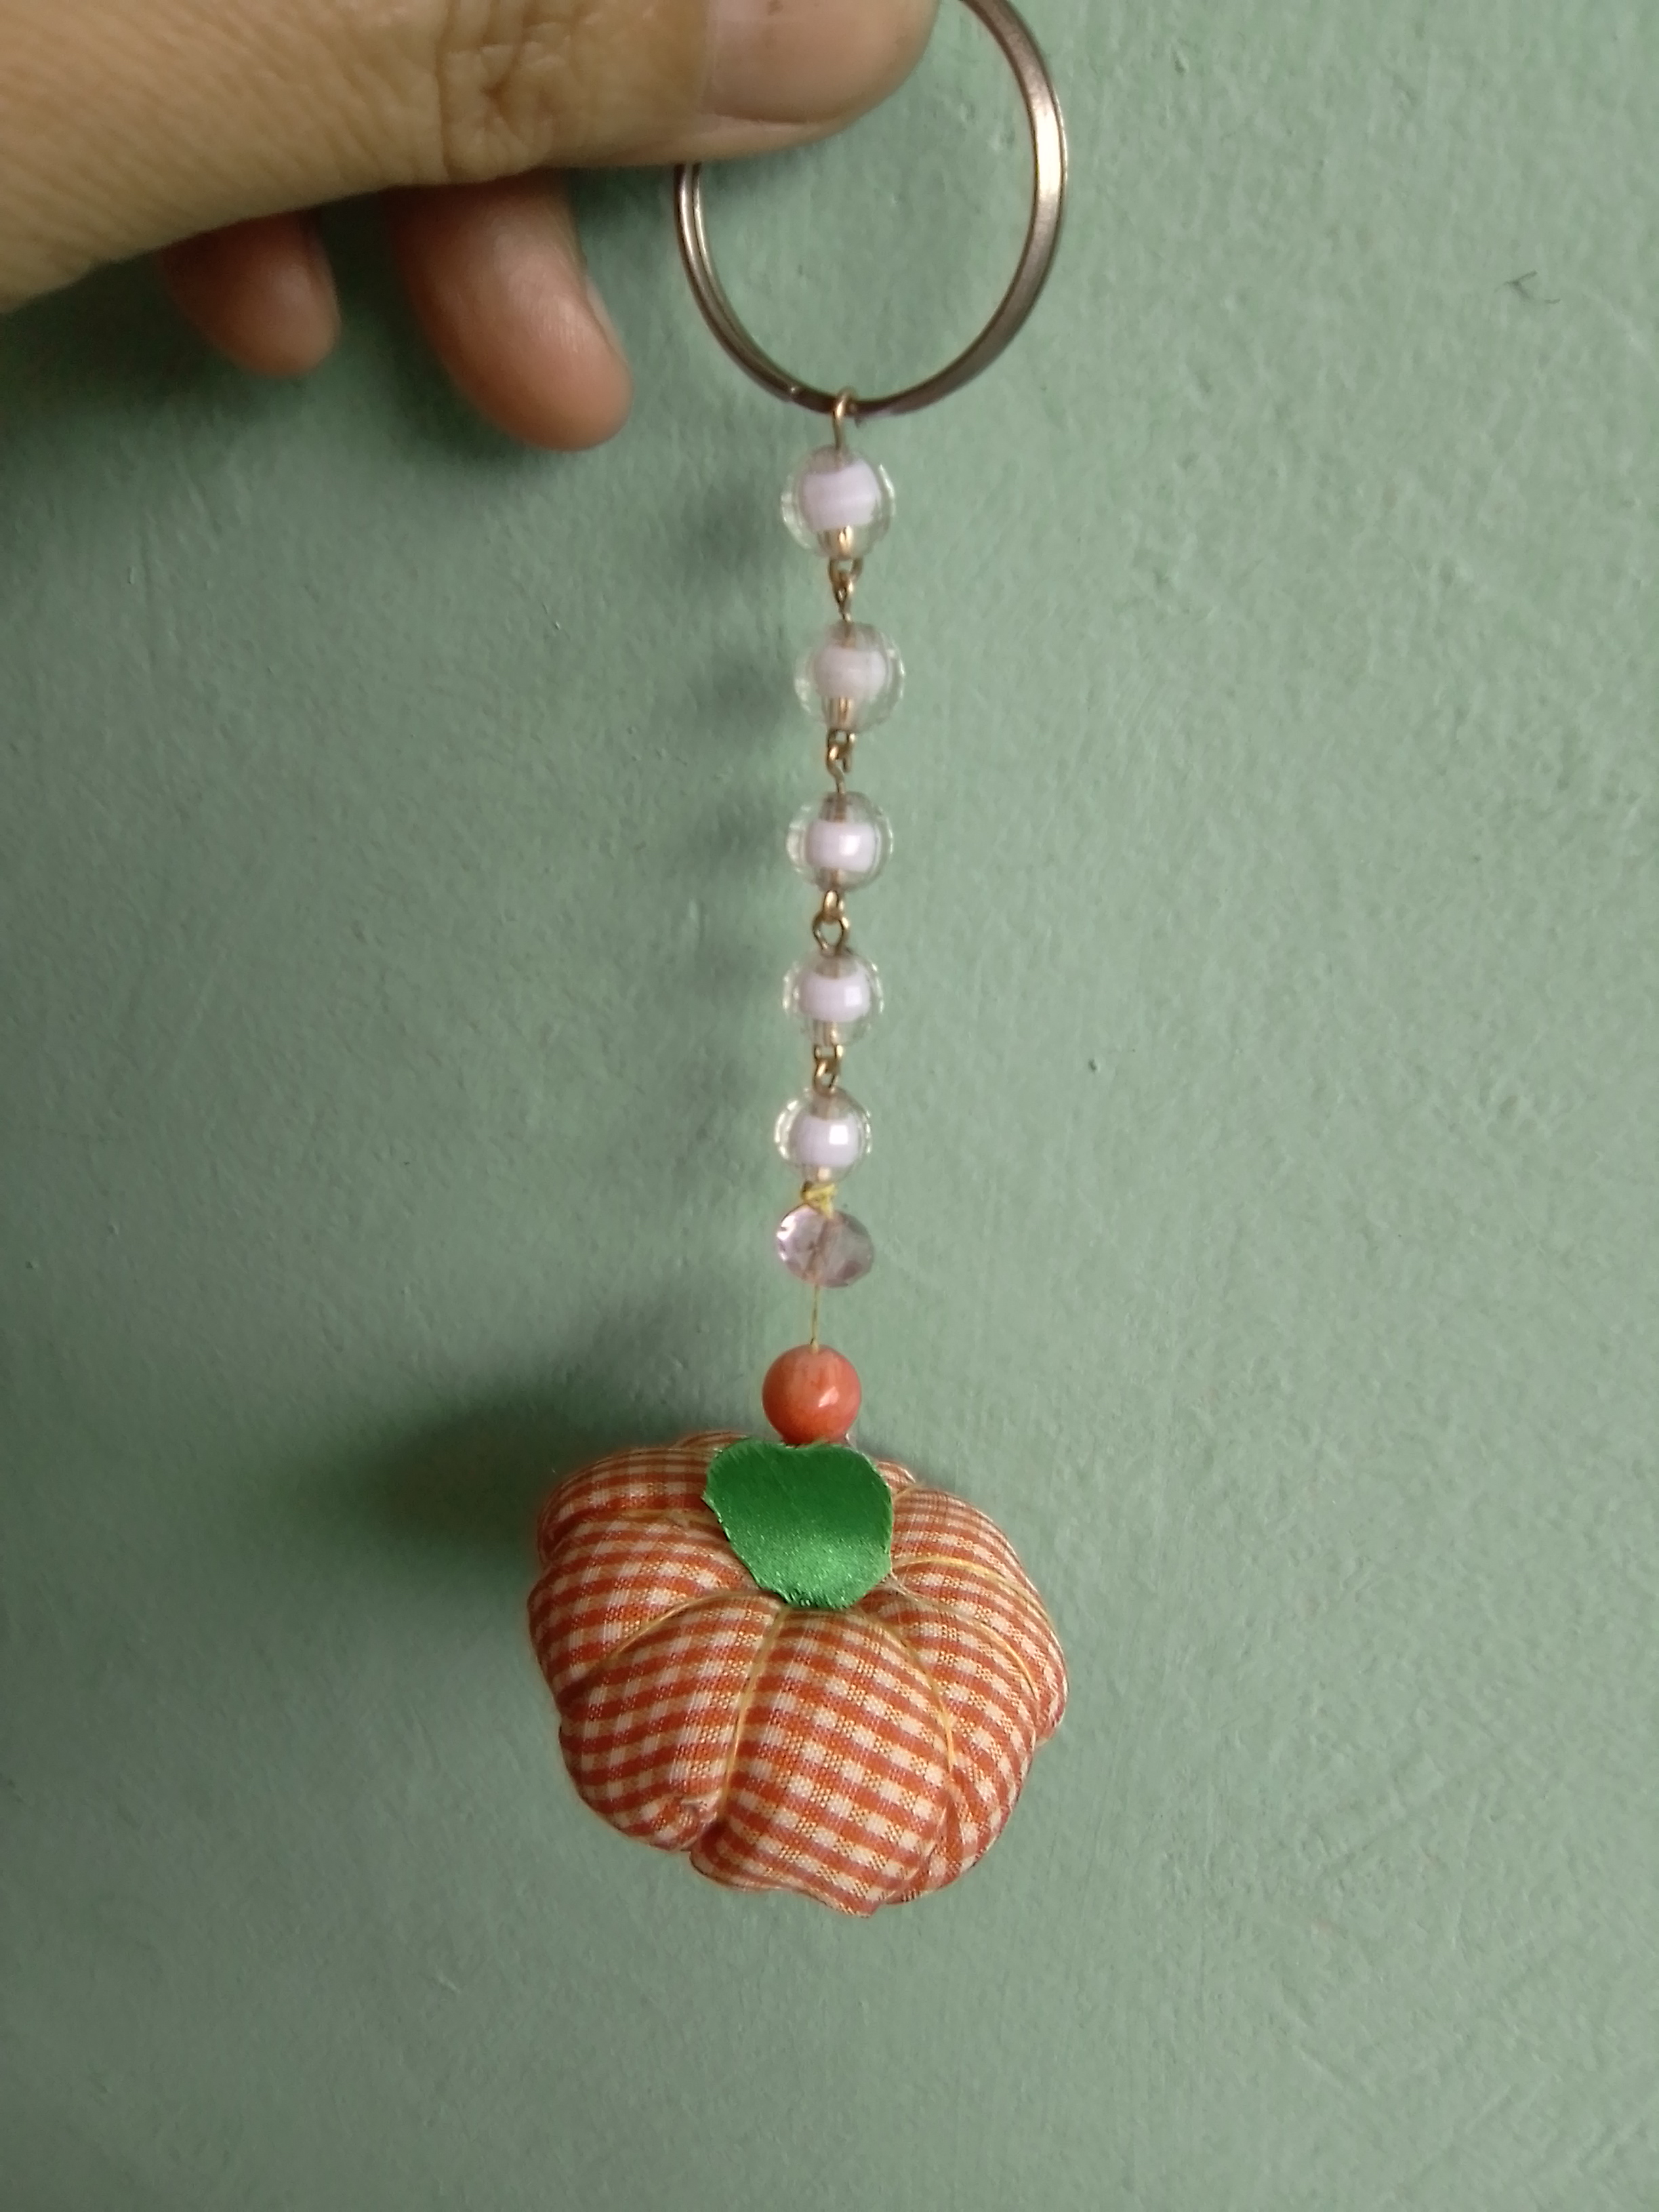
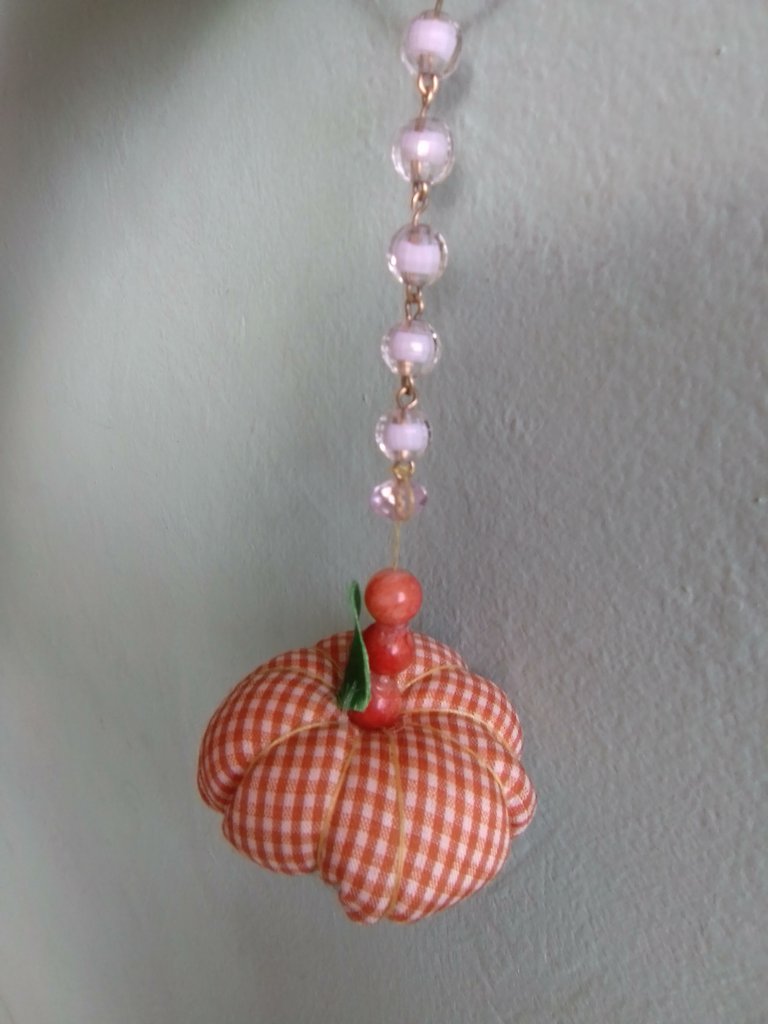
Then with an aluminum ring, I joined the stem with the chain of white beads with transparencies, in order to place the key ring at the end of the chain. And this way I don't even have a cute pumpkin keychain to wear it in this pre-Halloween season.
Result
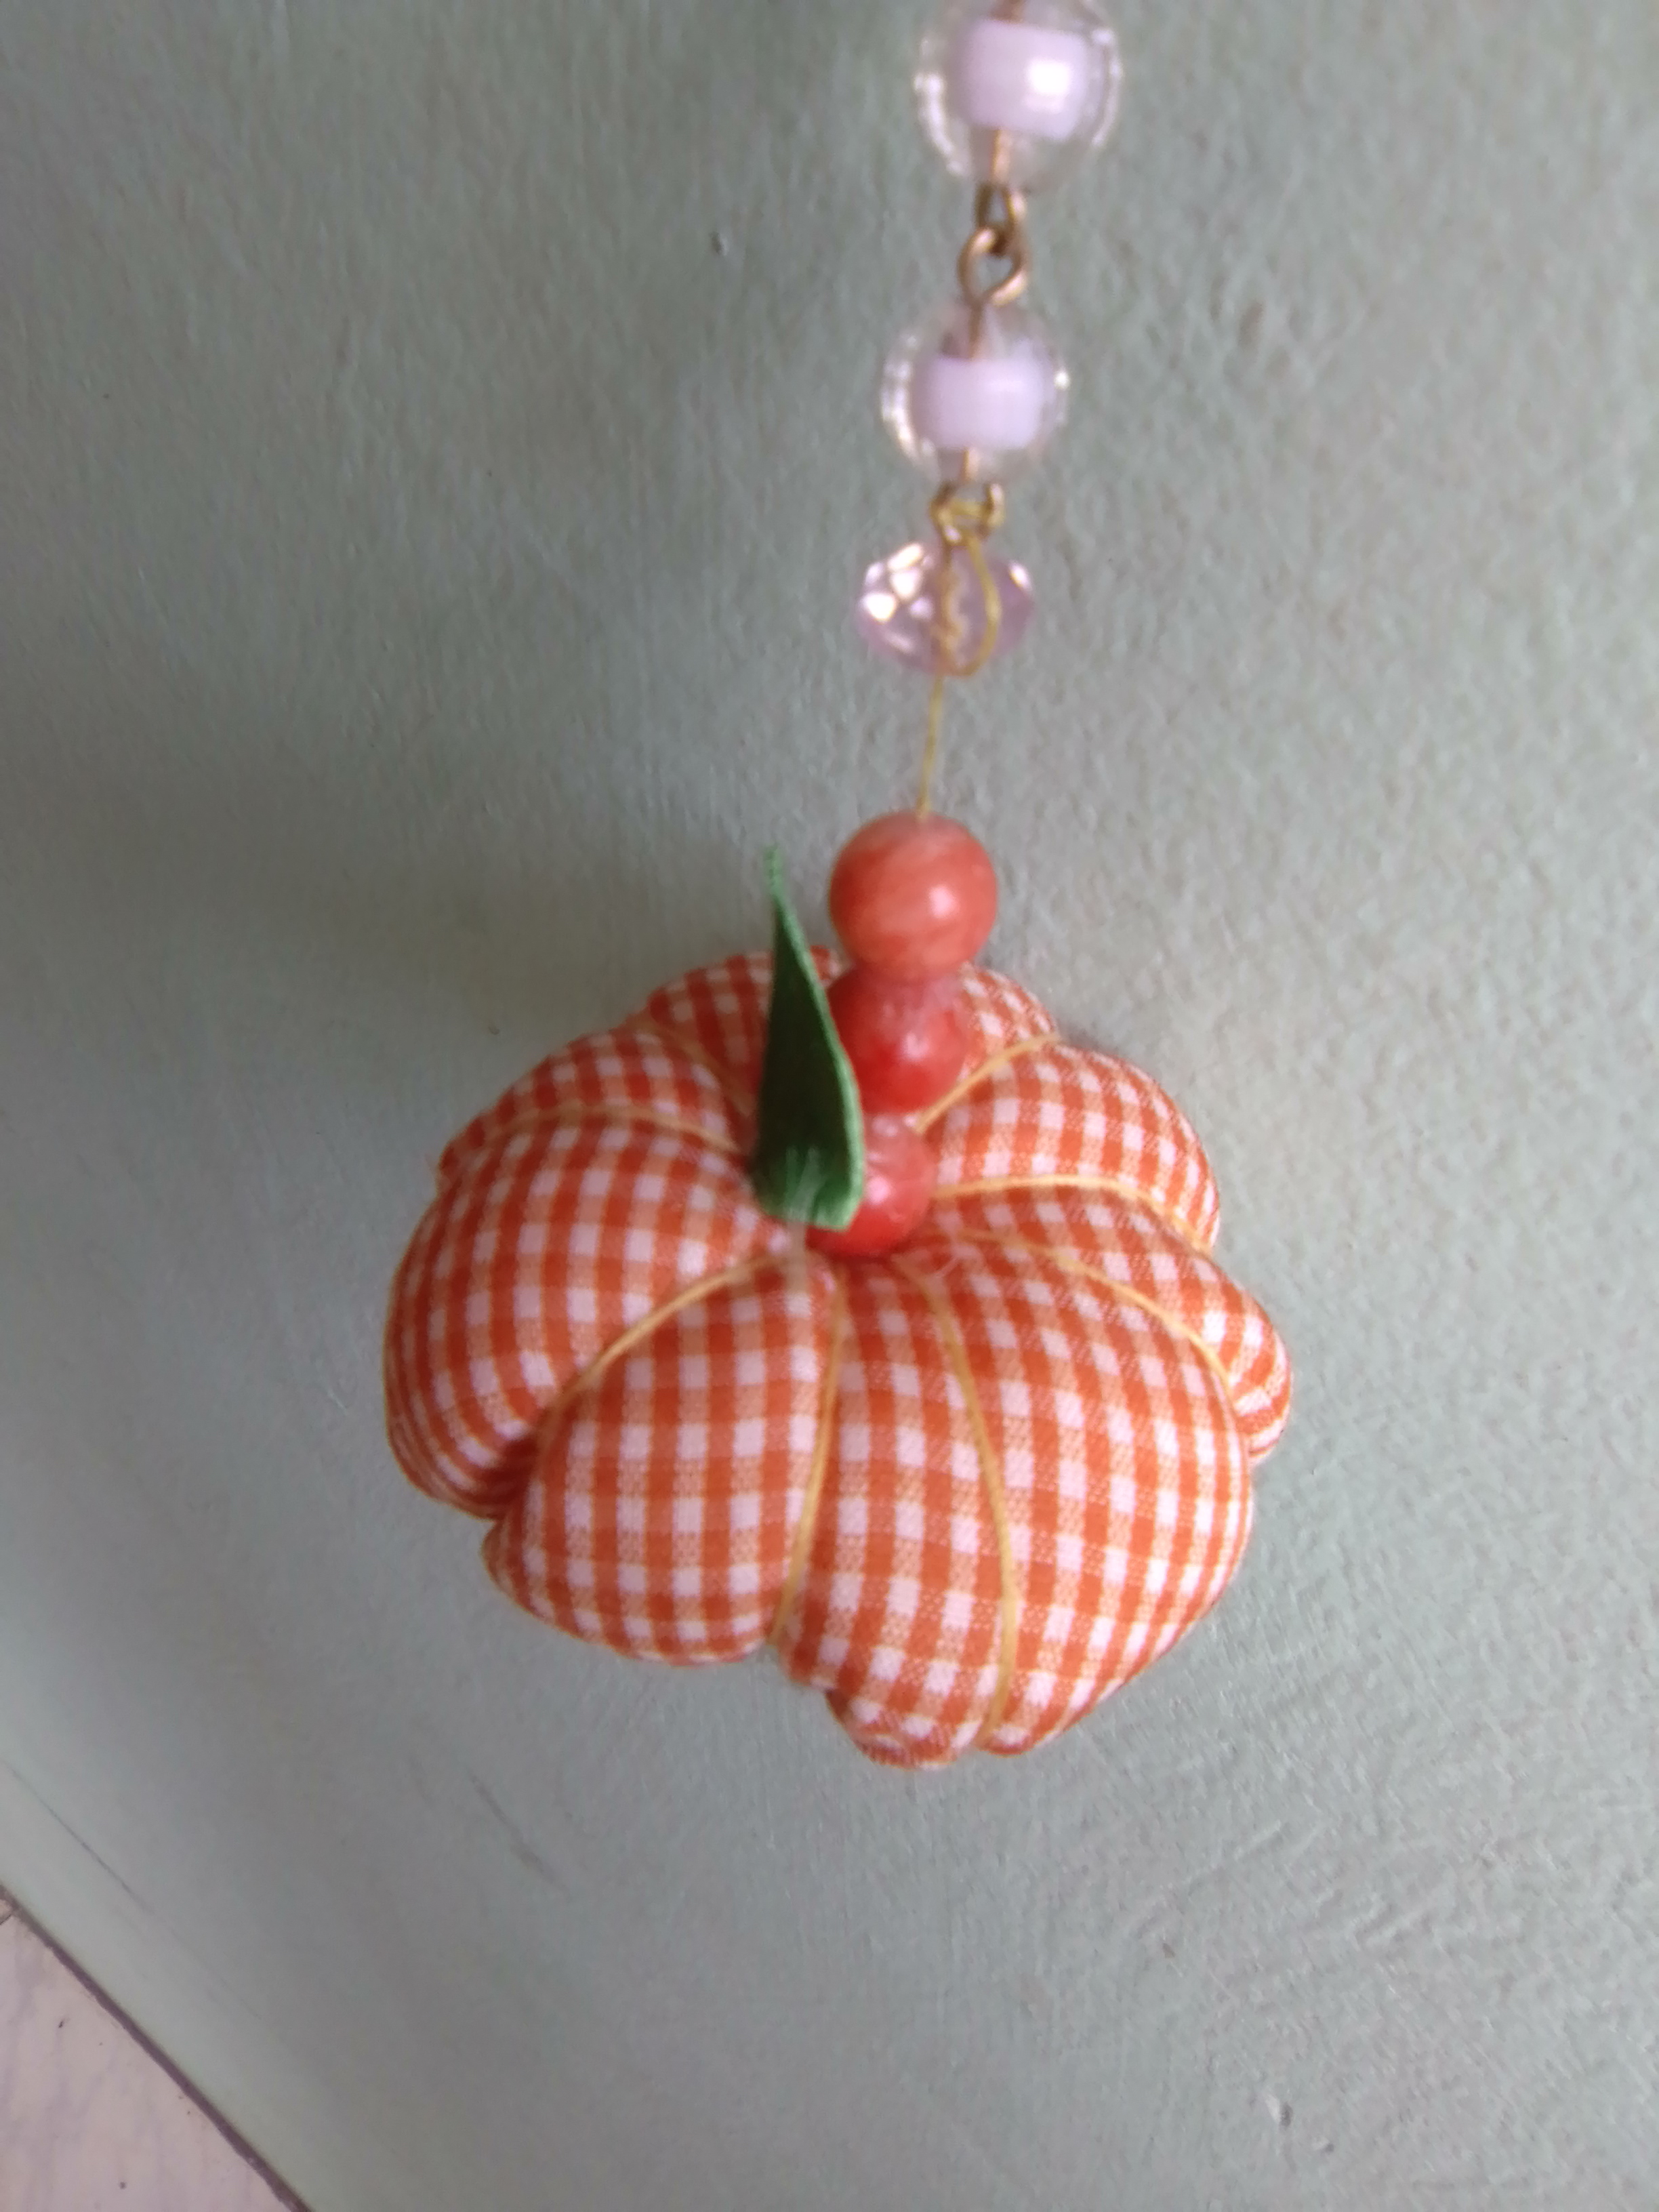
The photos are my property taken exclusively in this project.
The collages of the procedure were made with the tool of my Blue C6 and the main one in Canva
The dividers and the banners were edited by me in Canva
The translation was made with
DeepL Translator

Un gran saludo para la comunidad creativa de Hive Diy, y seguimos con la temática de Halloween, y hoy les voy a presentar un llavero, aunque no es de horror, es un lindo motivo de calabaza, realizado con un retazo retazo, que le da mucha vistosidad, además de las lindas piedra de bisutería que conforman la cadena. A continuación les mostraré su elaboración en el paso a paso.

MATERIALES
✓ Tela Vichy naranja
✓ Hilo amarillo
✓ Relleno
✓ Tijera
✓ Argolla de llavero
✓ Cuentas de bisutería
✓ Pinza de bisutería.

PASO A PASO
El primer paso para realizar este lindo llavero de calabaza, es realizar un círculo de tela Vichy, use está tela por ser naranja con blanco, el diámetro del círculo es 7 de centímetros. Con el círculo listo, paso agua con hilo alrededor de todo el borde, sin recoger el hilo.

En el círculo extendido, coloque relleno y fui recogiendo el hilo, para cerrar y agregue más relleno porque quedó flojo. Cierro la bola rellena y aseguro el hilo, pasando la aguja de extremo a extremo en el nudo.

Sin cortar el hilo, fui metiendo la aguja desde el nudo, hasta el centro del otro extremo y pase por encima el hilo hasta el nudo y haciendo presión para marcar el hilo, repitiendo está acción hasta cubrir mi bola rellena, la presión del hilo dará la forma característica de calabaza.

Para formar el pequeño tallo, use tres cuentas de color naranja, las uni con el mismo hilo y las fijo en en centro de la calabaza, para terminar los detalles propios de la calabaza realice una hoja de una cinta verde de tela y la pegue al tallo. Corte un círculo pequeño de tela para cubrir la parte inferior de la calabaza.

Luego con una argolla de aluminio, uni el tallo con la cadena de cuentas blancas con transparencias , para asi colocar al final de la cadena la argolla para llavero. Y de esta manera tengo ni lindo llavero de calabaza para lucirlo en esta temporada de antesala al Halloween.


Resultado


Las fotos son de mi propiedad tomadas exclusivamente en este proyecto.
Los collages del procedimiento los hice con la herramienta de mi Blue C6 y el principal en Canva
Lo separadores y el banners fueron editados por mi en Canva
La traducción fue realizada con
DeepL Traductor
