¡Hola comunidad de Hive!
Hello Hive community!
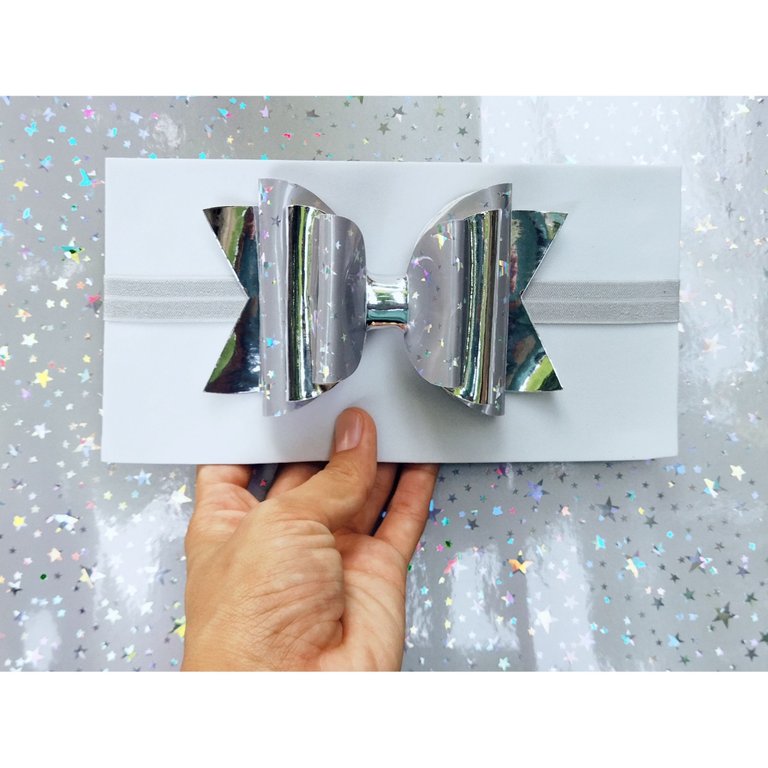
Hola querida comunidad, espero se encuentren de maravilla. Hoy les comparto un DIY de un hermoso lazo que realicé utilicé tela de vinil, este tipo de material es muy resistente y viene en colores muy hermosos, aunque es un poco costoso no es inaccesible, para hacer éste tipo de lazos queda muy bien, estos lazos los pueden vender o muy bien pueden hacerlo para las más pequeñas de la casa. Espero les guste y empecemos...
Hello dear community, I hope you are doing great. Today I share with you a DIY of a beautiful bow that I made using vinyl fabric, this type of material is very resistant and comes in very beautiful colors, although it is a bit expensive it is not inaccessible, to make this type of bows looks great, these bows can be sold or you can do it for the little ones in the house. I hope you like it and let's get started....
Necesitaremos || We will need
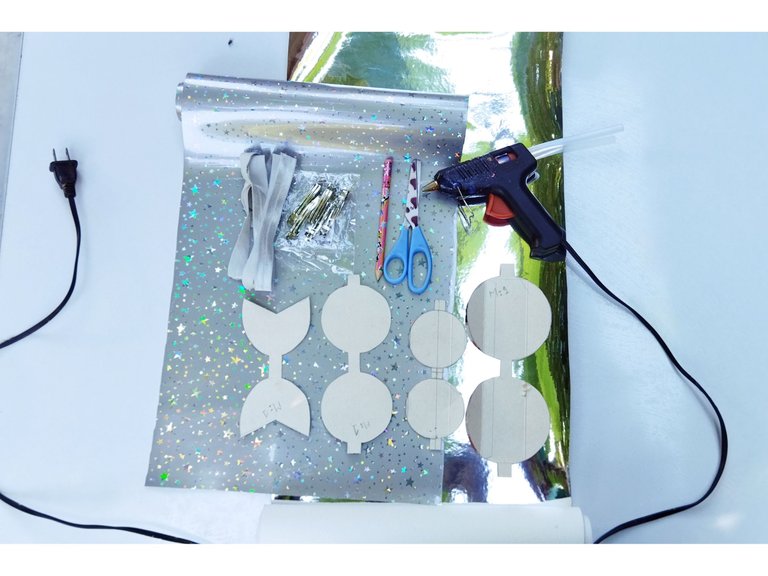
- Tela de vinil plateada
- Tela vinil gris estampado
- Elástica
- Tijera
- Lápiz
- Silicón caliente
- Moldes de lazos
- Silver vinyl fabric
- Grey printed vinyl fabric
- Elastic
- Scissors
- Pencil
- Hot glue
- Tie molds
Paso 1 || Step 1
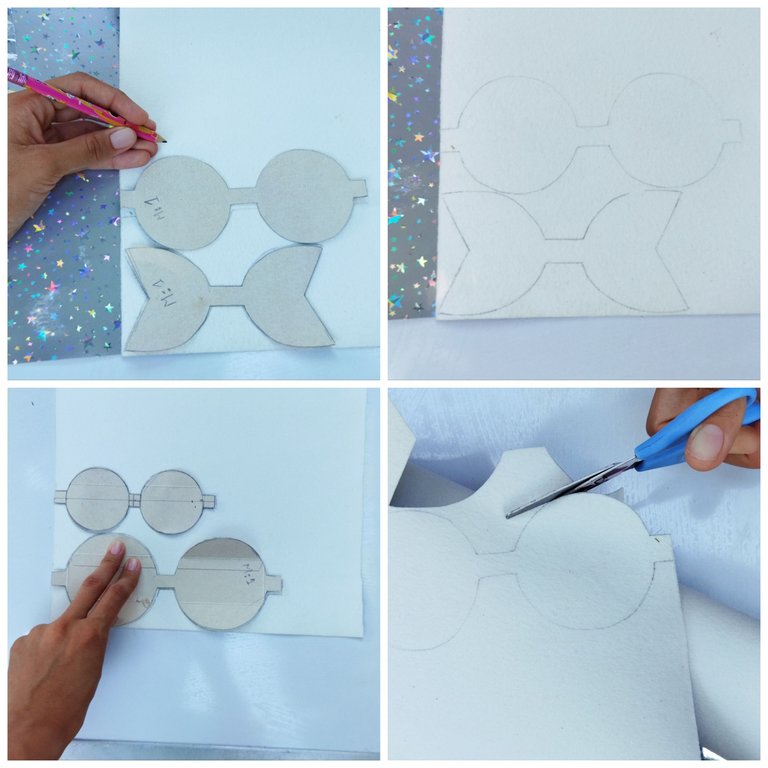
El primer paso es marcar las piezas del lazo, vamos a marcar la pieza del lazo más grande en el vinil gris (marcamos por la parte trasera) para la pieza mediana lo haremos en plateado, luego la más pequeña en gris y para la base del lazo lo sacamos también en plateado, cortamos una tira de vinil dorado de 2 cm de ancho.
The first step is to mark the pieces of the ribbon, we will mark the largest piece of the ribbon on the gray vinyl (we mark on the back side) for the medium piece we will do it in silver, then the smallest in gray and for the base of the ribbon we will also mark it in silver, we cut a strip of gold vinyl 2 cm wide.
Paso 2 || Step 2
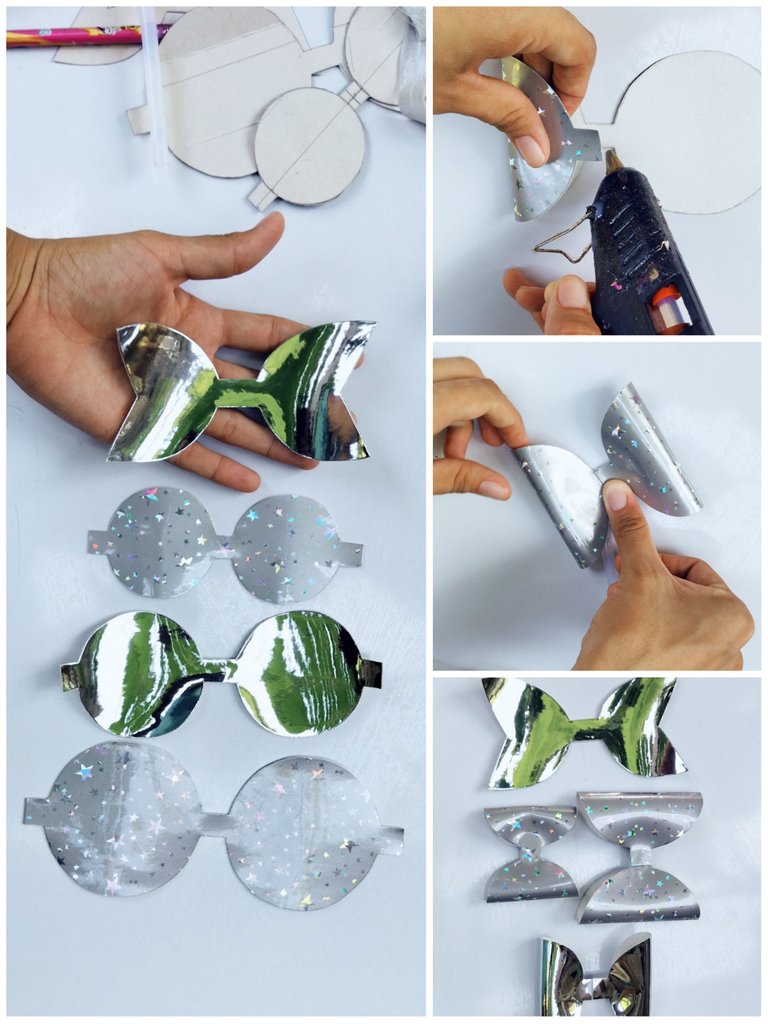
Así quedarán las piezas del lazo ☝️☝️☝️ ahora comenzamos a pegar llevando las puntas de los extremos hacia al centro y pegamos con silicón caliente.
This is how the pieces of the bow will look ☝️☝️☝️☝️☝️ now we start gluing by bringing the tips of the ends towards the center and glue with hot silicone.
Paso 3 || Step 3
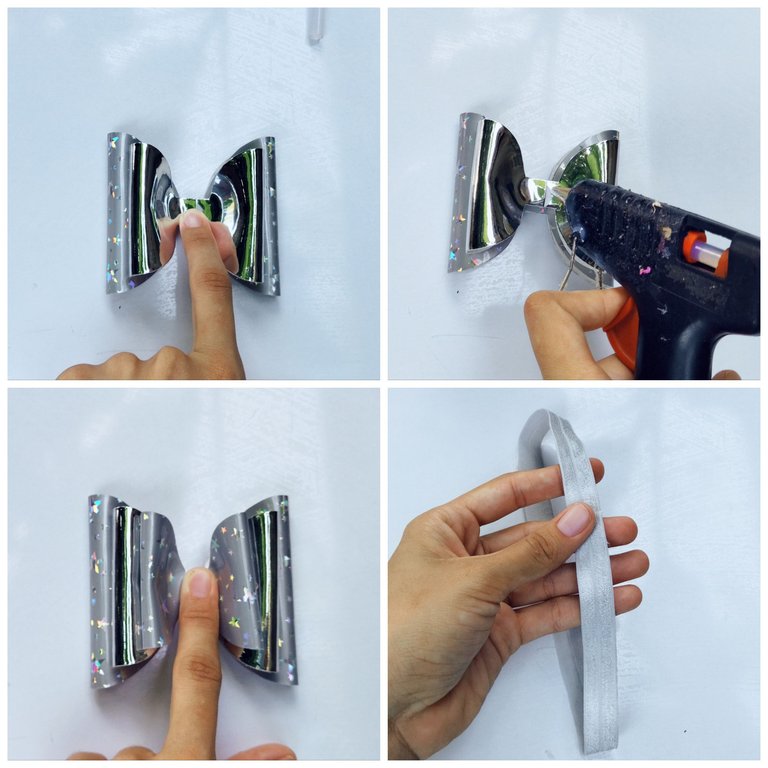
Unimos los lazos pegando uno sobre el otro, luego pagamos los lazos a la base plateada. Cortamos la elástica de 28 cm y pegamos las puntas.
We join the ribbons by gluing one on top of the other, then we pay the ribbons to the silver base. Cut the 28 cm elastic and glue the ends.
Paso 4 || Step 4
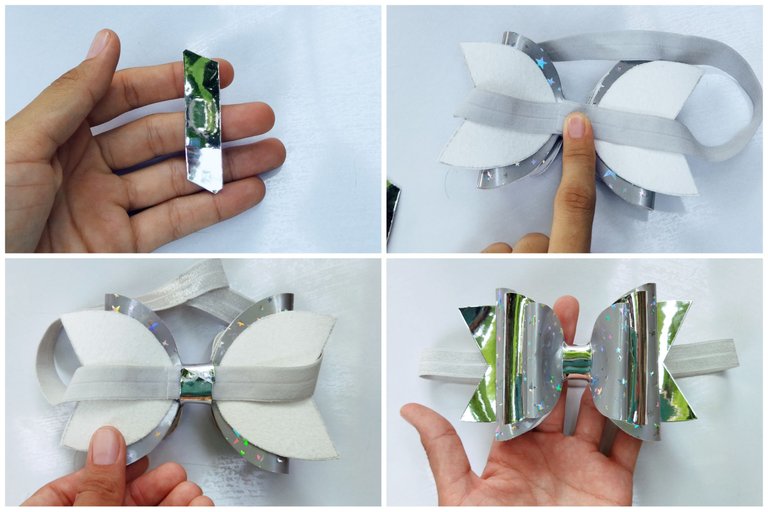
Con una tira del vinil en plateado vamos unir el lazo a la elástica y pegamos en la parte trasera como te muestro en la imagen.
With a strip of silver vinyl we attach the ribbon to the elastic and glue it to the back as shown in the image.
Resultado final.
Final result.
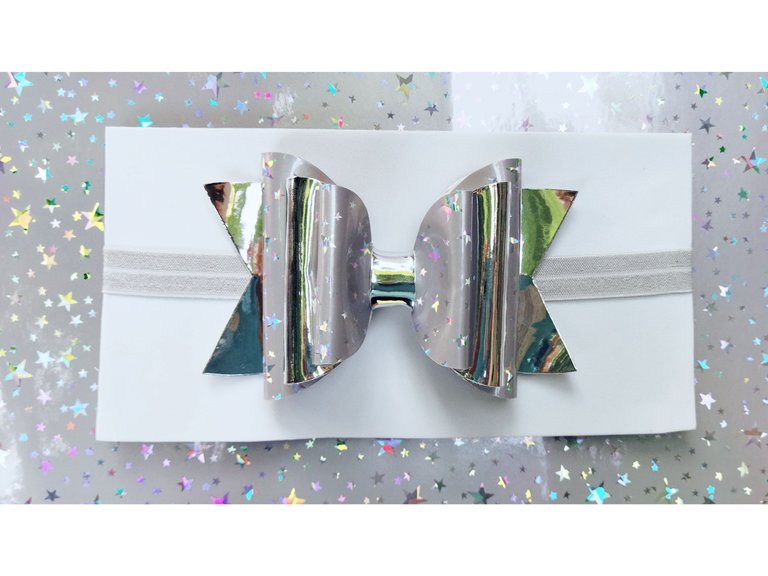
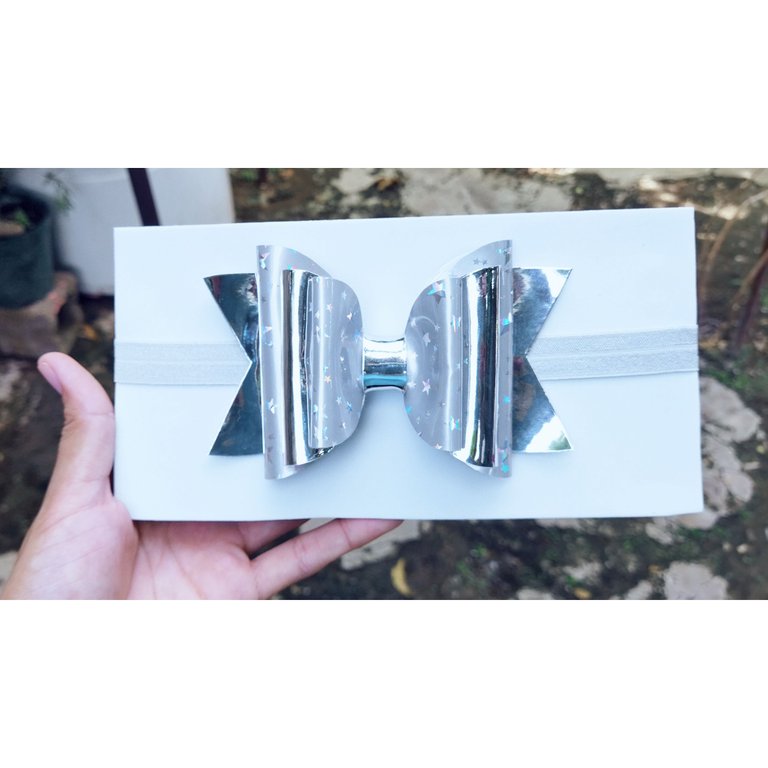
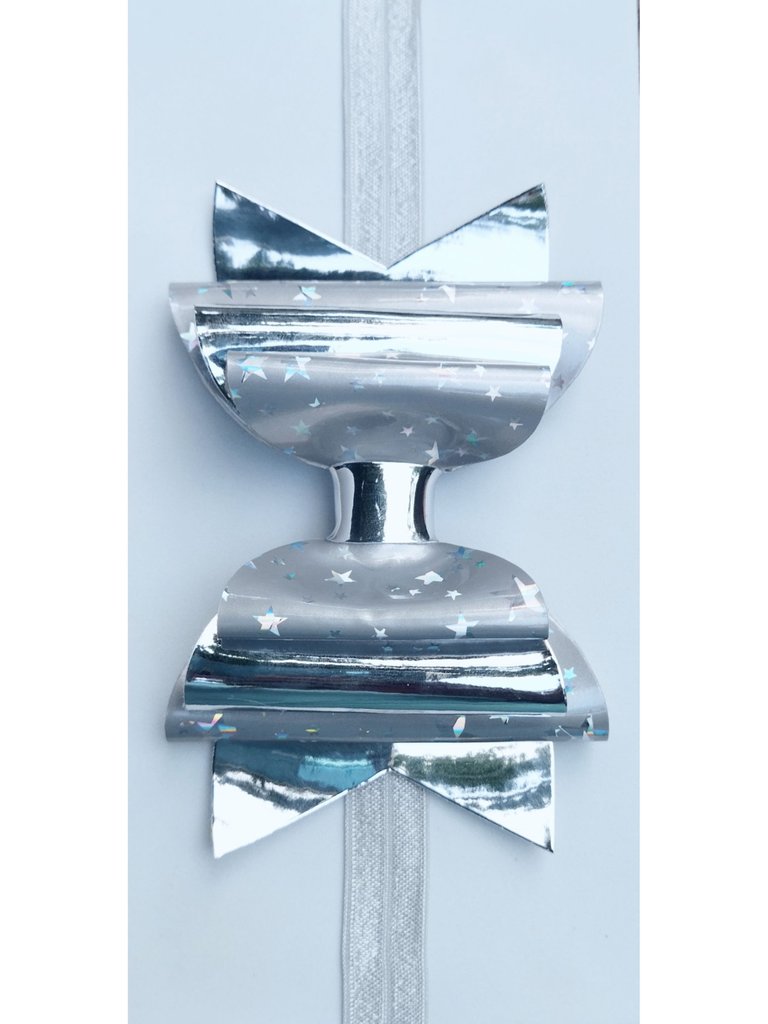
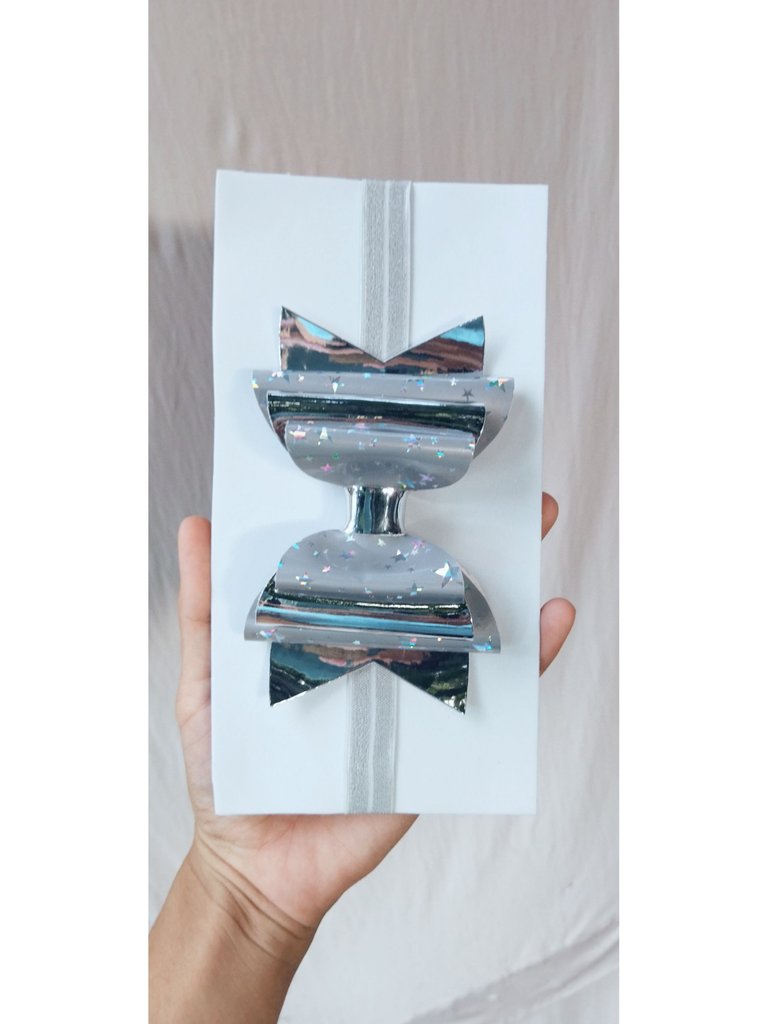
Mi modelito favorita posando para mí 😍😍😍 mi bebé con su nuevo lazo.
My favorite little model posing for me 😍😍😍😍 my baby with her new bow.
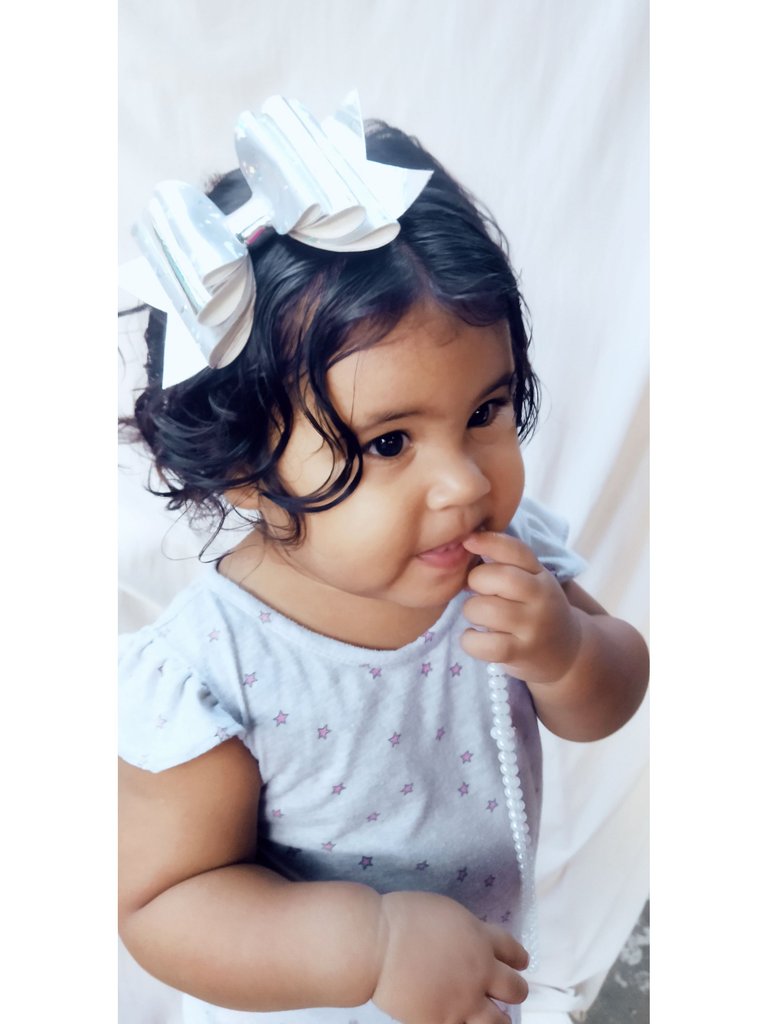
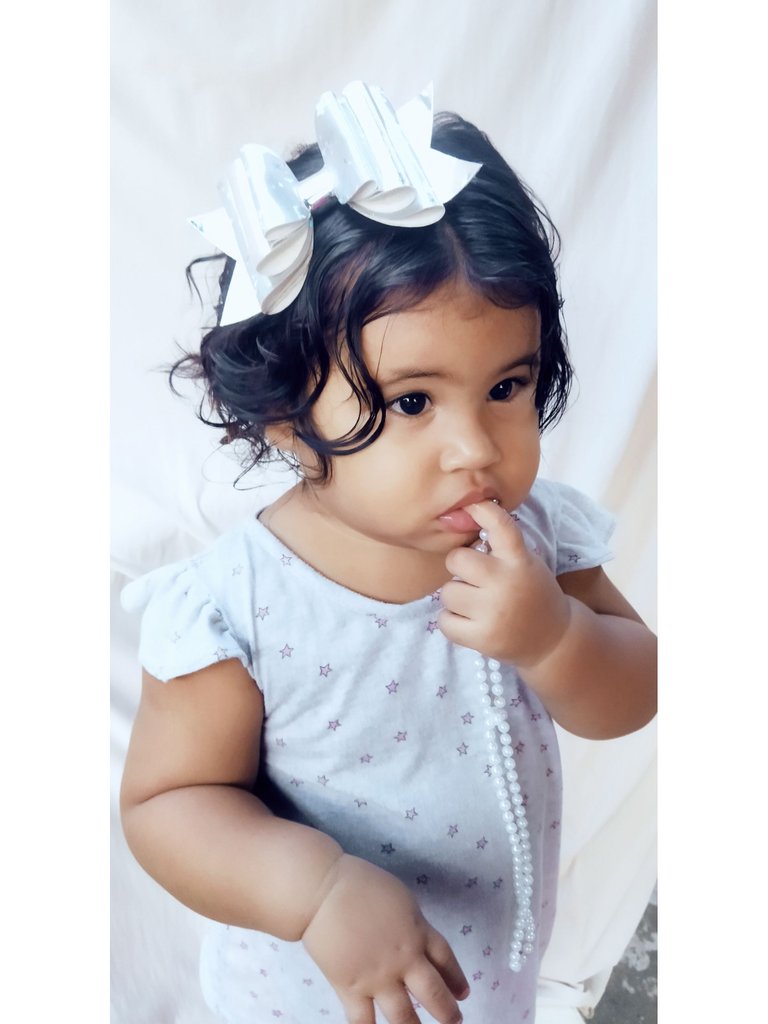
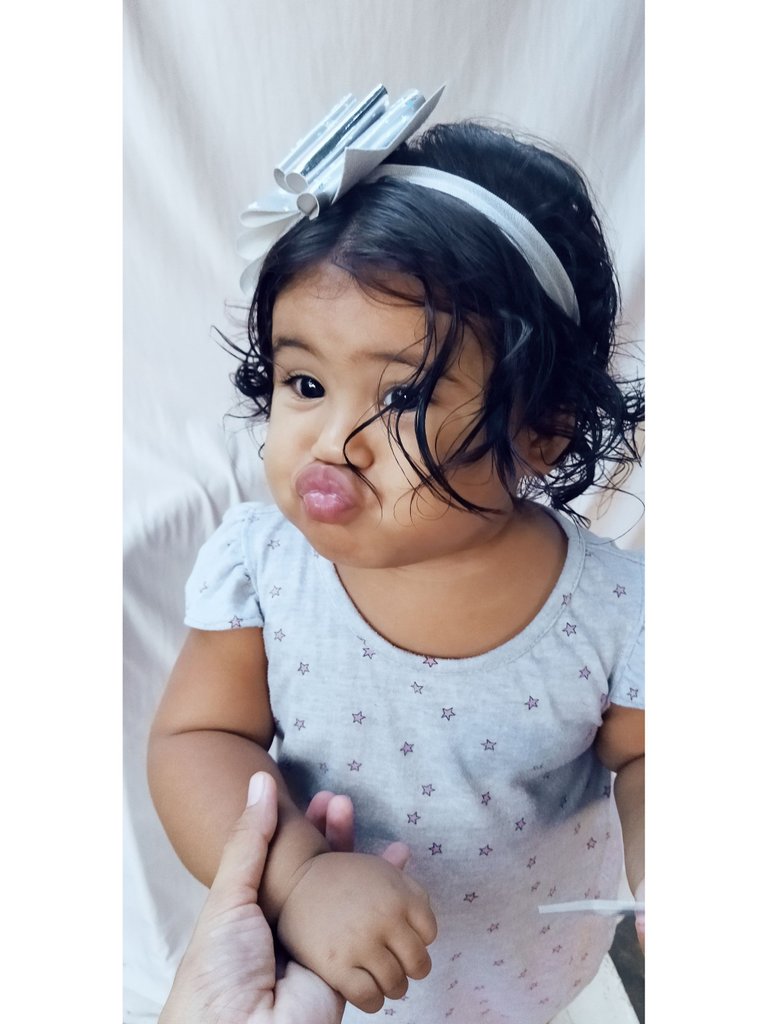
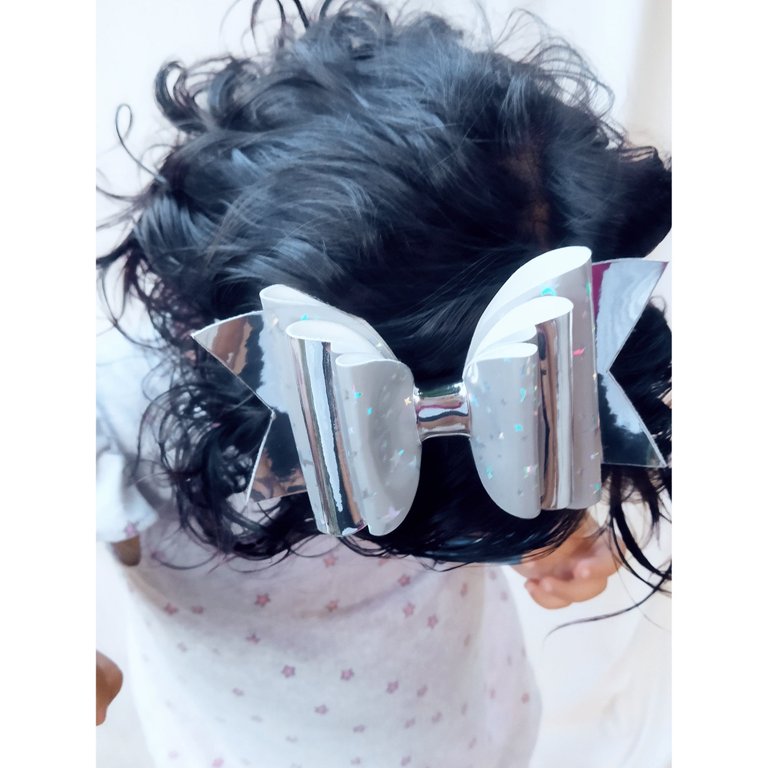
Amigos así quedó este lindo lazo hecho en vinil, a mi parecer quedó hermosísimo, lo colores combinan muy bien. Espero que les haya gustado este post y si has llegado hasta aquí gracias por leerme 🤗🤗🤗 abrazos a la distancia.
Friends, this is how this cute bow made of vinyl turned out, in my opinion it was beautiful, the colors match very well. I hope you liked this post and if you have come this far thank you for reading me 🤗🤗🤗🤗 hugs from afar.
All images are my property / Todas las imágenes son de mi propiedad
Camera: Xiaomi Redmi 9T.
Translation: Deepl.com
