Regreso después de una pausa, un poco larga, pero necesaria!!! Hoy les vengo a mostrar como restauré la madera de mi mesa de comedor, la cual me había regalado un amigo que él la había comprado en un lugar de cosas usada. Después de dos años de uso decidí hacerle un cariñito!!! Les muestro mi paso a paso!!!
I return after a pause, a bit long, but necessary !!! Today I come to show you how I restored the wood on my dining room table, which a friend had given me that he had bought at a used store. After two years of use I decided to give it a sweetie! I show you my step by step !!!
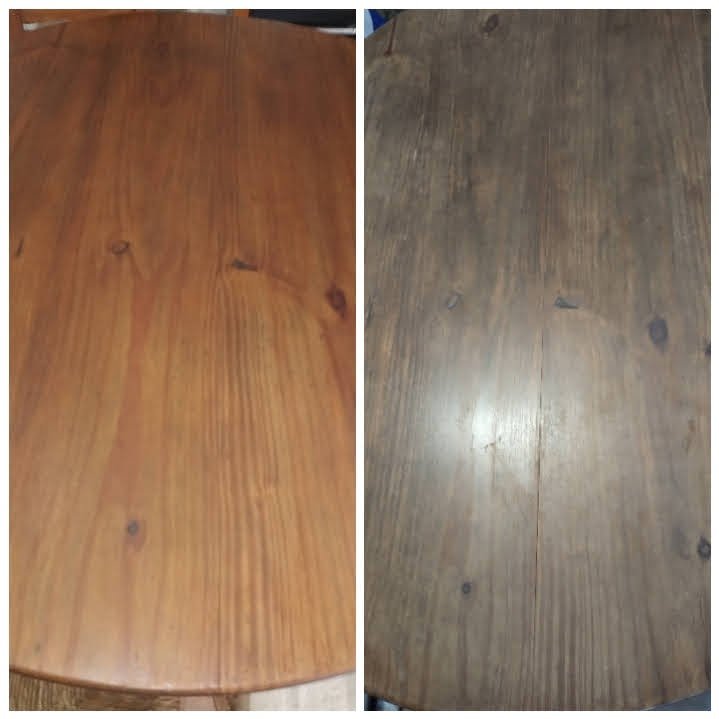
Después Antes
Materiales:
- Lija 180 para madera
- Protector de madera Caoba (barniz)también se puede usar sellador.
- Trapo sin felpas
Materials:
- 180 grit for wood
- Mahogany wood protector (varnish) you can also use sealant.
- Non-terry cloth
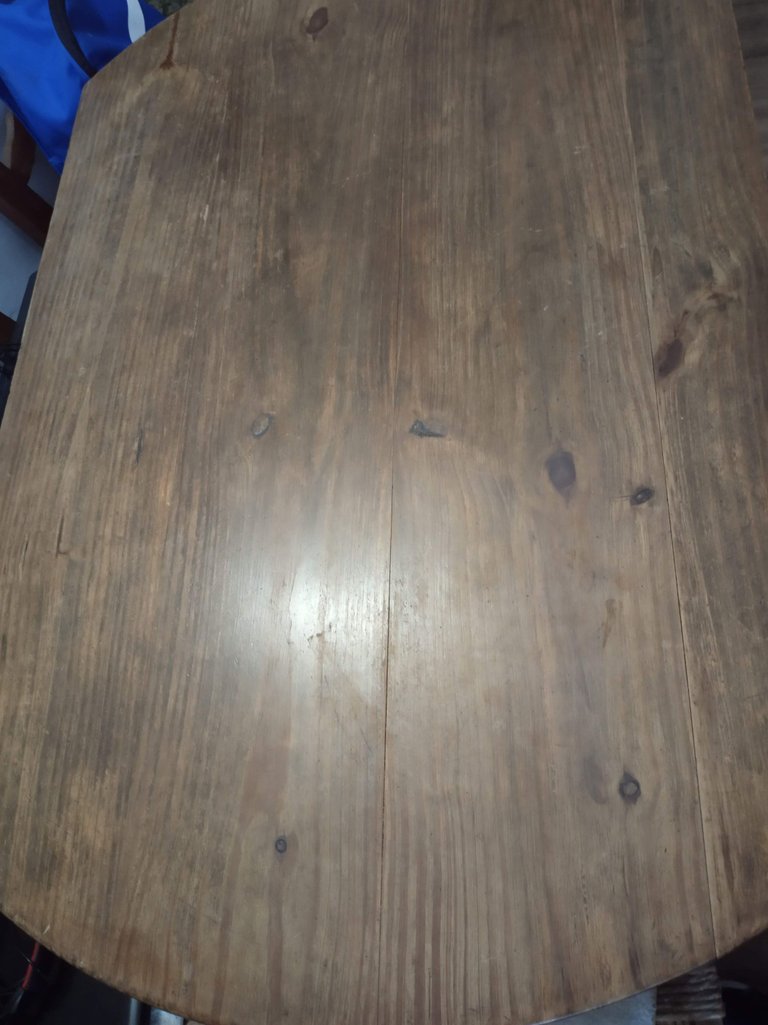
Paso 1 :
Lijar a mano ( no tengo máquinas) en el sentido de las vetas de la madera para que no queden marcas de la lija. Hay que sacudir la lija cada cierto tiempo para retirar el acerrín de la misma.
Step 1 :
Sand by hand (I don't have machines) in the direction of the wood grain so that no sandpaper marks are left. You have to shake the sandpaper from time to time to remove the dust from it.
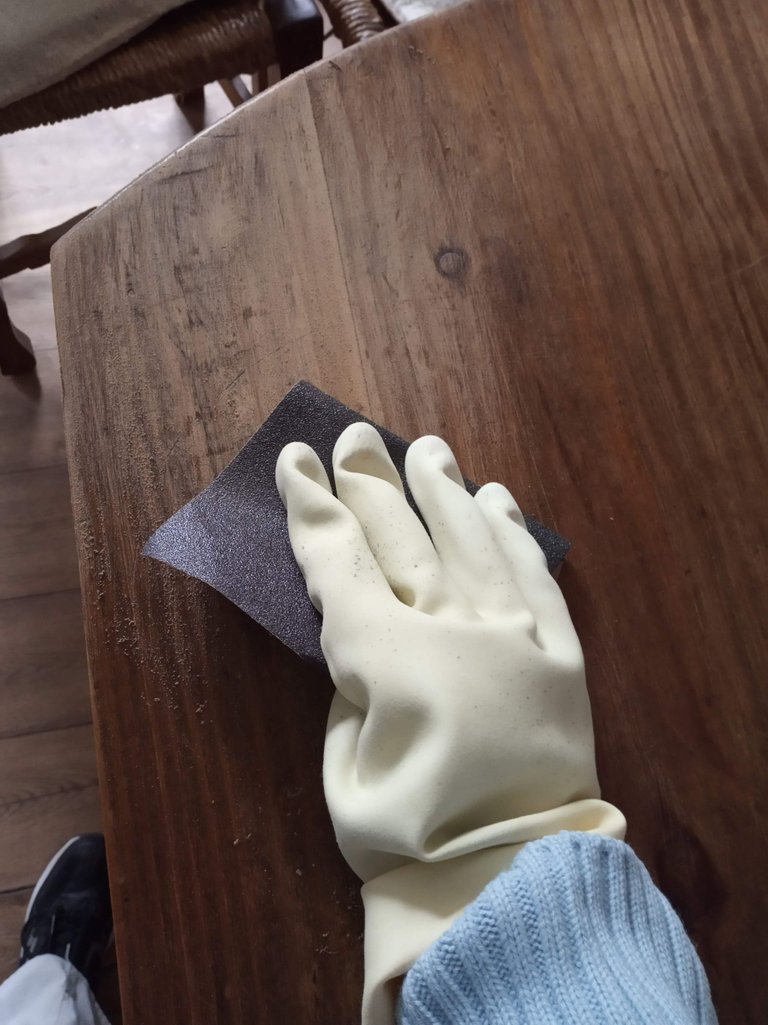
Paso 2 : Sacudir con un paño seco todo resto de acerrín que haya quedado del lijado.
Step 2: Shake off with a dry cloth any remaining bitumen left from sanding.
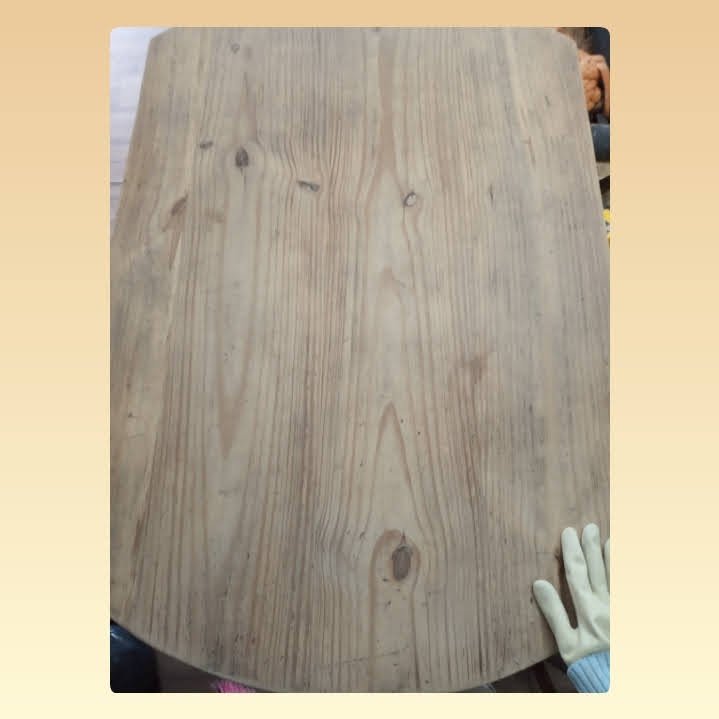
Paso 3 : Destapar el protector de madera y con una paletita o palito mezclar muy bien el producto dentr del mismo envase.
Step 3: Uncover the wooden protector and with a small spoon or stick, mix the product very well within the same container.
Paso 4 : Mojar una parte del paño con el protector de madera e ir aplicando en el sentido de las vetas ( Como lo indica la foto).
Step 4: Wet a part of the cloth with the wood protector and apply in the direction of the grain (As indicated in the photo)
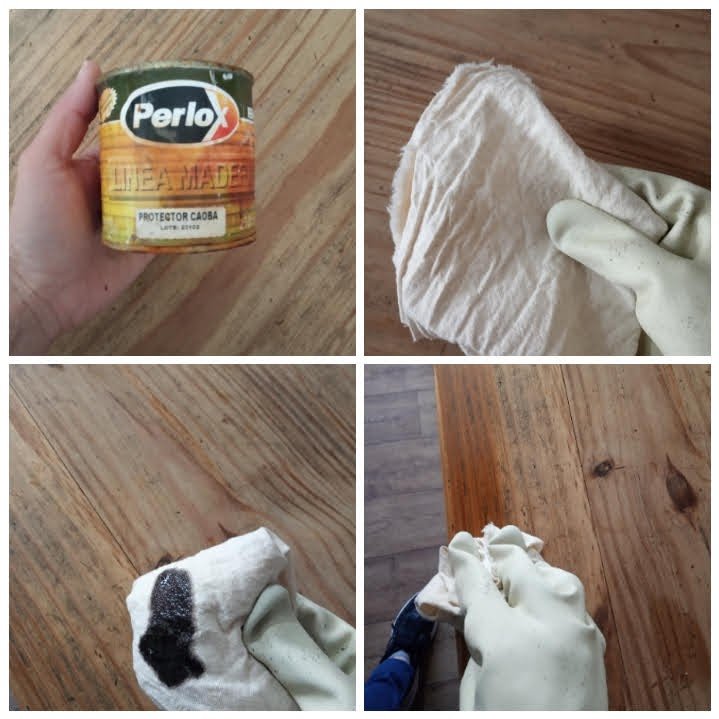
Así por toda la superficie, en mi caso la fuí aplicando de izquierda a derecha y de arriba hacia bajo.
Thus throughout the surface, in my case I was applying it from left to right and from top to bottom.
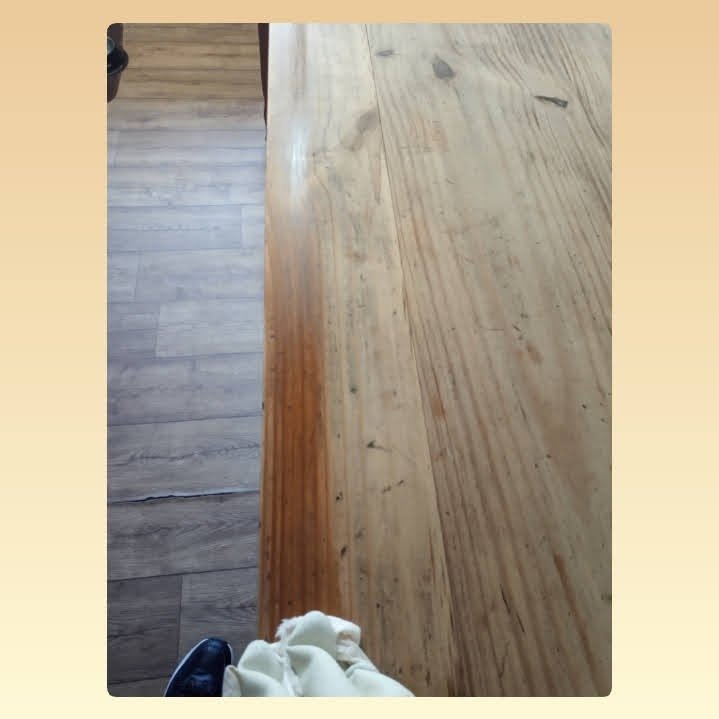
Paso 5 : Dejar secar al tacto y repetir paso 4 dejando secar hasta el día siguente sin colocarle nada encima.
Step 5: Let it dry to the touch and repeat step 4, letting it dry overnight without placing anything on it.
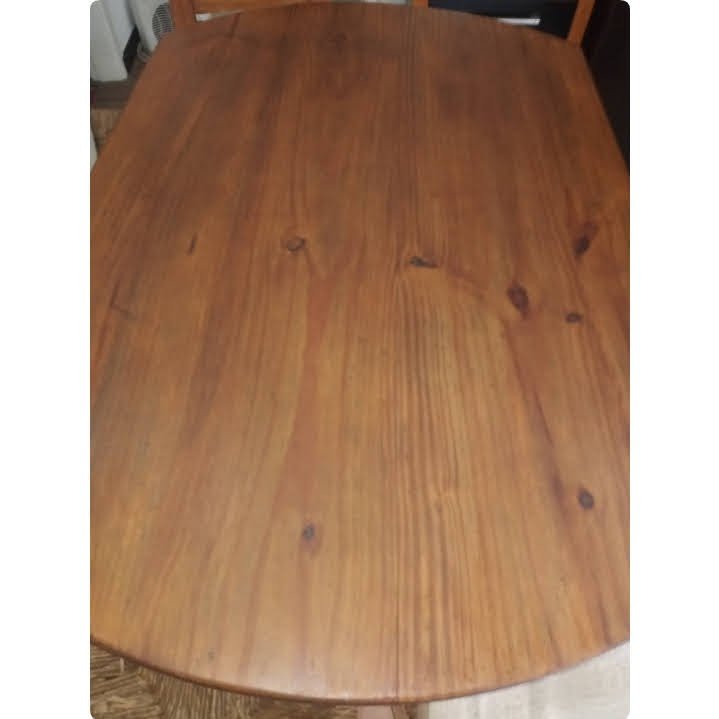
Fotos propiedad del autor
Y listo !!! una mesa linda!!!
Gracias por acompañarme y espero que les sirva mi experiencia!!!!
And ready !!! a nice table !!!
Thank you for joining me and I hope my experience will serve you!

