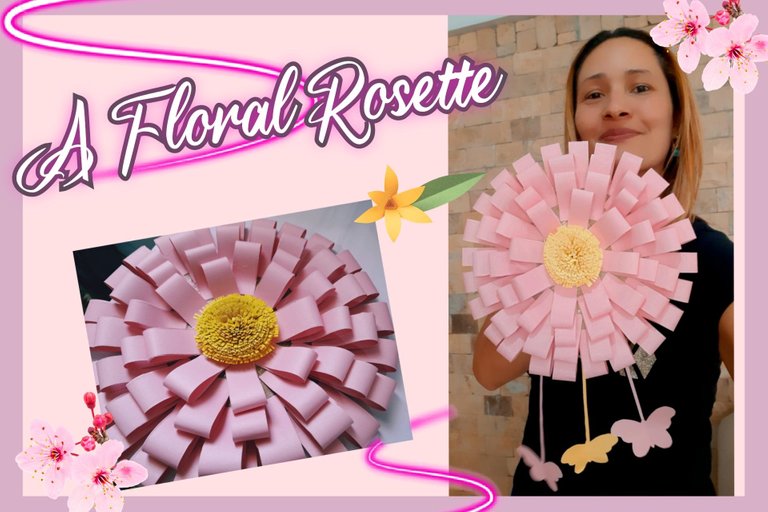


Un saludo, querida comunidad de @hivediy un gusto estar con ustedes en esta comunidad tan creativa y talentosa, me ha gustado mucho la iniciativa que nos han traído para el mes de enero, una iniciativa donde se le rinde honor a las flores, a la primavera y la naturaleza.
Las flores son los adornos de la naturaleza y no hay nada más bonito que ver un jardín de flores y tener muchas flores en casa para decorar y sentir la naturaleza.
Hoy les he traído una pequeña manualidad "Un Rosetón Floral" me gustan este tipo de flores para decorar las paredes de las fiestas y para decorar mi pared y así mostrar mis creaciones, así que manos a la obra mis queridos creativos.

Greetings, dear community of @hivediy a pleasure to be with you in this community so creative and talented, I really liked the initiative that you have brought us for the month of January, an initiative where you honor the flowers, spring and nature.
Flowers are the ornaments of nature and there is nothing nicer than seeing a flower garden and having lots of flowers at home to decorate and feel nature.
Today I have brought you a little craft "A Floral Rosette " I like this kind of flowers to decorate the walls of the parties and to decorate my wall to show my creations, so let's get to work my dear creatives.

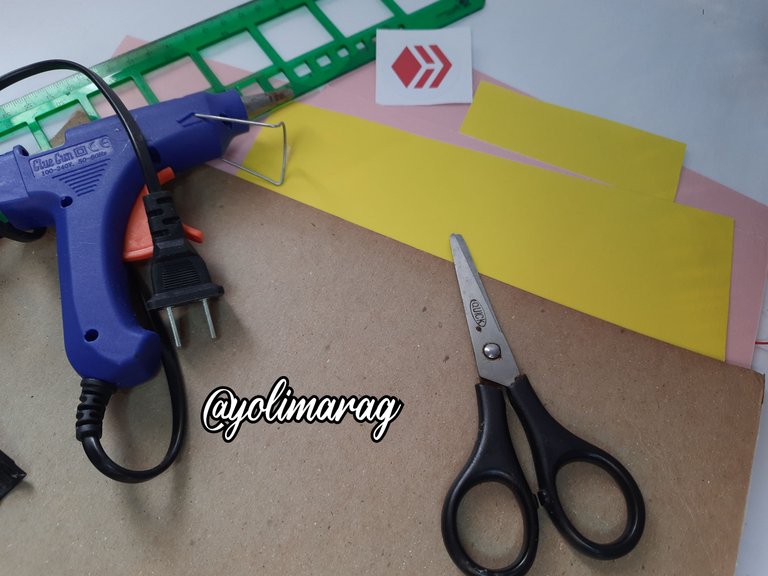
Materiales:
🌸 Cartulina de color Amarillo y Rosa
🌸 Tijera
🌸 Silicon frío
🌸 Cartón
🌸 1 Plato Pequeño
🌸 1 Hilo de Estambre o cualquier otro.
Materials:
🌸 Yellow and pink cardstock
🌸 Scissors
🌸 Cold silicon
🌸 Cardboard
🌸 1 Small Plate
🌸 1 Yarn of Estambre or any other.

Paso a Paso / Step by Step
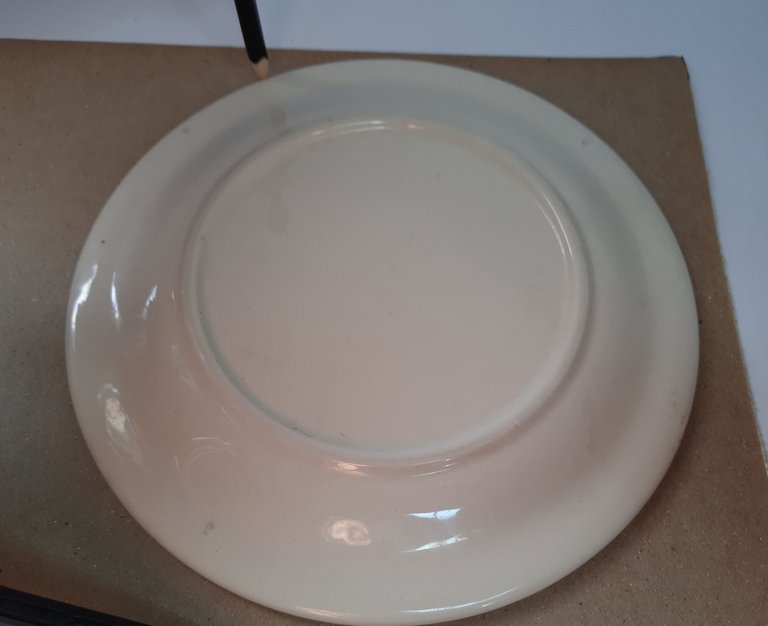
Vamos a tomar un cartón y un plato pequeño para realizar un círculo pequeño, también lo pueden realizar con un compás, recortamos.
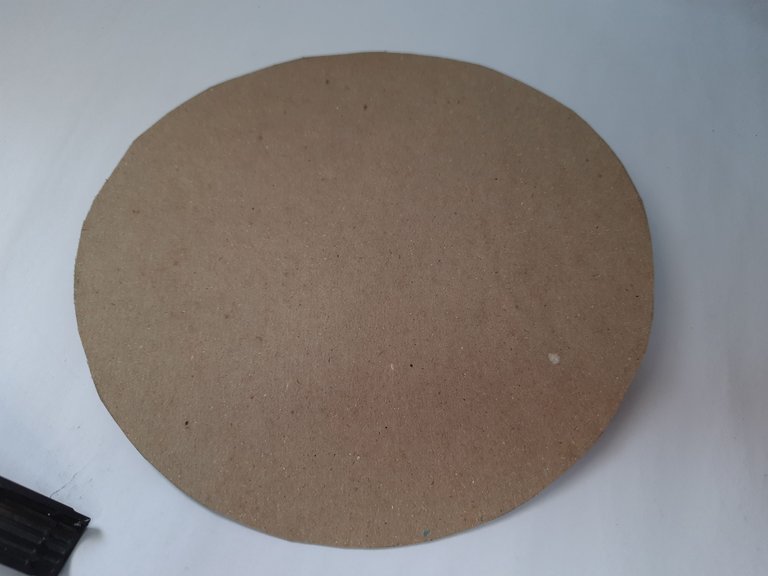
We are going to take a cardboard and a small plate to make a small circle, you can also do it with a compass, cut it out.

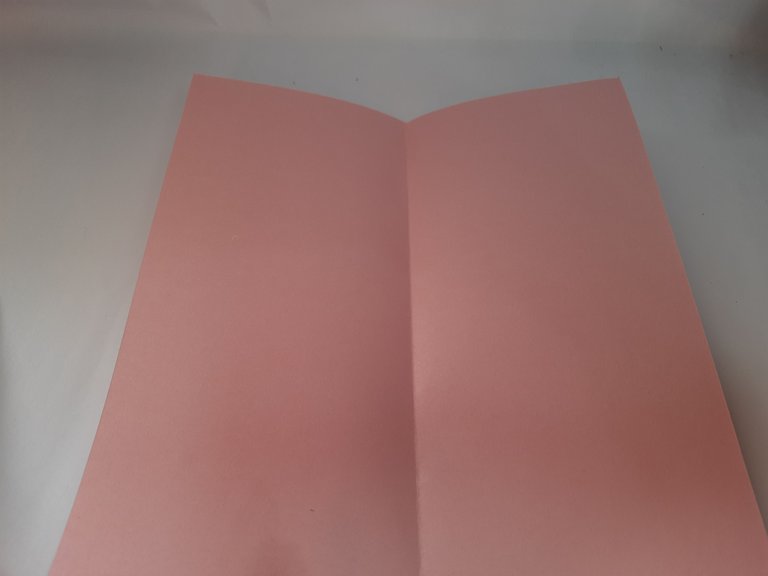
Ahora tomamos una Cartulina rosa, doblamos a la mitad y luego de 1.3cm vamos doblando hasta el final.
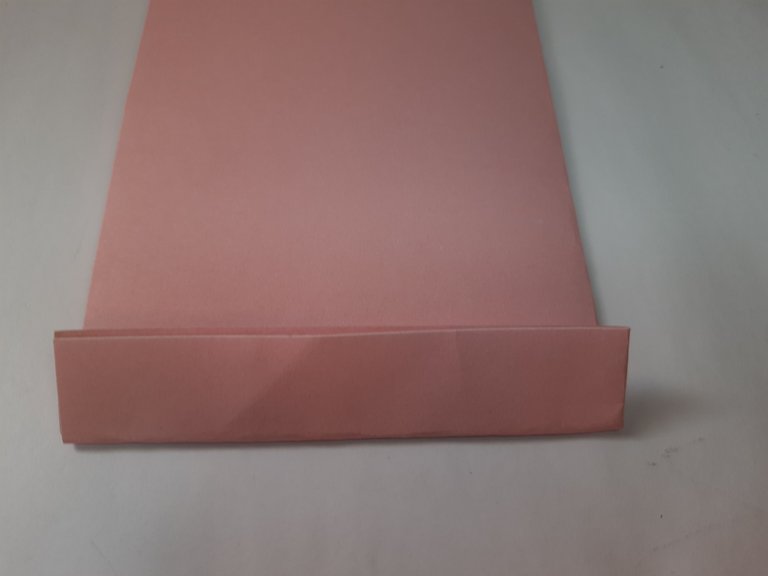
Now we take a pink cardboard, fold it in half and after 1.3cm we fold it to the end.

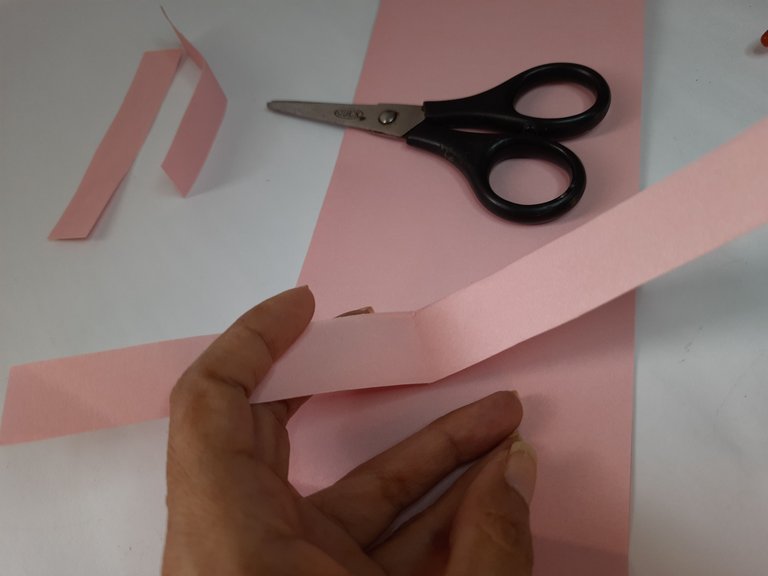
Cortamos el doblez y luego en el medio para ir sacando varias tiras.
We cut the fold and then in the middle to make several strips.

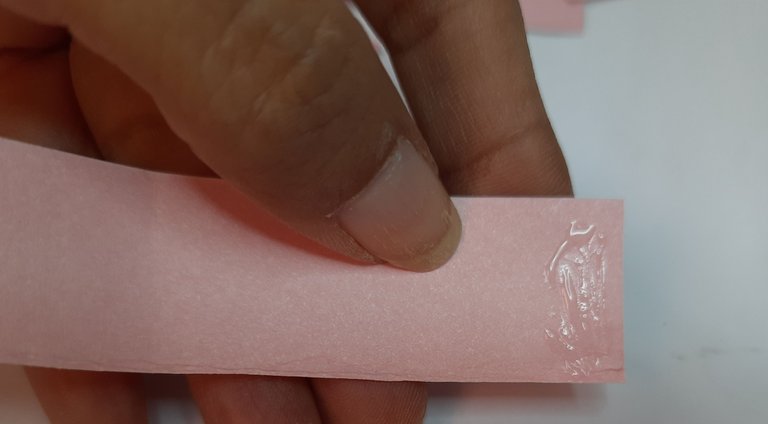
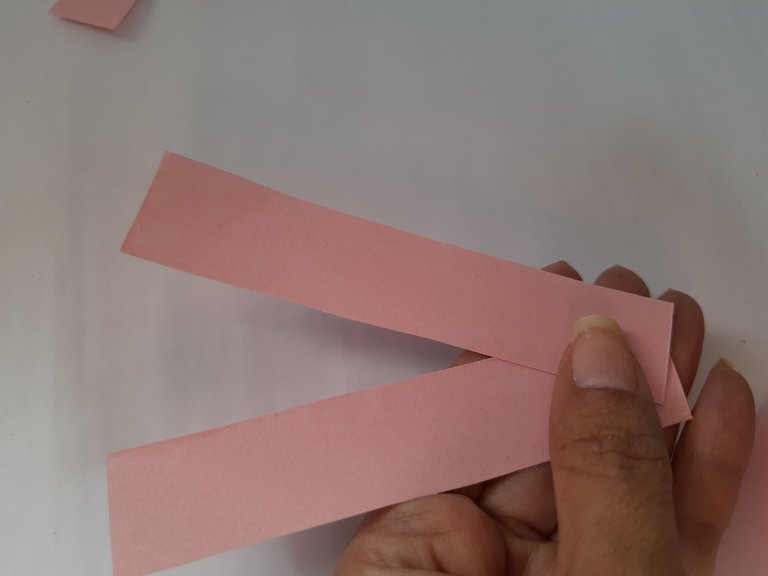
En la punta vamos a colocar la pega o silicona, y vamos apegar y doblar, de estos haremos unos cuantos, pueden ser dos cartulinas.
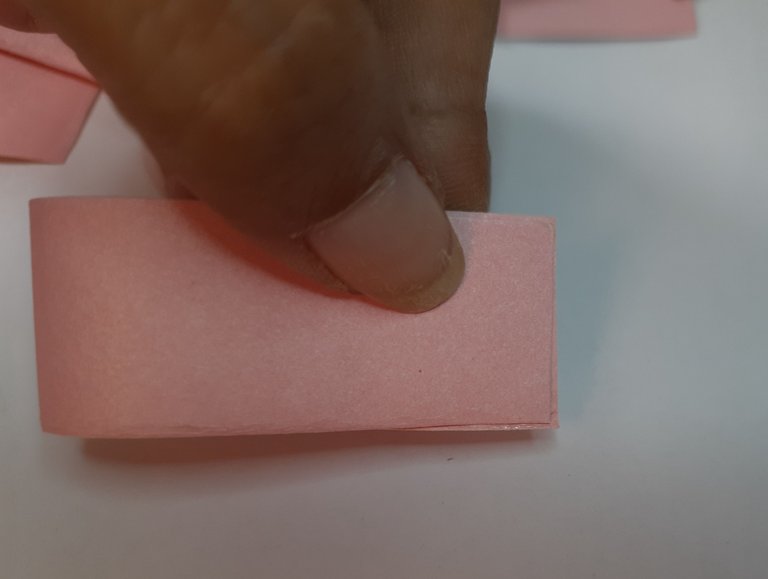
At the tip we will place the glue or silicone, and we will attach and fold, we will make a few of these, it can be two cardboards.

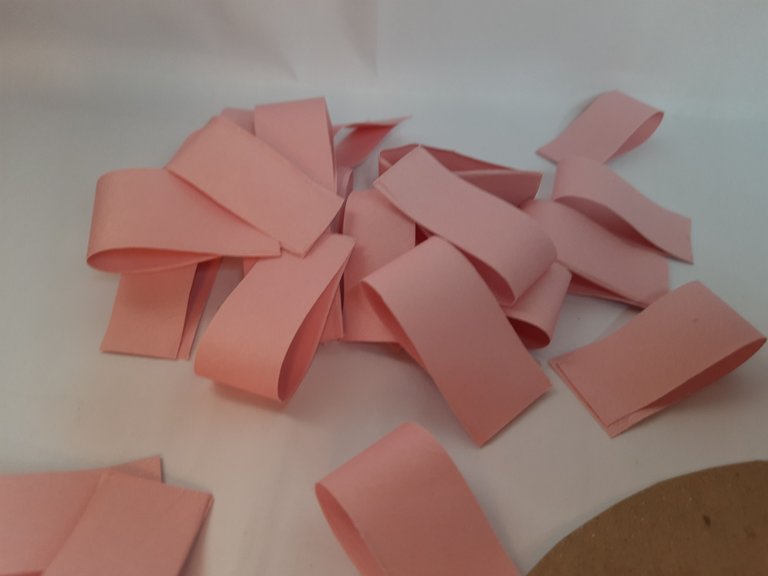
Vamos hacer varias tiras y vamos a ir pegando en el cartón tal como se ve en la imagen.
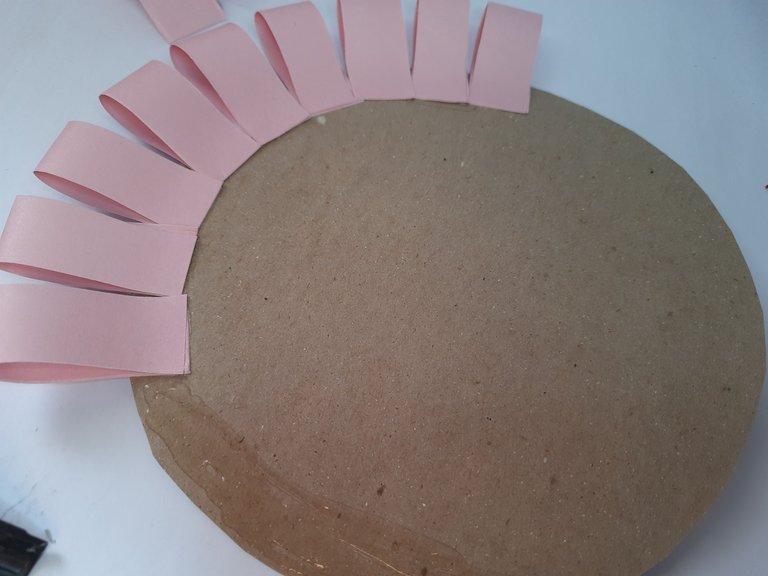
We are going to make several strips and we are going to glue them on the cardboard as shown in the image.

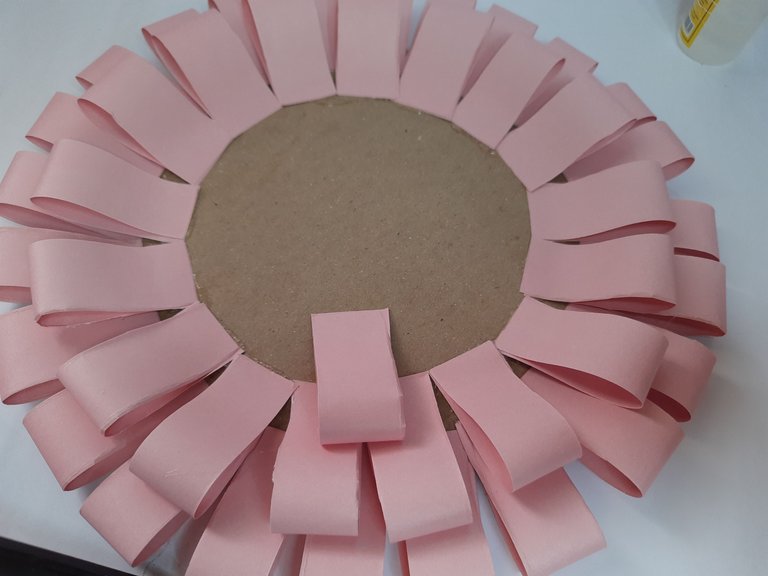
Vamos a ir pegando las tiras que será nuestra flor, haremos cuatro hileras.
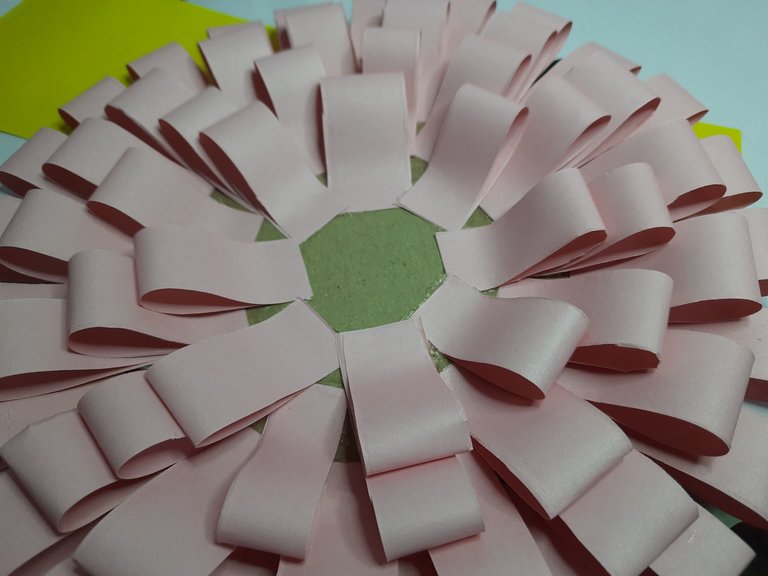
We are going to glue the strips that will be our flower, we will make four rows.
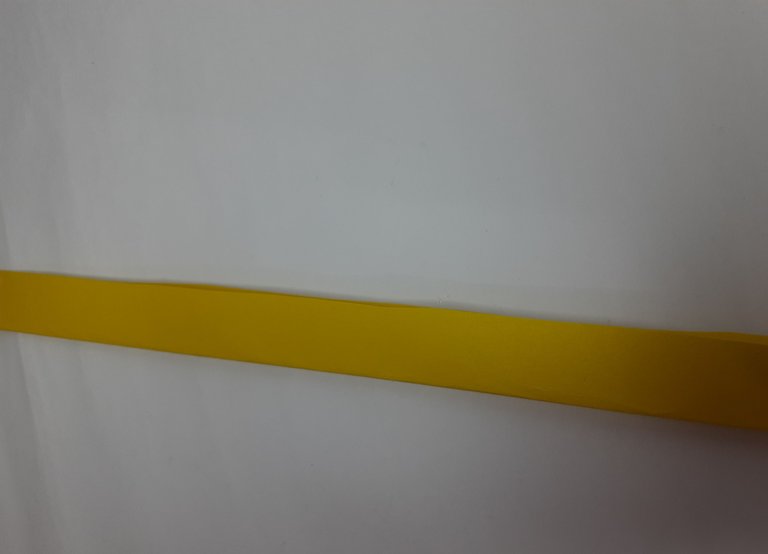
Tomaremos unos tiras de 1cm de ancho doble de Cartulina amarilla y cortaremos pequeñas tiritas sin llegar hasta arriba, haremos unas 8 tiras así que serán los pistilos de nuestra flor 🌼.
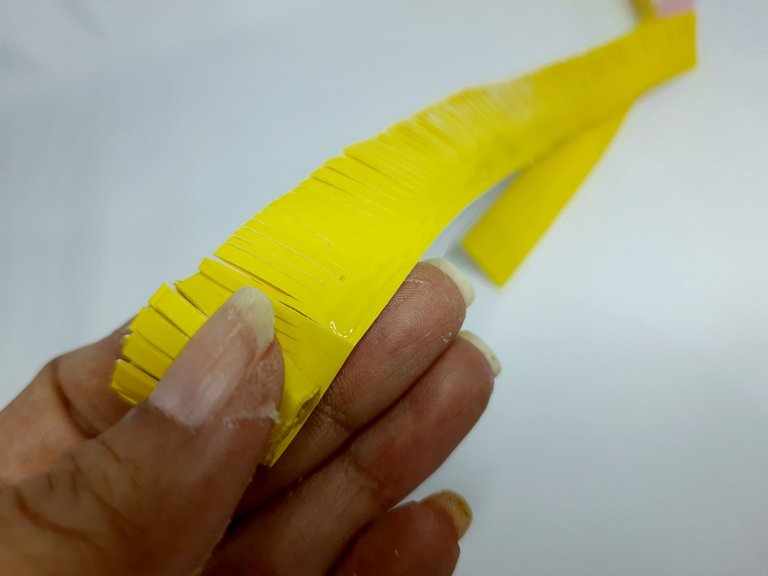
We will take some 1cm wide double strips of yellow Cardstock and cut small strips without going all the way to the top, we will make about 8 strips so they will be the pistils of our flower 🌼.
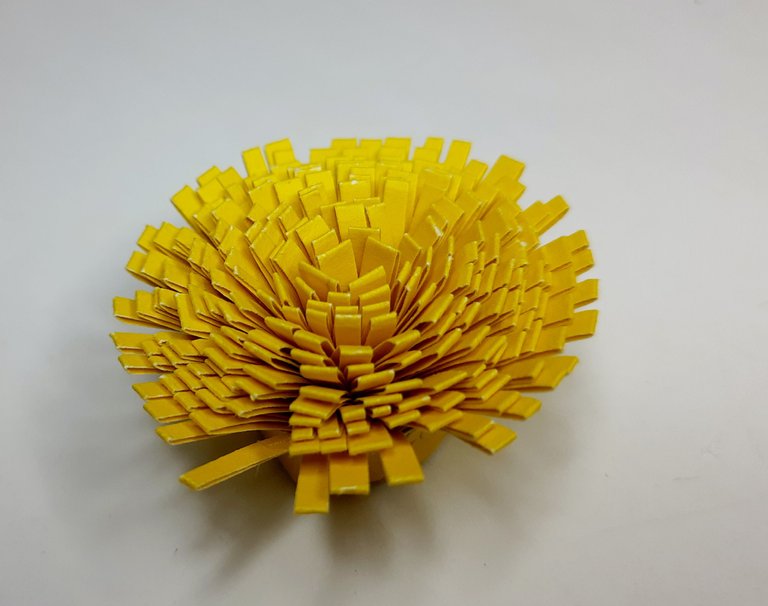
Vamos enrollando nuestras tiras ya cortadas para formar los pistilos, una tras otra hasta llegar a la medida deseada y lo pegaremos en medio de nuestra flor.
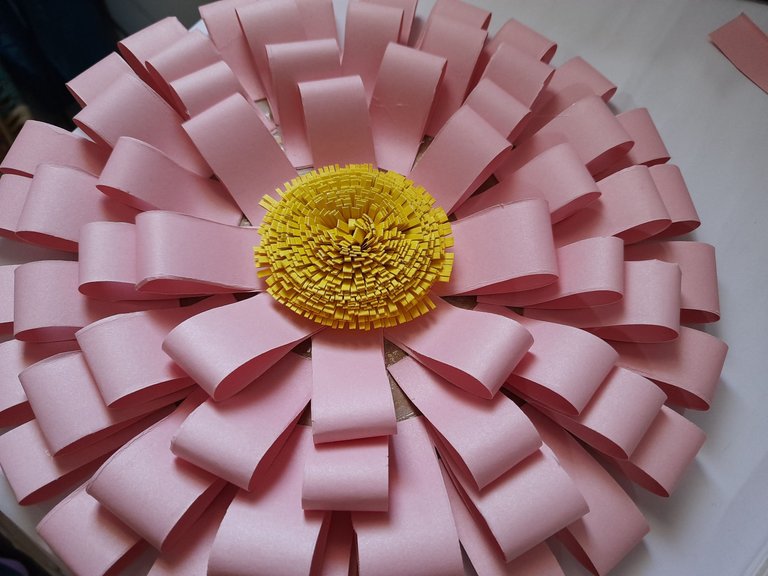
We roll our cut strips to form the pistils, one after the other until we reach the desired size and we will glue it in the middle of our flower.
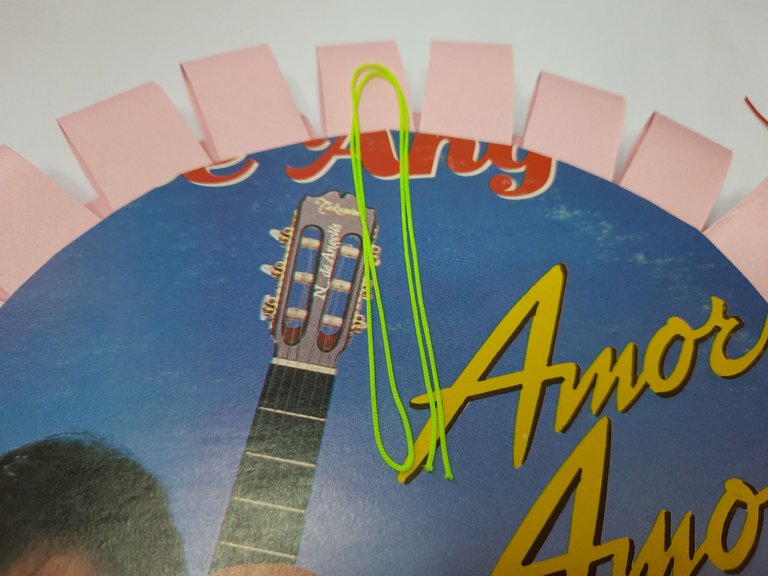
Vamos a colocar un hilo o un estambre, lo que ustedes deseen por la parte de atrás, lo vamos a pegar para poder guindar nuestra flor.
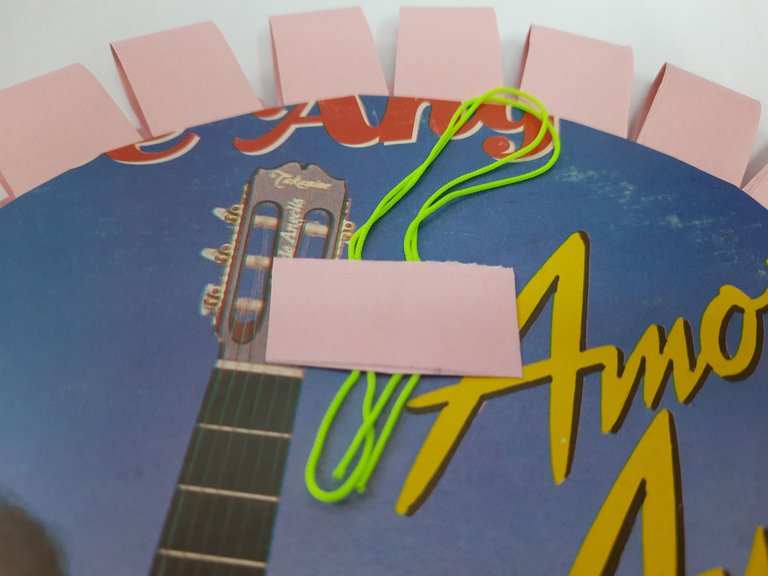
We are going to place a thread or a yarn, whatever you wish on the back, we are going to glue it to be able to hang our flower.
 |  |  |  |
|---|
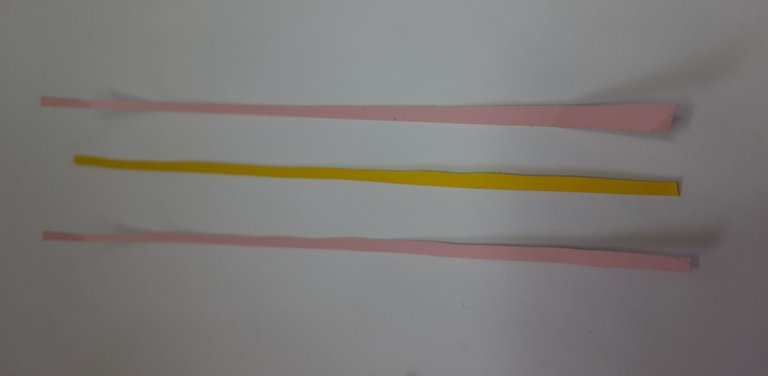
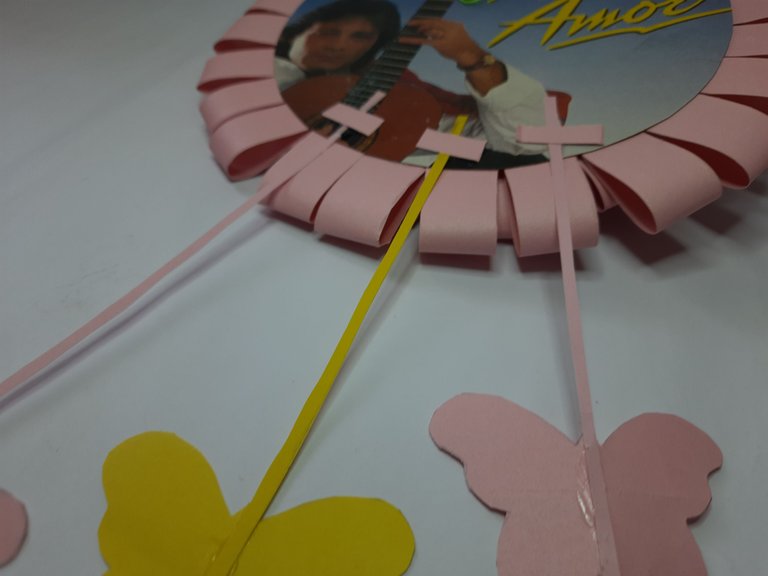
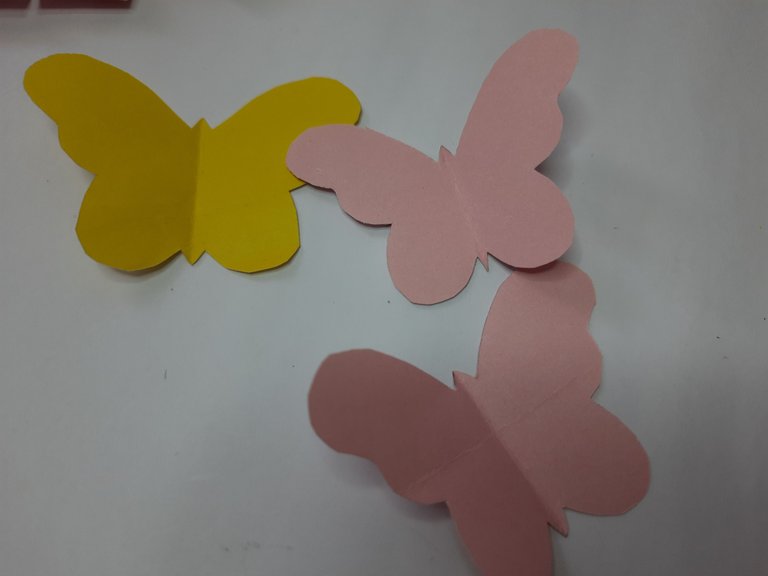
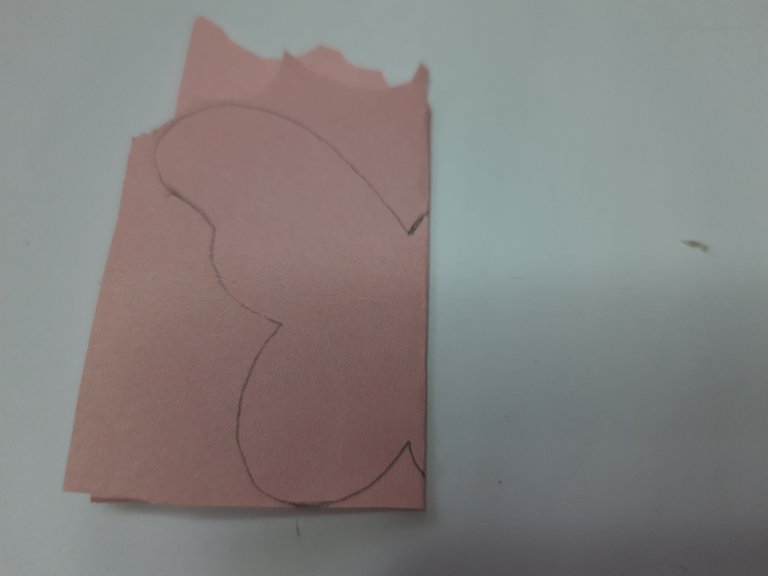
Por último vamos a hacer unas pequeñas tiras con la misma cartulina 2 de color rosa y una de color amarillo, también haremos unas pequeñas mariposas y vamos a pegar las tiras con la mariposa por la parte de atrás de nuestra flor, para que queden guindando una más arriba una intermedia y una más abajo que la otra, a modo de decorar nuestra flor.
Finally we are going to make some small strips with the same cardboard, 2 in pink and one in yellow, we will also make some small butterflies and we will glue the strips with the butterfly on the back of our flower, so that they are hanging one higher, one in between and one lower than the other, as a way to decorate our flower.
Resultado:

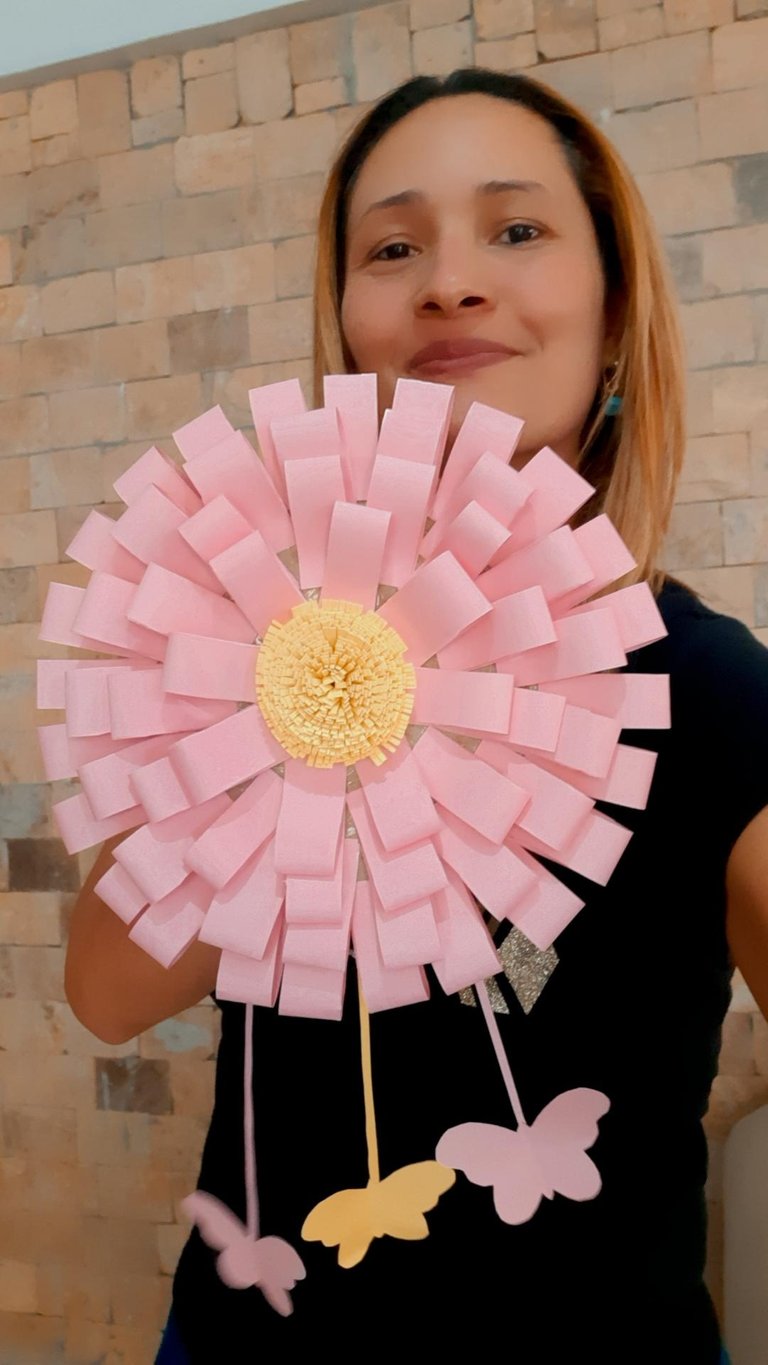
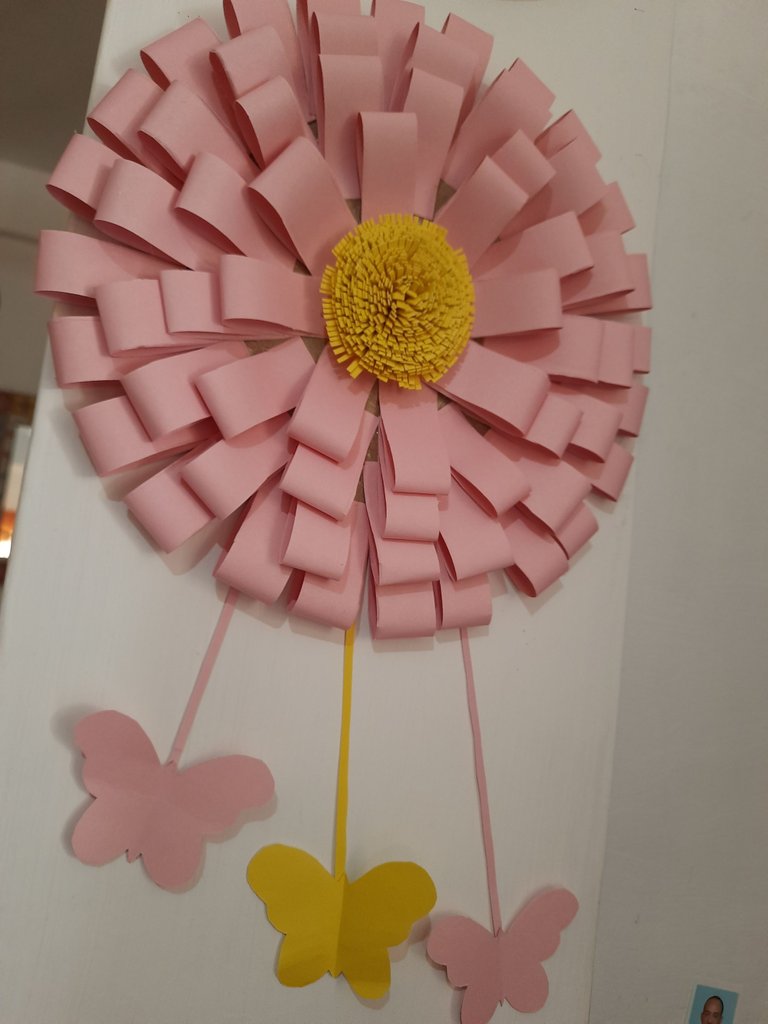
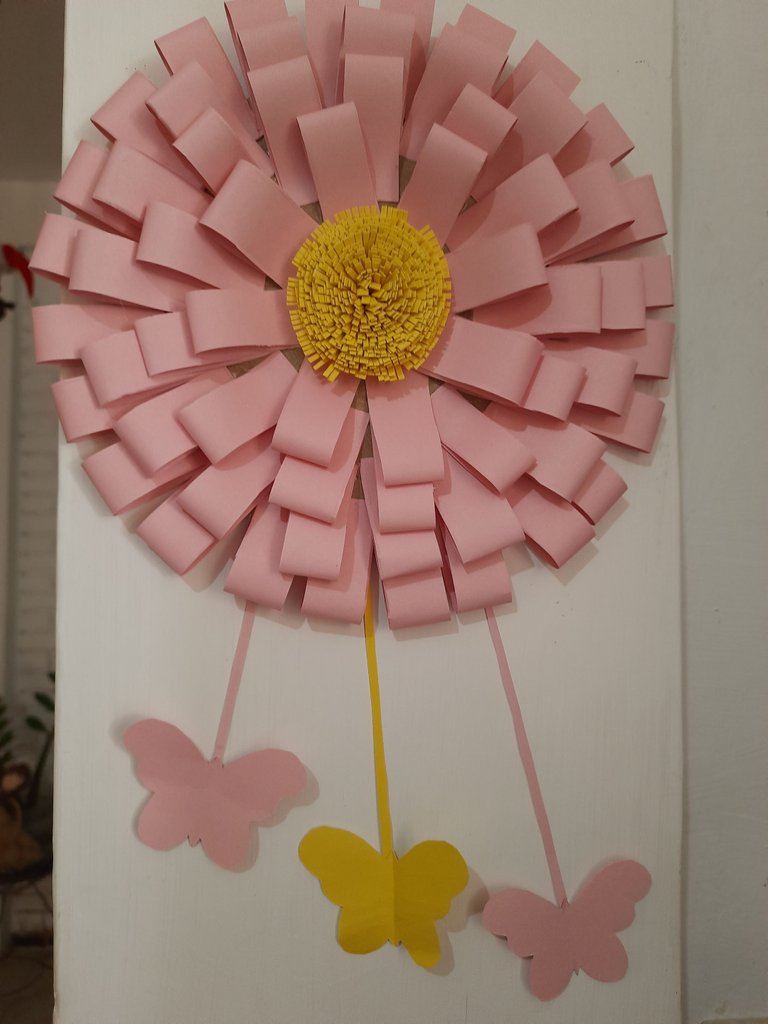
Y así ha quedado el resultado de estas hermosas flor, las flores son los accesorios más lindos de la naturaleza, y el toque con las mariposas trae más de la naturaleza, me gusta mucho el resultado obtenido para esta linda iniciativa 👏.
Espero que les gustará este proyecto tanto como a mi, gracias por ser parte de mi blog, bendiciones 😘.
And so has been the result of these beautiful flower, flowers are the cutest accessories of nature, and the touch with the butterflies brings more of nature, I really like the result obtained for this cute initiative 👏.
I hope you will like this project as much as I do, thanks for being part of my blog, blessings 😘.
Fotos principal editada con Canva.
Separadores Link
Fotos de mi Autoría derechos reservados
Cámara: Samsung M31
Traducido con www.DeepL.com/Translator (versión gratuita)
Photos edited with Canva
Separators Link
Photos by me Author's rights reserved
Camera: Samsung M31
Translated with www.DeepL.com/Translator (free version)


