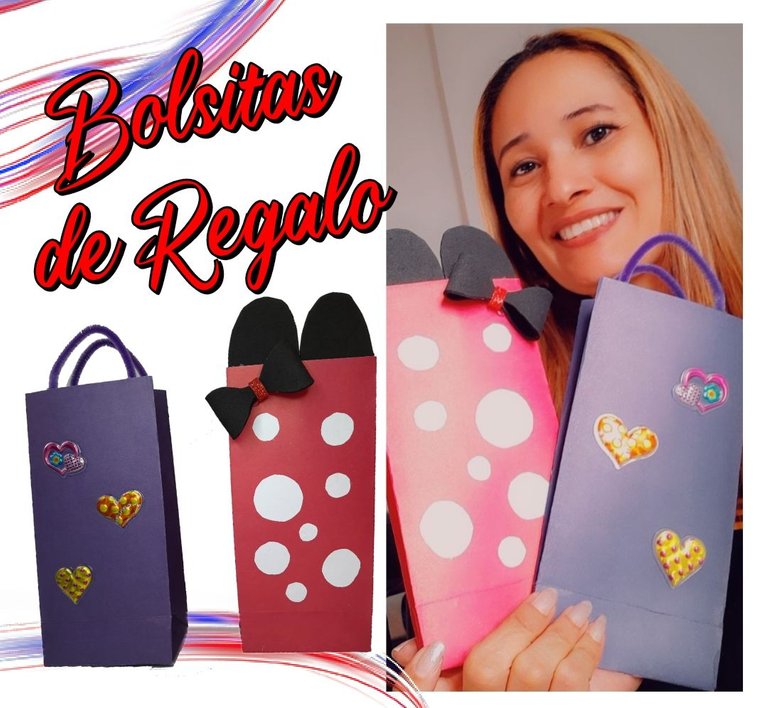


Bienvenidos a mi blog un saludo queridos creativos, el día de hoy quiero compartir con ustedes una hermosa manualidad, unas bolsitas de regalo creativas para cualquier ocasión.
Las bolsitas de regalo siempre son necesarias, y lo mejor es que podemos decorarlas a nuestro gusto, solo tenemos que realizarlas y luego decorar, así que manos a la obra.

Welcome to my blog greetings dear creatives, today I want to share with you a beautiful craft, creative gift bags for any occasion.
Gift bags are always necessary, and the best thing is that we can decorate them to our liking, we just have to make them and then decorate, so let's get to work.
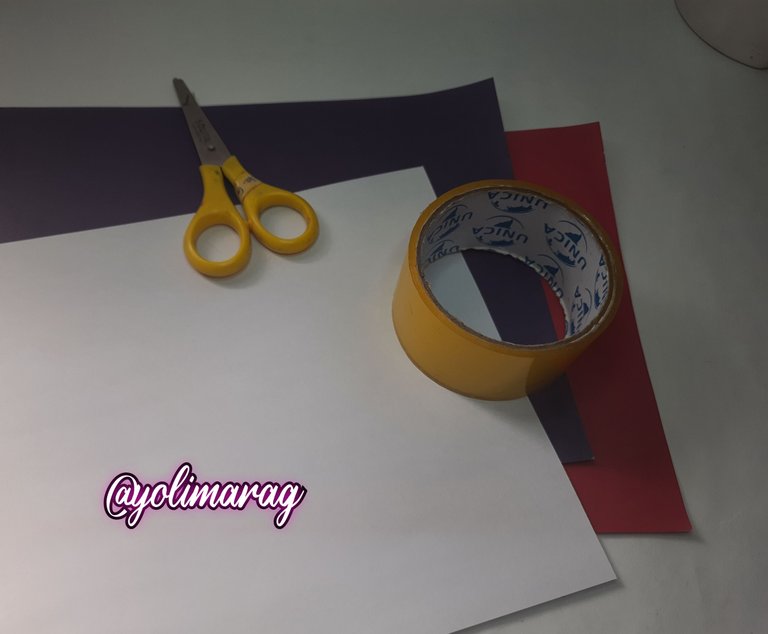
Materiales:
- Cartulina o papel de colores.
- Cinta Plástica
- Tijera
- Pega en Barra
- Silicona caliente
- Limpia Pipa
- Foami
Materials:
- Cardboard or colored paper.
- Plastic Tape
- Scissors
- Glue Stick
- Hot Silicone
- Pipe Cleaner
- Foami

Paso a Paso / Step by Step

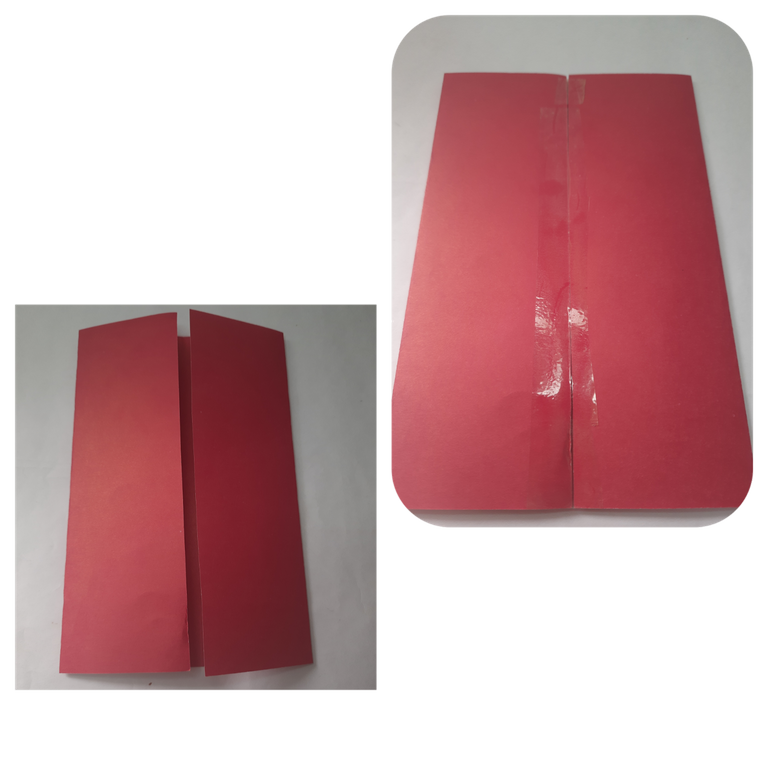
Lo primero que haremos será doblar nuestra hoja a la mitad en una punta solamente y luego de ambos lados doblamos llevando a la mitad.
Le colocaremos una cinta Plástica o doble fax.
The first thing we will do is fold our sheet in half at one end only and then on both sides we fold it in half.
We will place a plastic tape or double fax.
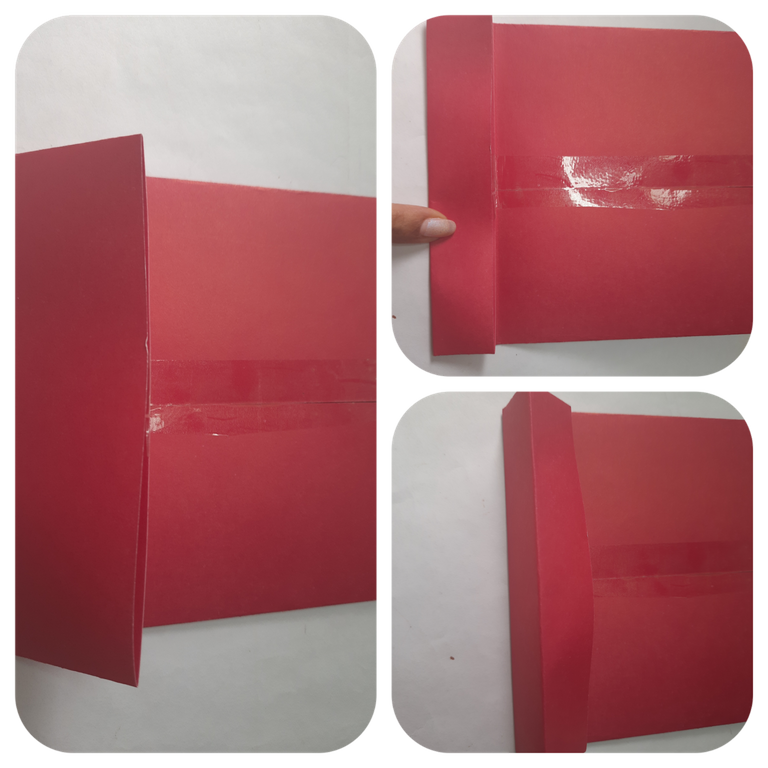
Tomaremos la parte baja y doblaremos a unos 3 o 4 dedos, luego doblaremos a la mitad del primer doblez.
We will take the lower part and fold to about 3 or 4 fingers, then fold to the middle of the first fold.
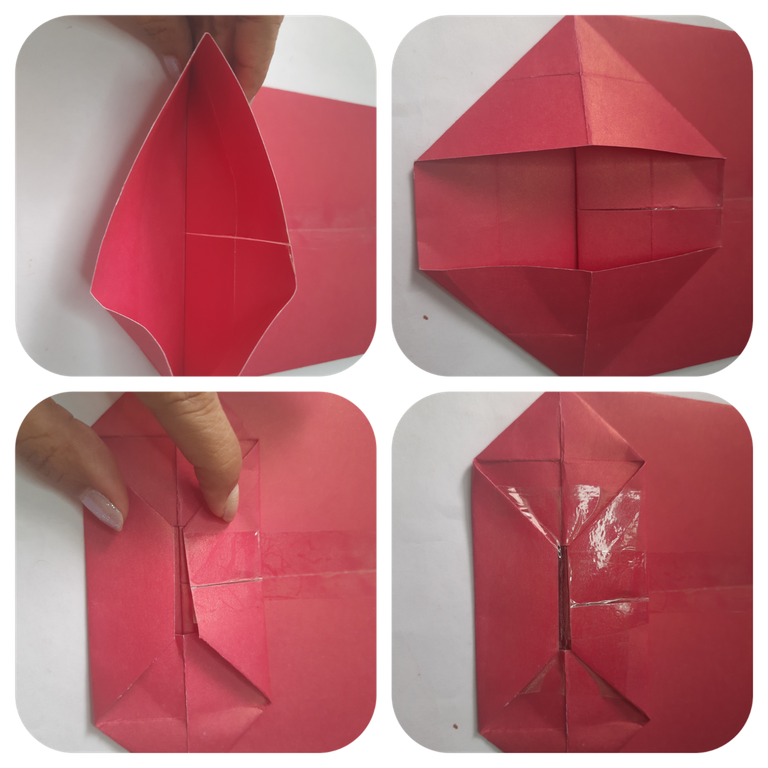
Abriremos la parte baja y ahora doblaremos en forma de triángulo de ambos lados, en la parte alta y baja doblamos hacía adentro y le colocaremos cinta resistente para sostener lo que le introduciremos.
We will open the lower part and now we will fold in the shape of a triangle on both sides, in the upper and lower part we will fold inwards and we will place resistant tape to hold what we will introduce.
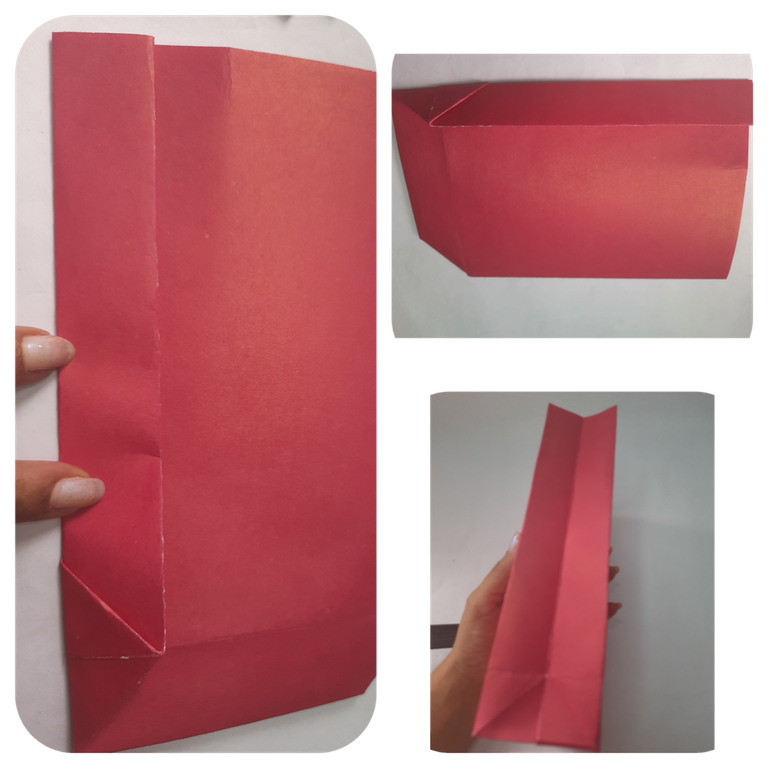
Ahora doblaremos en la parte baja hasta arriba, en la parte lateral para hacer los dobleces de la bolsa.
Now we will fold at the bottom all the way to the top, on the side to make the folds of the bag.
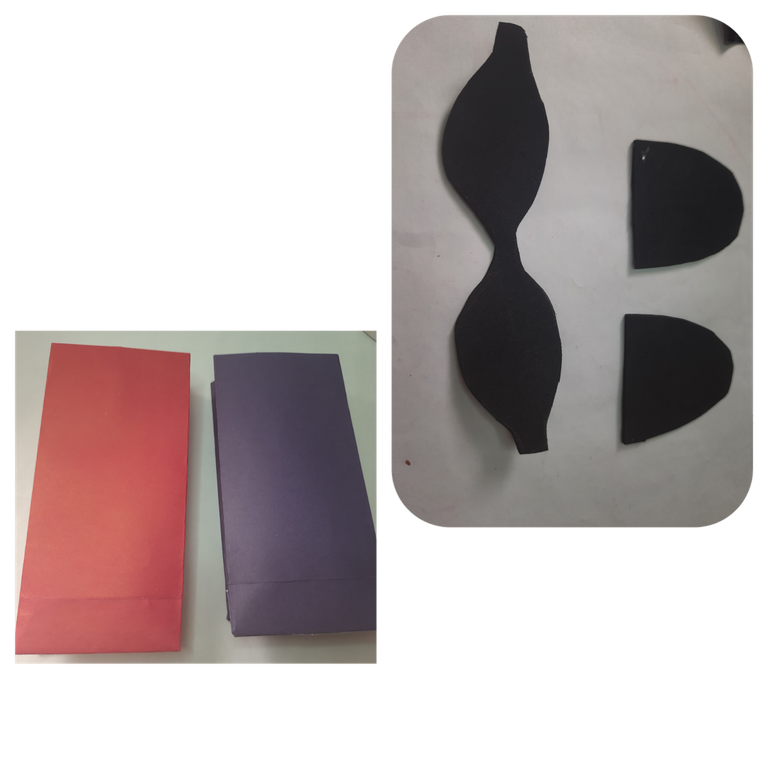
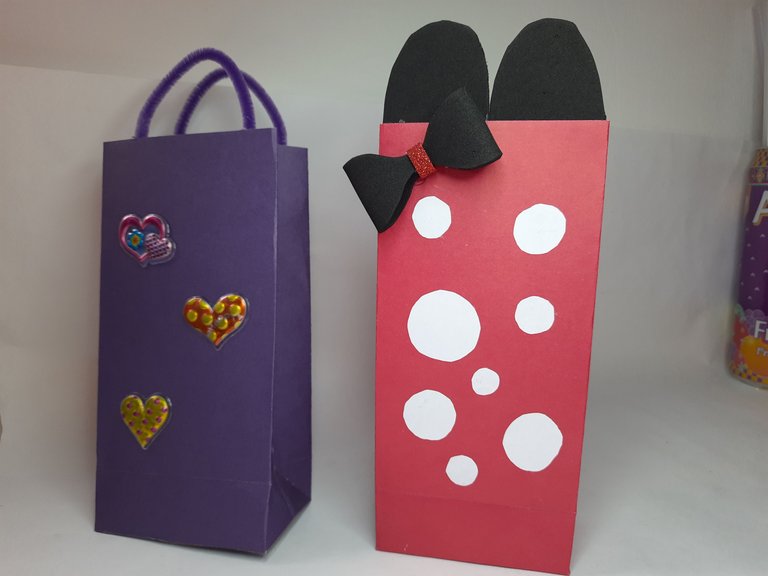
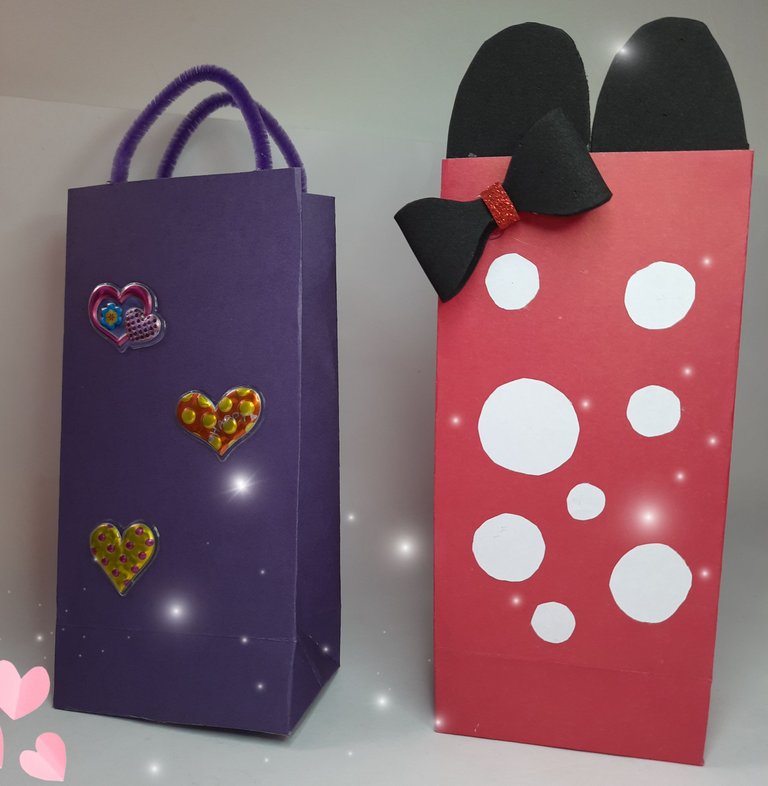
Para la bolsa roja cortaremos unos círculos blancos y haremos también un lazo en foami.
Now we will fold at the bottom all the way to the top, on the side to make the folds of the bag.
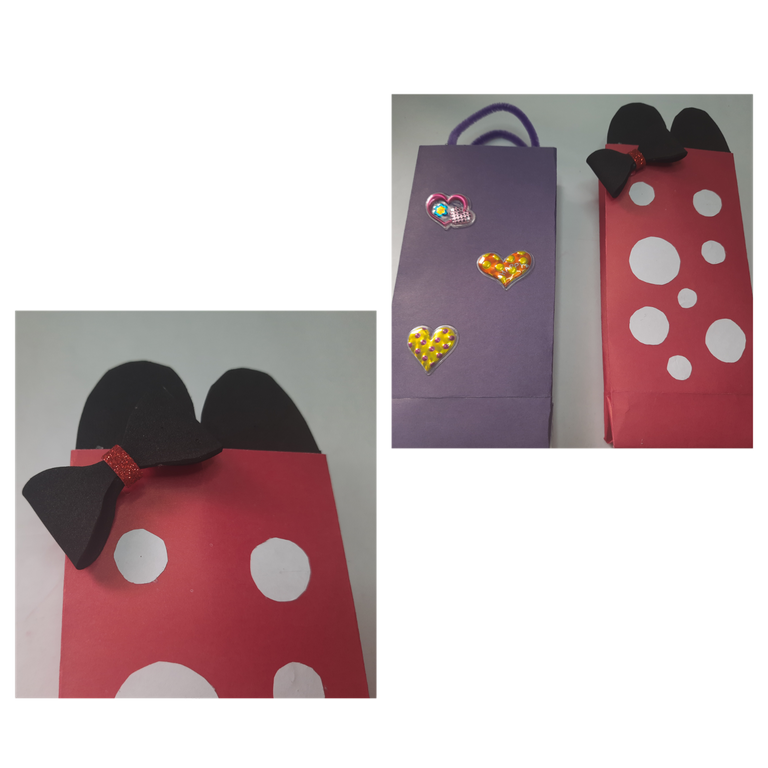
La otra bolsa la decore con stikers algo sencillo y muy fácil y el asa la hice con Limpia pipas.
I decorated the other bag with stikers, something simple and very easy, and I made the handle with Pipecleaner.

Resultado / Result

Gracias por estar aquí y ser parte de mi blog, bendiciones 😘.
Thank you for being here and being part of my blog, blessings 😘.
Fotos principal editada con Canva.
Fotos de mi Autoría derechos reservados
Separadores Link
Cámara: Samsung A20S
Banner por @danielvehe
Traducido con www.DeepL.com/Translator (versión gratuita)
Photos edited with Canva
Photos by me Author's rights reserved
Banner by @danelvehe
Separators Link
Quote> Camera: Samsung A20S
Translated with www.DeepL.com/Translator (free version)


