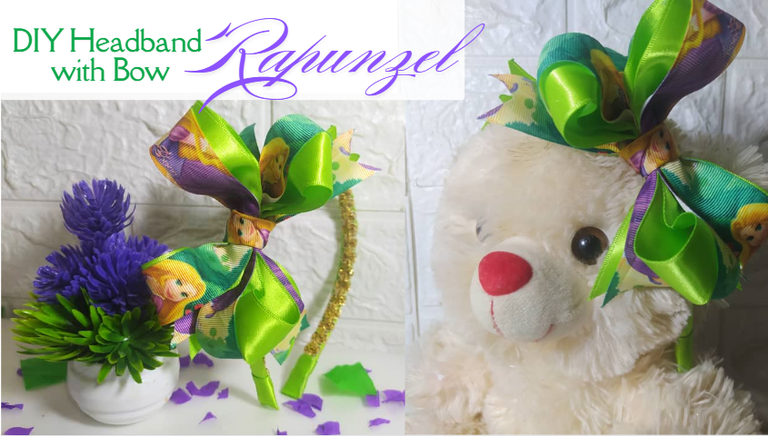
The magic of princesses is eternal. Generation after generation we fall in love with their stories and especially their styles. With this Princess Rapunzel headband or headband, girls will be happy to have an accessory to match their outfit.
I will teach you how to make this design, and you can make it in the colors you want, because in haberdasheries you will find ribbons of different widths, colors, even princesses wearing different dress designs. Today I will work with this ribbon that I had saved and decided to use it to make this gift for a niece.
I will also show you some details that will make your product delicate and functional, I will tell you about it later.
La magia de las Princesas es eterna. Generación tras generación nos enamoramos de sus historias y sobre todo de sus estilos. Con esta Diadema o cintillo de la Princesa Rapunzel, las niñas estarán felices de tener un Accesorio para combinar con sus outfit.
Te enseñaré a elaborar este diseño, y puedes realizarlo en los colores que desees, porque en las mercerías encontrarás cintas de diferentes anchos, colores, incluso a las princesas luciendo diferentes diseños de vestidos. Hoy trabajaré con esta cinta que tenía guardada y decidí utilizarla para elaborar este obsequio para una sobrina.
Además te enseñaré algunos detalles que harán que tu producto sea delicado y que funcione, más adelante te contaré al respecto.

When making this headband, I used a thin and flexible or soft one, since I'm giving it to a girl. It's important to consider this point, since there are some that are very rigid and there are other thick ones, which are great for other projects, such as for adults. In the case that it's for girls, be careful with this so that she doesn't get hurt or give up using it quickly.
Likewise, if your design includes another type of decoration, such as dolls made of flexible clay or others, check that it doesn't weigh her down too much, or that the girl doesn't feel any discomfort because of the location on one side.
En la elaboración de este cintillo o diadema, utilicé uno delgado y flexible o suave, ya que se lo regalaré a una niña. Es importante que consideres este punto, ya que hay algunos que son muy rígidos y hay otros gruesos, que son estupendos para otros proyectos como por ejemplo para adultas, en el caso que sea para niñas ten cuidado con esto para que no se lastime o desista de utilizarlo rápidamente.
Igualmente, si en tu diseño otro tipo de decoración como muñequitas en masa flexible u otros, chequea que no le pese mucho, o que por la ubicación a un lado la niña sienta alguna incomodidad.

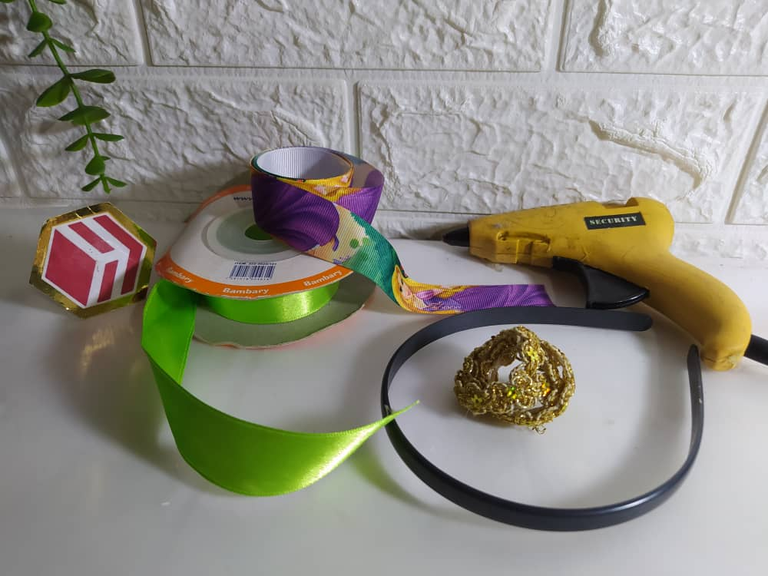
- Printed ribbon 1 meter.
- Unicolor ribbon 1 meter.
- Golden ribbon with texture approximately 30 cm.
- Headband or plastic headband.
- Hot silicone.
- Thread
- Cinta estampada 1 metro.
- Cinta unicolor 1 metro.
- Cinta dorada con textura 30 cms aproximadamente.
- Diadema o cintillo plástico.
- Silicón caliente.
- Hilo

- I cut a 60 cm strip of the patterned and plain ribbons.
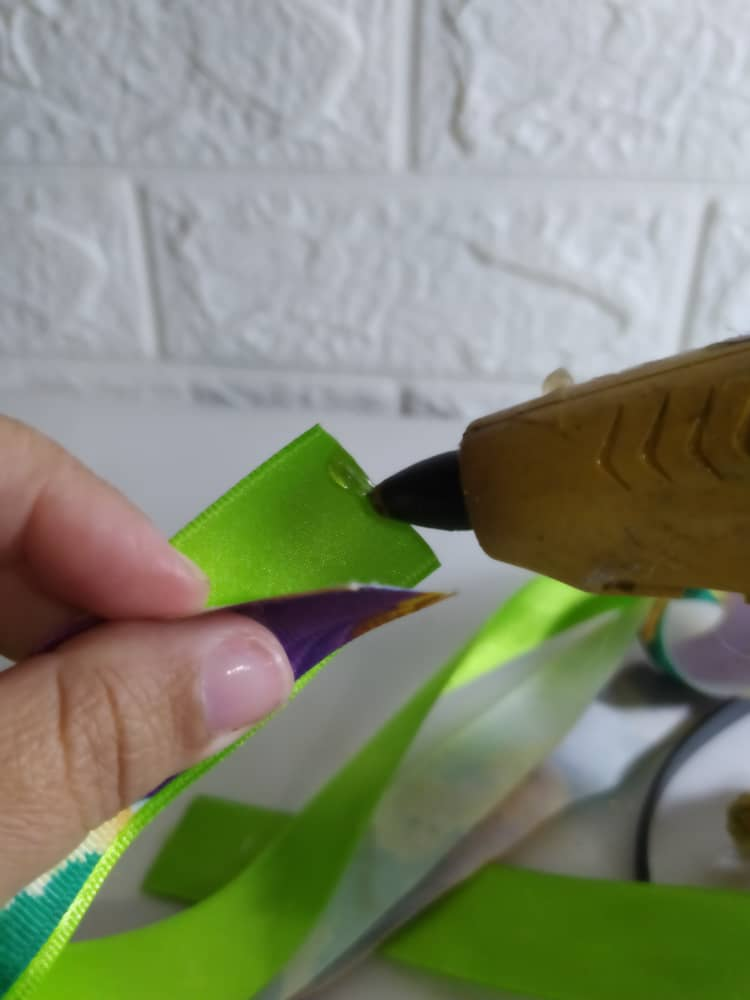
- I put a little hot glue to join both ends, so that they don't separate and it's easier to handle them.
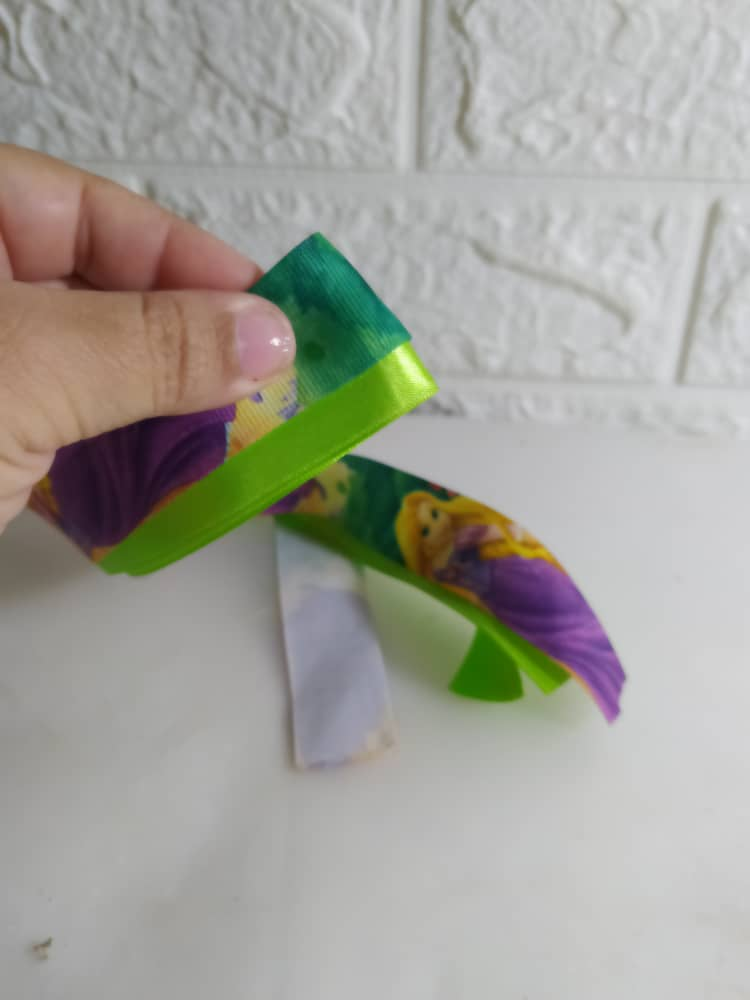
- I determine the center of both ribbons and I fold them tightly to mark them.
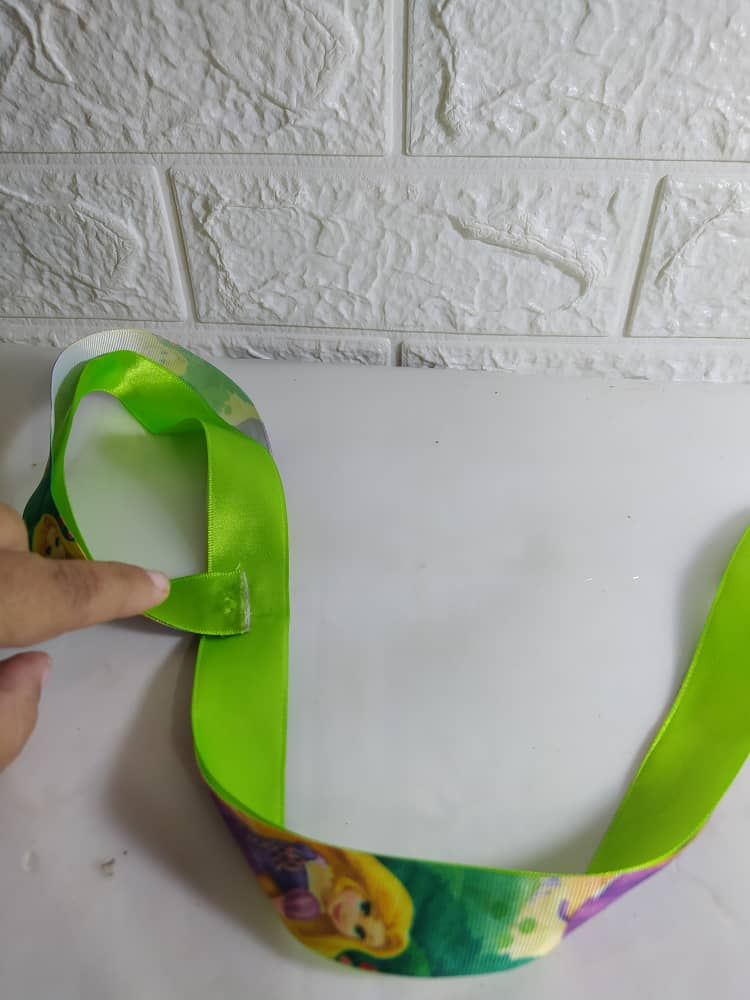
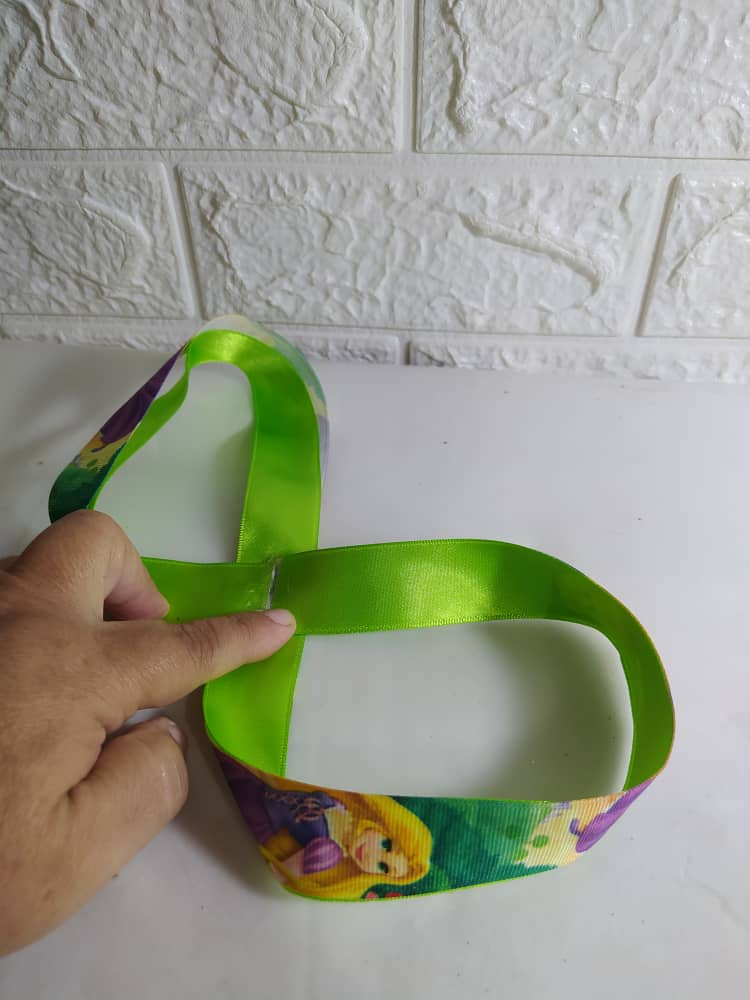
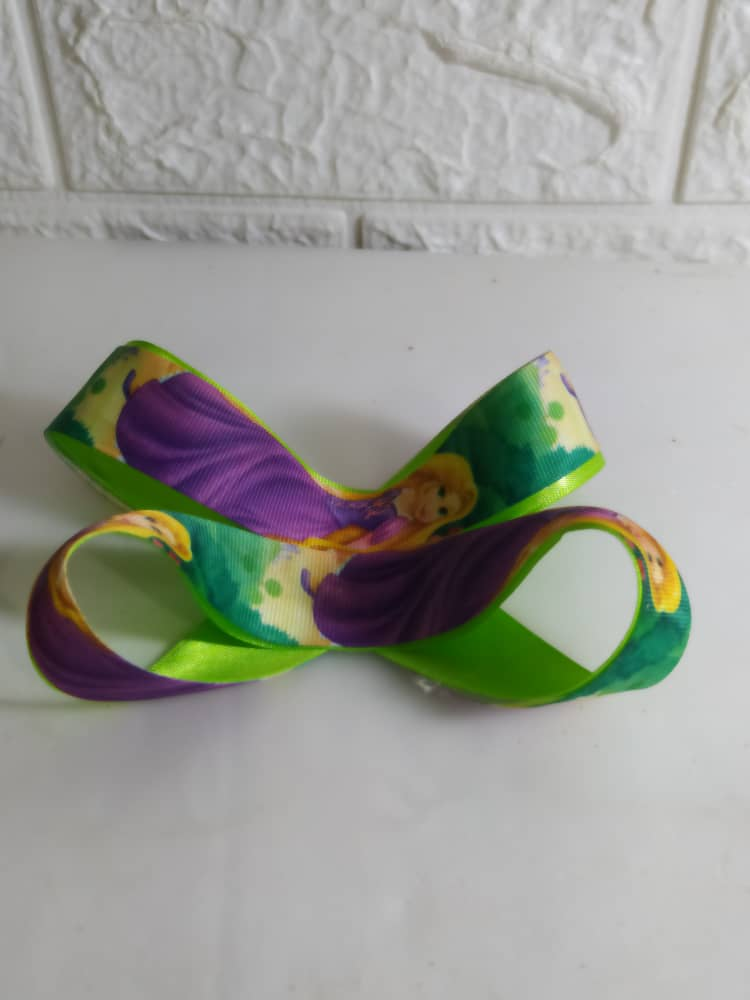
- I take one of the ends and bring it to the center, as you can see in the image.
- I do the same with the other end, note that it will form like an 8 or an infinity.
- Corto una tira de 60 cms de la cinta estampada y de la unicolor igualmente.
- Coloca un puntito de silicón caliente para unir ambos extremos, con la finalidad de que no se separen y sea más fácil manejarlos.
- Determino el centro de ambas cintas y doblo fuerte para marcarlas.
- Tomo uno de los extremos y lo llevo al centro, como se ve en la imagen.
- Hago lo mismo con el otro extremo, nota que se formará como un 8 o un infinito.
 |  |  |  |
|---|
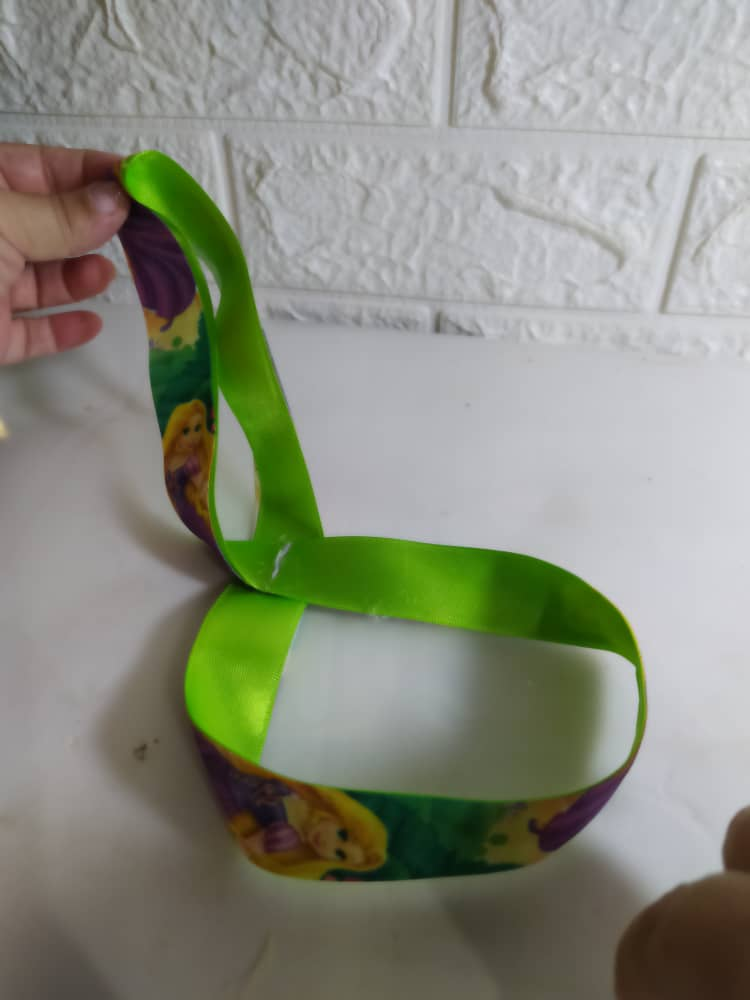
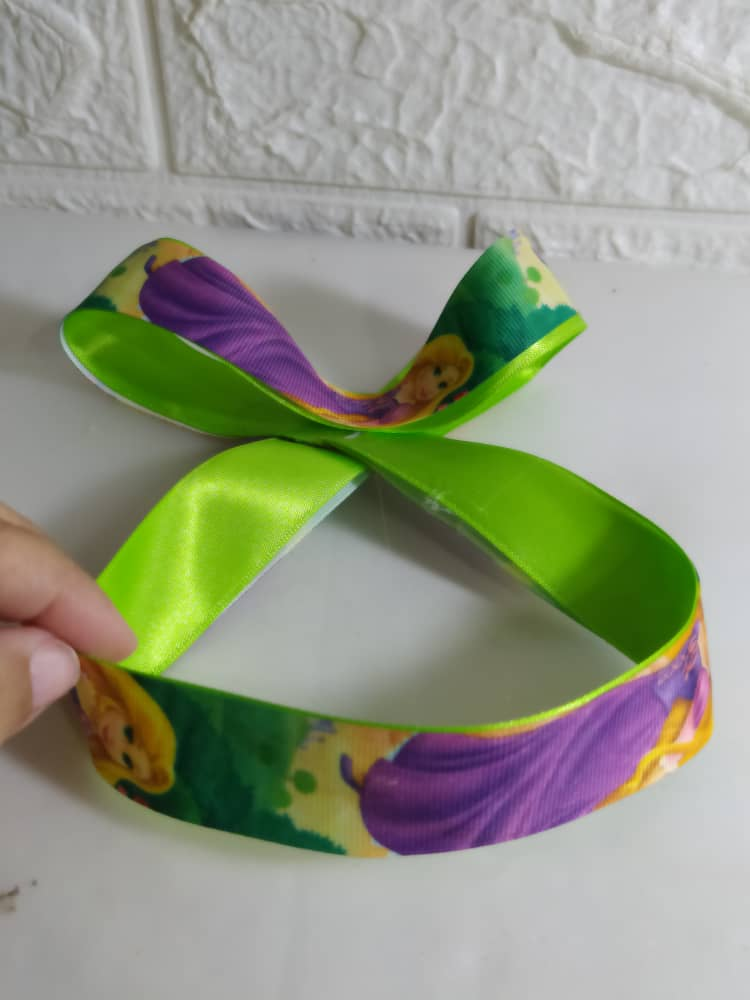
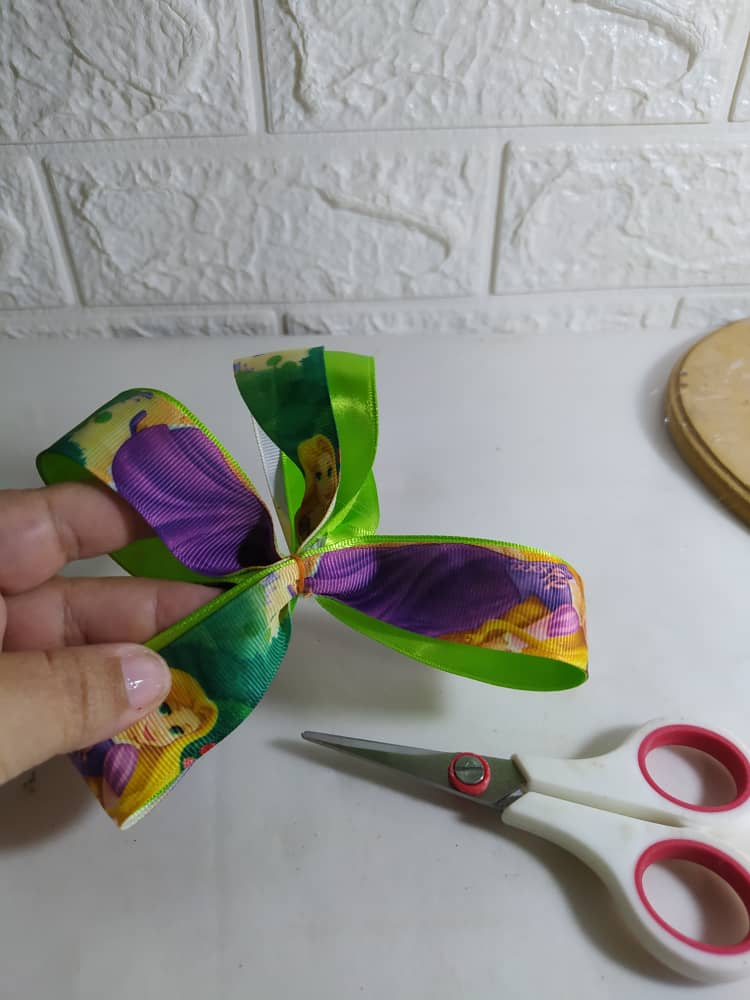
- I mark the center of one of the hoops that were formed, just by bending it tightly it will be marked, and I take it to the center, leaving a space for the other hoop.
- I do the same with the other hoop, I determine the center and glue it in the middle, in the space that we considered for this.
- With the thread of any color, I make several turns in the center of the bow, strong and then I can simply cut it, it will not fall apart.
With these steps we already have the basic elaboration of the bow.
- Marco el centro de uno de los aros que se formaron, simplemente doblando fuerte se marcará, y llevo al centro, dejando un espacio para el otro aro.
- Hato lo mismo con el otro aro, determino el centro y pego en el medio, en el espacio que consideramos para esto.
- Con el hilo de cualquier color, hago varias vueltas en el centro del lazo, fuerte y luego puedo simplemente cortar, no se desarmará.
Con estos paso ya tenemos la elaboración base del lazo.
 |  |  |  |
|---|
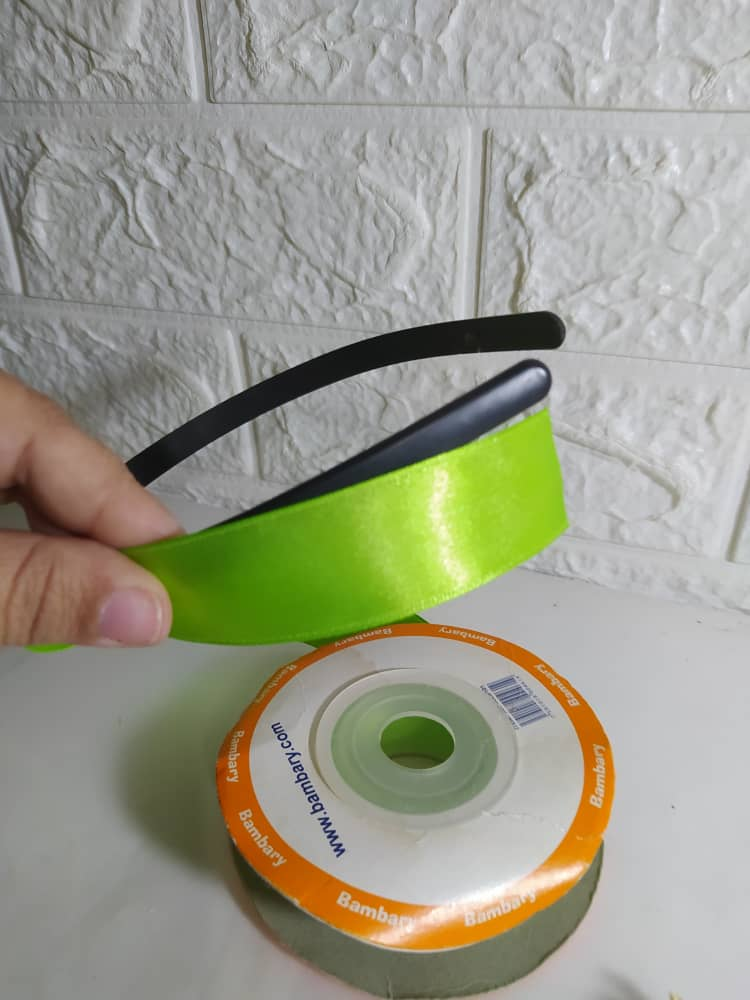
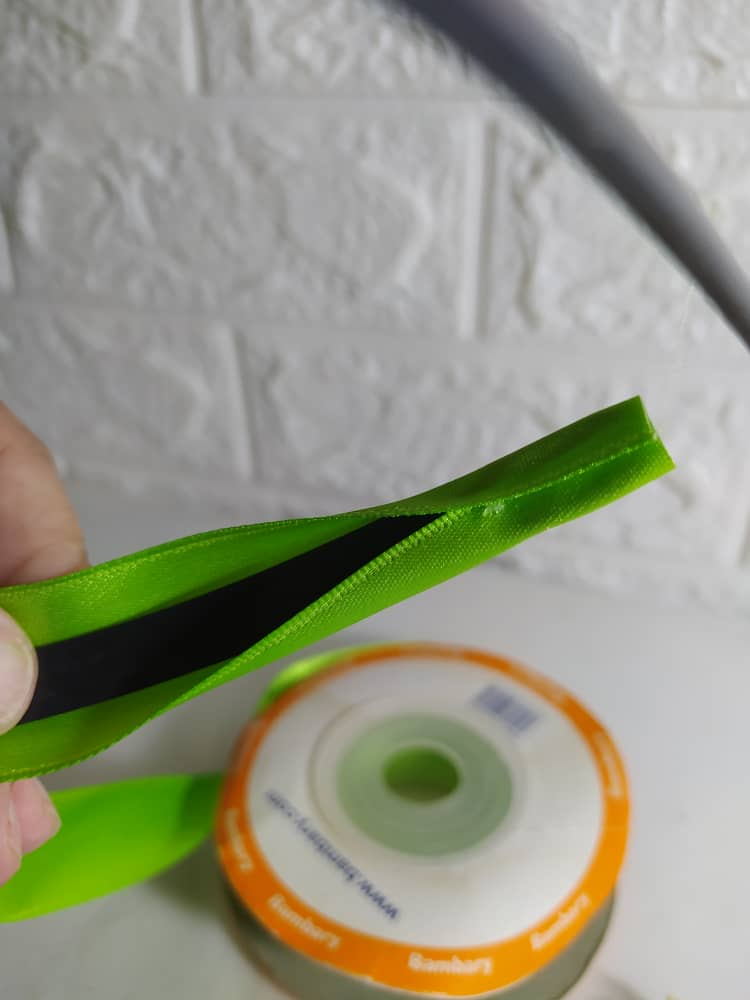
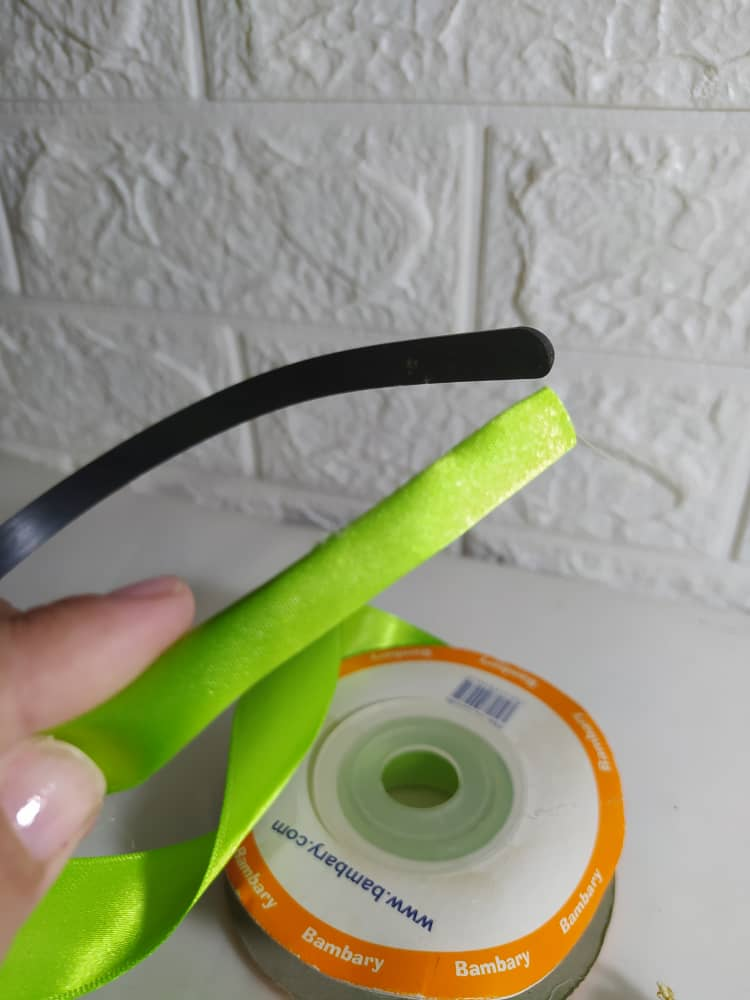
Now, I'm going to line the headband. The thickness of the ribbon worked perfectly for me for this purpose.
- I cut a piece of the solid-color ribbon.
- I place it on the inside of the headband.
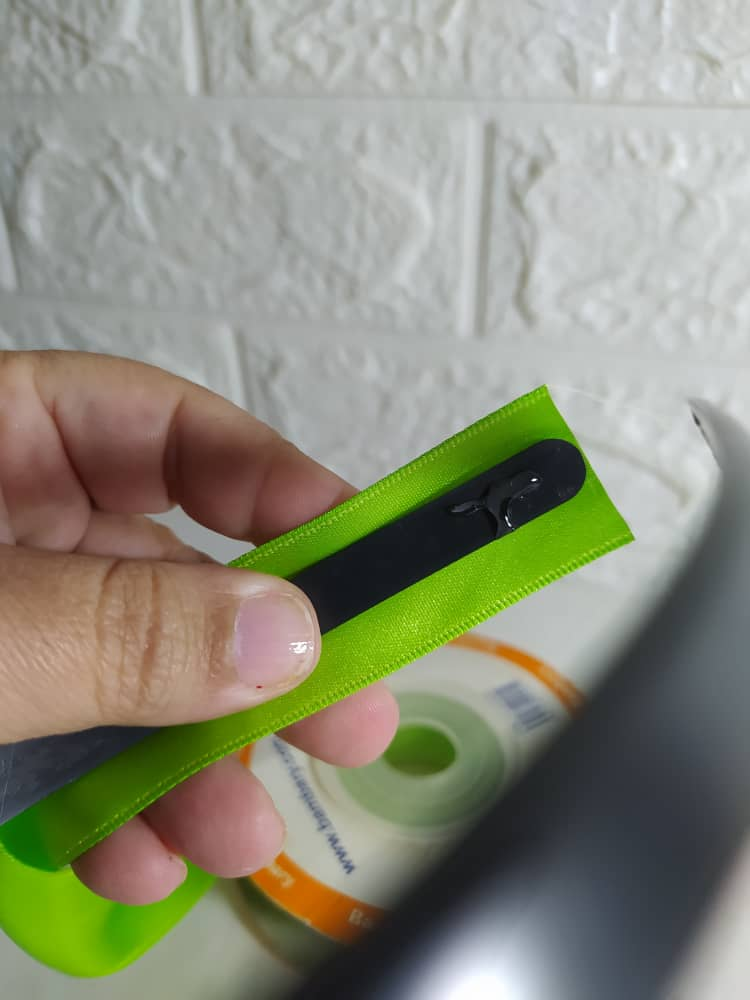
- I put hot glue on the headband and glue half of the ribbon, all the way along.
- Then, I do the same with the other half.
With this, the headband is lined, and what we need is for it to look nice on the outside. Later on, I'll figure out how to make it look nice on the inside as well.
Ahora, voy a forrar el cintillo. El grueso de la cinta me funcionó ideal para este propósito.
- Corto un pedazo de la cinta unicolor.
- La ubico en la parte interna del cintillo.
- Coloco silicón caliente en el cintillo y pego la mitad de la cinta, en todo lo largo.
- Luego, hago lo mismo con la otra mitad.
Con esto queda forrado el cintillo, y que lo que necesitamos, que se vea lindo por fuera, ya más adelante resolveré que se vea lindo por dentro también.
|
 |  |  |  |
|---|
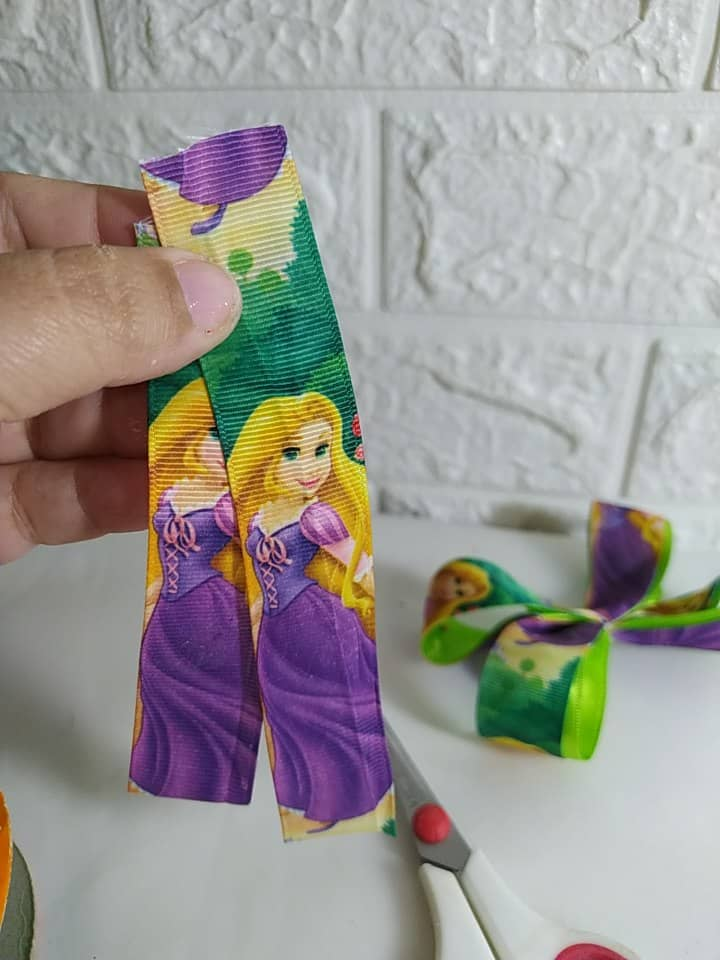
To mount the bow on the already lined headband, I'm first going to make a decoration to make it stand out even more.
I cut two strips of the patterned ribbon and two strips of the plain ribbon, approximately 15 cm each.
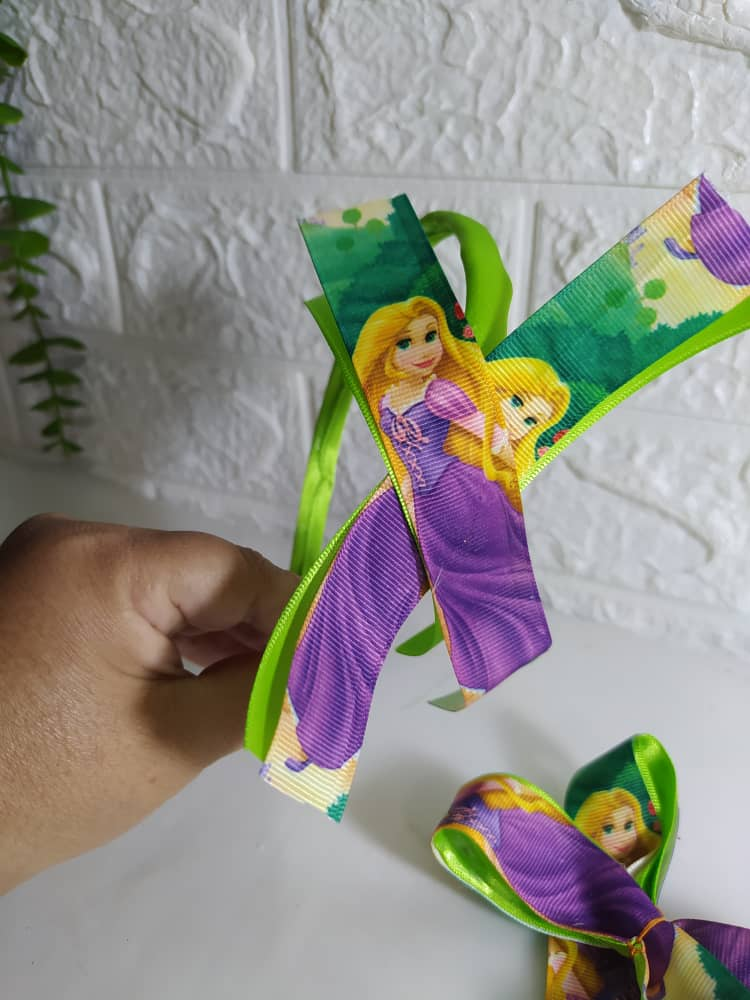
I glue a piece of the patterned ribbon with a plain ribbon using hot glue, and then I glue them to the headband making an X.
Now I glue the bow with hot glue, in a tilted shape.
With a piece of patterned ribbon, I cover the center of the bow, I made sure that a part of the ribbon where Princess Rapunzel can be seen coincides.
Para montar el lazo en el cintillo ya forrado, primero voy a realizar una decoración para destacar aún más.
Corto dos tiras de la cinta estampada y dos tira de la cinta unicolor, aproximadamente de 15 cms cada uno de ellas.
Pego con silicón caliente un pedazo de la cinta estampada con una unicolor, y luego las pego en el cintillo realizando una X.
Ahora si pego con silicón caliente el lazo, en forma ladeada.
Con un pedazo de cinta estampada, tapo en el centro del lazo, yo me fijé que coincidiera una parte de la cinta donde se ve bien a la Princesa Rapunzel.
|
 |  |  |  |
|---|
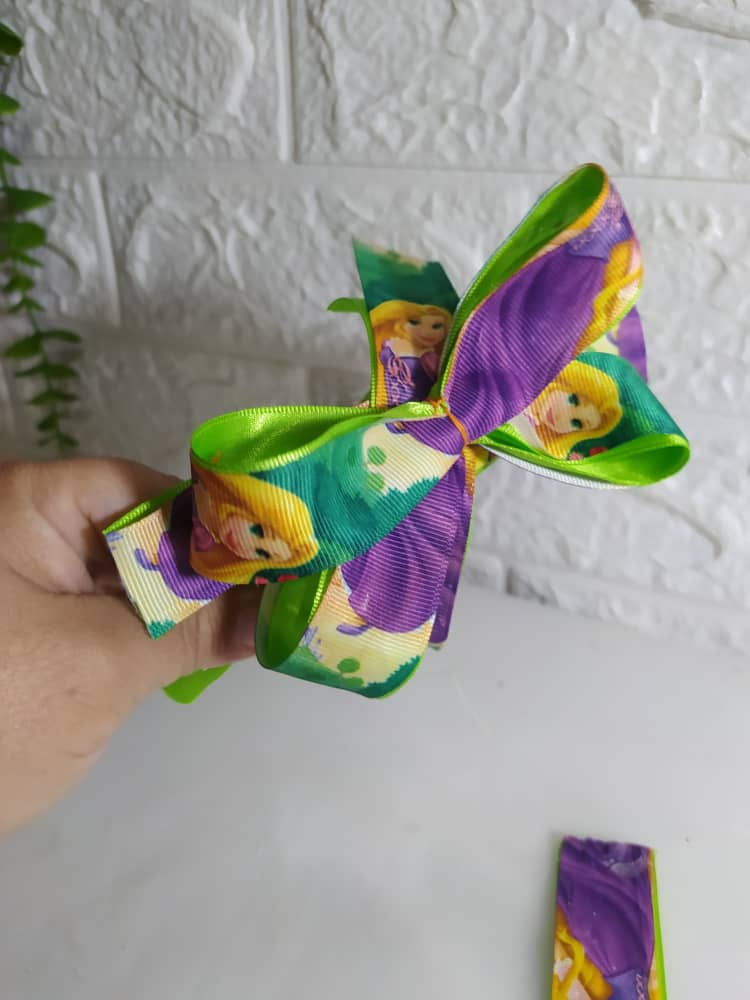
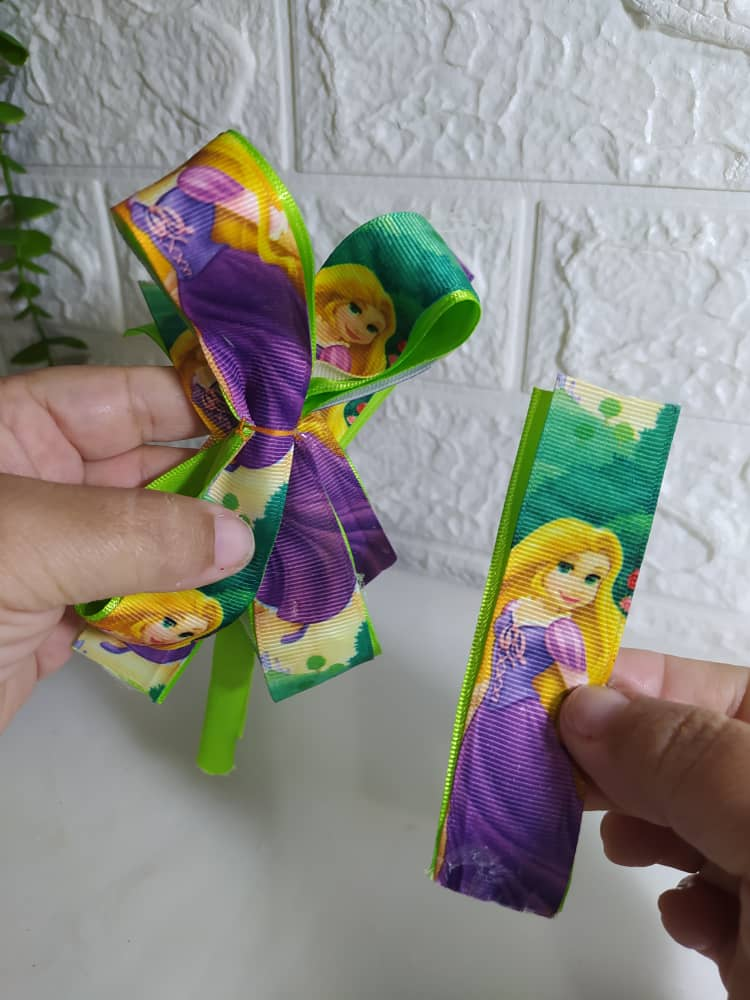
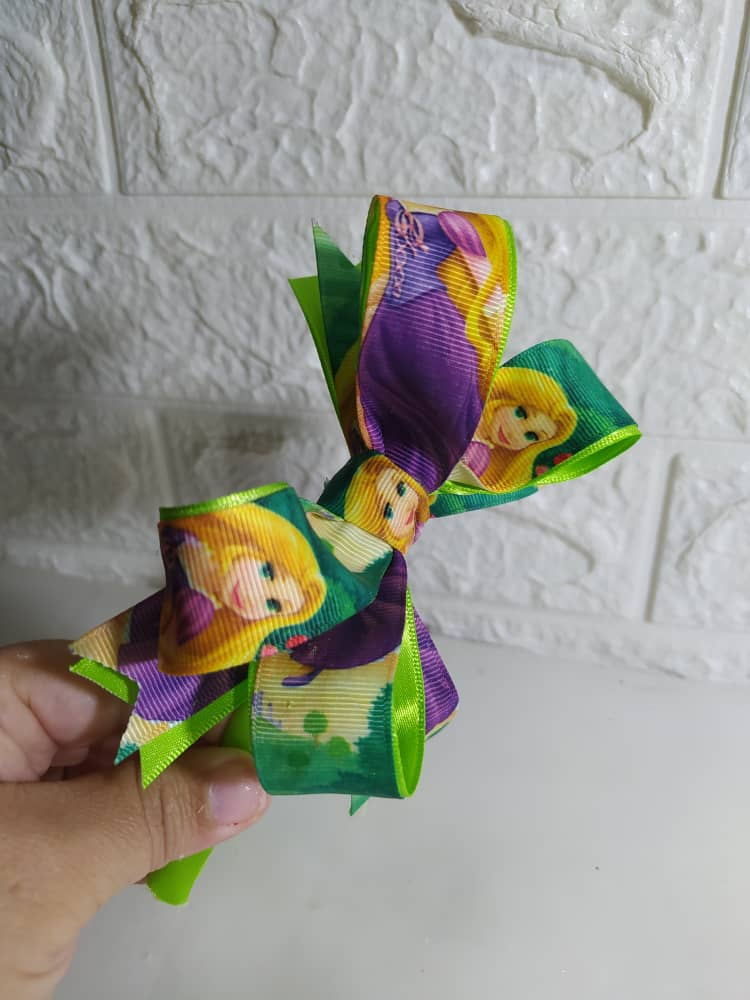
This is what the bow looks like with the ribbon in the center and glued to the back.
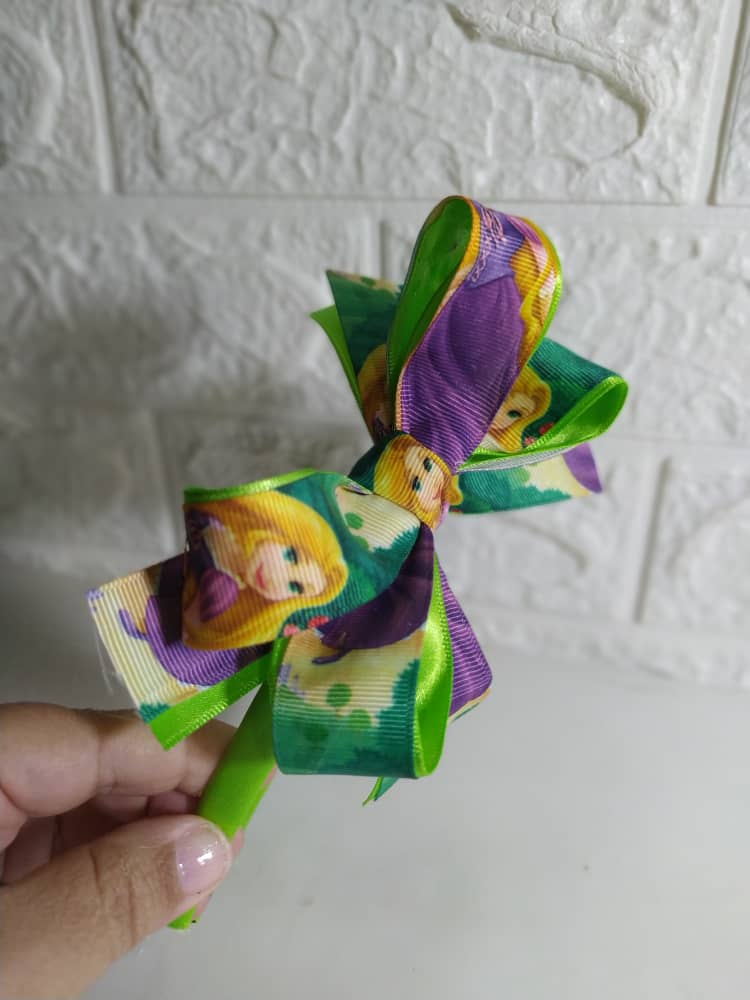
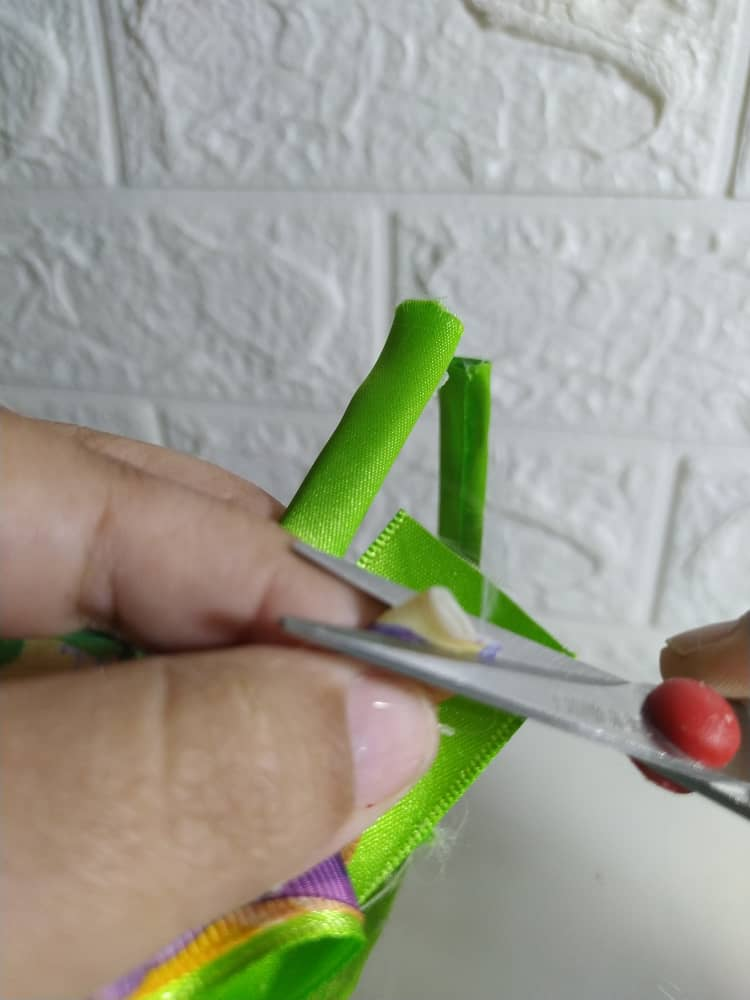
- QUALITY DETAIL: I cut the ribbon that formed the X into points, this will make the design look more beautiful. You can also burn the edges of these cuts very carefully, so that they do not fray.
Asi luce el lazo con la cinta en el centro y pegada en la parte de atrás.
- DETALLE DE CALIDAD: Corto en puntas las cinta que formaban la X, esto hará ver más bello el diseño. También puedes quemar los bordes de esos cortes con mucho cuidado, para que nos se deshilachen.
|
 |  |  |  |
|---|
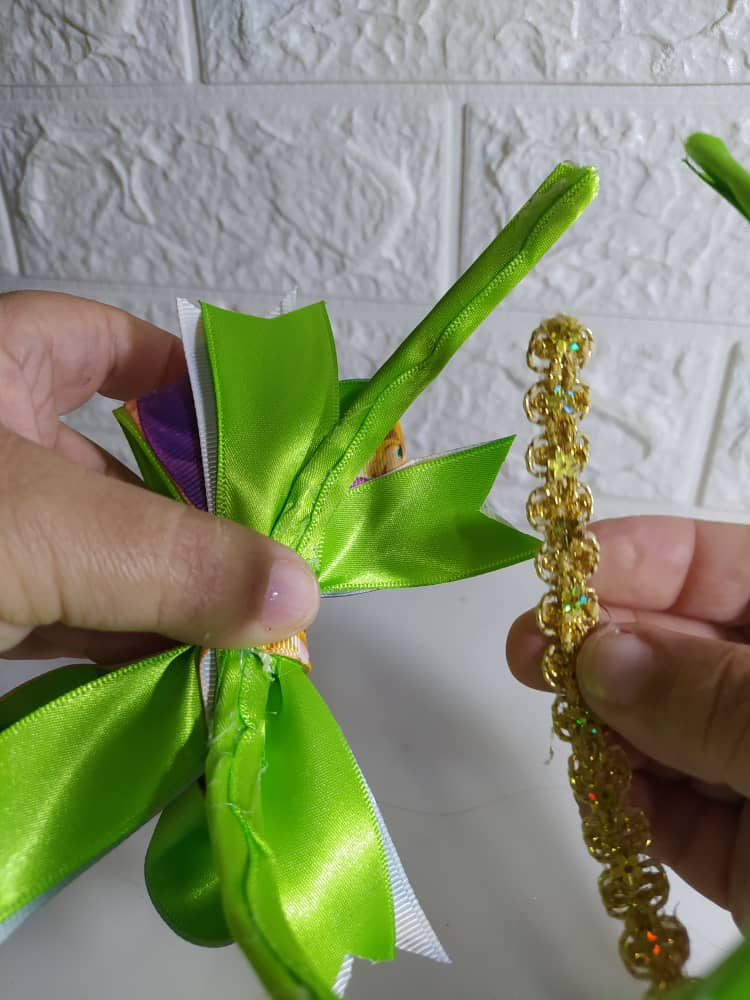
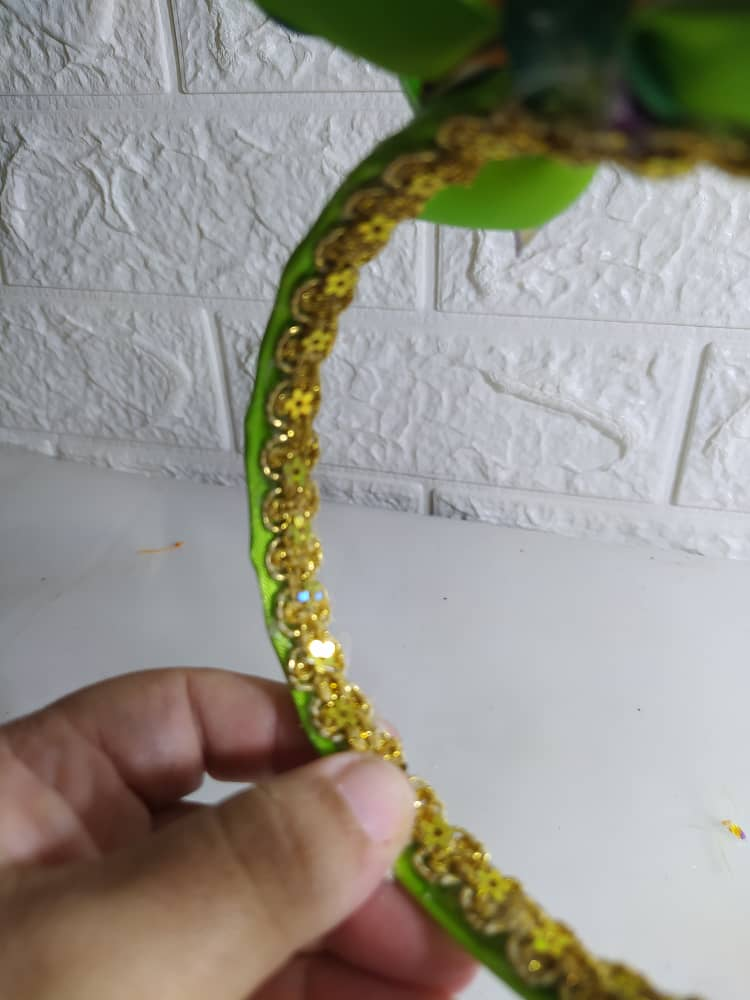
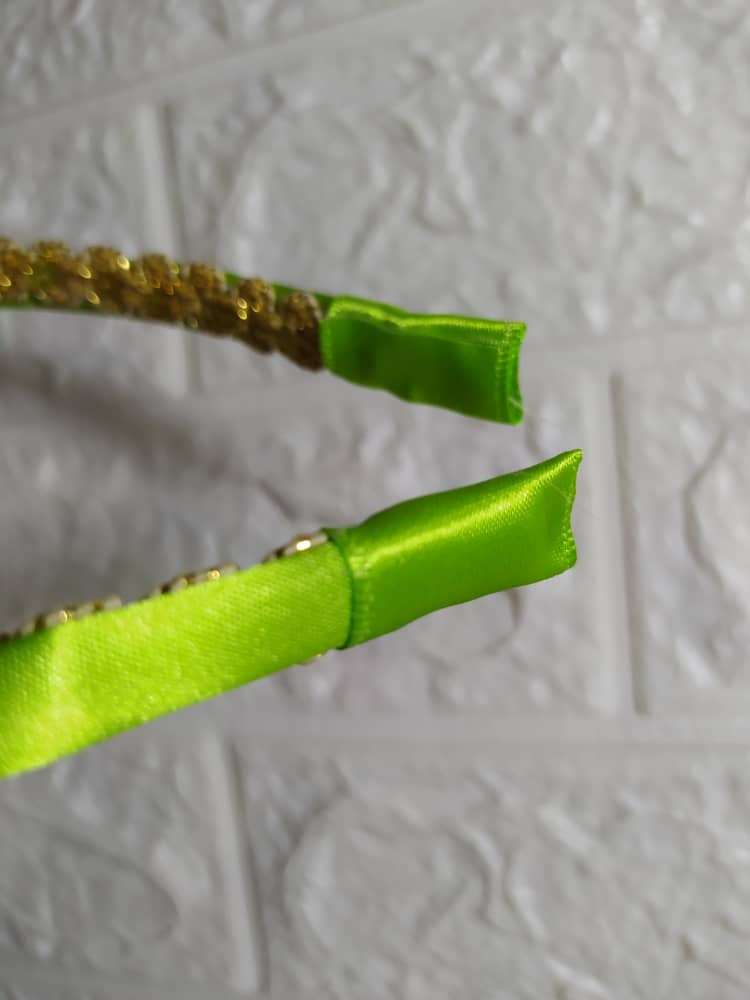
QUALITY DETAIL: Since the headband is for a girl, and it is lined with ribbon, it will easily slide or fall off. I put a gold ribbon that had reliefs or braids on it in order to cover the inside of the headband so that the glued centers of the ribbon are not visible and second, so that it holds better to the girl's head, since it will not slide easily.
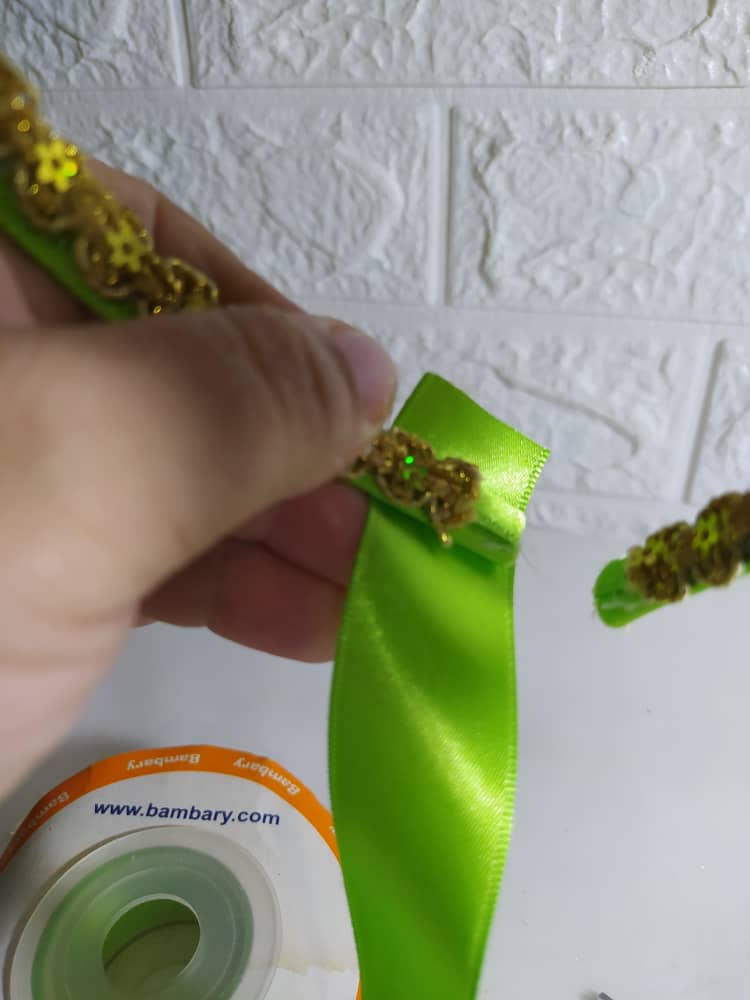
QUALITY DETAIL: I lined the ends of the headband with a piece of the single-color ribbon in a crosswise manner, I only cut a small piece and glued them with hot silicone.
DETALLE DE CALIDAD: Dado que el cintillo es para una niña, y que está forrado con la cinta, se va a deslizar o caer fácilmente. Le coloqué una cinta dorada que tenía relieves o trenzado con la finalidad de que tape el interior del cintillo para que no se vean los centros pegados de la cinta y segundo, para que se sujete mejor a la cabeza de la niña, ya que no se deslizará con facilidad.
DETALLE DE CALIDAD: Las puntas del cintillo las forré con un pedazo de la cinta unicolor en forma trasversal, solo corté un pedacito y las pegué con silicón caliente.
 |  |  |  |
|---|
This is the final result, I love how the solid color ribbon is visible on the inside of the bow, it also gives it more structure and makes it look well formed.
The details on the inside of the headband and the lined ends make this piece more delicate and beautiful.
Este es el resultado final, me encanta como la cinta unicolor se ve por el lado del interior del lazo, también le da más estructura y se ve bien formado.
Los detalles del interior del cintillo y las puntas forradas, hacen de esta pieza algo más delicado y bello.
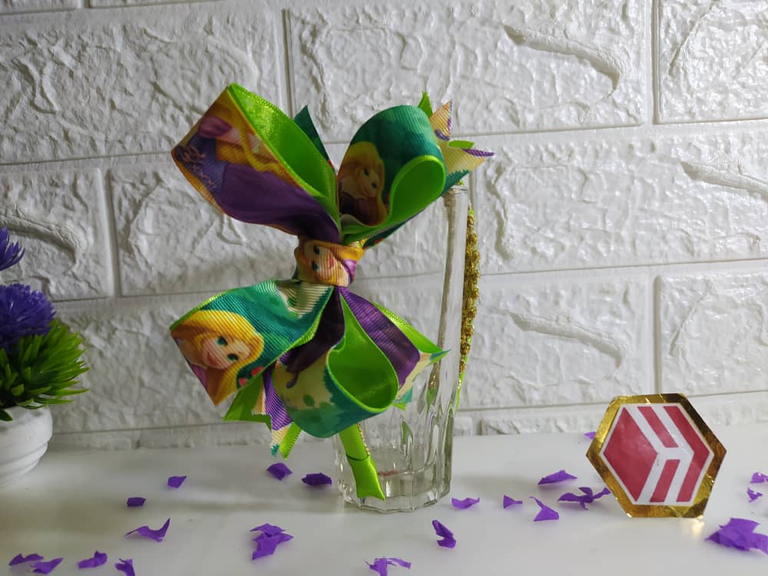
Remember, each design will be different if you vary the ribbons, the prints, and if you make nice combinations between the two.
I hope you liked it, if you got this far I thank you, I am very grateful that you consume my content, I also see and greatly admire our Hive DIY Community and all the Artisans and Craftswomen.
Recuerda, que cada diseño será diferente si varias las cintas, los estampados, y si realizas combinaciones bonitas entre ambos.
Deseo que te haya gustado, si llegaste hasta aquí te lo agradezco, muy agradecida de que consumas mi contenido, yo igual los veo y admiro mucho a nuestra Comunidad Hive Diy y a todos los Artesanos y Artesanas.


I took the photos with my phone Redmi Note 8
Apps I used:
Canva Pro for Cover, Collage and Banners
I used Deepl Translator
My social networks:
Discord: YennysYaneth#0189
Twitter: @yennysferm
Instagram: @yennysyaneth
Las fotos las tomé con mi teléfono Redmi Note 8
Apps que utilicé:
Canva Pro para la Portada, Collage y Banners
Utilicé el Traductor Deepl
Mi redes sociales:
Discord: YennysYaneth#0189
Twitter: @yennysferm
Instagram: @yennysyaneth


