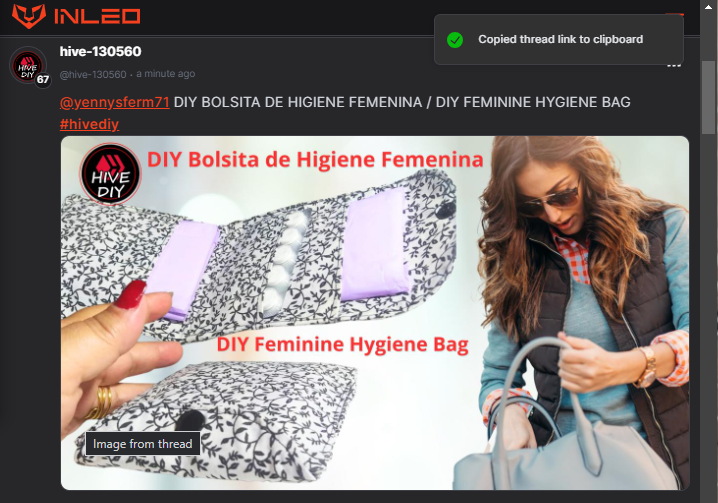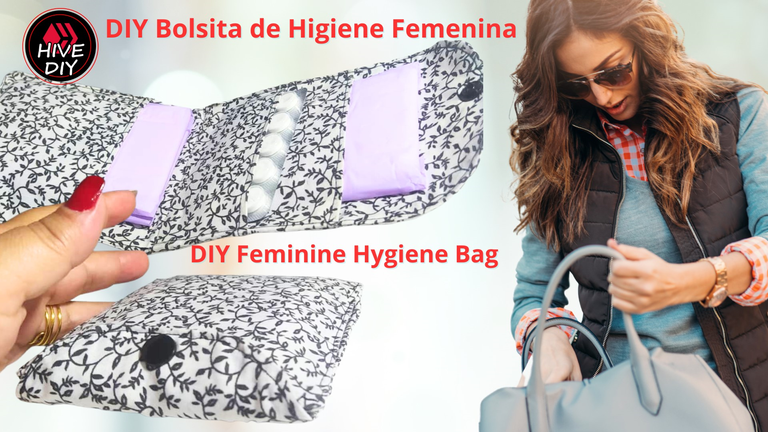
Me encanta tener todo bien organizado en mi cartera, y cuando voy a buscar las llaves, el maquillaje o como es el caso del día de hoy, unas toallas femeninas, me gusta tenerlas bien dispuestas y además muy lindas en mi bolso, cartera, morral, etc.
Hoy quise hacer un bolsito para colocar unas toallas sanitarias y unas pastillas, para estar bien preparada para esos días, y que además se luzcan en mi bolso, o incluso cuando alguien me pide una.
De manera que, el Diy de hoy es Bolsita de Higiene Femenina, y ha quedado muy bella para mi gusto y también muy práctica de manejar.
I love having everything well organized in my purse, and when I go to look for the keys, the makeup or, as is the case today, some feminine towels, I like to have them well arranged and also very pretty in my bag, purse, backpack , etc.
Today I wanted to make a little bag to put some sanitary pads and some pills, so that I would be well prepared for those days, and that they would also be visible in my bag, or even when someone asked me for one.
So, today's DIY is Feminine Hygiene Bag, and it has turned out very beautiful for my taste and also very practical to handle.

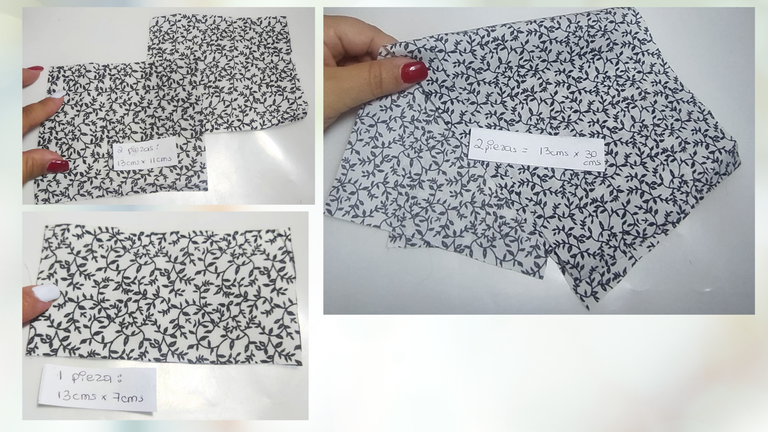
En las siguientes fotos te coloco las medidas de las telas que usé en mi Bolsito, y son los que son necesarios para la elaboración del bolsito, ya que los demás son opcionales. Por ejemplo yo utilicé mi máquina de coser, pero también se puede realizar a mano, una tarde sentadita puedes realizar este Bolsito.
In the following photos I show you the measurements of the fabrics that I used in my Bag, and they are the ones that are necessary for making the bag, since the others are optional. For example, I used my sewing machine, but it can also be done by hand, one afternoon sitting down you can make this Bag.
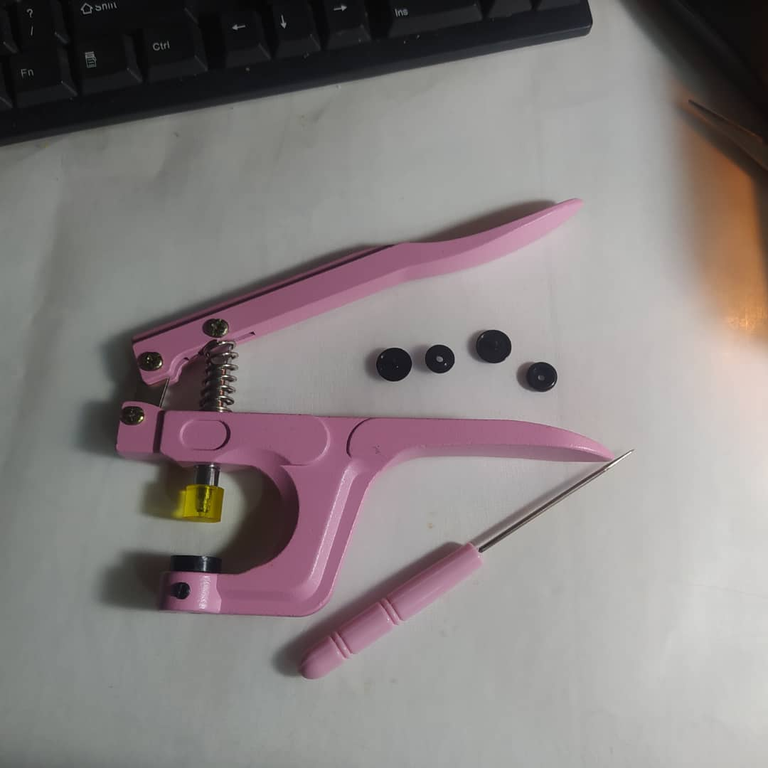
También utilicé unos Broches plásticos como mecanismo para abrir y cerrar el Bolsito, pero esto también puedes sustituirlo por un botón y una tira para cerrar, o hasta un ojal.
Otro material que utilicé fue la entretela, pero también es opcional, si no dispones de ella no importa, puedes prescindir de este material, yo lo usé porque sí tenía y le aporta más cuerpo y firmeza al bolsito, pero sin ella va a quedar bien, solo que el cuerpo se lo darán las toallas femeninas cuando estén adentro, no hay problema con esto.
También usé la plancha, la verás más adelante en las fotos, y si no tienes puedes planchar con las manos hasta lograr que la tela se aplane simplemente.
I also used some plastic Snaps as a mechanism to open and close the Bag, but you can also replace this with a button and a strap to close, or even a buttonhole.
Another material that I used was the interlining, but it is also optional, if you don't have it it doesn't matter, you can do without this material, I used it because I did have it and it gives more body and firmness to the bag, but without it it will look good , except that the body will be affected by the feminine pads when they are inside, there is no problem with this.
I also used the iron, you will see it later in the photos, and if you don't have one you can iron with your hands until the fabric simply flattens.
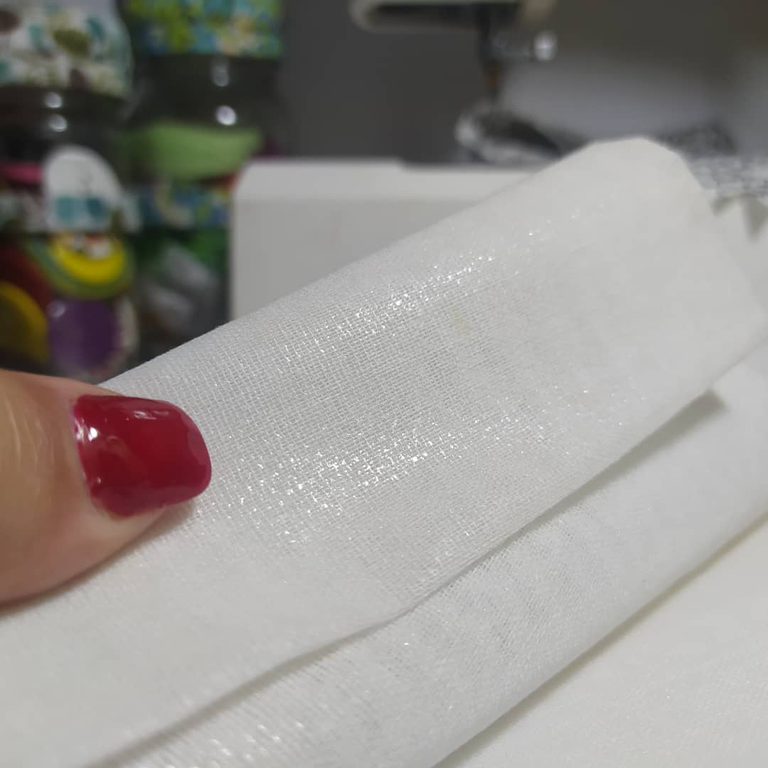

Con las telas en las medidas y cantidades que mencioné y que si son imperativas para realizar este Bolsito, les pegué la entretela que se pega con calor.
Entonces, si corté la entretela con las mismas medidas de las piezas, fijé con alfileres y colocando la parte que brilla hacia el revés de la tela, pasé la plancha por la entretela que queda expuesta.
With the fabrics in the measurements and quantities that I mentioned and that are imperative to make this Bag, I glued the interlining that is glued with heat.
So, if I cut the interlining with the same measurements of the pieces, I fixed it with pins and placing the part that shines towards the wrong side of the fabric, I ran the iron over the interlining that is exposed.

Esto se lo hice a todas las piezas, menos a una de las piezas grandes, ya que consideré que con una sola pieza con entretela era suficiente para darle cuerpo.
Así quedaron las piezas con la entretela ya pegadas.
I did this to all the pieces, except one of the large pieces, since I considered that a single piece with interlining was enough to give it body.
This is how the pieces looked with the interlining already glued.

A las dos piezas más grandes, que serán la parte externa del Bolsito, en uno de sus extremos voy a redondear sus esquinas, y el otro extremo quedará rectangular.
Para hacer esta redondez puedo usar cualquier elemento que sea redondo, un tirro, un plato, cualquier cosa; marco con un bolígrafo o lápiz y repito en el mismo extremo para conseguir esta forma:
For the two largest pieces, which will be the external part of the Bag, at one end I am going to round the corners, and the other end will be rectangular.
To make this roundness I can use any element that is round, a pot, a plate, anything; mark with a pen or pencil and repeat on the same end to get this shape:

Ahora empiezo a preparar las piezas pequeñas, que todas miden de un lado 13 cms en ese lado, hago un doblez y paso una costura recta, en las tres piezas.
Now I start preparing the small pieces, which all measure 13 cm on one side, I make a fold and sew a straight seam on the three pieces.

Fijo en la pieza larga, en el extremo donde quedaron las puntas rectas, fijo una de las piezas pequeñas, dejando que se forme un bolsillo.
Luego, las otras dos que van a tener diferente tamaño, juntas, y las coso dejando como 3cms de separación del bolsillo que preparé primero. Esto lo hago colocando todo derecho con derecho, para luego subir la pieza.
Fixing on the long piece, at the end where the straight tips were, I fix one of the small pieces, allowing a pocket to form.
Then, the other two that are going to be different sizes, together, and I sew them leaving about 3cm of separation from the pocket that I prepared first. I do this by placing everything right side up, and then uploading the piece.

Aquí ven como subí la pieza y se ahora paso unas costuras laterales, para entonces ver como se forman dos bolsillos en el otro extremo de la pieza más grande, esto se entiende mejor en las imágenes:
Here you see how I raised the piece and now sewed some side seams, and then you can see how two pockets are formed at the other end of the largest piece, this is better understood in the images:

Ahora coloco la otra pieza grande derecho con derecho con toda la pieza que acabo de construir, y le paso costura recta por todo el alrededor, dejando un espacio sin coser abajo, para poder dar la vuelta a toda la pieza.
Now I place the other large piece right side up with the entire piece I just built, and I sew a straight stitch all around, leaving an unsewn space at the bottom, so I can turn the entire piece over.

Así quedará la costura y el espacio sin coser, por ahí volteo todo el bolsito que ya casi está listo.
This is how the seam and the unstitched space will be, that's where I turn the entire bag that is almost ready.

Con todo el Bolsito al derecho y casi listo, le paso la plancha para aplanar bien todo, y le paso una costura recta alrededor, incluyendo el espacio por donde volteé la pieza, que ahora estará cerrado todo.
With the entire Bag right side up and almost ready, I use the iron to flatten everything well, and I sew a straight seam around it, including the space where I turned the piece, which will now be all closed.

Esto es opcional, yo utilicé un broche plástico como mecánica para abrir y cerrar, si no tienes esta herramienta, puede ponerle un botón con una tira o un ojal.
Perforo con el punzón, coloco la pieza del botón plástico que tiene la punta, luego la otra parte y presiono con el alicate para esto.
This is optional, I used a plastic snap as a mechanism to open and close, if you don't have this tool, you can put a button with a strip or an eyelet on it.
I drill with the punch, place the piece of the plastic button that has the tip, then the other part and press with the pliers for this.

En el lugar donde cerraría, repito toda la operación con el otro broche para terminar.
In the place where it would close, I repeat the entire operation with the other clasp to finish.

Como puedes ver es muy fácil de realizar, puedo introducir hasta 5 toallas sanitarias e incluso pastillas para el dolor menstrual.
As you can see, it is very easy to do, I can insert up to 5 sanitary pads and even pills for menstrual pain.

Este Bolsito es práctico porque le caben varias toallas, y sin embargo ocupa poco espacio al cerrarse. El mecanismo con el broche plástico es muy fácil y rápido de usar.
This bag is practical because it can hold several towels, and yet it takes up little space when closed. The mechanism with the plastic clasp is very easy and quick to use.
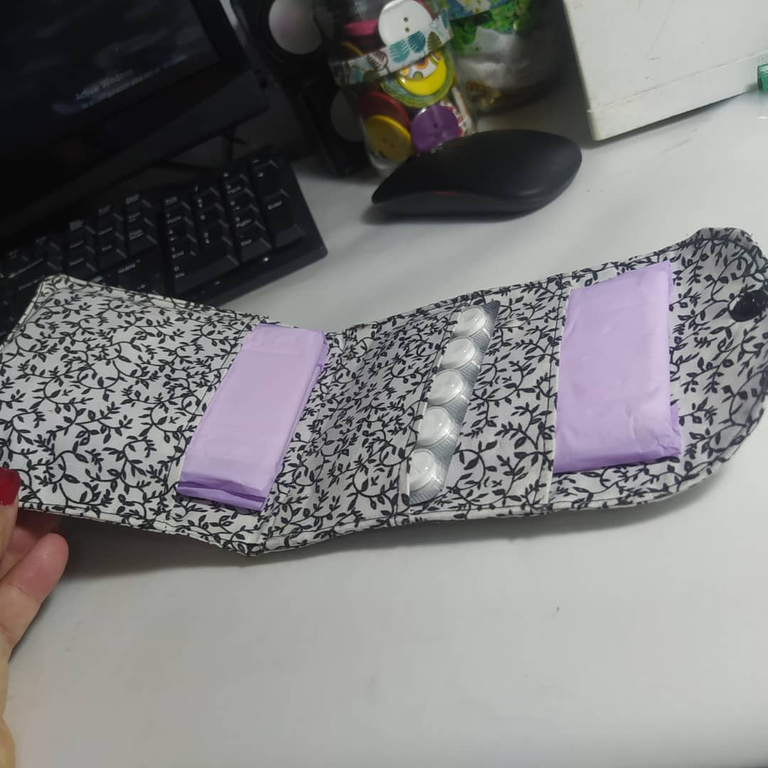
Como puedes ver es muy bello y discreto, y tendremos fácil acceso a el cuando esté en nuestra cartera o bolso. Todo ordenado como me gusta.
As you can see, it is very beautiful and discreet, and we will have easy access to it when it is in our purse or bag. Everything organized the way I like it.
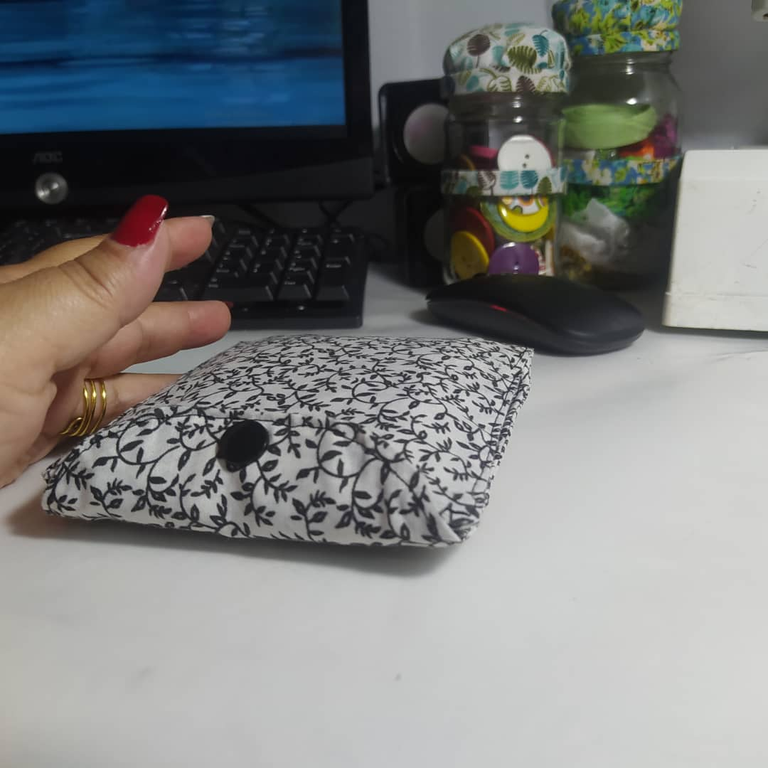
Te animo a hacer este proyecto, siguiendo el paso a paso lo puedes hacer, igual puedes animarte a hacer otros proyectos para hacer tu día a día más fácil y bonita.
I encourage you to do this project, by following the step by step you can do it, you can also encourage yourself to do other projects to make your daily life easier and more beautiful.

---------- ❤️❤️❤️❤️ ----------
Las fotos las tomé con mi teléfono Redmi Note 8
Apps que utilicé:
Canva para la Portada
Inshot para los Collage
Utilicé el Traductor Google
Mi redes sociales:
Discord: YennysYaneth#0189
Twitter: @yennysferm
Instagram: @yennysyaneth
---------- ❤️❤️❤️❤️ ----------
I took the photos with my Redmi Note 8 phone
Apps I used:
Canva for the Cover
Inshot for the Collage
I used Google Translate
My social networks:
Discord: YennysYaneth#0189
Twitter: @yennysferm
Instagram: @yennysyaneth

