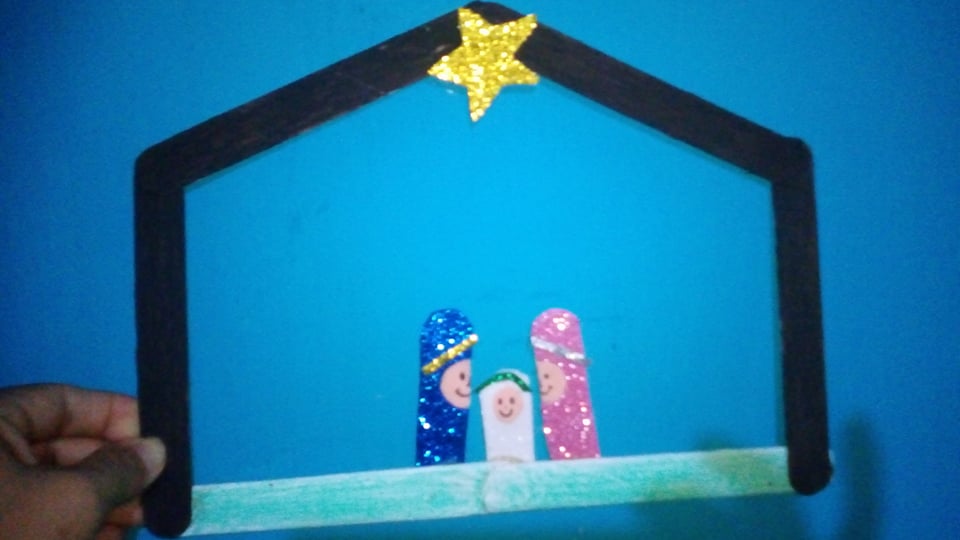
Buenas noches mis amigos de @Hivediy, espero se encuentren todos muy bien, hoy quiero compartir mi linda creatividad inspirada en un nacimiento navideño hecho con paletas de helado, la cual representa el nacimiento del niño Jesús, ya se acerca el tiempo decembrino donde la creatividad se pone en practica para ambientar nuestros hogares. Aquí presento mi paso a paso.
Good evening my friends of @Hivediy, I hope you are all very well, today I want to share my beautiful creativity inspired by a Christmas nativity scene made with popsicle sticks, which represents the birth of the baby Jesus, the Christmas season is approaching where creativity is put into practice to decorate our homes. Here is my step by step.
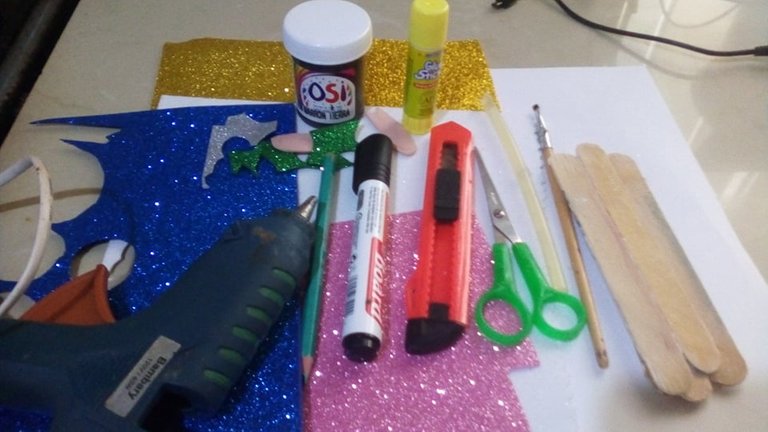
Materiales:
- 8 paletas gruesas de helado.
- 1 hoja blanca.
- Pincel.
- Tijera.
- Pega de barra.
- Pintura al frio marrón.
- Exacto.
- Foami escarchado: azul rey, rosado, blanco y dorado.
- Recortes d foami.
- Silicon en barra.
- Pistola de silicón.
-Color verde. - Marcador negro.
Materials:
- 8 thick popsicle sticks.
- 1 white sheet.
- Paintbrush.
- Scissors.
- Glue stick.
- Brown cold paint.
- Exactly.
- Frosted foami: royal blue, pink, white and gold.
- Foami cutouts.
- Silicon stick.
- Silicone gun.
-Green color. - Black marker.
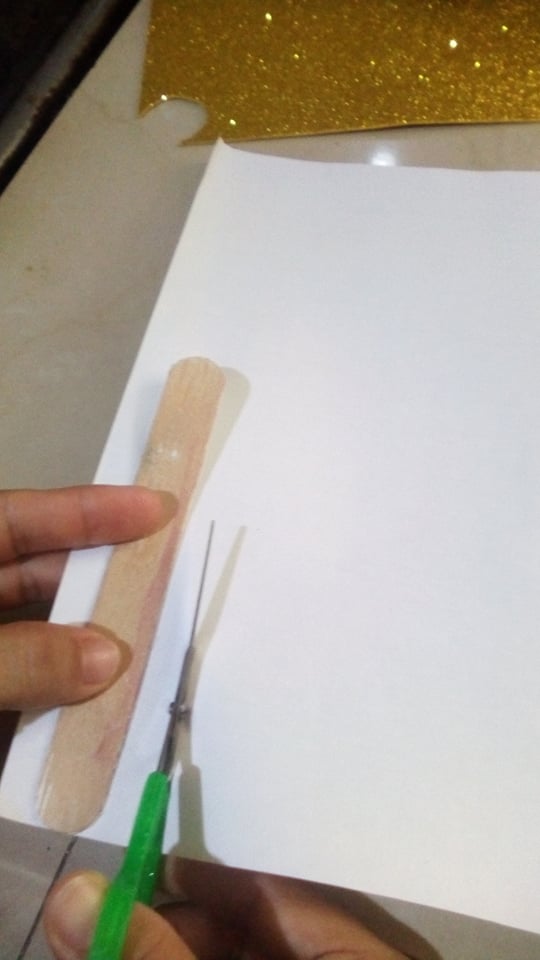
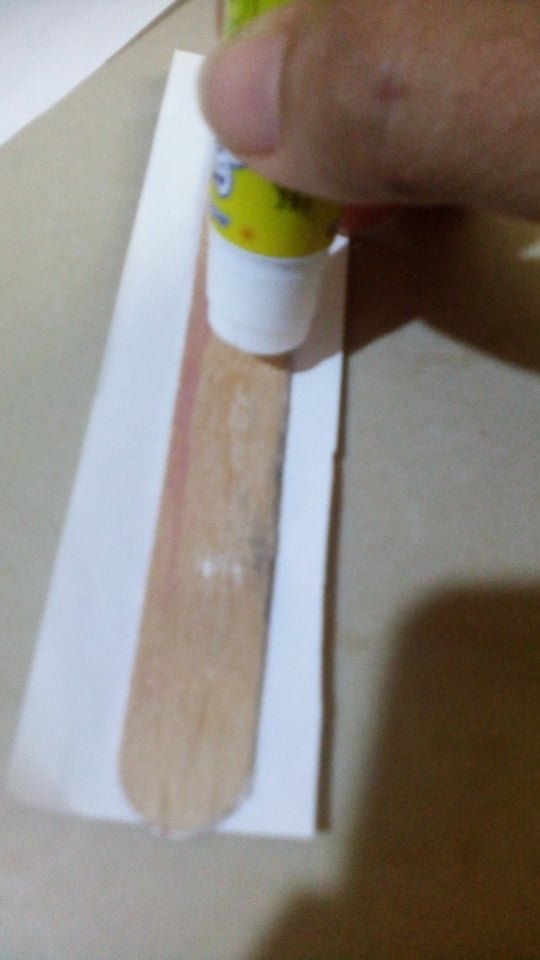
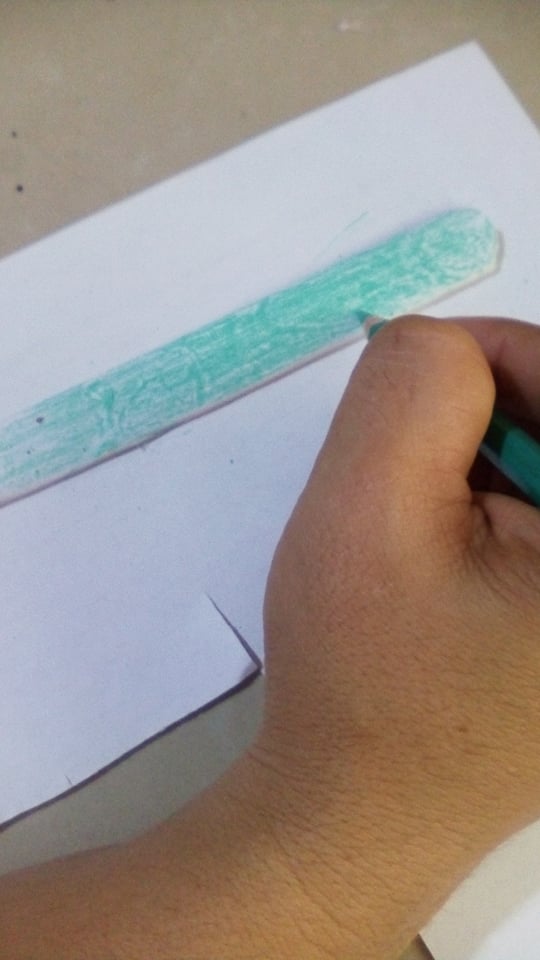
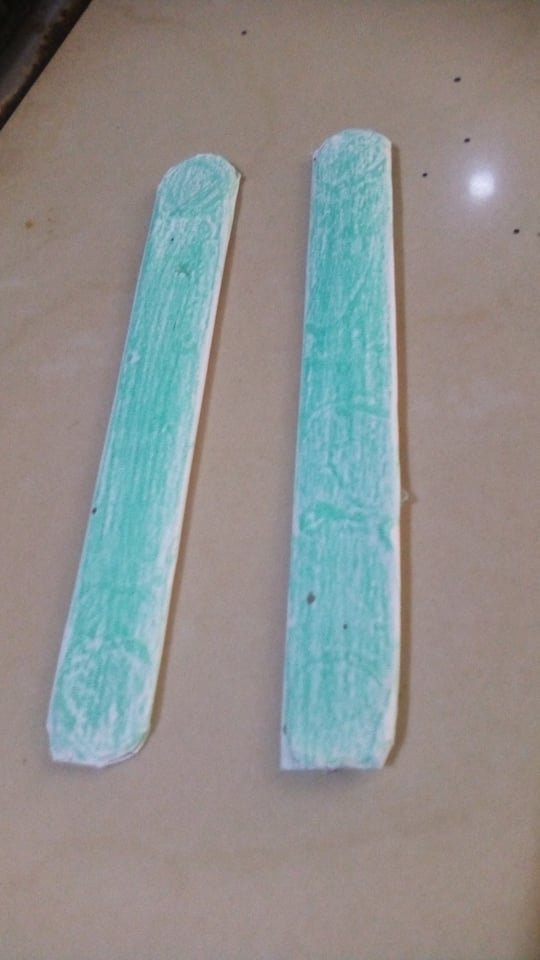
Empezaremos colocando la paleta de helado sobre la hoja en blanco aplicamos pega en barra y forramos, luego las dibujamos con el color verde.
We will start by placing the popsicle stick on the blank sheet, apply glue stick and line it, then draw them with the green color.
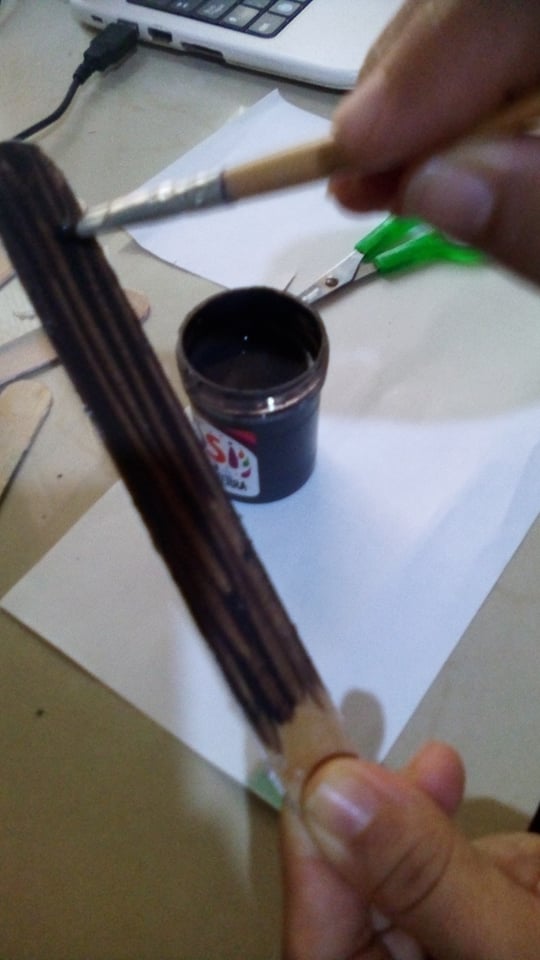
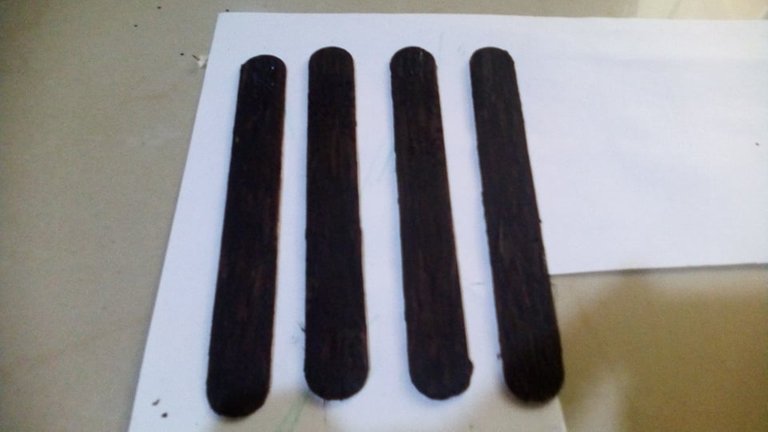
Ahora usaremos 4 paletas y las pintaremos de color marrón dejamos secar y después volveremos a pintar hasta que nos quede bien homogénea.
Now we will use 4 palettes and paint them brown, let them dry and then paint again until they are homogeneous.
 >/center>
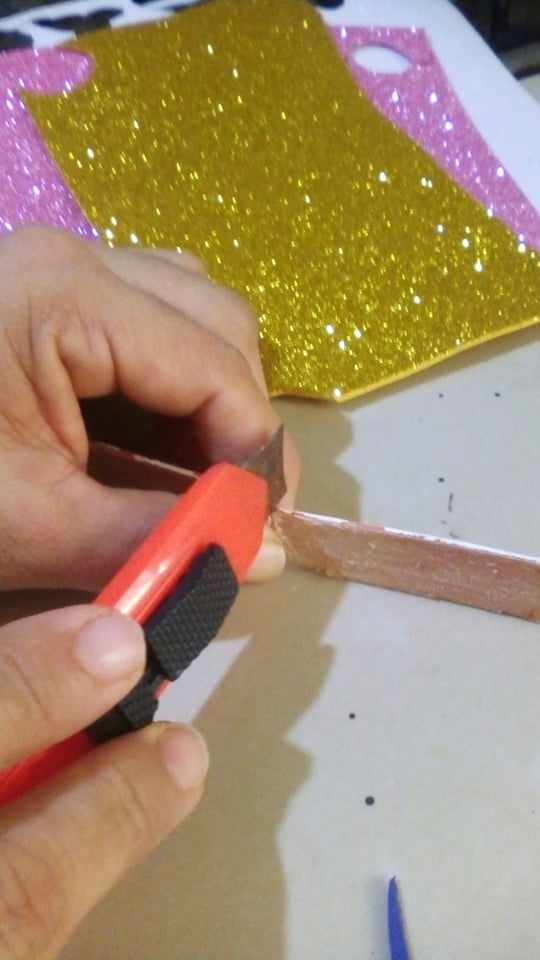
Utilizaremos un exacto para picar la paleta por el medio para sacar el patrón de María y José y con otra paleta el patrón del niño Jesús.
We will use an exacto to cut the palette in the middle to get the pattern of Mary and Joseph and with another palette the pattern of the baby Jesus.
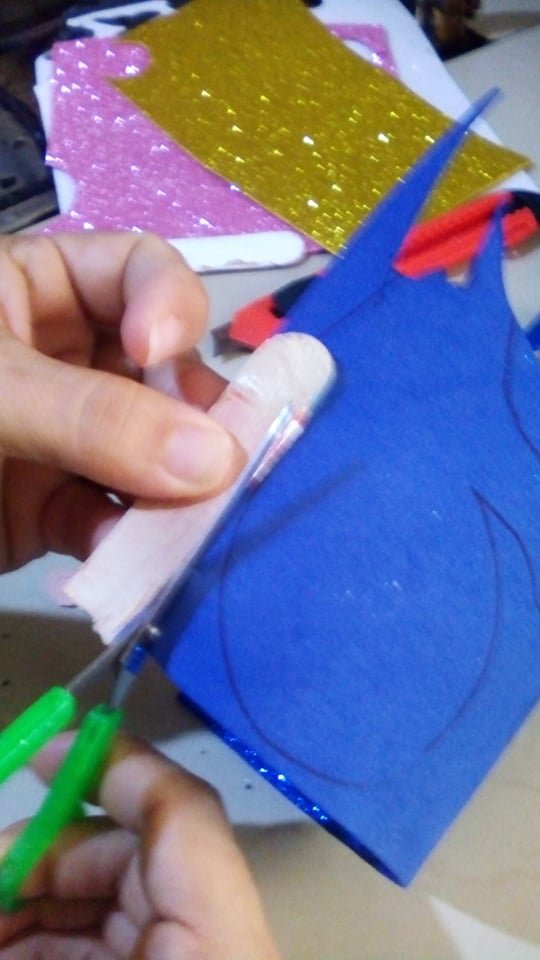
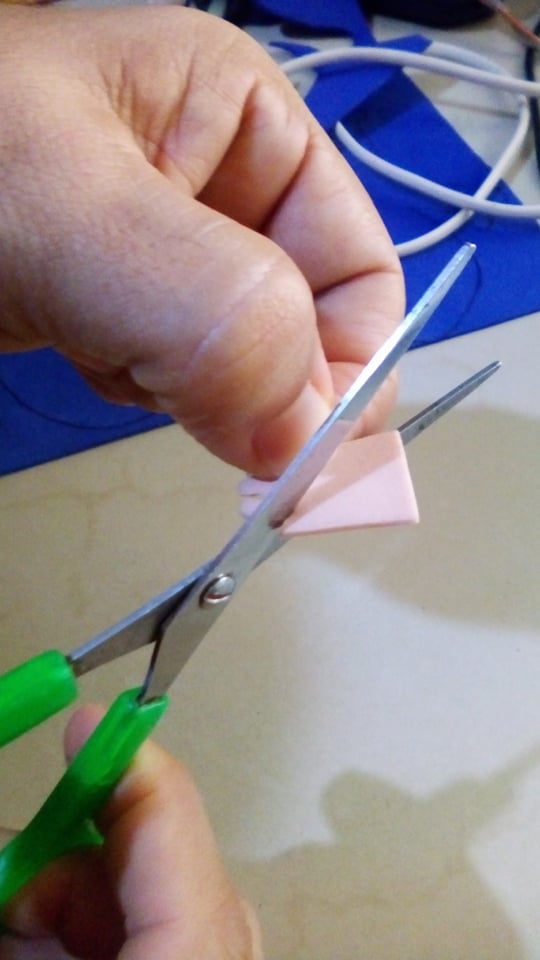
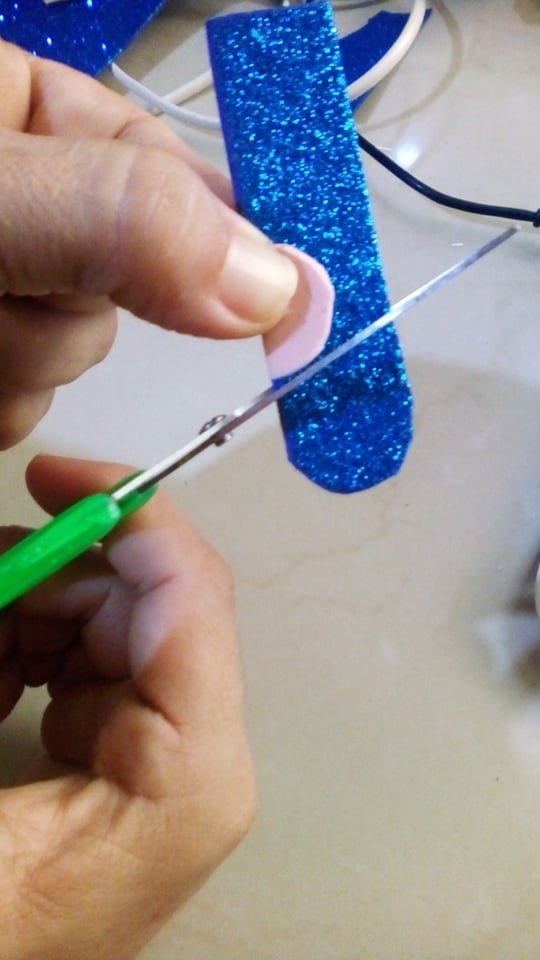
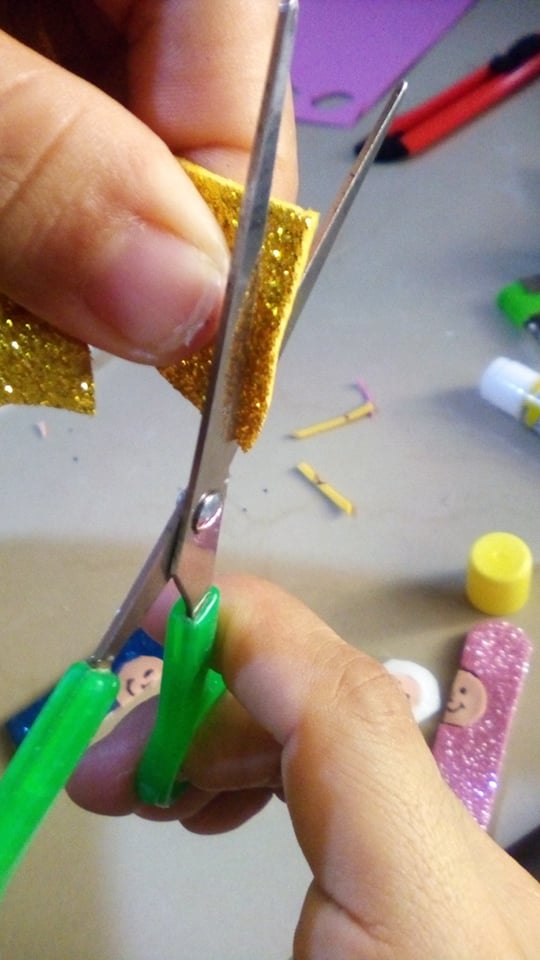
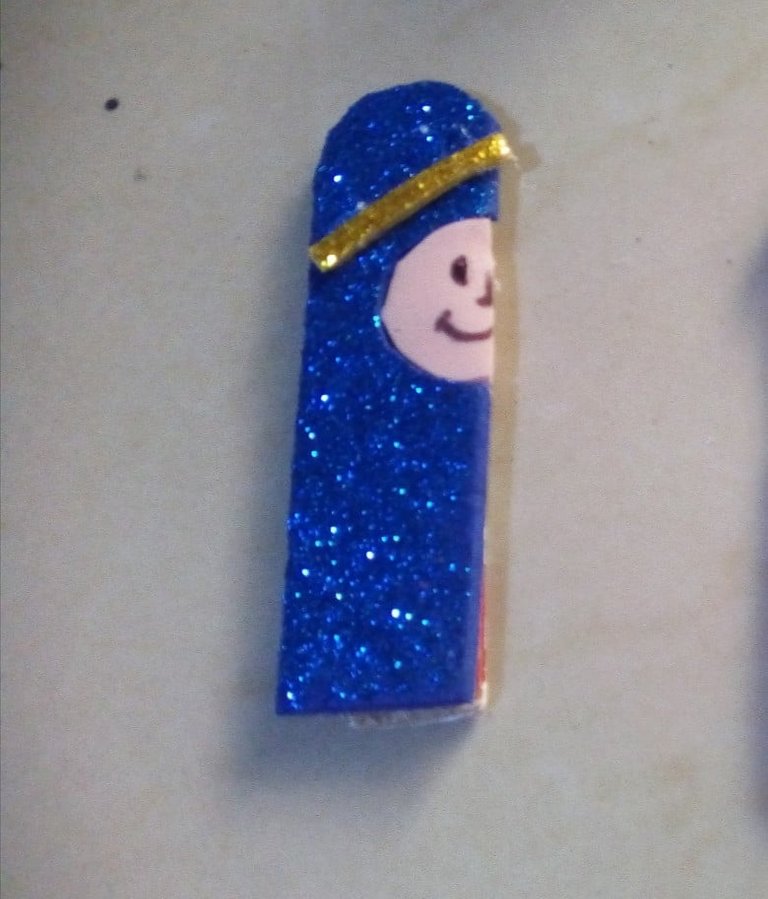
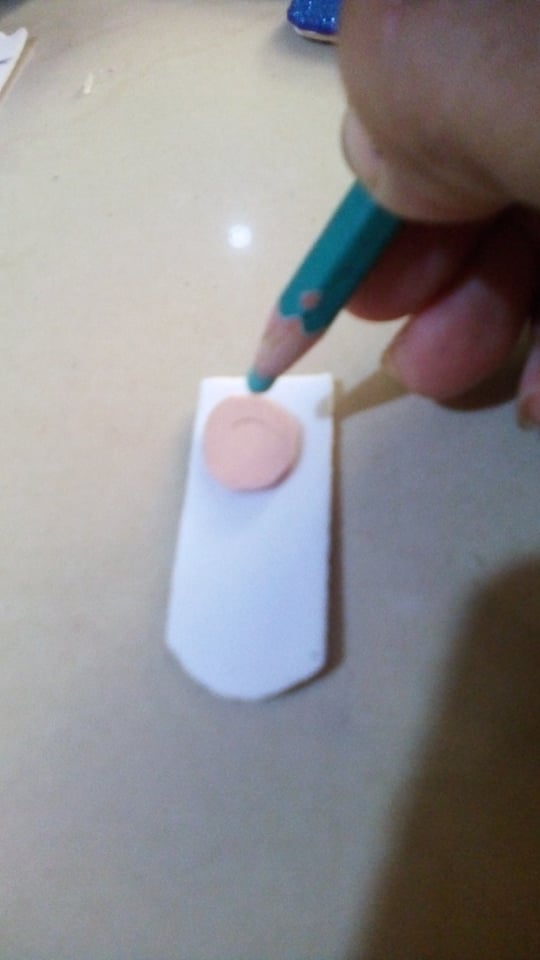
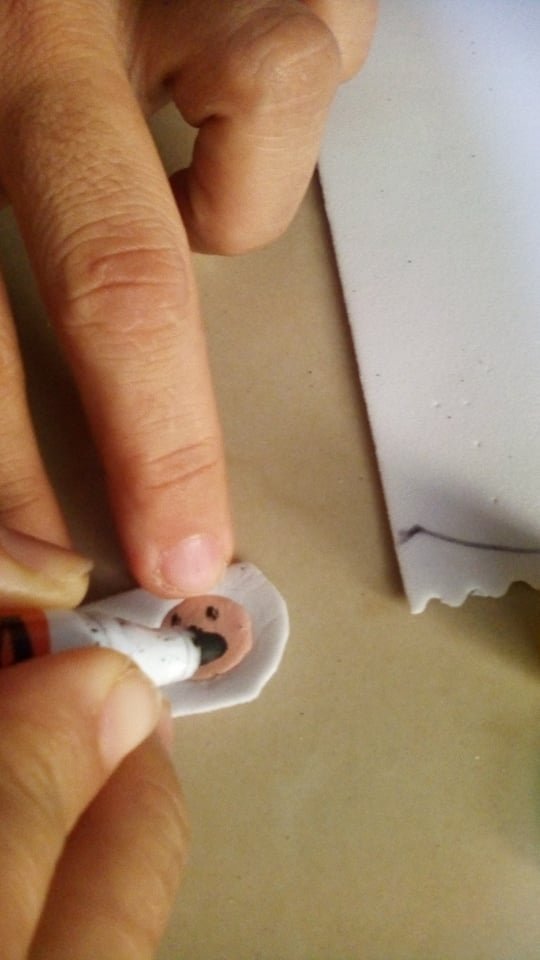
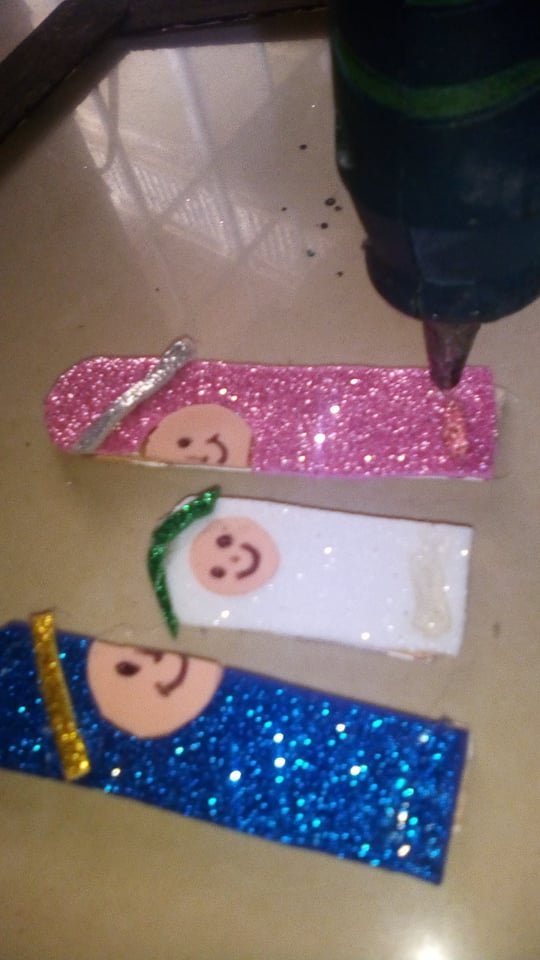
Colocamos la mitad de la paleta sobre el foami azul rey y recortamos , después casaremos la forma de cara utilizando un retazo de foami de color carne, una vez recortada la cara la colocamos sobre el foami azul rey para recortar la forma donde va a ir la cara, con un marcador negro dibujaremos los ojos, nariz y boca, luego recortamos una tirita dorada. Una vez los patrones estén recortados empezamos a pegar con silicón y ya nuestro José esta listo.
We place half of the palette on the royal blue foami and cut it out, then we will make the face shape using a piece of flesh-colored foami, once the face is cut out we place it on the royal blue foami to cut out the shape where the face will go, with a black marker we will draw the eyes, nose and mouth, then we cut out a golden strip. Once the patterns are cut out we start gluing with silicone and our José is ready.
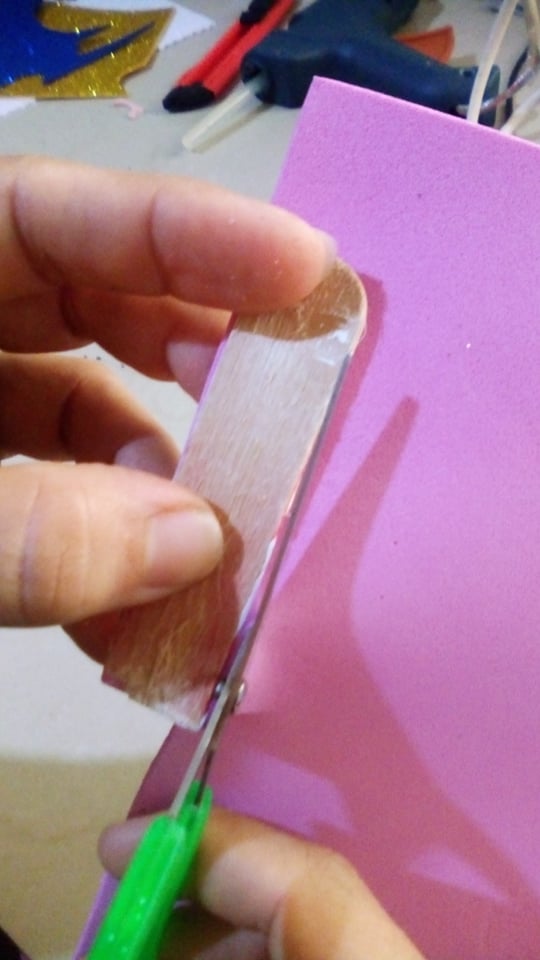
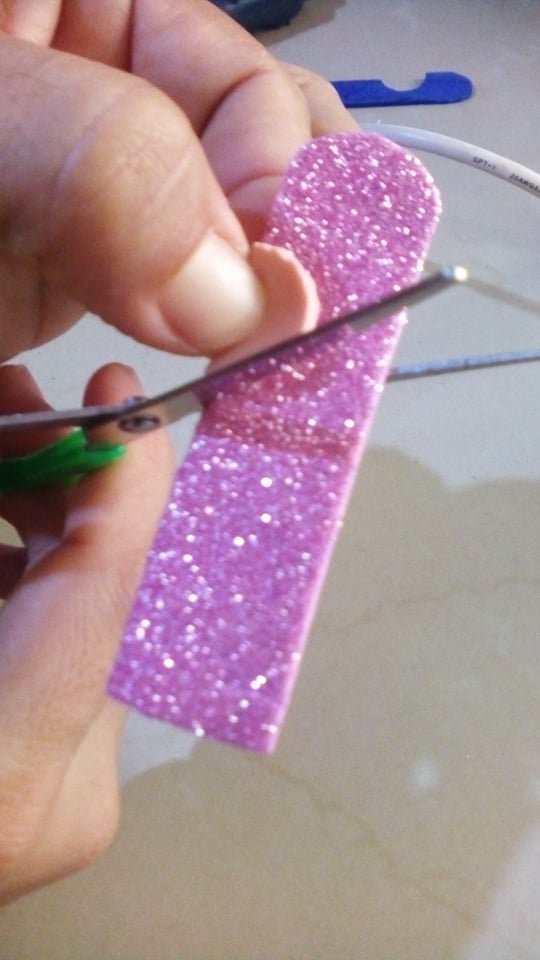
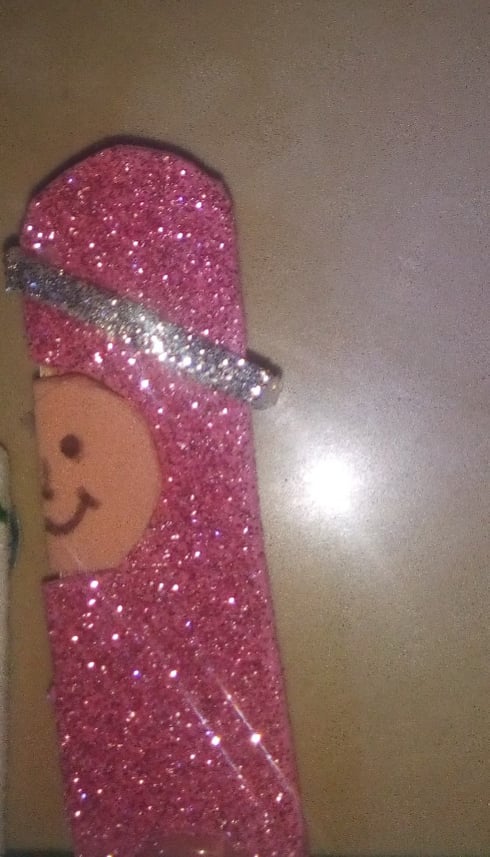
Repetimos el mismo procedimiento con la virgen María.
We repeat the same procedure with the Virgin Mary.
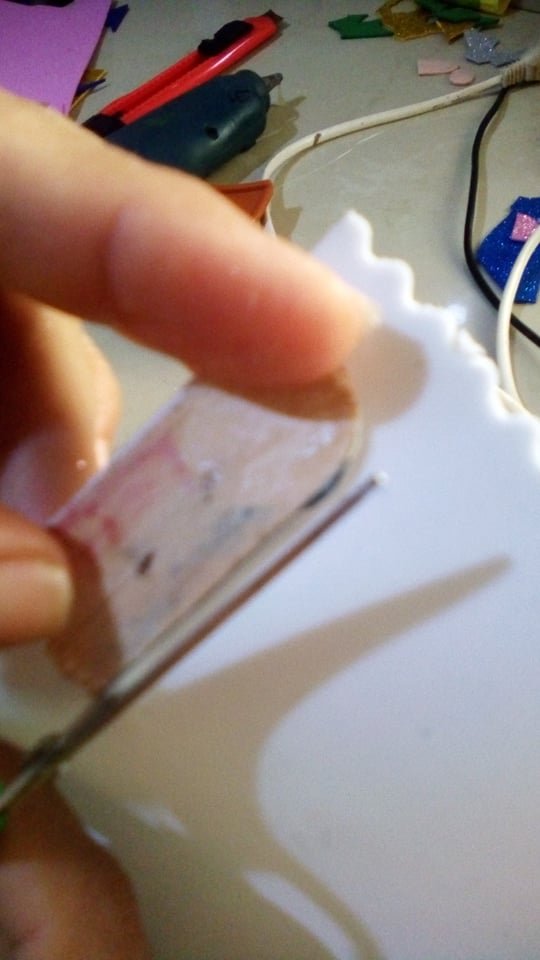
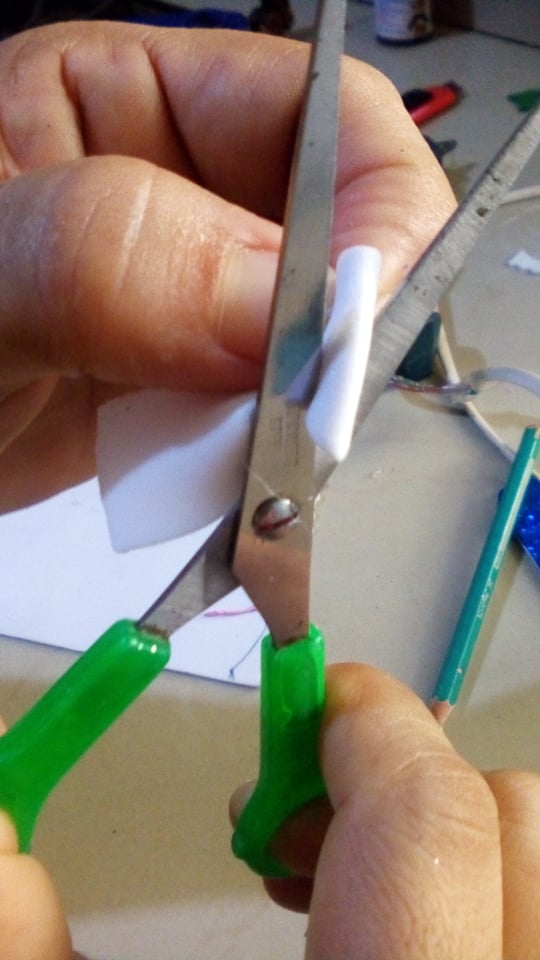
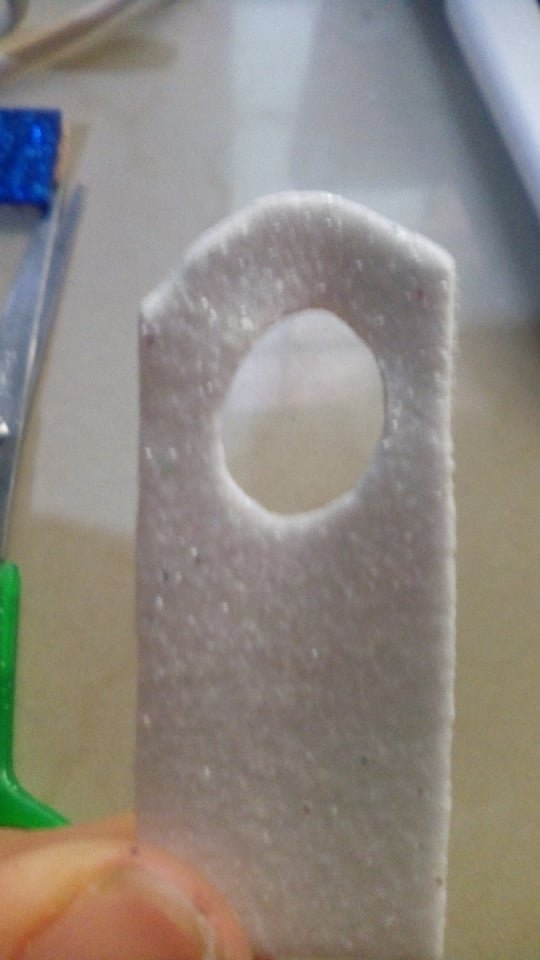
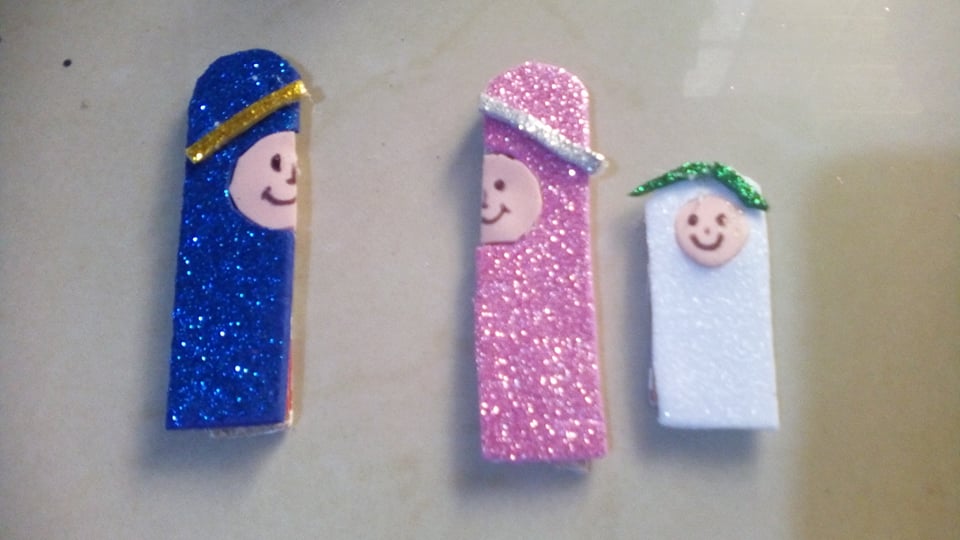
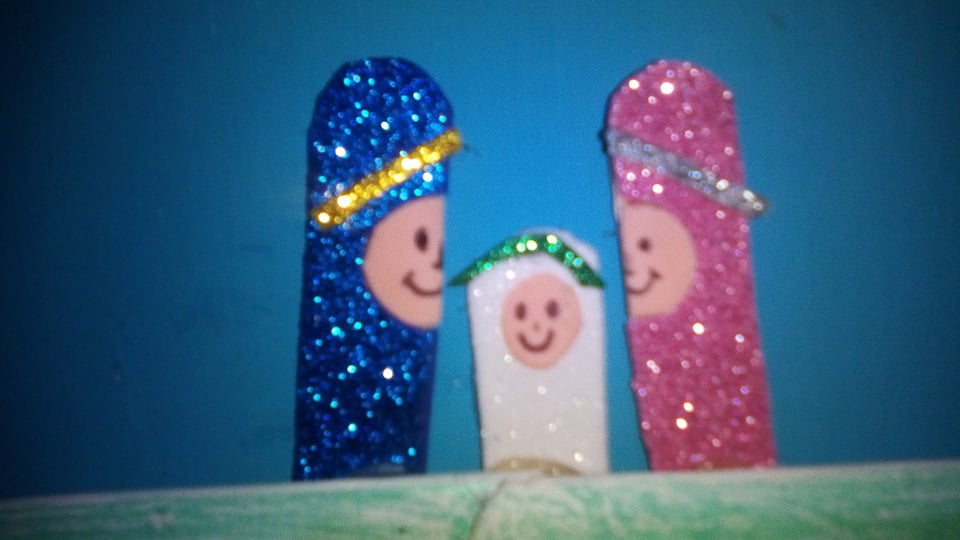
Con el niño Jesús, haremos el mismo procedimiento solo que doblaremos por la mitad la parte superior del foami blanco para sacar el centro de lo que seria la cara . Y ya nuestros tres creaciones están lista.
With the baby Jesus, we will do the same procedure only that we will fold in half the upper part of the white foami to get the center of what would be the face. And now our three creations are ready.
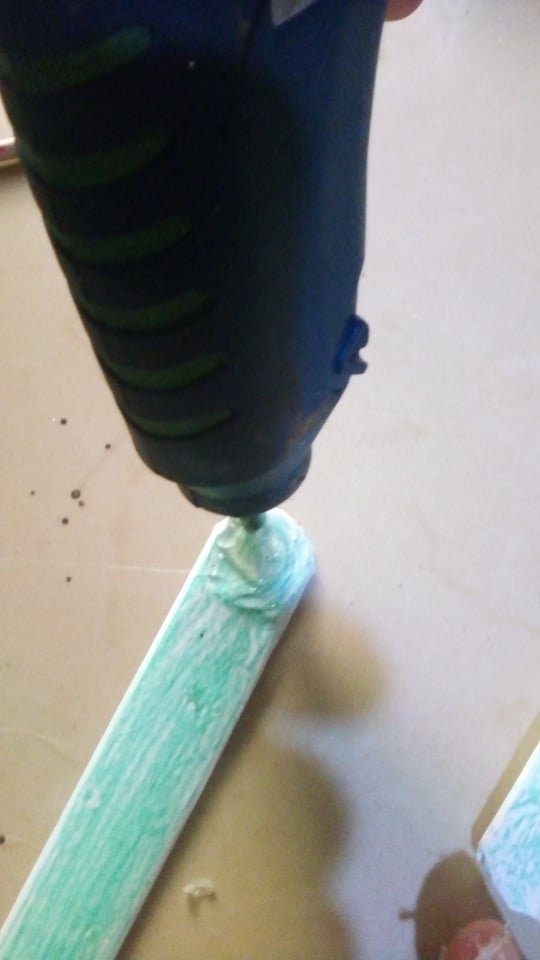

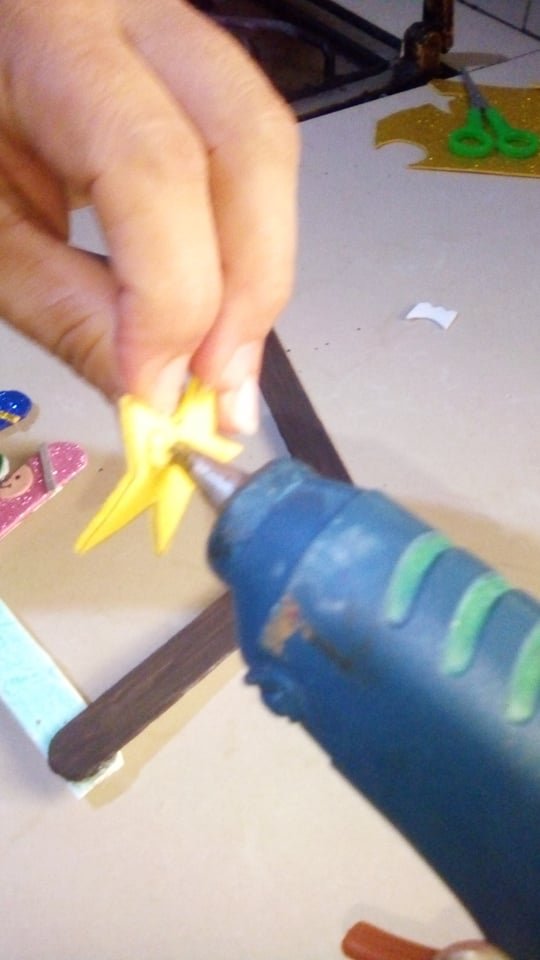
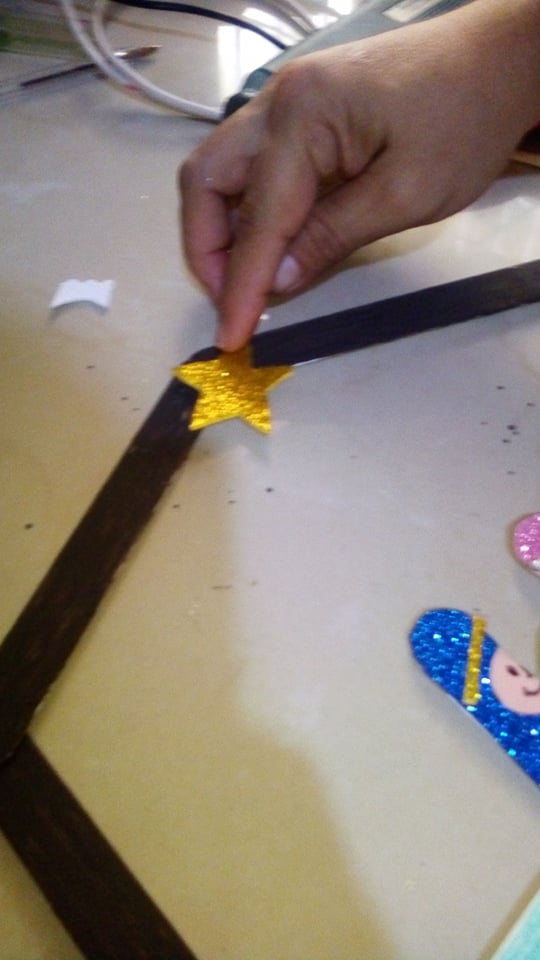
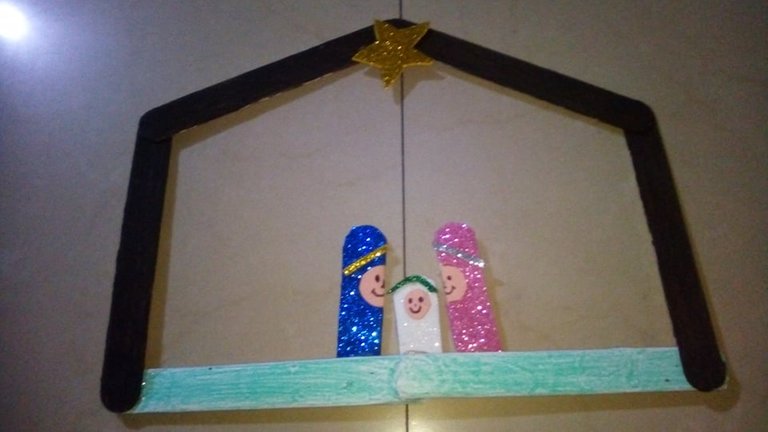
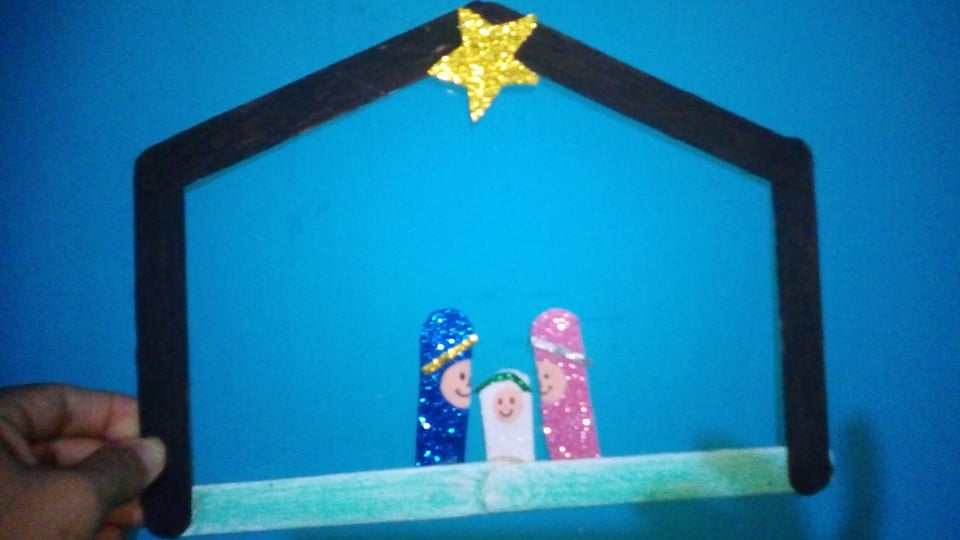
Ahora empezamos armar la choza utilizando las paletas y silicón, luego aplicamos silicón encima de los personajes y pegamos la choza sobre ellos, al final dibujamos una estrella y recortamos y pegamos con silicón en el medio de la choza y ya nuestro lindo nacimiento navideño esta terminado.
Now we start building the hut using the pallets and silicone, then we apply silicone over the characters and glue the hut over them, at the end we draw a star and cut it out and glue it with silicone in the middle of the hut and our nice Christmas nativity is finished.
Espero les haya gustado mi trabajo.
I hope you liked my work.
Gracias por leerme. Vota , comenta y comparte. Se les quiere.
Las fotos son de mi autoría @yari.23.
Thanks for reading. Vote, comment and share. You are loved.
The photos are by me @yari.23.