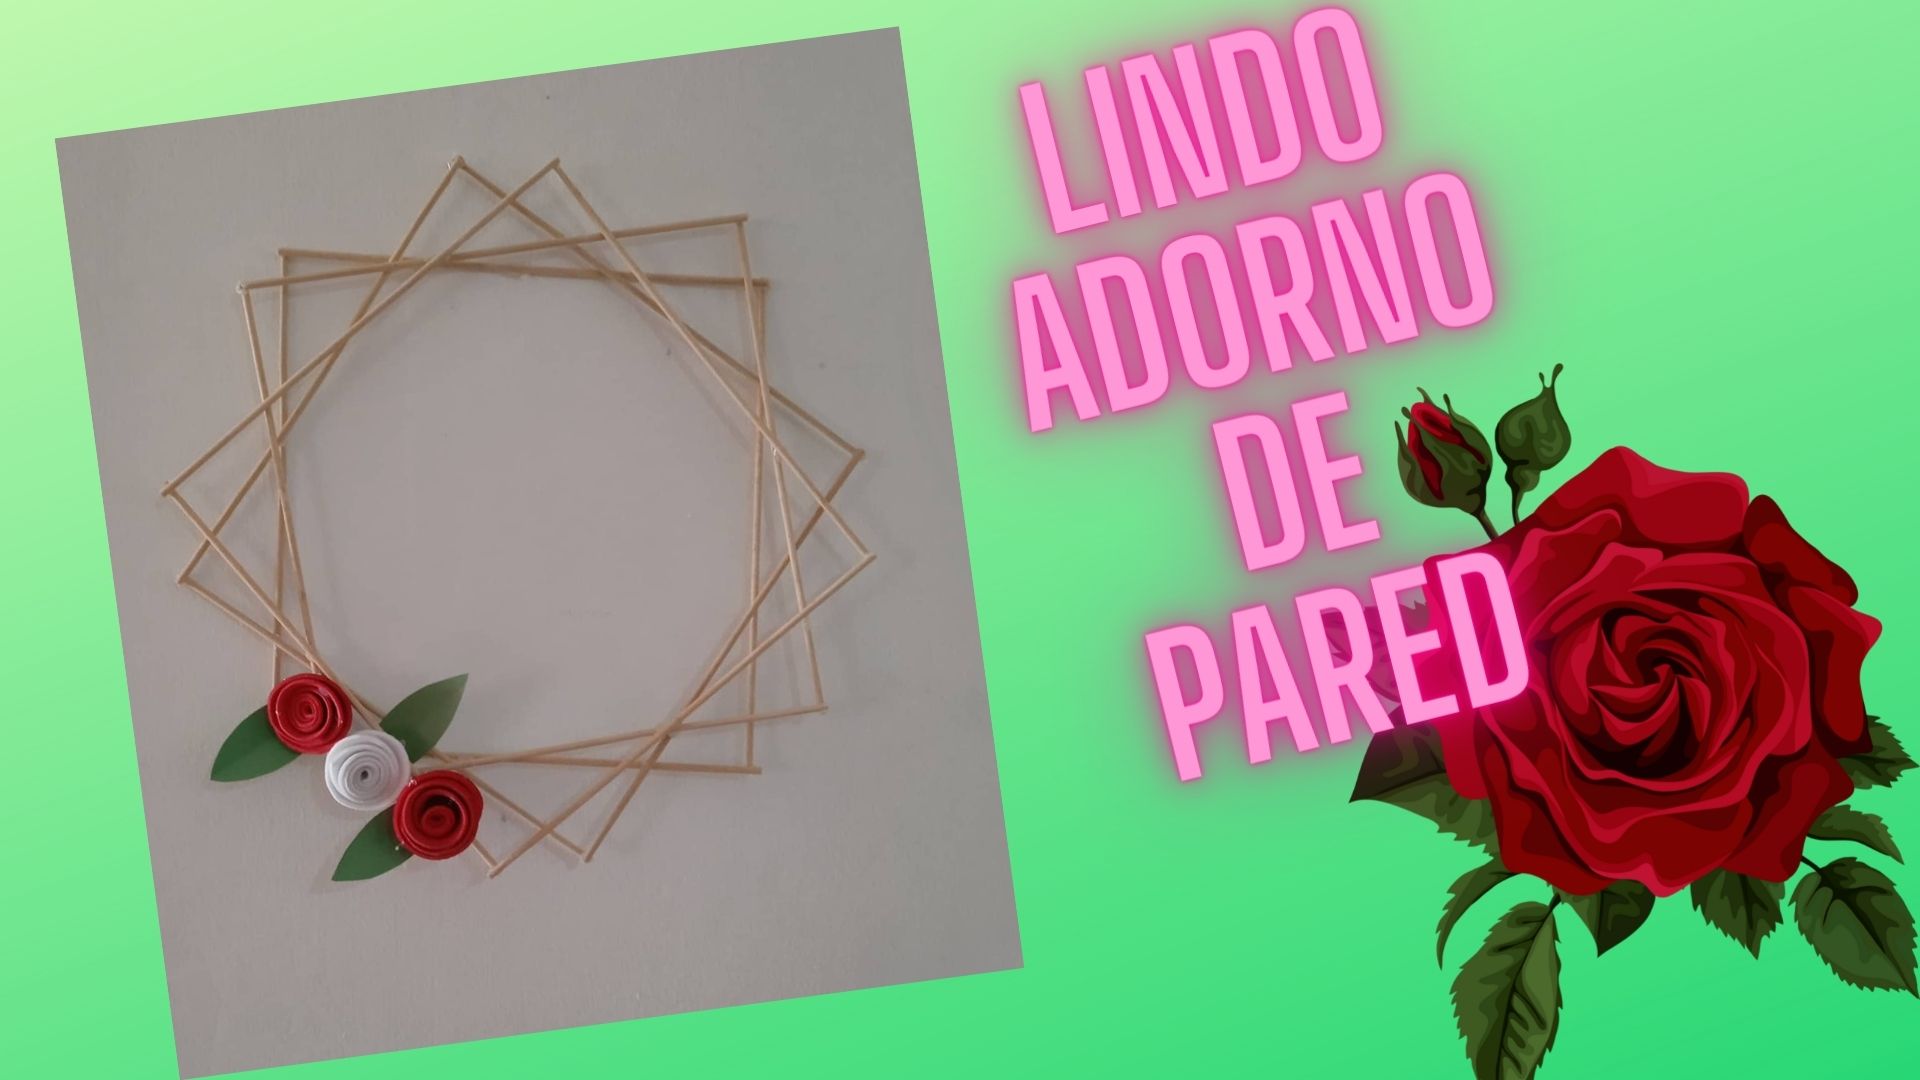
 Hola a todos, feliz fin de semana, una vez más agradecida de poder compartir con todos ustedes, me complace compartir un lindo adorno de pared que realicé con palitos de altura, ideal para decorar cualquier rincón de nuestra casa, veamos los pasos a seguir.
Hello everyone, happy weekend, once again grateful to be able to share with all of you, I am pleased to share a nice wall decoration that I made with sticks, ideal for decorating any corner of our house, let's see the steps to follow
.jpg)
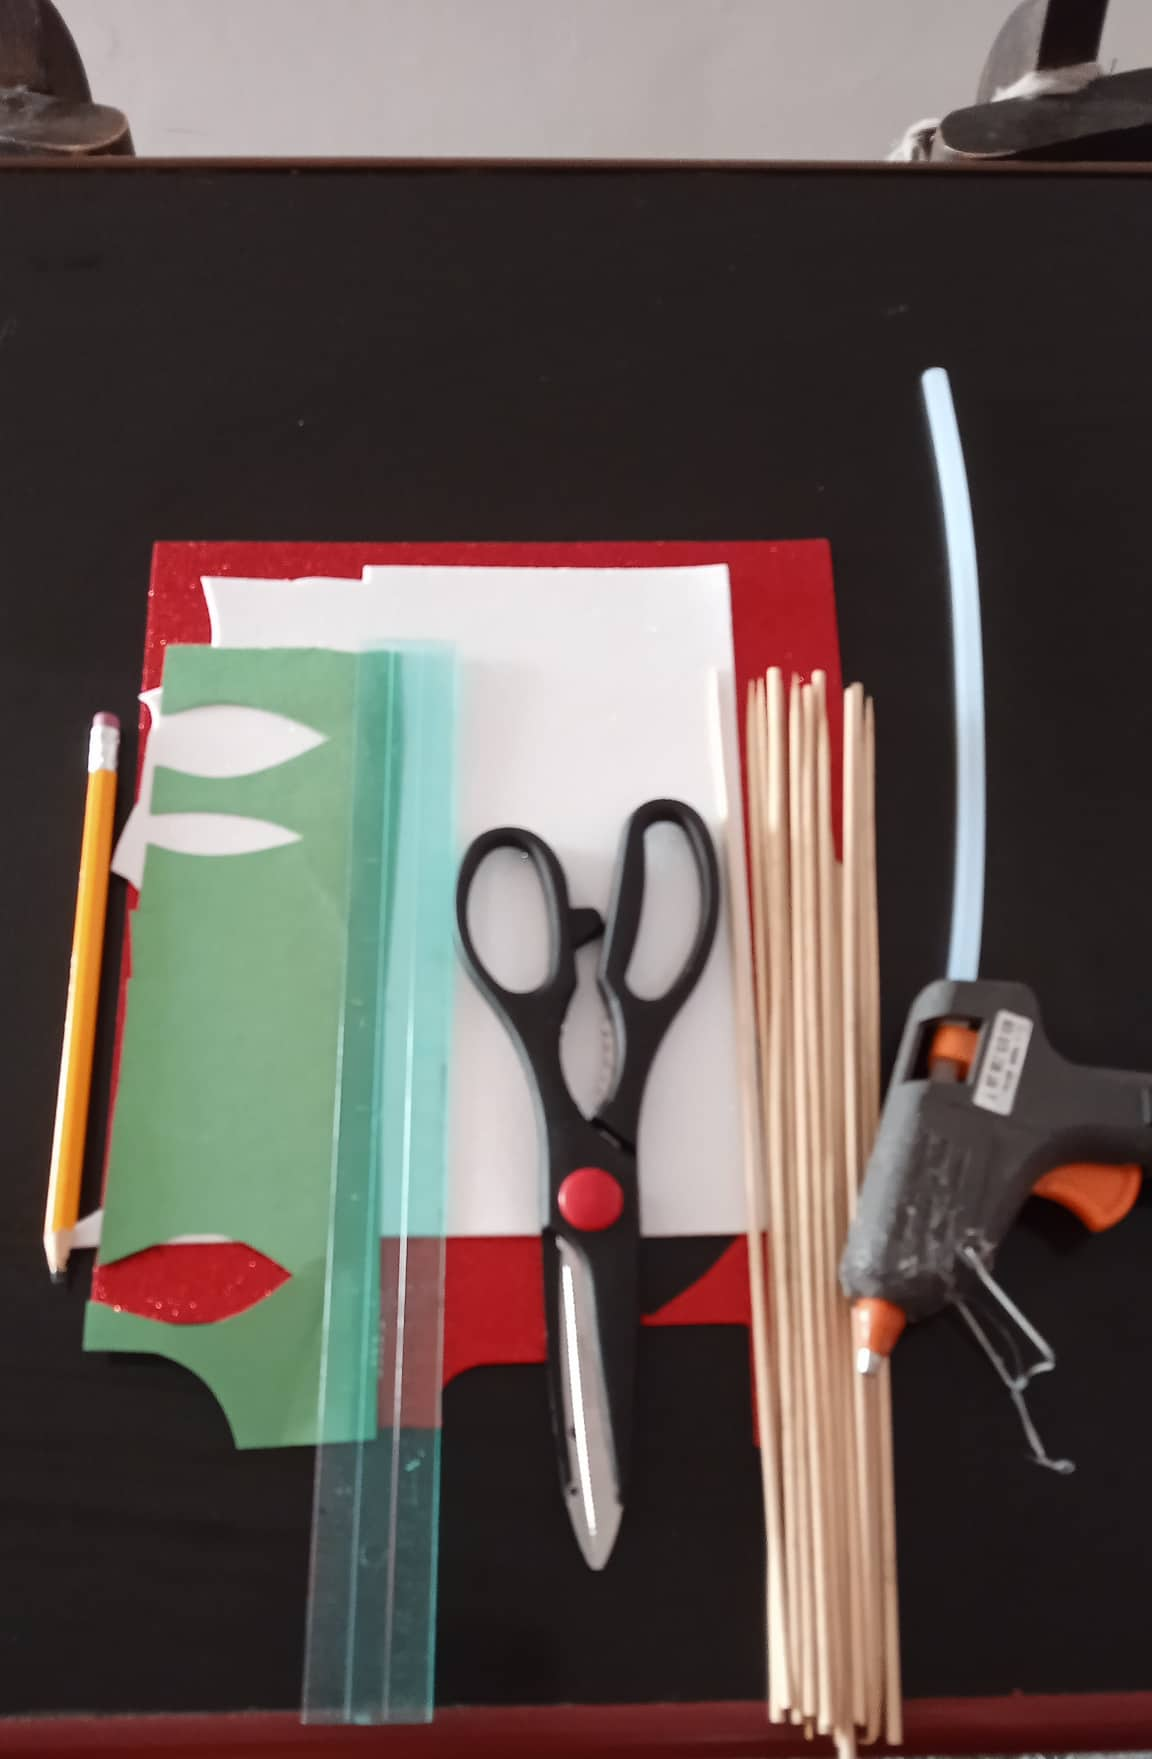
- Los materiales a utilizar son:
- 16 Palitos de altura.
- Regla.
- Lápiz.
- Foami de color blanco y rojo.
- Papel de color verde.
- Silicón en barra.
- Tijera.
- The materials to be used are:
- 16 Sticks of height.
- Ruler.
- Pencil.
- White and red Foami.
- Green paper.
- Silicone stick.
- Scissors.
.jpg)
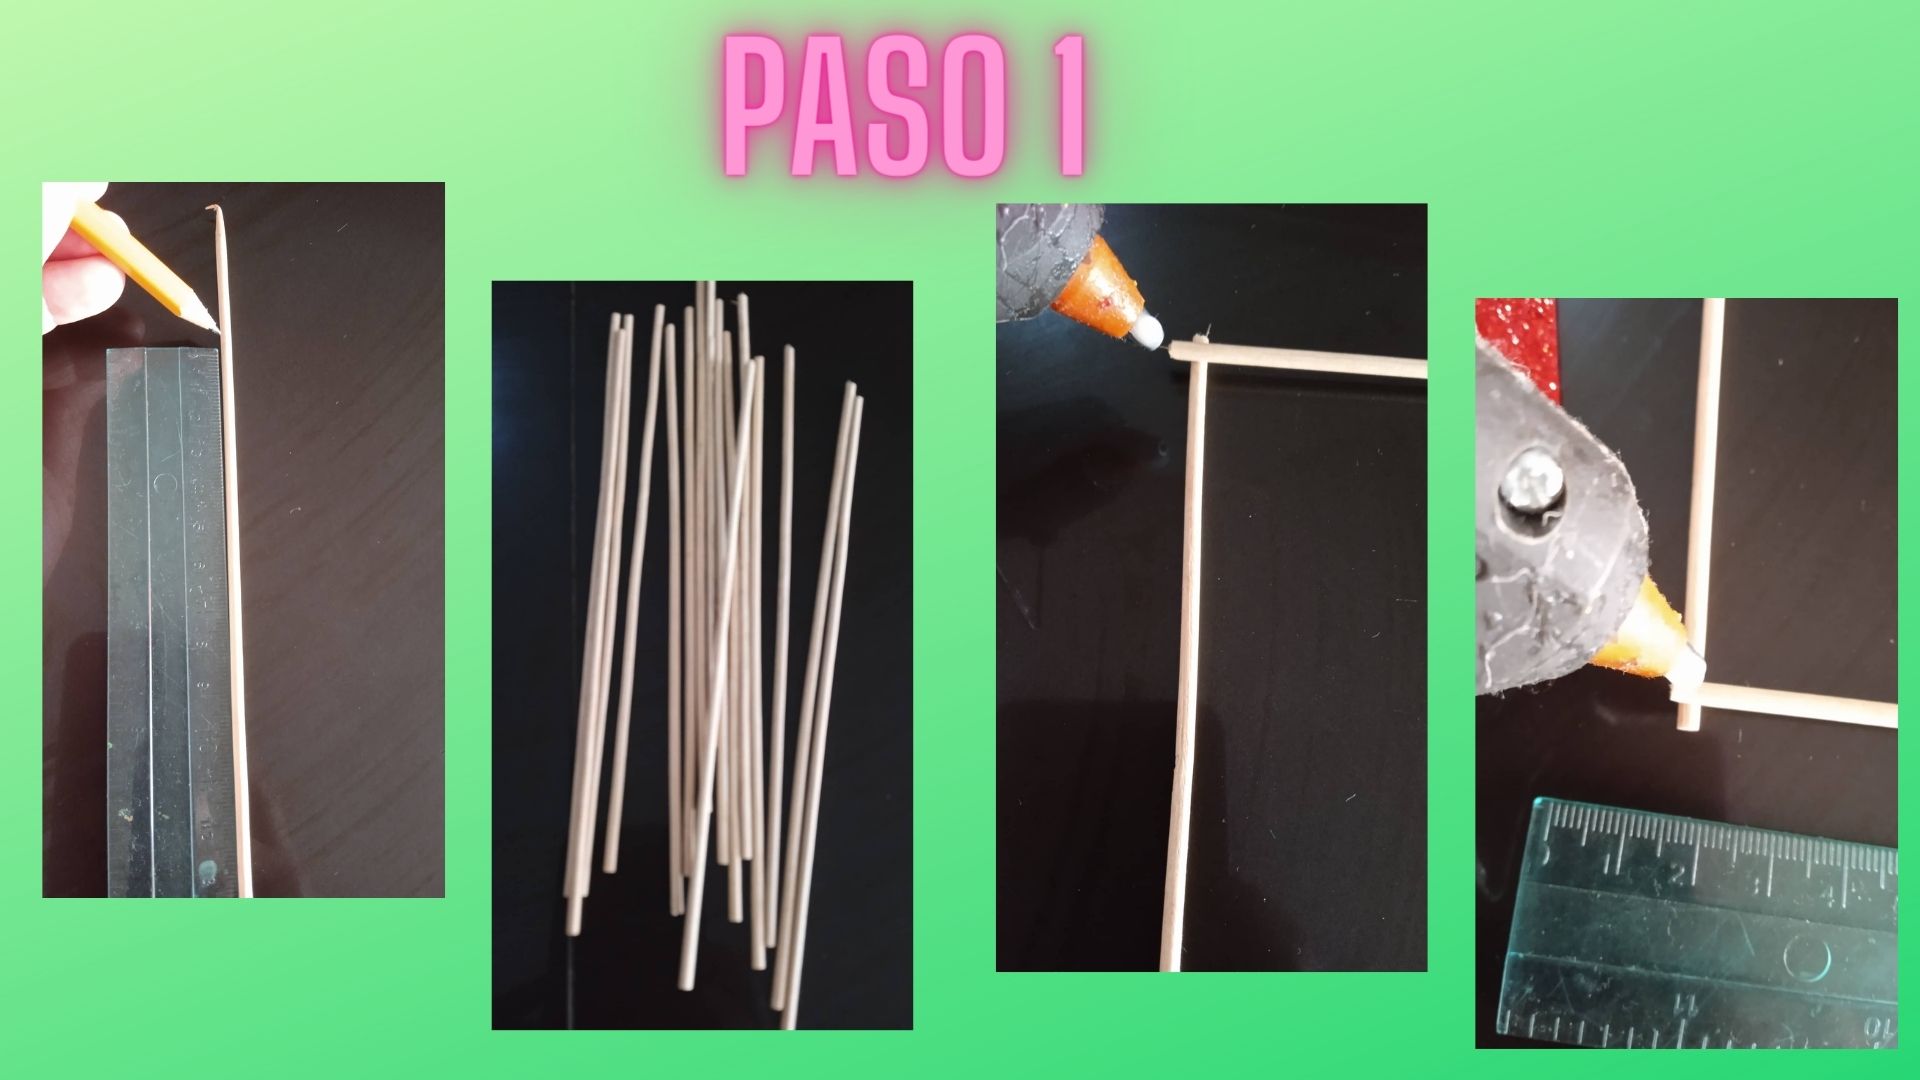
- Paso 1: Primero marcamos las medidas de los palitos, con la regla marcamos 20cm de largo, luego recortamos los 16 palitos de altura, una vez cortados todos procedemos a pegarlos de 4 en 4 primero arriba y luego abajo.
- Step 1: First we mark the measures of the sticks, with the ruler we mark 20cm long, then we cut the 16 sticks in height, once cut all proceed to glue them 4 by 4 first above and then below.
.jpg)
.jpg)
- Paso 2: Una vez pegados los 4 palitos de altura en forma de cuadrado, debemos sacar 2 pares de 4 palitos, luego comenzamos a pegarlos uno sobre otro, como si fueran una estrella.
- Step 2: Once we have glued the 4 sticks in the shape of a square, we must take out 2 pairs of 4 sticks, then we start gluing them one on top of the other, as if they were a star.
.jpg)
.jpg)
- Paso 3: Luego de pegar todos los cuadros uno encima del otro, procedemos a hacer las flores, marcamos en el foami un circulo del tamaño de su preferencia, luego recortamos y luego cortamos en forma de espiral.
- Step 3: After gluing all the squares one on top of the other, we proceed to make the flowers, we mark on the foami a circle of the size of your choice, then cut out and then cut in a spiral shape.
.jpg)
.jpg)
- Paso 4: Luego poco a poco doblamos el espiral hasta obtener la rosa deseada, debemos tener dos rosas rojas y una blanca, luego las pegamos en un lado de la parte de abajo del adorno, y posteriormente recortamos 3 hojas del papel verde y las pegamos al lado de las rosas.
- Step 4: Then little by little we fold the spiral until we get the desired rose, we must have two red roses and a white one, then we glue them on one side of the bottom of the ornament, and then we cut out 3 leaves from the green paper and glue them next to the roses.
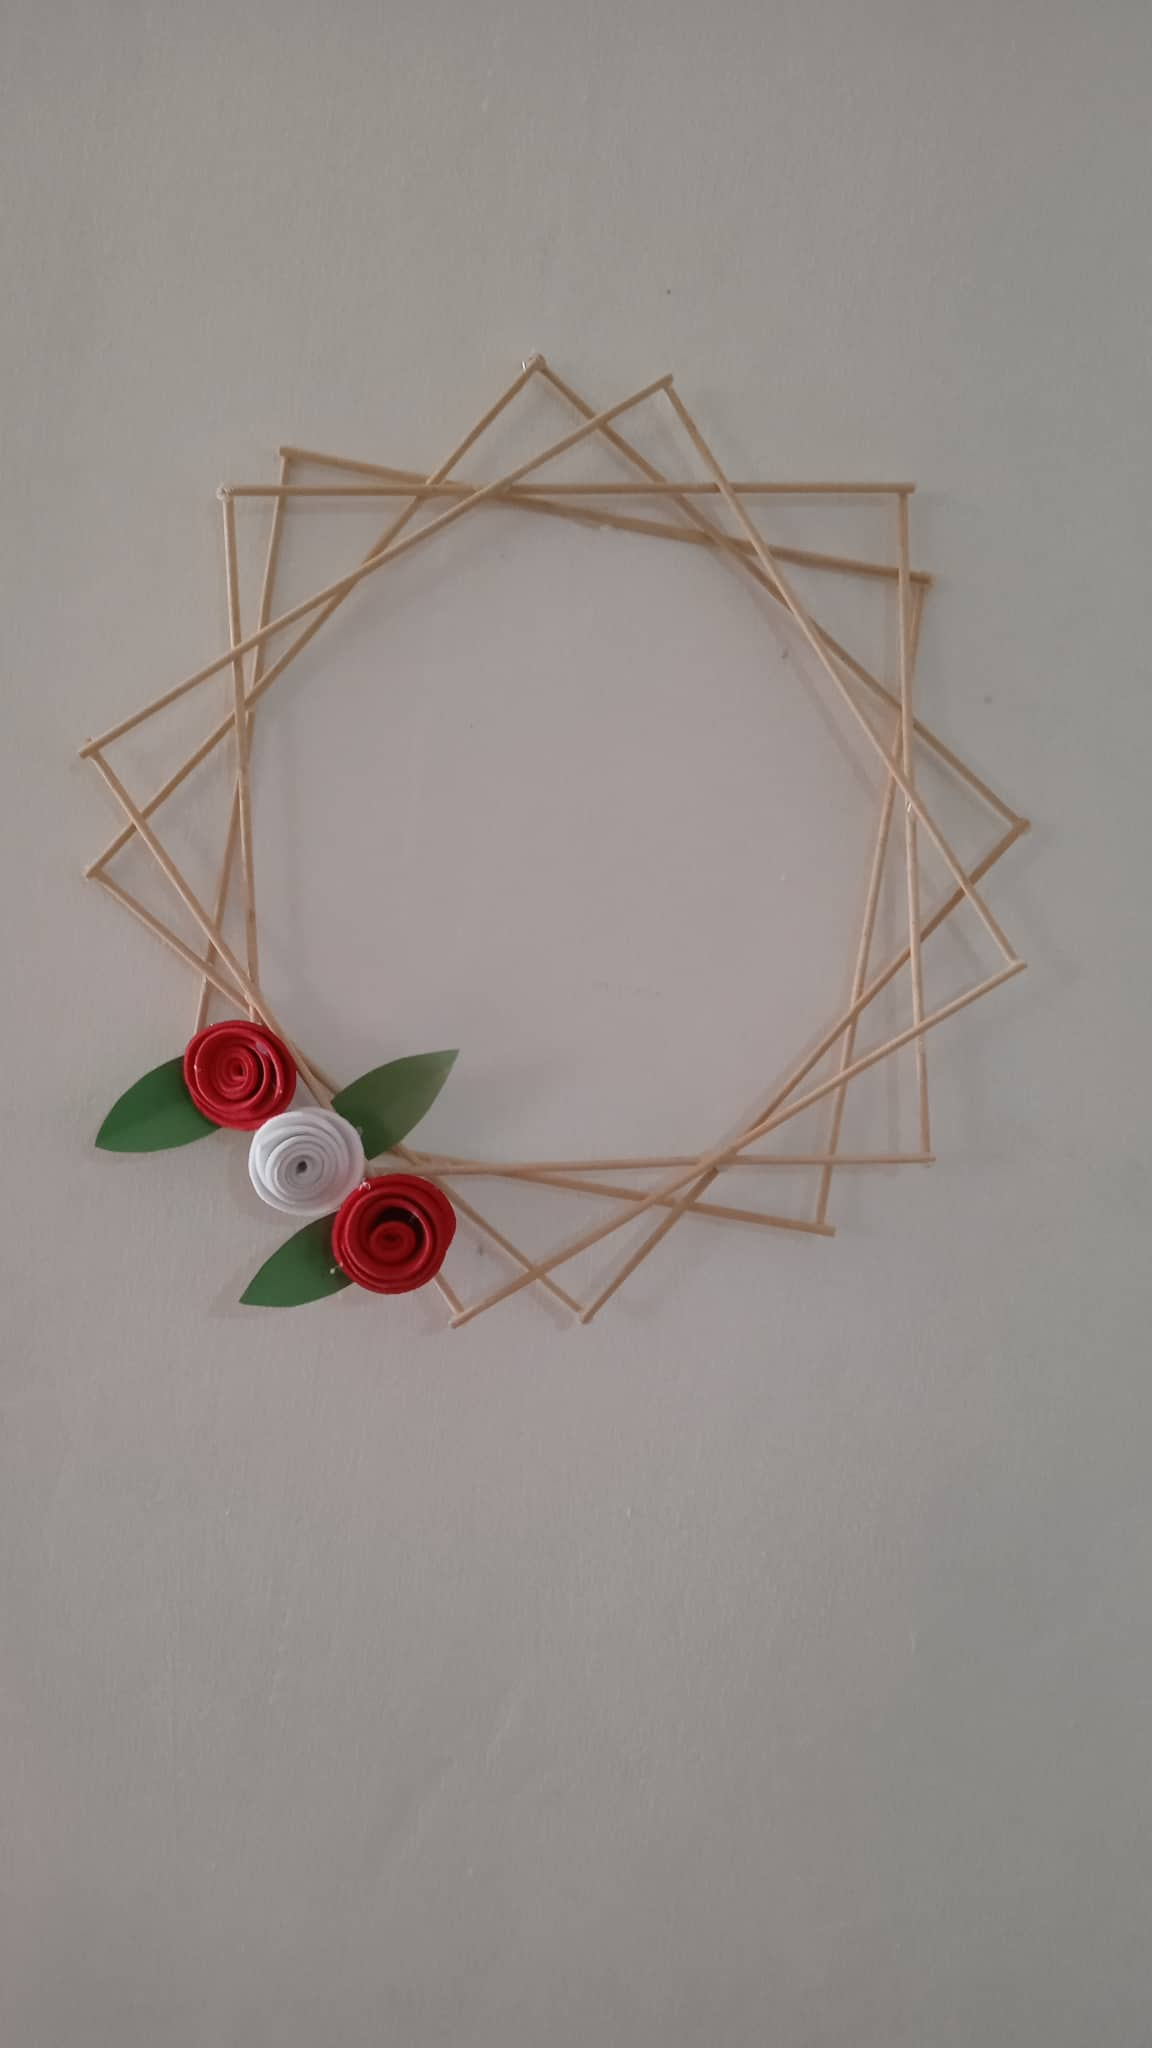
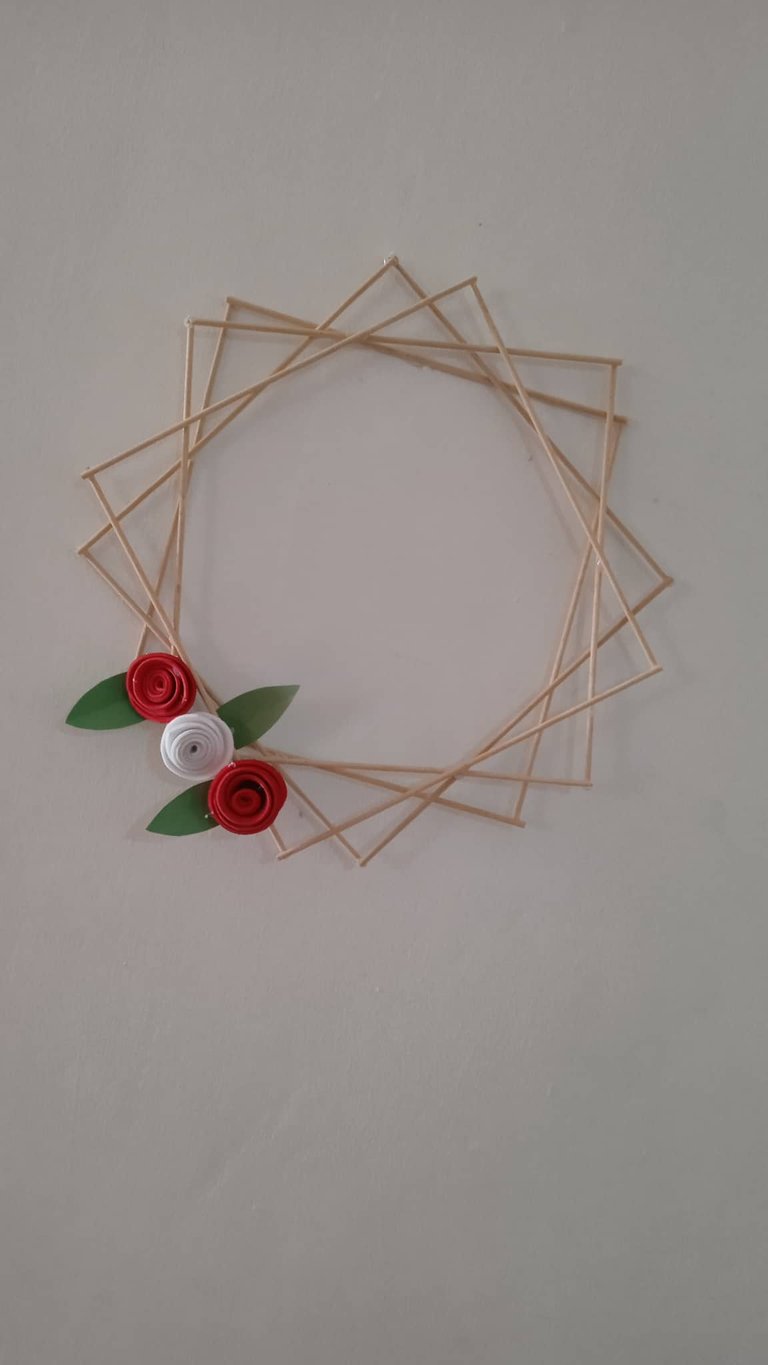
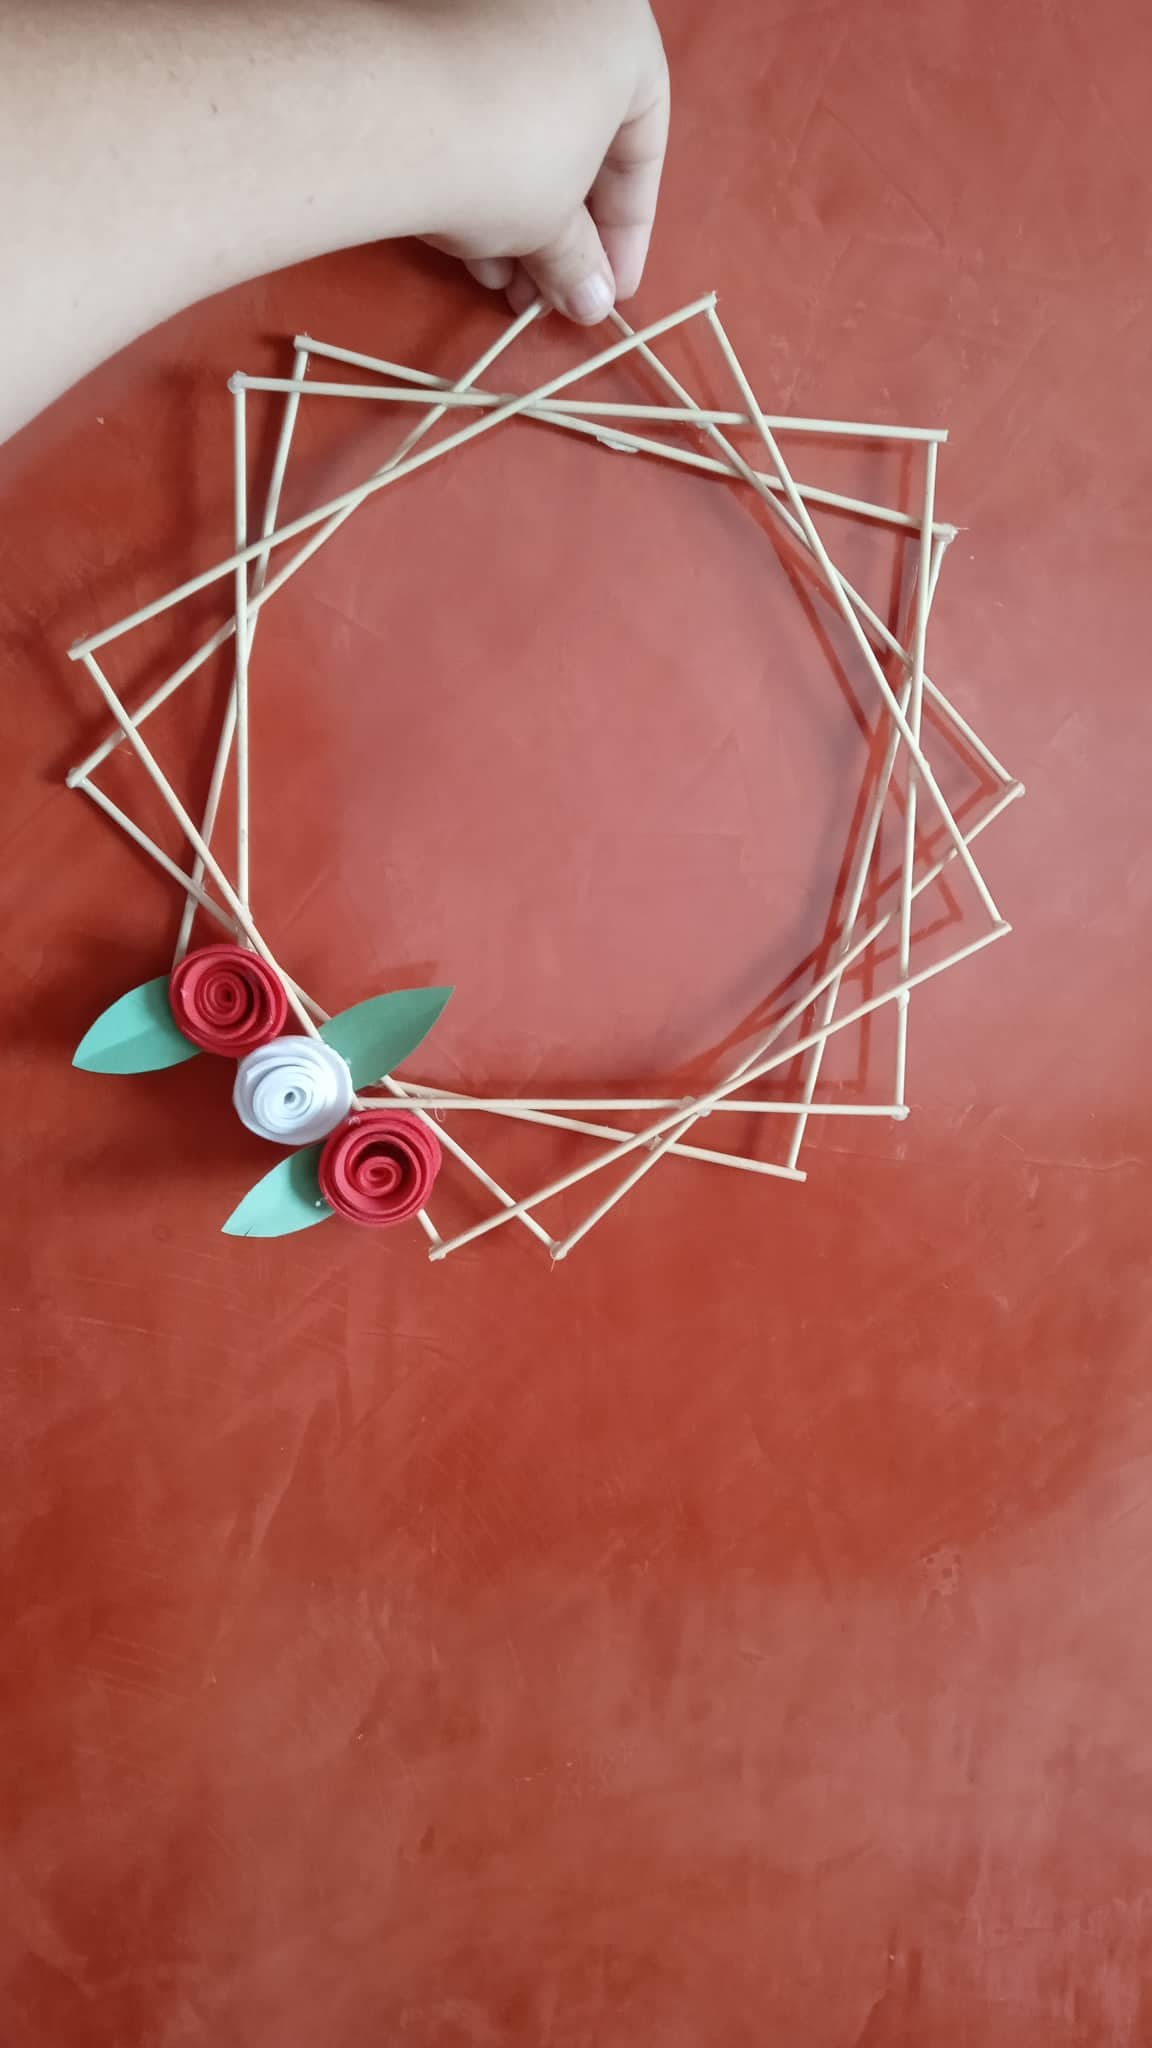
.jpg) Aqui tenemos nuestro resultado final.
Here we have our final result.
Aqui tenemos nuestro resultado final.
Here we have our final result.
.jpg) Todas las fotos son de mi autoría, y editadas desde canva.
All photos are of my authorship, and edited from canva.
Todas las fotos son de mi autoría, y editadas desde canva.
All photos are of my authorship, and edited from canva.
.jpg)


.jpg)

.jpg)

.jpg)
.jpg)
.jpg)
.jpg)
.jpg)
.jpg)
.jpg)


.jpg)
.jpg)
