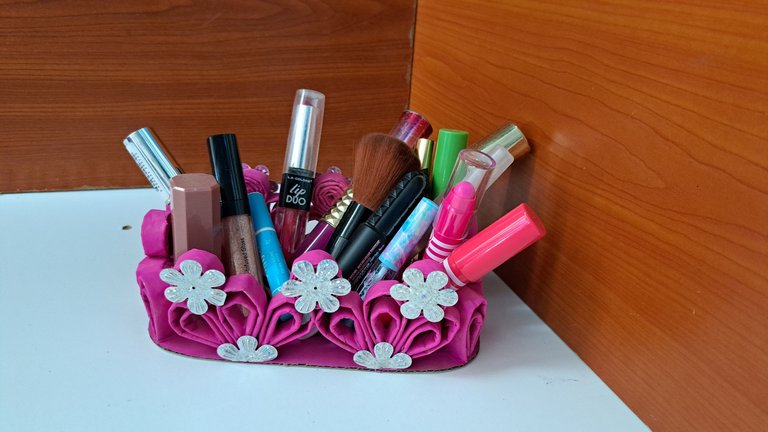
Hello dear friend, my space is getting small, I don't know if I'm a compulsive hoarder but every day I have more things and I have nowhere to keep them. The lip crayons and other makeup do not fit in my organizer and I have separated the ones I use the most and the rest I keep in a little wooden box for special occasions when I need a specific color, the thing is that I already saw the need to make a bigger organizer for everyday makeup, so to speak. And as you'll see, I already have it filled. It's not that I can't stop buying things or anything like that, it's just that my sister works in a place where she gets a lot of gifts and since she also has a lot of them, she gives them to me, and we can't say no to a gift, right 😁.
Today I will show you how I made this beautiful makeup organizer, which besides being very easy to make, you do not need fancy materials, because the main material is recycled paper that surely at home you have saved some notebook, newspapers or old books that are no longer used.
Hola querido amigo amante de las manualidades, el espacio se me hace pequeño, no sé si seré acumuladora compulsiva pero cada día tengo más cosas y no tengo donde guardarlas. Los creyones de labios y demás maquillajes no me caben en mi organizador y eso que tengo separados los que más utilizo y el resto los guardo en una cajita de madera para ocasiones especiales en los que necesito un color específico.La cuestión es que ya me vi en la necesidad de hacer un organizador más grande para los maquillajes de uso diario, por así decirlo. Y como verás, ya lo tengo lleno. Tampoco es que yo no pueda parar de comprar cosas ni nada por el estilo, es que mi hermana trabaja en un lugar donde le hacen muchos regalos y como ella también tiene muchos, me los regala, y a un regalo no le podemos decir que no, verdad 😁
Hoy te mostraré como elaboré este hermoso organizador para maquillaje, que además de ser muy fácil de elaborar, no necesitas materiales rebuscados, pues el material principal es el papel reciclado que seguro en casa tienes guardado alguna que otra libreta, periódicos o libros viejos que ya no se utilizan.
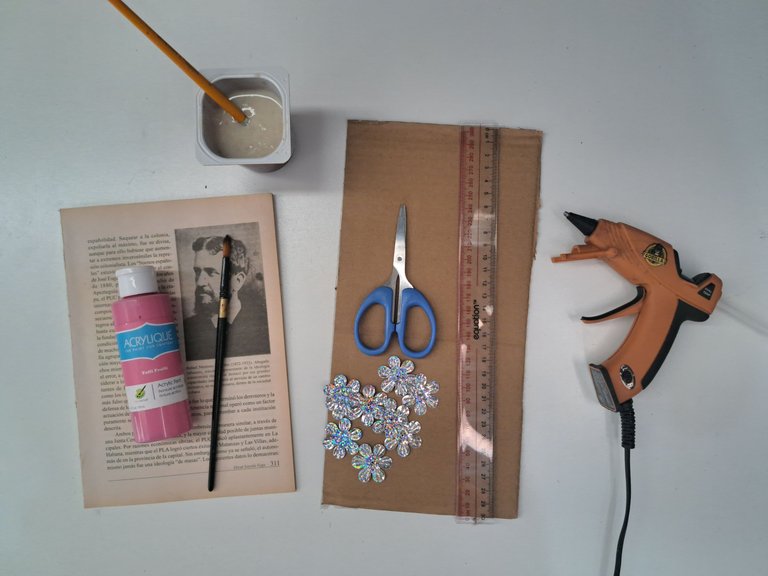
💄Materials // Materiales💄
- Recycled paper / Papel reciclado
- Cardboard / Cartón
- Pink paint / Pintura rosada
- Paintbrush / Pincel
- Glue / Pegamento
- Silicone / Silicona
- Scissors / Tijeras
- Ruler / Regla
- Flowers to decorate / Flores para decorar
💄Step by step // Paso a paso💄
 |  |
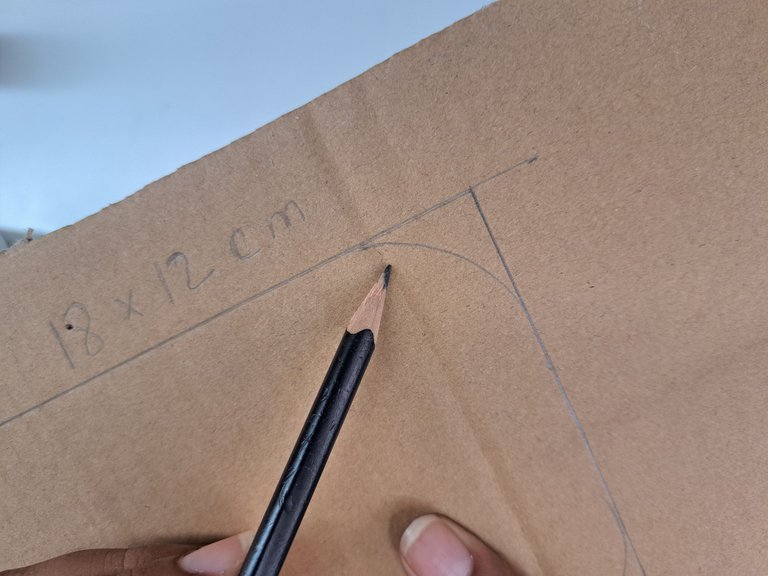 | 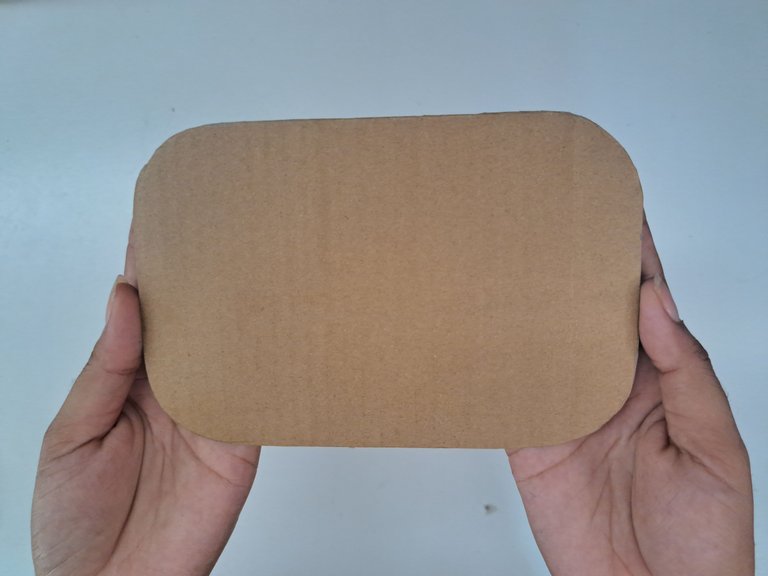 |
To begin, take a piece of cardboard and mark a rectangle of 18 x 12 cm. To give it a circular shape at the corners, take a glass or a round-shaped object and mark the silhouette, then cut out the excess cardboard with scissors. This will be the base.
Para comenzar, tomar un cartón y marcar un rectángulo de 18 x 12 cm. Para darle forma circular en las esquinas se toma un vaso o un objeto de forma redonda y se marca la silueta, luego recortar el excedente de cartón con las tijeras. Esta será la base.
 |  |  |
 |  |
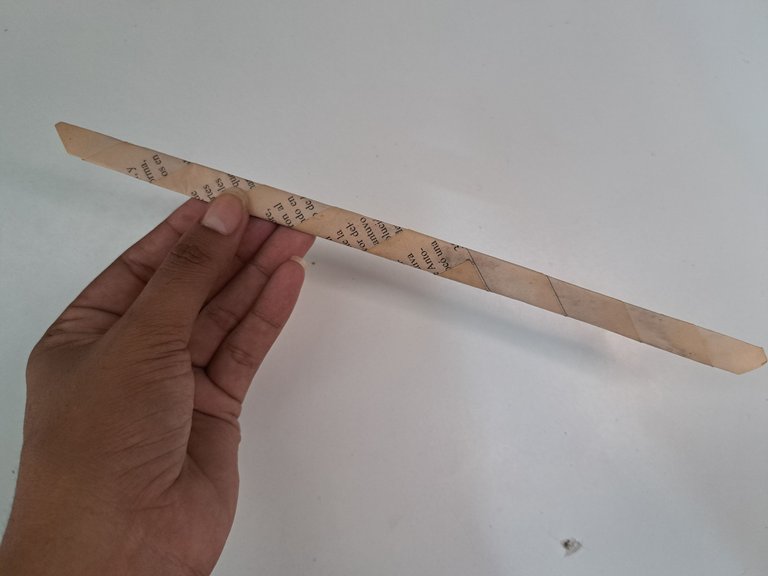
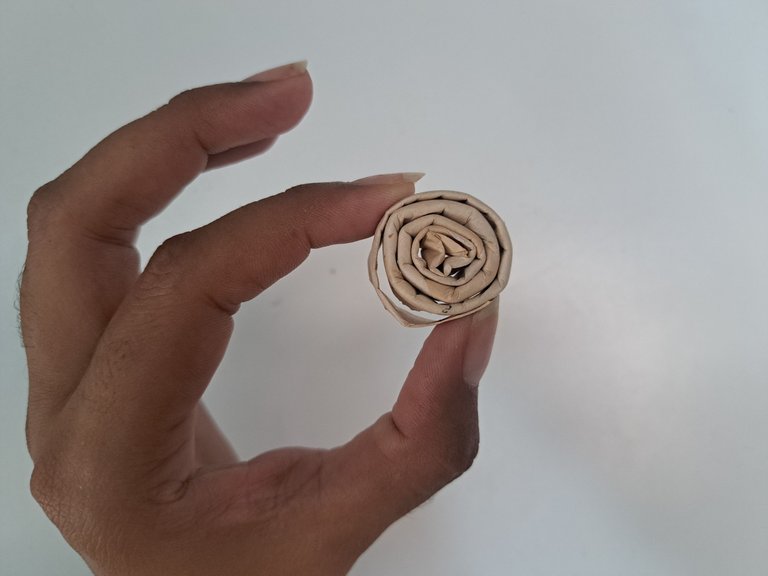
With sheets of paper and glue, small tubes are made, which are pressed with the fingers, giving them a flattened shape.
Con hojas de papel y pegamento se elaboran unos tubitos, los cuales son presionados con los dedos dándole una forma aplanada.
 |  |  |
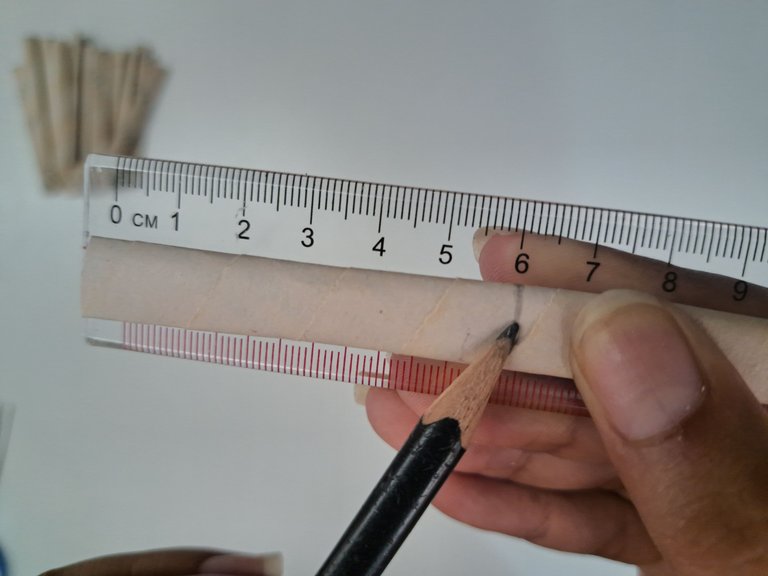 | 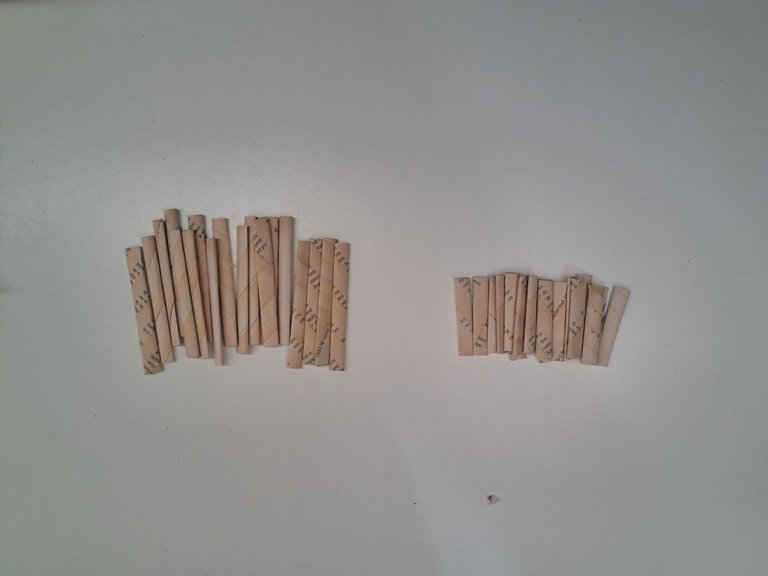 |
These flattened tubes are chopped at a distance of 10 cm and we obtain a total of 22 pieces. Then 22 more pieces are made but these at a distance of 6 cm in length.
Estos tubos aplanados se pican a una distancia de 10 cm y obtenemos un total de 22 piezas. Luego se elaboran 22 piezas más pero estos a una distancia de 6 cm de longitud.
 |  |  |
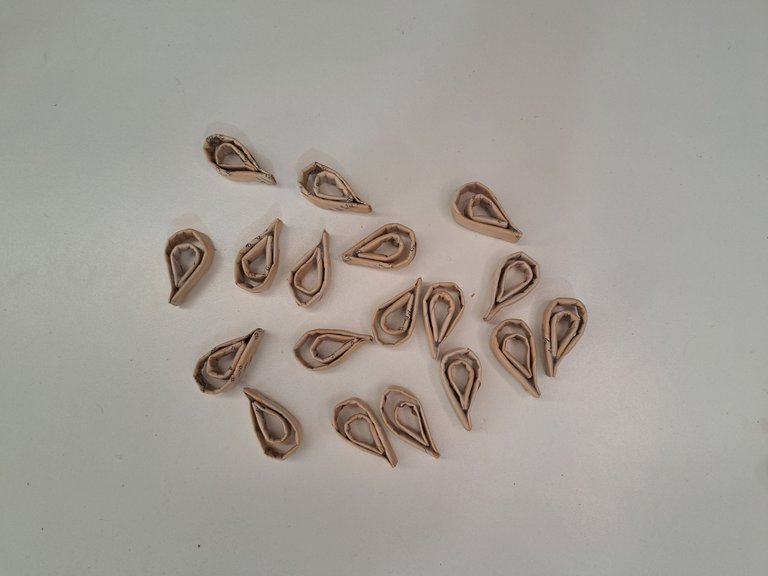 |  | 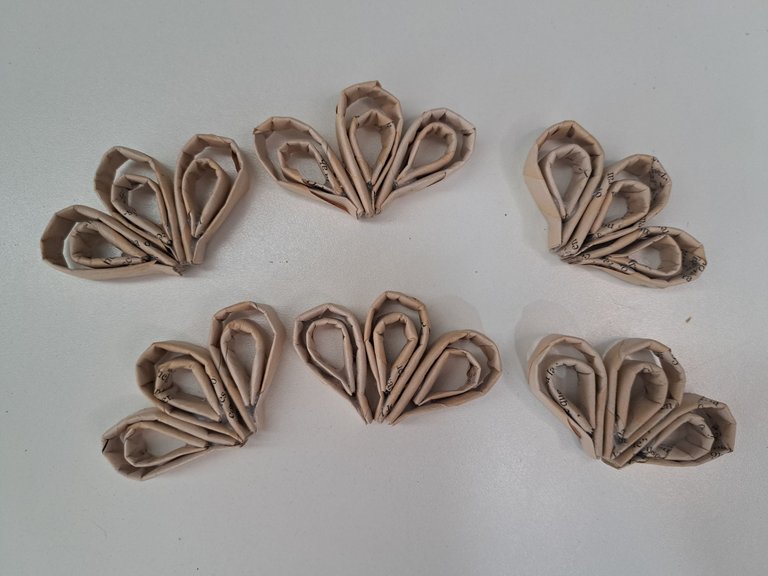 |
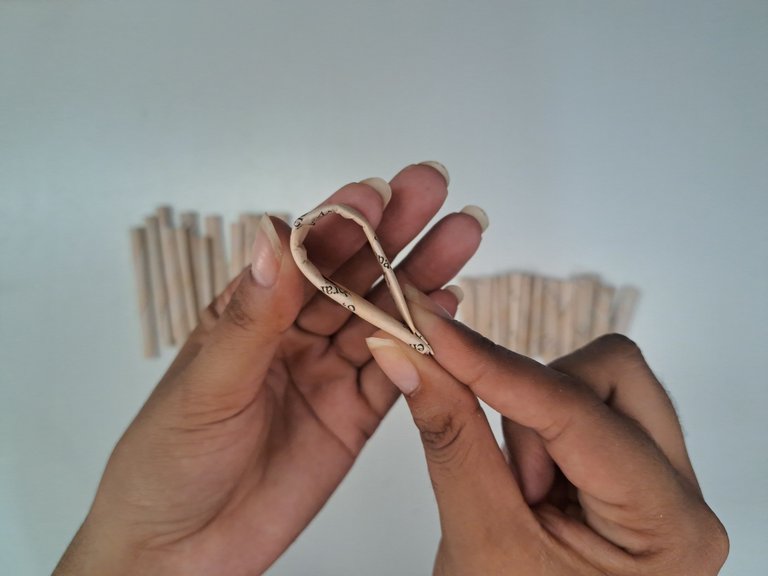
The two ends of each piece are glued together to obtain this teardrop shape, both the large and small ones. When all the pieces are ready, the 6 cm pieces are placed in the center of the 10 cm pieces, resulting in the shape shown here. Then take groups of 3, and glue them side by side to form this figure. For this last step, 6 pieces are made, leaving 4 double tears.
A cada pieza se le pegan los dos extremos para obtener esta forma de lágrima, tanto los grandes como los pequeños. Cuando ya estén listos todos, las piezas de 6 cm se colocan en el centro de las piezas de 10 cm, quedando de esta forma que aquí les muestro. Luego se toman grupos de a 3, y se pegan una al lado de la otra formando esta figura. Para este último paso se elaboran 6 piezas quedando 4 lágrimas dobles.
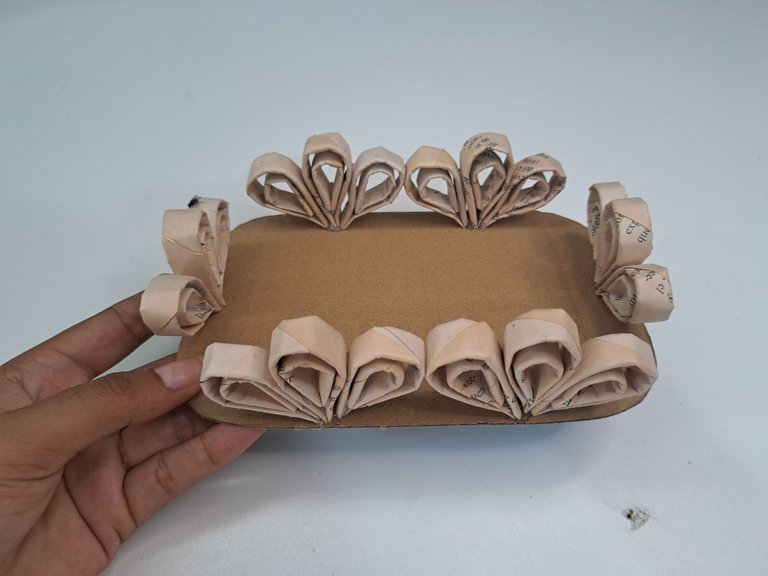 |  | 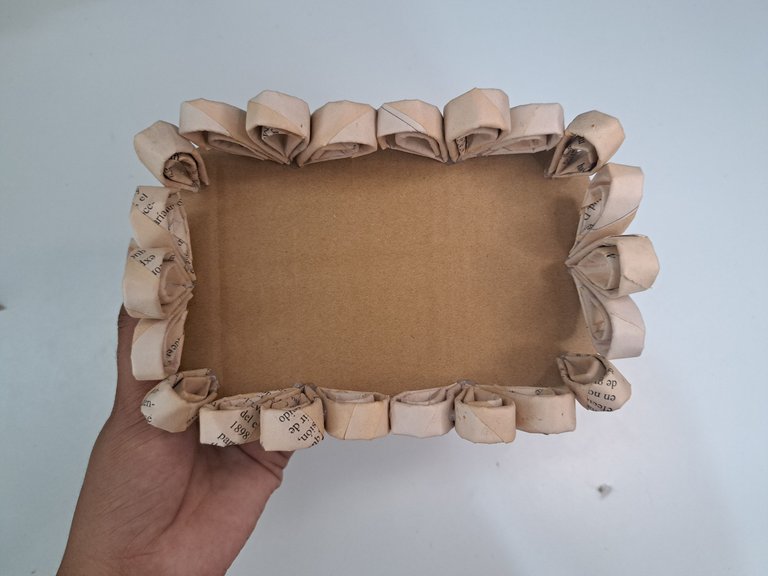 |
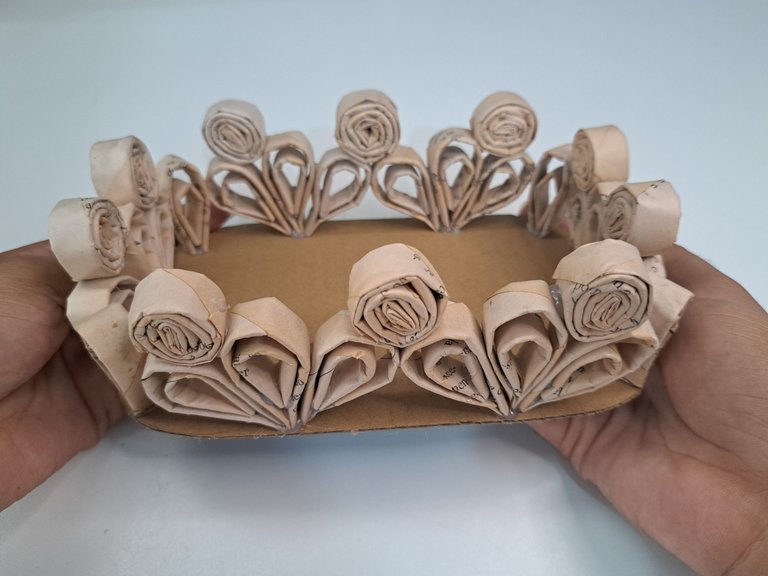
The large pieces are glued all around the edge and the 4 remaining pieces are placed in the corners to fill in the empty spaces.
Las piezas grandes se pegan por todo el borde y las 4 que nos habían quedado se colocan en las esquinas para rellenar los espacios vacíos.
 |  |  |
 |  |
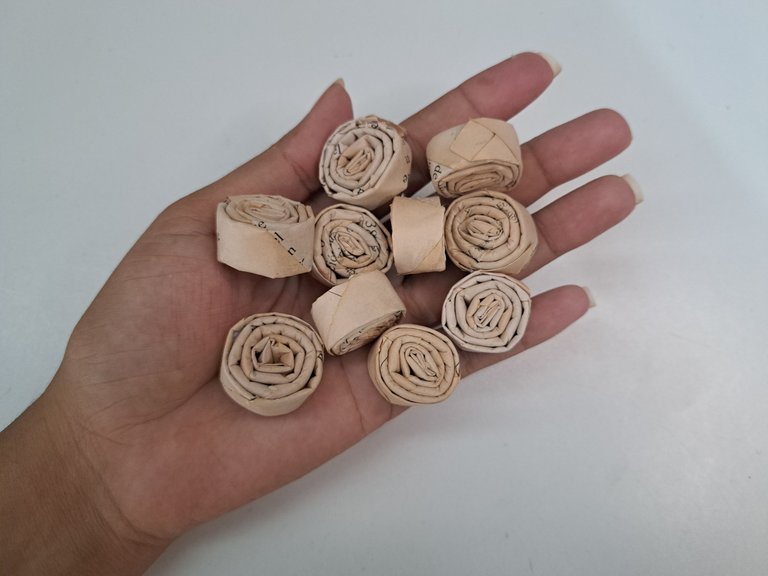
Other flattened tubes are used to make rolls, which are placed on top, giving more height to the organizer.
Con otros tubos aplanados se elaboran rollitos, los cuales se colocan encima dándole más altura al organizador.
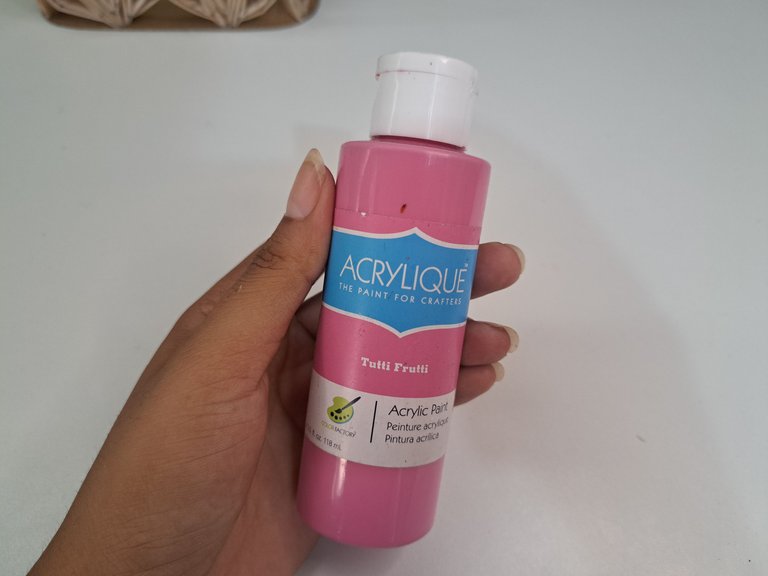 | 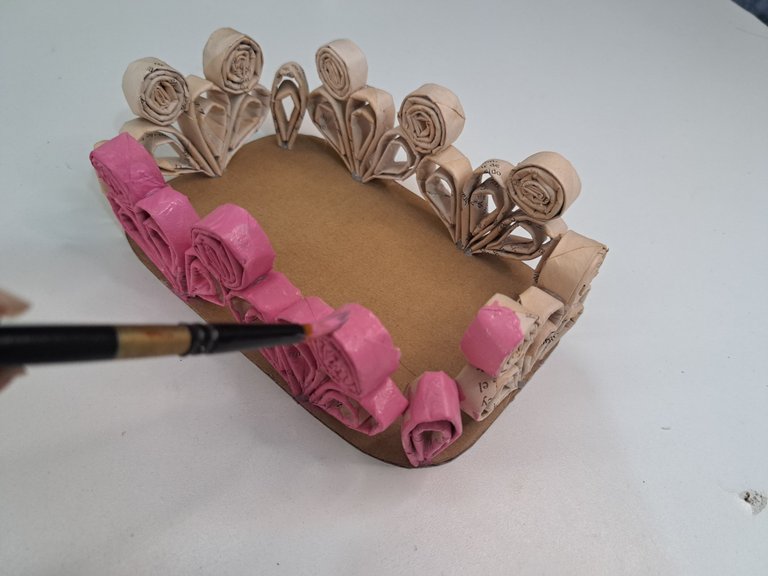 |  |
I used pink paint to give it the color since this is a very feminine tone, besides it is one of my favorite colors. I think it is better to paint the tubes first before shaping them, it will be much easier, because this way I took much longer trying not to leave imperfections.
Utilicé pintura rosada para darle el color ya que este es un tono muy femenino,además que es uno de mis colores favoritos. Creo que es mejor pintar los tubitos primero antes de ir dándoles la forma, será mucho más fácil, pues así me demoré mucho más intentando que no quedaran imperfecciones.
 |  |
 | 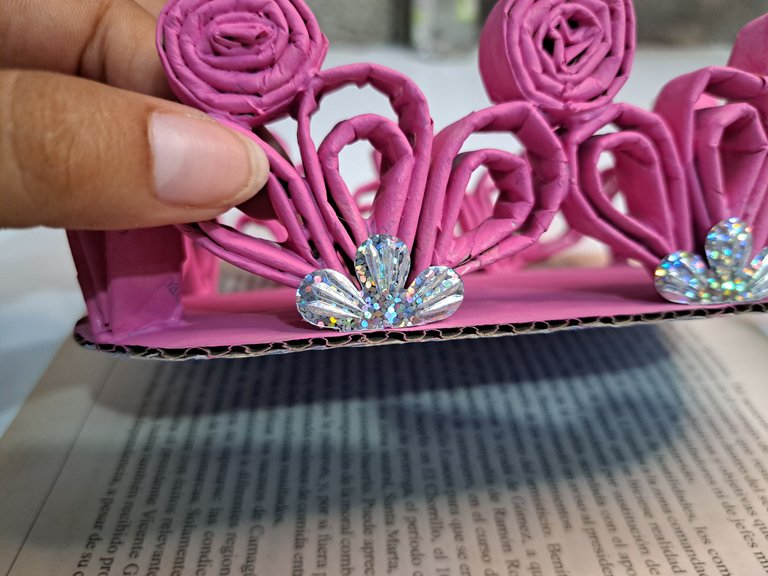 |
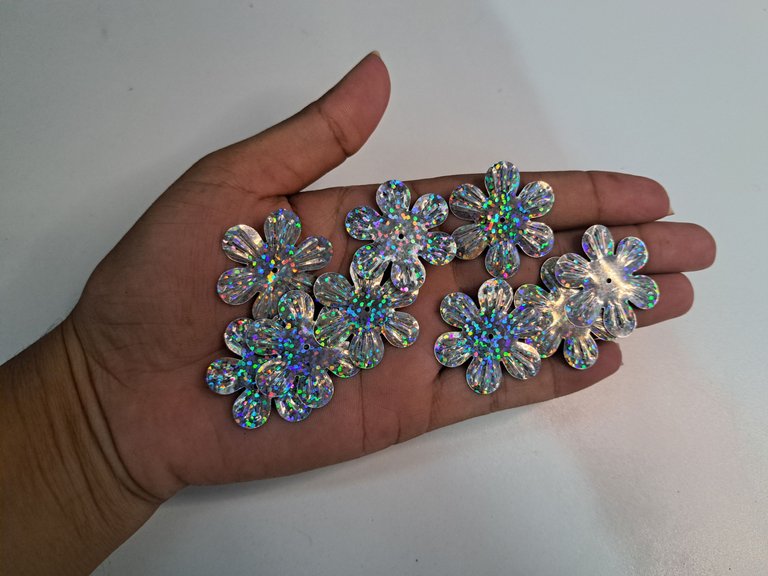
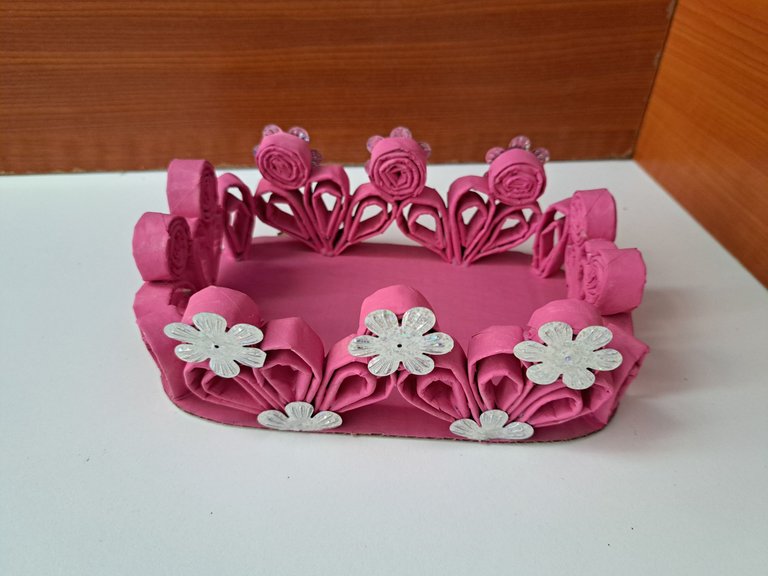
Finally, to make it look much more picturesque, I decorated it with some platinum flowers that I had saved some time ago, some I cut in half and the rest I placed whole.
Por último, para que se viera mucho más pintoresco, lo decoré con unas flores platinadas que tenía guardadas hace un tiempo, algunas las corté por la mitad y el resto las coloqué enteras.
 |  |
 |  |
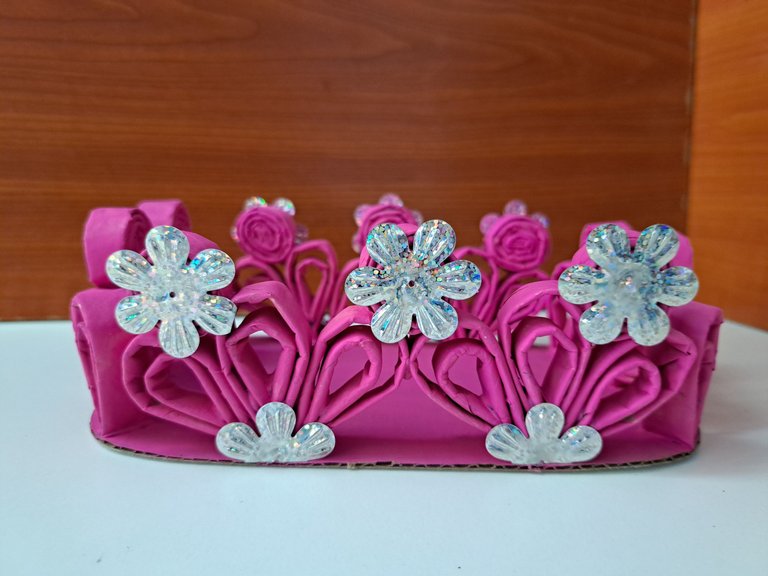
And so is finished this beautiful organizer to store makeup, and not only that, but anything we want, as my mom when I did it told me that if it was to put the slices of bread 😄. And I'm fine with that because it can also be one of its uses, as well as a centerpiece. The important thing is that this is one of those ways in which we can use all that stationery we have at home in disuse. I hope you liked this tutorial, leave me in the comments what you thought and new suggestions, best regards.
Y así queda terminado este hermoso organizador para guardar el maquillaje, y no solo eso, sino cualquier cosa que queramos, como mi mamá que cuando lo hice me dijo que si era para poner las rodajas de pan 😄. Y me parece bien porque también puede ser uno de sus usos, al igual que de centro de mesa. Lo importante es que esta es una de esas formas en las que podemos utilizar toda esa papelería que tenemos en casa en desuso. Espero les haya gustado este tutorial, déjame en los comentarios que te pareció y nuevas sugerencias, un saludo.
Cover made in Canva
English is not my native language, translated by DeepL
Posted Using InLeo Alpha
