¡Bienvenidos amigos creativos!👩🎨
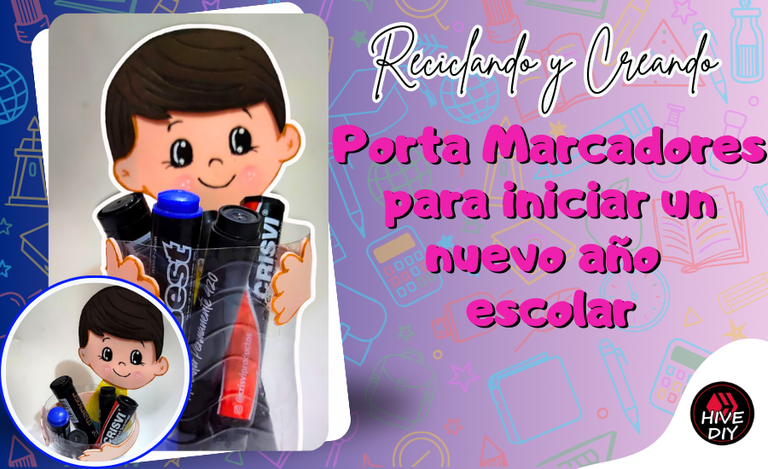
🙋♀️ ¡Hola gente bonita y creativa! Feliz fin de semana, les mando un cordial saludo y mis mejores deseos para ustedes, espero que hayan tenido unos días súper lindos y así culminen una semana más feliz✨. Por este lado de la pantalla todo bien gracias a Dios, feliz de estar una vez más aquí. Ya estamos pronto de iniciar un nuevo año escolar, cuando estudiaba era una de mis épocas favoritas porque así como se inicia un nuevo año, era el momento para renovar muchas cosas, lo que más me encantaba sin duda era ir de compras por esos nuevos útiles escolares😍. En esta oportunidad decidí realizar un lindo porta marcadores, idea que no sirve solo para los niños, también es perfecta para el docente y así tenga un escritorio organizado y bonito con materiales fáciles de conseguir, pero sin tantos preámbulos…
Welcome creative friends!👩🎨
🙋♀️ Hello beautiful and creative people! Happy weekend, I send you a cordial greeting and my best wishes for you, I hope you had super nice days and so culminate a happier week✨. On this side of the screen all good thank God, happy to be here once again..
We are about to start a new school year, when I was studying it was one of my favorite times because just as a new year begins, it was time to renew many things, what I loved the most was undoubtedly shopping for those new school supplies😍. In this opportunity I decided to make a nice marker holder, an idea that is not only useful for children, it is also perfect for the teacher to have an organized and beautiful desk with easy to get materials, but without so many preambles....
¡Llegó la hora de crear! / It's time to create!👩🎨
Materiales/ Materials✍🏻 |
|---|
| 🖍️ Botella de plástico / Plastic bottle. |
| 🖍️ Foami liso / Smooth Foami. |
| 🖍️ Marcadores / Markers. |
| 🖍️ Pintura al frío / Cold paint. |
| 🖍️ Pincel / Brush. |
| 🖍️ Silicón / Silicone. |
| 🖍️ Tijera / Scissors. |
¿Cuál es el proceso?/ What is the process?⬇️
🖍️ Paso 1 / Step1
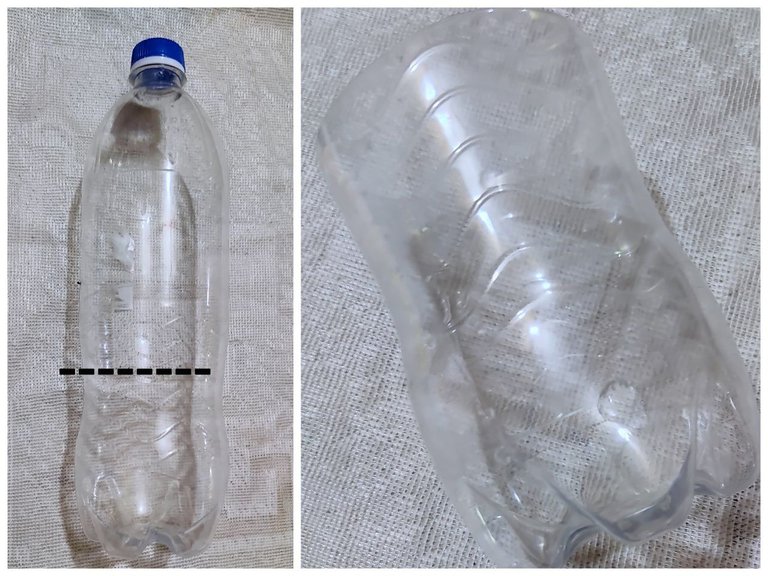
Lo primero que hice fue recortar la parte que usaría de una botella de plástico (está sería del tamaño de tu preferencia) en mi caso utilice una de 1.5litro y recorte guiándome de la primera franja que se puede apreciar de abajo hacia arriba (ver lineas en la siguiente imagen) ⏭️
The first thing I did was to cut out the part I would use from a plastic bottle (this would be the size of your preference) in my case I used a 1.5liter bottle and cut out the first strip that can be seen from the bottom to the top (see lines in the following image) ⏭️
🖍️ Paso 2 / Step 2
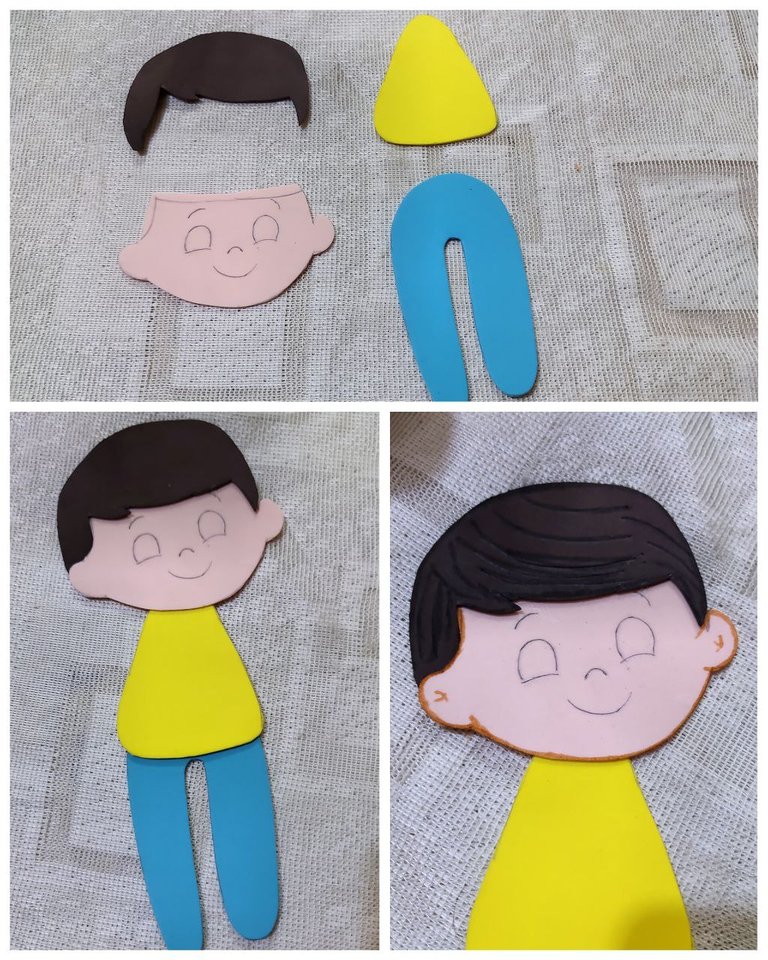
En foami liso realice las partes de un niño, para ello utilice foami marrón para el cabello, para la franela amarillo y los pantalones en azul. Estos tamaños los calculé de acuerdo a la botella de plástico que estaba usando realice los moldes en hoja blanca y hasta tener el definitivo los transferí a los colores mencionados anteriormente, para luego pegar cada una de las partes.
In plain foami I made the parts of a boy, for this I used brown foami for the hair, yellow for the flannel and blue for the pants. I calculated these sizes according to the plastic bottle I was using, I made the molds on a white sheet and until I had the definitive one I transferred them to the colors mentioned above, and then I glued each of the parts.

🖍️ Paso 3 / Step 3
Realice líneas en el cabello con ayuda de un palito de altura, después resalte con marcador color marrón.
Make lines in the hair with the help of a height stick, then highlight with brown marker.
🖍️ Paso 4 / Step 4
Con marcadores difumine los bordes de cada parte, y con pintura al frío color negro pinte ojos, delinee cejas, nariz y boca. Con color rojo pinte un poco sus mejillas, después que la pintura en los ojos estuviera completamente seca ilume los ojos con pintura al frío color blanco.
With markers blur the edges of each part, and with cold paint black color paint eyes, outline eyebrows, nose and mouth. With red color paint a little bit her cheeks, after the paint on the eyes was completely dry illuminate the eyes with white cold paint.
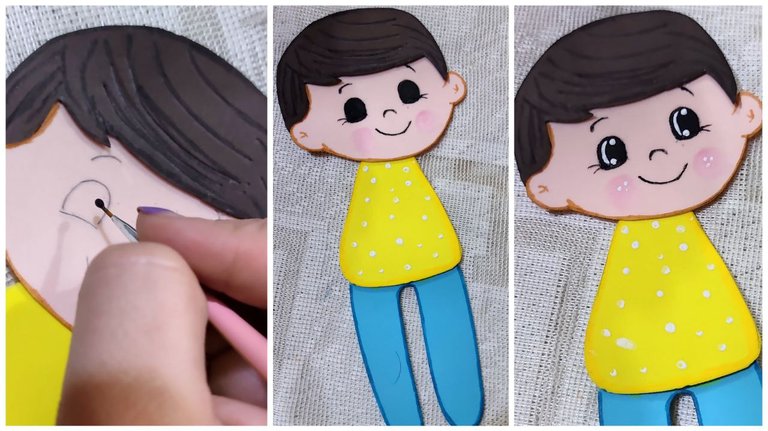
🖍️ Paso 5 / Step 5
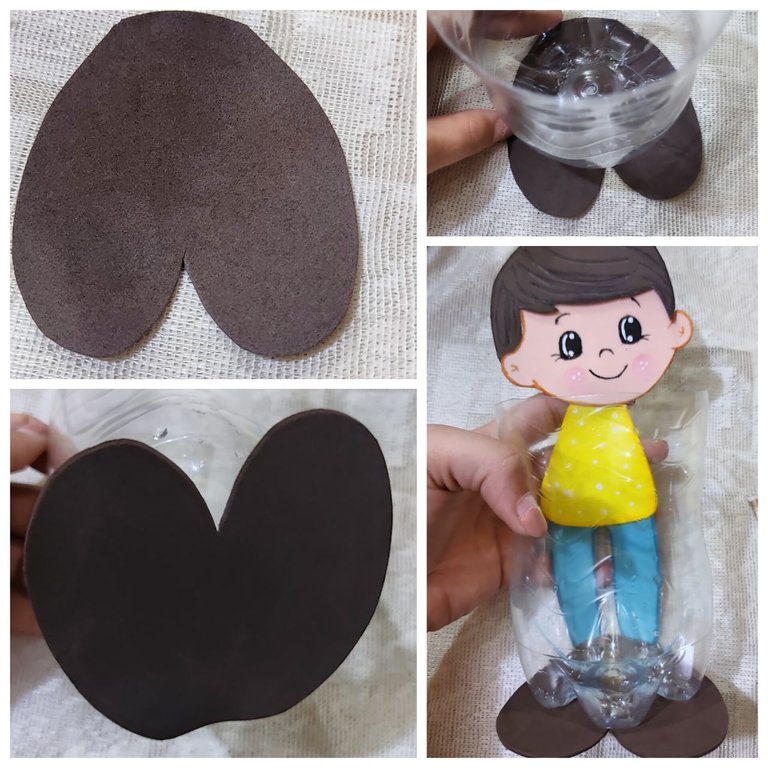
En foami liso color marrón realice la forma de los zapatos, haciendo forma de un corazón, luego pegue en la parte debajo de la botella de plástico que había recortado, seguido a ello pegue el niño en la parte de atrás de la misma, en línea con los zapatos.
In plain brown foami make the shape of the shoes, making a heart shape, then glue on the bottom of the plastic bottle that had been cut out, followed by gluing the child on the back of the bottle, in line with the shoes.
🖍️ Paso 6 / Step 6
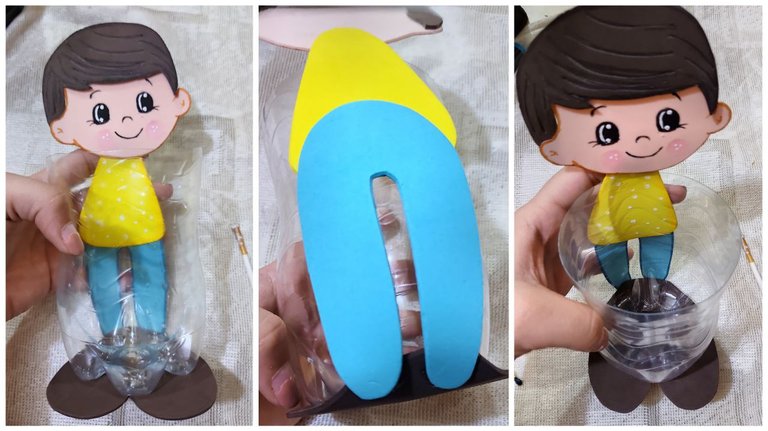
Para reforzar el pegado y el porta marcadores quede firme doble la parte del pantalón hacia los zapatos.
To reinforce the gluing and to keep the marker holder firm, fold the trouser part towards the shoes.
🖍️ Paso 7 / Step 7
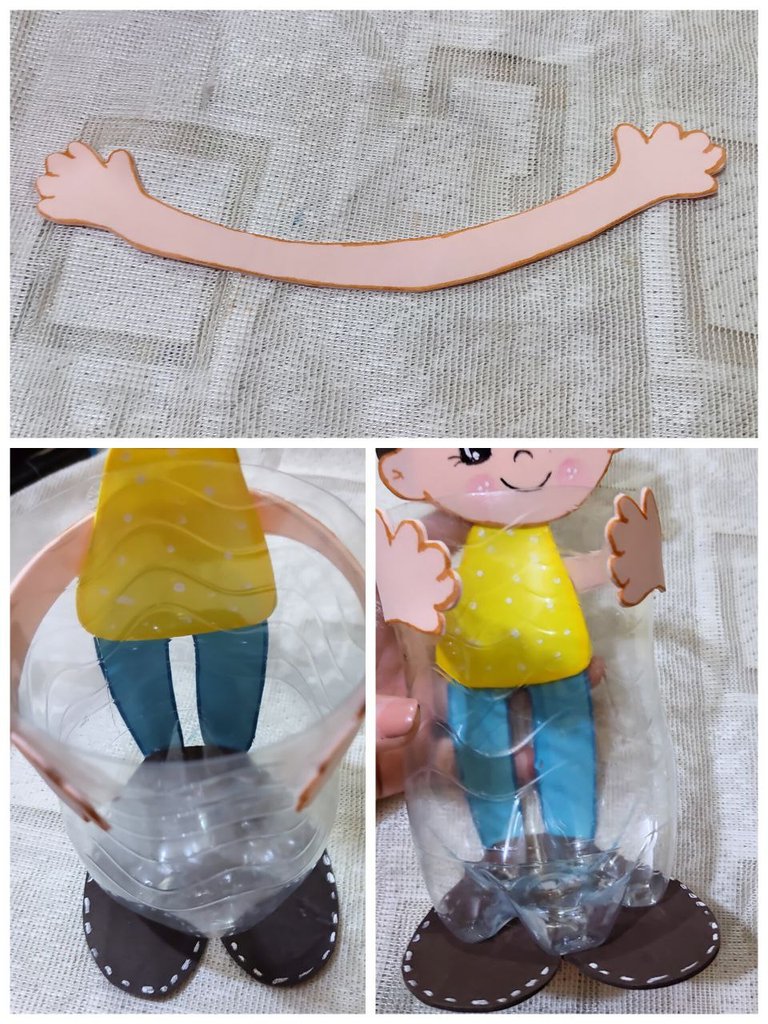
Con foami color piel en la misma tonalidad usado que en la cara realice los brazos, este de forma larga que abrace lo ancho de la botella simulando como si el niño estuviera cargando la misma, como último detallito realice líneas blancas en los zapatos.
With skin-colored foami in the same color used in the face, make the arms, this long shape that hugs the width of the bottle simulating as if the child was carrying it, as a last detail make white lines on the shoes.
Creación finalizada / Creation completed⬇️
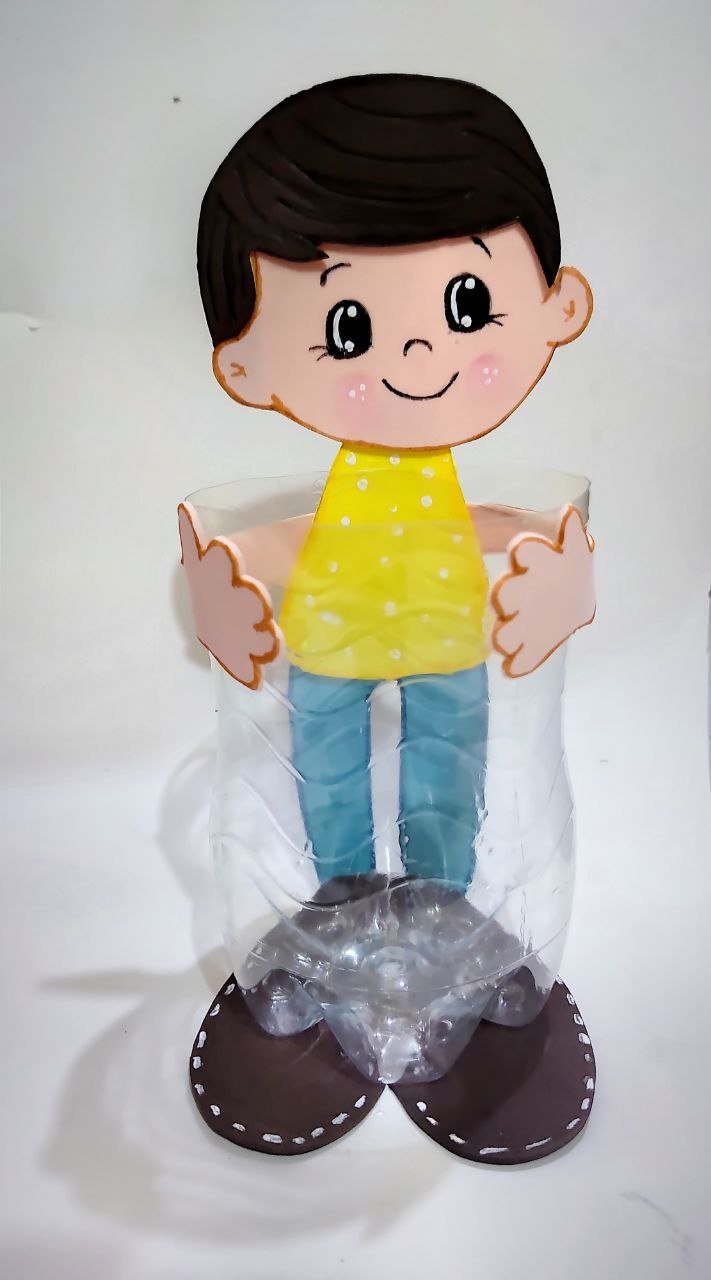
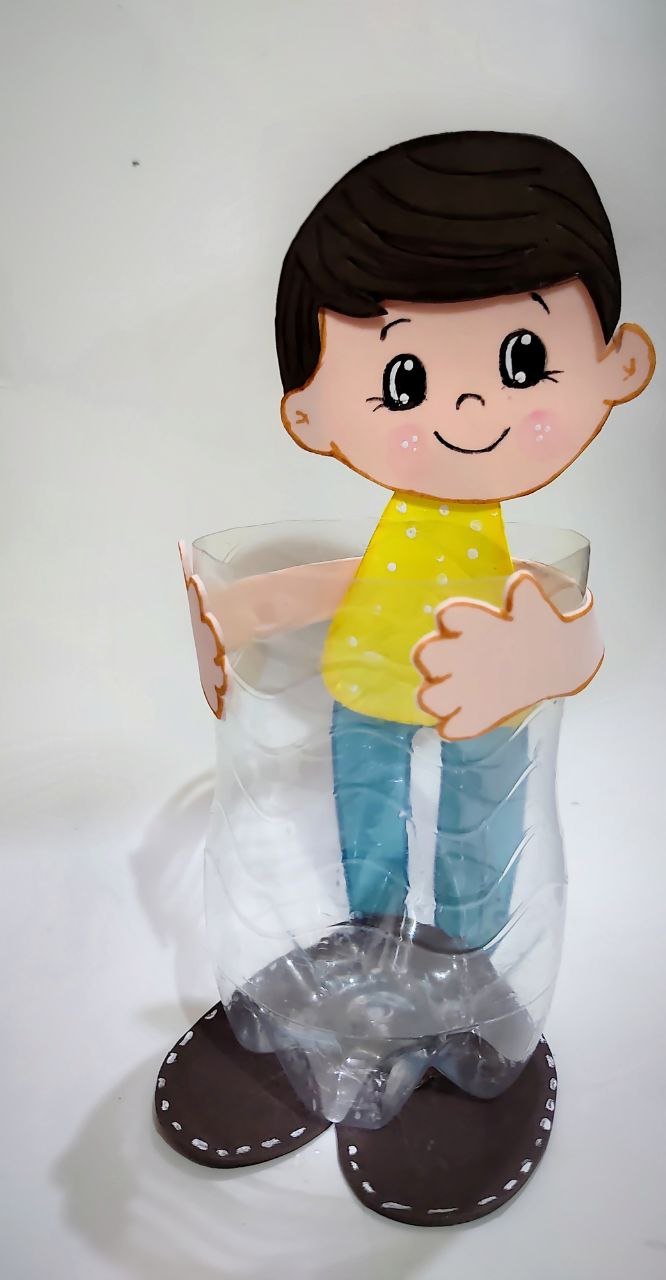
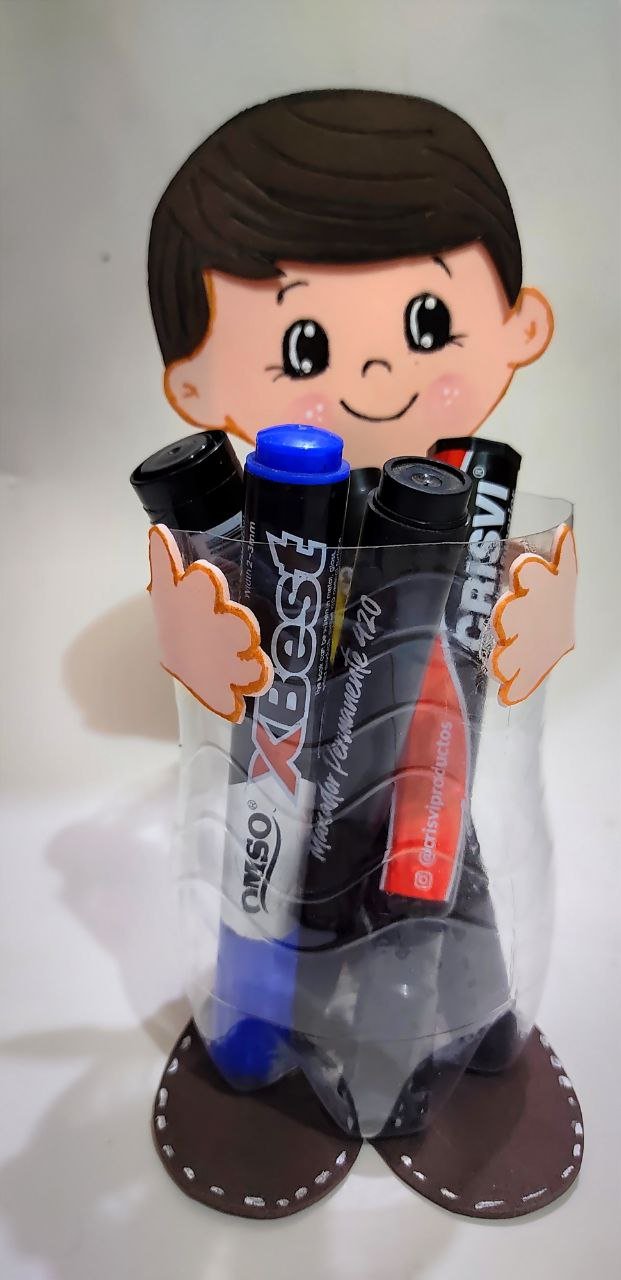
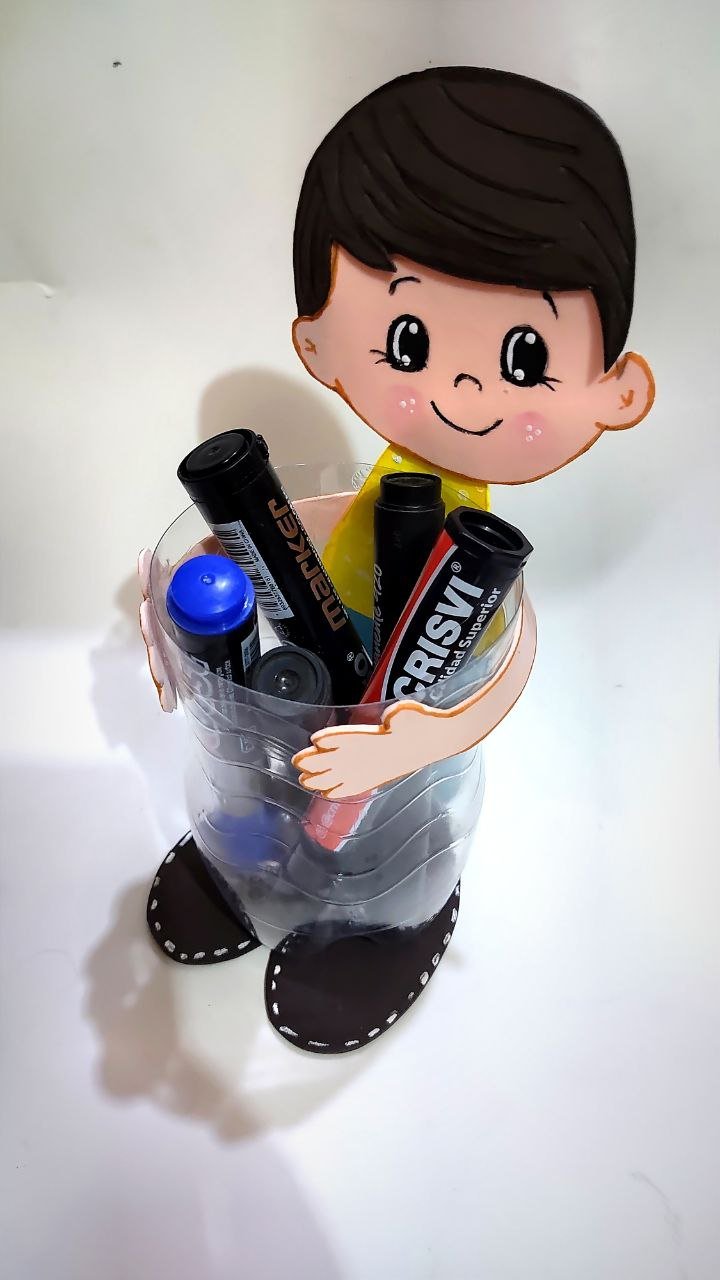
¡ Y de esta forma obtuve un porta marcadores con materiales muy fáciles de conseguir!👩🎨✨👀.
El proceso es muy fácil y bonito de hacer, se puede adaptar a cualquier ocasión con el diseño que desees, siento que hasta para un cotillón quedaría perfecto. Con esta idea bien sea los niños o las maestras tendrían sus lápices o marcadores lindamente organizados. Espero les haya gustado tanto como a mí, y desde ya deseándoles un feliz inicio de regreso a clases👩🏫🖍️👩🎨.
Nos vemos en una nueva creación👩🎨
And in this way I obtained a marker holder with very easy to obtain materials!👩🎨✨👀.
The process is very easy and beautiful to make, it can be adapted to any occasion with the design you want, I feel that even for a cotillion it would be perfect. With this idea either children or teachers would have their pencils or markers beautifully organized. I hope you liked it as much as I did, and I wish you a happy beginning of back to school👩🏫🖍️👩🎨.
See you in a new creation👩🎨
Mil gracias por leerme una vez
Nos vemos en una próxima publicación.
Muchas bendiciones y abrazos digitales🤗
Thank you very much for reading me once
See you in an upcoming post.
Many blessings and digital hugs🤗
📷 Fotografía: De mi propiedad / Photography: From my property
👩🏼💻 Edición: Inshot y Canva / Edition: Inshot and Canva
✨ Traducción: DeepL.com / Translation: DeepL.com
