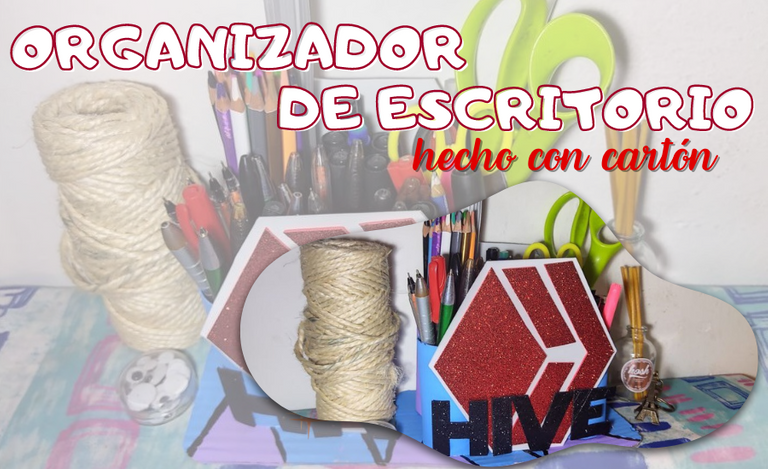
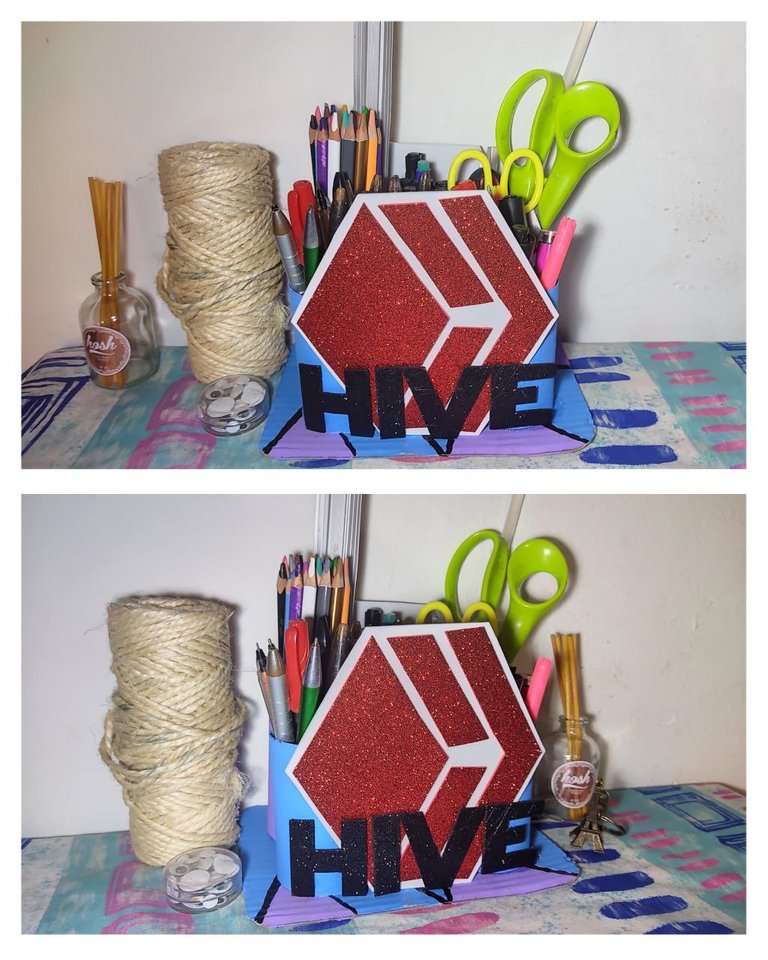
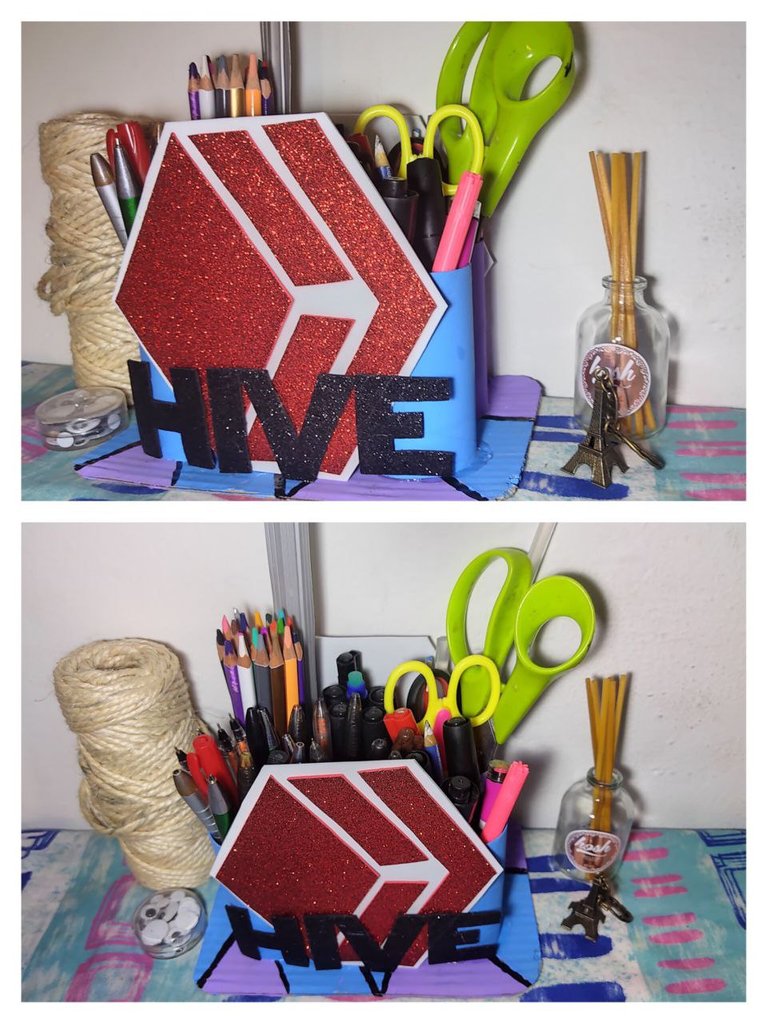
Poco a poco he ido obteniendo mis cosas para trabajar (Colores, marcadores, tijeras y demás). En Venezuela tenía gran variedad de estas cosas, por cambiarme de país no me traje nada de ello también por el hecho que mi hermana aún estaba estudiando y eran cosas las cuales ella podría utilizar, sin embargo me encuentro feliz porque ya he obtenido mis elementos para trabajar, y para ordenarlas un poco realice mi propio organizador y que mejor forma de hacerlo con el logo de Hive ya que está plataforma se ha convertido en una parte de mí, sin más preámbulos acá te muestro los materiales y el paso a paso de este lindo organizador.
Welcome, creative friends🎨💜
I hope you have or are having a great day and are having a wonderful week, I am doing well thank God.
Little by little I have been getting my things to work with (colors, markers, scissors and so on). In Venezuela I had a great variety of these things, but because I moved to another country I didn't bring any of them because my sister was still studying and they were things that she could use, however I am happy because I have already obtained my elements to work, and to order them a little I made my own organizer and what better way to do it with the Hive logo since this platform has become a part of me, without further ado here I show you the materials and the step by step of this nice organizer.
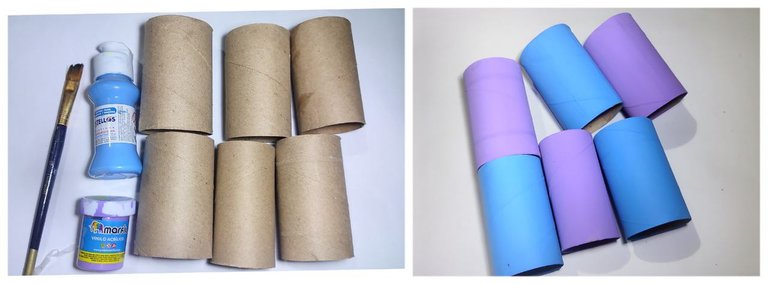
Paso 1: Como muchos saben el morado es mi color favorito y la combinación que hace con el azul me encanta, es por ello que estos fueron los colores que escogí para pintar los tubos de cartón, pinte tres en color azul y tres en color morado hasta cubrir por completo.
Step 1: As many of you know purple is my favorite color and I love the combination it makes with blue, that's why these were the colors I chose to paint the cardboard tubes, I painted three in blue and three in purple until they were completely covered.
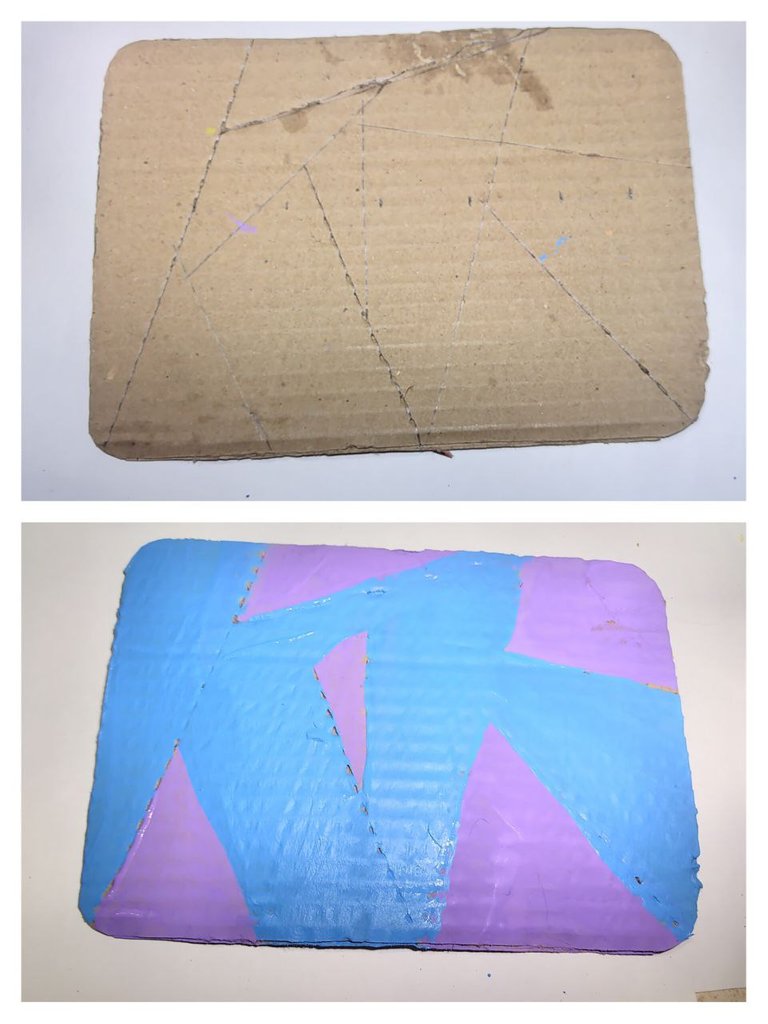
Paso 2: En un trozo de cartón realice medidas de 19cm horizontal y 14cm vertical, siendo este la base del organizador, seguidamente recorte y realice líneas de diferentes tamaños.
Paso 3: Las líneas antes realizadas las pinte, unas en color azul y otras en morado.
Step 2: On a piece of cardboard measure 19 cm horizontally and 14 cm vertically, this being the base of the organizer, then cut out and make lines of different sizes.
Step 3: I painted the lines previously made, some in blue and others in purple.
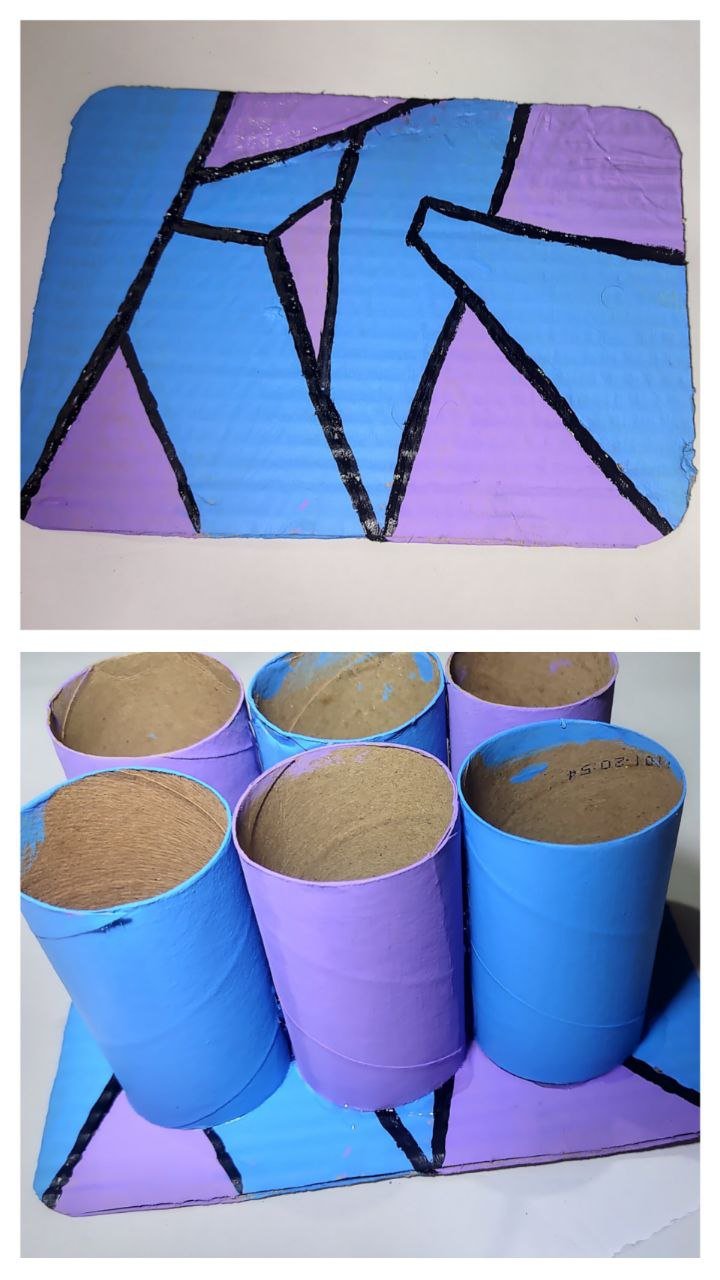
Paso 4: Realice un delineado en color negro por los bordes de cada línea, de esta forma dividir los colores y resaltar.
Paso 5: En el momento en que estuviera totalmente seco los cartones que había pintado, procedí a pegar los rollos de papel en la base del cartón.
Step 4: Outline the edges of each line in black to divide the colors and highlight them.
Step 5: As soon as the cardboard I had painted was completely dry, I proceeded to glue the paper rolls to the cardboard base.
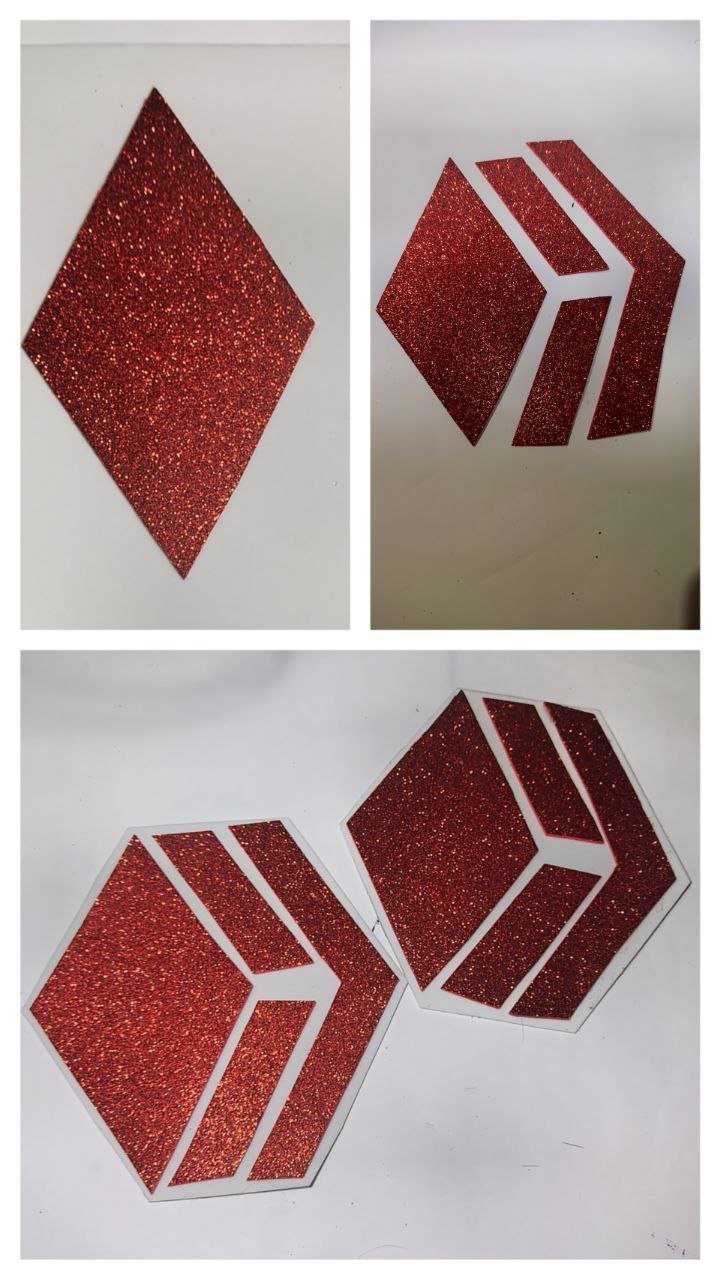
Paso 6: En foami escarchado color rojo realice el logo de hive, pegándolo en un foami de color blanco para que quedara como borde, realizando dos logos de la misma forma.
Step 6: In red frosted foami I made the hive logo, gluing it on a white foami as a border, making two logos of the same shape.
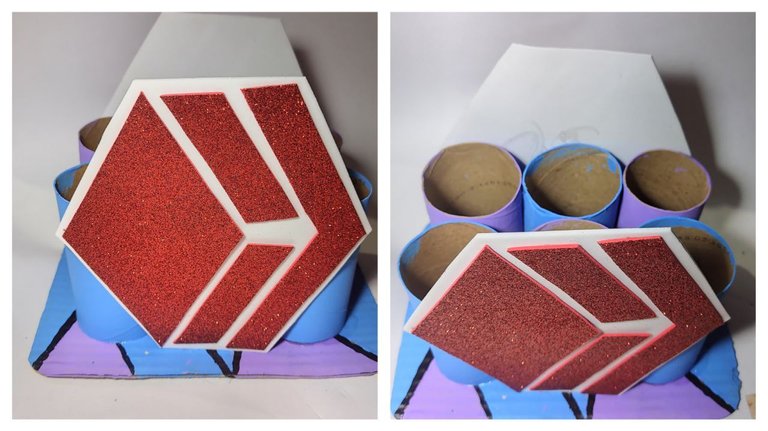
Paso 7: Pegue los logos en los rollos de papel, uno en cada cara en la forma que se puede apreciar en la siguiente imagen.
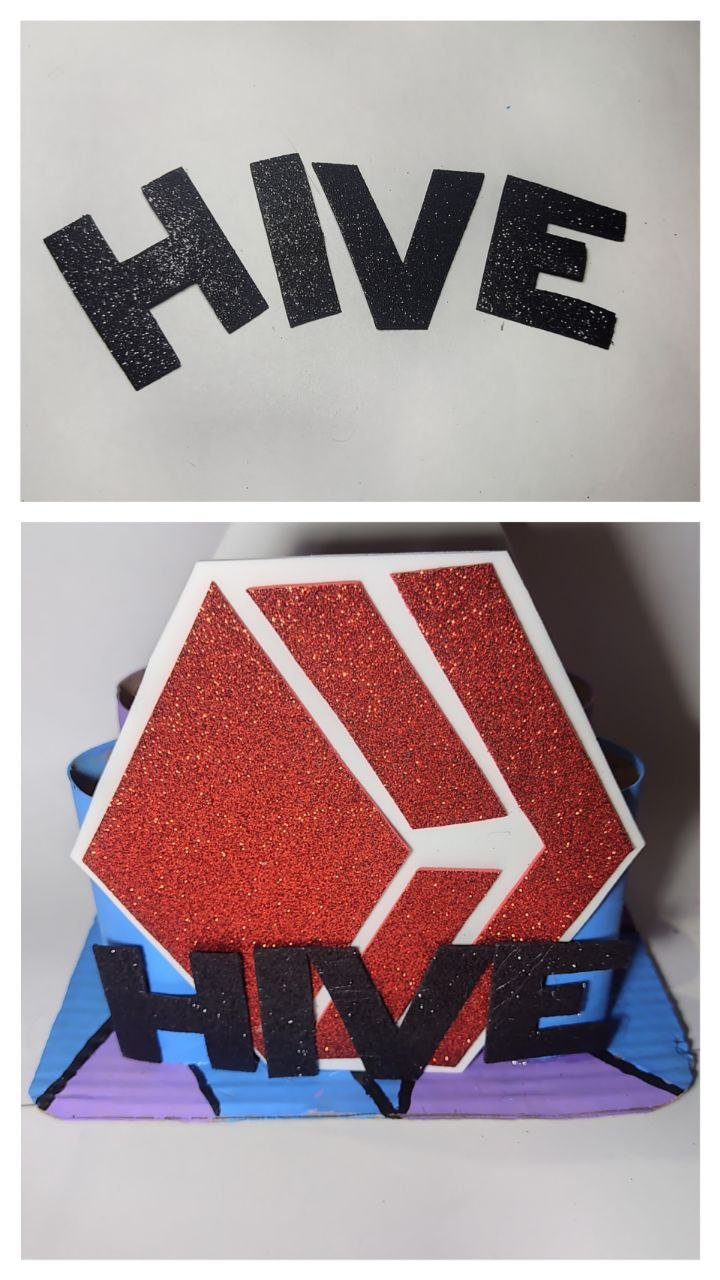
Paso 8: En foami escarchado color negro realice la palabra HIVE y pegue en una de las caras del organizador, siendo este la parta delantera del mismo.
Step 8: In black frosted foami, make the word HIVE and glue it on one of the sides of the organizer, this being the front part of the organizer.
Esté tipo de organizador suele ser muy fácil y práctico de hacer puedes personalizarlo con el modelo o dibujo que gustes.
