Así que nada de lo que veas aquí, es algo que estudié, simplemente fueron habilidades que desarrollé a lo largo de mi vida para escapar de algunas turbulencias. Siempre se puede sembrar cosas positivas así estemos rodeados de oscuridad.
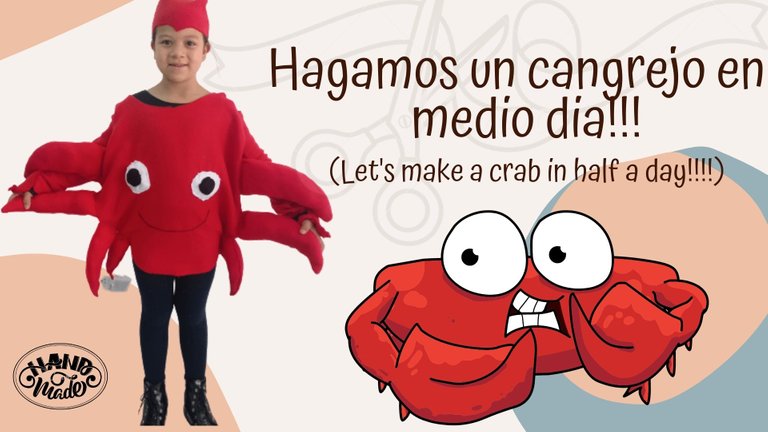
Hoy vamos a hacer un Cangrejo en tiempo récord, ¿La historia?, es sencilla, estaba trabajando en la oficina un día normal, y una de mis compañeras de trabajo me dijo que su bebé mayor tendría una presentación de teatro al día siguiente, y que debía disfrazarse de cangrejo, SI ASI COMO LO LEES, AL DIA SIGUIENTE, así que técnicamente me dijo AUXILIO porque debía el disfraz ser creativo. el resto de la historia te la cuento mientras desarrollamos el paso a paso. ¡A crear ,Let`s Go!
Hello beautiful, dreamy and creative bee, welcome to my new segment of the Blog "Creative Wednesday", where I can share with you one of my passions, I must confess that it is a way to disconnect from the world, and bring to reality the things I think. Creating is magic, it's a way to show me that I can always do what I set out to do. So none of what you see here is something I have studied, they are simply skills that I have developed throughout my life to escape some turbulence. We can always sow positive things even if we are surrounded by darkness.Today we are going to make a Crab in record time, the story is simple, I was working in the office on a normal day, and one of my coworkers told me that her oldest baby would have a theater presentation the next day, and that she should dress up as a crab, YES AS YOU READ IT, THE NEXT DAY, so technically she told me HELP because the costume had to be creative. the rest of the story I tell you as we develop the step by step. Come on, let's create!
Materiales y Recursos📎✂️📏
Materials and Resources📎✂️📏

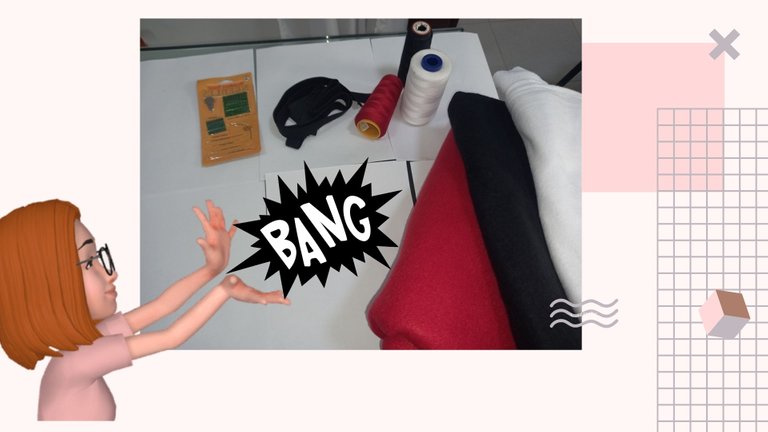
- Fieltro o tela lency, rojo (3 metros), negro (1/2 metro) y blanco (1/2 metro)
- Hilo, rojo, negro y blanco
- Aguja
- Goma roja para ajustar (2metros)
- Tijera
- Espuma para rellenar o tela que no uses
- Lápiz
- Cartulina
- Felt or linen cloth, red (3 meters), black (1/2 meter) and white (1/2 meter)
- Yarn,red, black and white
- Needle
- Red Rubber band to adjust (2meters)
- Scissors
- Stuffing foam or unused cloth
- Pencil
- Cardboard

Paso Nº1: MEDIDAS, PROPORCIONES Y FIGURAS📏
Step Nº1: MEASUREMENTS, PROPORTIONS AND FIGURES📏
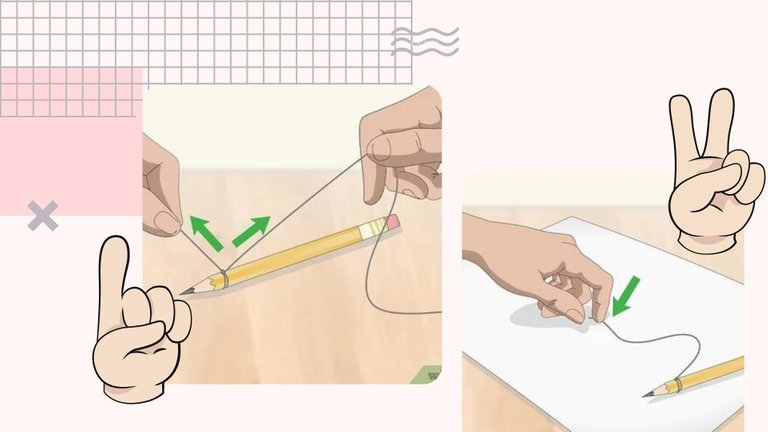
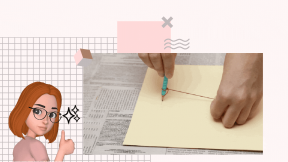
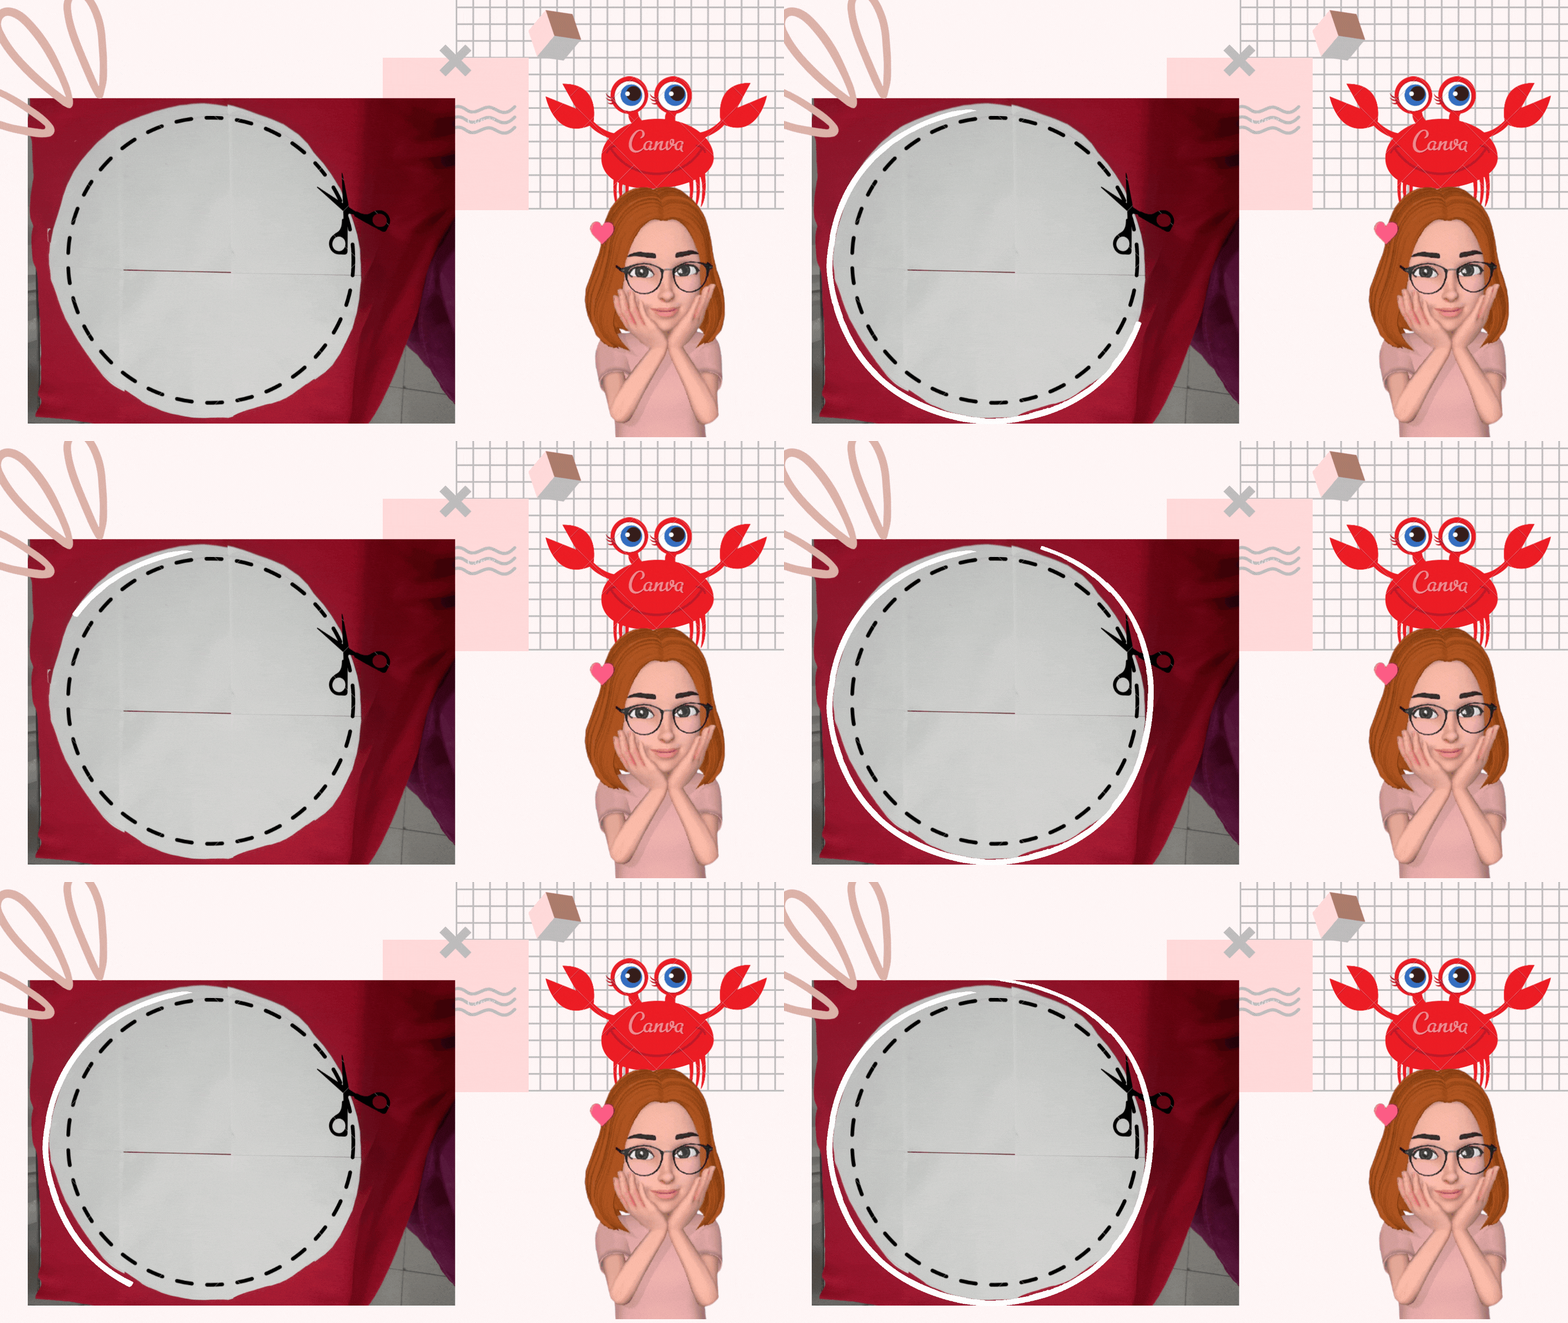
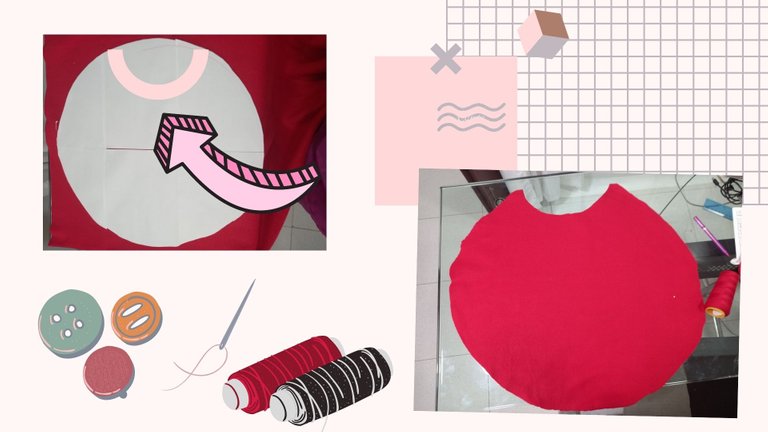
For the big circle we can make a homemade compass, like this.
PASO Nº 2: UNAS PUNTADITAS POR AQUI Y OTRAS POR ALLA📍👵
STEP Nº 2: A FEW STITCHES HERE AND A FEW STITCHES THERE👵📍
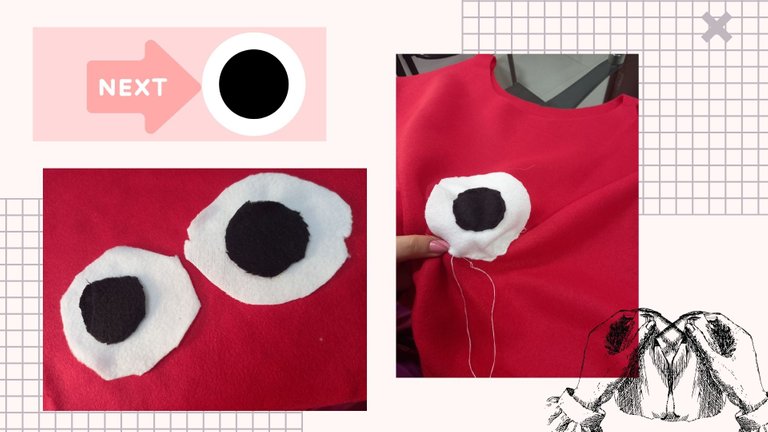
Para los ojos, haremos dos círculos de color blanco grandes, la proporción será a tu gusto, y dos más pequeños de color negro. Los uniremos con costura a la región roja simulando unos hermosos ojitos. Con respecto a la boca dibujaremos una linea curva unos centimetros mas abajo de donde hemos puesto los ojos , yo la hice con hilo, pero puedes hacerla con tela negra si quieres.
For the eyes, we will make two large white circles, the proportion will be to your liking, and two smaller black ones. We will join them with stitching to the red region simulating beautiful little eyes. For the mouth we will draw a curved line a few centimeters below where we have placed the eyes, I did it with thread, but you can do it with black fabric if you want.

Paso Nº 3: Pinzas y Patas🦀🌙
Step Nº3: Clamps and Legs🦀🌙
Últimos retoques👌👩🎨
Final touches👌👩🎨
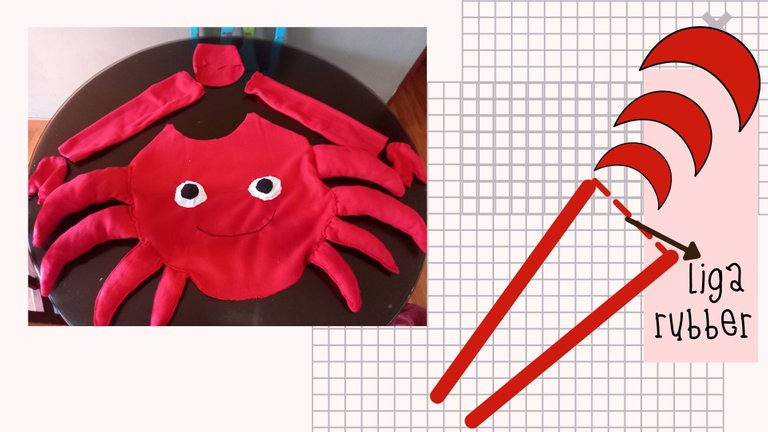
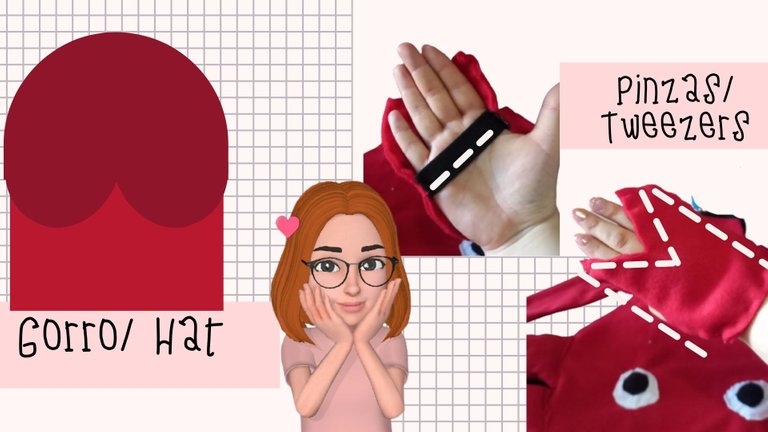
Luego de levantarme a las 4am a terminar el hermoso cangrejo que ya no era tan hermoso por tener que madrugar jajaja, culminamos con las tenazas que pondremos en las manos y el gorrito que ira en la cabecita de la pequeña niña. Seré sincera, también lo hice calculando, así que tomé como partida inicial mi cabeza. Y para las pinzas igual, tomé como medida mis manos, te detallo en la imagen como lo hice.
Punto importante, es mejor que quede grande el gorro, a que quede pequeño.
After getting up at 4am to finish the beautiful crab that was not so beautiful because of having to get up early hahaha, we finished with the tongs that we will put on the hands and the hat that will go on the little girl's head. I'll be honest, I also did it calculating, so I took my head as a starting point. And the same for the tweezers, I took as a measure my hands, I detail in the image how I did it. Important point, it is better to have a big hat than a small one.

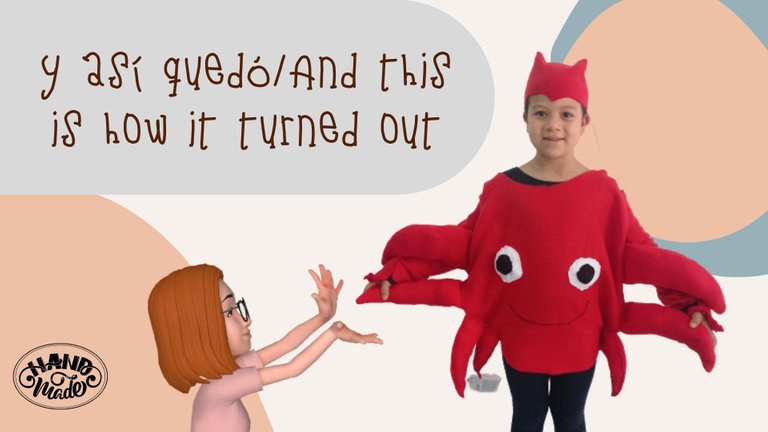
And after so many hours I was finally able to arrive at the clinic with the costume finished and ready to try it on the girl. I was a little nervous because I didn't know if the measurements were right. When the girl put it on, she was really happy and excited about her recital and her costume, which for something done on short notice, looked pretty good. As for me, I was proud of what I had done. And I had learned not to accept challenges on such short notice.

Recursos/Resources: Cam Samsung A71, Canva.
