Hello everyone, It's a pleasure to be here once again. I've been away from creating DIY content for a while and sharing mostly lifestyle content, but a friend of mine contacted me about how he needed new palm sandals because the ones he had were getting damaged due to the consistent rain we've been experiencing in the last few months. I understand his plight and also face the same ordeal, so when he told me the kind of style he likes to have, I immediately set out to work, and I'll be showing you how I made these palm sandals for him.
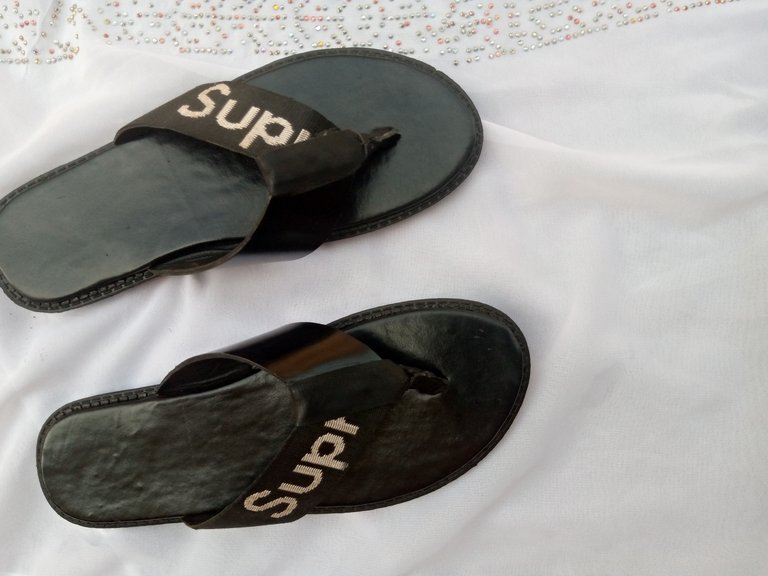
The first time he told me was that the colors of the palm sandals must be black or mixed with a color that won't easily get stained, and I understand his point, because now during this rainy season, most footwear gets stained in the mud, and if it happens to be a palm slipper with a bright color, it'll be very obvious, which isn't good, so he opting for that is great, and that's what determined my judgement when shopping for the leathers and other materials I used for the making, so without further ado, let's delve into how I made these palm sandals and the materials I used.
materials and tools used
- Black leather
- Brown designer leather
- Maco size 4 insole
- Black leather lining
- Polyurethane outsole
- Gum
- Super glue
- Biro
- Brush
- Shooker
- Filing machine
- Thread
making process
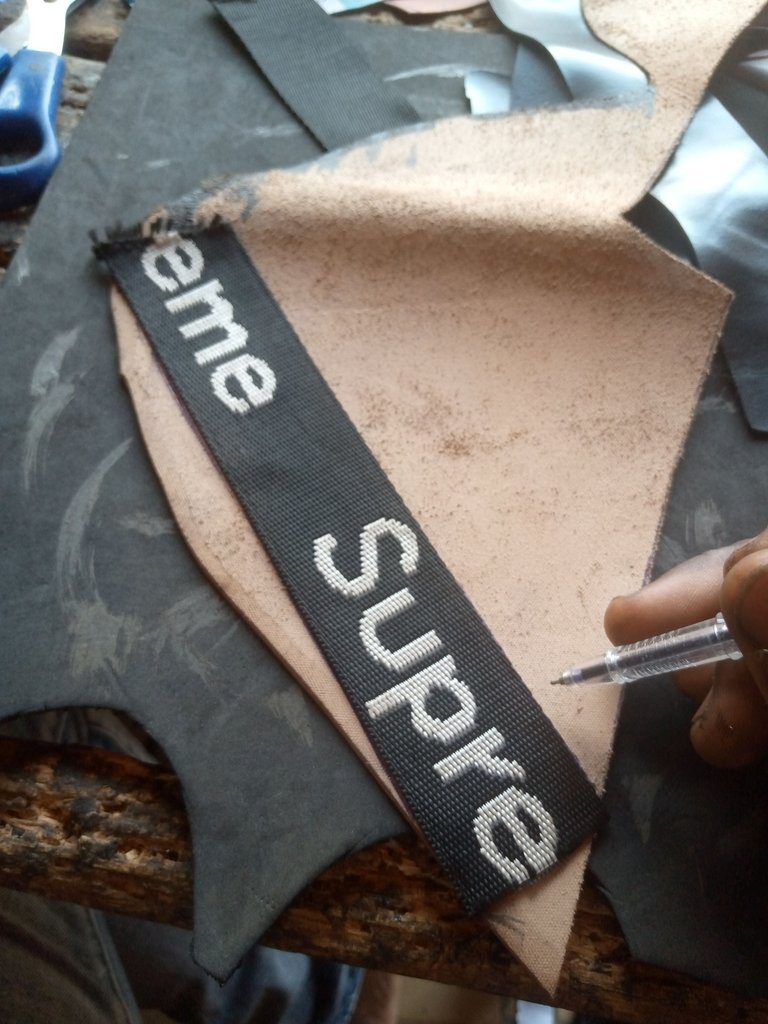
Firstly I gathered all the fabric and then pick out the ones needed for the upper design, I took a biro and draw the pattern I wanted on it and then cut it out with my scissors ✂️.
Also I joined the cut upper design together with my gum, and my snooker and thread.
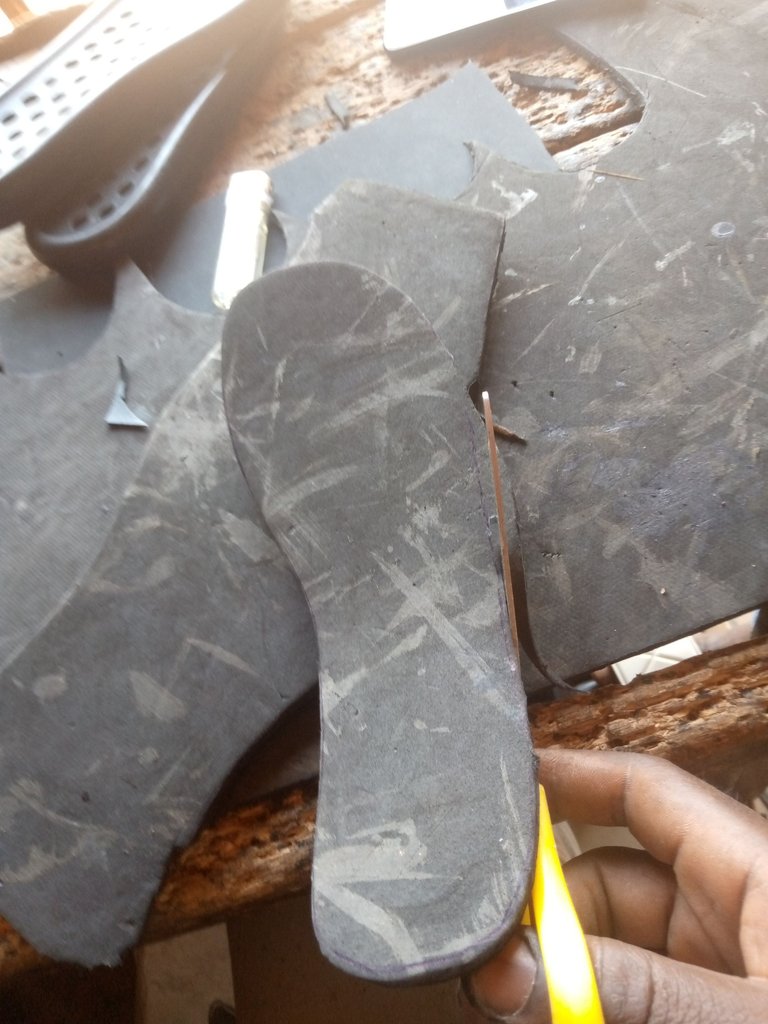
When the upper design was good in my sign, I picked up the maco size 4 and used the biro to draw the shape of my friends foot side on it, then I cut out the shape, because the maco is what I'll use for the insole and the insoles is what will makes the footwear soft and comfortable on his feet when he put the slippers on, after cutting it, I apply gum all over it and wrap the black leather lining all over it.
I also punch a hole in front of each of the insoles, so I can put the upper design through it before lasing(joining).
Once perfect, I put the upper design through the hole I made on the insole and then use my wooden shoe last to check it perfection of shape, the shoe last helps me readjust the shape and make sure the palm sandals is well shaped.
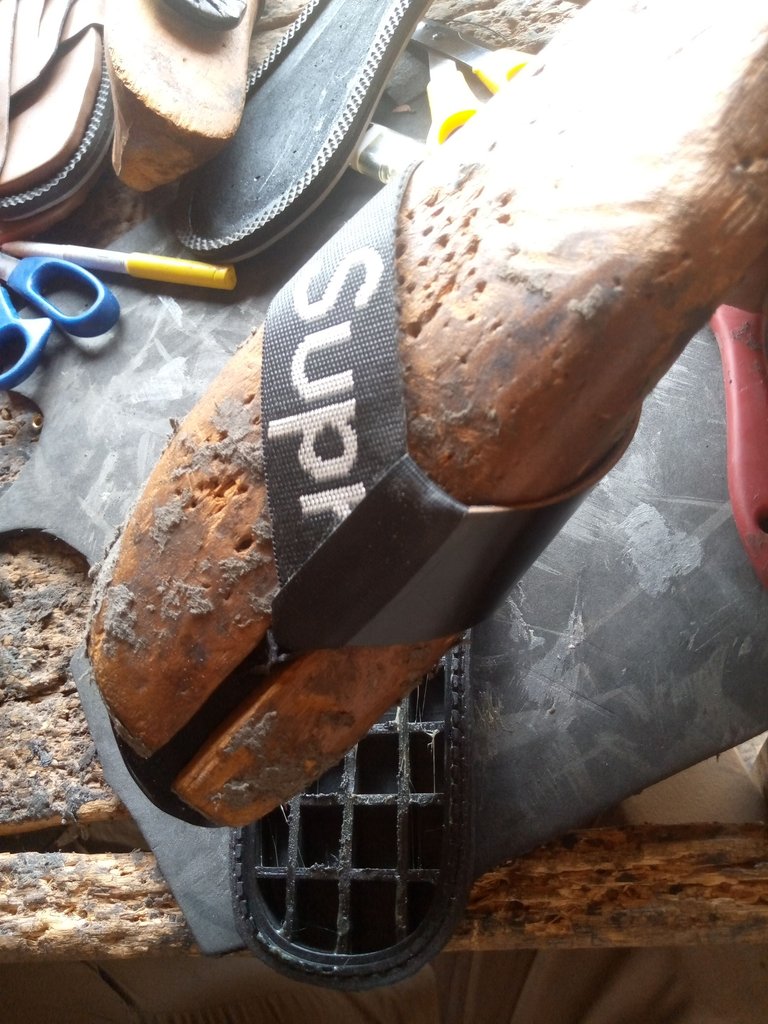
- I went on to picking up the polyurethanes outsole and using the brush to apply gum all over it, let it dry and then carry the insoles so I can join them together, as you can see in the photos below.
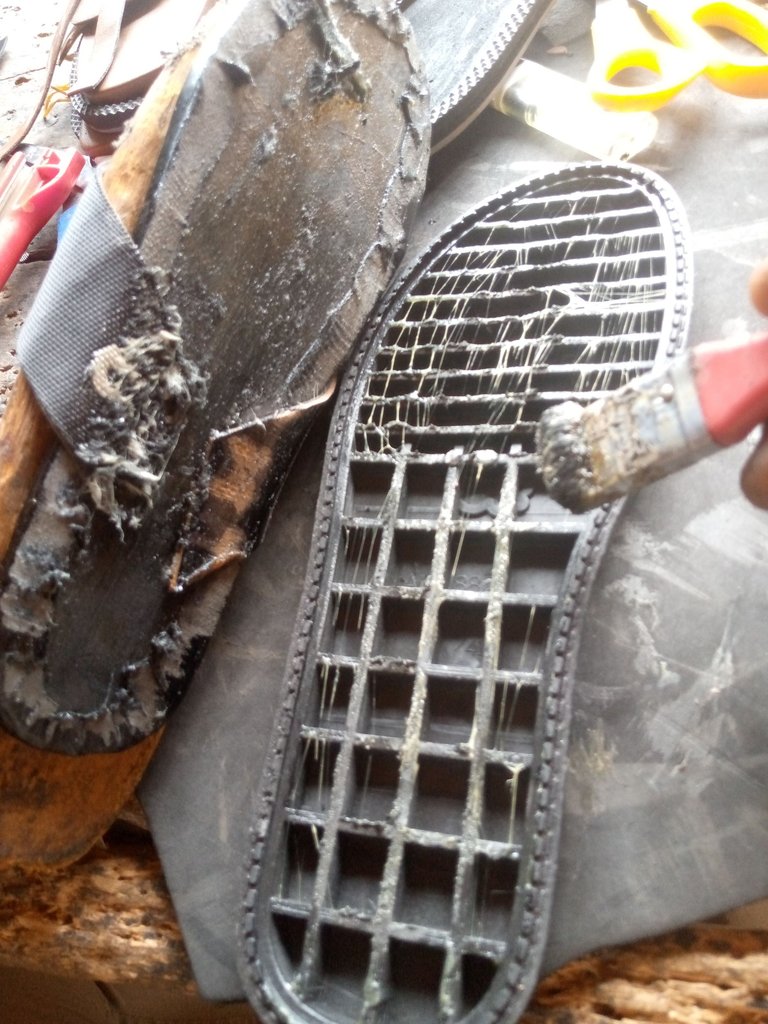
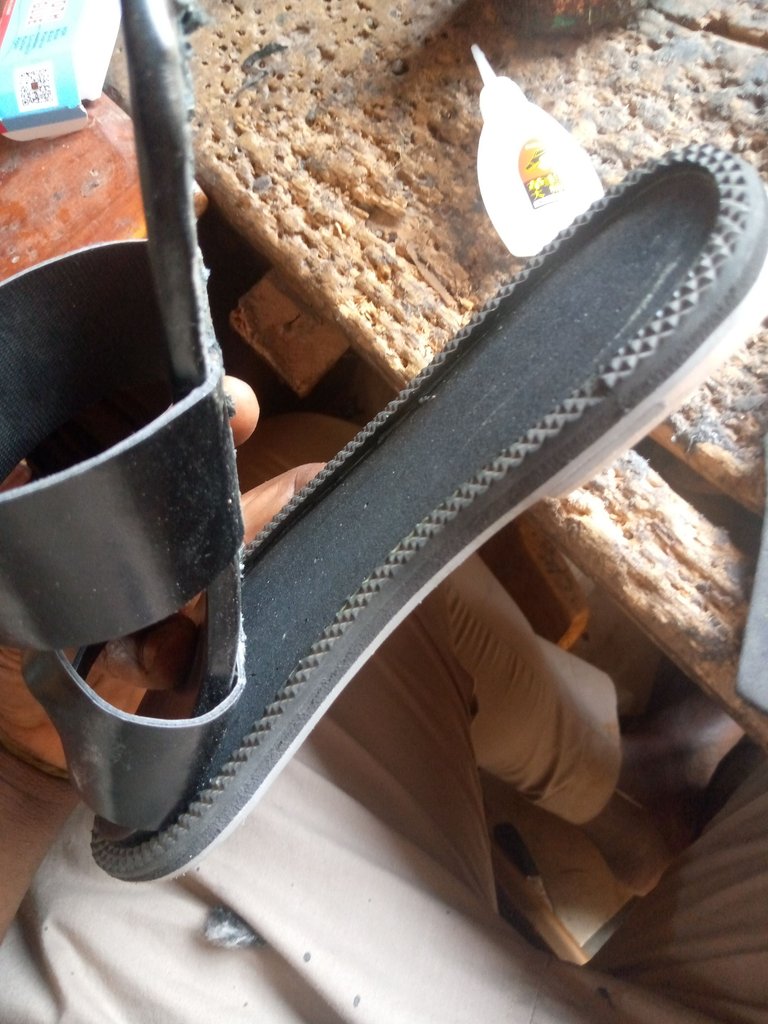
- Last part of the making was putting super glue around the edge of the palm sandals, also using a hammer to hit it gently, that's done so the two part joined together can stick firmly, and it's what brings me to the end of making this palm sandals.
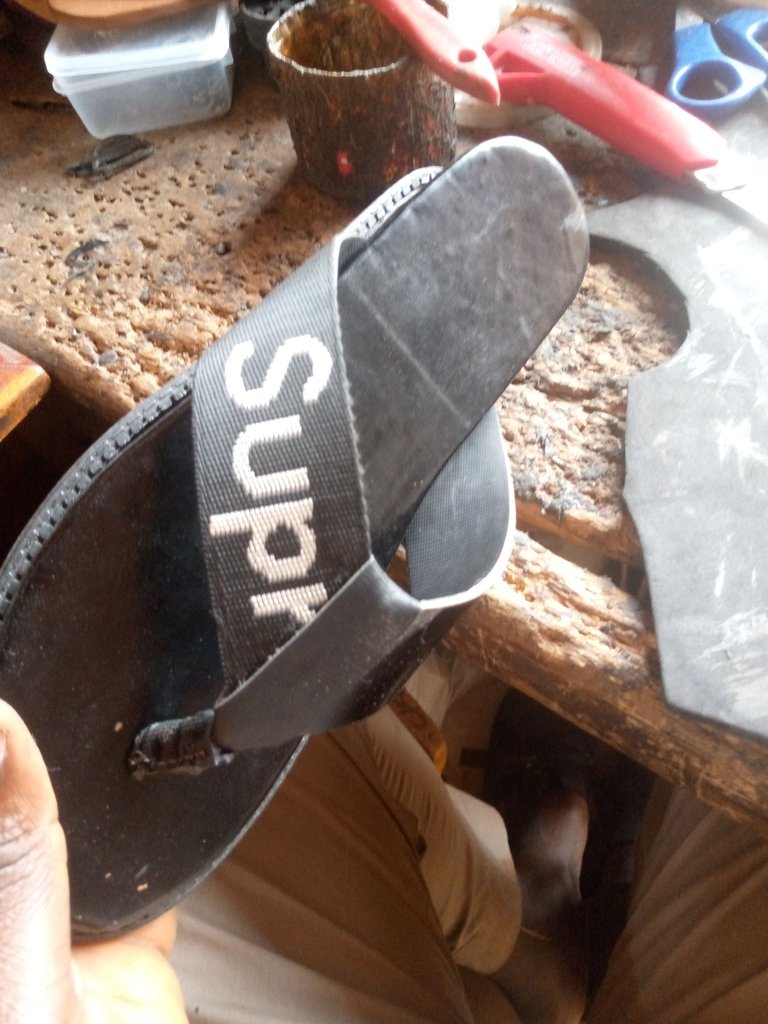
This is how it looks in the end and at the final stage before delivering it to my friend.
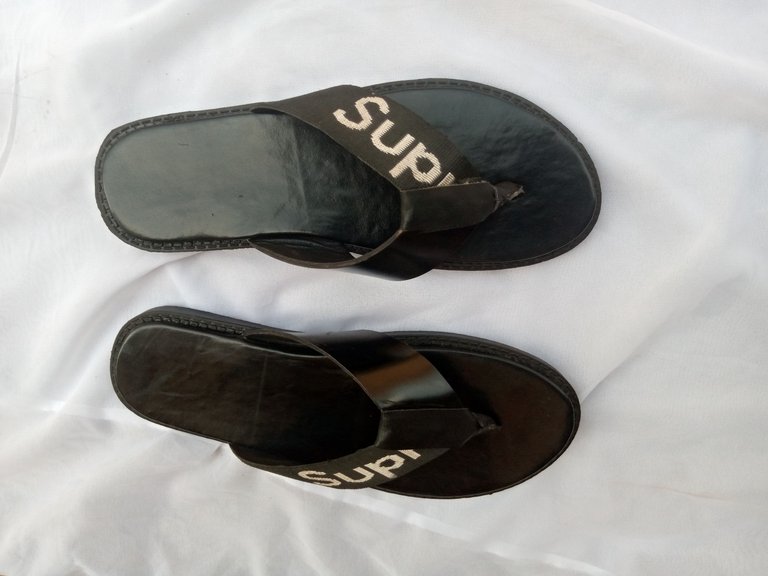
It's made with a very strong fabric and leather, meaning it'll last well and be durable for this raining season we're presently.
Thanks so much for your time, I hope you enjoyed the read, do have a wonderful day ahead and stay bless.
All photos are mine.
Posted Using InLeo Alpha

