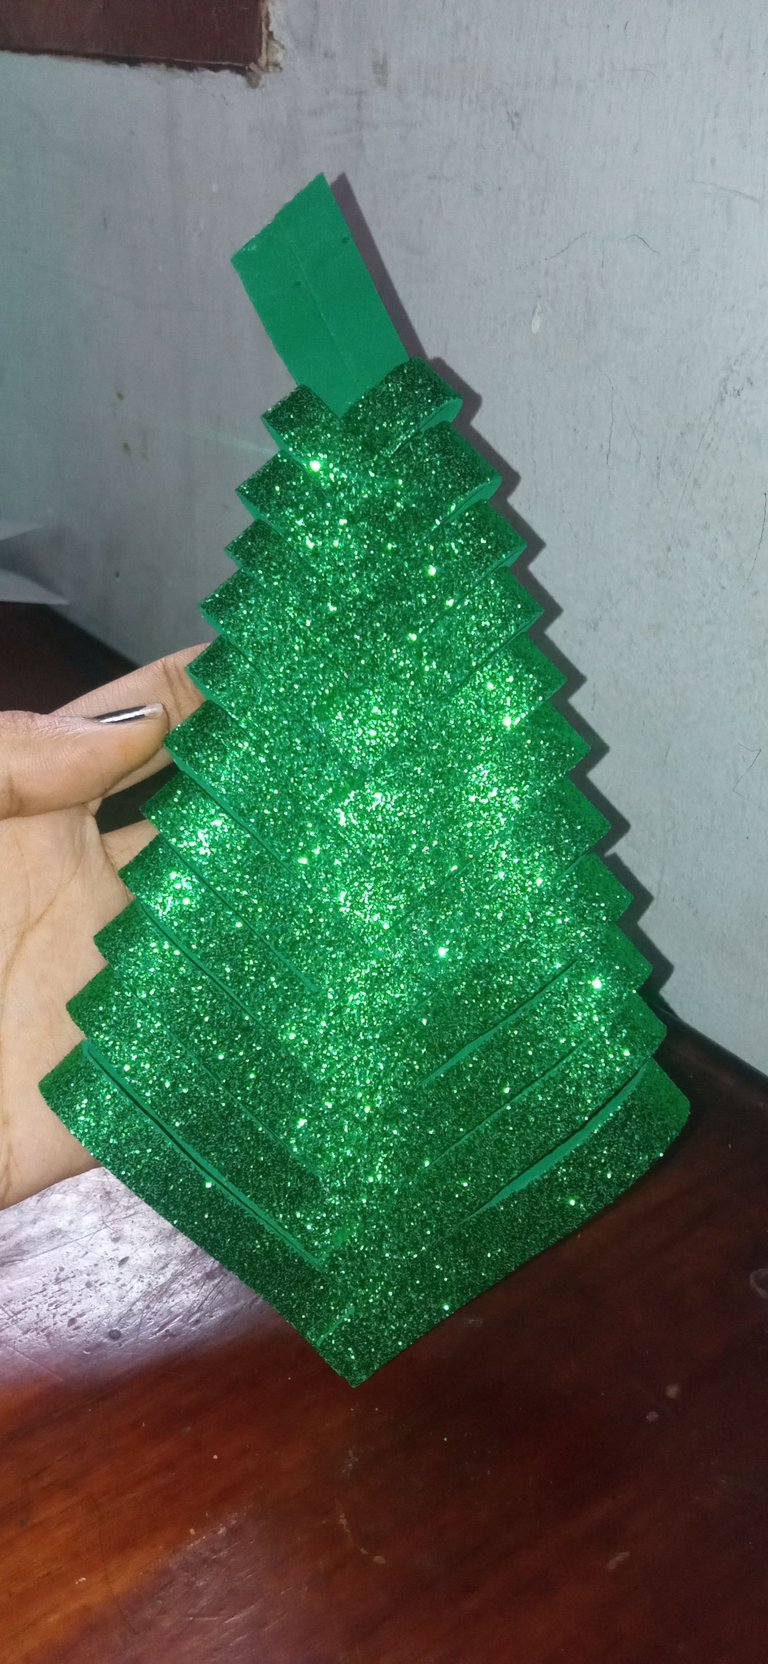
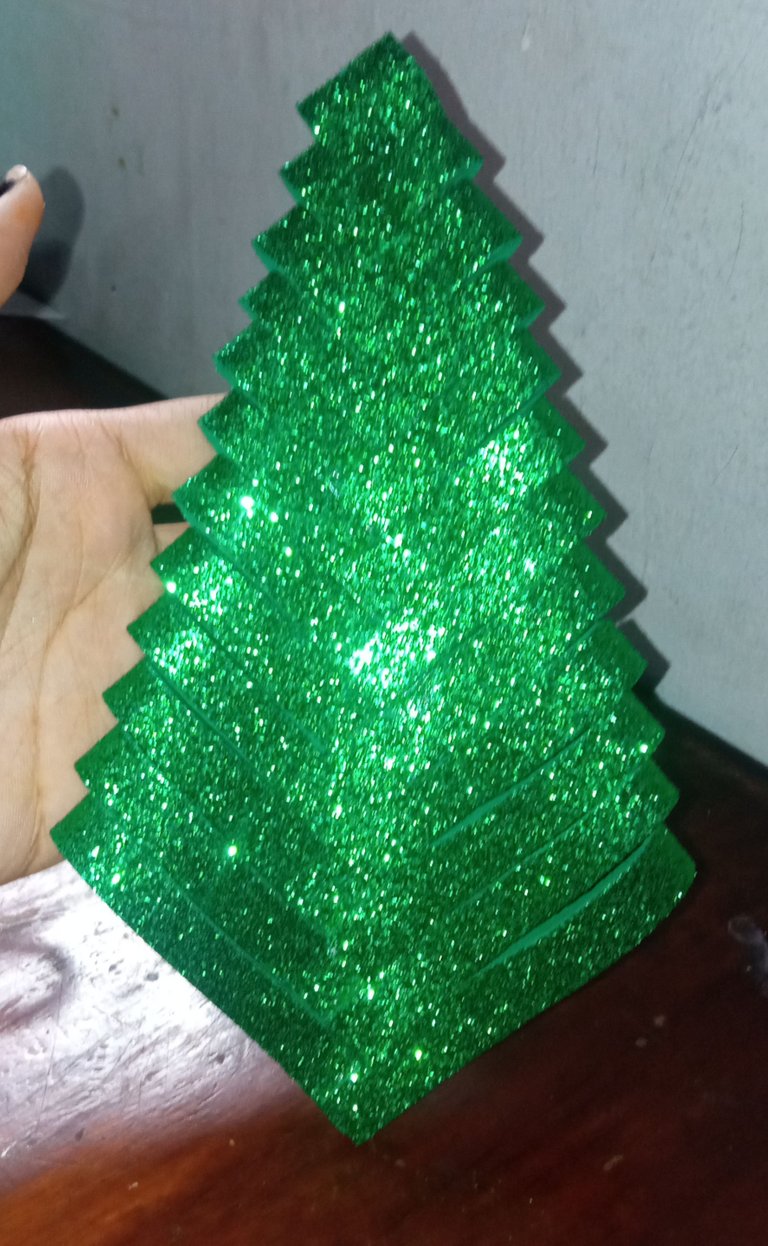
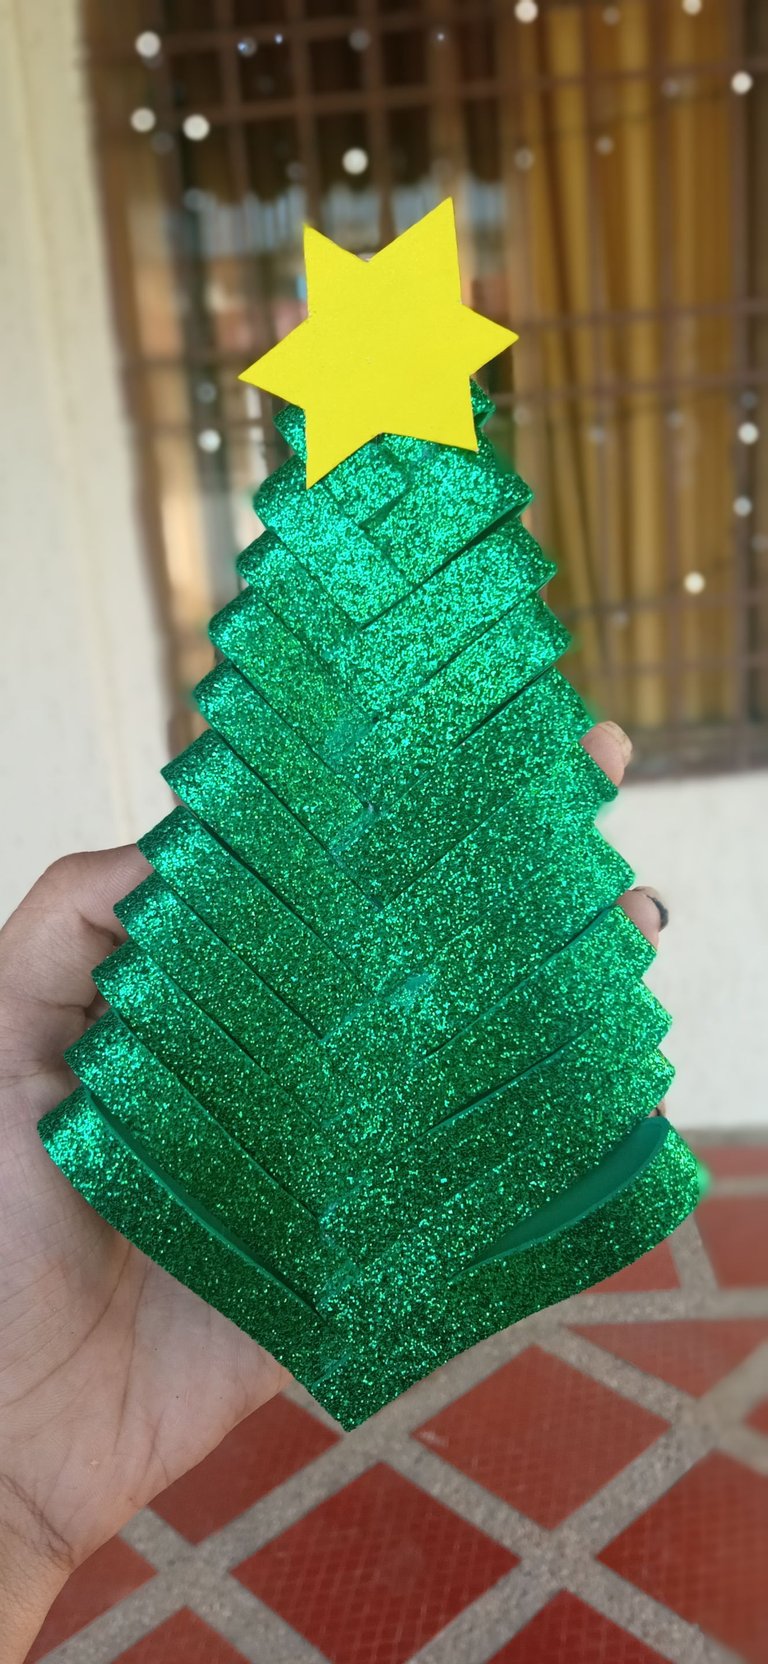
Arbolito de navidad en foami /ESP-ENG/ Christmas tree made of foami

in #hive-1305603 years ago

Arbolito de navidad en foami
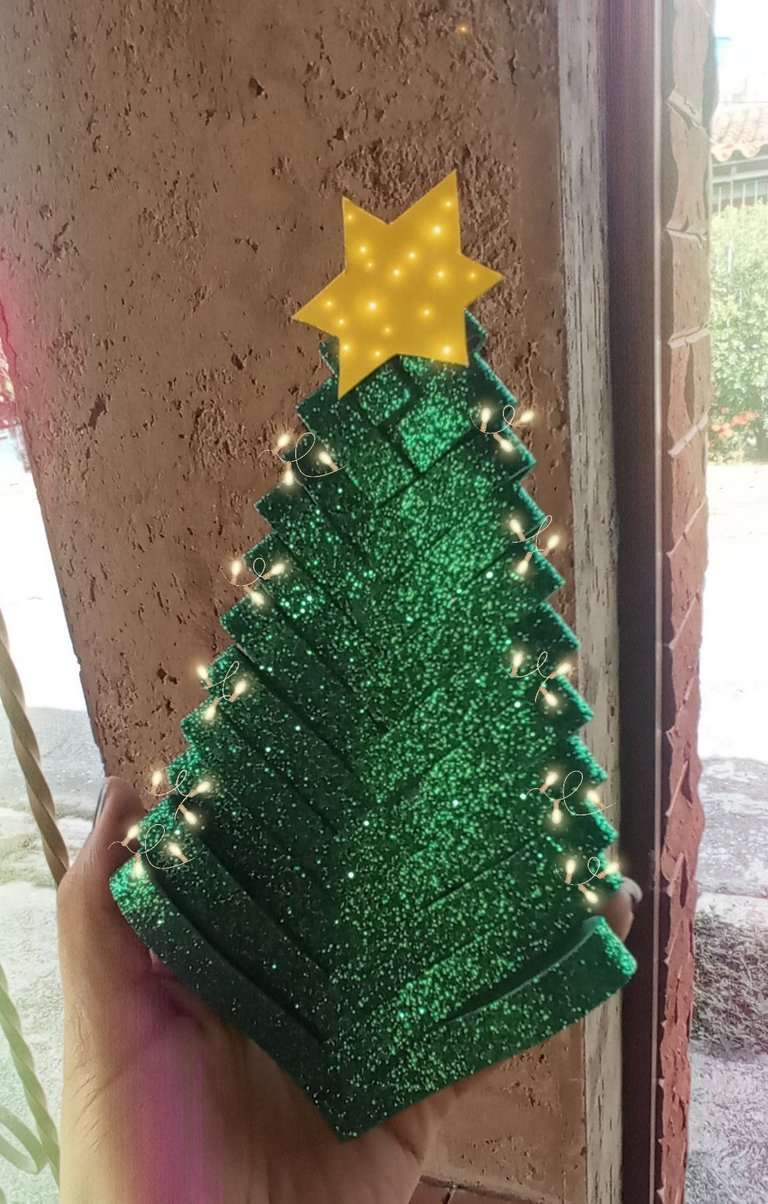
PicsArt_12-18-10.15.06.jpg

Buenas Tardes para toda esta comunidad, siguiendo con las manualidades de esta época, les comparto el día de hoy un pintorezco arbolito hecho de foami escarchado que vi en instagram y quise recrearlo a ver que tal me salia.

Necesitaremos los siguientes materiales:

  • Un foami tamaño (carta) color verde navidad (escarchado)
  • Regla
  • Tijera
  • Silicón líquido
  • Una estrella color amarillo en cartulina o foami
  • Lápiz

Pasos

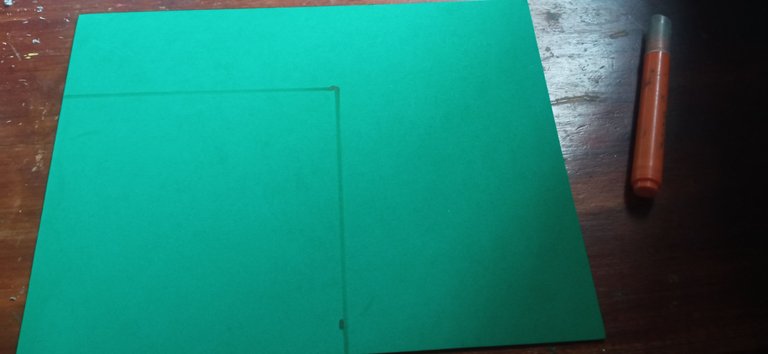
PASO UNO

VOLTEAMOS EL FOAMI, Y HACEMOS UN CUADRADO DE 15CM POR 15CM

IMG_20211217_144025.jpg

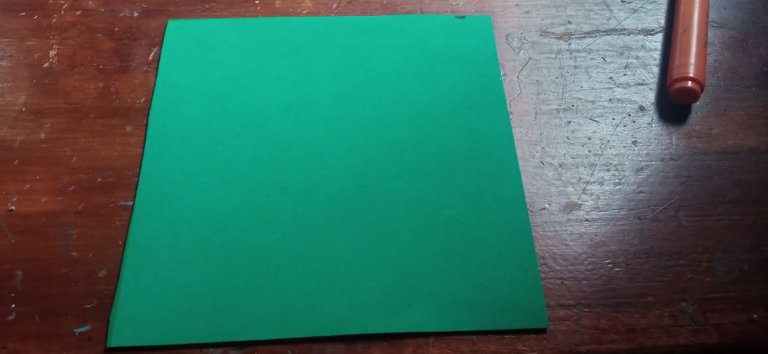
PASO DOS

CORTAMOS EL CUADRO PREVIAMENTE DIBUJADO EN EL FOAMI

IMG_20211217_144129.jpg

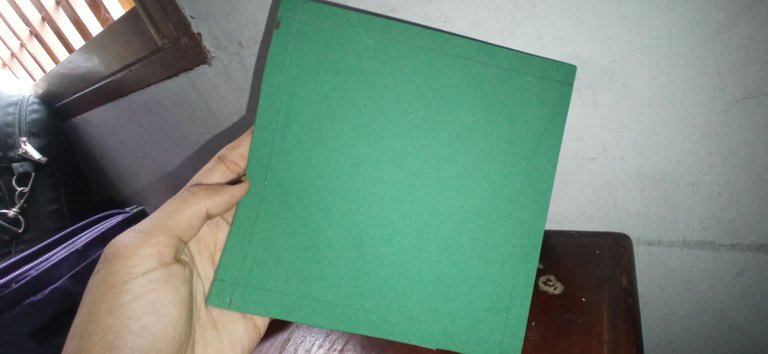
PASO TRES

HACEMOS UN MARGEN DE UN CENTÍMETRO POR TODO EL BORDE DEL CUADRADO

IMG_20211217_145627.jpg

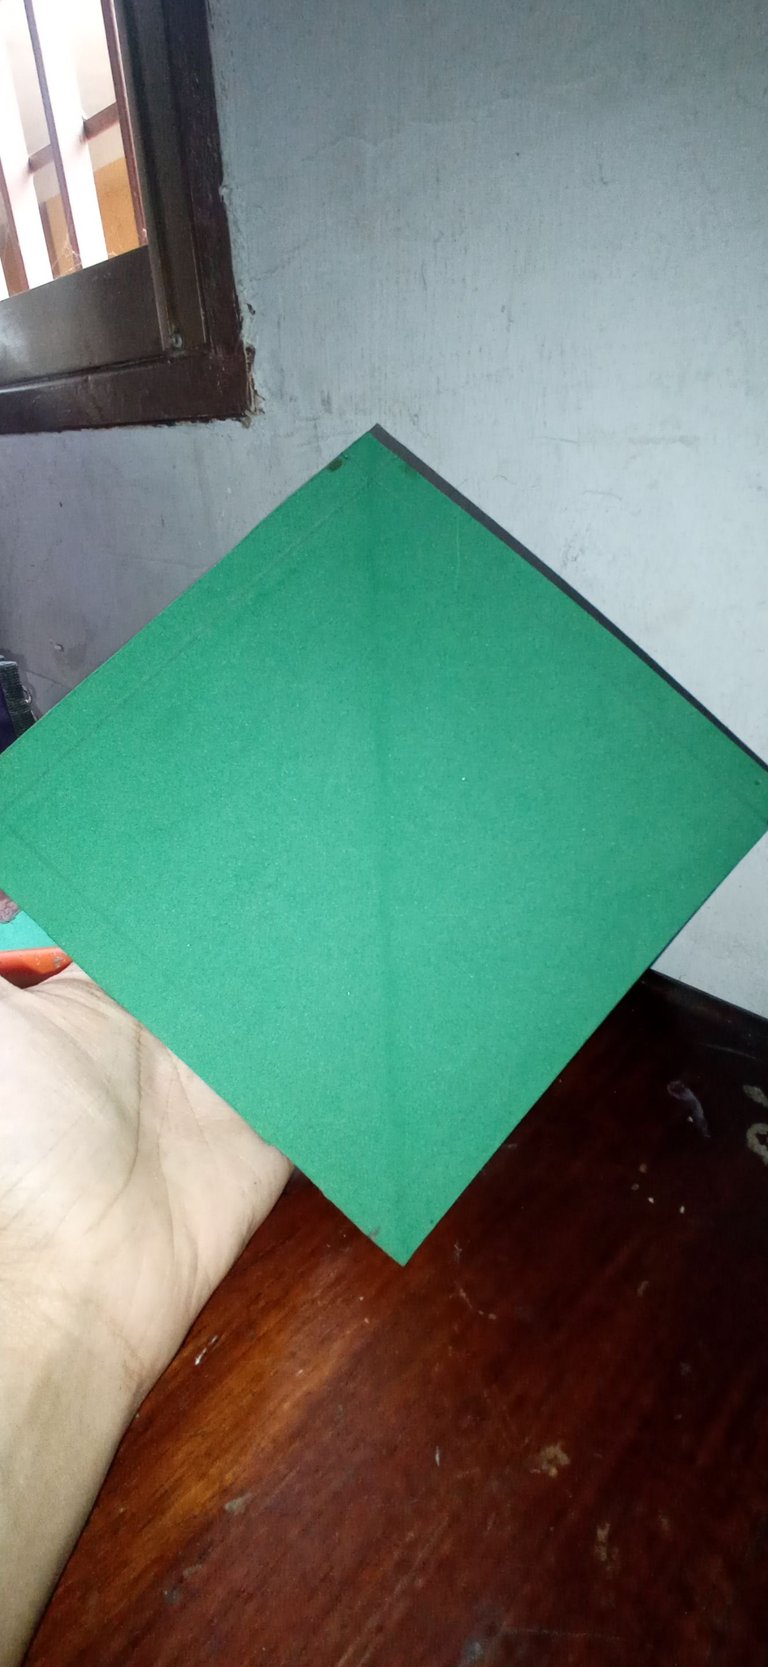
PASO CUATRO

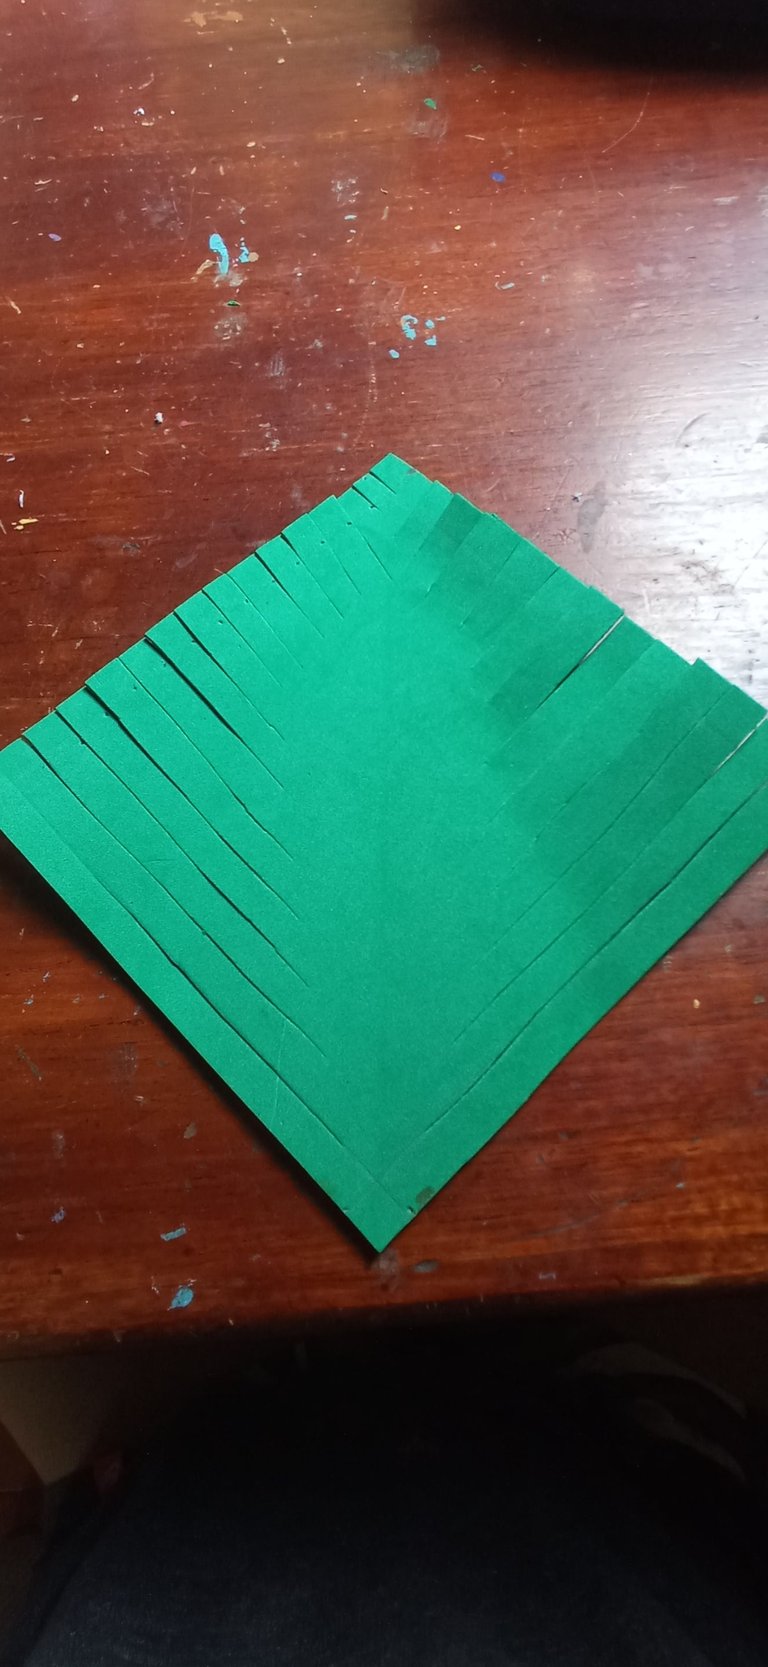
DOBLAMOS A LA MITAD EL CUADRADO, Y HACEMOS LINEAS DIAGONALES CON UN CENTÍMETRO DE DISTANCIA

IMG_20211217_145750.jpg

PASO CINCO

CORTAMOS LAS LINEAS DEJANDO MAS ESPACIO ENTRE EL DOBLES CADA VEZ QUE ESTEMOS BAJANDO HASTA LLEGAR A LA PUNTA

IMG_20211217_150656.jpg

PASO SEÍS

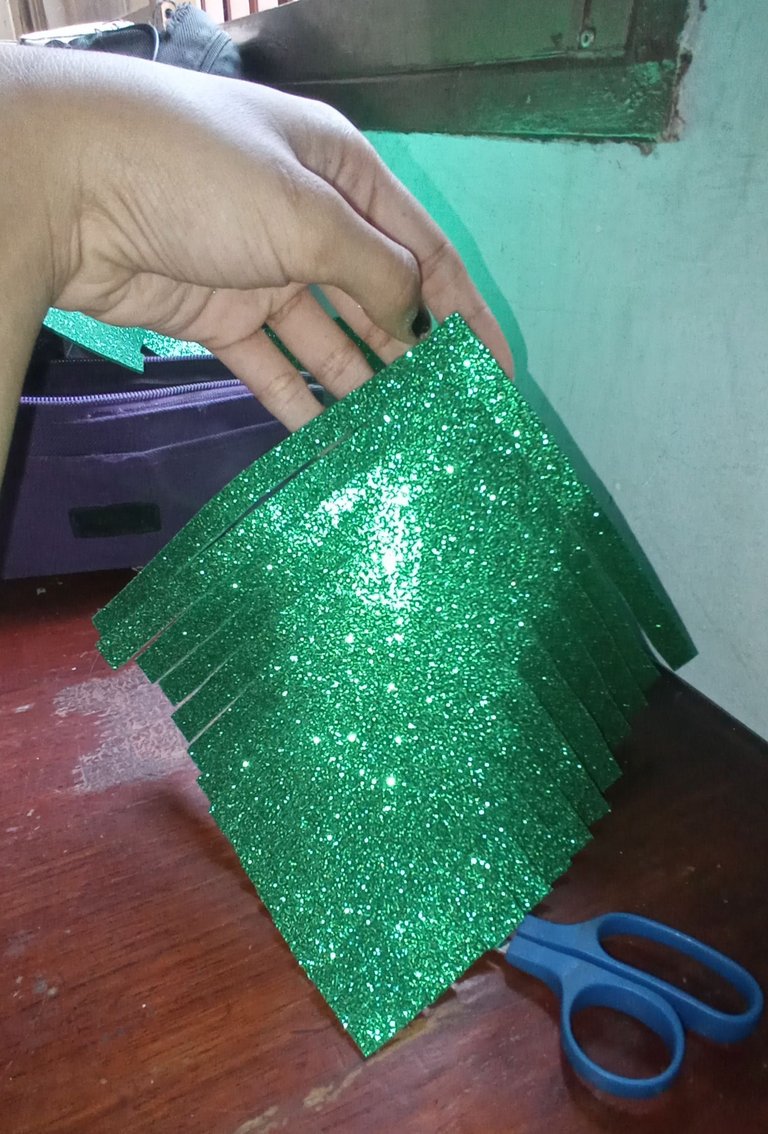
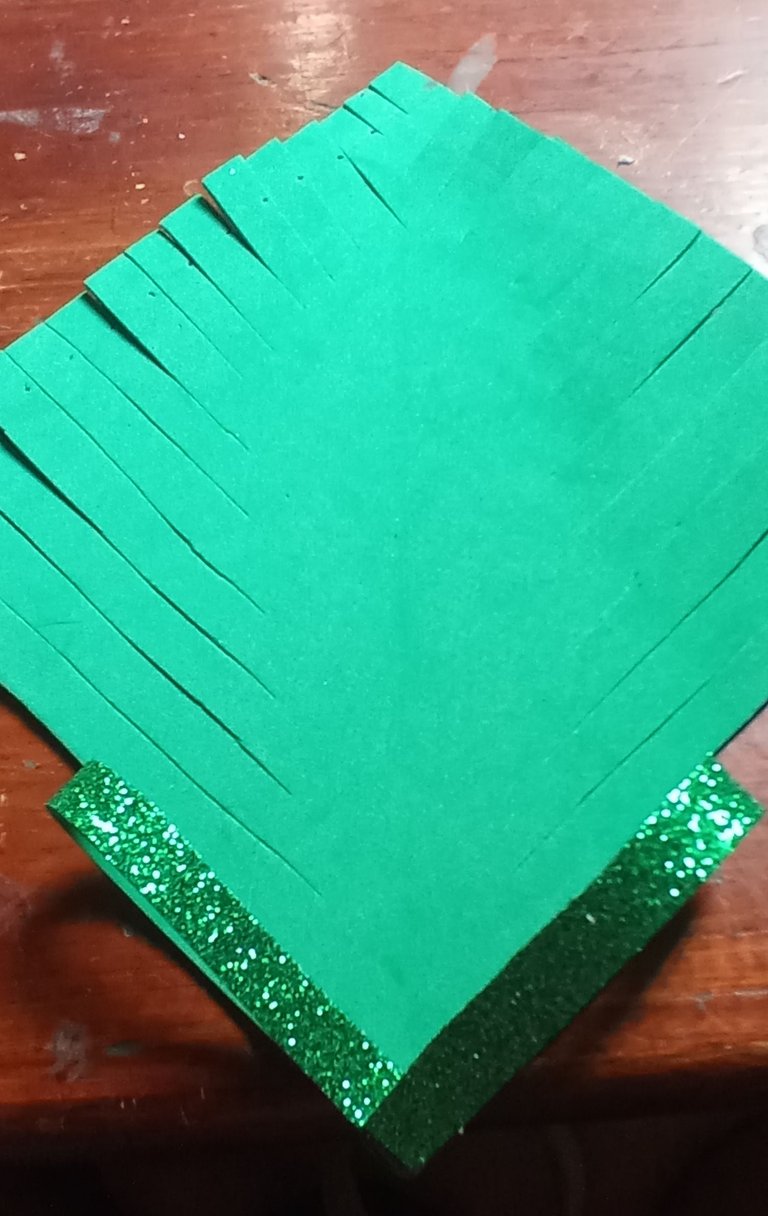
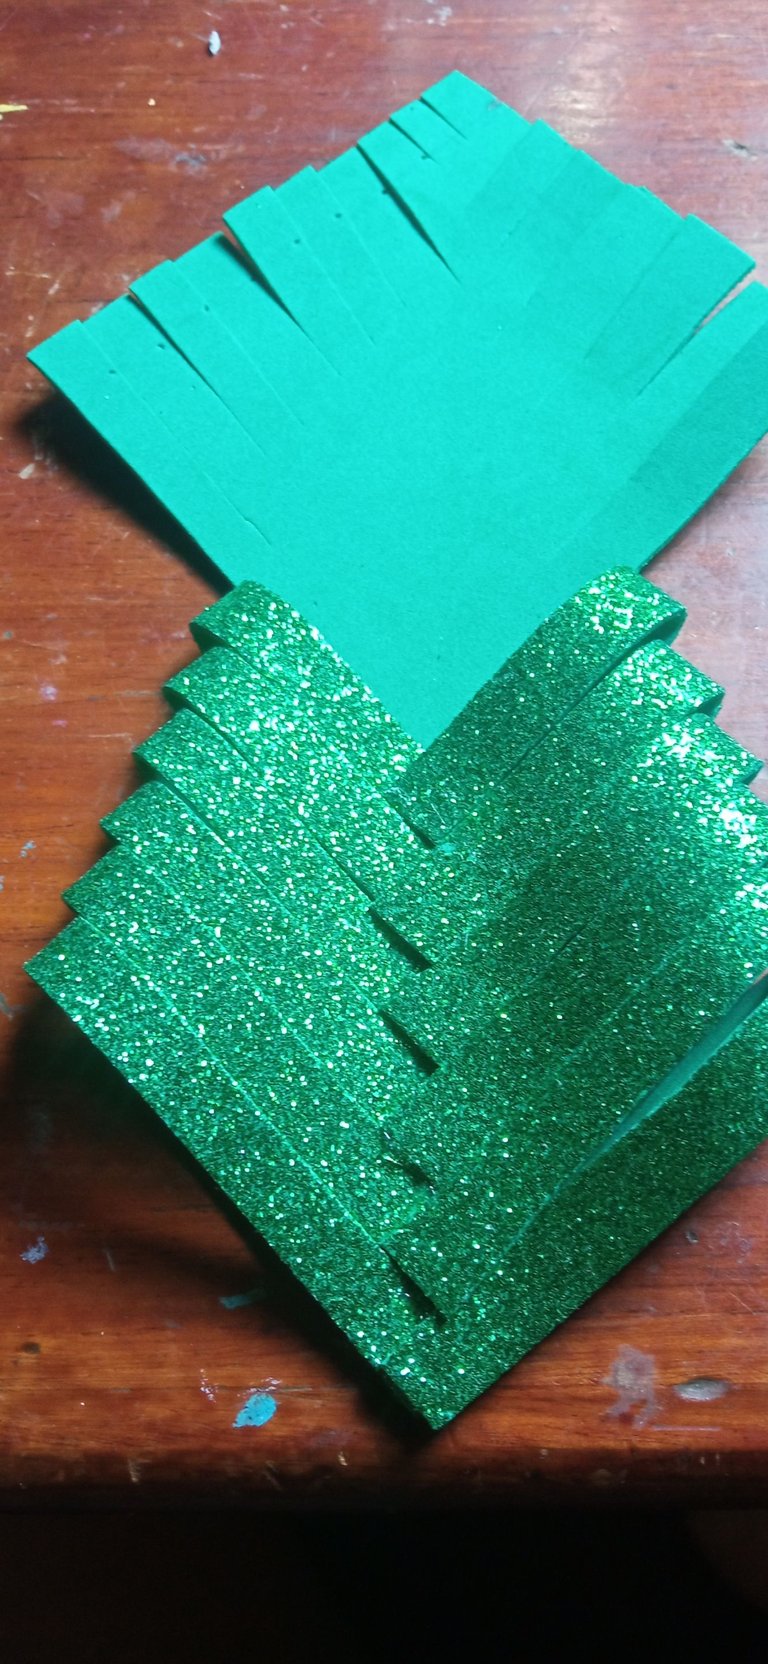
Y VAMOS PEGANDO DESDE LAS LINEAS DE ABAJO (LAS MÁS LARGAS) HASTA LAS LINEAS DE ARRIBA(LAS MÁS CORTAS), CUANDO LLEGUEMOS A LA PUNTA CORTAMOS DE MANERA QUE NOS QUEDE UN TRIANGULITO, UNA ESPECIE DE PUNTA PARA NUESTRO ARBOLITO

IMG_20211217_161613.jpg

IMG_20211217_161520.jpg

IMG_20211217_151343.jpg

IMG_20211217_151952.jpg

IMG_20211217_161830.jpg

PASO SIETE

ABRIMOS UN POCO LAS RAMITAS DEL ARBOLITO Y LE PEGAMOS LA ESTRELLA EN LA PUNTA

IMG_20211217_153555.jpg

Texto traducido con DeepL
Fotos de mi autoría tomadas con un Redmi 9
Edicion de fotos con PicsArt

Christmas tree made of foami

PicsArt_12-18-10.15.06.jpg

Good afternoon to all this community, following with the crafts of this season, I share with you today a picturesque tree made of frosted foami that I saw on instagram and I wanted to recreate it to see how it came out.

We will need the following materials:

  • A foami size (letter) Christmas green color (frosted).
  • Ruler
  • Scissors
  • Liquid silicone
  • A yellow star on cardboard or foami
  • Pencil

Steps

STEP ONE

FLIP THE FOAMI, AND MAKE A SQUARE OF 15CM BY 15CM

IMG_20211217_144025.jpg

STEP TWO

CUT THE SQUARE PREVIOUSLY DRAWN ON THE FOAMI

IMG_20211217_144129.jpg

STEP THREE

WE MAKE A ONE CENTER MARGIN ALL AROUND THE EDGE OF THE SQUARE
>STEP FOUR >STEP FOUR >STEP FOUR

IMG_20211217_145627.jpg

STEP FOUR

WE HALF FOLD THE SQUARE, AND MAKE DIAGONAL LINES WITH ONE CENTER DISTANCE

IMG_20211217_145750.jpg

STEP FIVE

WE CUT THE LINES LEAVING MORE SPACE BETWEEN THE DOUBLE EVERY TIME WE ARE DROPPING DOWN UNTIL WE REACH THE POINT

IMG_20211217_150656.jpg

STEP SIX

AND WE STICK FROM THE BOTTOM LINES (THE LONGEST) TO THE TOP LINES (THE SHORTEST), WHEN WE REACH THE POINT WE CUT SO THAT WE HAVE A TRIANGULITE, A KIND OF POINT FOR OUR TREE

IMG_20211217_161613.jpg

IMG_20211217_161520.jpg

IMG_20211217_151343.jpg

IMG_20211217_151952.jpg

IMG_20211217_161830.jpg

STEP SEVEN

WE OPEN THE TREE'S BRANCHES A LITTLE AND STICK THE STAR ON THE TIP

IMG_20211217_153555.jpg

Text translated with DeepL
Photos of my authorship taken with a Redmi 9
Photo editing with PicsArt

Sort:  
Thank you for sharing this amazing post on HIVE!
  • Your content got selected by our fellow curator @rezoanulvibes & you just received a little thank you via an upvote from our non-profit curation initiative!

  • You will be featured in one of our recurring curation compilations and on our pinterest boards! Both are aiming to offer you a stage to widen your audience within and outside of the DIY scene of hive.

Join the official DIYHub community on HIVE and show us more of your amazing work and feel free to connect with us and other DIYers via our discord server: https://discord.gg/mY5uCfQ !

If you want to support our goal to motivate other DIY/art/music/homesteading/... creators just delegate to us and earn 100% of your curation rewards!

Stay creative & hive on!