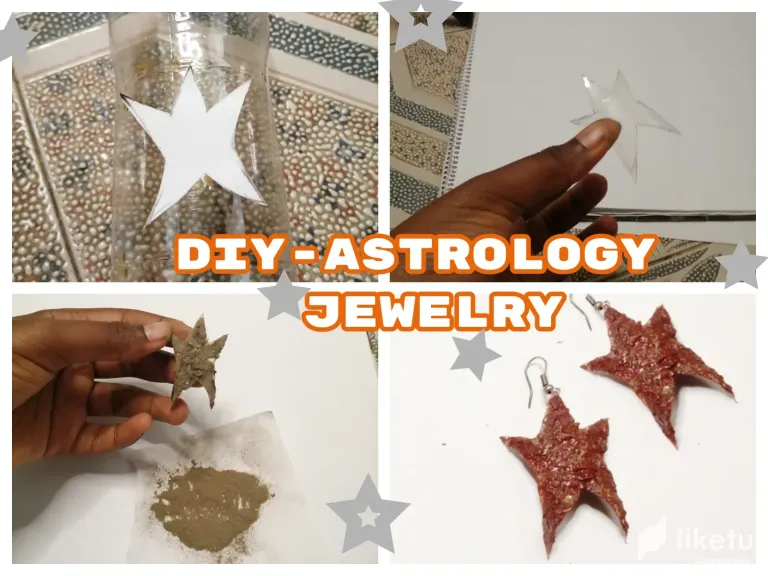



Greetings in the community creative friends, welcome to my diy post once again in today episode i show you all how i crafted an earth inspired astrology earring from waste and from literal earth sands, i had come up with this ideas to use the sands to create something as i had seen a star shaped earrings which i had on my wish list, this past summer i was seeing a lot of start shaped earring on social media and i had been thinking about getting one for myself but then this idea came to em to use sand which i thought would provide the texture that looked liked the one i had seen, read below to learn my creative process.
Spanish- Saludos en la comunidad de amigos creativos, bienvenidos a mi post de diy una vez más en el episodio de hoy os muestro cómo hice un pendiente inspirado en la astrología de la tierra a partir de residuos y de arenas literalmente de la tierra, se me había ocurrido esta idea de utilizar las arenas para crear algo como yo había visto unos pendientes en forma de estrella que tenía en mi lista de deseos, este verano pasado yo estaba viendo un montón de pendientes en forma de estrella en las redes sociales y yo había estado pensando en conseguir uno para mí, pero entonces esta idea vino a em para utilizar la arena que pensé que proporcionaría la textura que se parecía a la que había visto, lea a continuación para aprender mi proceso creativo
Materials Used
waste bottle plastic
nail polish(use colour of your choice)
glue adhesive
razor blade
pencil
sand grains
scissors
sponeg
earring hook
Spansih
Materiales utilizados
botella de plástico
esmalte de uñas (del color que prefieras)
pegamento cola
hoja de afeitar
lápiz
granos de arena
tijeras
esponja
gancho para pendientes
STEP-BY-STEP PROCESS
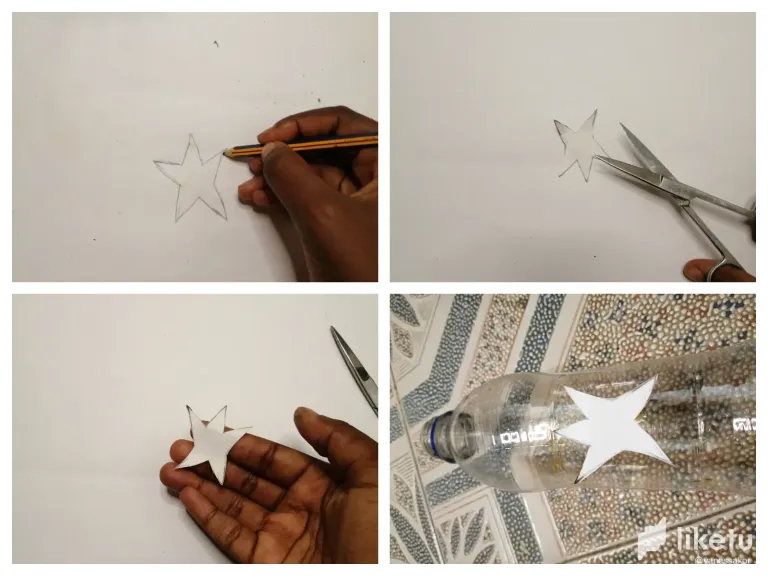
1.I first started with the pattern making for my earring as i said this is astrology inspired so i was going for start shape, using a pencil to dram a star shape unto a paper canvas, i next moved ahead to cut out the start pattern placing it on the plastic bottle where i was to trace out the pattern
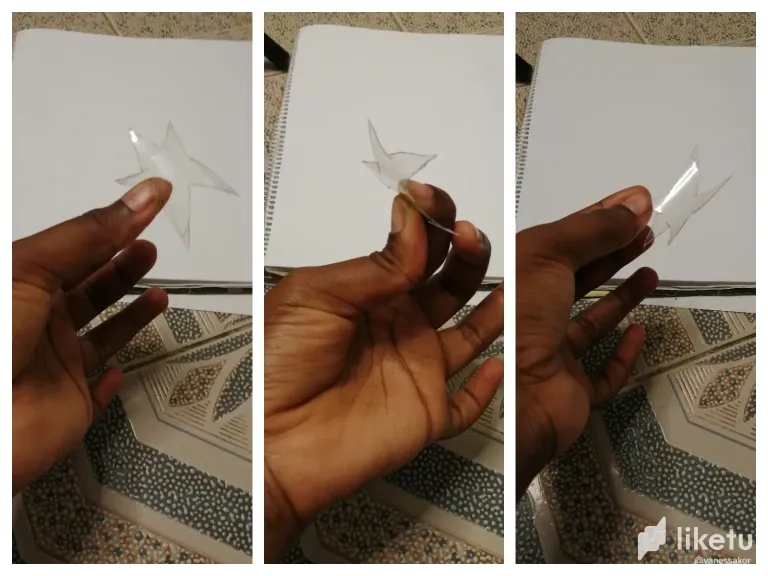
2.i proceeded to trace out the shape unto the plastic bottle using a marker pen, i then used razor blade to mark the patter and cut it out next, now i had plastic bottle in start shape.
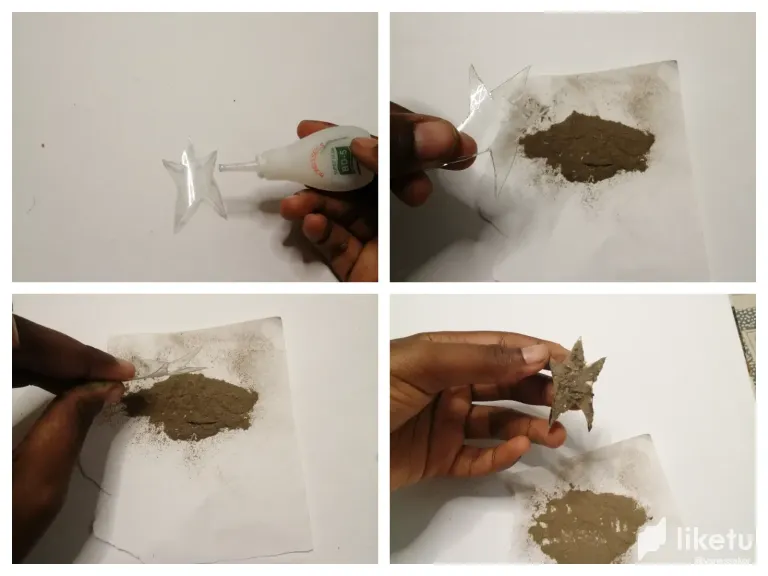
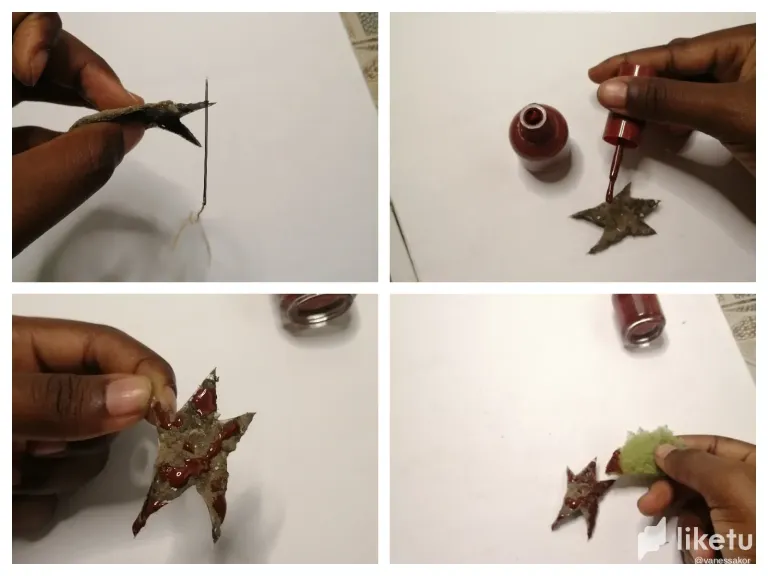
- My next step involved making the textures unto the start shaped plastic bottle, applying glue adhesive unto the surface of the shape i then went ahead to dip it into the loamy sand on the paper i did about two layers of sand process and i was satisfied with the thickness i had
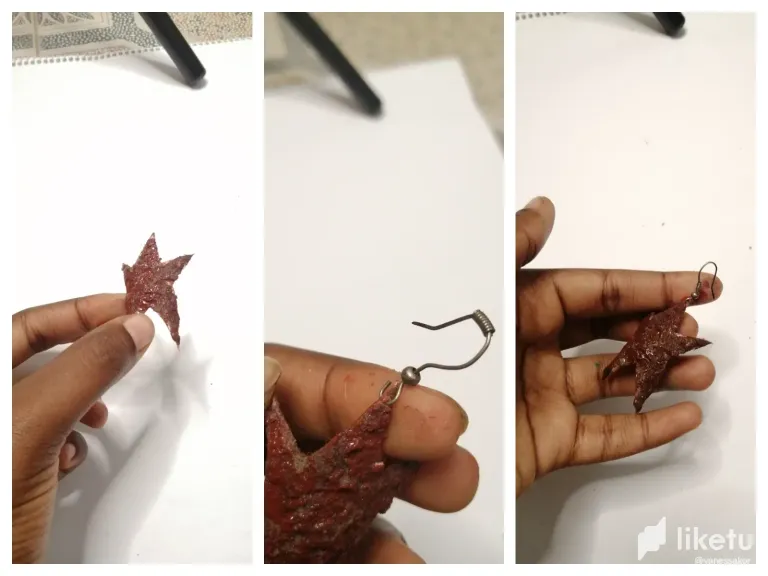
- to make my jewelry into an earring i pierced a hole at the top of the start, hooking the earring hook onto the start and my project was complete
This was indeed a simple diy process and i was really happy about my result, it appeared so firm and pretty too
I am so glad to have you here on another creation of my,, let me know what you thin of today creative episode, and see you in my next one.
Spanish
PROCESO PASO A PASO
- Primero empecé con el patrón para mi pendiente, como dije, está inspirado en la astrología, así que iba a empezar con una forma, usando un lápiz para dibujar una forma de estrella en un lienzo de papel, a continuación corté el patrón y lo coloqué en la botella de plástico donde iba a trazar el patrón.
2.i procedió a trazar la forma a la botella de plástico utilizando un rotulador, a continuación, utiliza la hoja de afeitar para marcar el patrón y cortar a cabo a continuación, ahora tenía botella de plástico en forma de inicio.
- Mi siguiente paso consistió en hacer las texturas a la botella de plástico en forma de inicio, la aplicación de pegamento adhesivo a la superficie de la forma que luego siguió adelante para sumergirlo en la arena limosa en el papel que hice cerca de dos capas de proceso de arena y yo estaba satisfecho con el espesor que tenía
- para hacer mi joyería en un pendiente me perforó un agujero en la parte superior del inicio, enganchando el gancho pendiente en el inicio y mi proect estaba comeplete
Este fue de hecho un simple proceso de bricolaje y yo estaba muy contento con mi resultado, parecía tan firme y bonita también
Estoy muy contenta de tenerte aquí en otra creación mía, hazme saber lo que piensas de este episodio creativo, y nos vemos en el próximo.
For the best experience view this post on Liketu
