¡Hola Hivers y hola creativa comunidad❤️👋🏽
En este lindo día quiero compartirles el paso a paso para elaborar un hermoso portaretrato, necesitaremos materiales muy económicos y accesibles como lo son el cartón y retazos de tela de cualquier color o modelo.
¡Acompáñame y descubre cómo puedes crear tu propio portaretrato!
Hello Hivers and hello creative community❤️👋🏽
On this nice day I want to share with you the step by step to make a beautiful picture frame, we will need very inexpensive and accessible materials such as cardboard and fabric scraps of any color or model.
Join me and discover how you can create your own picture frame!
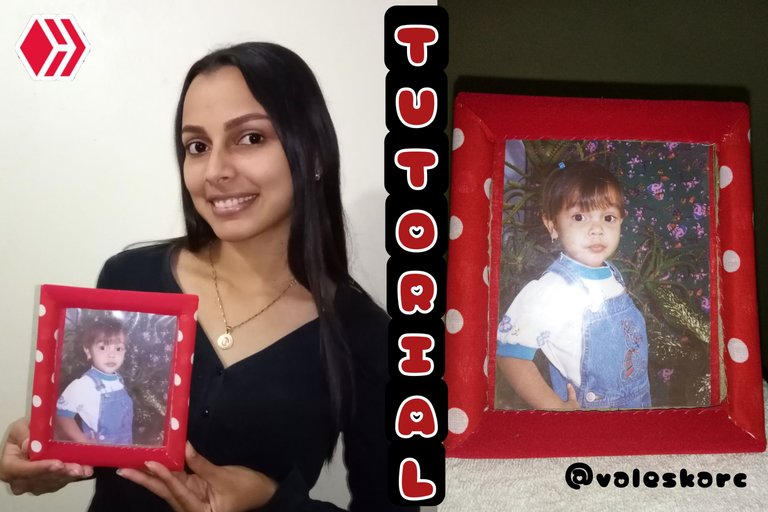
Image designed by me, at PicsArt
Tener un portaretrato en casa es casi indispensable ya que con él podemos preservar, resguardar y hacer visibles nuestras fotos más especiales, en lo particular me gustan muchísimo sin embargo no cuento con tantos en casa, así que me animé a crear uno con mis propias manos utilizando materiales económicos, resistentes y de fácil manejo.
Having a picture frame at home is almost indispensable because with it we can preserve, protect and make visible our most special photos. I particularly like them very much, but I don't have many at home, so I decided to create one with my own hands using inexpensive, resistant and easy to use materials.
Lo mejor de esta idea es que podemos crearlos del tamaño que deseemos, solo tendríamos que modificar las medidas o ajustarlas según el tamaño de la fotografía. Este tutorial es genial y de mucha utilidad, espero les guste tanto como a mí y puedan animarse a realizar hermosos portaretratos.
Necesitaremos lo siguiente.
The best thing about this idea is that we can create them in any size we want, we would only have to modify the measurements or adjust them according to the size of the photograph. This tutorial is great and very useful, I hope you like it as much as I do and can be encouraged to make beautiful picture frames.
We will need the following.
| Materiales | Materials |
|---|---|
| Caja de cartón | Cardboard box |
| Retazos de tela | Fabric scraps |
| Papel transparente | Transparent paper |
| Silicon frío | Cold silicon |
| Silicon caliente | Hot silicon |
| Tijera | Scissors |
| Regla | Ruler |
| LLapiz | Pencil |
| Hilo y aguja | Thread and needle |
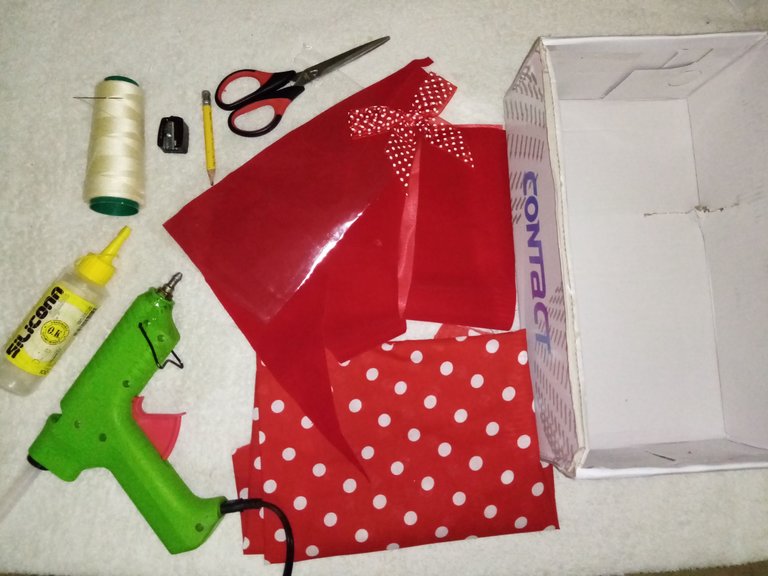
Materials
Procedimiento (Paso a Paso)
Procedure (Step by Step)
Paso 1 / Step 1
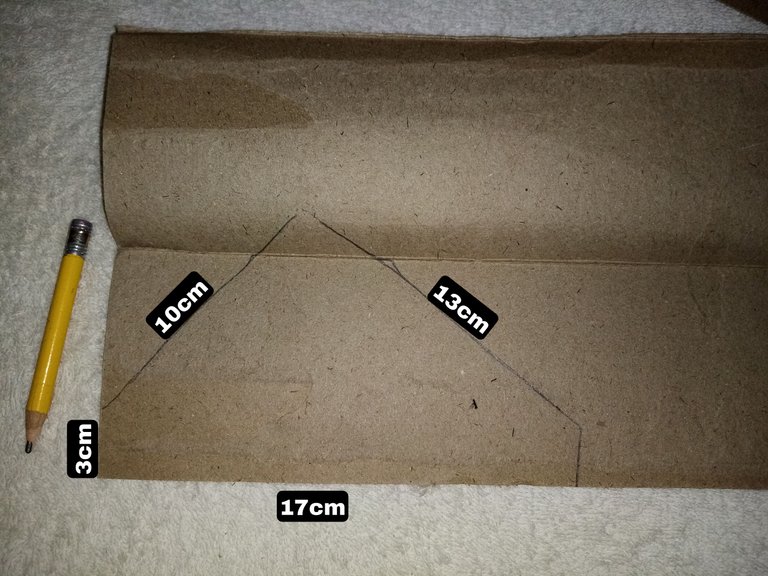
Lo primero que haremos será marcar en el cartón con ayuda de un lápiz una especie de figura triangular con las siguientes medidas, 17cm en la base, 3cm de altura y los otros dos lados con 10 y 13cm. Necesitaremos 4 de estos triángulos, cortamos.
The first thing we will do is to mark on the cardboard with the help of a pencil a kind of triangular figure with the following measures, 17cm at the base, 3cm high and the other two sides with 10 and 13cm. We will need 4 of these triangles, then cut them.
Paso 2 / Step 2
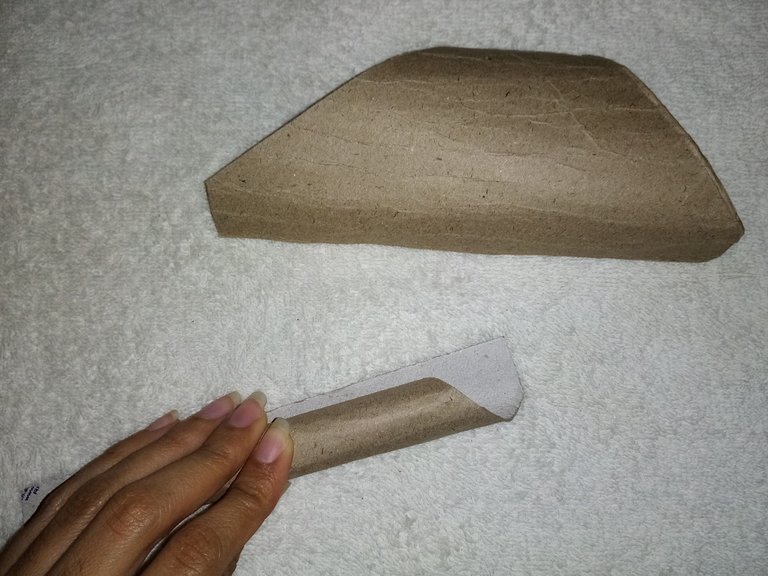
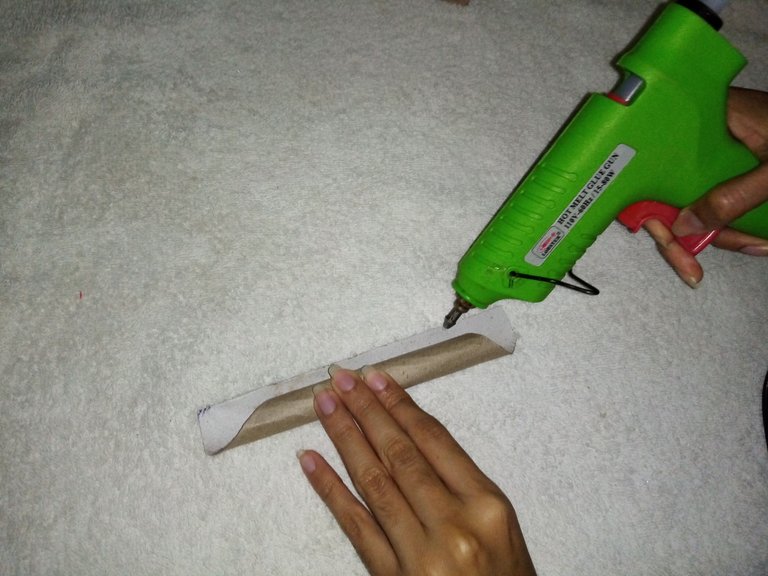
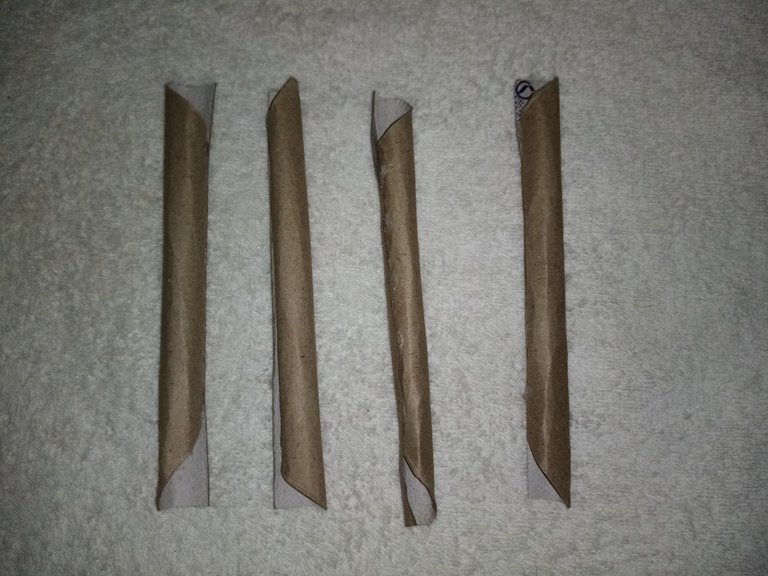
Ahora cada uno de los triángulos los enrrollaremos comenzando desde la punta hacia la base y al final pegamos con silicon caliente. Haremos lo mismo con las otras 3 figuras.
Now we will roll each of the triangles starting from the tip towards the base and at the end we glue them with hot glue. We will do the same with the other 3 figures.
Paso 3 / Step 3
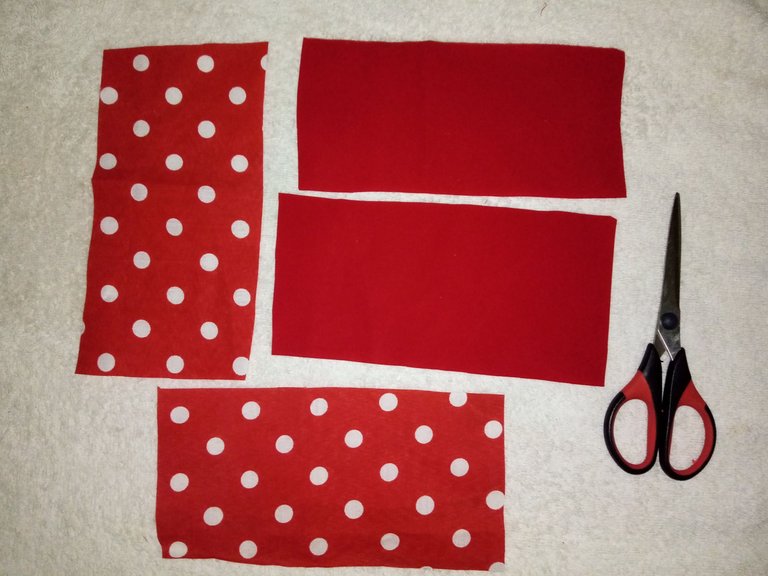
Procedemos a cortar la tela de forma rectangular, con base de 19cm y altura 8cm. Estos pedazos de tela la usaremos para forrar los pequeños cilindros de cartón que ya elaboramos, por lo tanto cortaremos cuatro pedazos de tela. En este caso tenía dos modelos distintas de tela que combinan perfecto, así que corté 2 de color rojo y otras 2 que tienen puntos blancos.
We proceed to cut the fabric in a rectangular shape, with a base of 19cm and a height of 8cm. These pieces of fabric will be used to line the small cardboard cylinders that we have already made, so we will cut four pieces of the same size. In this case I had two different models of fabric that combine perfectly, so I cut 2 in red and another 2 with white dots.
Paso 4 / Step 4
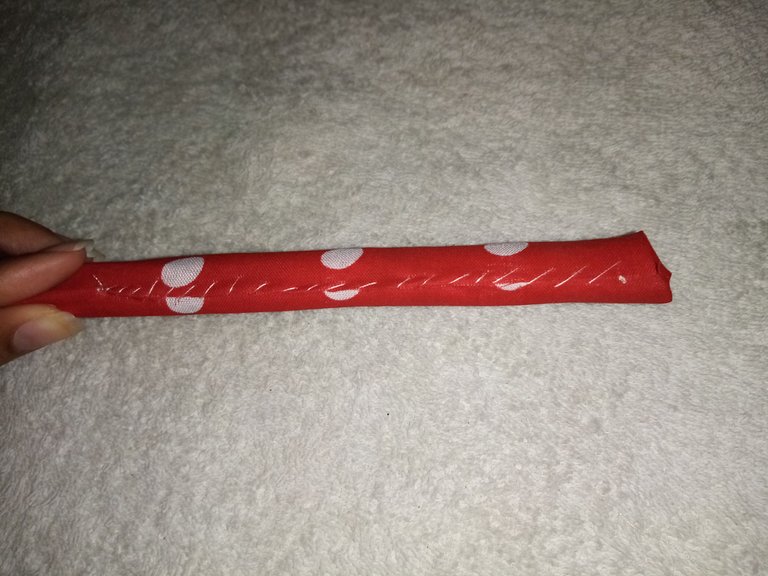
Tomamos un cilindro y lo colocamos arriba de un pedazo de tela, enrollamos y está vez fijaremos con ayuda de aguja e hilo. Este proceso lo repetiremos con los otros 3 cilindros restantes.
We take a cylinder and place it on top of a piece of fabric, roll it up and this time we will fix it with the help of needle and thread. Repeat this process with the other 3 remaining cylinders.
Paso 5 / Step 5
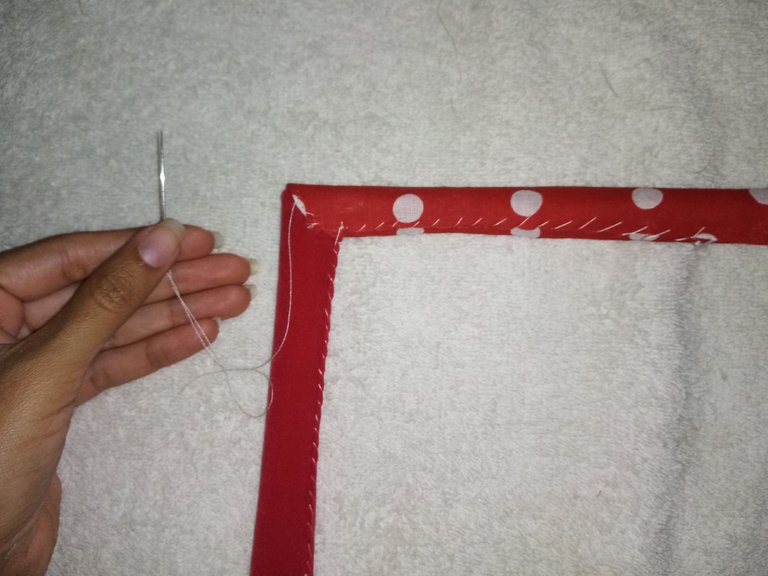
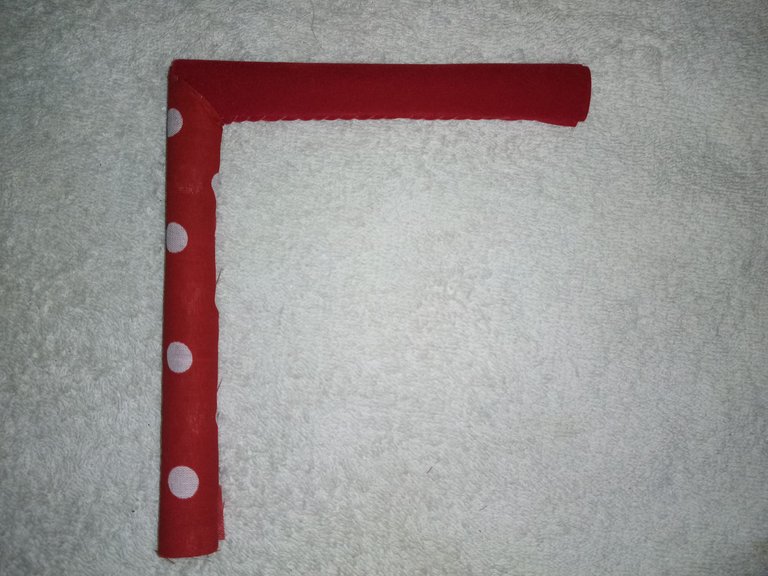
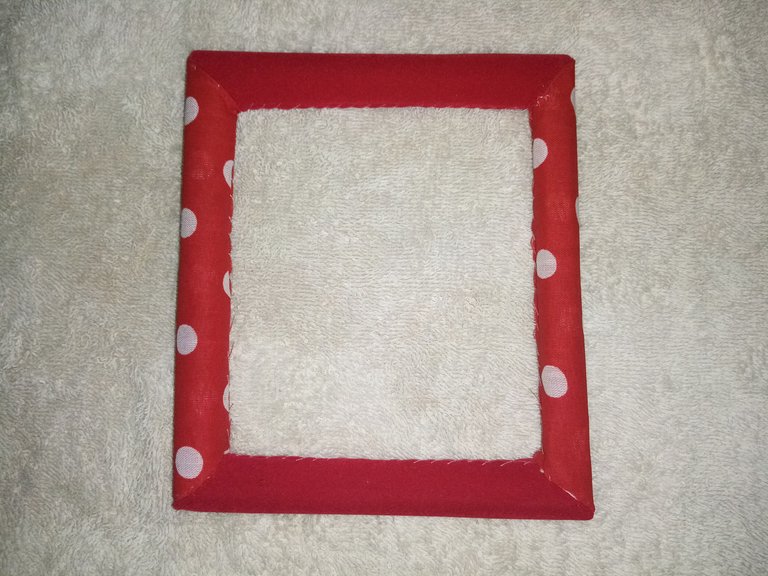
¡Excelente! Ahora seguiremos uniendo cada cilindro en las puntas, igualmente utilizando la técnica de costura con aguja e hilo. Al finalizar habremos formado la parte frontal del portaretrato.
Excellent! Now we will continue joining each cylinder at the ends, also using the sewing technique with needle and thread. At the end we will have formed the front part of the picture frame.
Paso 6 / Step 6
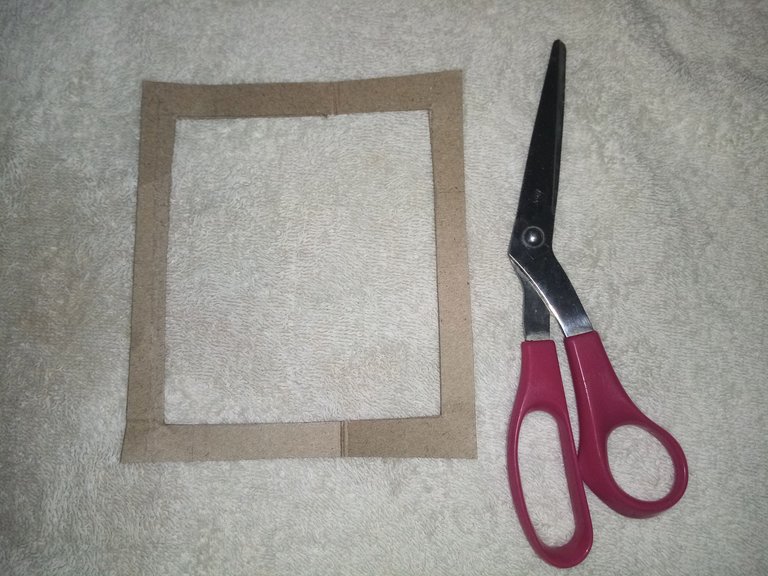
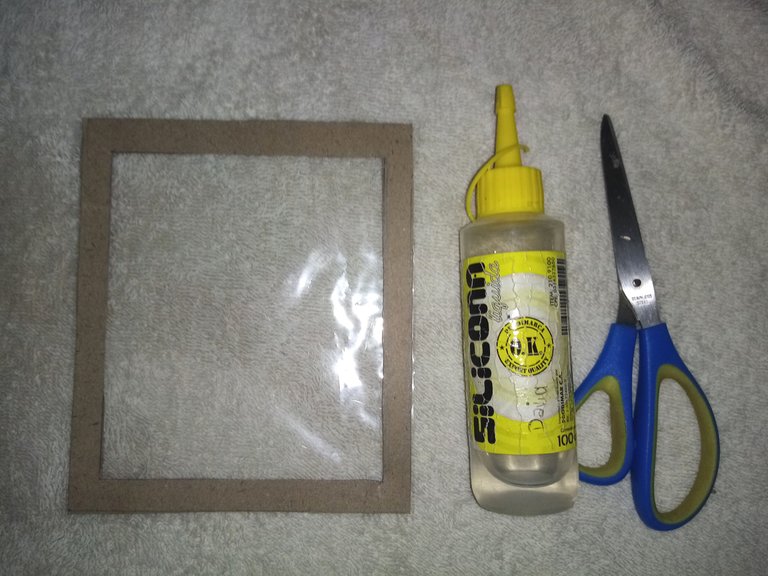
A este parte frontal le falta una protección, para que nuestra foto especial no se ensucie o deteriore, por lo tanto tomaremos el marco principal de guía y con ayuda del lápiz marcaremos en un cartón todo el contorno tanto de la parte de afuera como de adentro, luego cortamos.
This front part is missing a protection, so that our special photo does not get dirty or damaged, therefore we will take the main frame as a guide and with the help of a pencil we will mark on a cardboard all the contour of both the outside and inside, then we will cut.
Paso 7 / Step 7
Seguidamente cortaremos un cuadro de papel transparente más o menos del mismo tamaño del marco creado, al tenerlo listo lo pegaremos con silicon frio al marco de cartón recién hecho.
Next, we will cut a transparent paper frame more or less the same size of the created frame. Once it is ready, we will glue it with cold silicone to the cardboard frame just made.
Paso 8 / Step 8
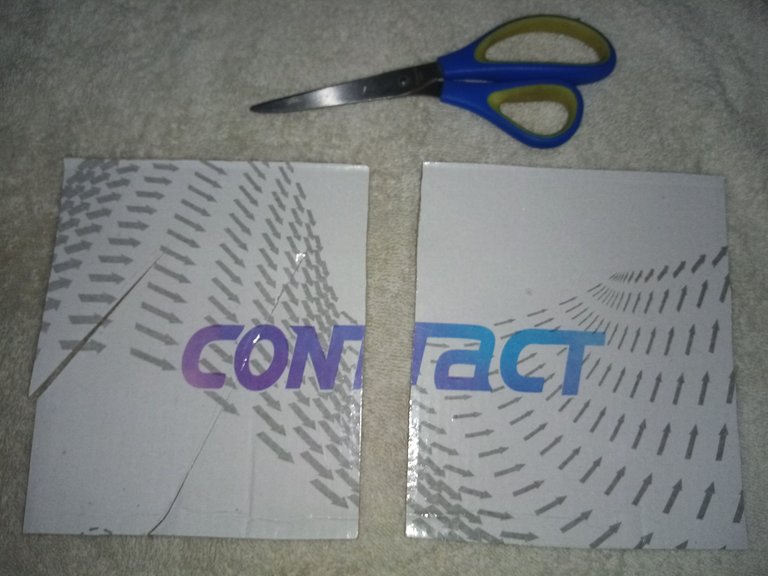
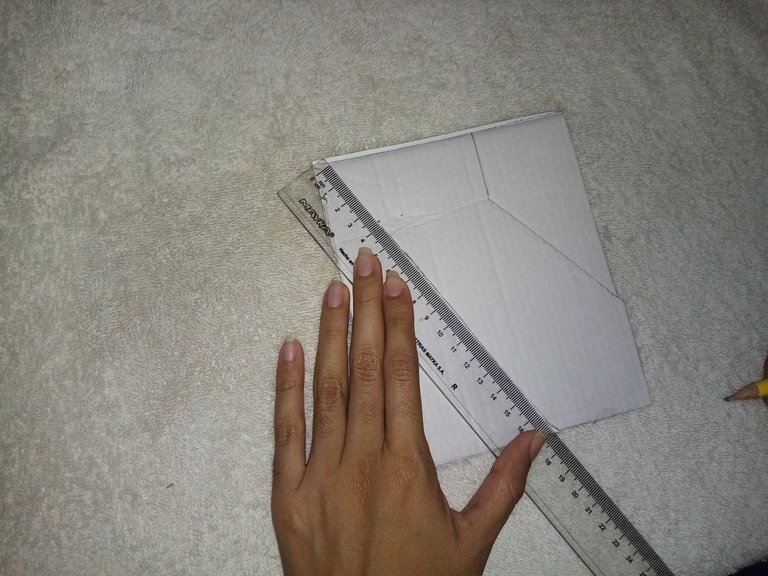
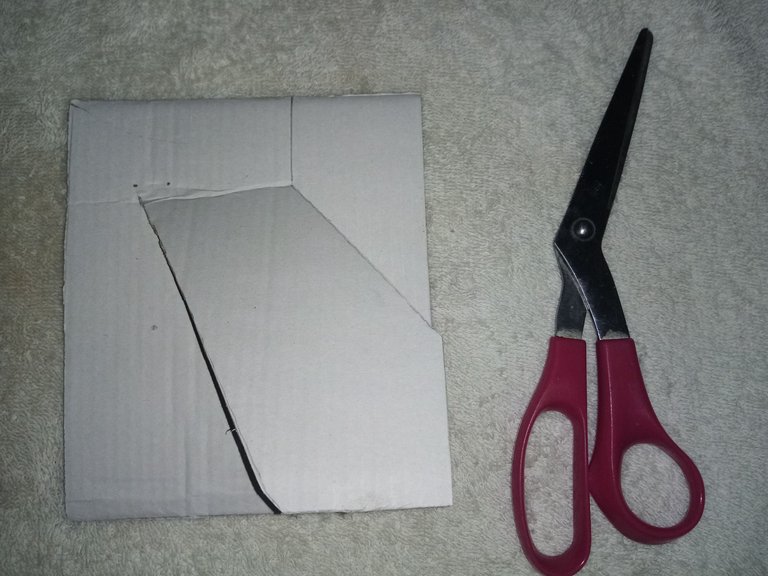
Ahora, cortaremos dos cuadrados de cartón del mismo tamaño del marco de nuestro portaretrato. En uno de ellos marcaremos una especie de "corbata" que nos servirá como soporte, cortamos sólo las dos líneas marcadas.
Now, we will cut two squares of cardboard the same size as the frame of our picture frame. On one of them we will mark a kind of "tie" that will serve as a support, we cut only the two marked lines.
Paso 9 / Step 9
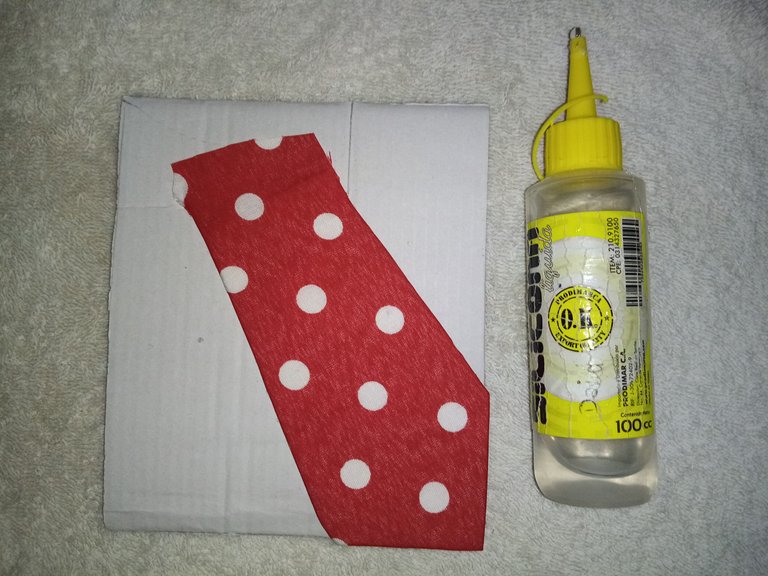
Seguimos cortando un pedazo de tela del mismo tamaño del soporte o "corbata" procedemos a pegarla con silicon frío.
We continue cutting a piece of fabric of the same size of the support or "tie" and proceed to glue it with cold silicone.
Paso 10 / Step 10
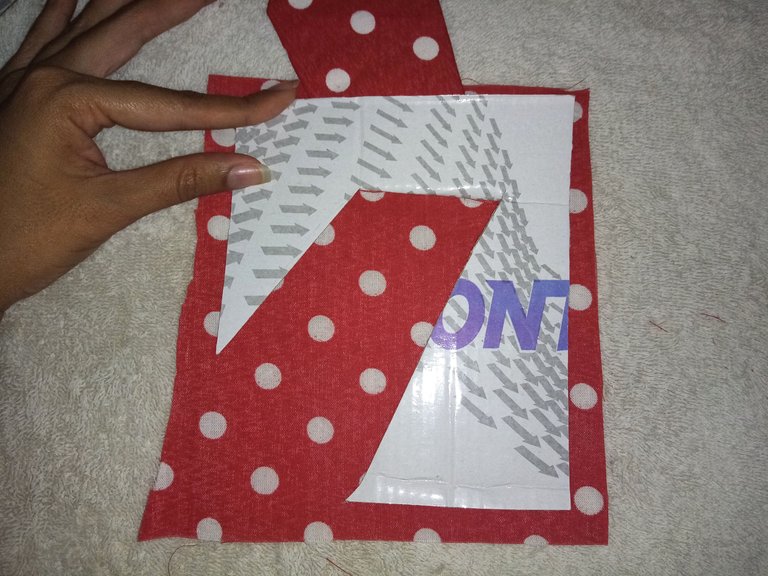
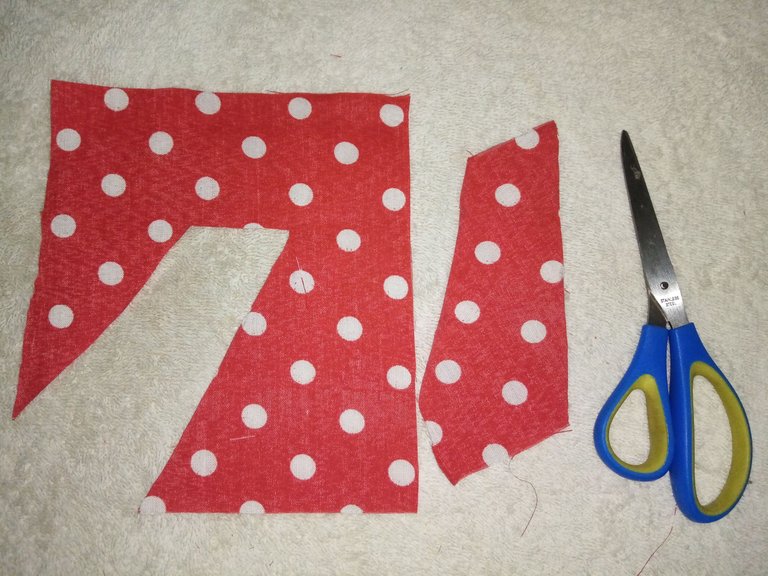
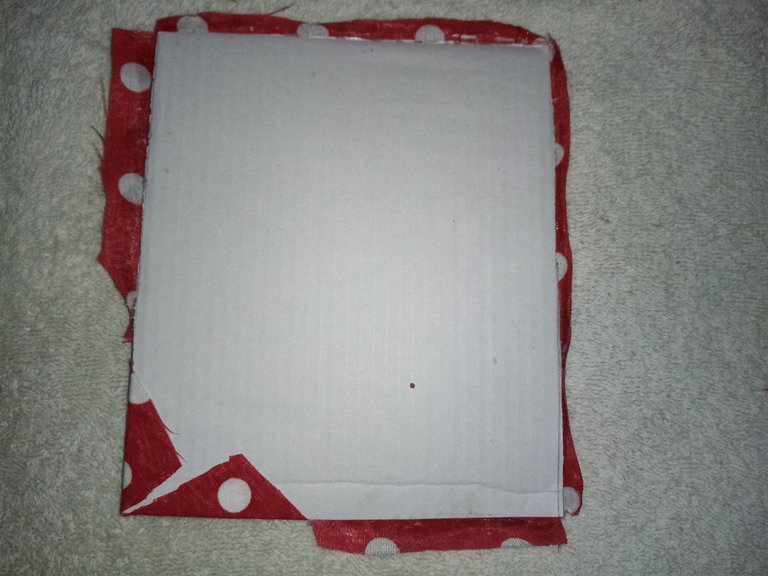
Este paso será cortar otro cuadrado de tela del tamaño del cartón cuadrado para igualmente pegarlo y forrar el cartón, pero antes le cortaremos la parte del soporte y pegamos, exceptuando los bordes.
This step will be to cut another square of fabric the size of the square cardboard to also glue it and line the cardboard, but first we will cut the support part and glue it, except for the edges.
Paso 11 / Step 11
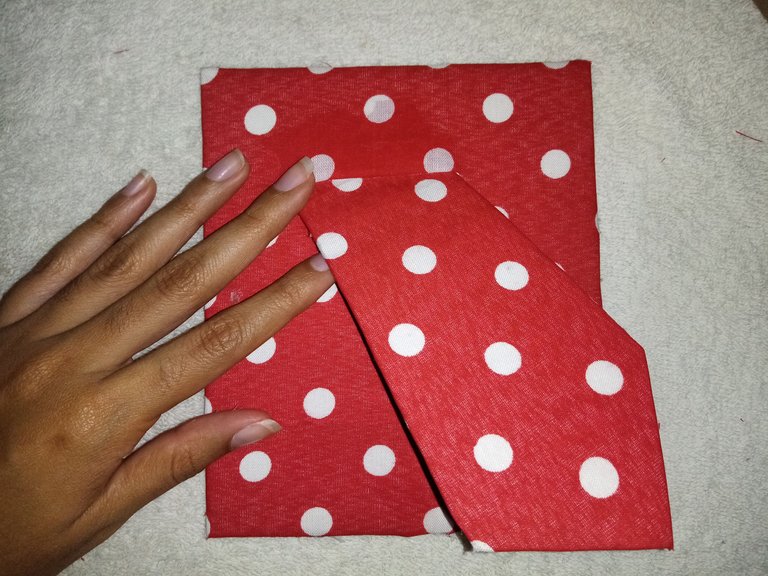
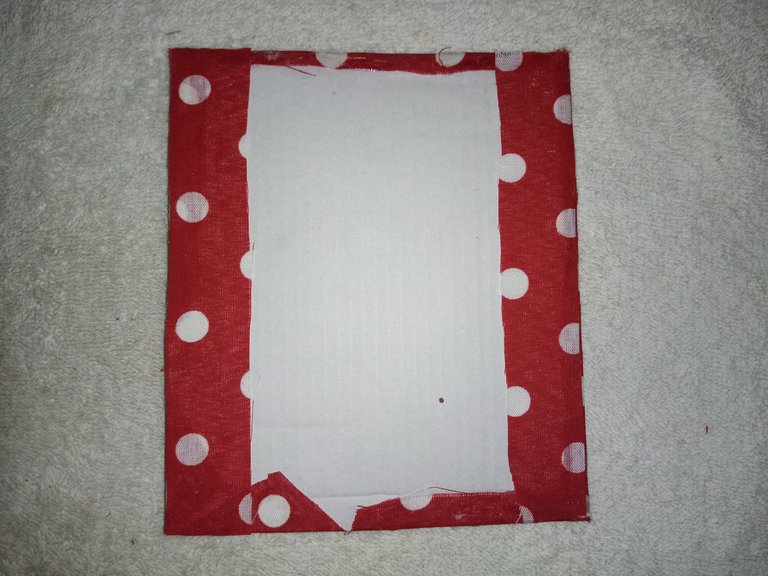
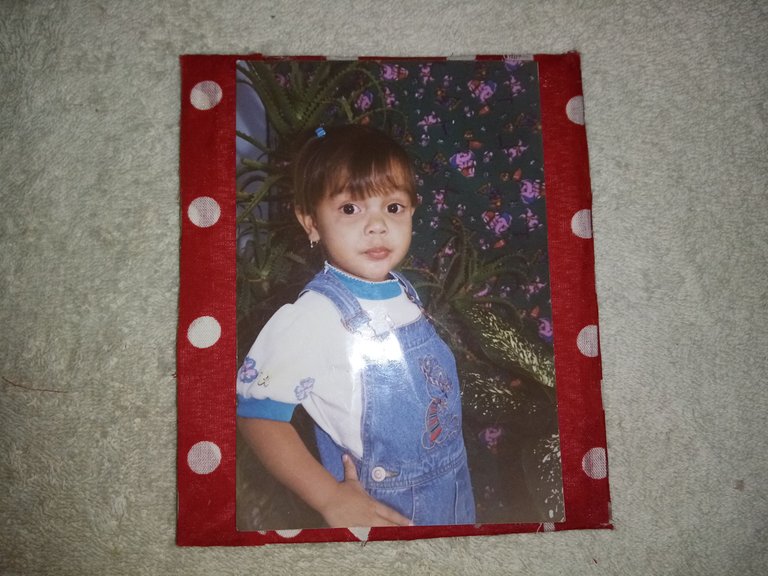
Luego volteamos y pegamos encima el segundo cartón que antes no utilizamos, ajustamos muy bien la tela por todo el borde con silicon frío. Además cortamos dos tiras de tela adicional y la pegamos para tapar las imperfecciones, también aprovechamos para colocar la foto que queremos guardar en el portaretrato.
Then we turn over and glue the second cardboard that we didn't use before on top, we adjust the fabric very well all around the edge with cold silicone. We also cut two additional strips of fabric and glue them to cover the imperfections, we also take the opportunity to place the photo that we want to keep in the picture frame.
Paso 12 / Step 12
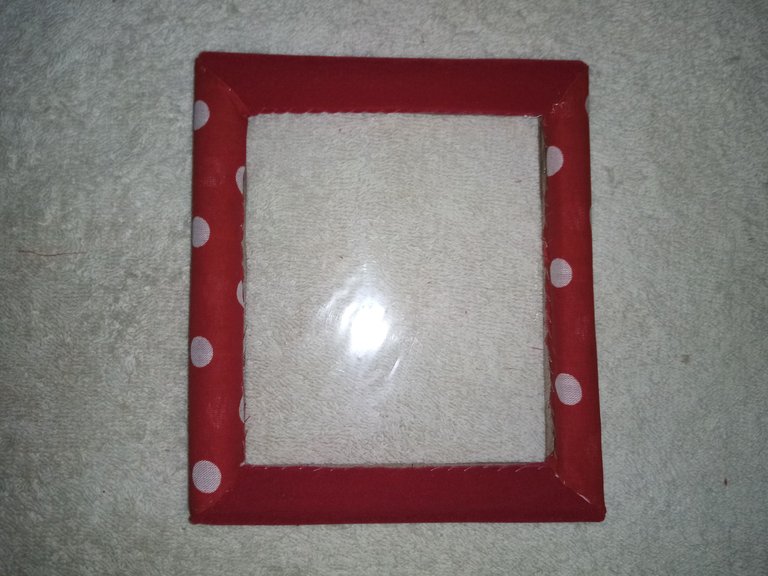
Volvemos con la parte frontal, lo que haremos será pegar con silicon frío el cartón que tiene el papel transparente con el marco de cilindros.
Back to the front part, what we will do is to glue with cold silicone the cardboard that has the transparent paper with the frame of cylinders.
Paso 13 / Step 13
Sólo nos faltaría unir ambas partes, para ello utilizaremos unas delicadas tachuelas que ajustaremos con presión por la parte de atrás del portaretrato, y listo.
We only need to join both parts, for them we will use some delicate tacks that we will adjust with pressure on the back of the picture frame, and that's it.
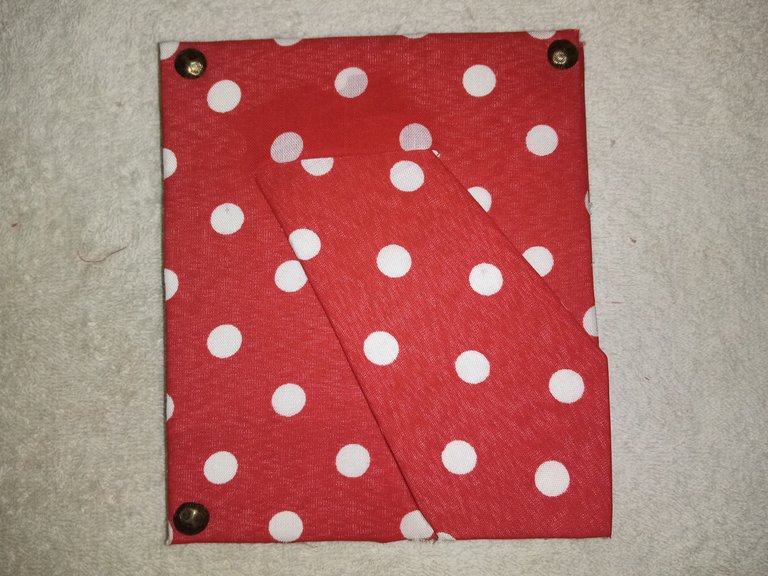
¡Hemos terminado! / We have finished!
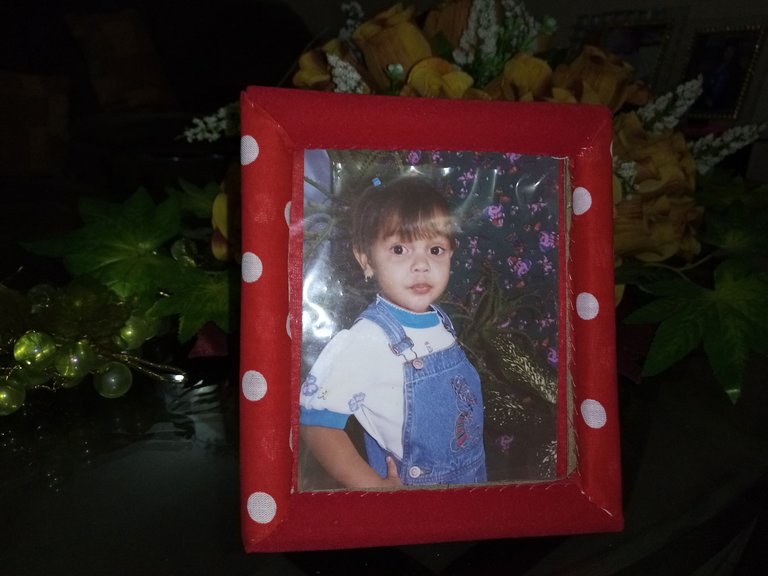
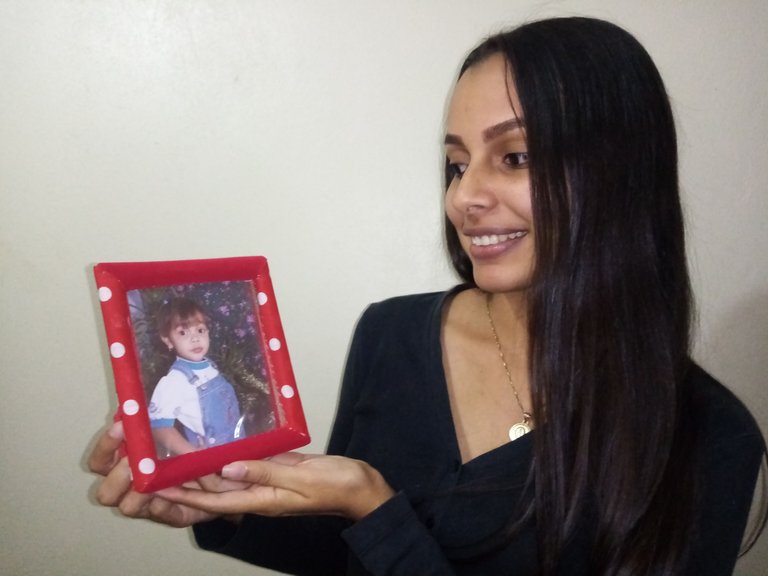
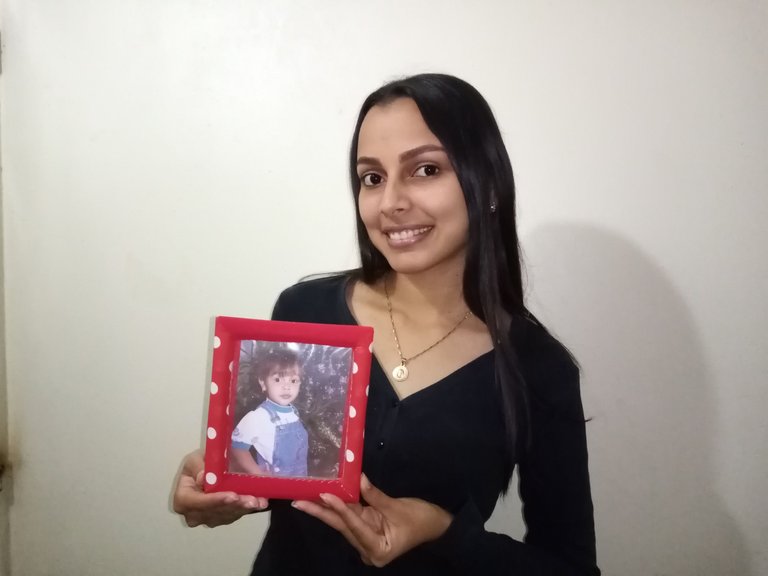
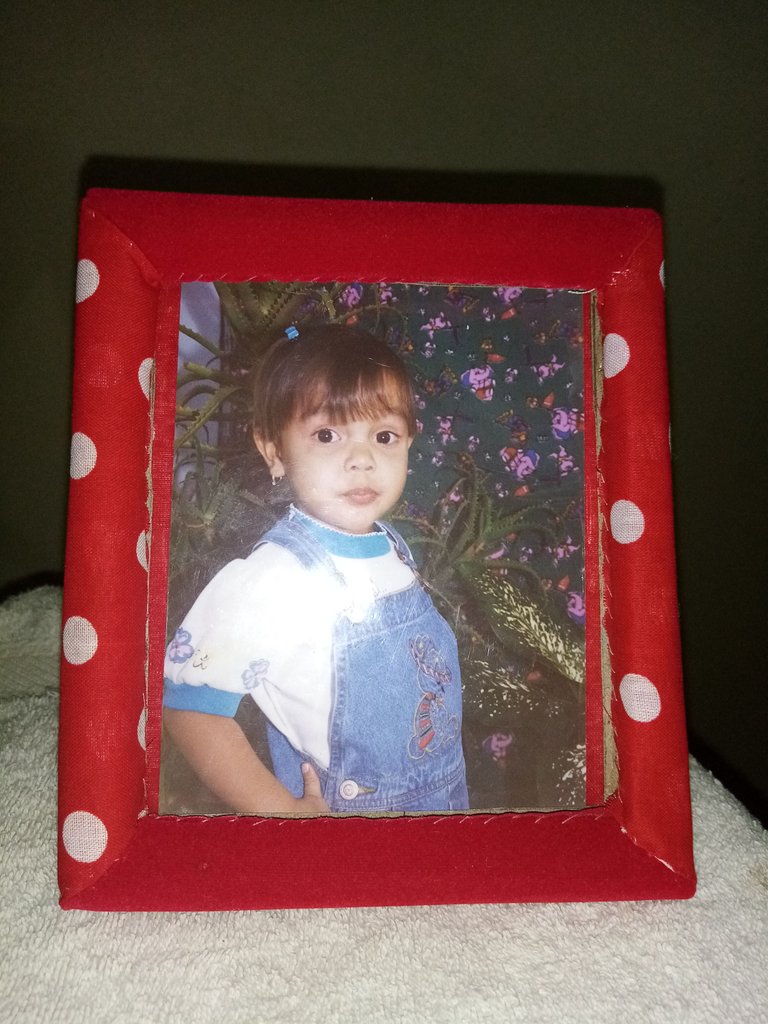
Les aseguro que el resultado vale mucho la pena, es un portaretrato hermoso, resistente y original porque es hecho a mano.
I assure you that the result is worth it, it is a beautiful, resistant and original picture frame because it is handmade.
Me despido agradeciéndoles por su solidaridad y atención.. Nos vemos en una próxima publicación en la comunidad llena de las personas más creativas de Hive❤️
I say goodbye thanking you for your solidarity and attention.... See you in a next post in the community full of the most creative people of Hive❤️
Texto traducido con deepl.com / Text translated with deepl.com
Todas las Fotografias fueron tomadas con mi celular Honor 8S / All pictures were taken with my Honor 8S cell phone