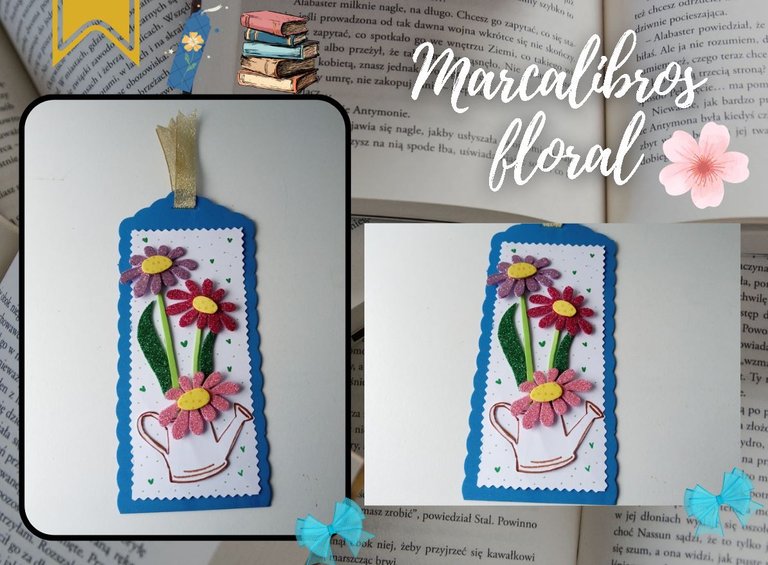
[Esp/Eng] ✨ Marcalibros floral // Floral bookmark ✨

in #hive-1305605 months ago
✨🌷🌹¡Hola amigos amantes de la creatividad! Espero que hayan pasado un muy buen comienzo de semana.✨

¡Buenas tardes, amigos!Espero estén pasando una excelente semana. Por mi parte, estoy bastante contenta. En esta ocasión les comparto el paso a paso para elaborar un hermoso marcalibros floral. Hace mucho no me pasaba por acá con alguna de estas ideas, pero debo decir que esta vez fue petición de mi bella amiga @bluevibes, quien hace unos posts atrás me pidió que hiciera un marcalibros y por supuesto, por acá les comparto una nueva idea.

Intenté hacer un marcalibros bastante sencillo o bueno, con pocos detalles, porque lo que estaba buscando era hacer que resaltará mucho más las flores en foami escarchado y para que aquellos que no suelen elaborar este tipo de decoraciones, pues se animen siendo algo bastante sencillo de elaborar.

🔸Sin más que añadir, a continuación los dejo con el paso a paso:

✨🌷🌹¡Hello friends who love creativity! I hope you had a very good start to the week.✨

¡Good afternoon friends!I hope you are having a great week. For my part, I am quite happy. On this occasion I share with you the step by step to make a beautiful floral bookmark. It's been a long time since I stopped by here with any of these ideas, but I must say that this time it was a request from my beautiful friend @bluevibes, who a few posts ago asked me to make a bookmark and of course, here I share a new idea.

I tried to make a fairly simple or good bookmark, with few details, because what I was looking for was to make the frosty foam flowers stand out much more and so that those who do not usually make this type of decorations can be encouraged as it is something quite simple to make. elaborate.

🔸Without more to add, then I leave you with the step by step:

portada de.JPG


♥️ESPERO QUE TE GUSTE,
¡Empecemos!

♥️I HOPE YOU LIKE IT,
Let's start!


separador 2023.PNG

✂️ MATERIALES | ✂️ MATERIALS

separador 2023.PNG

Para las flores:
Foami escarchado rosa,
Fucsia, morado y verde.
Foami verde y amarillo.
Cartulina blanca.

Para la base:
Foami azul.
Cartulina blanca.
Cinta.

Extras:
Marcadores.
Pegamento.
Hoja.
Tijeras.
Lápiz.

For the flowers:

  • Pink frosty foam,
    fuchsia, purple and green.
  • Green and yellow foami.
  • White cardboard.

For the base:

  • Blue foam.
  • White cardboard.
  • Tape.

Additional features:

  • Markers.
  • Glue.
  • Sheet.
  • Scissors.
  • Pencil.

separador 2023.PNG

PROCEDIMIENTO | PROCESS

separador 2023.PNG

- PASO 1:

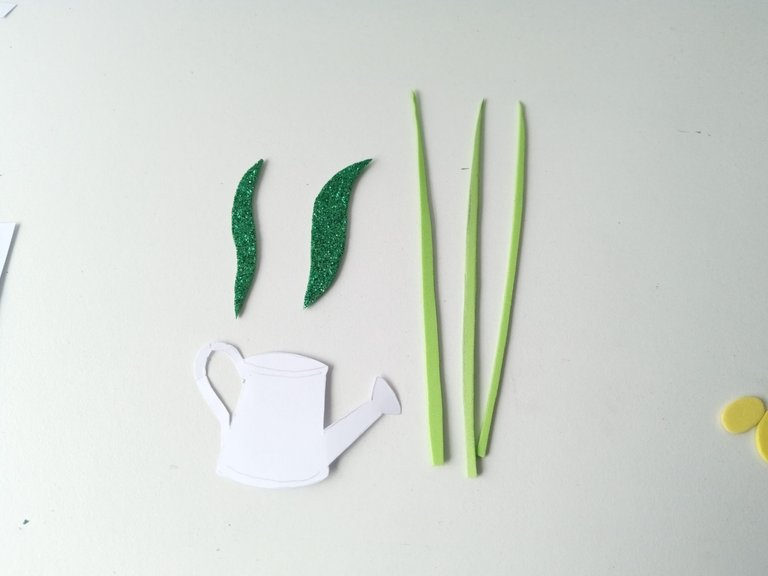
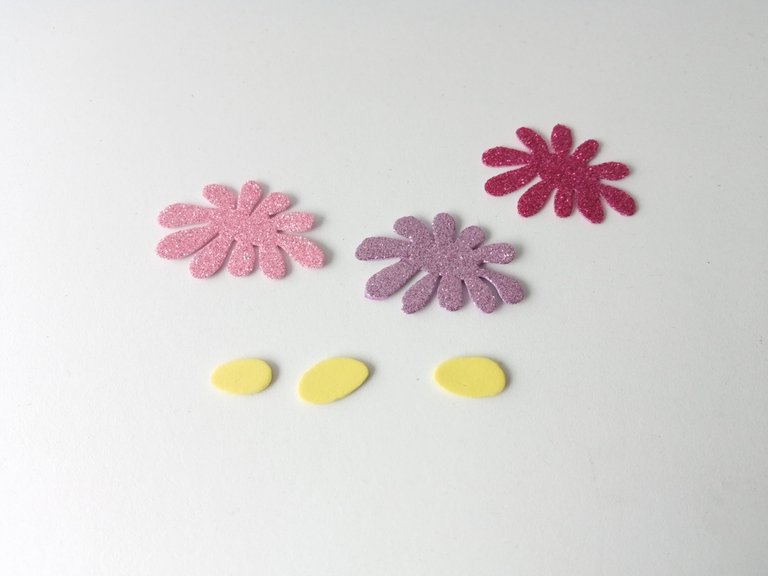
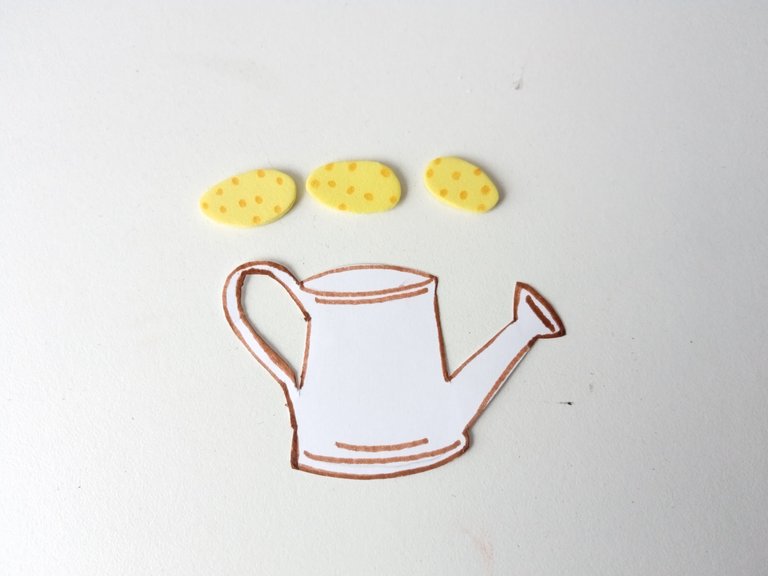
Lo primero que hice fue elaborar el patrón de las flores y la regadera que es la decoración principal y luego, lo transferí y recorté a los colores de foami de la siguiente manera: las flores en foami escarchado rosa, morado y fucsia, el centro en foami amarillo, los tallos en foami verde, las hojas en foami escarchado verde y la regadera en cartulina blanca.

- STEP 1:

The first thing I did was make the pattern of the flowers and the watering can that is the main decoration and then, I transferred and cut it out to the foam colors as follows: the flowers in pink, purple and fuchsia frosted foam, the center in yellow foami, the stems in green foami, the leaves in frosty green foami and the watering can in white cardboard.

separador 2023.PNG

IMG_20240531_111947.jpg

IMG_20240531_112008.jpg

separador 2023.PNG

- PASO 2:

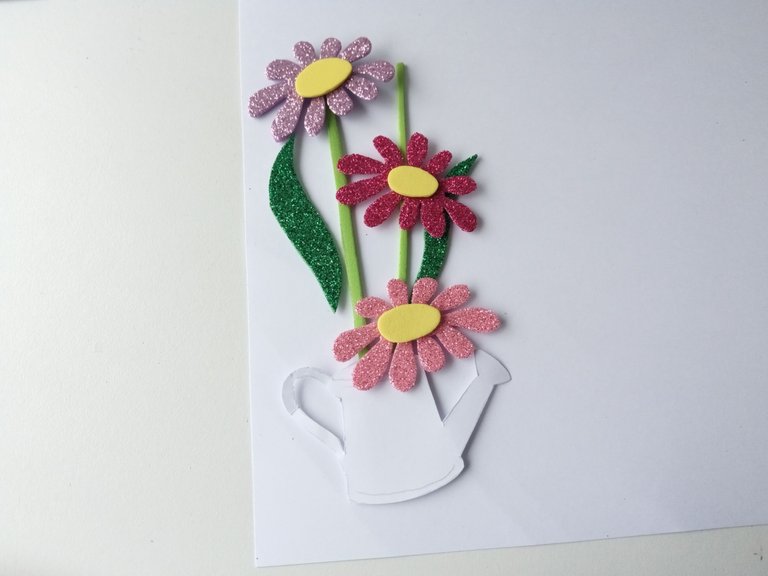
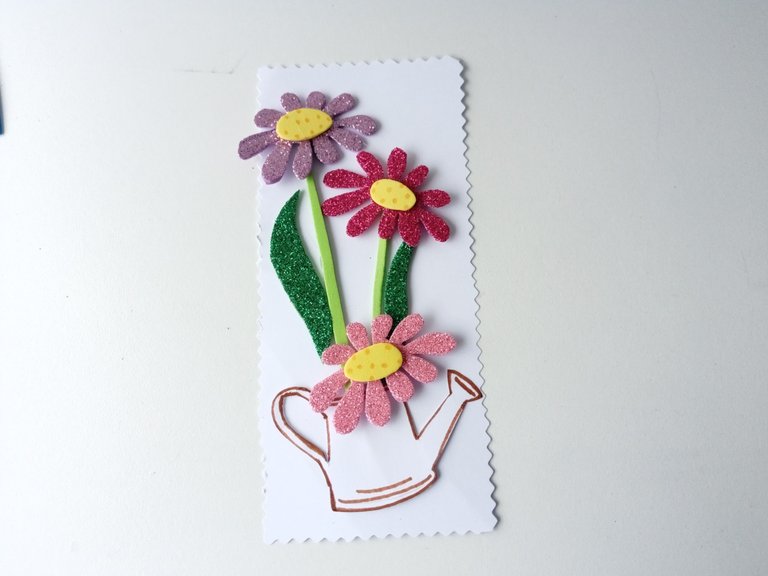
Una vez listas todas las piezas, comencé a dar detalles con marcador a la regadera, definiendo un poco los bordes y dando más detalles. Por otro lado, le dibujé algunos puntos distribuidos a los centros de las flores. Al estar listo, tracé una línea a los 7 cm de ancho y comencé a pegar cada una de las piezas en orden, primero la regadera, los tallos, las hojas, las flores y los centros de cada una de las flores.

- STEP 2:

Once all the pieces were ready, I began to give details to the watering can with a marker, defining the edges a little and giving more details. On the other hand, I drew some dots distributed to the centers of the flowers. When I was ready, I drew a line at 7 cm wide and began to glue each of the pieces in order, first the watering can, the stems, the leaves, the flowers and the centers of each of the flowers.

separador 2023.PNG

IMG_20240531_112913.jpg

IMG_20240531_112528.jpg

separador 2023.PNG

- PASO 3:

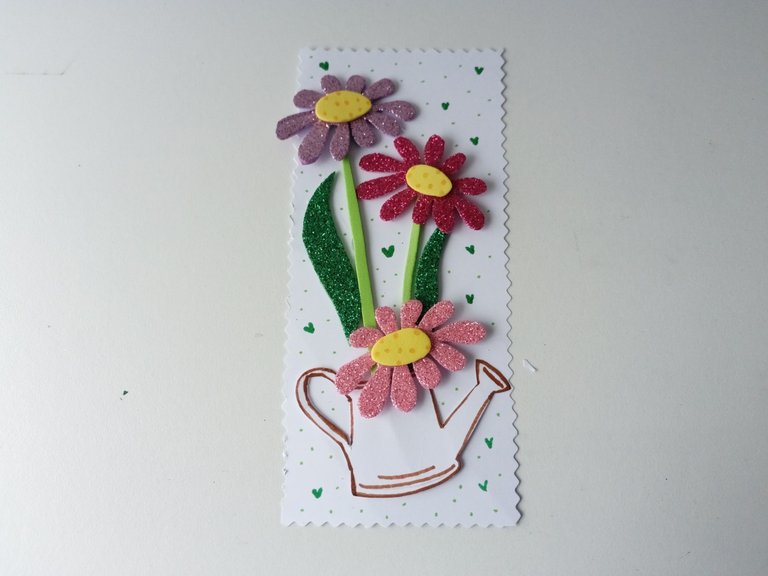
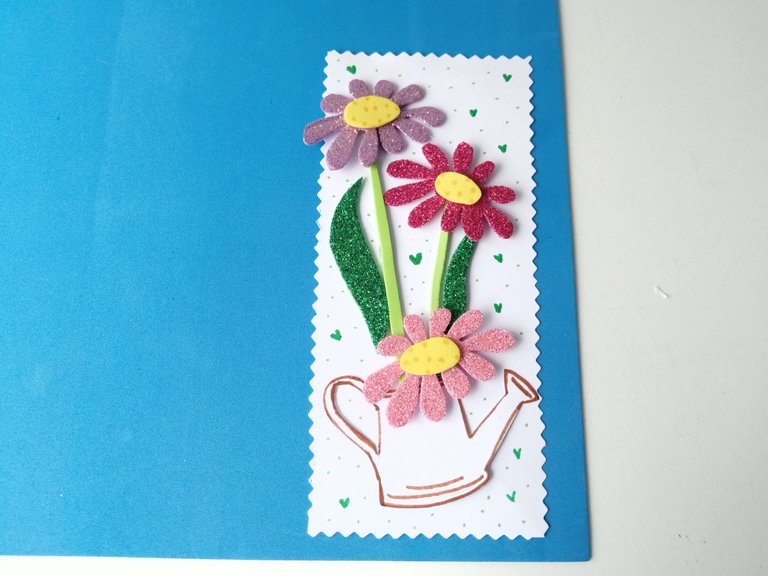
Al tener la decoración armada, fue cuando recorté con tijeras de diseño el largo de la cartulina, en mi caso fueron 16 cm de largo. Tomé un marcador verde y comencé a dibujar unos pequeños corazones, y puntos distribuidos por toda la cartulina, rellenando algunos espacios en blanco.

- STEP 3:

Once I had the decoration assembled, I cut the length of the cardboard with designer scissors, in my case it was 16 cm long. I took a green marker and started drawing some little hearts, and dots distributed all over the cardboard, filling in some blank spaces.

separador 2023.PNG

IMG_20240531_114809.jpg

IMG_20240531_115123.jpg

separador 2023.PNG

- PASO 4:

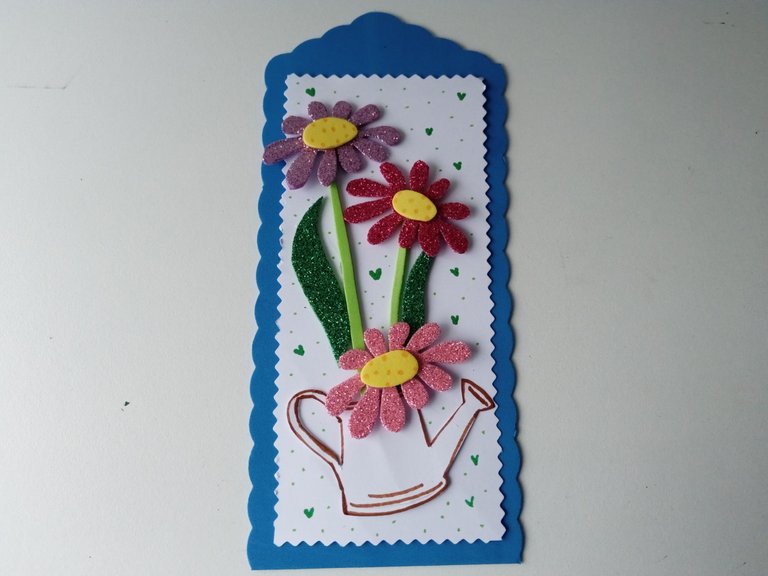
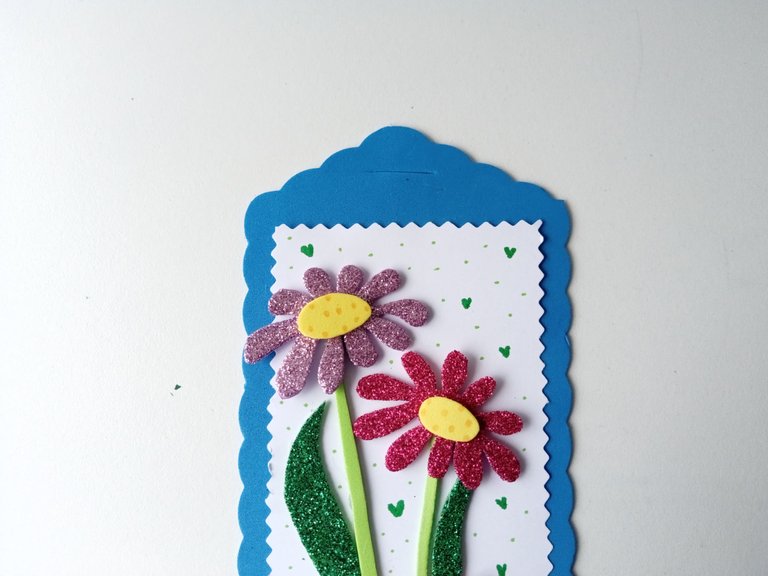
Luego, pegué la pieza sobre foami azul y recorté con tijera de diseños, dejando un borde de 0.5 cm de ancho a cada lado, pero como a la parte de arriba lo recorté con diseño triangular, obviamente quedo un poco más largo en la parte superior.

- STEP 4:

Then, I glued the piece on blue foam and cut it out with design scissors, leaving a 0.5 cm wide edge on each side, but since I cut the top part with a triangular design, it was obviously a little longer at the top. .

separador 2023.PNG

IMG_20240531_115231.jpg

IMG_20240531_115503.jpg

separador 2023.PNG

- PASO 5:

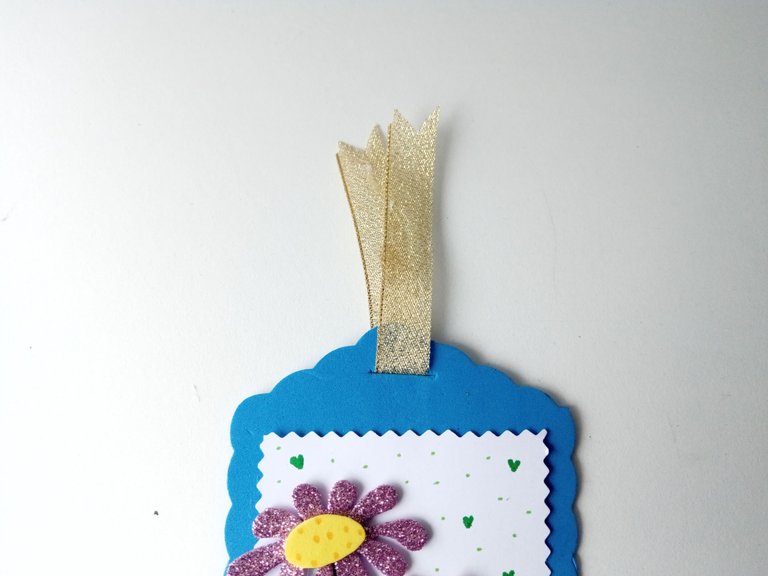
Para finalizar, en la parte superior hice un pequeño corte por donde inserté una cinta de color dorado, pero ustedes pueden colocar la que deseen, recorté las puntas en triángulo y pegué una sobre la la otra para que se viera diferente y mantuviera esa forma.

- STEP 5:

To finish, at the top I made a small cut where I inserted a gold-colored ribbon, but you can place the one you want, I cut out the tips in a triangle and glued one on top of the other so that it looked different and maintained that shape.

separador 2023.PNG

IMG_20240531_115640.jpg

IMG_20240531_120202.jpg

separador 2023.PNG

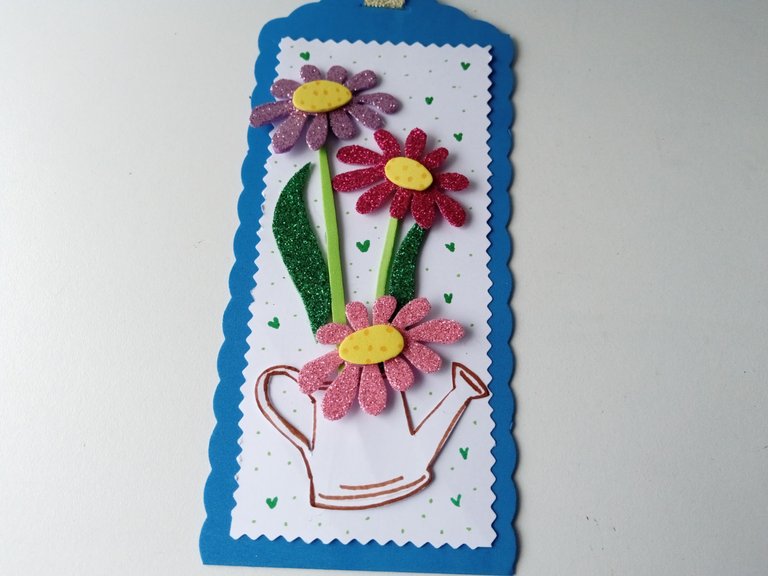
✨¡Y listo!✨ De este modo, es cómo elaboré un lindo marcalibros con temática floral, pero como siempre digo, y es muy importante recalcar, yo utilicé variedad de materiales porque los tengo a mi disposición y por experimentar utilizando variedad de colores. Sin embargo, pero ustedes pueden utilizar los de preferencia, al igual que también pueden solo inspirarse y crear algo mucho más bonito o a su gusto. Espero les haya gustado y se animen a elaborarlo amigos.

❤️Hasta la próxima publicación.

✨¡And ready!✨This is how I made a beautiful bookmark with a floral theme, but as I always say, and it is very important to emphasize, I used a variety of materials because I have them at my disposal and to experiment using a variety of colors. However, you can use the ones you prefer, just as you can also just get inspired and create something much more beautiful or to your liking. I hope you liked it and are encouraged to make it friends.

❤️Until the next post.

separador 2023.PNG

✨RESULTADO: | ✨RESULT:

separador 2023.PNG

IMG_20240531_120233.jpg


Gracias por leer mi post Nos vemos pronto.png

thanks for reading my post.png


!TE DESEO UN GRAN DÏA¡
Todas las fotografías son de mi propiedad.
Separador y Fotos editadas en Canva

!I WISH YOU A GOOD DAY
All photographs are my property.
Photos edited in Canva

Sort:  

muy creativo y bonito!!

Ese marcalibros está demasiado precioso mi Valen 😍 Amé cada detalle, las florecitas te quedaron hermosas 😘

Precioso, muy buena presentación 😊

wow that looks so cute, you are amazing keep up the good work.

Muchas gracias por el apoyo amigos 💕✨

Te felicito están muy hermosas

¡Quedó muy hermoso! Me encanta cómo se ve el material, hace que destaquen bastante las flores y se ve muy delicado además.

Un hermoso trabajo.

!DIY

Bello trabajo mi linda @valenpba muy prolijo con un proceso sencillo, y fácil de seguir. Estoy segura que a @bluevibes le va encantar.

!discovery 40

Muchas gracias bella! Me alegra mucho que te haya gustado, intenté hacer algo bastante sencillo , pero bonito 💕

Te quedaron muy hermosos amiga, super delicados y cuchis! <3

Muchas gracias Kris! Me alegra mucho que te haya gustado. Gracias por pasarte ✨✨

Qué belleza ami, me encantaron las florecitas en la regadera, una idea tierna y súper delicada. Tienes manitos benditas amiga, pintas, haces comidas ricas y manualidades preciosas 💖

Gracias mi Rosita bella! Me alegra que te haya gustado y gracias amiga bella, por esas palabritas 💕💕💕

Me encantó este marcalibros, no solo por el bello diseño sino también por los colores de los materiales, todo un acierto. Felicitaciones

https://x.com/hivediy47901/status/1800779983532462492

Muchas gracias, amiga! Me alegra que te haya gustado. Así es, pensé que la cantidad de colores no quedaría bien junto, pero al ver el resultado, cambié de parecer 🤭

Thanks for sharing your experience with us!
TIBLogo

You have been manually curated by @dayadam on behalf of Inner Blocks:
a community encouraging first-hand content, and each individual living their best life.

Muchas gracias por el apoyo amigos💕

Que hermoso te quedó amiga 😍😍 amo las flores

Amiga que precioso, quiero uno así, porque estoy empezando a leer justo hoy un libro! Me encanta, gracias por la idea 😍

Se ven Bellísimosss! Felicidades muñeca 💐

Está hermoso!!

Amiga te quedó tan lindo y delicado, me encantó la manera en como quedaron los pétalos de las flores, se ve diferente pero muy lindo 💕 Gracias por tenerme en cuenta. Te quiero mucho ✨

Te quedó precioso! 😻

Loading...
@mandysmoon just sent you a DIY token as a little appreciation for your post dear @valenpba! Feel free to multiply it by sending someone else !DIY in a comment :) You can do that x times a day depending on your balance so:

Don't be shy - share some DIY!

You can query your personal balance by !DIYSTATS

Muchas gracias por el apoyo amigos ✨💕

Me gusto mucho tu marca libros, son muy útiles para los que leen mucho, ojalá se me hubieran ocurrido estas ideas cuando leía libros en mis tiempos libres, excelente trabajo, gracias por compartir

I really liked your book mark, they are very useful for those who read a lot, I wish I had thought of these ideas when I read books in my spare time, excellent work, thanks for sharing.

Tu comunidad artesana ahora es testigo
Copia de Creadora de contenido.gif

Muchísimas gracias por el apoyo amigos! Me alegra mucho que les haya gustado mi creación 💕


This post was shared and voted inside the discord by the curators team of discovery-it
Join our Community and follow our Curation Trail
Discovery-it is also a Witness, vote for us here
Delegate to us for passive income. Check our 80% fee-back Program

Muchas gracias por el apoyo amigos. Me alegra que les haya gustado mi creación 💕