✨¡Hola amigos amantes de la creatividad! Espero que estén todos bien✨
🔸Sin más que añadir, a continuación los dejo con el paso a paso:
✨¡Hello friends who love creativity! ✨
Good afternoon, friends. I hope you are having a great week. For my part, I am in a little better spirits. On this occasion I am sharing with you the step by step to make a nice idea for a bookmark with a floral theme. The first thing I will say is that I think this bookmark turned out very cute. It is nice when I finish a creation and am fascinated with the final result, because sometimes, even if I see a creation as pretty, maybe I don't love it or it is not one of my favorites, it is normal, but in this case I was delighted with the result so tender and delicate.
🔸Without more to add, then I leave you with the step by step:
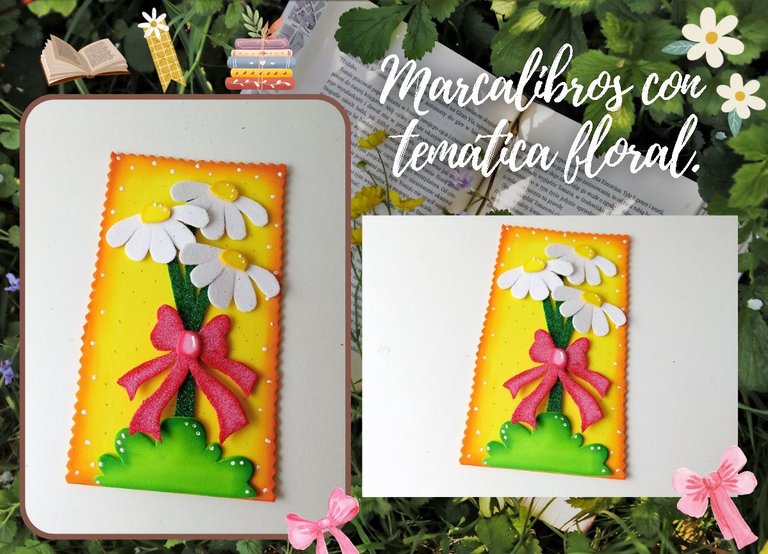
♥️ESPERO QUE TE GUSTE,
¡Empecemos!
♥️I HOPE YOU LIKE IT,
Let's start!

✂️ MATERIALES | ✂️ MATERIALS

- Foami escarchado blanco.
- Foami escarchado verde.
- Foami escarchado rosa.
- Foami amarillo.
- Foami verde.
- Pinturas y marcadores.
- Pegamento.
- Hoja blanca.
- Regla.
- Tijeras.
- Lápiz.
- White frosted foam.
- Green frosted foam.
- Pink frosted foam.
- Yellow foam.
- Green foam.
- Paints and markers.
- Glue.
- White sheet.
- Ruler.
- Scissors.
- Pencil.

🌟 PROCEDIMIENTO | 🌟 PROCESS

- PASO 1:
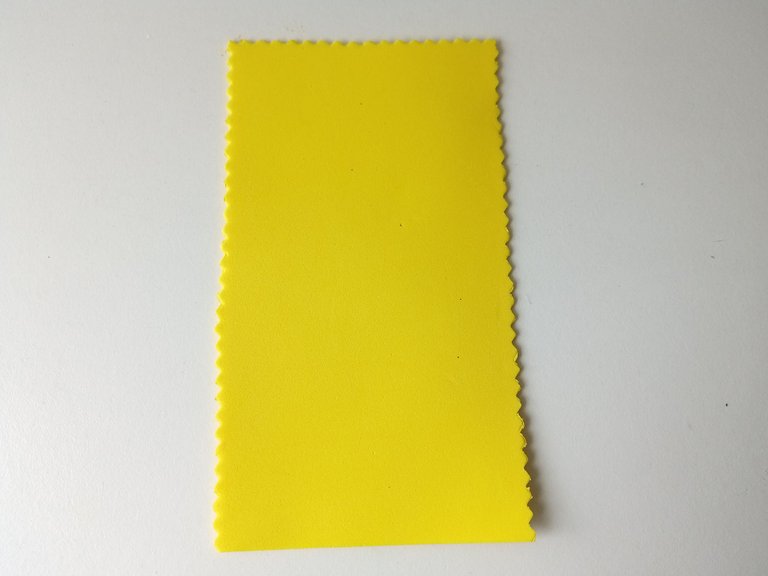
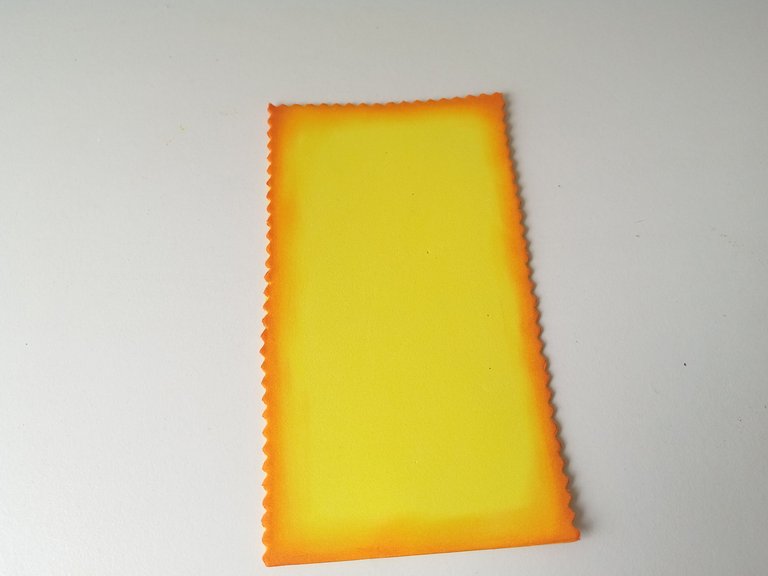
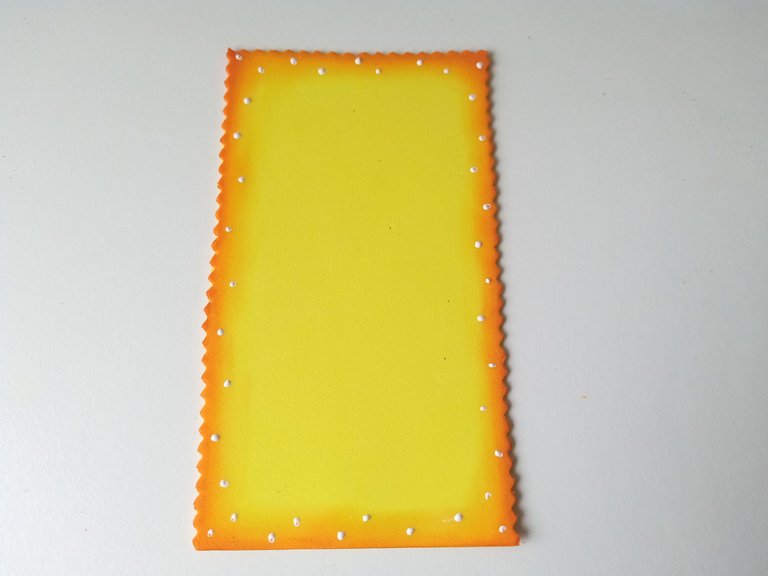
Lo primero que hice fue la base del marcalibros en foami amarillo, las medidas fueron de 15 cm x 8 cm. Recorté utilizando unas tijeras con diseño y luego, tomé un poco de pintura naranja y pasé por los bordes con ayuda de un pañito. Como pueden ver, en los bordes el color lo dejé un poco más fuerte y di un aspecto difuminado hacia adentro, haciendo un pequeño marco alrededor.
- STEP 1:
The first thing I did was the base of the bookmark in yellow foam, the measurements were 15 cm x 8 cm. I cut it out using patterned scissors and then, I took a little orange paint and went over the edges with the help of a cloth. As you can see, on the edges I left the color a little stronger and gave it a blurred look inwards, making a small frame around it.


- PASO 2:
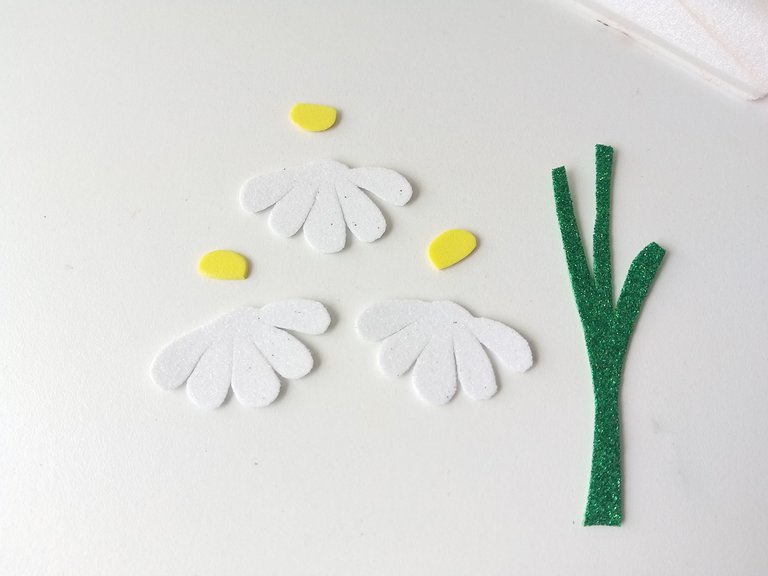
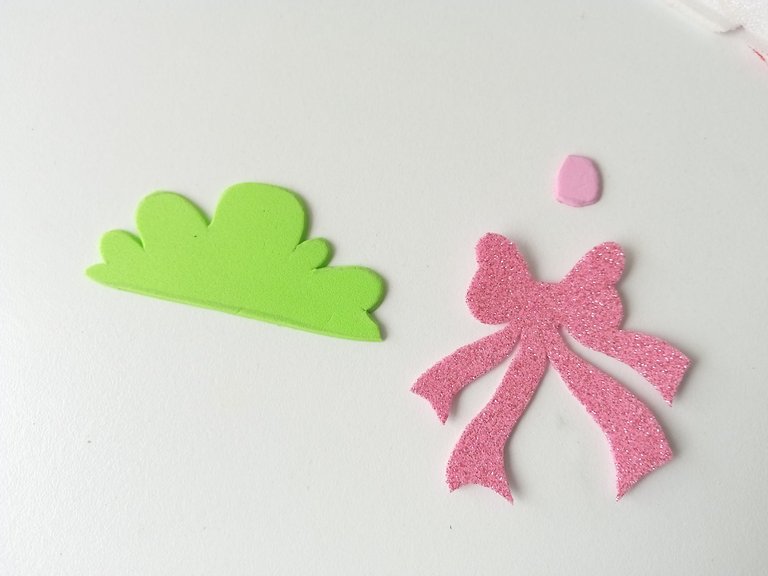
Mientras secaba, comencé a dibujar en una hoja blanca el diseño que quería para este marcalibros, así que dibujé el patrón un ramo de flores y algunas decoraciones extras para acompañar. Luego, transferí el patrón a los colores correspondientes de foami de la siguiente manera: las flores en foami escarchado blanco, el centro de la flor en foami amarillo, el tallo en foami escarchado verde, el lazo en foami escarchado rosa y, por último, el arbusto en foami verde.
- STEP 2:
While it was drying, I started to draw on a white sheet the design I wanted for this bookmark, so I drew the pattern, a bouquet of flowers and some extra decorations to go with it. Then, I transferred the pattern to the corresponding colors of foam as follows: the flowers in white frosted foam, the center of the flower in yellow foam, the stem in green frosted foam, the bow in pink frosted foam and, finally, the bush in green foam.


- PASO 3:
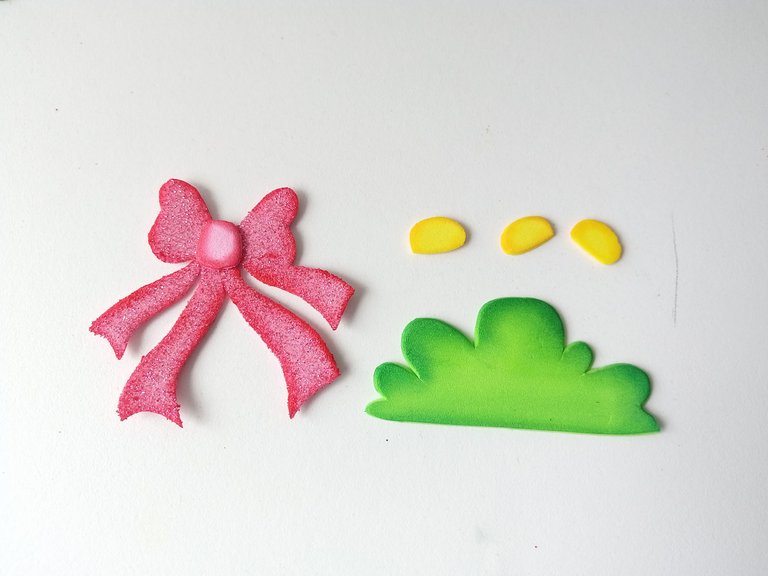
Al estar todas las piezas recortadas di color a los bordes del arbusto, el centro de las flores y al lazo, utilizando pintura y difuminando con ayuda de un pañito los bordes. Además, al estar seca la base, pinté algunos puntos en pintura blanca por todo el borde difuminado.
- STEP 3:
Once all the pieces were cut out, I colored the edges of the bush, the center of the flowers and the bow, using paint and blending the edges with the help of a cloth. In addition, when the base was dry, I painted some dots in white paint all over the blurred edge.


- PASO 4:
Al estar seco, comencé a pegar la decoración a la base de la siguiente manera: primero pegué el arbusto sobre el tallo, luego pegué el lazo en medio del tallo, las flores cada una en las puntas del tallo y los centros de cada una. Finalmente, di puntos de luz a la decoración, como los centros de las flores, el arbusto y el centro del lazo.
- STEP 4:
Once it was dry, I began to glue the decoration to the base as follows: first I glued the bush on the stem, then I glued the bow in the middle of the stem, the flowers each on the tips of the stem and the centers of each one. Finally, I added highlights to the decoration, such as the flower centers, the bush, and the center of the bow.

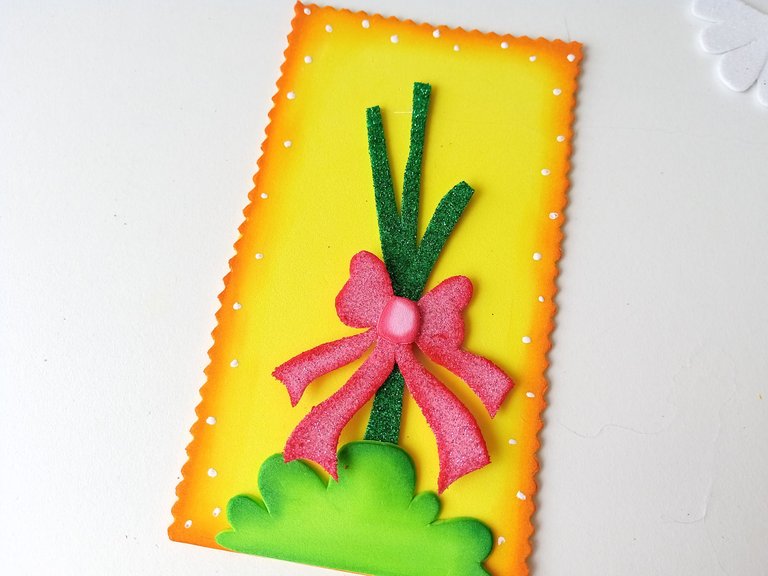
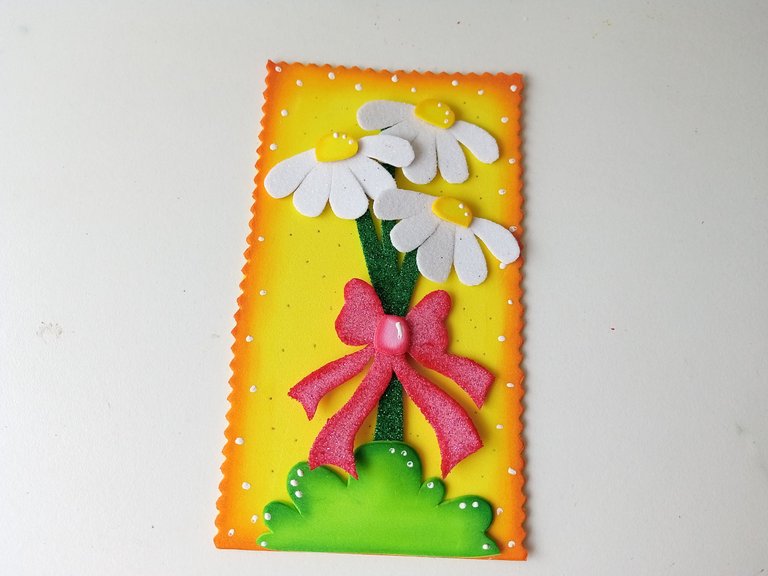

✨¡And ready!✨ his is how you can make an easy, cute, and simple bookmark to give your books a personalized and flirtatious touch haha. Maybe many of you don't want to use frosted foam for your books, so you can use plain foam and simply add more details with markers. I hope you liked the step-by-step instructions and are encouraged to make it.
❤️Until the next post.

✨RESULTADO: | ✨RESULT:


Todas las fotografías son de mi propiedad.
Separador y Fotos editadas en Canva
All photographs are my property.
Photos edited in Canva

 )
)