✨🎄¡Hola amigos amantes de la creatividad! Espero que hayan pasado un muy buen comienzo de semana.🎄✨
🔸Sin más que añadir, a continuación los dejo con el paso a paso:
✨🎄¡Hello friends who love creativity! I hope you had a very good start to the week.🎄✨
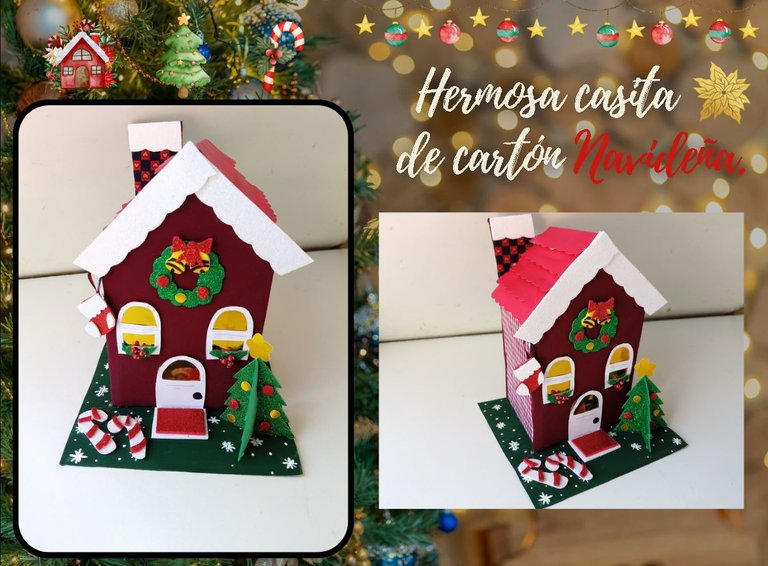
I hope you are doing well and had a nice Monday. On this occasion I share with you the step by step to make a beautiful cardboard Christmas house. A year ago I made a very similar house, but it was a little bigger and the design of the house is totally different, that is why this time I wanted to continue with similar colors, making another design and creating a different decoration.
I wanted to continue with similar colors to the previous house, because I want to place them together and every year, make more large, small and medium-sized houses, to make a little town under my tree haha. Do you think it would look pretty? I love making this type of creations because it is mostly with recycling material: cardboard, fabric and scraps of other materials that I have left.
🔸Without more to add, then I leave you with the step by step:
♥️ESPERO QUE TE GUSTE,
¡Empecemos!
♥️I HOPE YOU LIKE IT,
Let's start!

🎄 MATERIALES | 🎄 MATERIALS

- Cartón.
- Retazos de tela.
- Cartulina roja y blanca.
- Cartulina dorada.
- Foami escarchado: verde, rojo y
blanco. - Foami amarillo.
- Pinturas y marcadores.
- Hoja blanca.
- Pegamento.
- Tijeras.
- Regla.
- Lápiz.
- Cardboard.
- Pieces of cloth.
- Red and white cardboard.
- Gold cardboard.
- Frosty foam: green, red and
white. - Yellow foam.
- Paints and markers.
- White sheet.
- Glue.
- Scissors.
- Ruler.
- Pencil.

🎄 PROCEDIMIENTO | 🎄 PROCESS

- PASO 1:
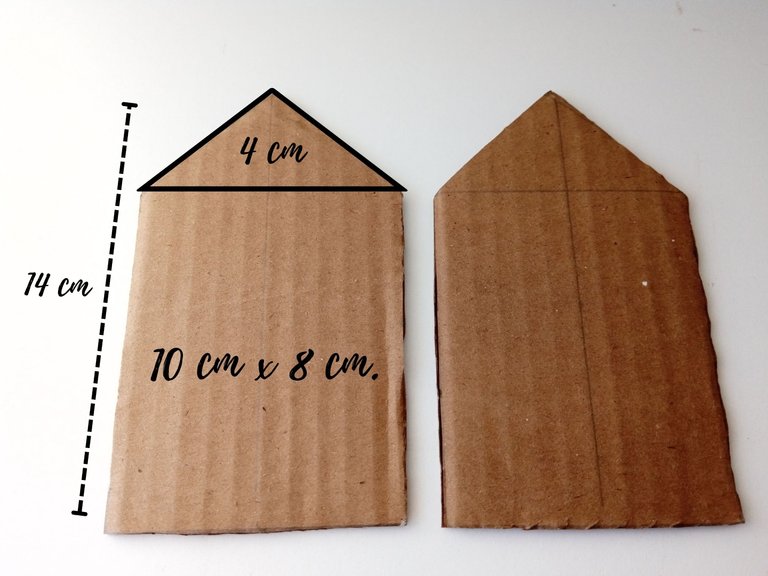
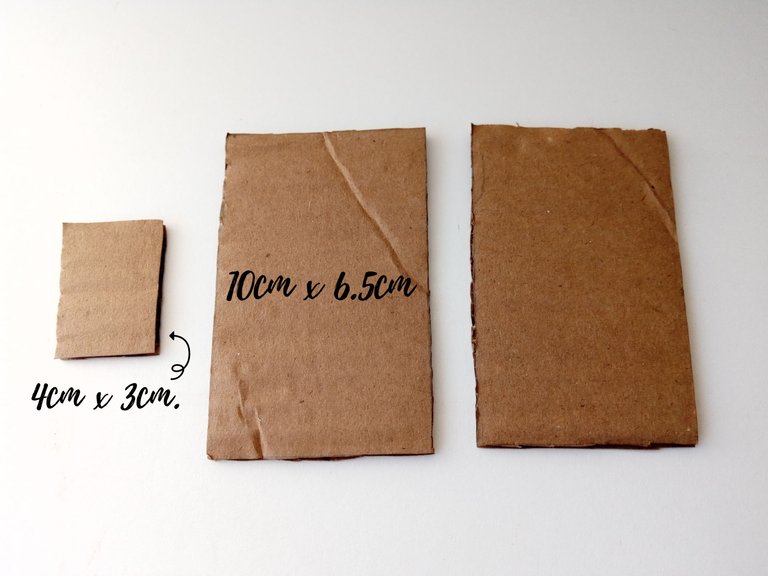
Comencé dibujando las partes de la casa en cartón, como quería hacer una casa más alta, la hice un poco más alargada, para la pared delantera y trasera, tomé las siguientes medidas: 10 cm x 8 cm y para la forma triangular 4 cm extras, dando un total de 14 cm de largo. Para las paredes laterales, las medidas fueron: 10 cm x 6.5 cm. Para la chimenea un rectángulo de 4 cm x 3 cm.
- STEP 1:
I started by drawing the parts of the house on cardboard, as I wanted to make a taller house, I made it a little more elongated, for the front and back wall, I took the following measurements: 10 cm x 8 cm and for the triangular shape 4 cm extra , giving a total of 14 cm long. For the side walls, the measurements were: 10 cm x 6.5 cm. For the fireplace, a 4 cm x 3 cm rectangle.


- PASO 2:
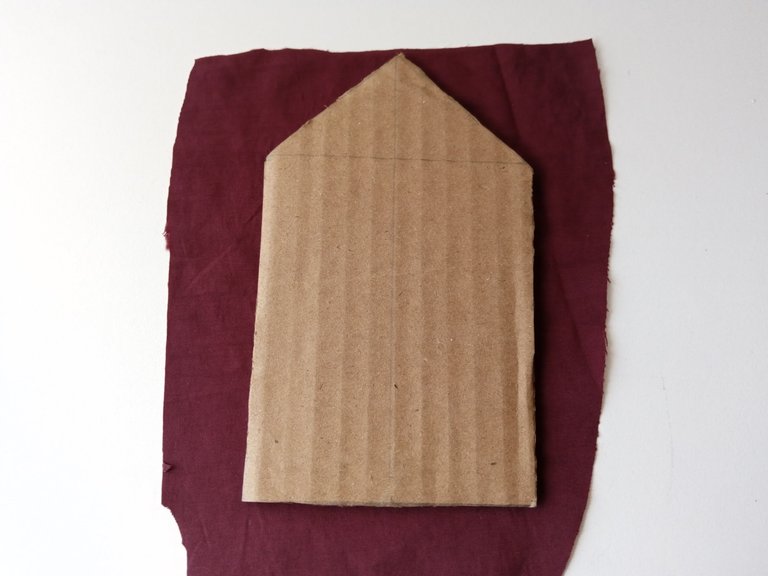
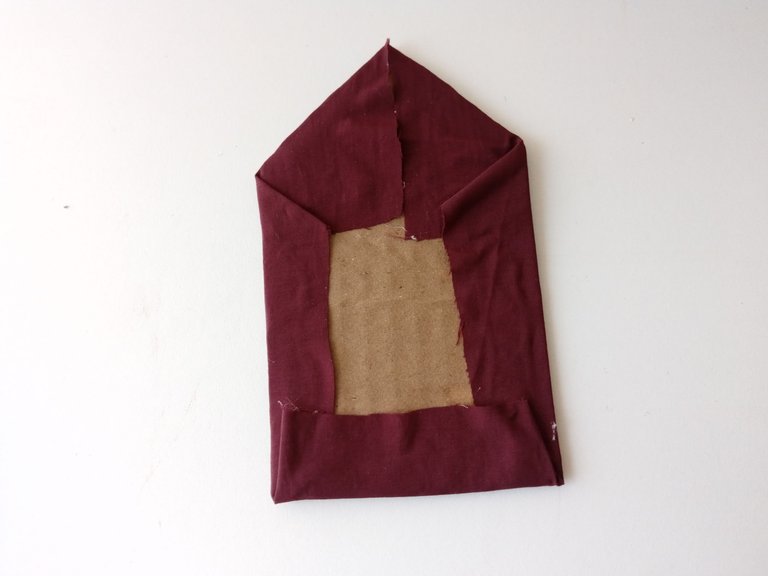
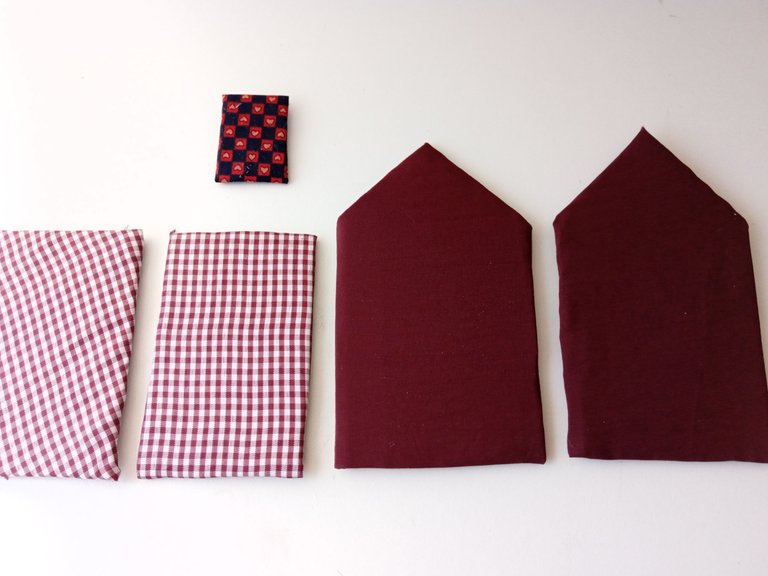
Al tener listas las piezas, comencé a recortar las telas para forrar, esta vez quise utilizar dos colores de tela, una para las paredes principales, otra para las paredes laterales con un diseño cuadrado y otra de corazones para la chimenea. Al seleccionar las telas, las recorté 1 cm más grande de cada lado que la pieza que iba a forrar y forré cada una de las piezas con pegamento.
- STEP 2:
Once I had the pieces ready, I began to cut out the fabrics to cover, this time I wanted to use two colors of fabric, one for the main walls, another for the side walls with a square design and another with hearts for the fireplace. When selecting the fabrics, I cut them 1 cm larger on each side than the piece I was going to cover and covered each of the pieces with glue.


- PASO 3:
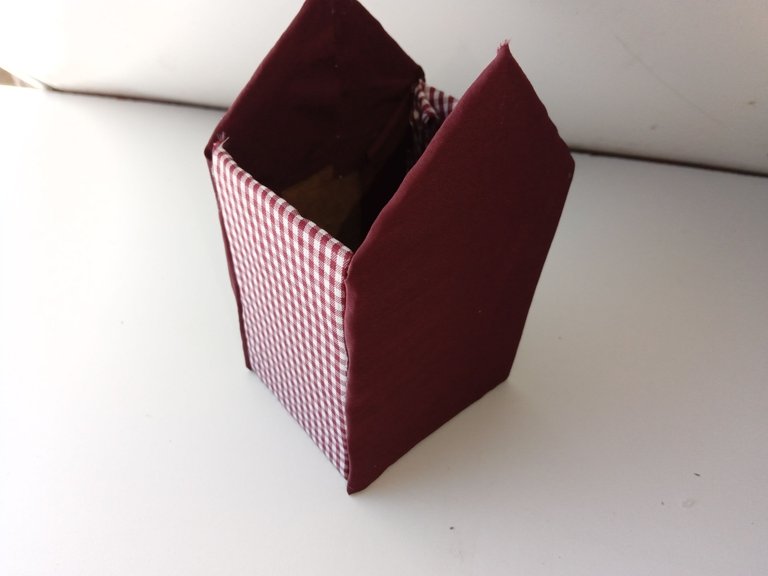
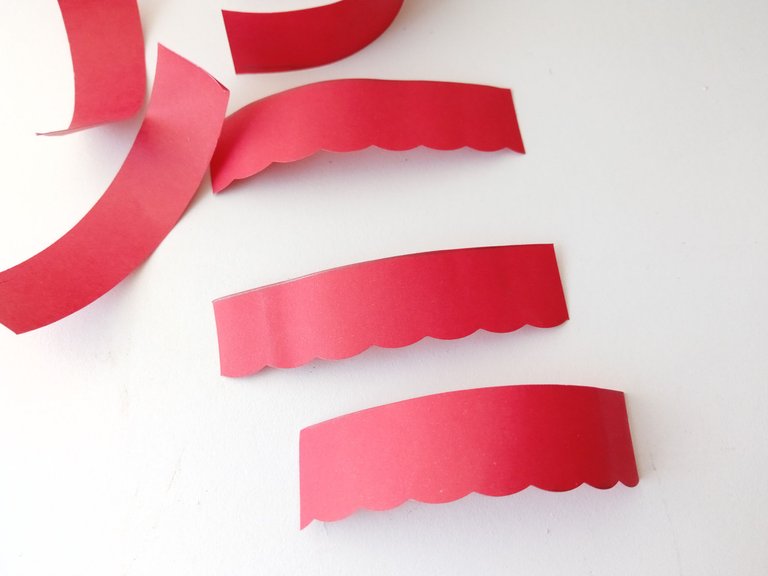
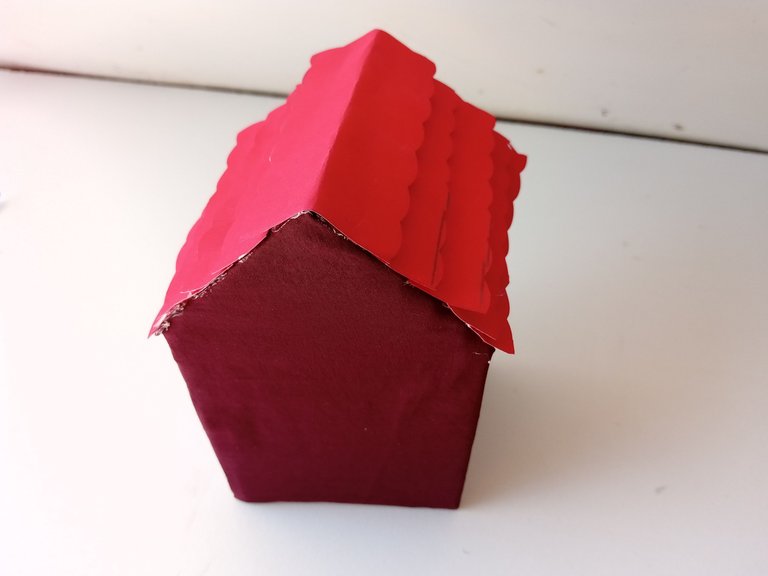
Teniendo todas las piezas forradas procedí a montar la casa. Pegué las paredes laterales a una de las piezas principales y finalmente, la pieza trasera. Para el techo, recorté tiras de cartulina roja de 2 cm que corté en forma curva en los bordes, para simular un techo. Luego, pegué, superponiendo las tiras, hasta cubrir el techo.
- STEP 3:
Having all the pieces lined I proceeded to assemble the house. I glued the side walls to one of the main pieces and finally the back piece. For the roof, I cut out 2cm strips of red cardboard that I cut in a curved shape at the edges, to simulate a roof. Then, I glued, overlapping the strips, until the ceiling was covered.


- PASO 4:
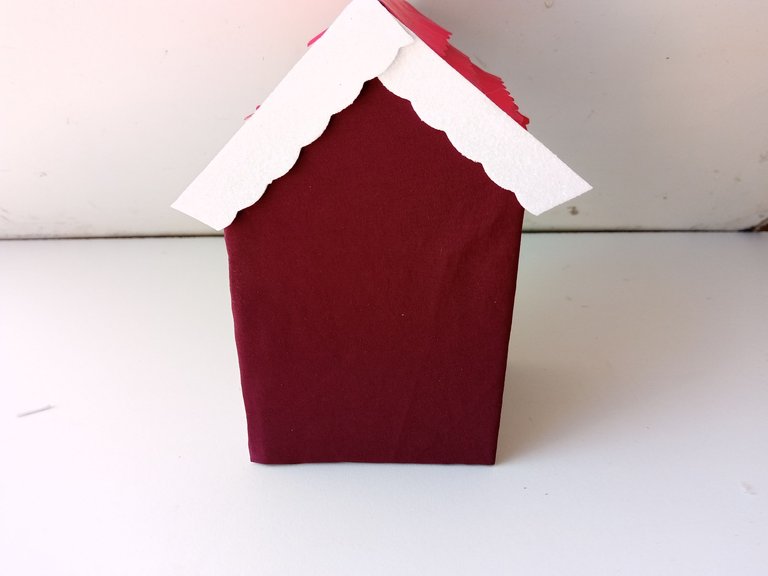
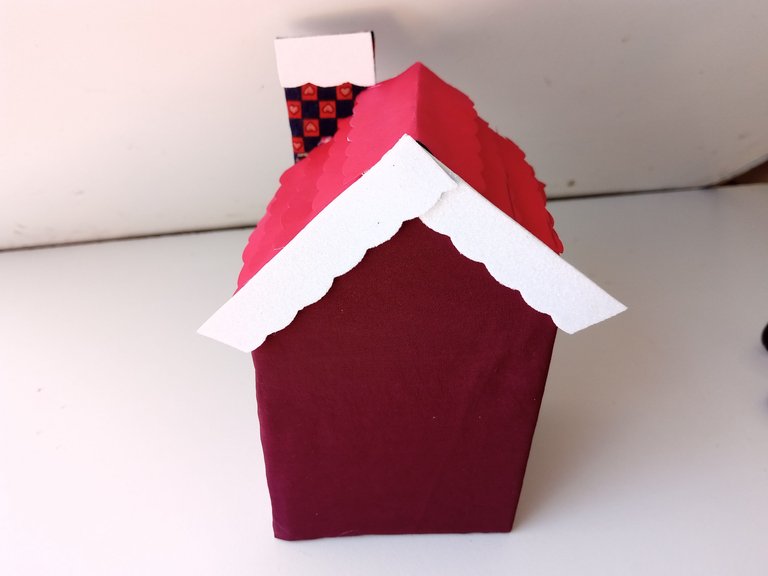
Para hacer que la nieve cayera del tejado, recorté dos tiras, les di la misma forma que el tejado con las tijeras, repetí lo mismo con la chimenea y pegué todas las piezas.
- STEP 4:
To make the snow falling from the roof, I cut out two strips, gave them the same shape as the roof with the scissors, repeated the same with the chimney and glued all the pieces.


- PASO 5:
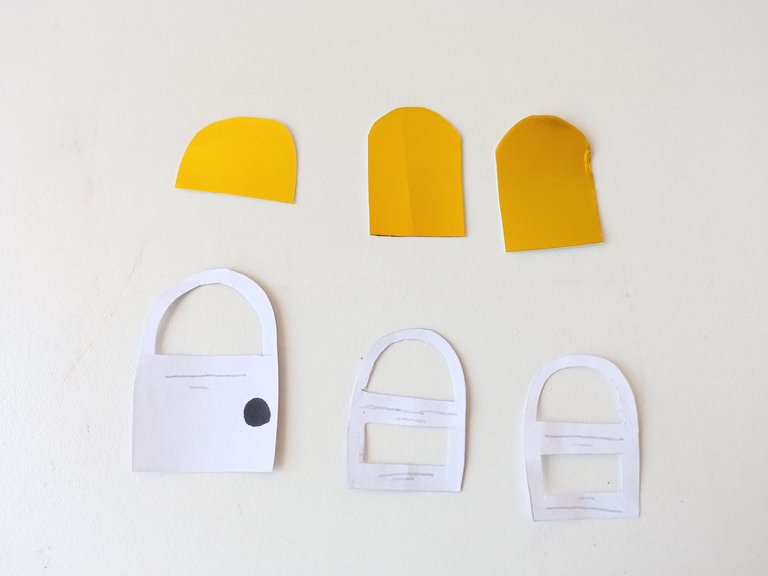
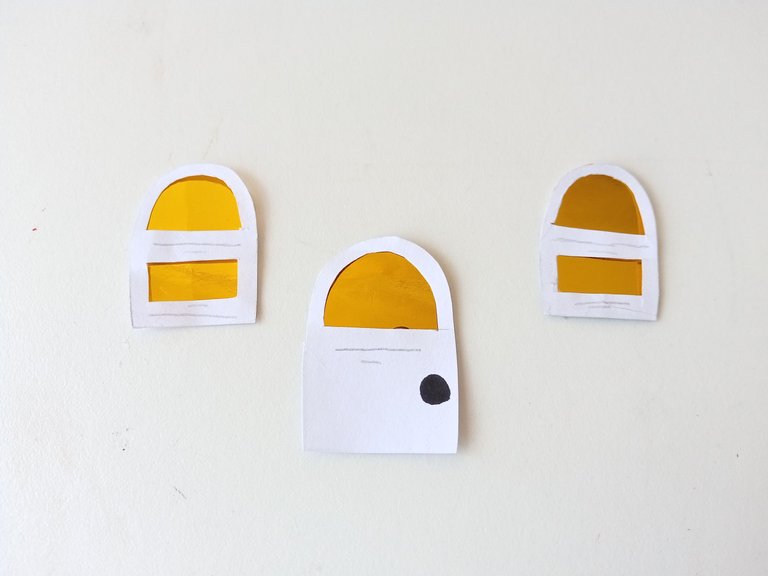
Ahora viene la parte más complicada para mí, que es hacer las puertas y ventanas. Comencé buscando el dibujo de puertas y ventanas que me gustaran, las dibujé, le di detalles con marcador y para la luz, recorté y pegué cartulina dorada. Una vez listo, pegué a la casa.
📌Te recomiendo que no hagas muchos vidrios a las puertas y ventanas porque es un poco complicado de recortar.
- STEP 5:
Now comes the most complicated part for me, which is making the doors and windows. I started by looking for a drawing of doors and windows that I liked, I drew them, gave them details with a marker and for the light, I cut out and glued gold cardboard. Once ready, I hit the house.
📌I recommend that you do not make a lot of glass in the doors and windows because it is a bit complicated to cut out.


- PASO 6:
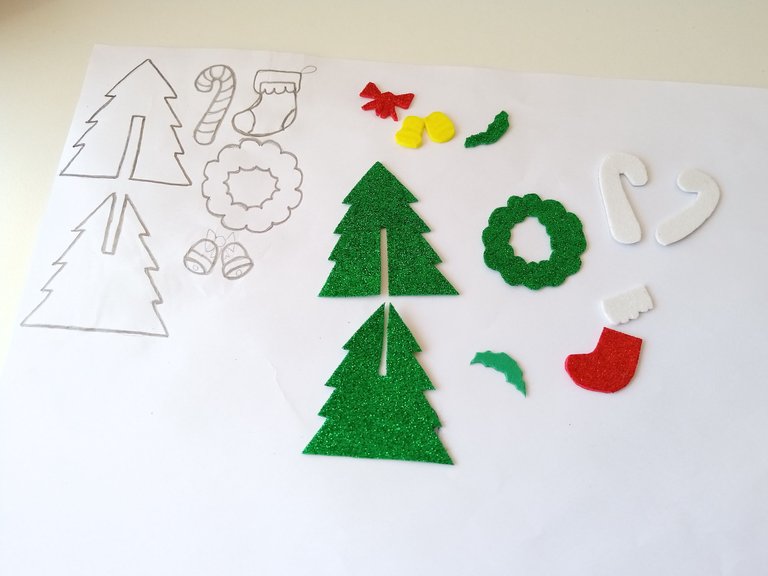
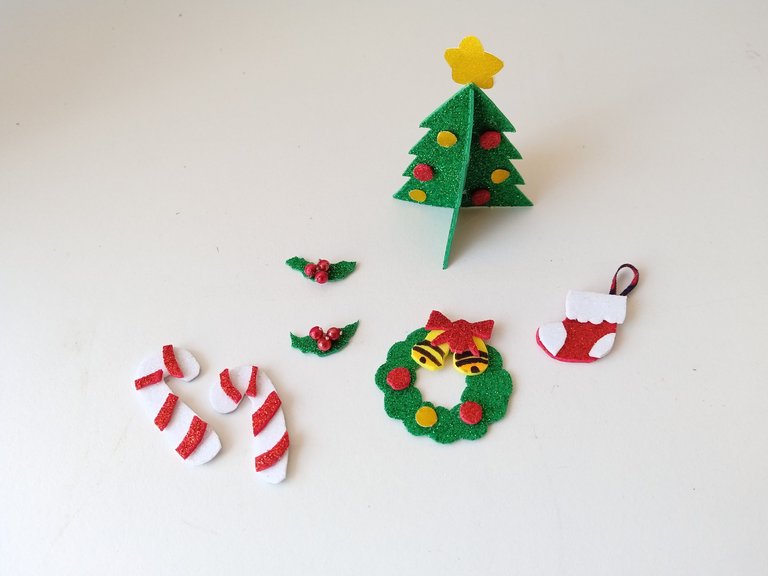
Ahora sí, llego el momento de decorar, hice todos los patrones y los pase al color correspondiente de foami. Para el árbol, foami escarchado verde y sus esferas; para la corona, foami escarchado verde, rojo para el lazo y foami amarillo para las campanas; para la bota, foami escarchado rojo y blanco; los bastones en foami escarchado rojo y blanco; las plantas en foami verde escarchado y guirnaldas. Recorté cada pieza y pegué.
- STEP 6:
Now it's time to decorate, I made all the patterns and transferred them to the corresponding color of foam. For the tree, green frosty foam and its spheres; For the crown, green frosted foam, red for the bow and yellow foam for the bells; for the boot, red and white frosted foam; the canes in red and white frosted foam; the plants in frosty green foami and garlands. I cut out each piece and glued.


- PASO 7:
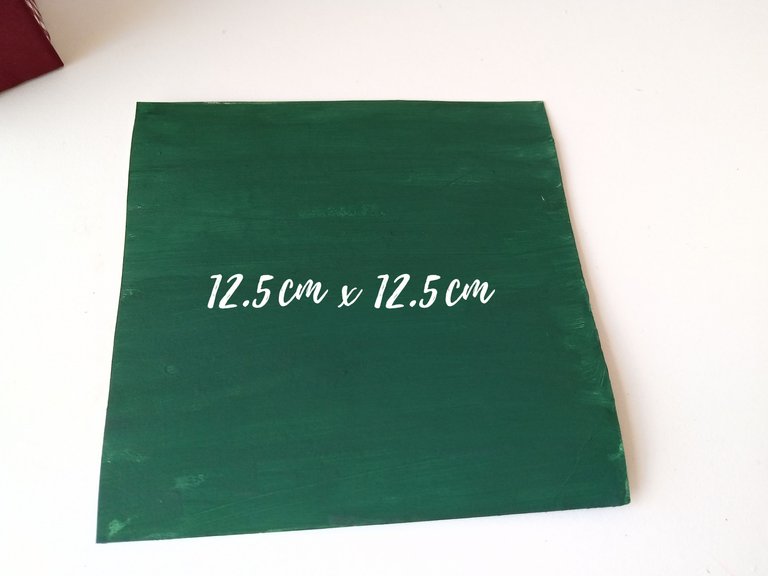
Después recorté la base en cartón delgado, calculando el espacio que iba a necesitar para la casa y toda la decoración. Recorté la base de 12.5 cm x 12.5 cm y la pinté con pintura verde. Al secar, pegué la casa, pegué la decoración y con pintura blanca, dibujé copos de nieve. Al estar todo seco, pegué el resto de la decoración en donde creía que iba a quedar bien y agregué una alfombra en la puerta.
- STEP 7:
Then I cut the base out of thin cardboard, calculating the space I would need for the house and all the decoration. I cut the base to 12.5cm x 12.5cm and painted it with green paint. When it dried, I glued the house, glued the decoration and with white paint, I drew snowflakes. Once everything was dry, I glued the rest of the decoration where I thought it would look good and added a rug to the door.

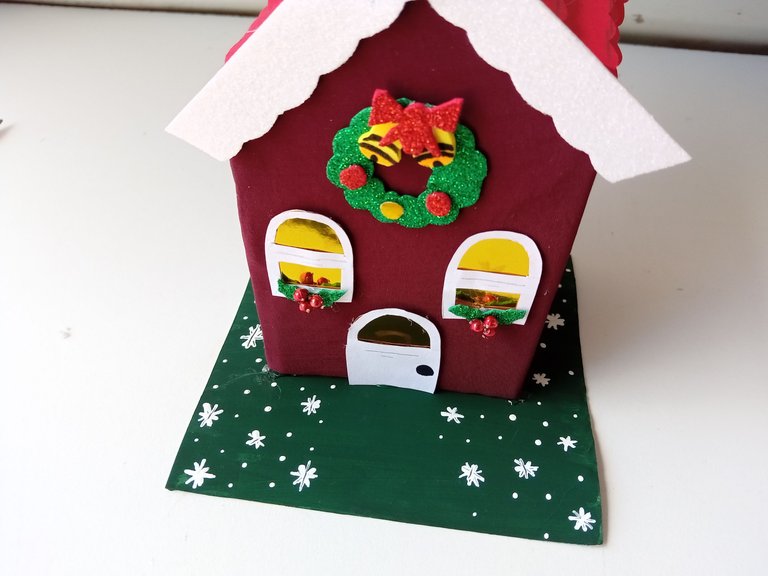
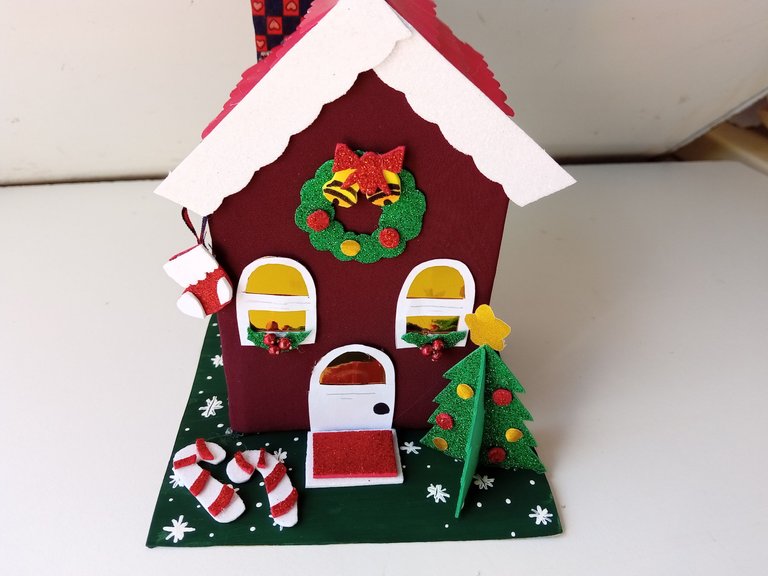

✨¡And ready!✨This is how I made a beautiful Christmas house with recycled cardboard and pieces of fabric, I also made the decoration with pieces of foam that I have left from the crafts that I usually share with you, so I hope you are encouraged with the materials that you have within your reach because you can get a beautiful result. I hope you liked the step by step and are encouraged to make it.
❤️Until the next post.

✨RESULTADO: | ✨RESULT:

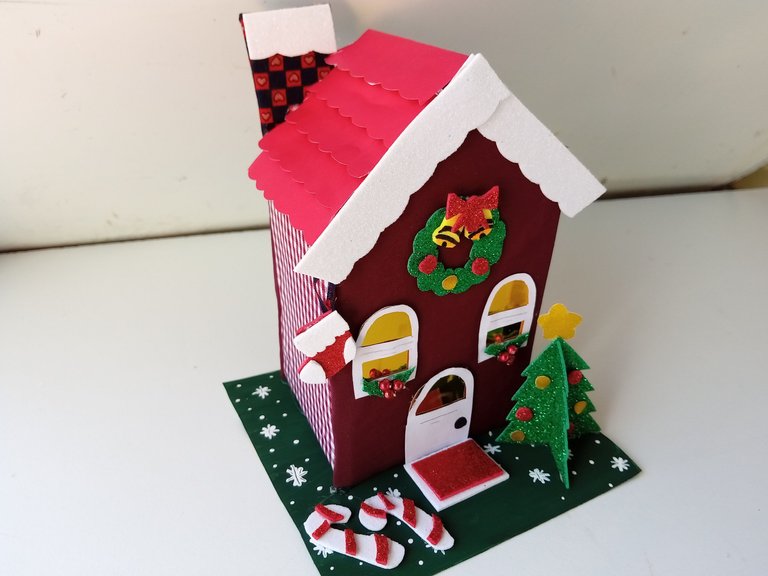


Todas las fotografías son de mi propiedad.
Separador y Fotos editadas en Canva
All photographs are my property.
Photos edited in Canva


