✨🎄🦌¡Hola amigos amantes de la creatividad! Espero que hayan pasado un muy buen comienzo de semana.
🔸Sin más que añadir, a continuación los dejo con el paso a paso:
✨🎄🦌¡Hello friends who love creativity! I hope you had a very good start to the week.
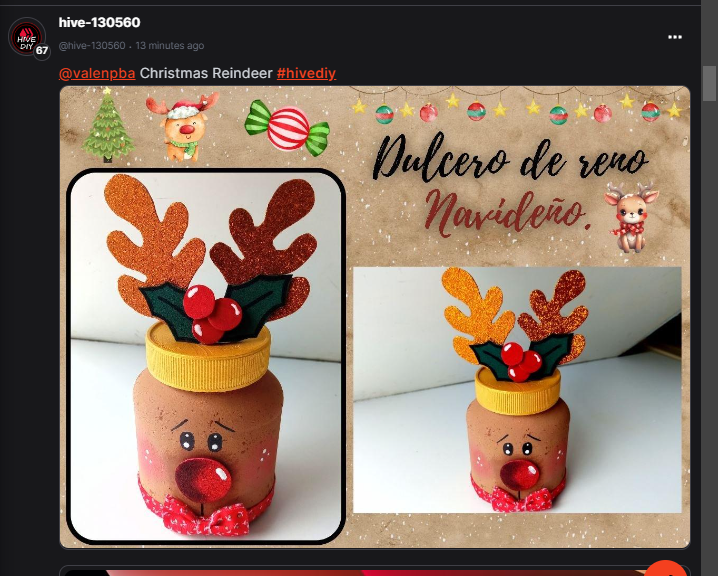
I hope you are doing well and had a nice Monday. On this occasion I share with you the step by step to make a reindeer candy. Let's see how I explain this to you. In my head it started as the creation of a sweet, because it would be very cute if it were full of cookies inside, but then I realized that it could easily be a beautiful decoration for the home, simply giving it some corner to show off its beauty haha . . Finally, you choose to keep the initial concept you had, however, you can design it as a home decoration, it all depends on your choice.
I decided to make this reindeer because it seemed like a super cute idea and last year, I don't think I made any reindeer decorations due to lack of materials and this is, really, one of my favorite Christmas characters, because it seems very cute to me and I think that with it you can get many ideas.
On the other hand, I wanted to take out my paints and start painting a little. I hope you are liking my creations this year.
🔸Without more to add, then I leave you with the step by step:
♥️ESPERO QUE TE GUSTE,
¡Empecemos!
♥️I HOPE YOU LIKE IT,
Let's start!

🎄 MATERIALES | 🎄 MATERIALS
- Envase con tapa.
- Pinturas acrílicas.
- Foami escarchado rojo.
- Foami escarchado ocre.
- Foami verde y rojo.
- Marcador negro.
- Pegamento.
- Lápiz.
- Hoja.
- Tijera.
- Container with lid.
- Acrylic paintings.
- Red frosty foam.
- Ocher frosted foam.
- Green and red foami.
- Black marker.
- Glue.
- Pencil.
- Sheet.
- Scissors.
🦌 PROCEDIMIENTO | 🦌 PROCESS
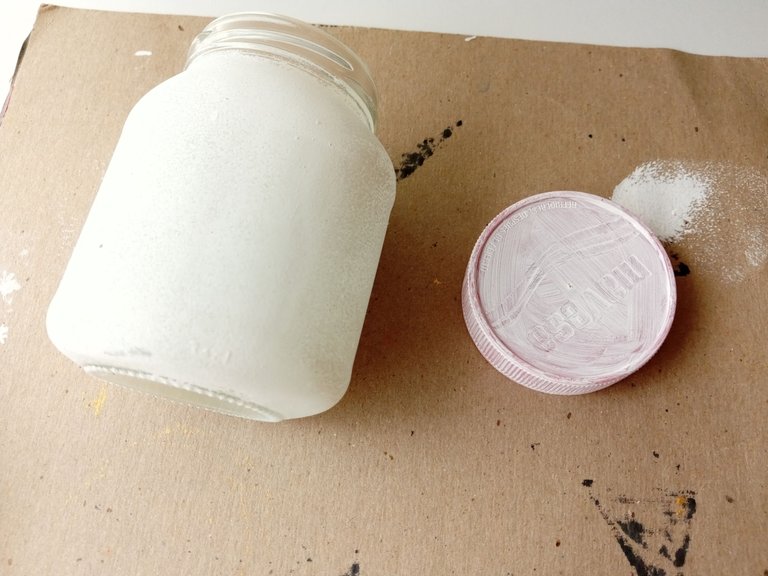
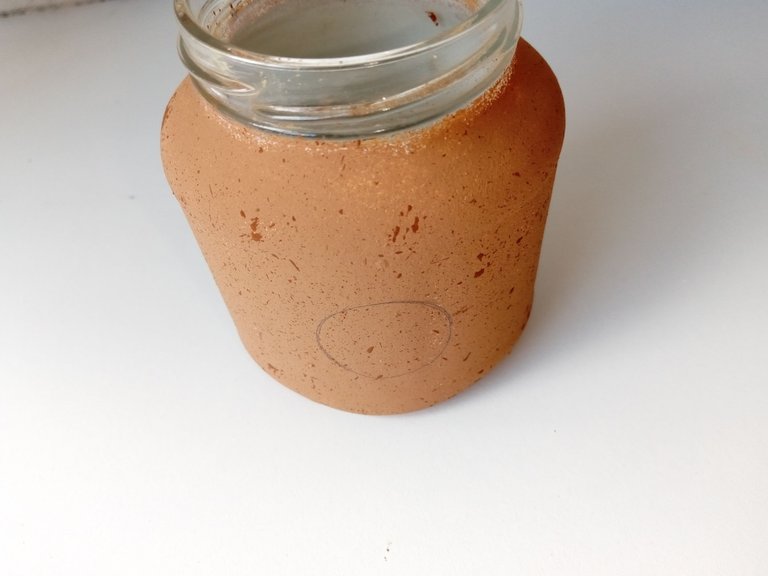
- PASO 1:
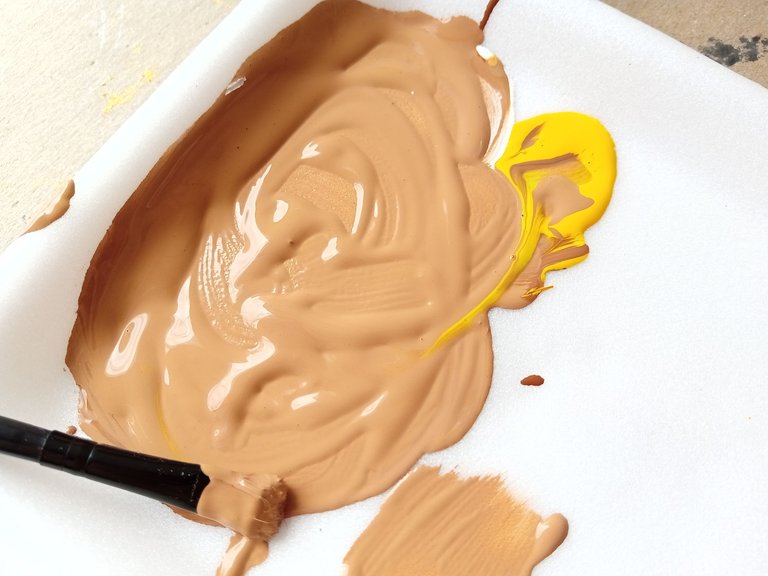
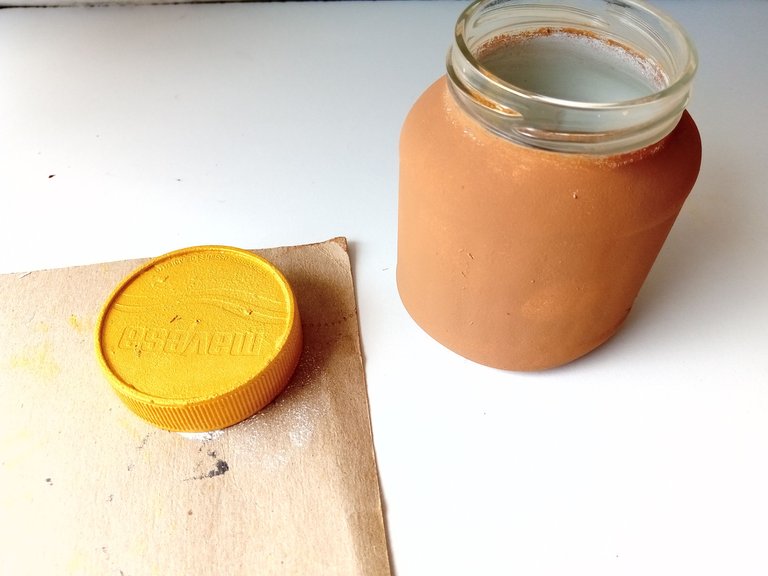
Lo primero que hice fue pintar el envase y la tapa con pintura blanca para que al momento de aplicar el color este agarre mejor, una vez seco volví a aplicar otra capa blanca, luego apliqué color dorado para la tapa y como mi pintura marrón era un tono muy oscuro, tuve que ligar con blanco, un toque de amarillo y pinté el envase, sin llegar a la parte donde va enroscada la tapa.
- STEP 1:
The first thing I did was paint the container and the lid with white paint so that when applying the color it would grip better, once dry I applied another white layer, then I applied gold color for the lid and since my brown paint was a very dark tone, I had to add white, a touch of yellow and painted the container, without reaching the part where the lid is screwed on.
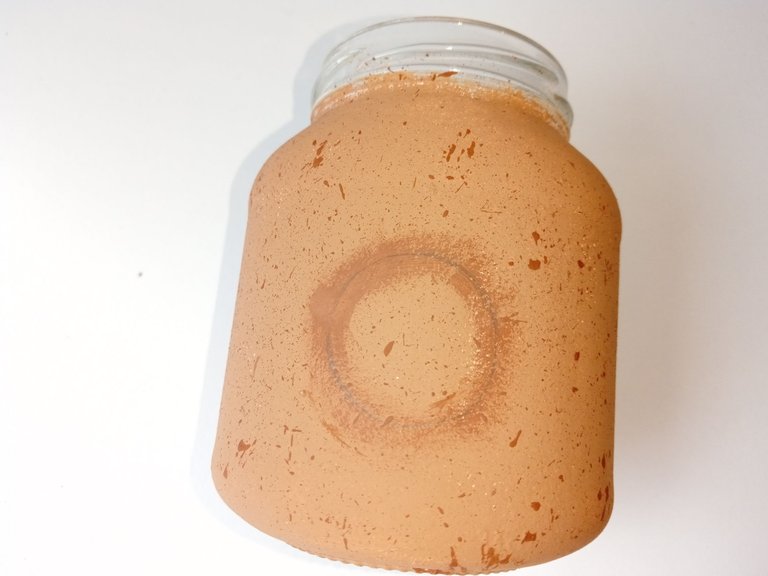
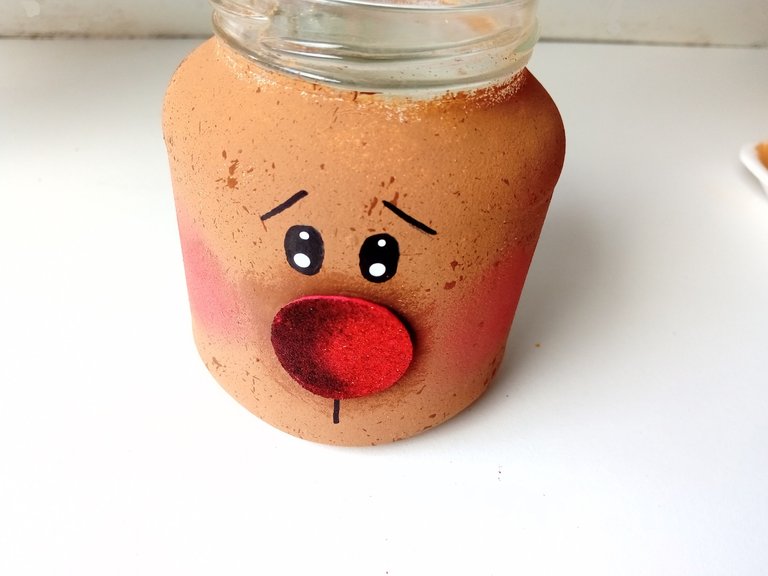
- PASO 2:
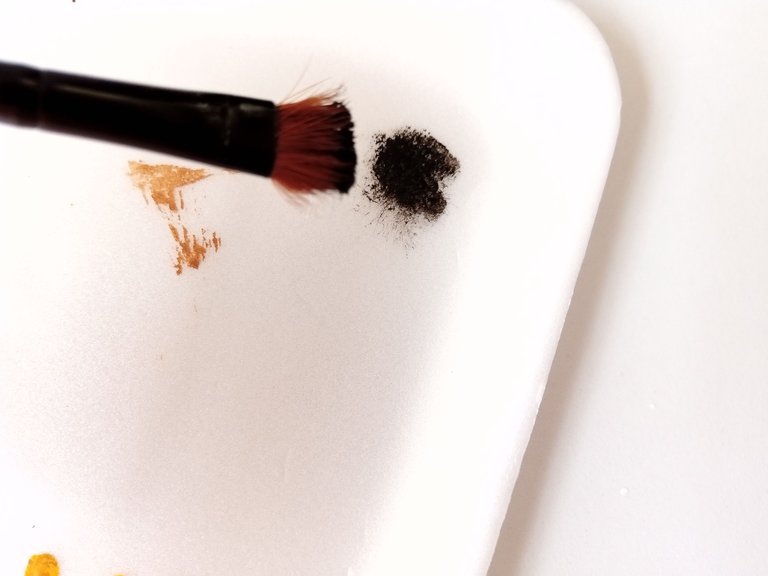
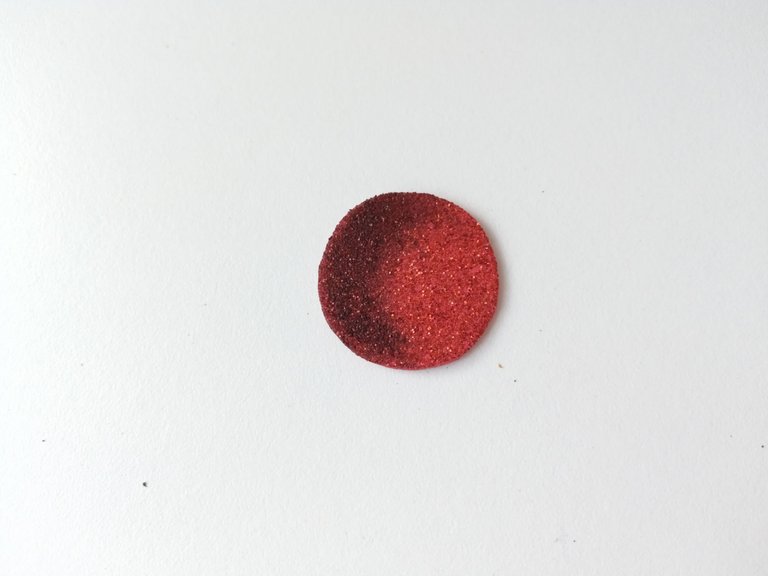
Mientras se secaban las piezas, recorté un círculo de foami rojo escarchado para que este sea la nariz del reno, la hice más o menos grande para que sobresaliera entre el resto del rostro. Tome un pincel con un poco de pintura negra, la cual retiré el excedente sobre una servilleta y luego lo pase por la mitad de la nariz. Una vez secas todas las piezas, coloqué el círculo en medio del envase y remarqué por el borde con un lápiz. Lo dejé así y tomé un cepillo de dientes, unté con la pintura marrón más oscura y salpiqué por todo el envase para que se note manchado.
- STEP 2:
While the pieces were drying, I cut out a circle of frosty red foam so that this could be the reindeer's nose, I made it more or less large so that it stood out from the rest of the face. I took a brush with a little black paint, which I removed the excess onto a napkin and then brushed it over the middle of the nose. Once all the pieces were dry, I placed the circle in the middle of the container and outlined the edge with a pencil. I left it like that and took a toothbrush, smeared it with the darkest brown paint and splashed it all over the container so that it looked stained.
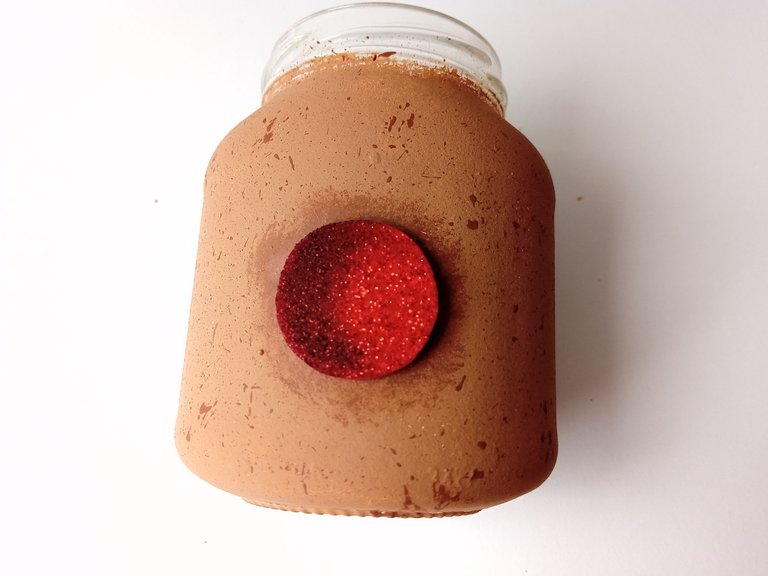
- PASO 3:
Una vez seco, por el borde que dibujé de la nariz, tuve que oscurecer el marrón del envase y pinté alrededor del círculo, quitando un poco el exceso de pintura del pincel. Una vez seco, pegué la nariz en medio y justo encima de la nariz, dibujé y pinté los ojos ovalados con marcador negro.
- STEP 3:
Once dry, along the edge I drew of the nose, I had to darken the brown of the container and painted around the circle, removing a little excess paint from the brush. Once dry, I glued the nose in the middle and just above the nose, I drew and painted the oval eyes with black marker.
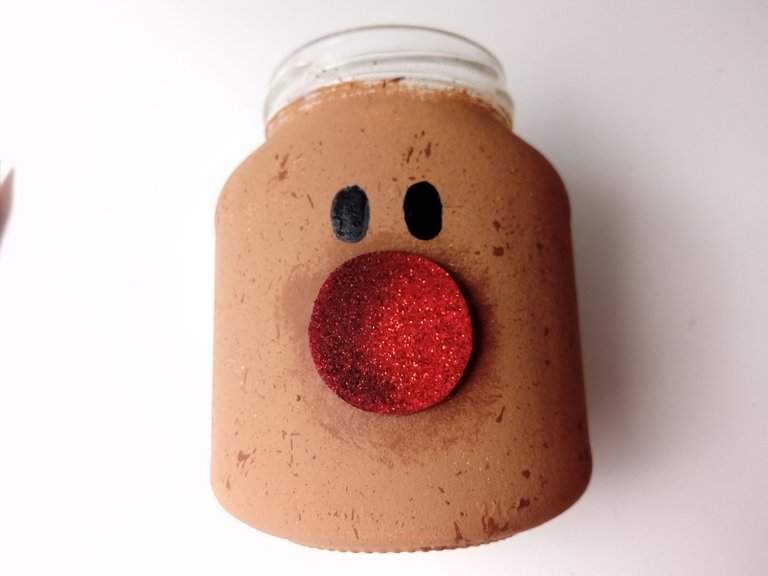
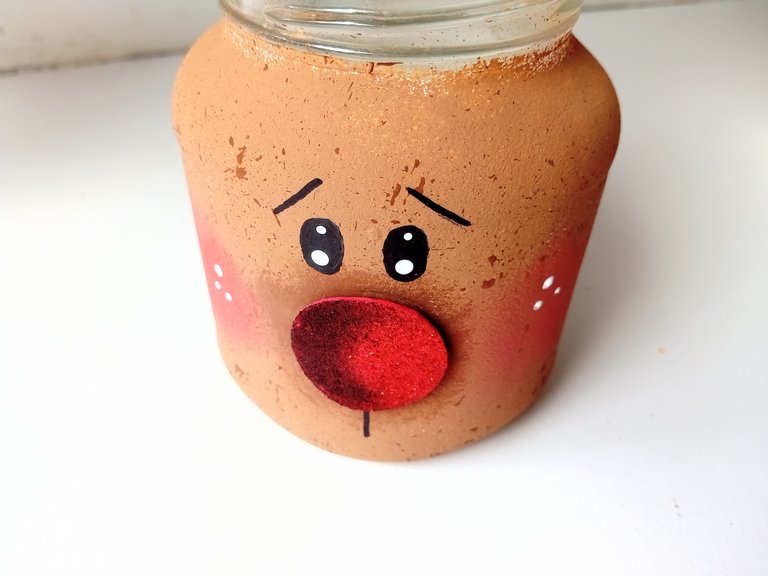
- PASO 4:
Con el mismo marcador, dibujé las cejas y una línea vertical debajo de la nariz. Di puntos de luz a los ojos con pintura blanca y con pintura rosa o sombras pinté las mejillas, además, le pinté tres puntos de luz en las mejillas.
- STEP 4:
Using the same marker, I drew the eyebrows and a vertical line under the nose. I gave highlights to the eyes with white paint and with pink paint or shadows I painted the cheeks, in addition, I painted three points of light on the cheeks.
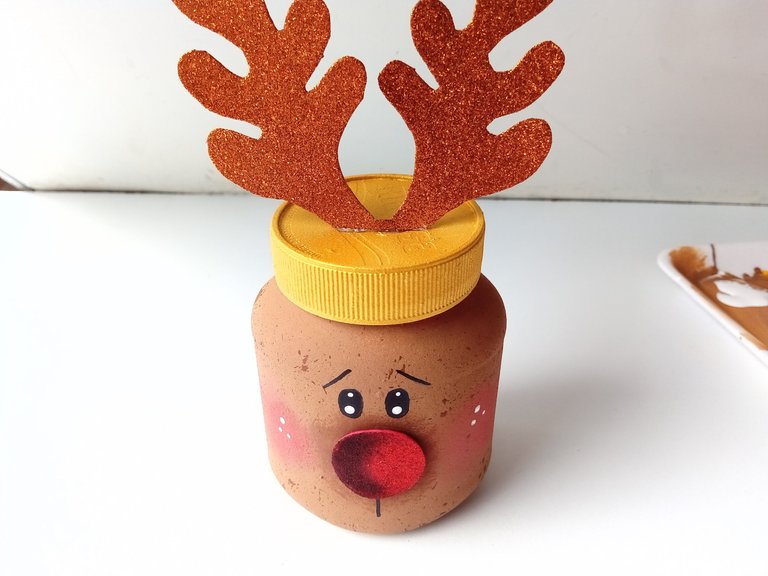
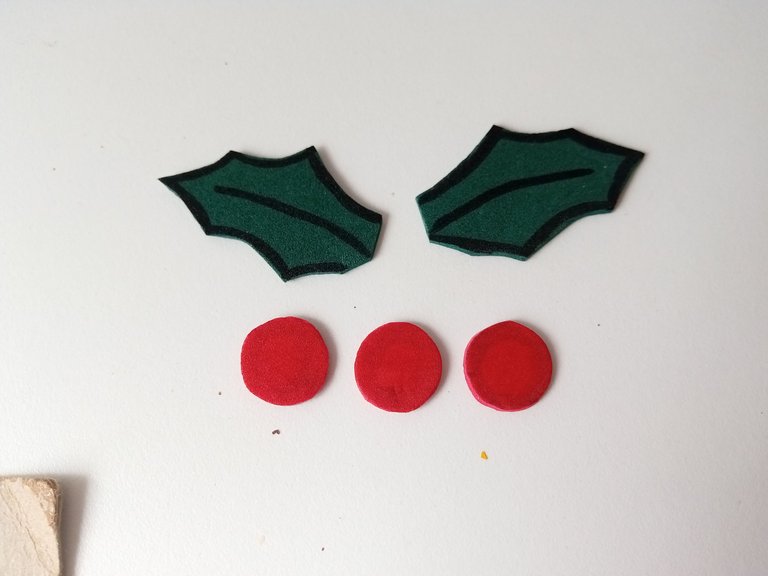
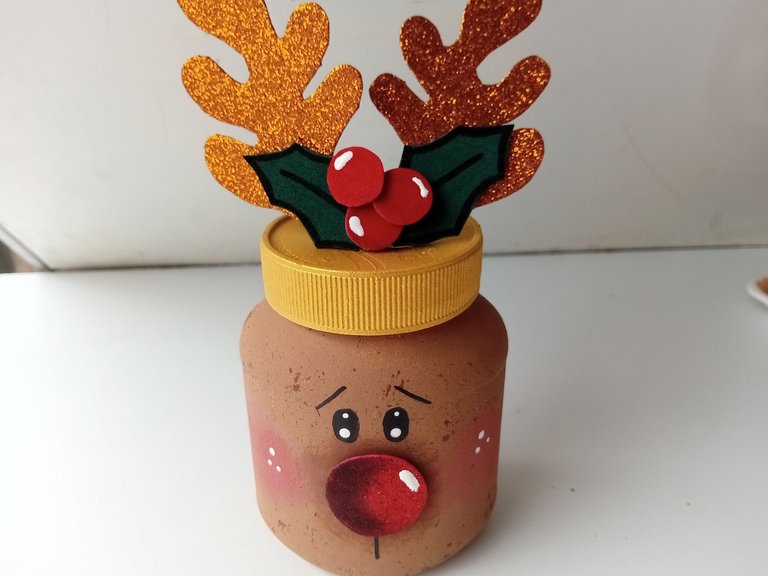
- PASO 5:
Cerré el envase con su tapa, dibujé los cuernos del reno en foami escarchado ocre y pegué en medio de la tapa. Para decorar un poco la parte de los cuernos y que no se viera tan vacía, dibujé la típica planta navideña con hojas verdes y círculos rojos, le pinté a las hojas los detalles con marcador negro, pegué todo en medio de los cuernos y le di toques de luz a los círculos rojos.
- STEP 5:
I closed the container with its lid, drew the reindeer antlers in ocher frosted foam and glued it in the middle of the lid. To decorate the part of the antlers a little and make it not look so empty, I drew the typical Christmas plant with green leaves and red circles, I painted the details on the leaves with black marker, I glued everything in the middle of the antlers and gave it highlights to the red circles.
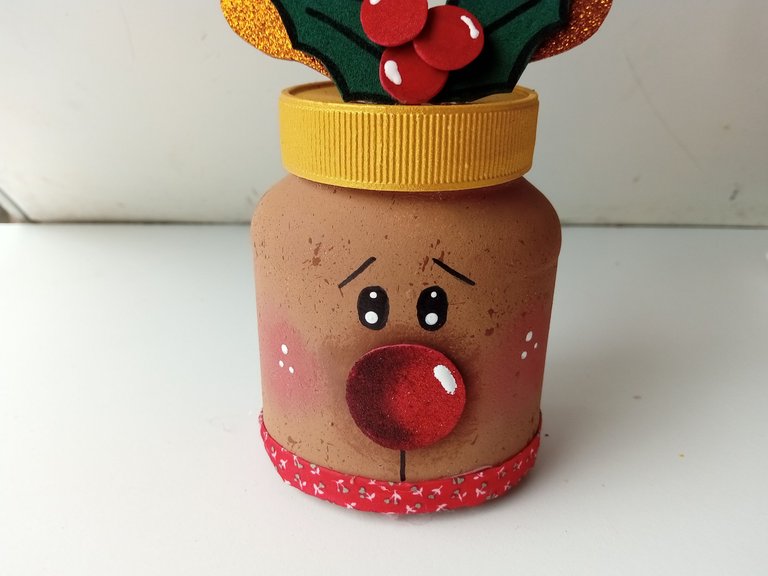
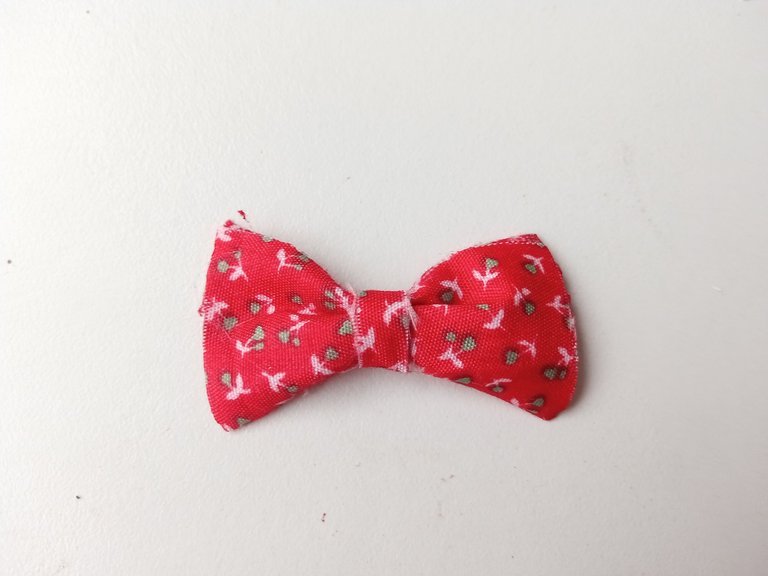
- PASO 6:
Tomé una cinta de tela y la pegué por el borde inferior del frasco. Luego, recorté un rectángulo más ancho que la cinta, arruché en medio y pegué un trozo de tela pequeño en medio para que se mantenga la forma del lazo. Por último, pegué el lazo encima de la cinta, justo donde termina la línea de la boca del reno.
- STEP 6:
I took a piece of fabric tape and stuck it around the bottom edge of the jar. Then, I cut out a rectangle wider than the ribbon, crumpled it in the middle and glued a small piece of fabric in the middle so that the shape of the bow is maintained. Lastly, I glued the bow on top of the ribbon, right where the line of the reindeer's mouth ends.
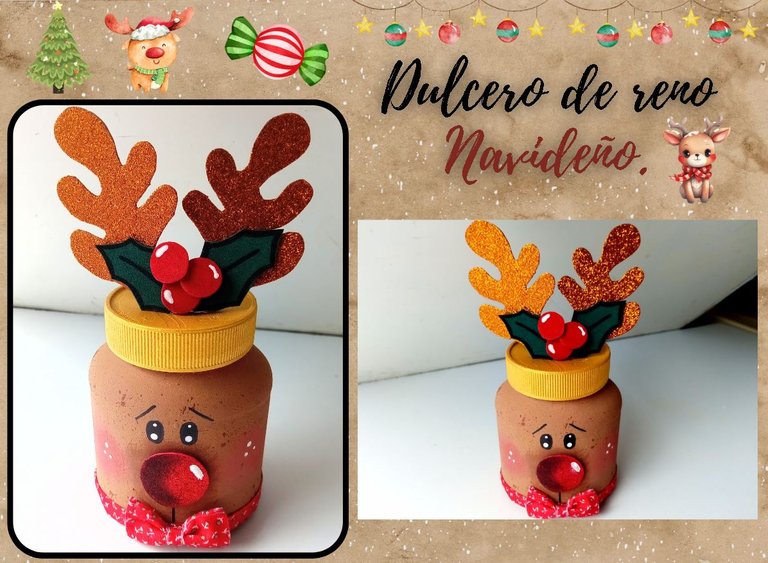
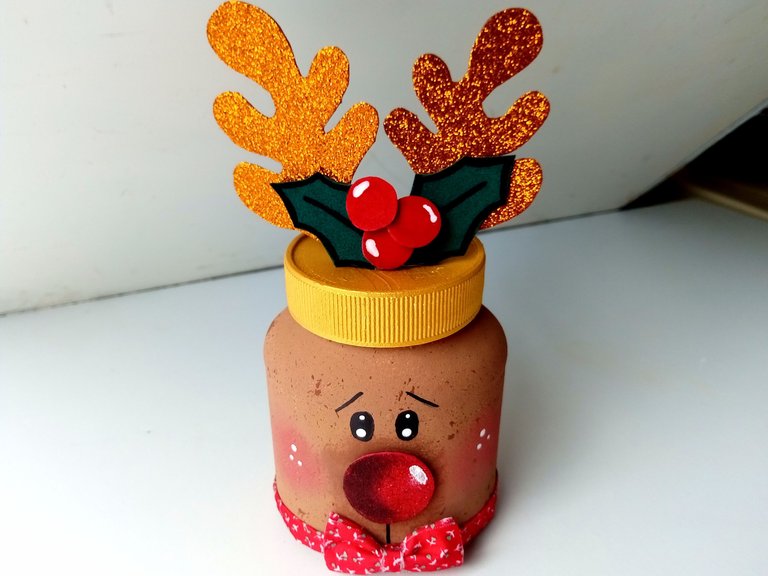
✨¡And ready!✨ This way you can make a beautiful and different candy box for these beautiful dates. It may be something elaborate to do, but it is not very complicated, if you do it with patience and following the step by step, I am sure that you will enjoy the process of making it. I hope you liked it and are encouraged.
❤️Until the next post.
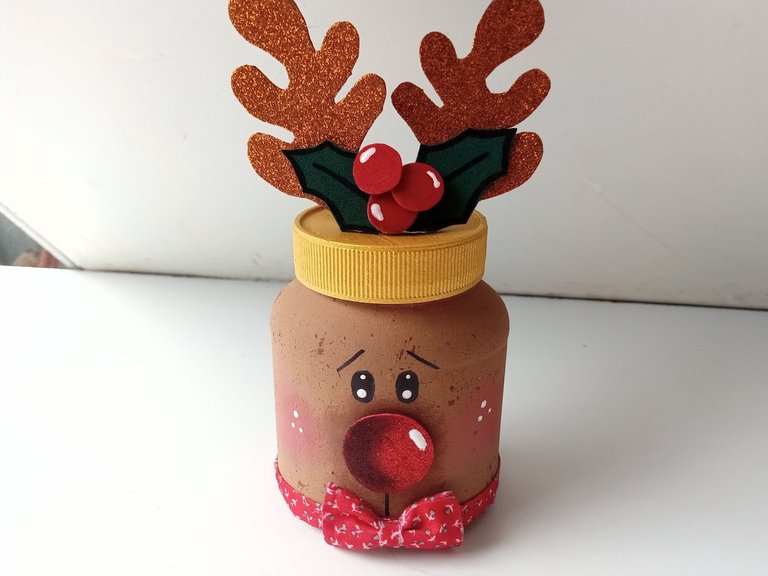
✨RESULTADO: | ✨RESULT:


Todas las fotografías son de mi propiedad.
Separador y Fotos editadas en Canva
All photographs are my property.
Photos edited in Canva