✨🍬🦌¡Hola amigos amantes de la creatividad! Espero que hayan pasado un muy buen comienzo de semana.🦌🍬✨
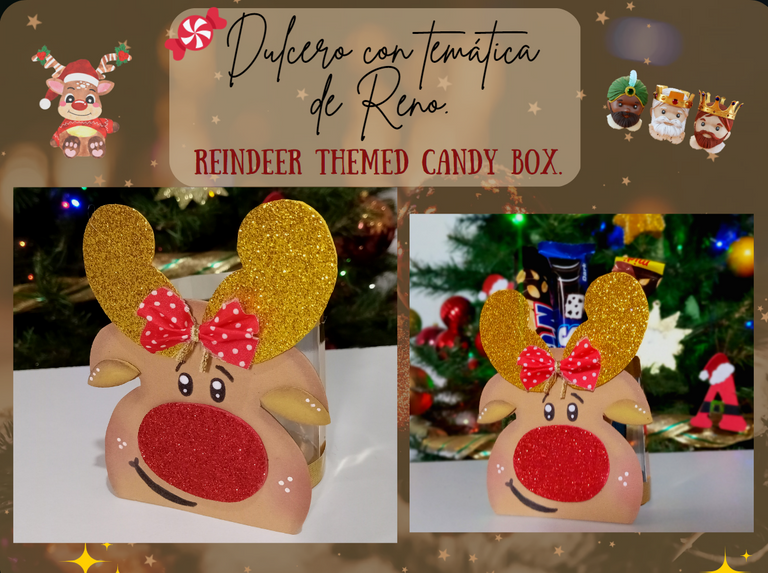
El día de hoy comparto con ustedes un hermoso dulcero con temática de reno elaborado con una botella de plástico. Sí, ya pasó la Navidad y llegó el Año Nuevo, pero todavía queda la semana de reyes magos, así que puedo aprovechar de compartir con ustedes esta bonita idea para hacer un regalo a los más pequeños de la casa. Como he comentado en otros posts, no soy muy buena dibujando ojitos y boquitas, es por eso que en este nuevo año quiero poner más en práctica este tipo de creaciones y así tener un poco más de soltura en la mano. Para ser uno de los primeros estoy muy contenta, los ojitos no me quedaron mal. También estuve trabajando en sombras, detalles como rubor y algunas luces. Sin embargo, si tú no estás en este plan de hacer ojitos y prefieres hacer todo rápidamente, puedes elaborar los ojos con cartulina negra. Al final, es un dulcero súper fácil y con materiales de provecho.
🔸Sin más que añadir, a continuación los dejo con el paso a paso:
✨🍬🦌¡Hello friends who love creativity! I hope you had a very good start to the week.🦌🍬✨
Today I am sharing with you a beautiful reindeer themed candy box made from a small plastic bottle. Yes, Christmas is over and the New Year has arrived, but there is still Three Kings week left, so I take this opportunity to share with you this beautiful idea to make a nice gift for the little ones in the house. As I have commented in other posts, I am not very good at drawing little eyes and little mouths, that is why in this new year I want to put this type of creation more into practice and thus have a little more ease in my hand. To be one of the first I am very happy, the eyes were not bad. I was also working on shadows, details like blush and some highlights. However, if you don't like this plan of making eyes and you prefer to do everything quickly, you can make the eyes with black cardstock. In the end, it's a super easy candy box with useful materials.
🔸Without more to add, then I leave you with the step by step:
♥️ESPERO QUE TE GUSTE,
¡Empecemos!
♥️I HOPE YOU LIKE IT,
Let's start!

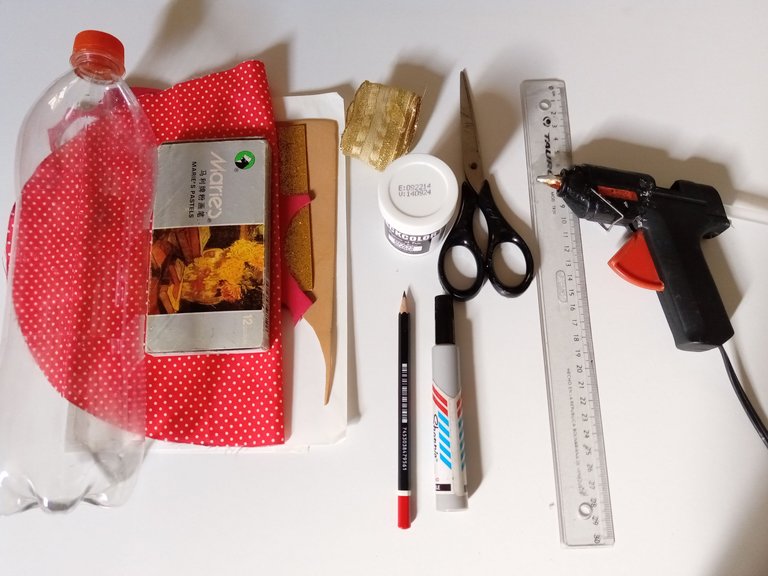
✂️ MATERIALES | ✂️ MATERIALS

- Botella plástica.
- Cartulina metalizada dorada.
- Foami escarchado dorado.
- Foami escarchado rojo.
- Foami marrón claro.
- Pintura al frio blanca.
- Tela del color deseado.
- Marcador negro.
- Silicona caliente.
- Hoja blanca.
- Sombras.
- Lápiz.
- Regla.
✏️Patrón de reno (link al finalizar el post).
- Plastic bottle.
- Gold metallic cardboard.
- Golden frosted foami.
- Red frosty foami.
- Light brown foam.
- White cold paint.
- Fabric of the desired color.
- black markers.
- Hot silicone.
- white sheet.
- Shades.
- Pencil.
- Ruler.
✏️Letter pattern (link at the end of the post).


🦌 PROCEDIMIENTO | 🦌 PROCESS

- PASO 1:
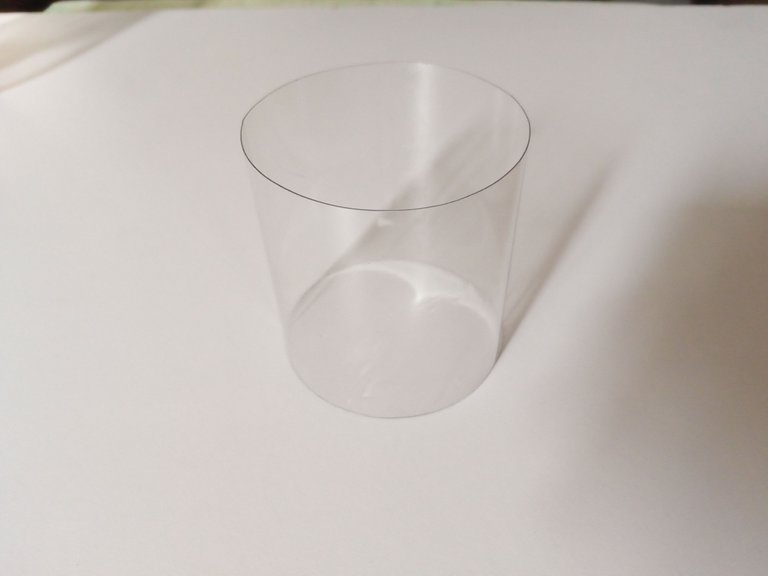
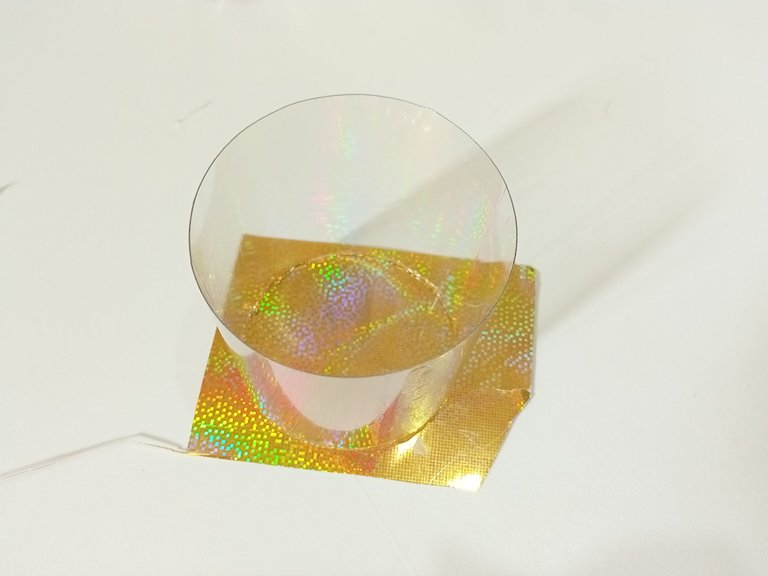
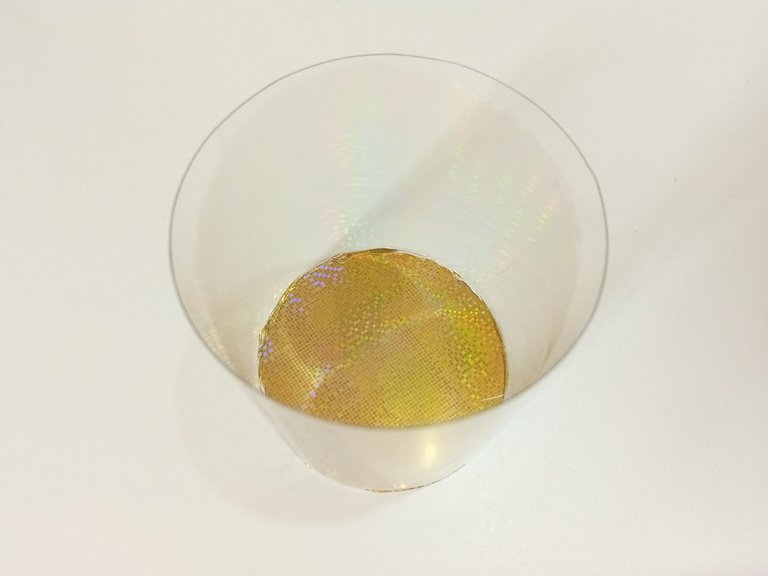
Lo primero que hice fue cortar la parte de la botella que tiene la etiqueta y quité el exceso de pegamento con un algodón con vinagre. Después de eso, pegué el cilindro sobre cartulina metalizada dorada y recorté el exceso para formar la base circular de nuestra caja de dulces.
- STEP 1:
The first thing I did was cut the part of the bottle that has the label and I removed the excess glue with a cotton ball with vinegar. After that, I glued the cylinder onto metallic gold cardboard and trimmed off the excess to form the circular base of our candy box.


- PASO 2:
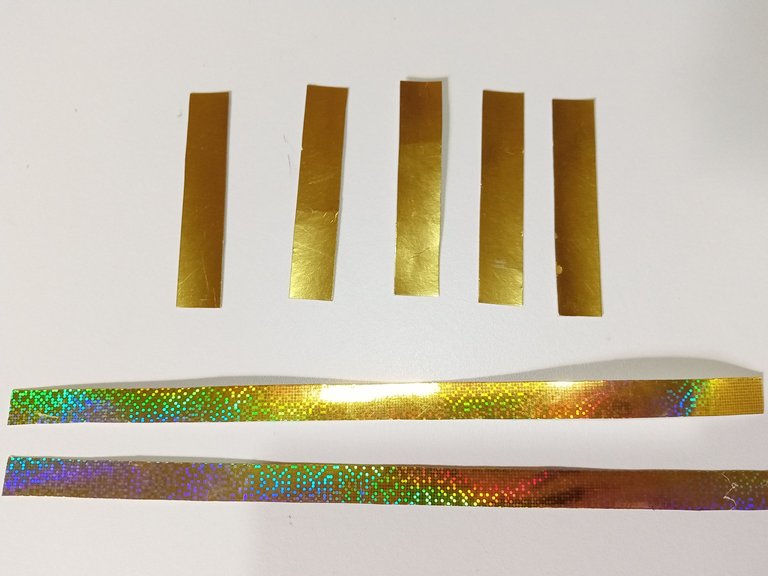
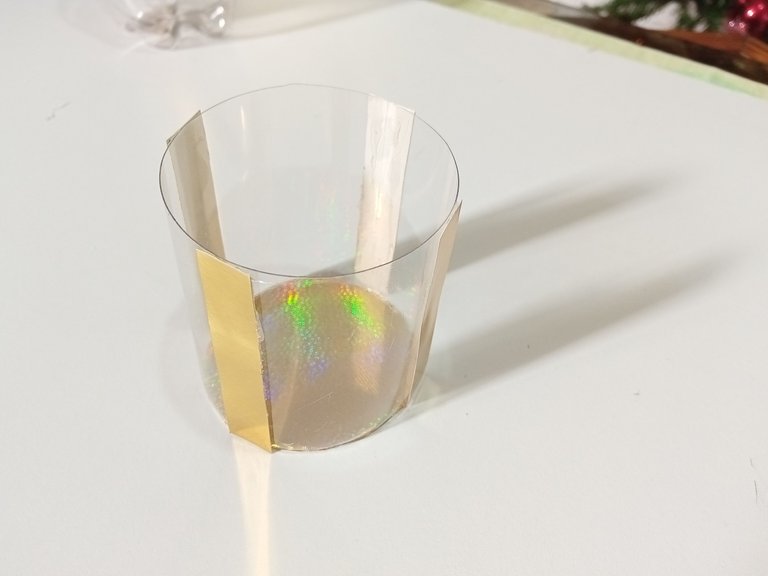
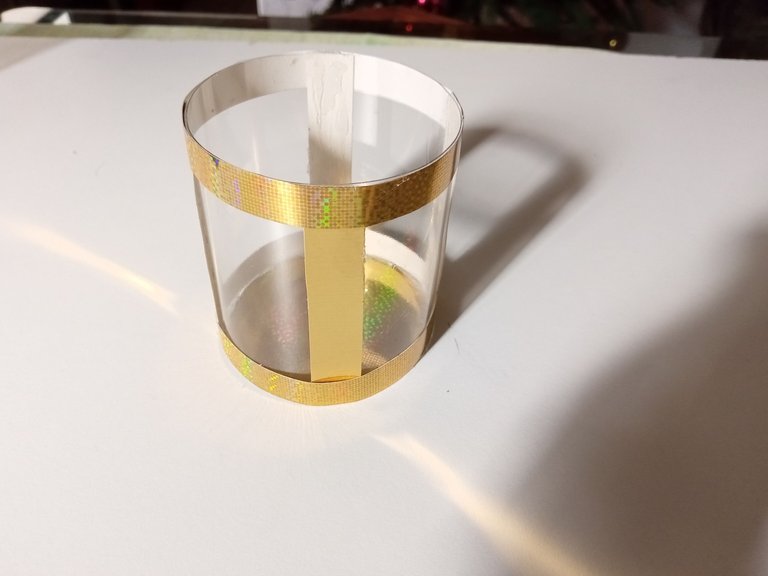
Por otro lado, Corta 4 piezas de 8cm x 1,5 cm cada una en cartulina metalizada dorada y también corta 2 tiras de 1,5 cm de ancho y el largo con las medidas del cilindro. Una vez listo, pegué las 4 piezas alrededor del cilindro en 4 partes, dando forma de caja de regalo y las tiras más largas, las pegué en el borde superior e inferior, sobre las 4 piezas que pegamos anteriormente.
- STEP 2:
On the other hand, Cut 4 pieces of 8cm x 1.5cm each in gold metallic cardboard and also cut 2 strips of 1.5cm width and length with the measurements of the cylinder. Once ready, I glued the 4 pieces around the cylinder in 4 parts, giving the shape of a gift box and the longer strips, I glued them on the upper and lower edge, on the 4 pieces that we glued previously.


- PASO 3:
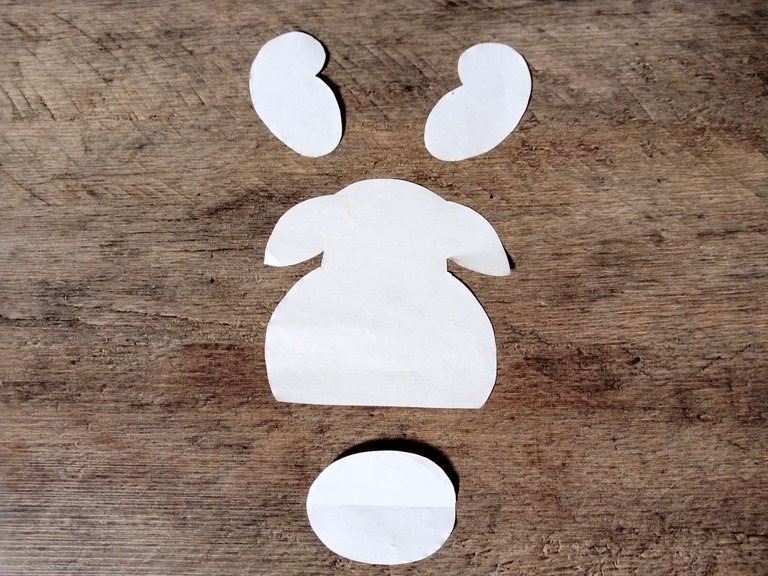
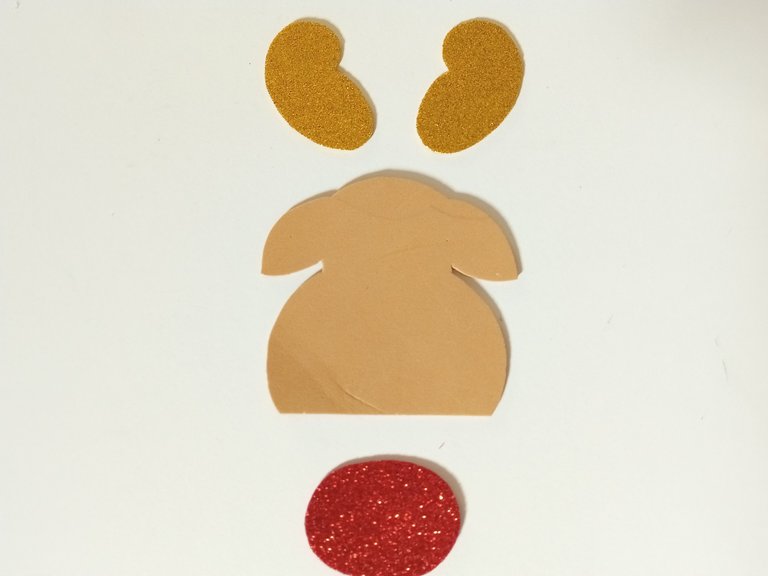
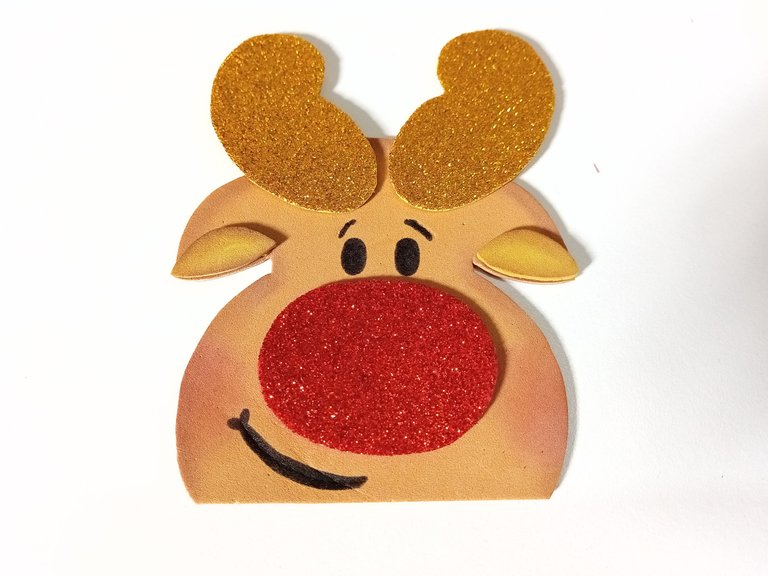
Una vez terminada la base donde van los dulces, podemos empezar a hacer nuestro reno. Empecé dibujando y cortando el patrón en una hoja blanca y luego tracé y corté cada pieza en el color del foami correspondiente, en mi caso; los cuernos de 5,5 cm en foami escarchado dorado, la cara del reno de 8 cm en foami marrón claro y la nariz de 3,7 cm en foam escarchado rojo.
- STEP 3:
Once the base where the sweets go is finished, we can start making our reindeer. I started by drawing and cutting the pattern on a white sheet and then I traced and cut each piece in the color of the corresponding foami, in my case; the 5.5 cm horns in golden frosted foam, the 8 cm face of the reindeer in light brown foam and the 3.7 cm nose in red frosted foam.


- PASO 4:
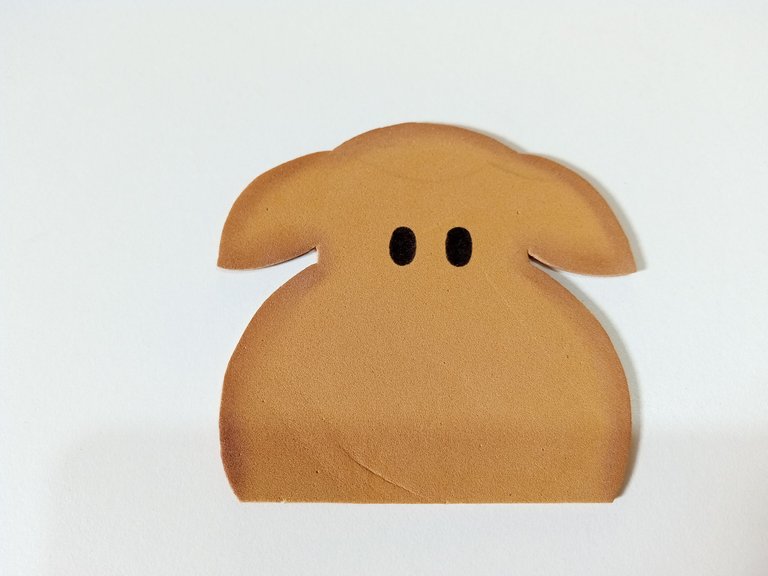
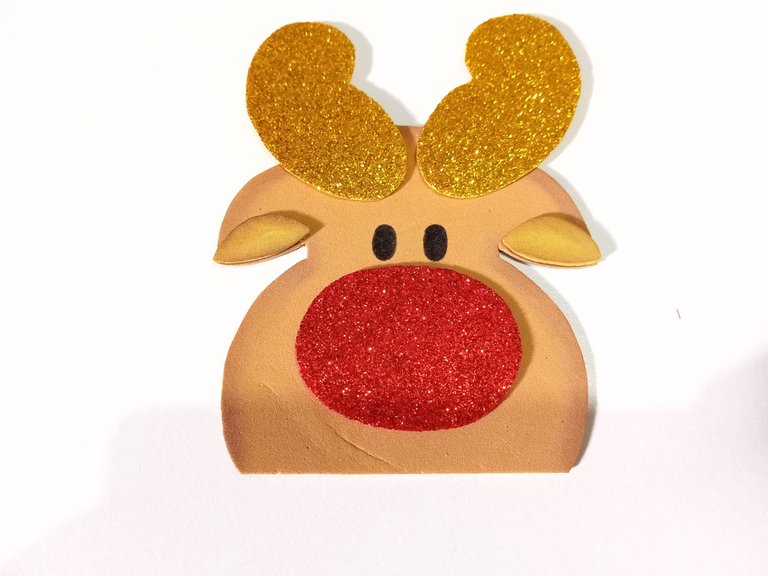
Luego, para darle un poco más de detalle, tomé una sombra de ojos un poco más oscura que el rostro y pasé el dedo por el borde. También dibujé los ojos con un marcador negro y pegué el resto de las piezas. Como extra y opcional decidí darle más protagonismo a las orejas, así que corté la parte inferior de las orejas con otro color de foami y pegué.
- STEP 4:
Then to give it some extra detail, I took an eyeshadow a little darker than the face and ran my finger around the edge. I also drew the eyes with a black marker and glued the rest of the pieces. As an extra and optional I decided to give more prominence to the ears, so I cut the lower part of the ears with another color of foami and I glued.


- PASO 5:
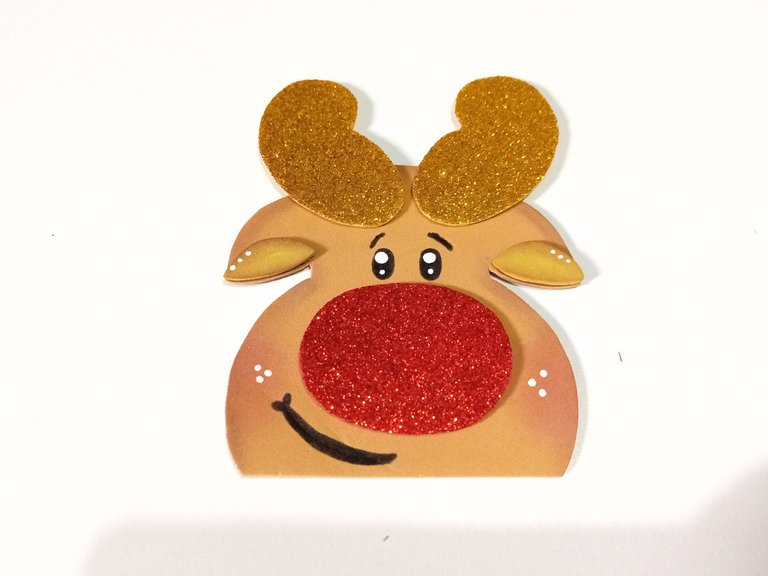
Por otro lado, coloqué sombra roja en las mejillas y dibujé el resto del rostro. Con la punta de un lápiz tomé pintura blanca y coloqué los puntos de luz en los ojos, las mejillas y en las orejas del reno.
- STEP 5:
On the other hand, I placed red shadow on the cheeks and I drew the rest of the face. With the tip of a pencil I took white paint and placed the points of light on the eyes, cheeks and ears of the reindeer.


- PASO 6:
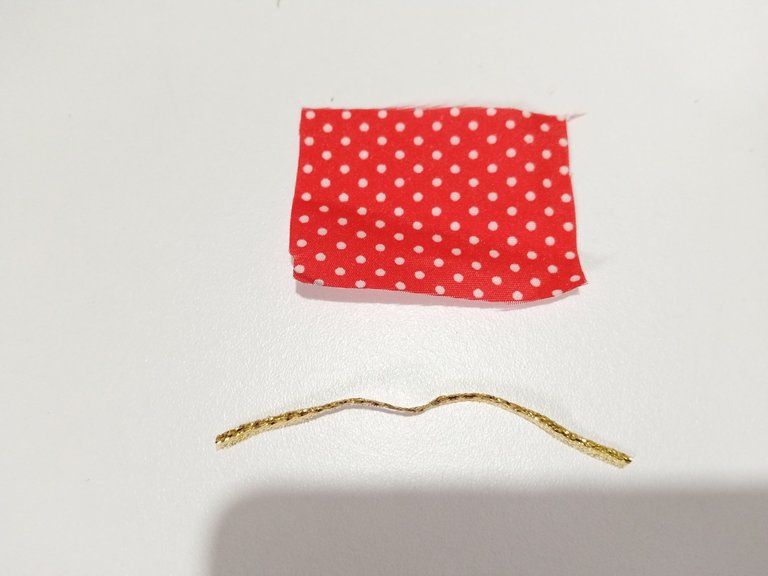
Lo dejé secar, tomé un trozo de tela de unos 4cm x 2,5cm, corté un trozo de hilo, lo até al medio de la tela para formar un lazo y lo pegué en medio de los cuernos. Una vez listo el reno, lo pegué al cilindro, formando así la caja de dulces.
- STEP 6:
I let it dry, took a piece of fabric about 4cm x 2.5cm, cut a piece of thread, tied it to the middle of the fabric to form a bow and glued it in the middle of the horns. Once the reindeer is ready, I glued it to the cylinder, thus forming the candy box.

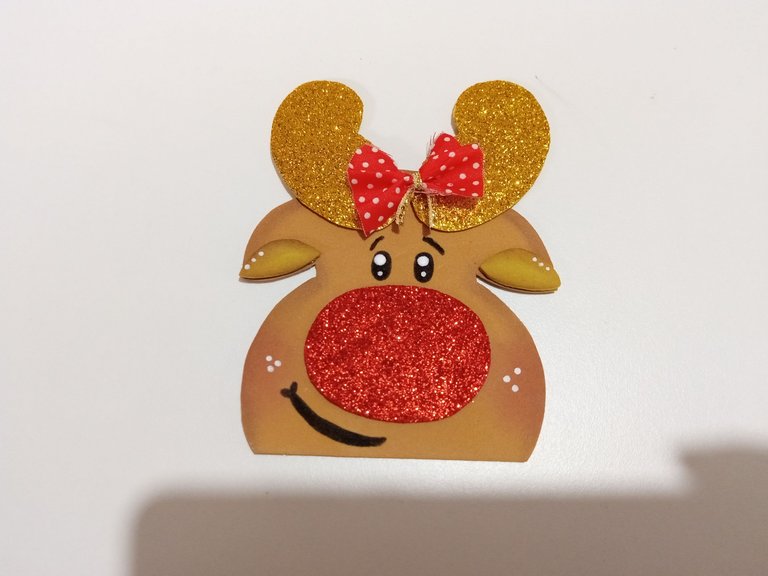
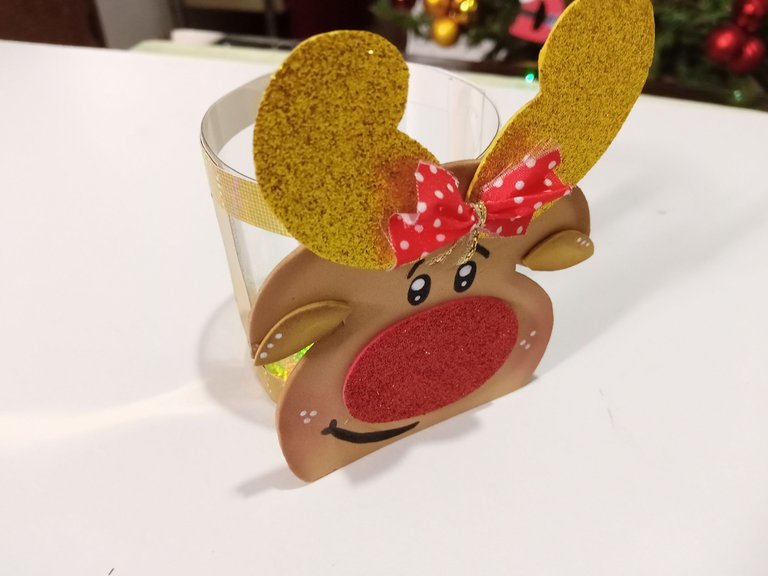

✨🍬🦌¡Y listo!🦌🍬✨ Así es como, de una forma súper sencilla y con muy pocos materiales, podemos hacer un dulcero para regalar a los niños el día de Reyes, o como pequeño detalle para un ser querido, añadiendo unos caramelos o bombones. Espero que te haya gustado y te ayude.
❤️Hasta la próxima publicación.
🌟Feliz año nuevo.
✨🍬🦌¡And ready!🦌🍬✨ This is how, in a super simple way and with very few materials, we can make a candy box to give to children on Kings Day, or as a small detail for a loved one, adding some candies or chocolates. I hope you liked it and it helps you.
❤️Until the next post.
🌟Happy New Year.

✨RESULTADO: | ✨RESULT:

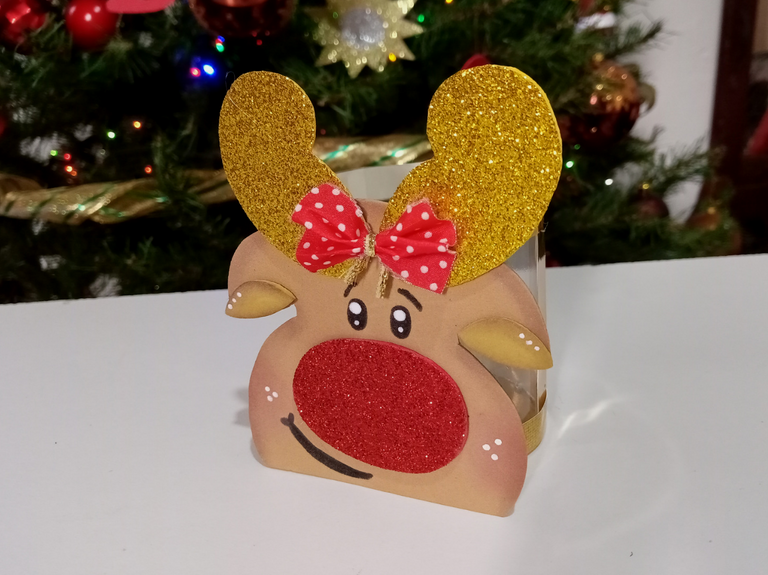
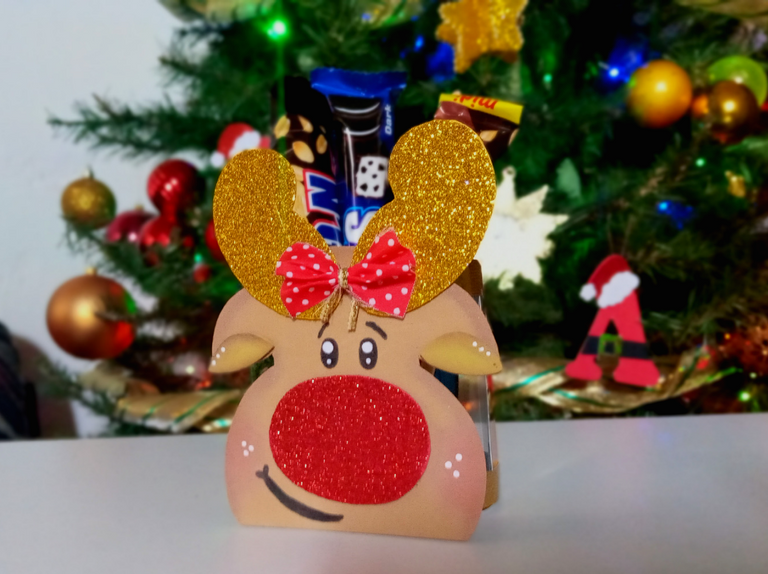


Todas las fotografías son de mi propiedad.
Separador y Fotos editadas en Canva
All photographs are my property.
Photos edited in Canva


