✨🌟¡Hola amigos amantes de la creatividad! Espero que hayan pasado un muy buen comienzo de semana.🌟✨
🔸Sin más que añadir, a continuación los dejo con el paso a paso:
✨🌟¡Hello friends who love creativity! I hope you had a very good start to the week.✨🌟
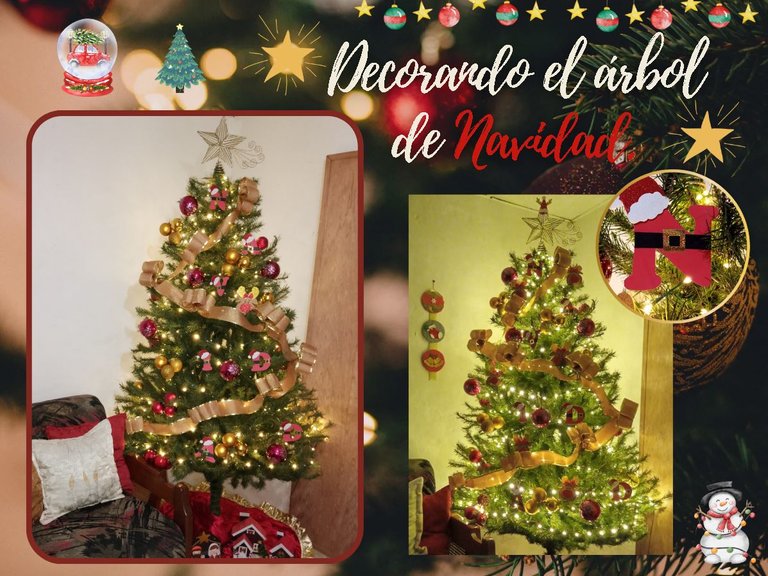
I hope you are doing well and had a nice Monday. On this occasion I share with you the step by step of decorating my Christmas tree. I'm happy, it's been a week since I put together my little tree and I'm still in love with the final result. I think this is the first time that I was completely satisfied with the result of the tree; The combination of colors and the way we arrange each decoration is what we were looking for.
Obviously, my mom and I were in charge (like every year) of decorating the tree, but this time, we decided to decorate it as is, how we wanted or, we tried to recreate the idea we had in mind, achieving the result we wanted or even better, since I was able to buy some things at an excellent price and ensure that everything came together in harmony; The colors are what I wanted to use and there is not too much decoration, just what is necessary.
🔸Without more to add, then I leave you with the step by step:
♥️ESPERO QUE TE GUSTE,
¡Empecemos!
♥️I HOPE YOU LIKE IT,
Let's start!

🎄 PROCEDIMIENTO | 🎄 PROCESS

- PASO 1:
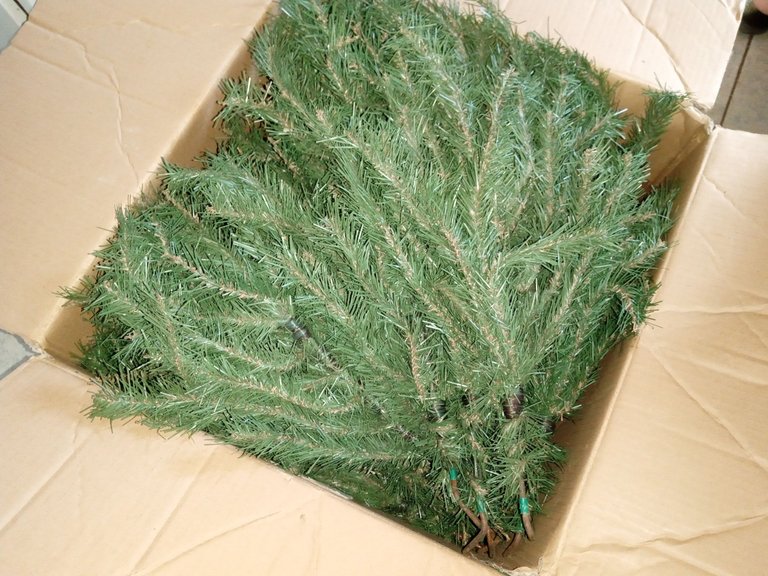
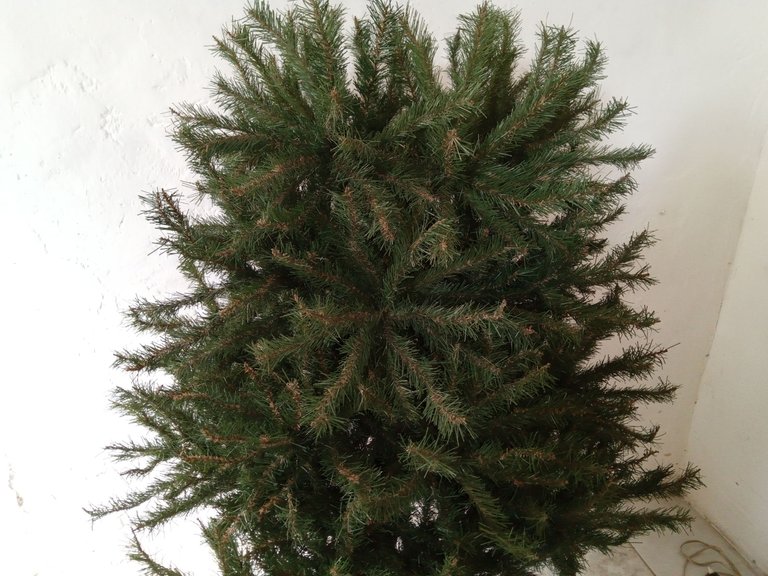
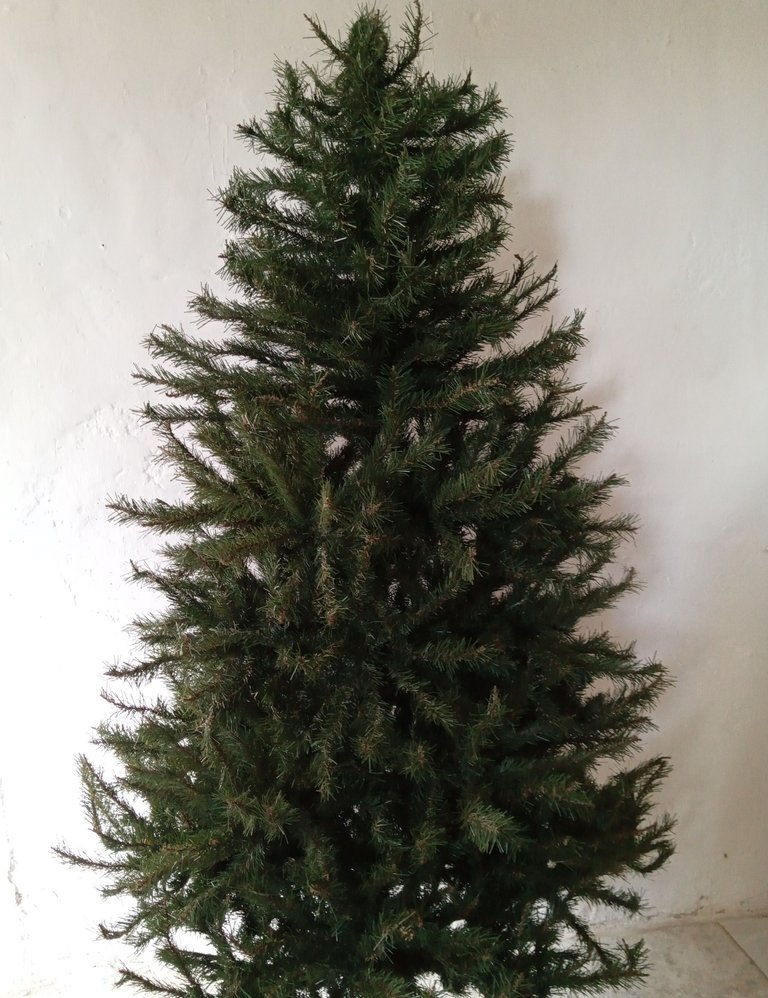
Comenzamos armando el árbol rama por rama, anteriormente contábamos con un árbol que ya venía prácticamente armado, solo debíamos unirlo en dos partes y abrir las hojas, pero este tiene una apariencia muy bonita y hay que armar por capas, desde las hojas más grandes a las más pequeñas. Lo que hacemos es dividir las ramas en grupos de los diferentes tamaños, una se encarga de abrir un poco las ramas y la otra de colocarlo a la parte central del árbol, esta es la parte más importante, pero también es la más dolorosa, ya que, al estar acomodando las hojas terminan doliendo muchísimo las manos, pero también es la parte en la que le puedes dar forma a las hojas para que el árbol quede más poblado y con bonita apariencia.
- STEP 1:
We began by assembling the tree branch by branch, previously we had a tree that was already practically assembled, we only had to join it in two parts and open the leaves, but this one has a very beautiful appearance and must be assembled in layers, from the largest leaves to the smallest ones. What we do is divide the branches into groups of different sizes, one is in charge of opening the branches a little and the other is responsible for placing them in the central part of the tree, this is the most important part, but it is also the most painful, since When arranging the leaves, your hands end up hurting a lot, but it is also the part where you can shape the leaves so that the tree is more populated and has a beautiful appearance.


- PASO 2:
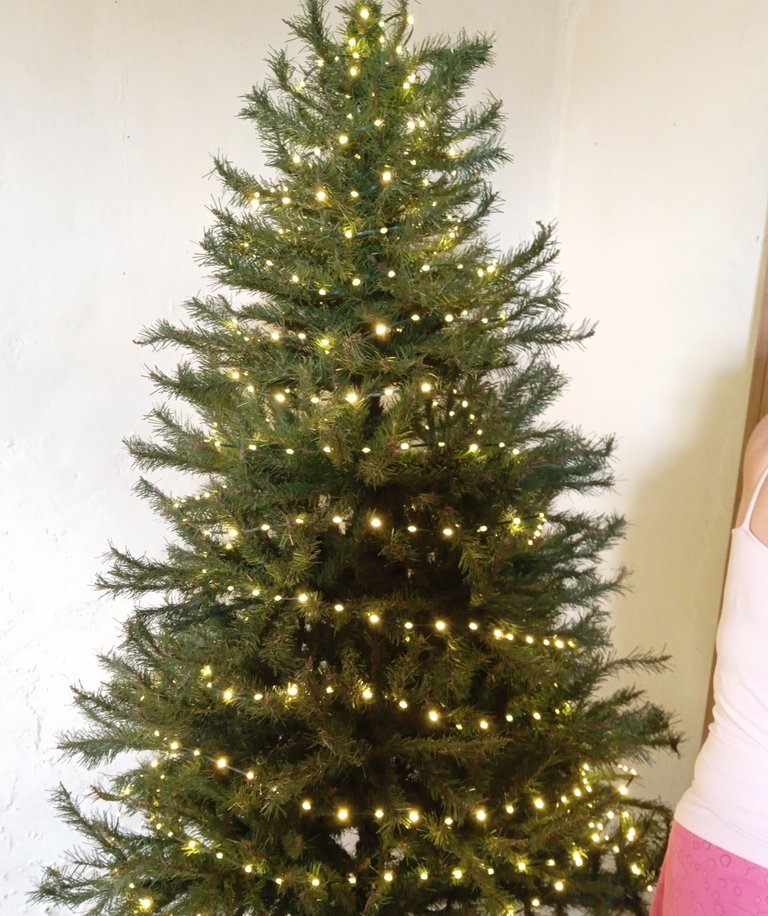
Luego continuamos con las luces, estaba realmente emocionada porque compramos luces amarillas este año y me encanto el resultado. En mi caso, prefiero comenzar de arriba para abajo, pero esta vez fue un poco complicado porque contaba con una sola extensión de 500 luces y se me hizo un poco enredoso, pero al final se logró y quedo hermoso con sus nuevas luces amarillas.
- STEP 2:
Then we continued with the lights, I was really excited because we bought yellow lights this year and I loved the result. In my case, I prefer to start from the top down, but this time it was a little complicated because I had a single extension of 500 lights and it seemed a bit confusing, but in the end it was done and it looked beautiful with its new yellow lights.


- PASO 3:
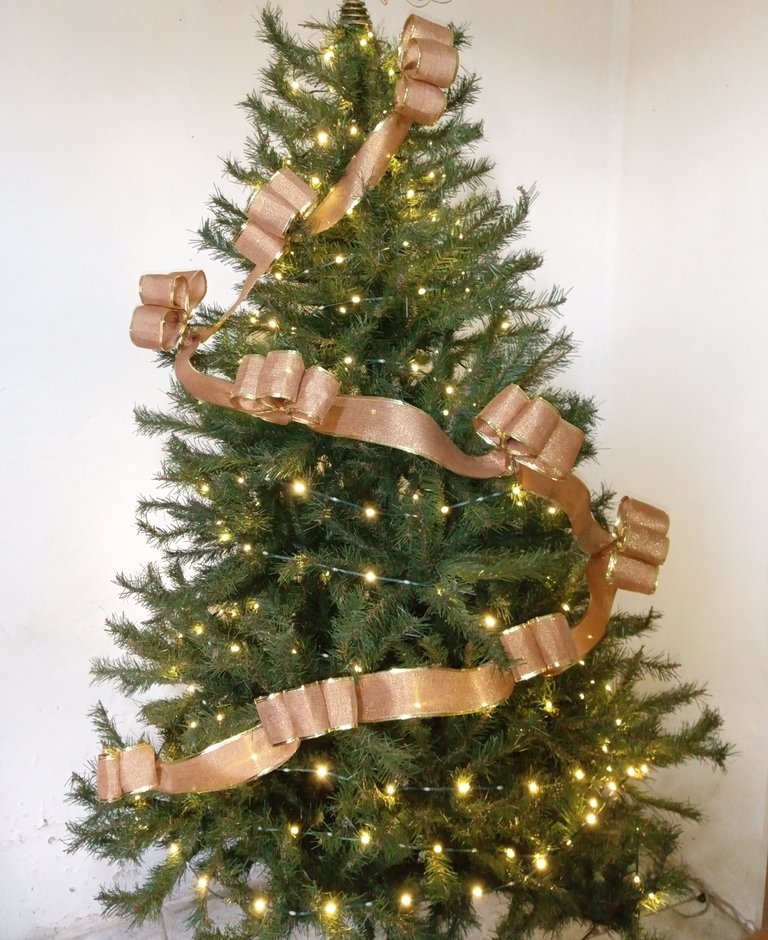
Luego venía la parte más complicada para nosotras que es colocar la cinta, pues luego de buscar referencias de cómo poner la cinta, dimos con una idea muy linda, la cual no contaba con tutorial, pero al final, inventando un poco, nos salió como queríamos y colocamos la cinta, amarrando cada lazo con alambre flexible a las ramas y dándole la forma del árbol.
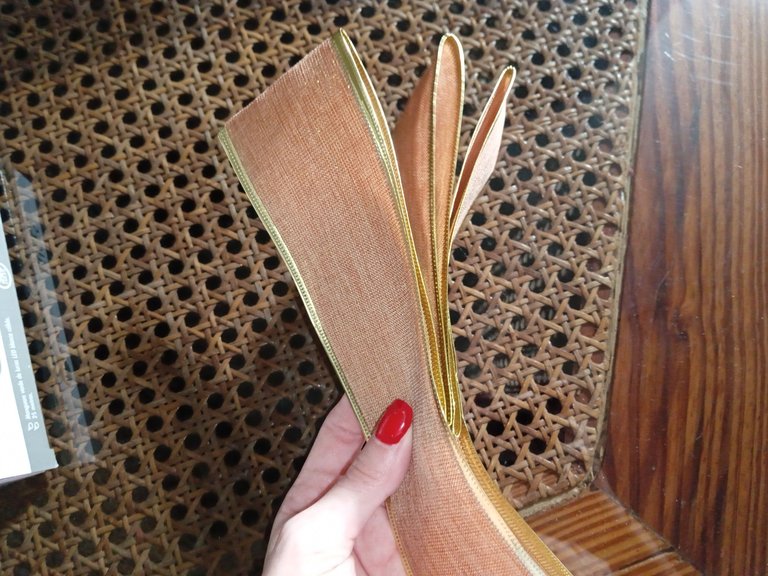
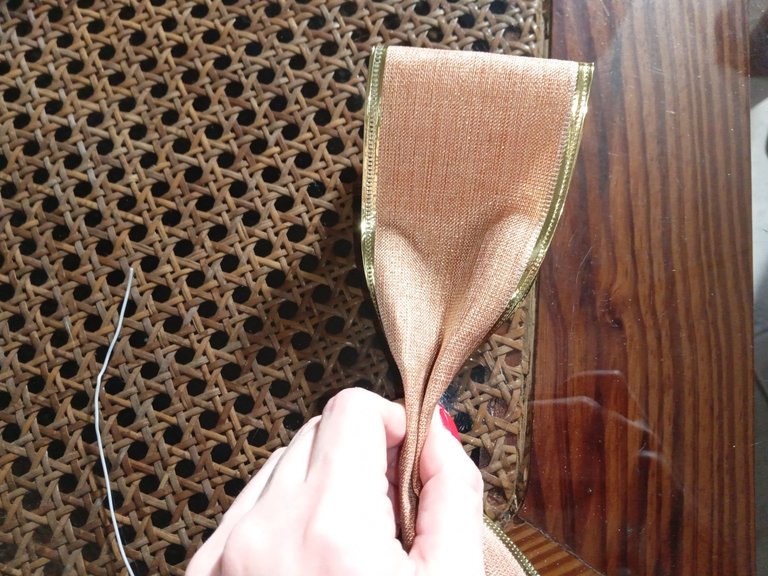
Para quienes quieran saber cómo hicimos estos lazos tan bonitos a la cinta, les explico: comenzamos doblando desde la punta de la cinta en 3 partes; que cada una sea de unos 15 cm, al tenerlas listas amarramos en la parte inferior con hilo o alambre flexible, dejando que sobre para luego agarrar del árbol. Por último, acomodamos las 3 partes para que quedara bien definido nuestro lazo y Así hasta terminar con el resto de la cinta y dejando un espacio entre cada lazo.
- STEP 3:
Then came the most complicated part for us, which is placing the tape, because after looking for references on how to put the tape, we came up with a very nice idea, which did not have a tutorial, but in the end, inventing a little, it came out like We wanted and placed the ribbon, tying each bow with flexible wire to the branches and giving it the shape of the tree.
For those who want to know how we made these beautiful bows to the ribbon, I explain: we start by folding from the tip of the ribbon in 3 parts; Make sure each one is about 15 cm long. When we have them ready, we tie them at the bottom with thread or flexible wire, leaving enough to then grab the tree. Finally, we arranged the 3 parts so that our bow was well defined and so on until we finished with the rest of the ribbon and leaving a space between each bow.


- PASO 4:
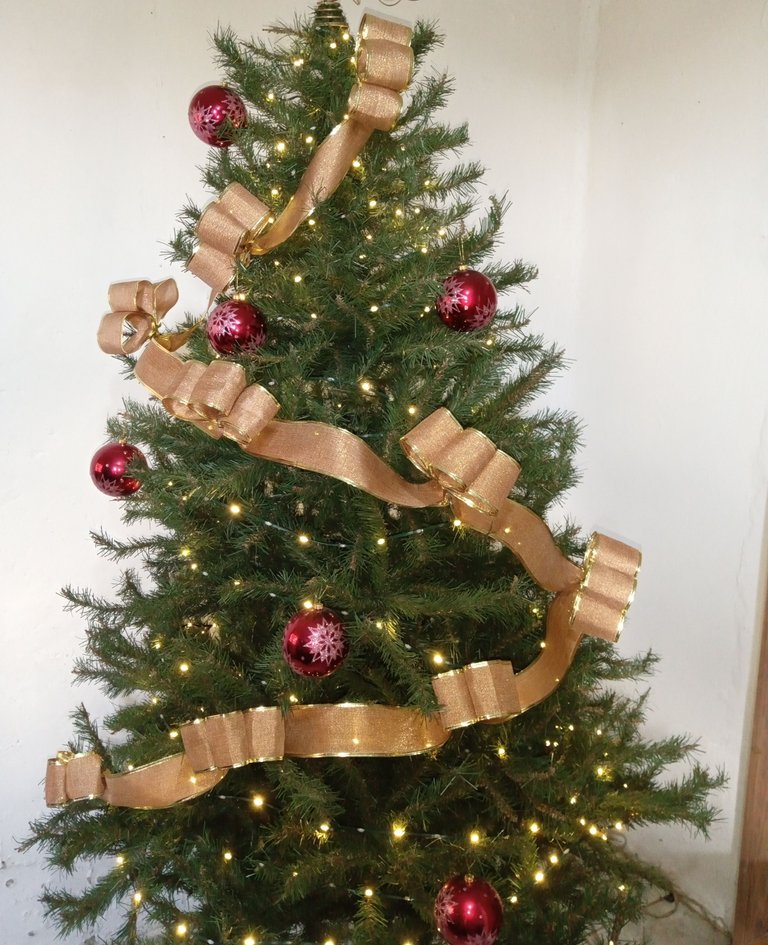
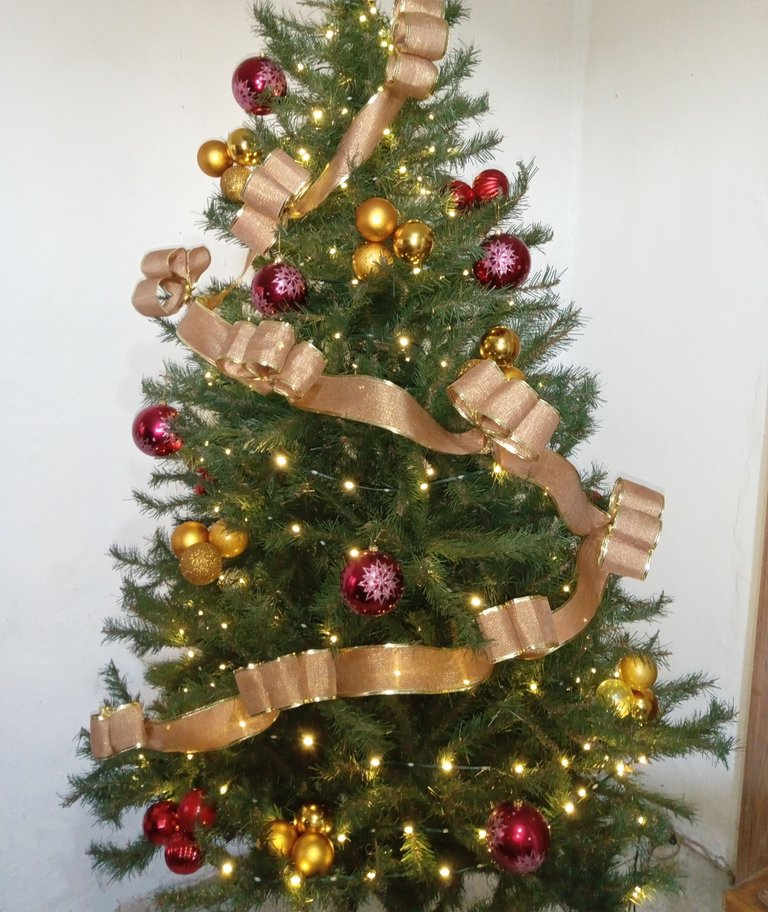
Ahora vamos con mi parte favorita, para este año decidimos colocar esferas de colores dorados y rojos, todas nuestras esferas son de diferentes tamaños y texturas, así que comenzamos a jugar con lo que teníamos, colocamos unas esferas grandes primero y luego, para las de tamaño tradicional decidimos mantenerlas en grupos de 3 esferas como el año pasado, igualmente, jugando con las texturas y colgamos en el orden deseado, pero manteniendo un poco las distancias y un orden.
- STEP 4:
Now let's go with my favorite part, for this year we decided to place gold and red colored spheres, all our spheres are of different sizes and textures, so we started playing with what we had, we placed some large spheres first and then, for the traditional size we decided to keep them in groups of 3 spheres like last year, also, playing with the textures and hanging them in the desired order, but maintaining a little distance and order.


- PASO 5:
Después colocamos algunas decoraciones elaboradas por mí y me di cuenta de que no tenía tantas como pensaba, así que, al día siguiente, elaboré unos bonitos renos de foami y los incorporé con el resto de la decoración. También, coloqué el pie de árbol junto con más decoración que pueden encontrar en mi blog. Por último, coloqué la estrella en la punta del árbol y acomodé el árbol en su lugar.
- STEP 5:
Afterwards we put up some decorations that I had made and I realized that I didn't have as many as I thought, so, the next day, I made some pretty foam reindeer and incorporated them with the rest of the decoration. Also, I placed the tree stand along with more decorations that you can find on my blog. Lastly, I placed the star on the top of the tree and set the tree in place.

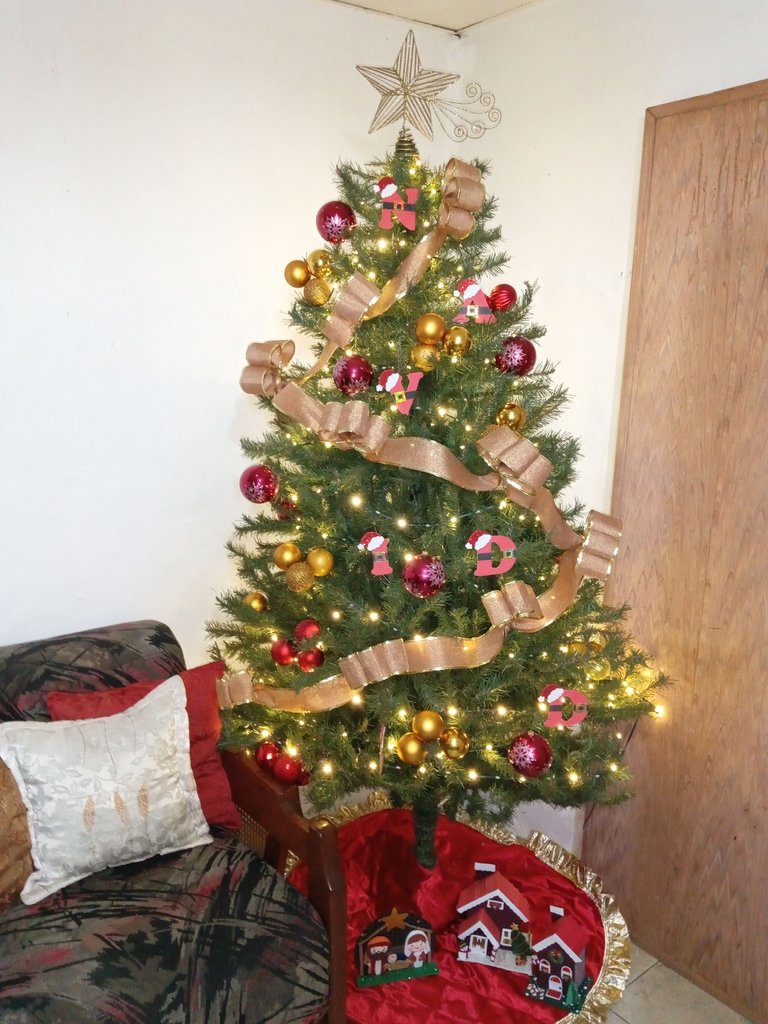
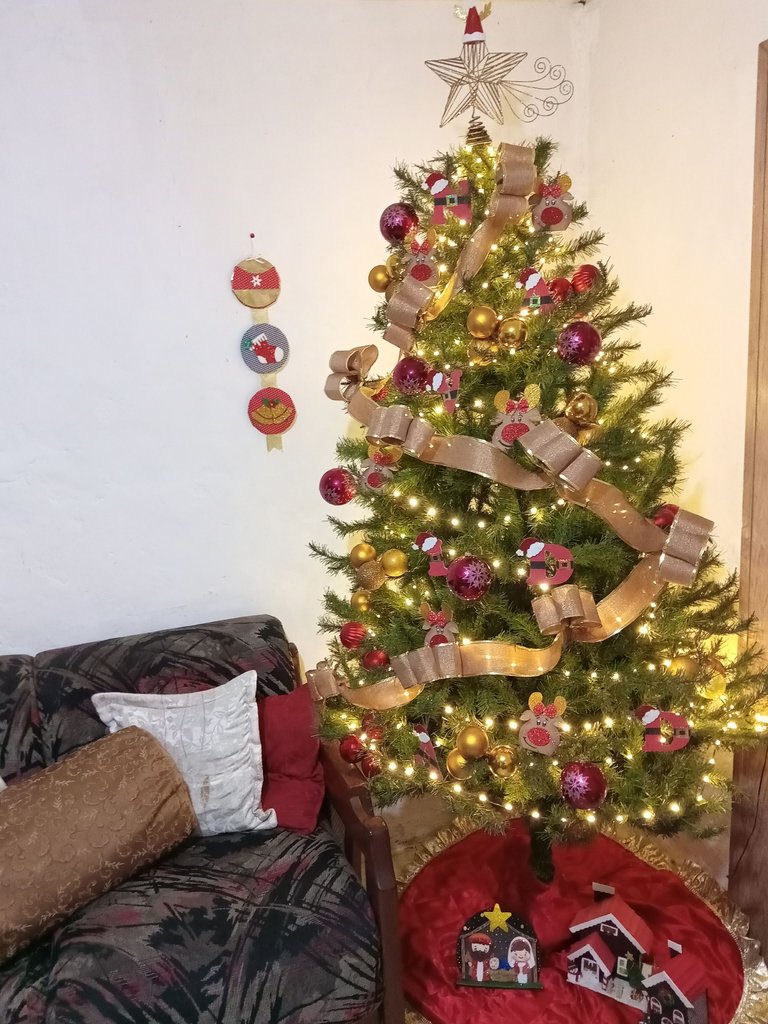

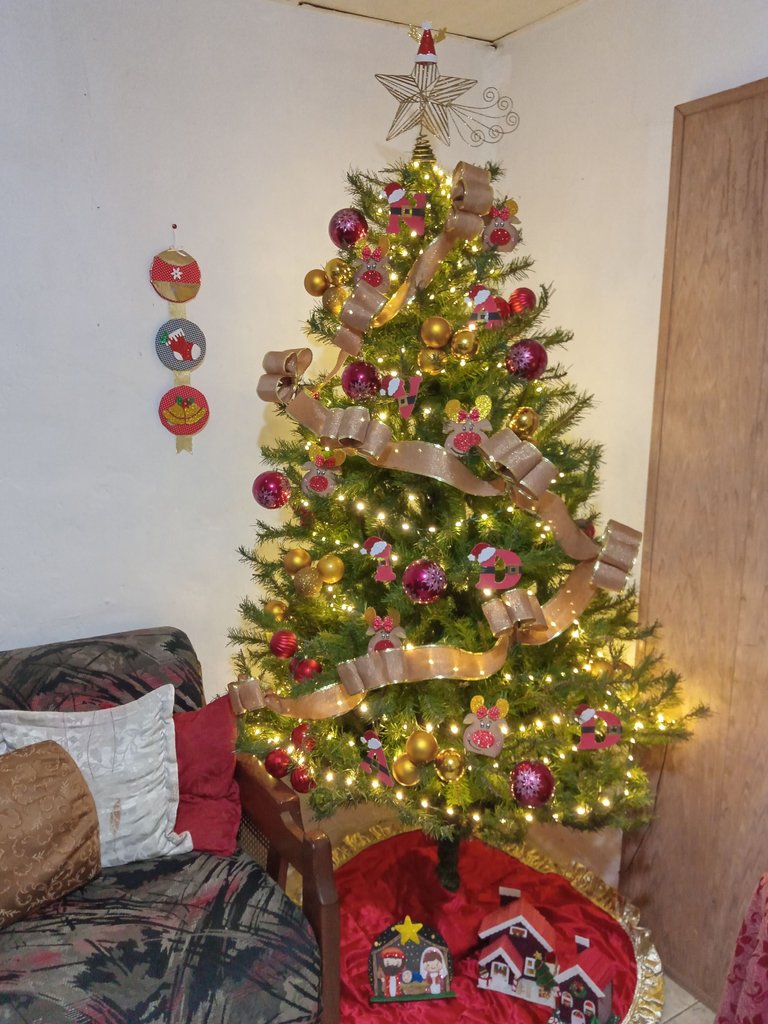
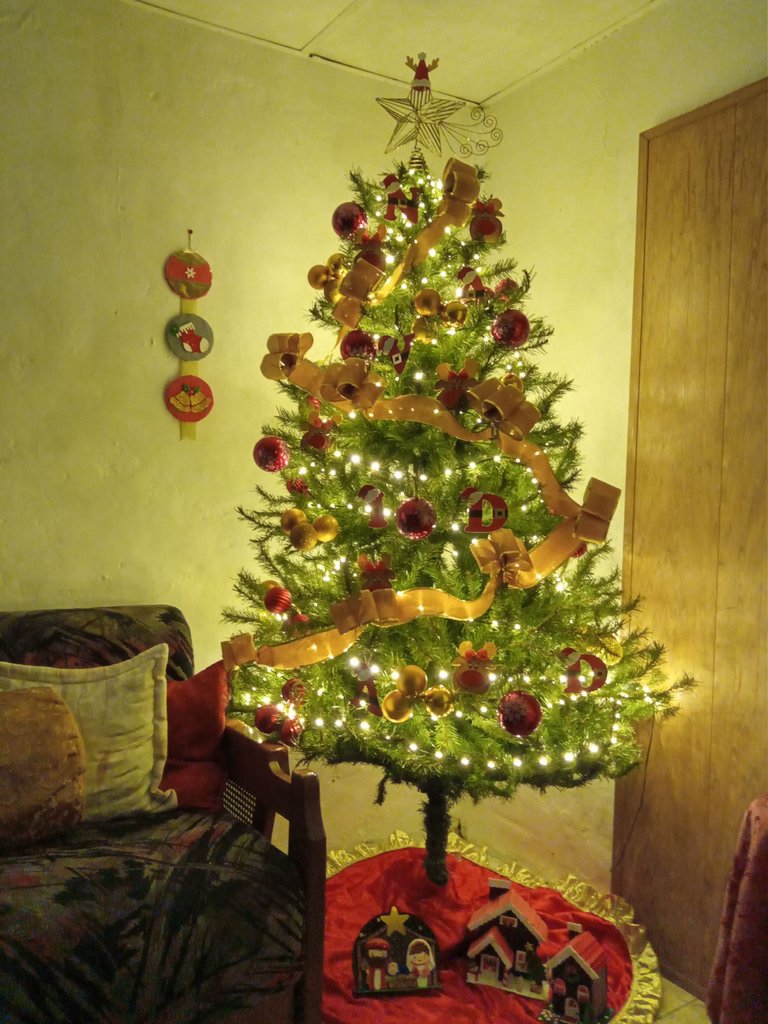
✨¡And ready!✨This is how I decorated my tree and I wanted to share it with you, in case you want to get an idea or if you like some decoration and want to search for it among my posts. This year I wanted to make everything a little more organized and, according to me, simpler, to our liking. But what do you think, do you like it? I hope you liked this post and that you have a nice holiday season.
❤️Until the next post.

✨RESULTADO: | ✨RESULT:



Todas las fotografías son de mi propiedad.
Separador y Fotos editadas en Canva
All photographs are my property.
Photos edited in Canva
