✨¡Hola amigos amantes de la creatividad! Espero que estén todos bien.✨
🔸Sin más que añadir, a continuación los dejo con el paso a paso:
✨¡Hello friends who love creativity! I hope you are all well.✨
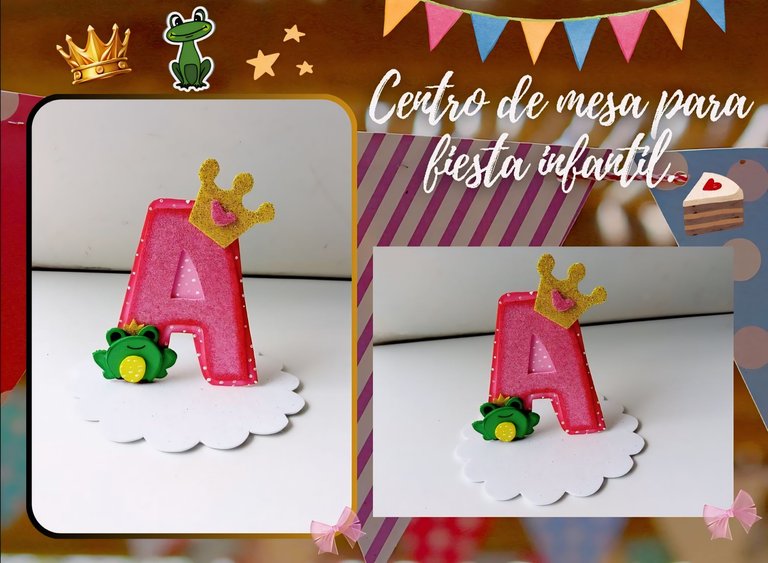
¡Good afternoon, friends of holozing! I hope you are having a great week. For my part, I am happy to stop by here to share a new creation with you. On this occasion I am sharing with you the step by step to make a nice centerpiece for a children's party. You already know that lately I have taken a liking to making centerpieces, because they relax me a lot and I enjoy it, and I trust the process haha. Sometimes when I am gluing the pieces together I am not convinced at all, but when I see the final result it is something very different and tender to decorate the little ones' parties.
Obviously, this is an idea to inspire you or to do it with larger measurements, because perhaps my measurements are smaller than what some of you may like, so the measurements are always up to your preference.
🔸Without more to add, then I leave you with the step by step:
♥️ESPERO QUE TE GUSTE,
¡Empecemos!
♥️I HOPE YOU LIKE IT,
Let's start!

✂️ MATERIALES | ✂️ MATERIALS
- Foami escarchado rosa.
- Foami escarchado blanco.
- Foami escarchado dorado.
- Foami rosa.
- Foami verde.
- Foami amarillo.
- Cartón delgado.
- Pinturas y marcadores.
- Pegamento.
- Hoja blanca.
- Lápiz.
- Pink frosted foam.
- White frosted foam.
- Gold frosted foam.
- Pink foam.
- Green foam.
- Yellow foam.
- Thin cardboard.
- Paints and markers.
- Glue.
- White sheet.
- Pencil.
🌟 PROCEDIMIENTO | 🌟 PROCESS
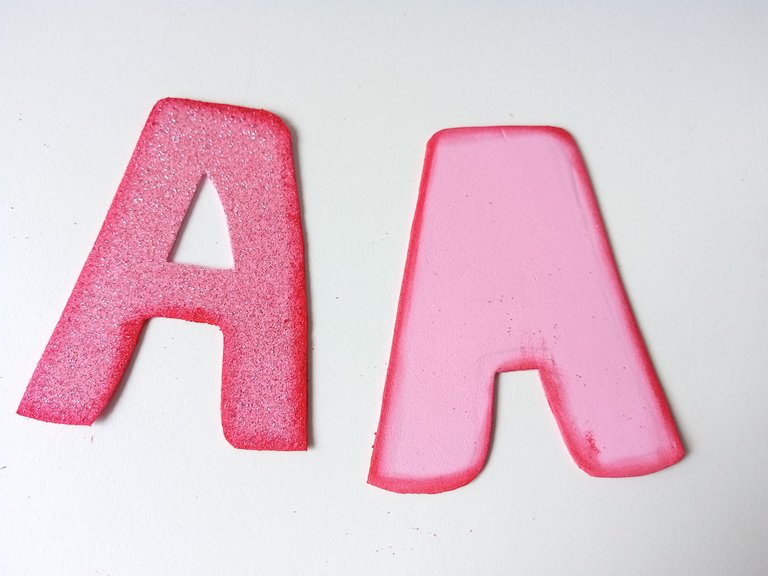
- PASO 1:
Como siempre, lo primero que hice fueron los patrones de todas las piezas que iba a utilizar y luego las transferí a los colores correspondientes de foami, como explico a continuación: inicial en foami escarchado rosa y la misma inicial, pero un poco más grande en foami liso rosa; la base circular con bordes ovalados en foami escarchado blanco; coronas en foami escarchado dorado; corazón en foami escarchado rosa; sapo en foami verde y panza en foami amarillo.
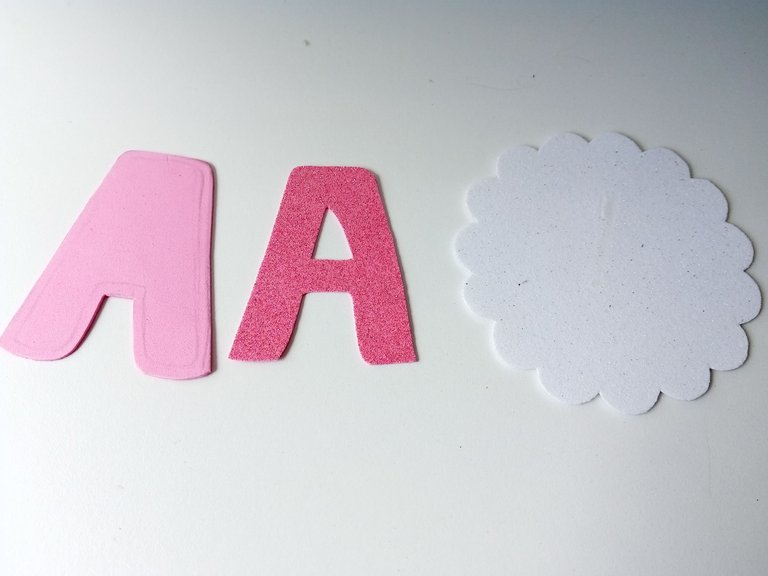
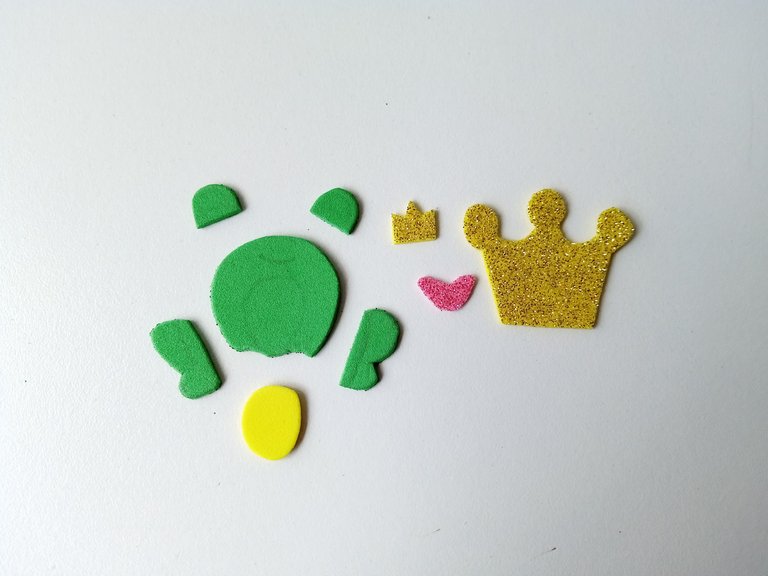
- STEP 1:
As always, the first thing I did was the patterns of all the pieces I was going to use and then I transferred them to the corresponding colors of foam, as I explain below: initial in pink frosted foam and the same initial, but a little bigger in pink smooth foam; the circular base with oval edges in white frosted foam; crowns in gold frosted foam; heart in pink frosted foam; toad in green foam and belly in yellow foam.
- PASO 2:
Luego, viene mi parte favorita que es dar color a los bordes. Así que con ayuda de pinturas que hicieran contraste con cada una de las piezas de foami liso y únicamente la inicial en foami rosa escarchado di color a los bordes y con ayuda de un pañito, fui difuminando los bordes de cada una de las piezas.
- STEP 2:
Then, comes my favorite part, which is to color the edges. So with the help of paints that contrasted with each of the pieces of smooth foam and only the initial in pink frosted foam, I colored the edges and with the help of a cloth, I blurred the edges of each of the pieces.
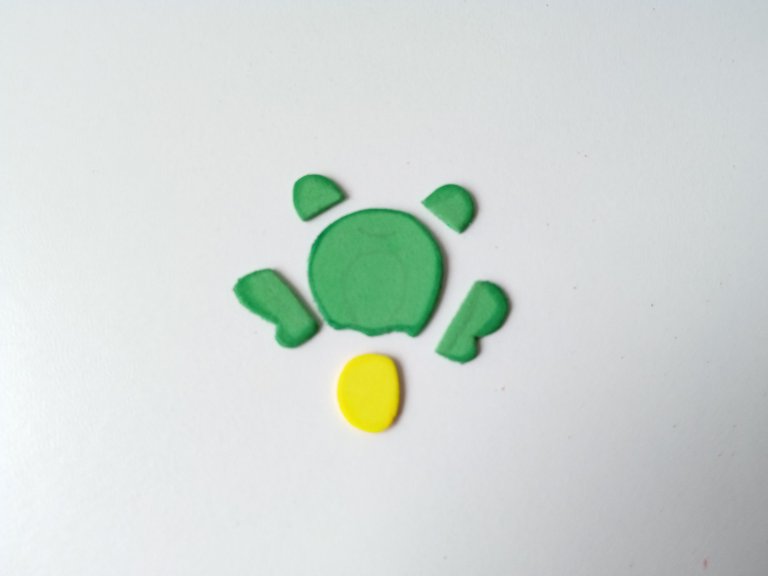
- PASO 3:
Al estar secos los bordes, pegué las iniciales y pinté puntos blancos en la inicial de foami rosa liso. Por otra parte, di más detalles al sapo con marcador negro; pintando ojos, boca y más partes del cuerpo, al igual que a la panza le pinté puntos con pintura blanca como la inicial. Pegué las piezas del sapo y pegué las piezas de la corona con el corazón en medio.
- STEP 3:
Once the edges were dry, I glued the initials and painted white dots on the initial in pink smooth foam. On the other hand, I gave more details to the toad with a black marker; I painted eyes, mouth and other parts of the body, and I painted dots on the belly with white paint like the initial. I glued the toad pieces together and glued the crown pieces with the heart in the middle.
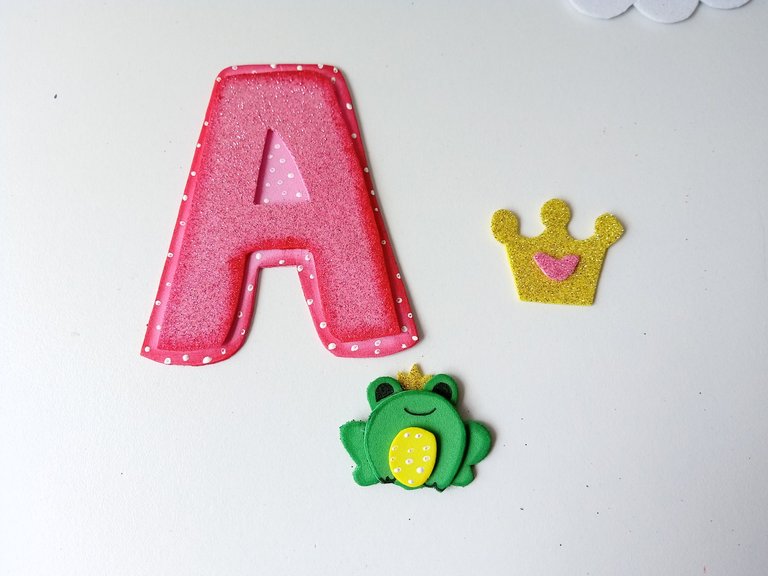
- PASO 4:
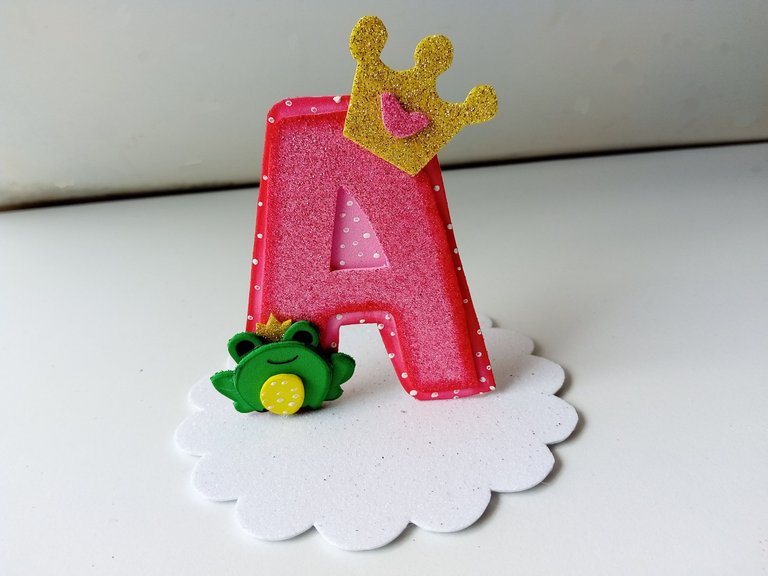
Al estar todas las piezas secas, pegué todas las piezas de la decoración; el sapo en la parte inferior derecha de la inicial y la corona en la esquina superior derecha. A la base, le recorté un círculo en cartón delgado 1 cm más pequeño que el círculo con bordes ovalados y pegué ambas piezas. Finalmente, pegué la inicial en medio de la base.
- STEP 4:
Once all the pieces were dry, I glued all the decoration pieces together; the toad on the lower right side of the initial and the crown on the upper right corner. On the base, I cut out a circle in thin cardboard 1 cm smaller than the circle with oval edges and glued both pieces together. Finally, I glued the initial in the middle of the base.
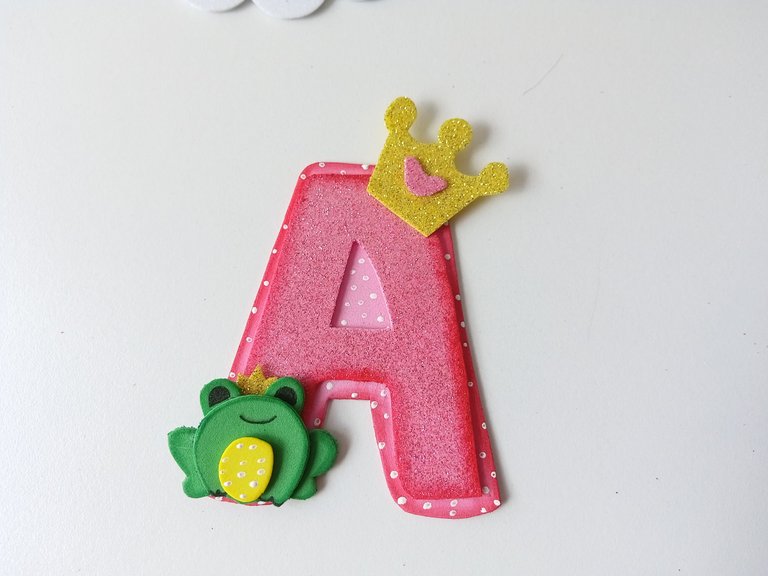
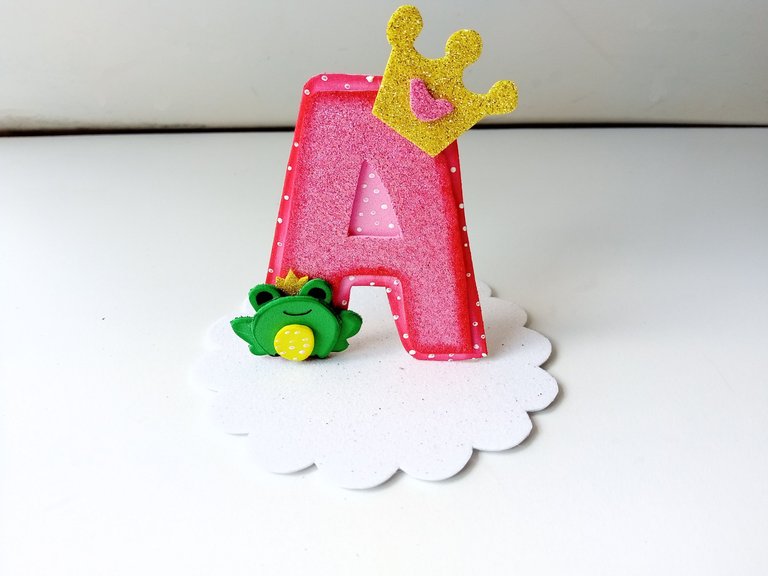
✨¡And ready!✨ In this simple way, you can make a nice and easy centerpiece, in the size you prefer for birthdays, children's parties or any celebration you want. I hope you liked the tutorial and are encouraged to make this pretty decoration.
❤️Until the next post.
✨RESULTADO: | ✨RESULT:


Todas las fotografías son de mi propiedad.
Separador y Fotos editadas en Canva
All photographs are my property.
Photos edited in Canva