✨¡Hola amigos amantes de la creatividad! Espero que estén todos bien✨
🔸Sin más que añadir, a continuación los dejo con el paso a paso:
✨¡Hello friends who love creativity! ✨
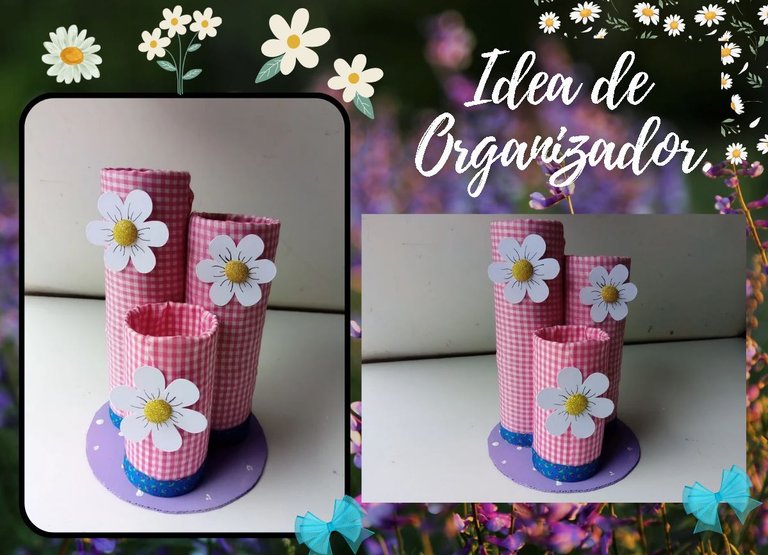
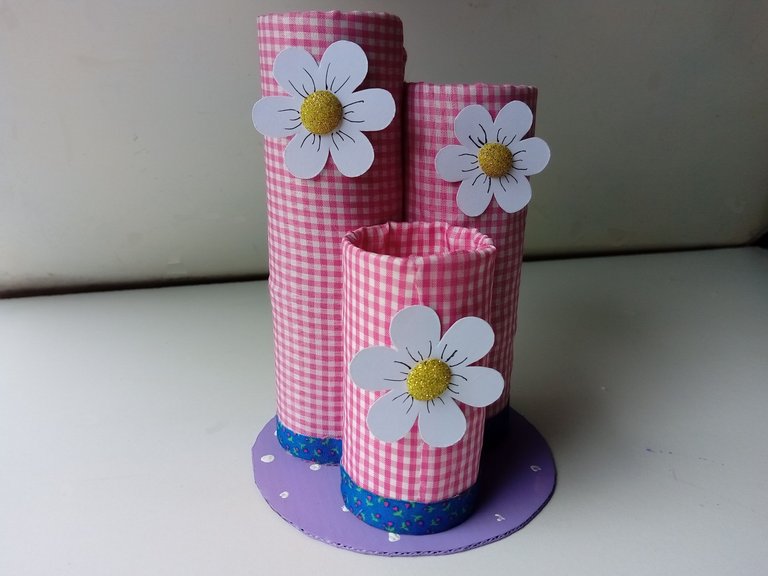
Good afternoon, friends. I hope you are having a good week. For my part, I am in a little better spirits. On this occasion I am sharing with you the step by step to make a nice idea for an organizer. It has been a long time since I shared an idea for an organizer, although I did it for my dressing table. You can use it for whatever you like, whether as a desk organizer, a dressing table organizer, or a pencil holder. I wanted to decorate with pink colors and add my favorite flowers, which as you can see are daisies, and although I tried to make it quite simple, it is quite eye-catching, but with a delicate result.
🔸Without more to add, then I leave you with the step by step:
♥️ESPERO QUE TE GUSTE,
¡Empecemos!
♥️I HOPE YOU LIKE IT,
Let's start!

✂️ MATERIALES | ✂️ MATERIALS

- Cartulina escolar blanca.
- Foami escarchado dorado.
- 5 rollos de papel.
- Cartón delgado.
- Pinturas y marcadores.
- Telas.
- Pegamento.
- Tijeras.
- Regla.
- Lápiz.
- White school cardboard.
- Gold frosted foam.
- 5 rolls of paper.
- Thin cardboard.
- Paints and markers.
- Fabrics.
- Glue.
- Scissors.
- Ruler.
- Pencil.

🌟 PROCEDIMIENTO | 🌟 PROCESS

- PASO 1:
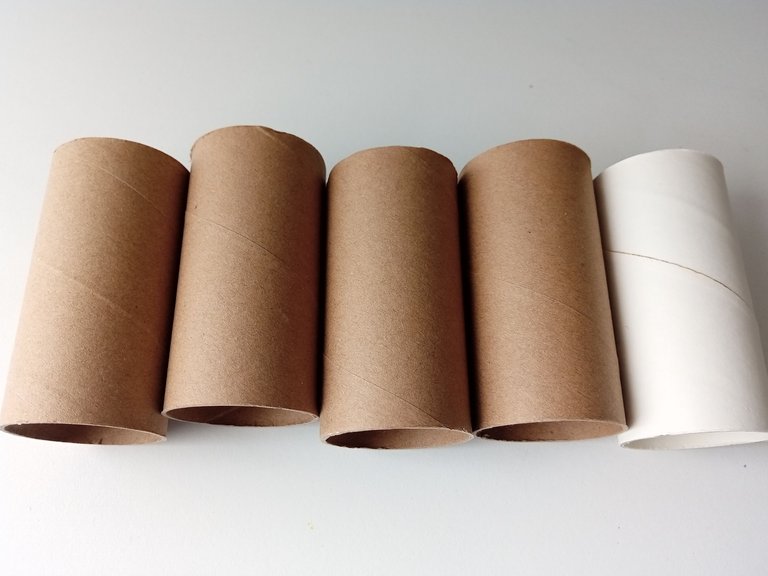
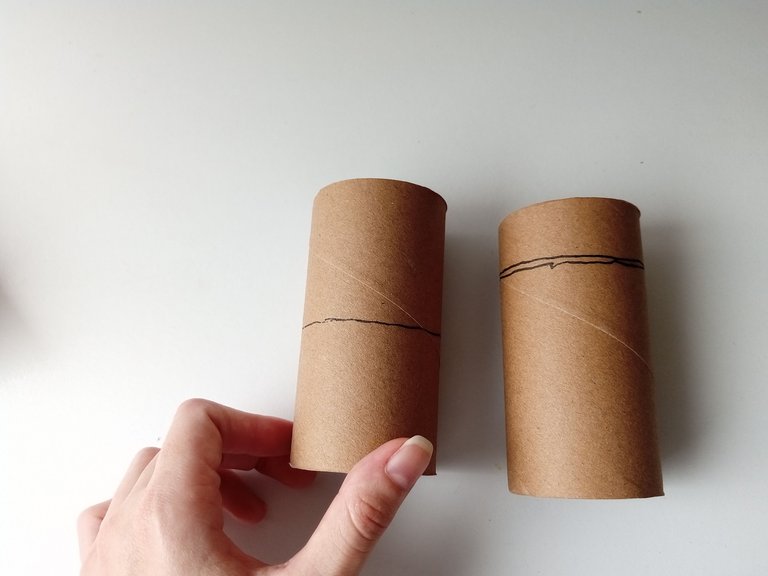
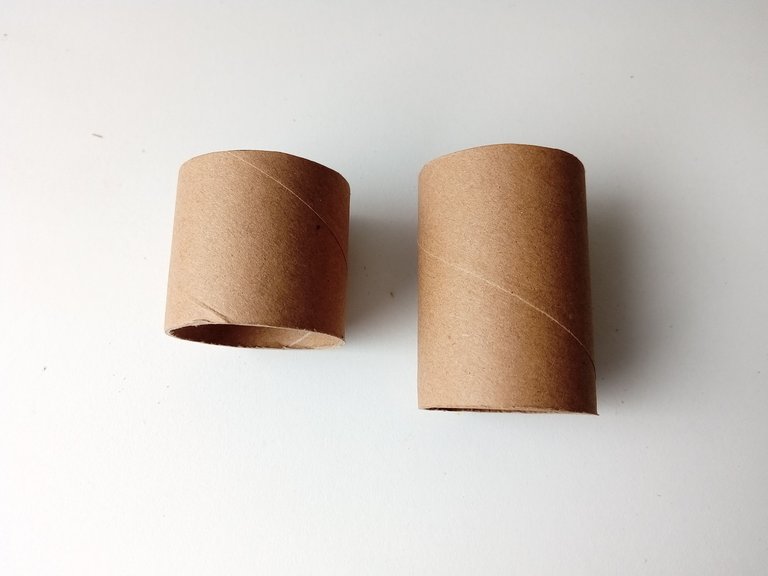
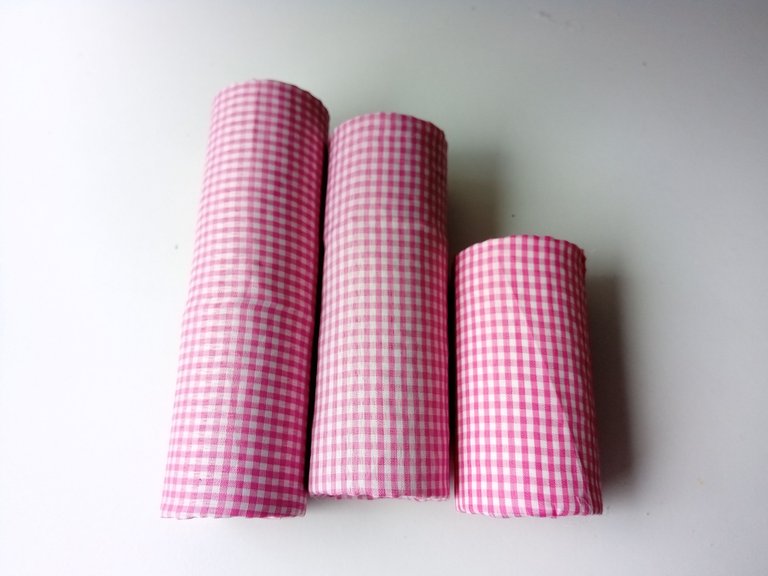
Lo primero que debemos hacer al tener los 5 rollos de papel es tomar 2 rollos de papel higiénico, a uno lo cortamos a la mitad y a otro le cortamos 2 cm de largo. Luego, pegamos cada a uno a otros 2 rollos de tamaño original.
📌Olvidé tomar la foto cuando pegué las partes recortadas, pero la idea es tener 3 niveles con los cilindros, como verán en el siguiente paso.
- STEP 1:
The first thing we need to do when we have the 5 rolls of paper is to take 2 rolls of toilet paper, cut one in half and cut the other 2 cm long. Then, we glue each one to 2 other rolls of the original size.
📌I forgot to take the photo when I glued the cut parts, but the idea is to have 3 levels with the cylinders, as you will see in the next step.


- PASO 2:
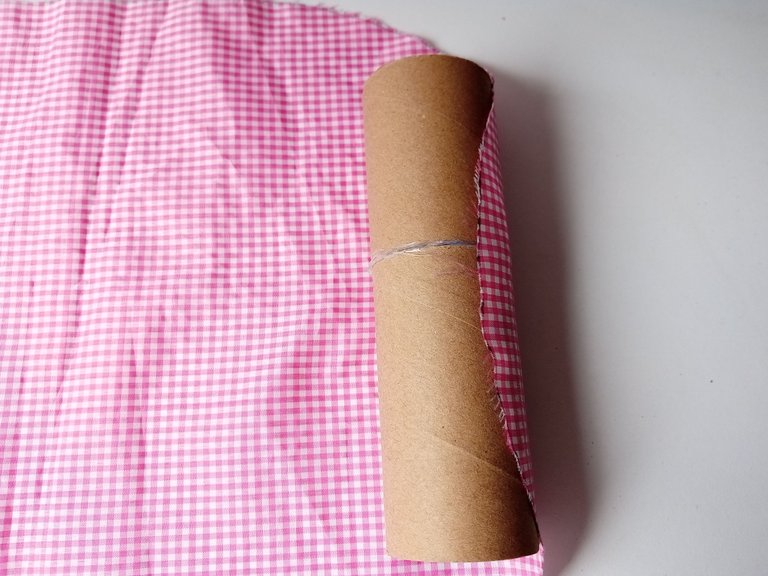
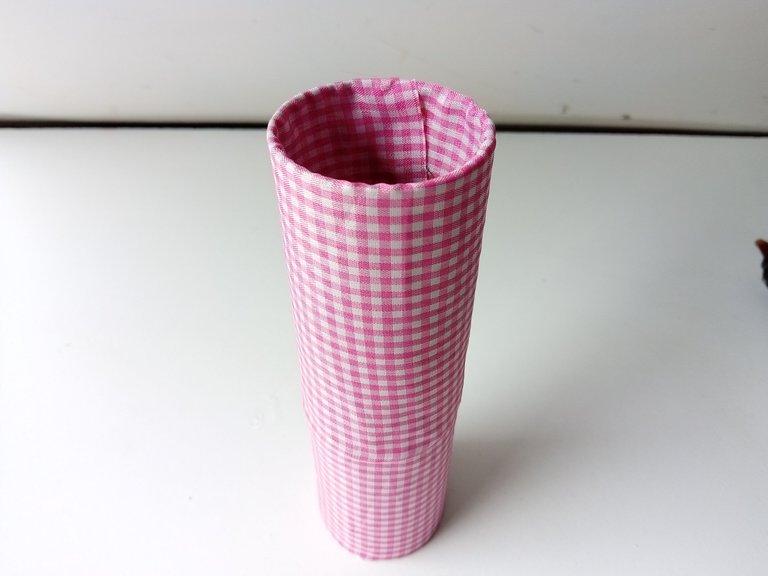
Luego, comenzamos a forrar cada uno de los cilindros con la tela que seleccionamos, en mi caso quise utilizar una tela color rosa y fui pegando la tela alrededor de cada uno, dejando 2 cm extras de tela en los bordes para luego, forrar parte de la parte interna de cada uno o pueden forrar la parte interna con cartulina.
- STEP 2:
Then, we begin to cover each of the cylinders with the fabric that we selected, in my case I wanted to use a pink fabric and I was gluing the fabric around each one, leaving 2 cm extra of fabric on the edges to then, cover part of the inside of each one or you can cover the inside with cardboard.


- PASO 3:
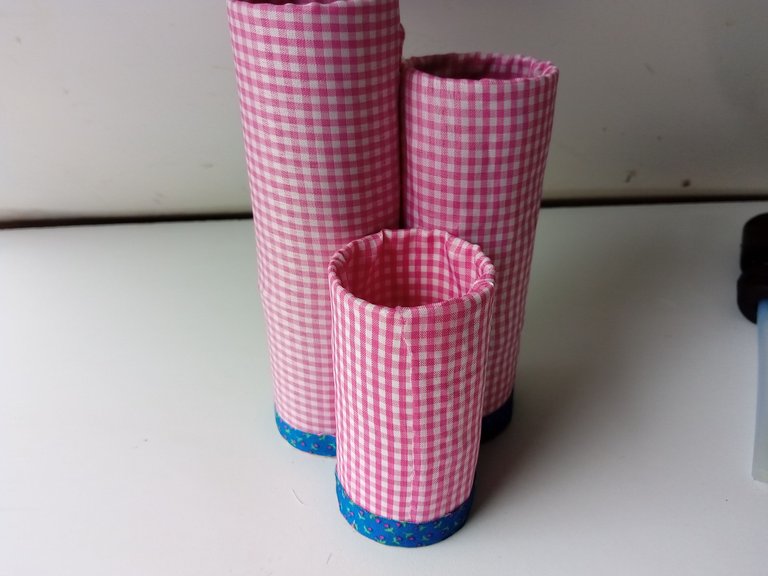
Al tener los niveles listos, los pegamos en el orden deseado de forma vertical, en mi caso quise dejar el más pequeño adelante. Con una cinta decorada o unicolor de 1 cm, comencé a decorar todo el borde inferior, uniendo todos los cilindros, pero pueden repetir el proceso en la parte superior.
- STEP 3:
Once we have the levels ready, we glue them in the desired order vertically, in my case I wanted to leave the smallest one in front. Using a 1cm decorative or plain ribbon, I began to decorate the entire bottom edge, joining all the cylinders, but you can repeat the process on the top.


- PASO 4:
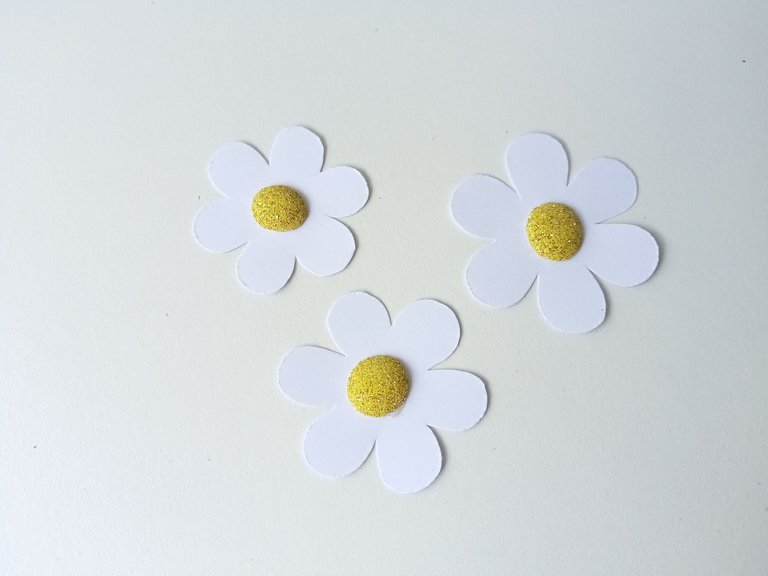
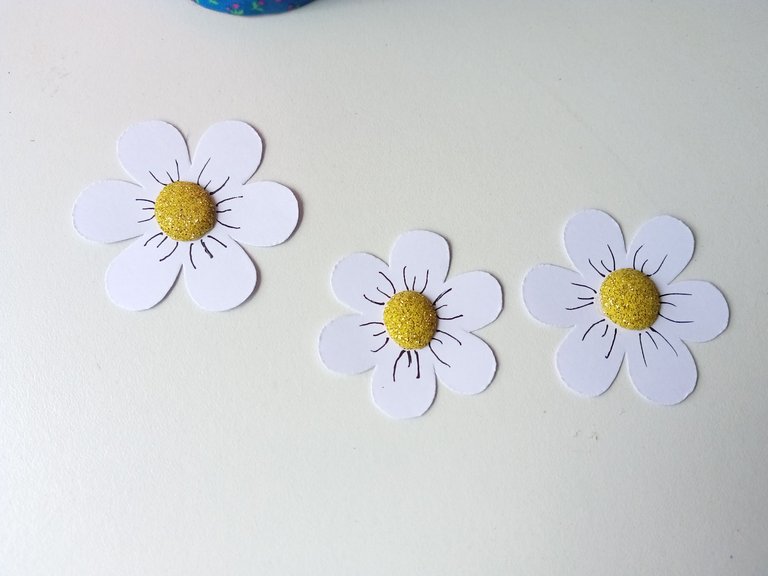
Para decorar aún más, dibujamos 3 flores en cartulina escolar blanca de diferentes tamaños y recortamos 3 círculos en foami escarchado dorado para el centro de las flores. Después, pasamos los círculos por la plancha para dar relieve, formamos las flores y dibujamos más detalles con marcador negro punta fina, o el color deseado.
- STEP 4:
To decorate even more, we drew 3 flowers on white school cardboard of different sizes and cut out 3 circles in gold frosted foam for the center of the flowers. Then, we passed the circles through the iron to give relief, we formed the flowers and drew more details with a fine-tipped black marker, or the desired color.


- PASO 5:
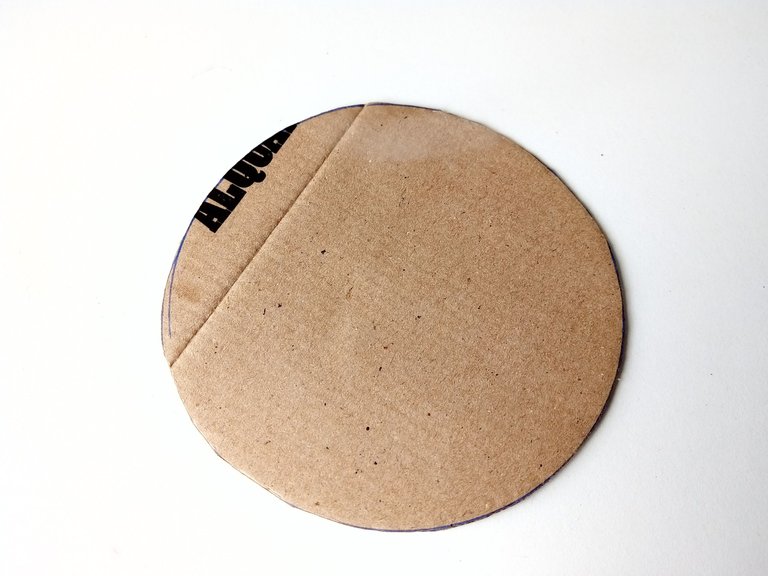
Seguidamente, pegamos todas las flores en el centro de cada uno de los niveles. Para finalizar, recortamos un cilindro de 15 cm de circunferencia, pintamos del color deseado en combinación con la tela y al estar seco, pintamos algunos puntos de color blanco y pegamos como base del organizador.
- STEP 5:
Next, we glued all the flowers in the center of each of the levels. To finish, we cut out a 15cm circumference cylinder, painted it in the desired color in combination with the fabric and when it is dry, we painted some white dots and glued it as a base for the organizer.

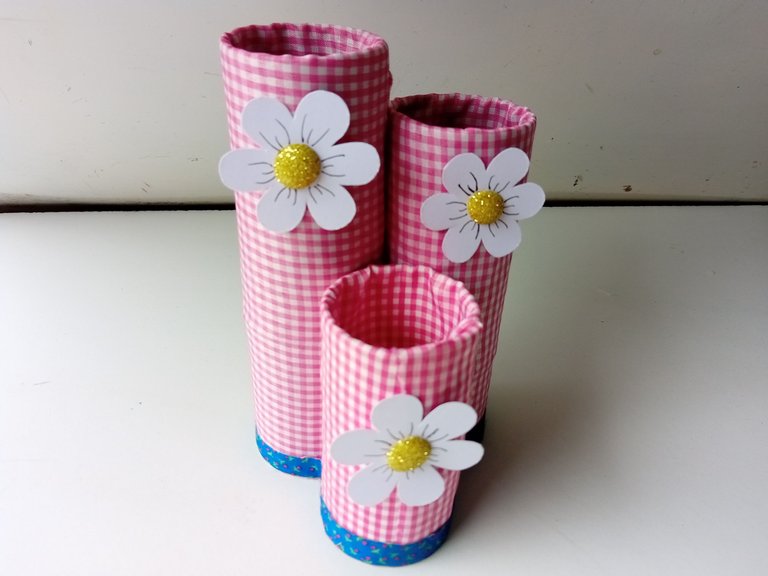
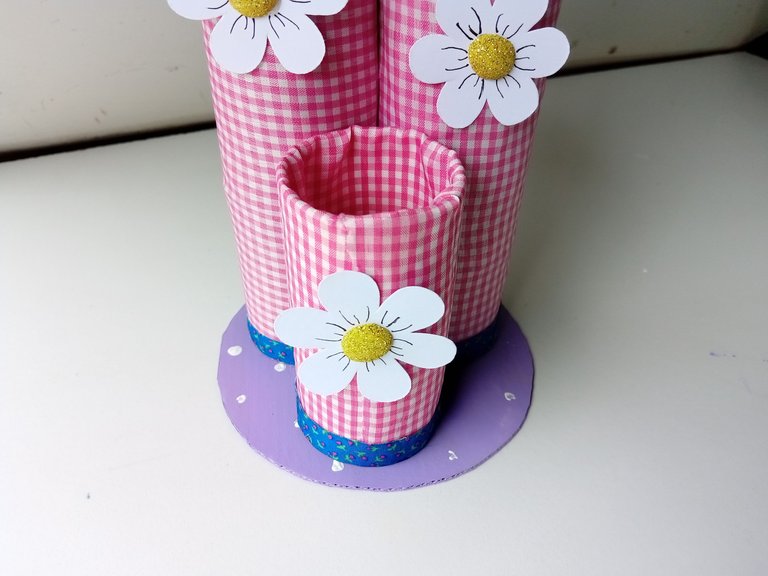

✨¡And ready!✨ This is how you can make a nice organizer with useful material and easy to personalize to your liking. It is a perfect idea to place in the desired place and keep our things in order. I hope you liked the step by step and are encouraged to make it.
❤️Until the next post.

✨RESULTADO: | ✨RESULT:



Todas las fotografías son de mi propiedad.
Separador y Fotos editadas en Canva
All photographs are my property.
Photos edited in Canva


