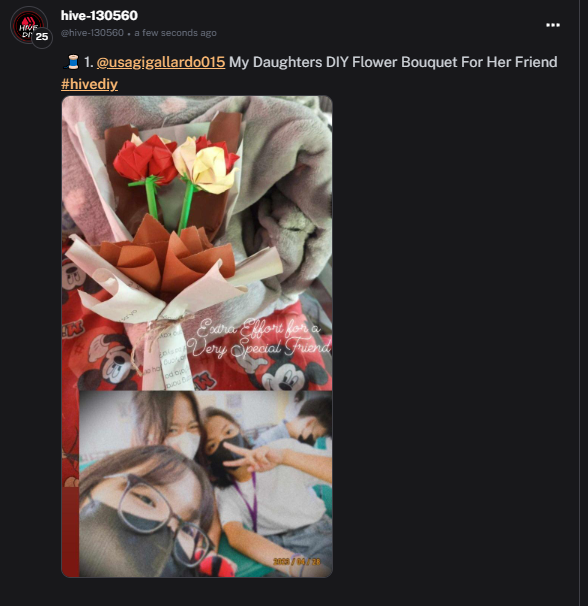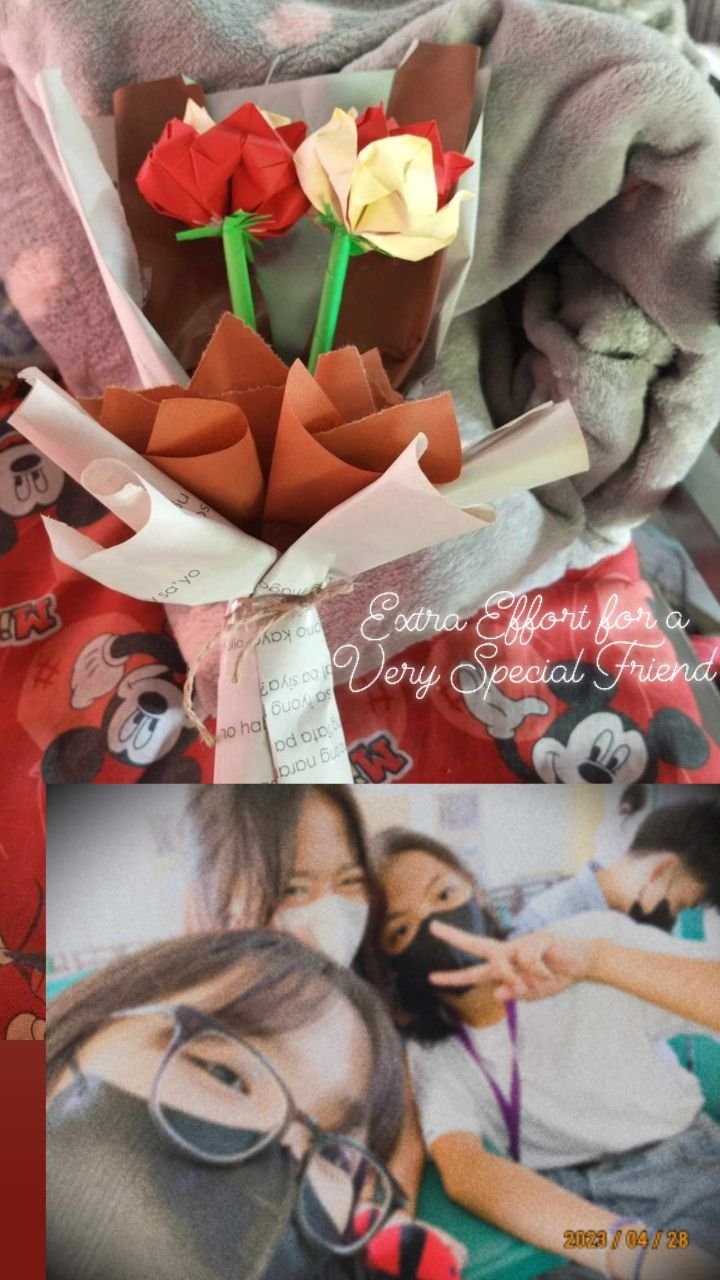
Hello lovely hivers first of all let me greet you a blessed Sunday morning. Tomorrow is another busy day for everyone, mommy's, workers and most specialty students. May I asked you one thing how close are you with your former classmates? Well my daughter is so closed that she treat her like her sibling.
My eldest is already senior highschool grade 12 followed by two boys grade 8 and grade 2. And my youngest a baby girl 4 years old who also study as a daycare or nursery. The long age gap of my two girls leads my eldest to be so close to her friends. They were friends since grade 7 that was long enough to tell they are really close. I already met them personally, I saw them laugh, tease each other, thrilled whenever they talk about their crushes. And seeing them reminds me of my old friends but already had a family of their own. We rarely see each other maybe once or twice a year. But social media keeps us connected. I told her to include her friends in her dreams because I saw how they made her happy.
And tomorrow is Jasmine's 17th birthday. My daughter told me that she want to gave her something unique. Making an effort instead of buying in the store, besides we don't have a spare. Jasmine's things are a bit expensive, her stuff that given by her elder sister and relative. My daughter felt that her effort will make her friend happy so here's DIY Flower Bouquet for her best friend.
Materials
Colored power
Glue
Scissor
Thin rubber band or yarn
Scotch tape
Old book pages or newspaper for the bouquet.
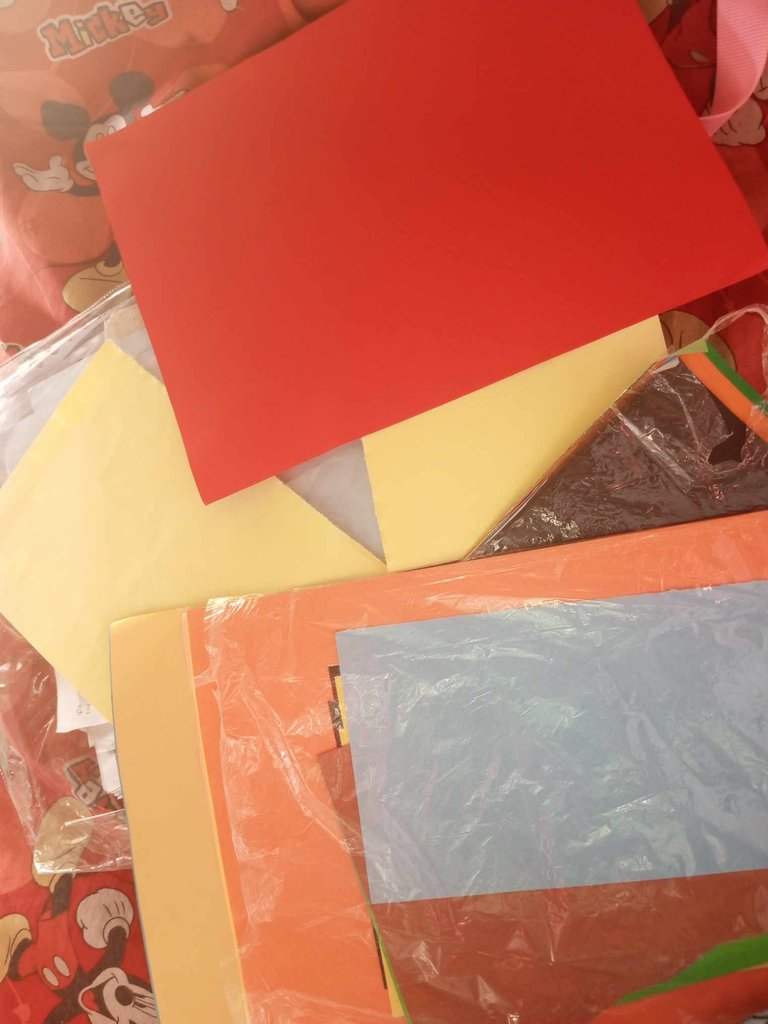
Step 1
Fold the colored paper into four and cut it.
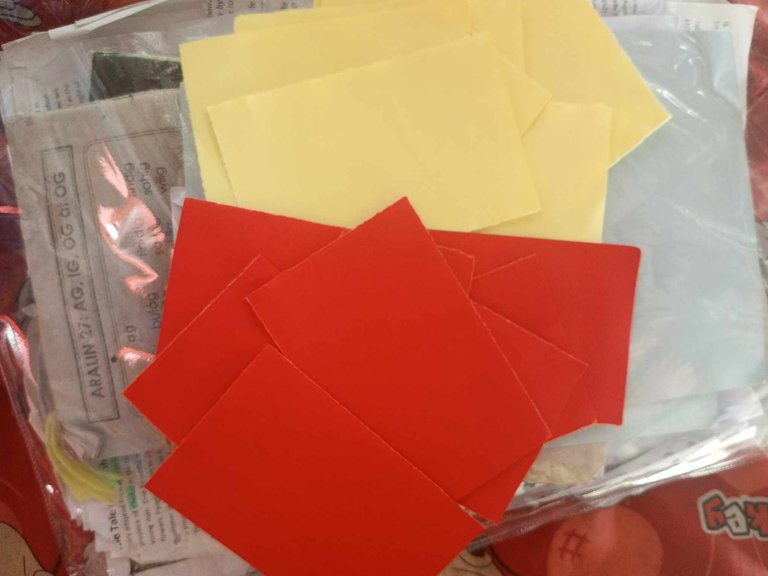
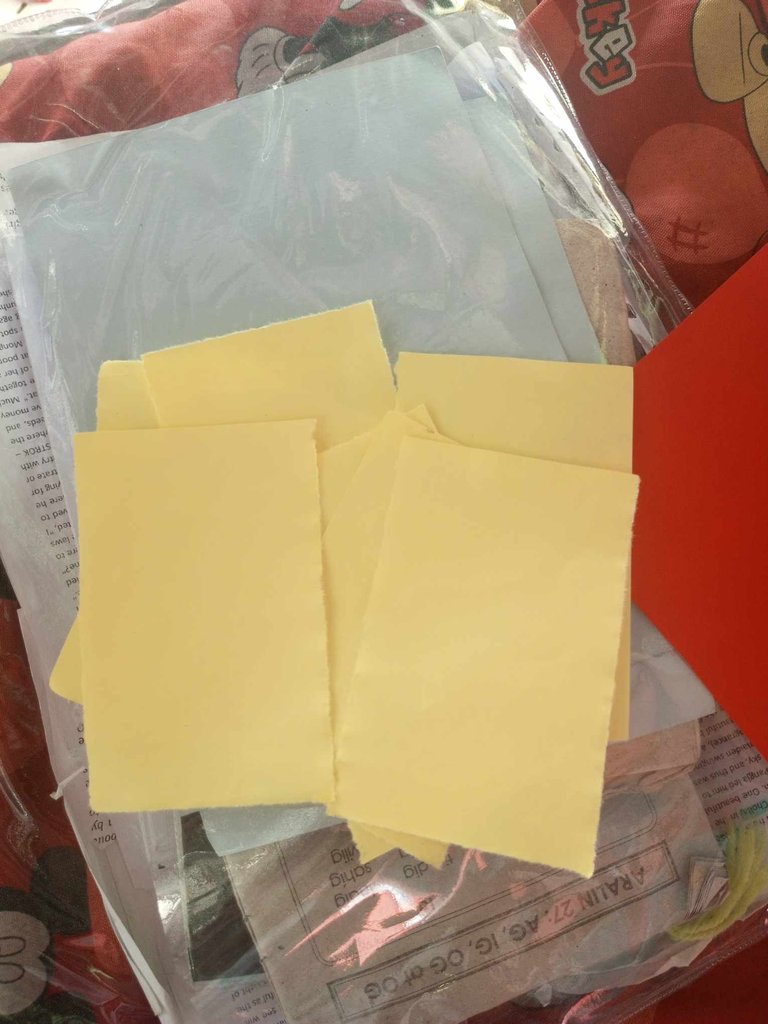
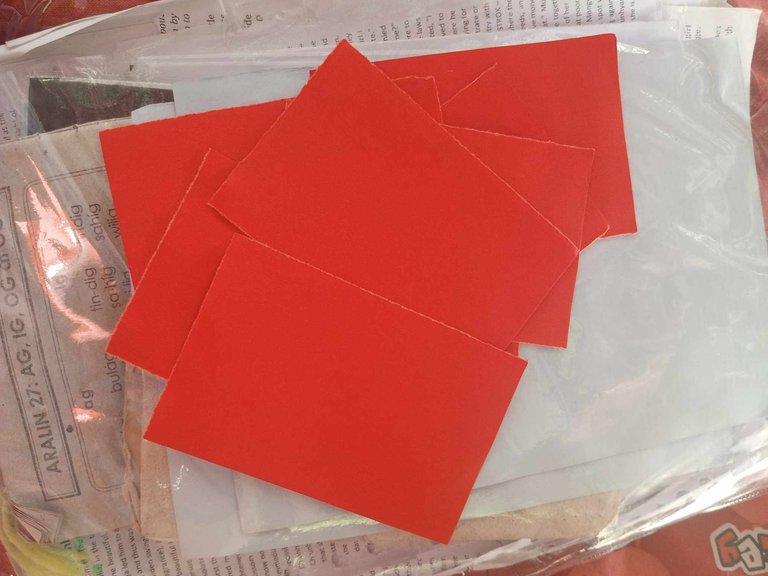
Step 2
After cutting fold in half
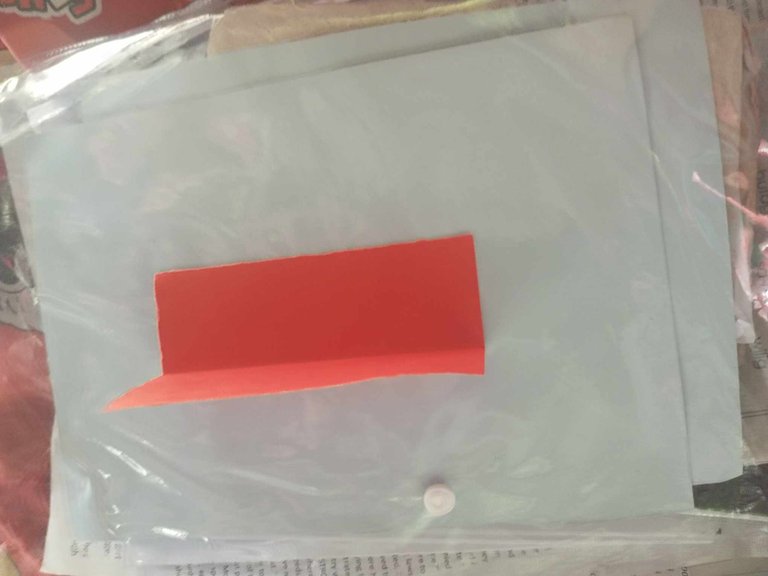
Step 3
Fold the four edges just like on the photo.
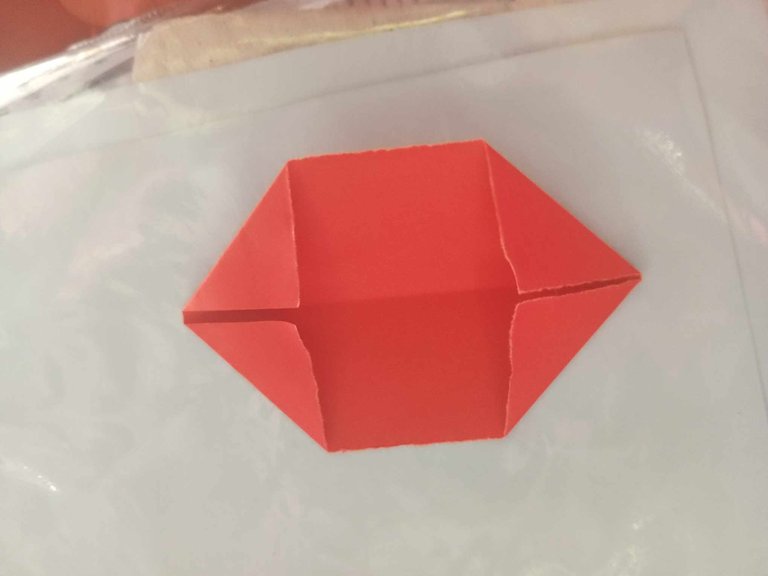
Step 4
Then fold the both sides and leave a space on the middle.
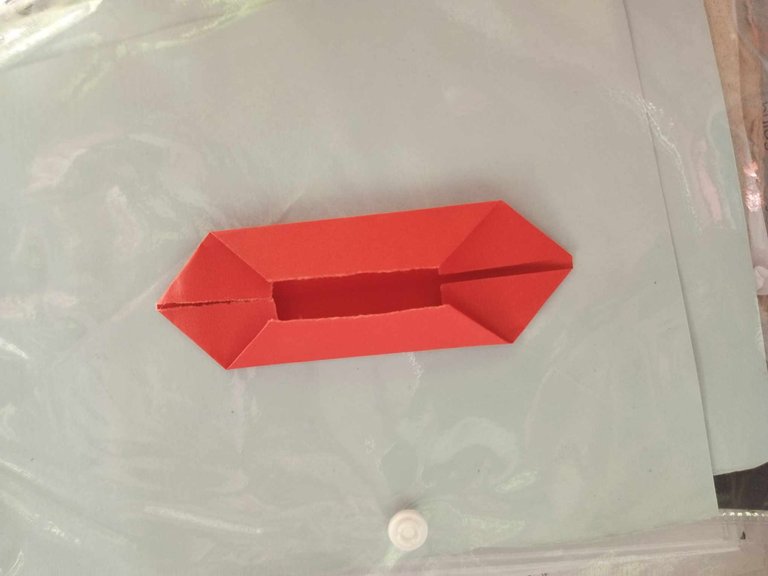
Step 5
Fold them together
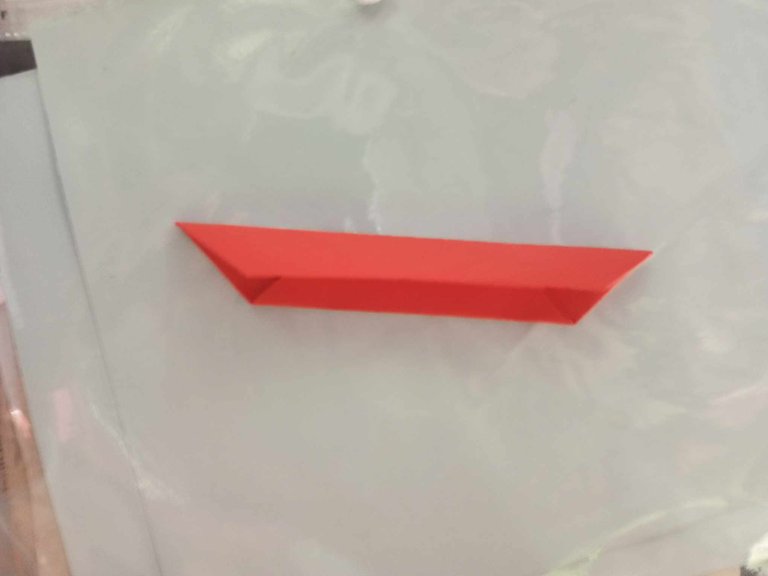
Step 6
Repeat the procedure or steps, you'll need 6 piece to make one flower. You can choose your designated color to make your flower more beautiful.
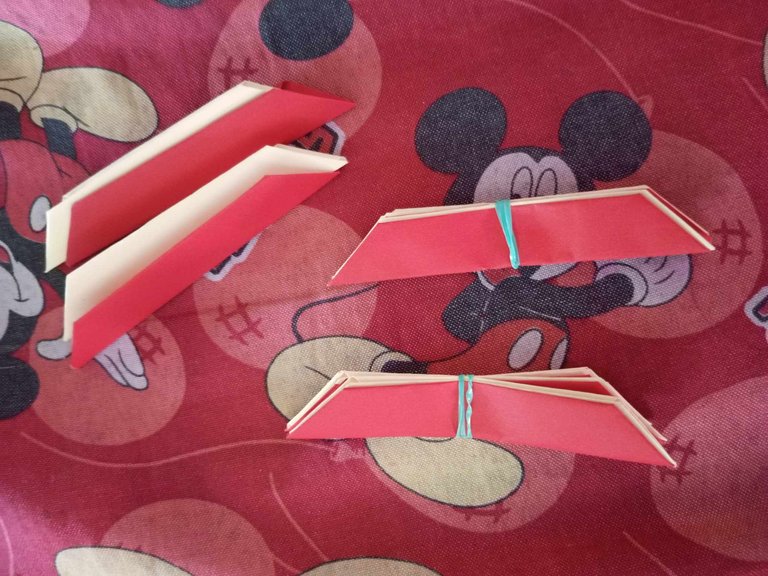
Step 7
Tie with a thin rubber bond the 6 pieces I said on step 6. My daughter told me to tight it lightly because there is a possibility that it'll tear apart. Like don't do some paper art when you're broken hearted Lol 😅😆
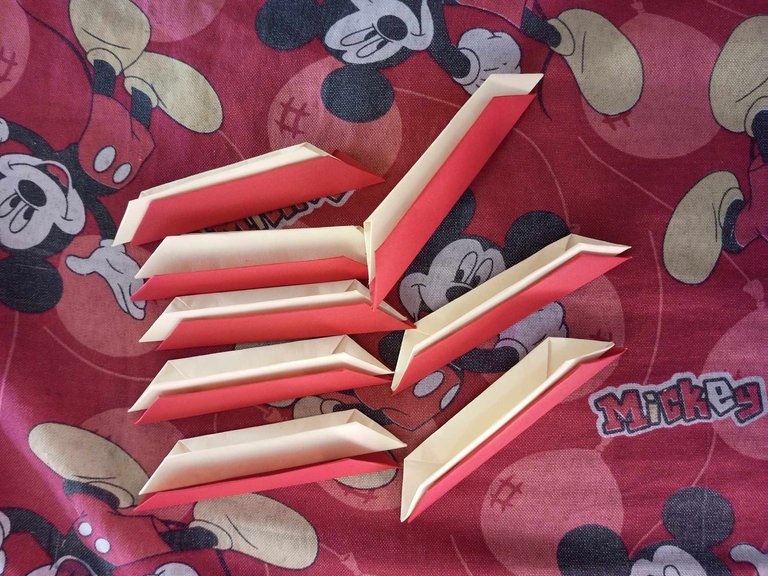
Step 8
Then gently open the until you reach the image, now flip it up. Open the petals.
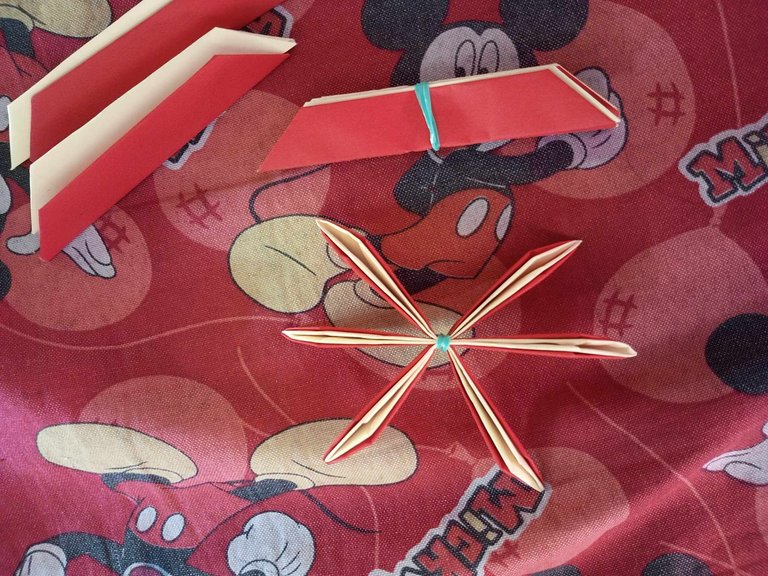
Step 9
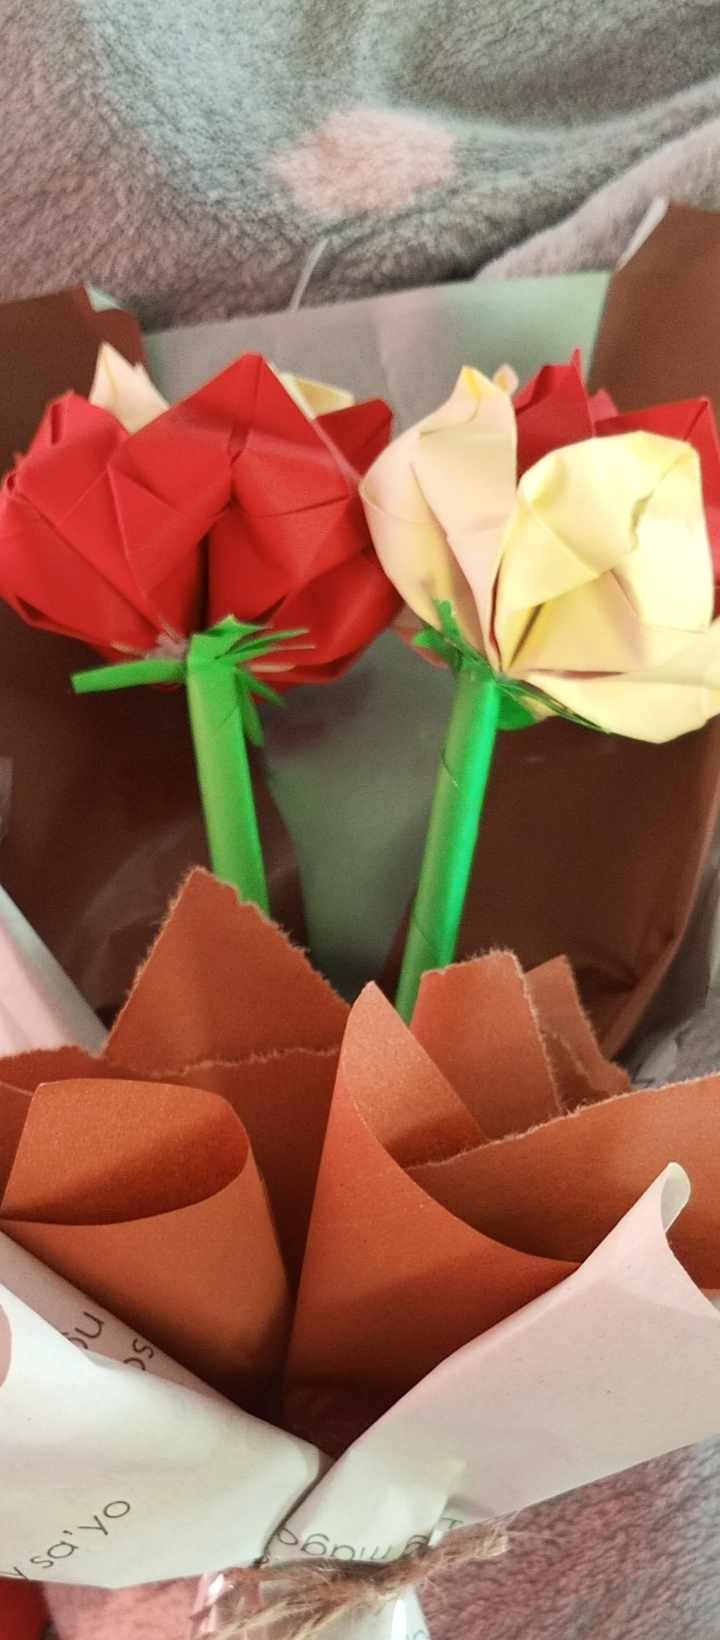
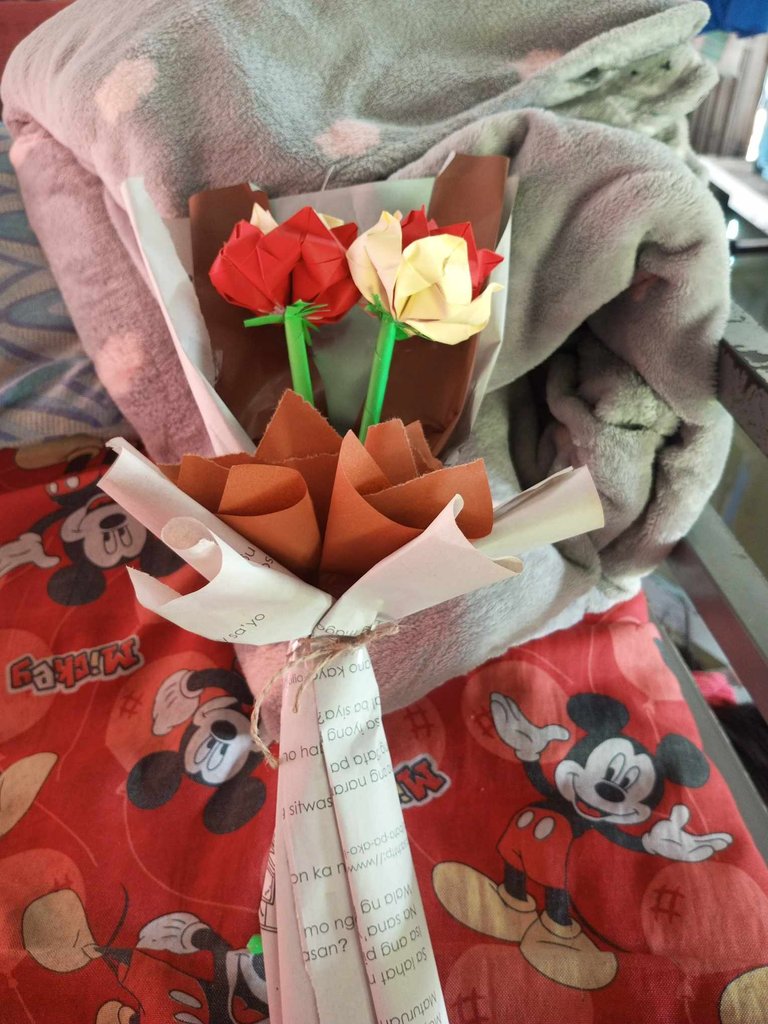
Here's the finished product hope you done yours too. My daughter made this for the first time and luckily no hussle happened. She made two flowers for her friend she just reversed the colored paper to make it more creative.
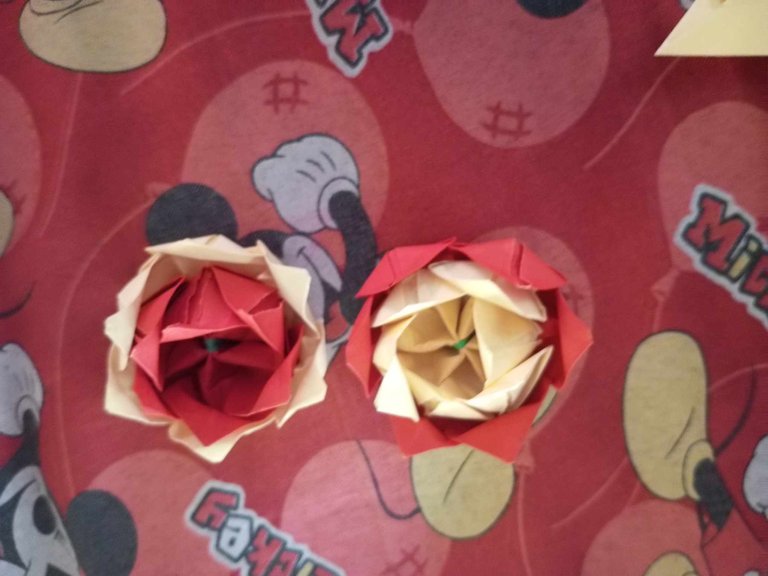
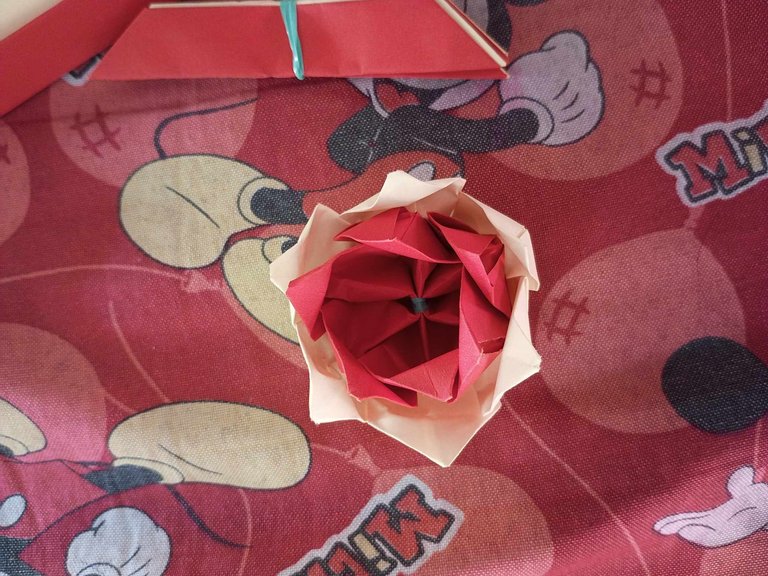
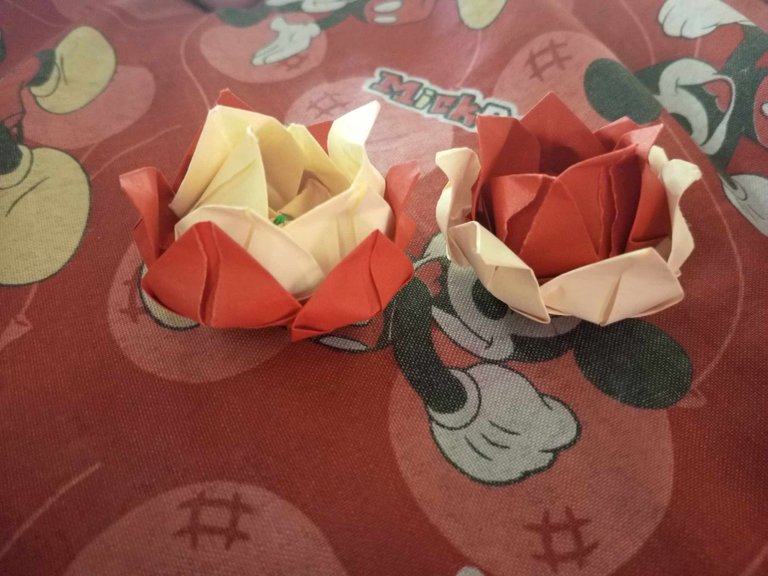
Step 10
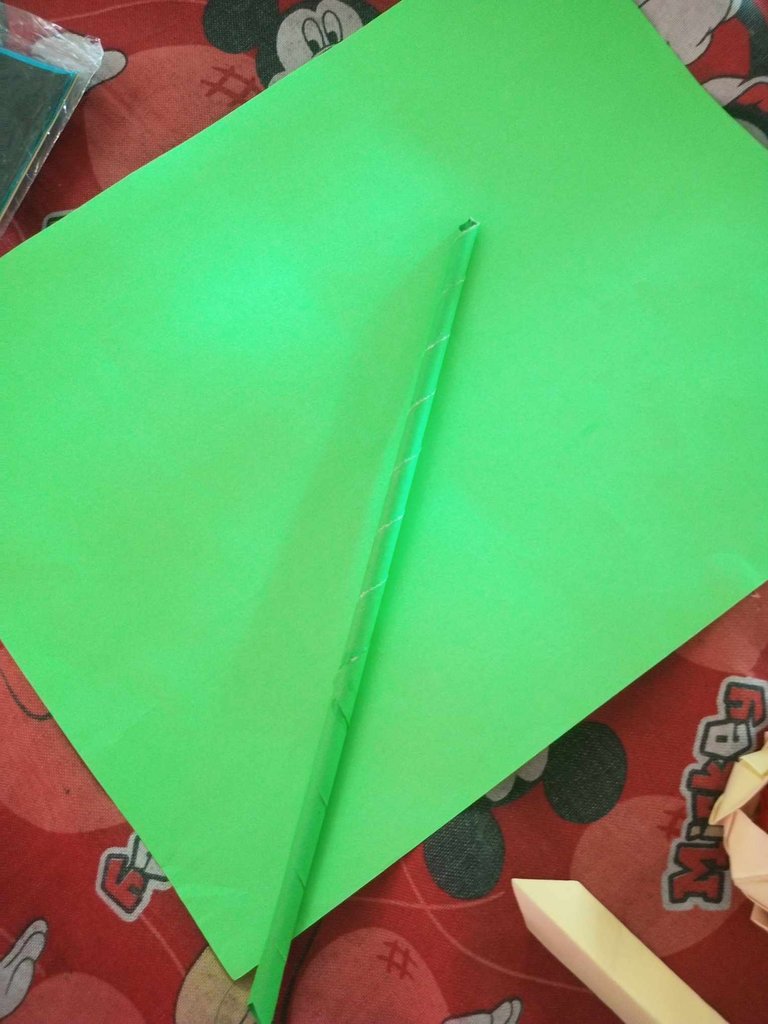
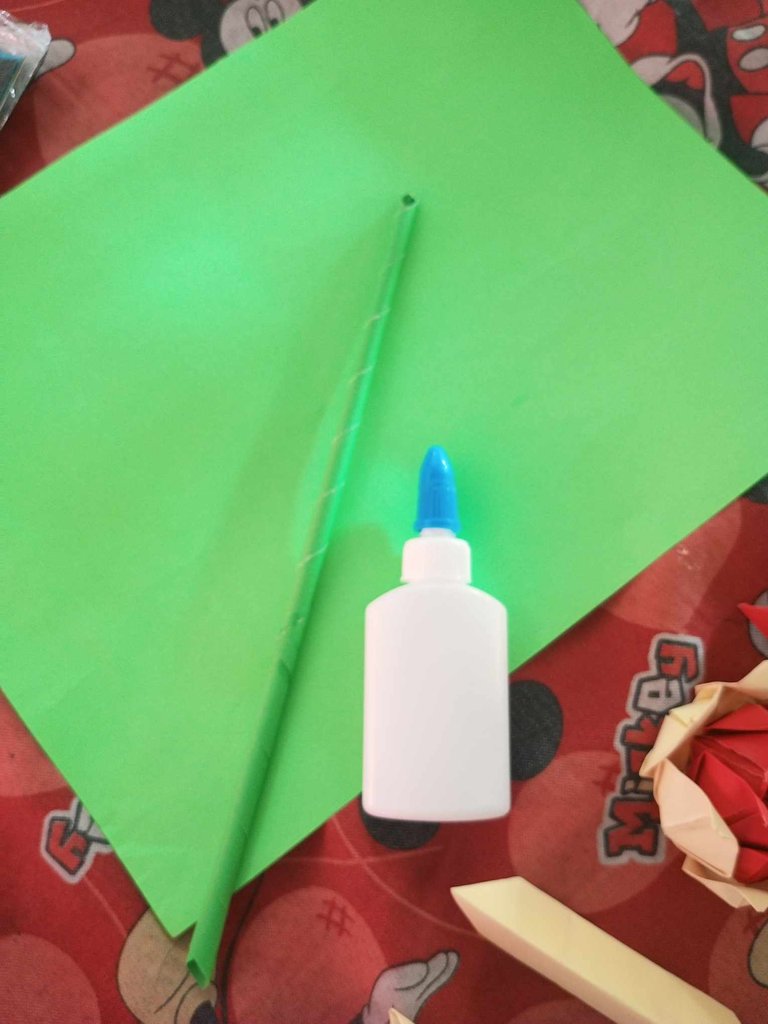
It's time to made the stem, cut the colored paper lengthwise roll it and paste it with the glue. At the edge of the stem cut it 1 inch size so you can attach the flower into it. Use a glue gun to attach it.
Step 11
The bouquet is you're own choice of style. The beauty of the the handmade flower can put on a shiny foil, or linen the creativity and beauty of the flower depends on you. My daughter used what's inside our house.
Thank you so much for reading
Much Love, @usagigallardo015
