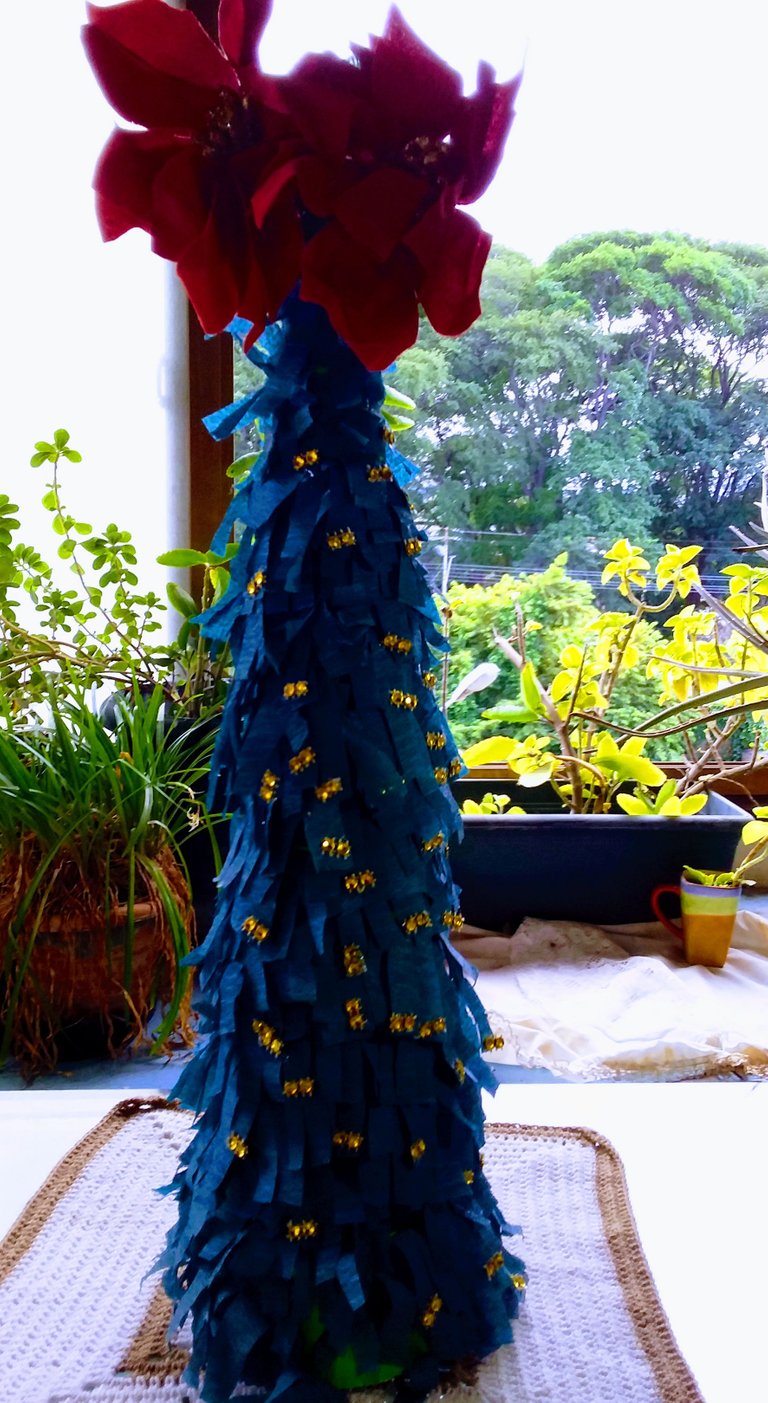
Como hacer un pequeño árbol pequeño de navidad. | How to make a small small Christmas tree.
Hola amigos / Hi friends
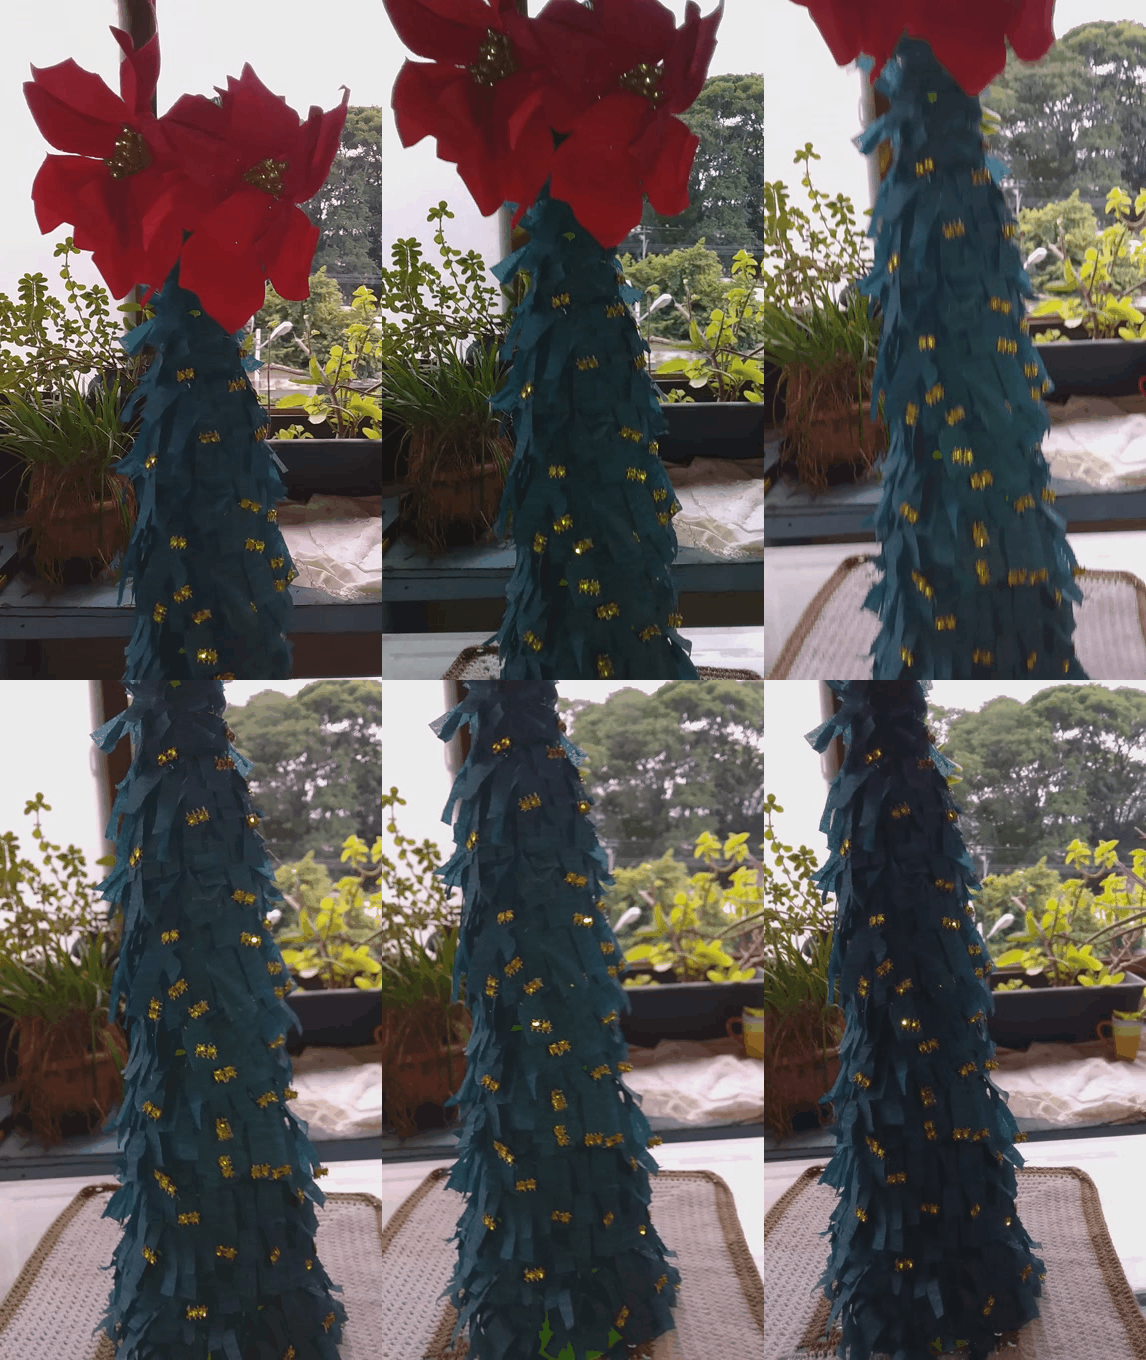
Este es un pequeño tutorial de cómo hacer un pequeño árbol de navidad utilizando materiales económicos y muy fáciles de realizar. Es esta época ya debemos comenzar ambientar la casa con adornos de navidad. Aquí te muestro el paso a paso apoyado con fotos demostrativas.
This is a small tutorial on how to make a small Christmas tree using inexpensive materials that are very easy to make. It is this time and we must begin to decorate the house with Christmas decorations. Here I show you the step by step supported with demonstrative photos.
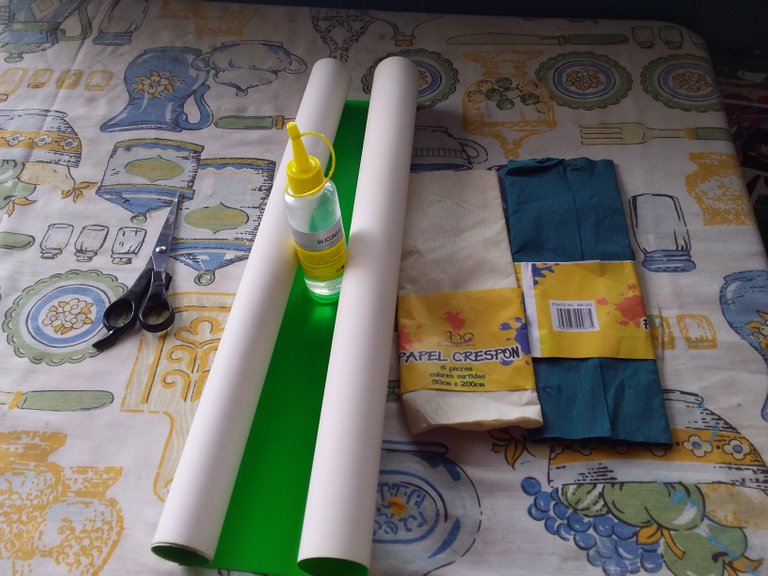
Material:
- Cartulina verde.
- Papel crepe color verde.
- Cinta decorativa.
- Adorno de navidad. (De tu preferencia).
- Pega.
- Tijera.
Material:
- Green cardboard.
- Green crepe paper.
- Decorative tape.
- Christmas ornament. (Of your preference).
- Paste.
- Scissors.
Proceso de la Elaboración | Elaboration Process
Paso 1 / Step 1
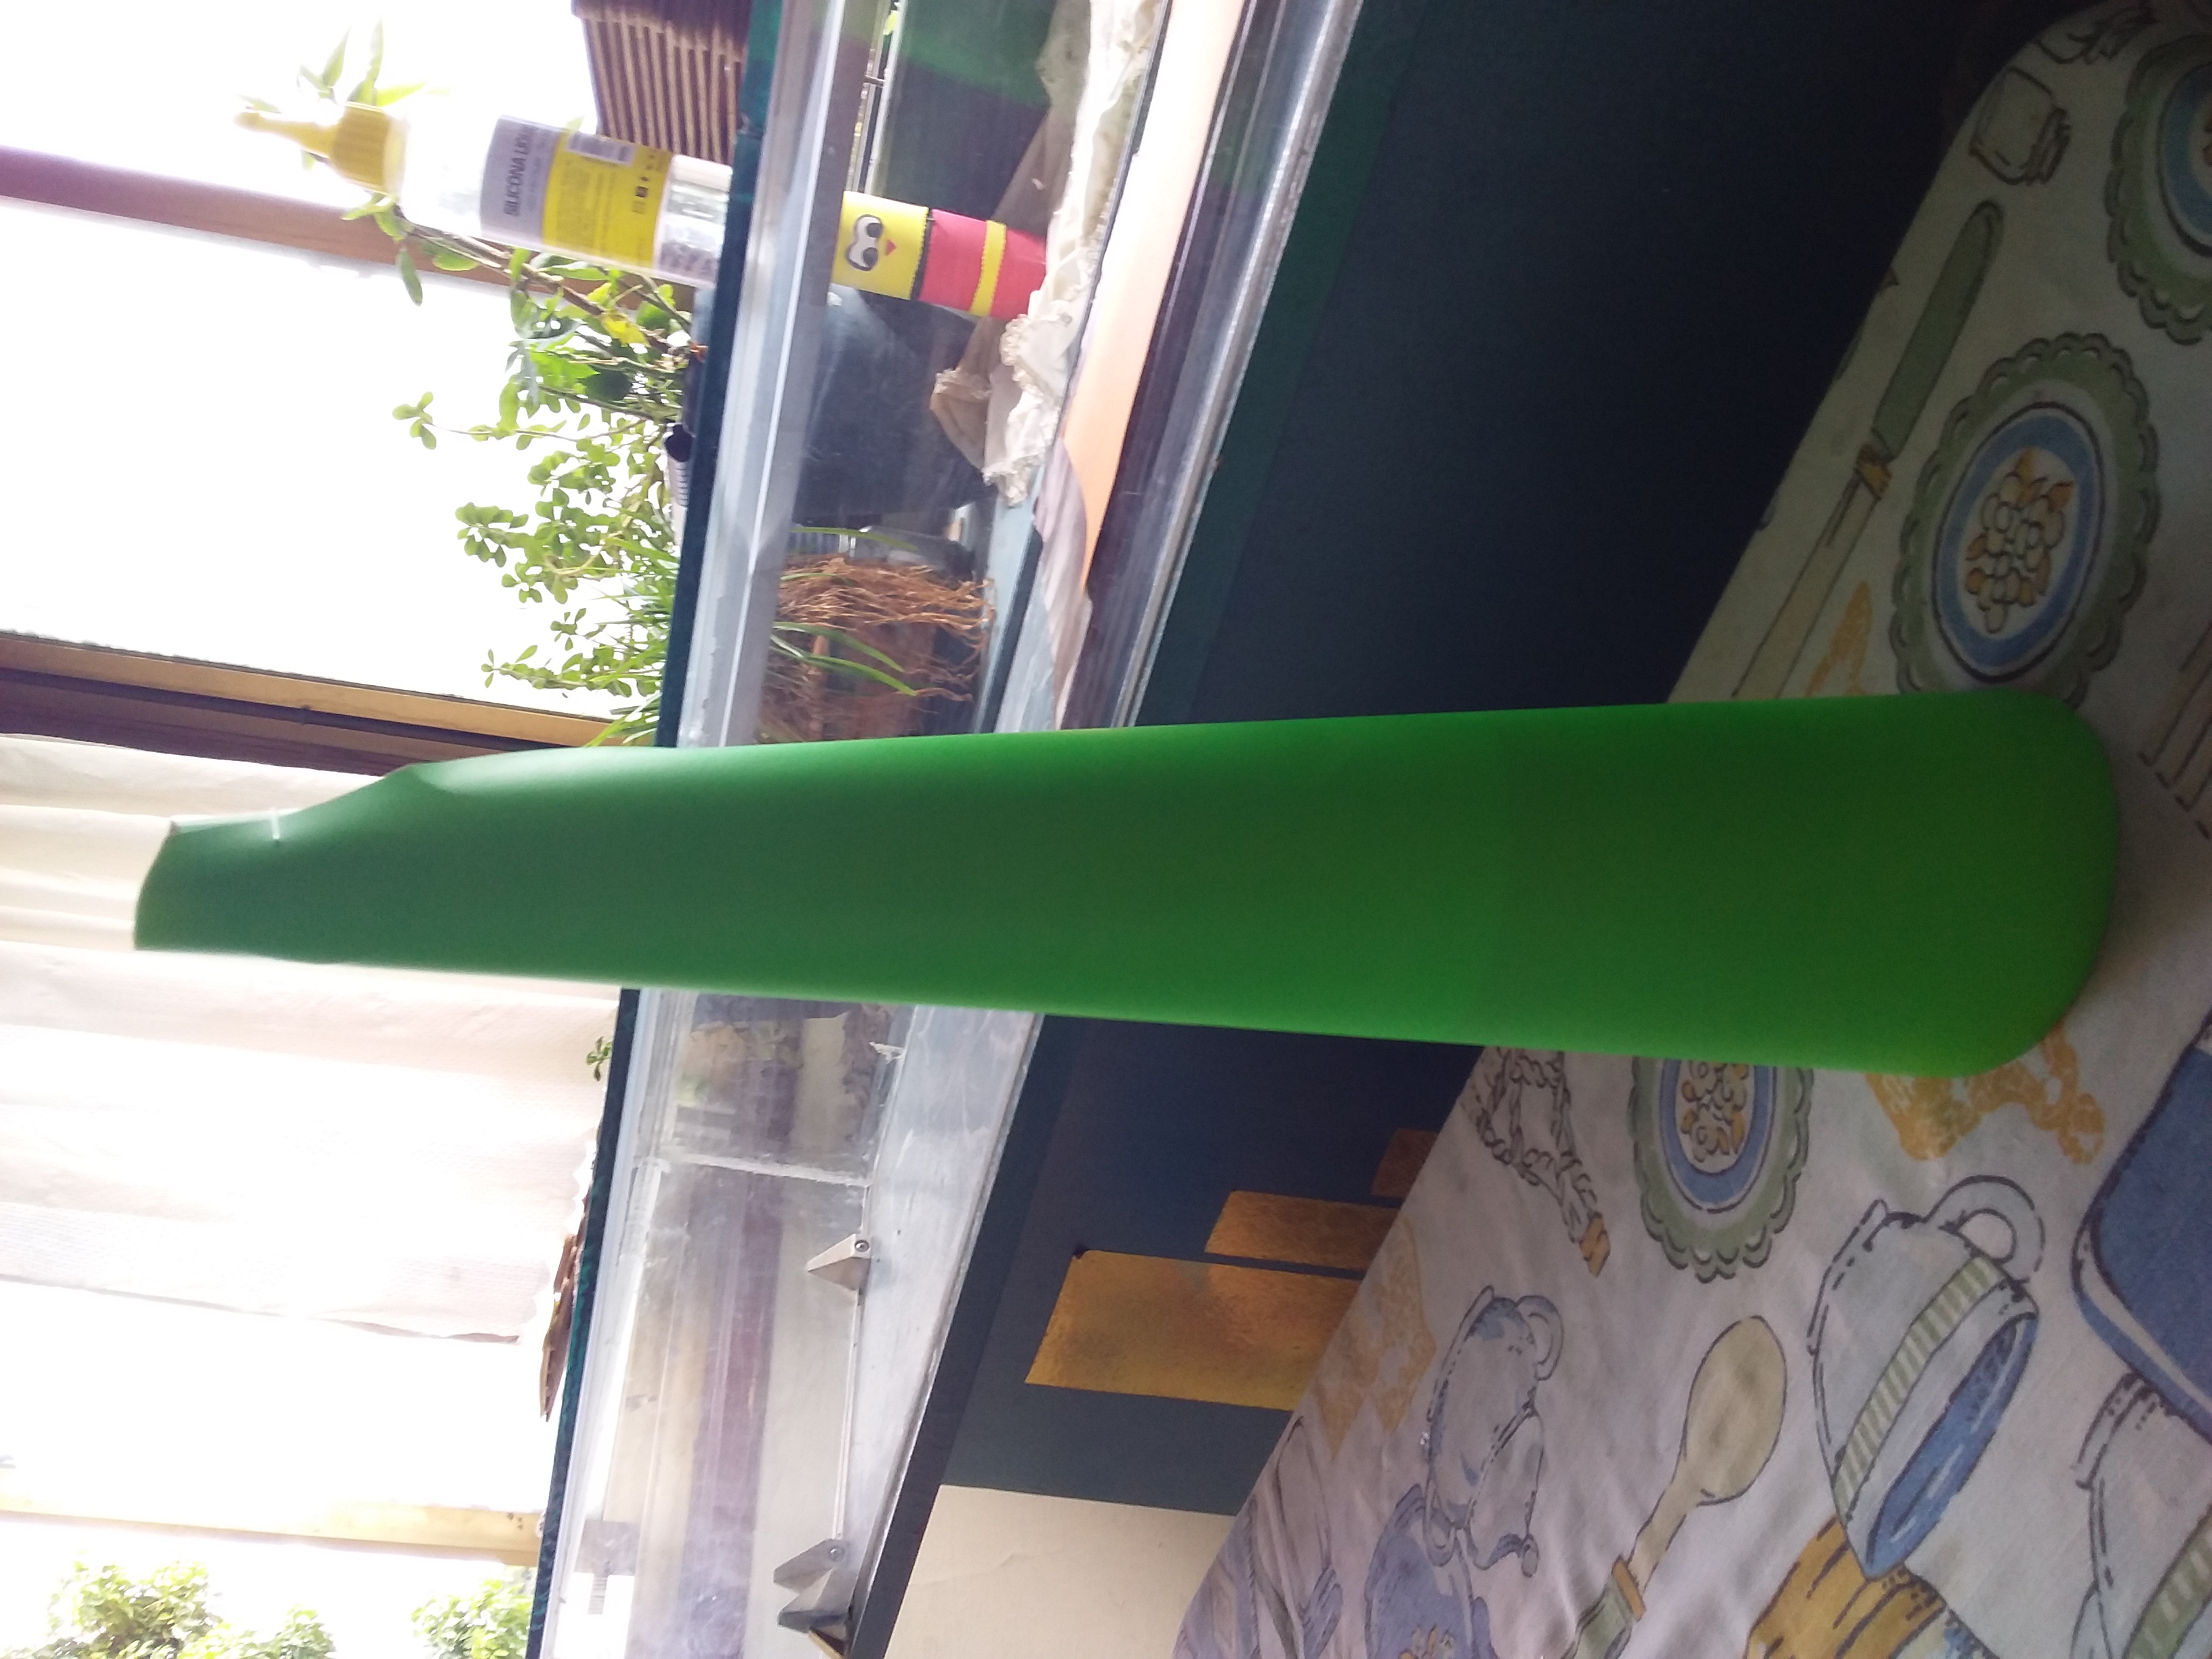
Para iniciar a elaborar nuestro pequeño árbol de navidad, recortamos la cartulina verde de acuerdo al tamaño y altura que queremos hacer el árbol, para luego crear así un cono enrollando la cartulina.
To start making our little Christmas tree, we cut the green cardboard according to the size and height that we want to make the tree, and then create a cone by rolling up the cardboard.
Paso 2 / Step 2
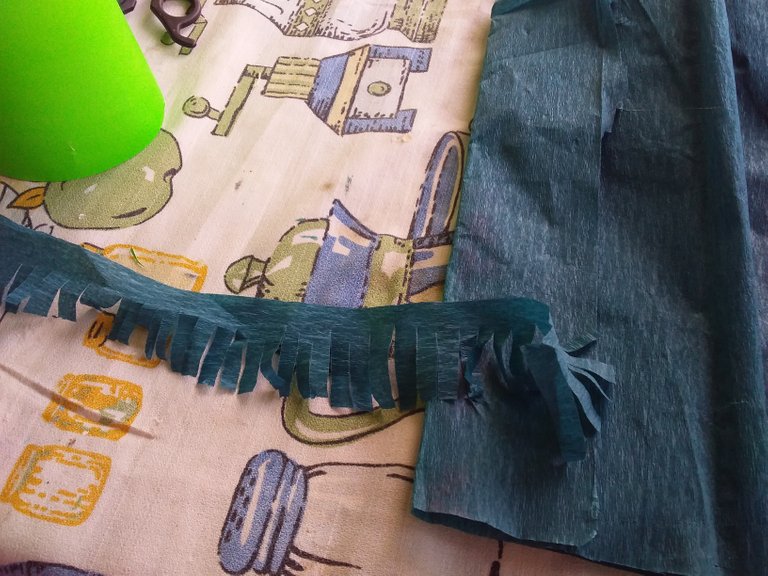
Se corta en cinta el papel crepe de 3 cm de ancho, luego hacemos pequeños cortes para hacer tiras pequeñas, como se muestra en la foto.
The 3 cm wide crepe paper is cut into tape, then we make small cuts to make small strips, as shown in the photo.
Paso 3/ Step 3
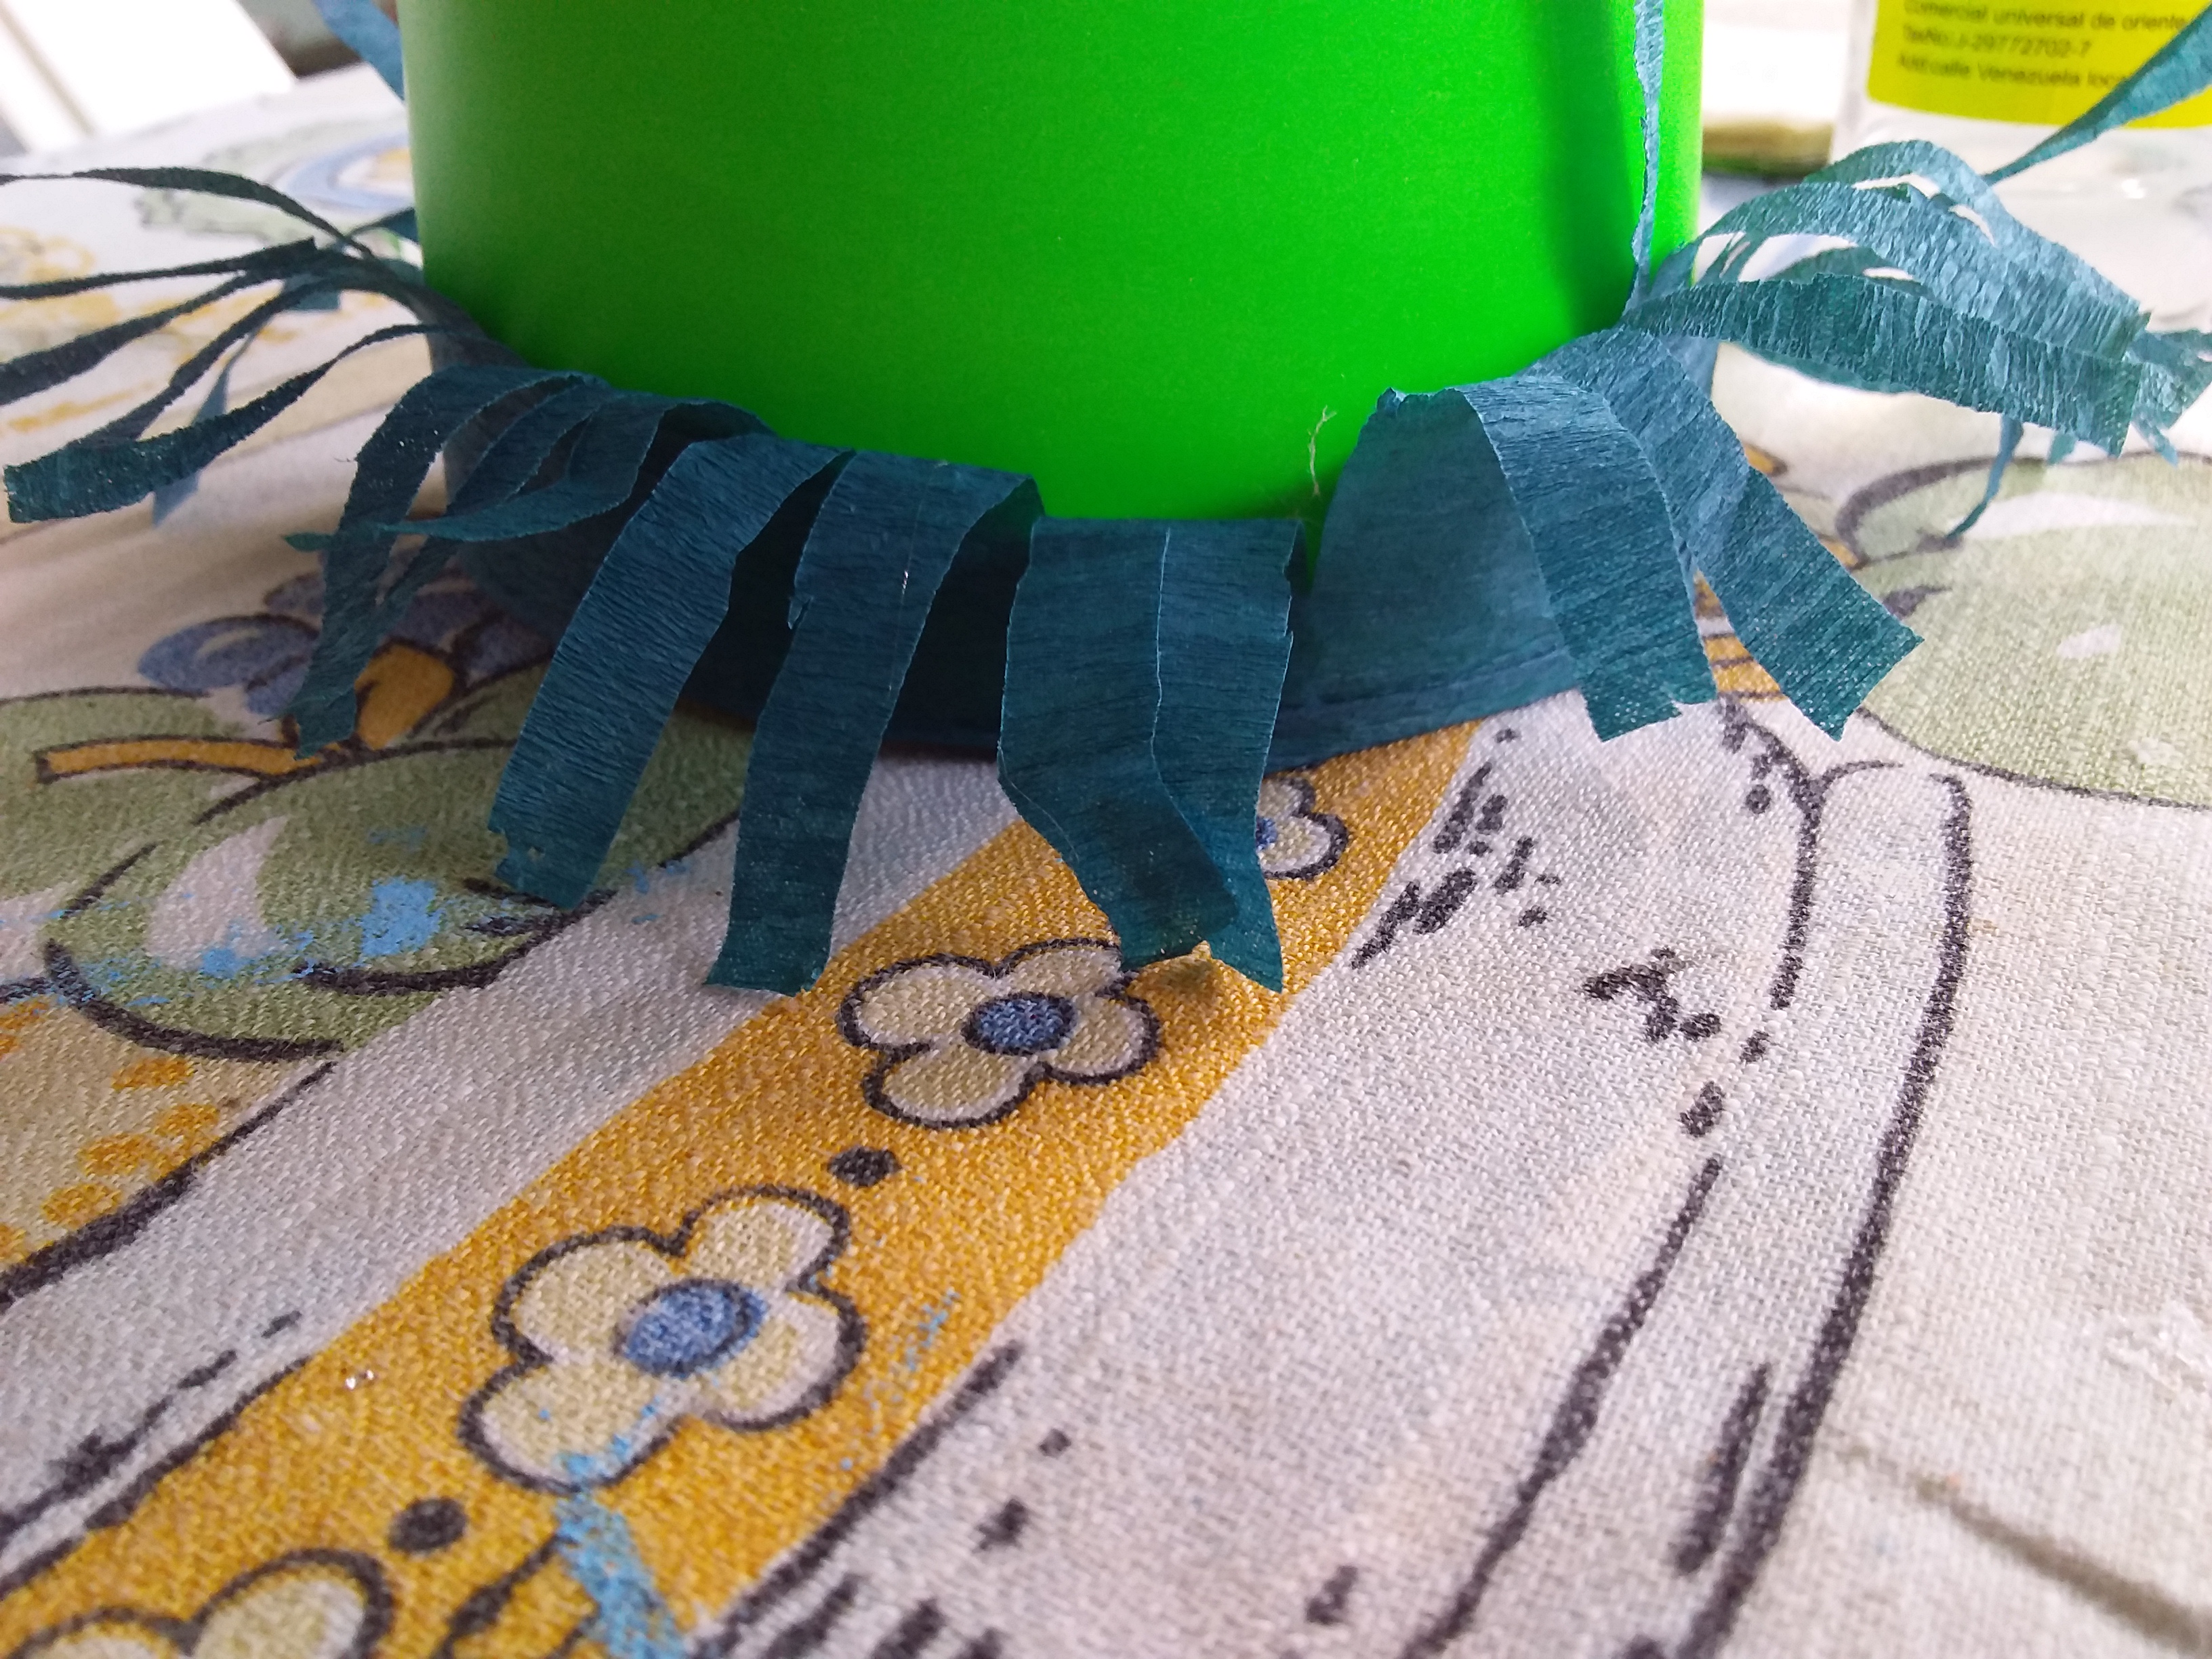
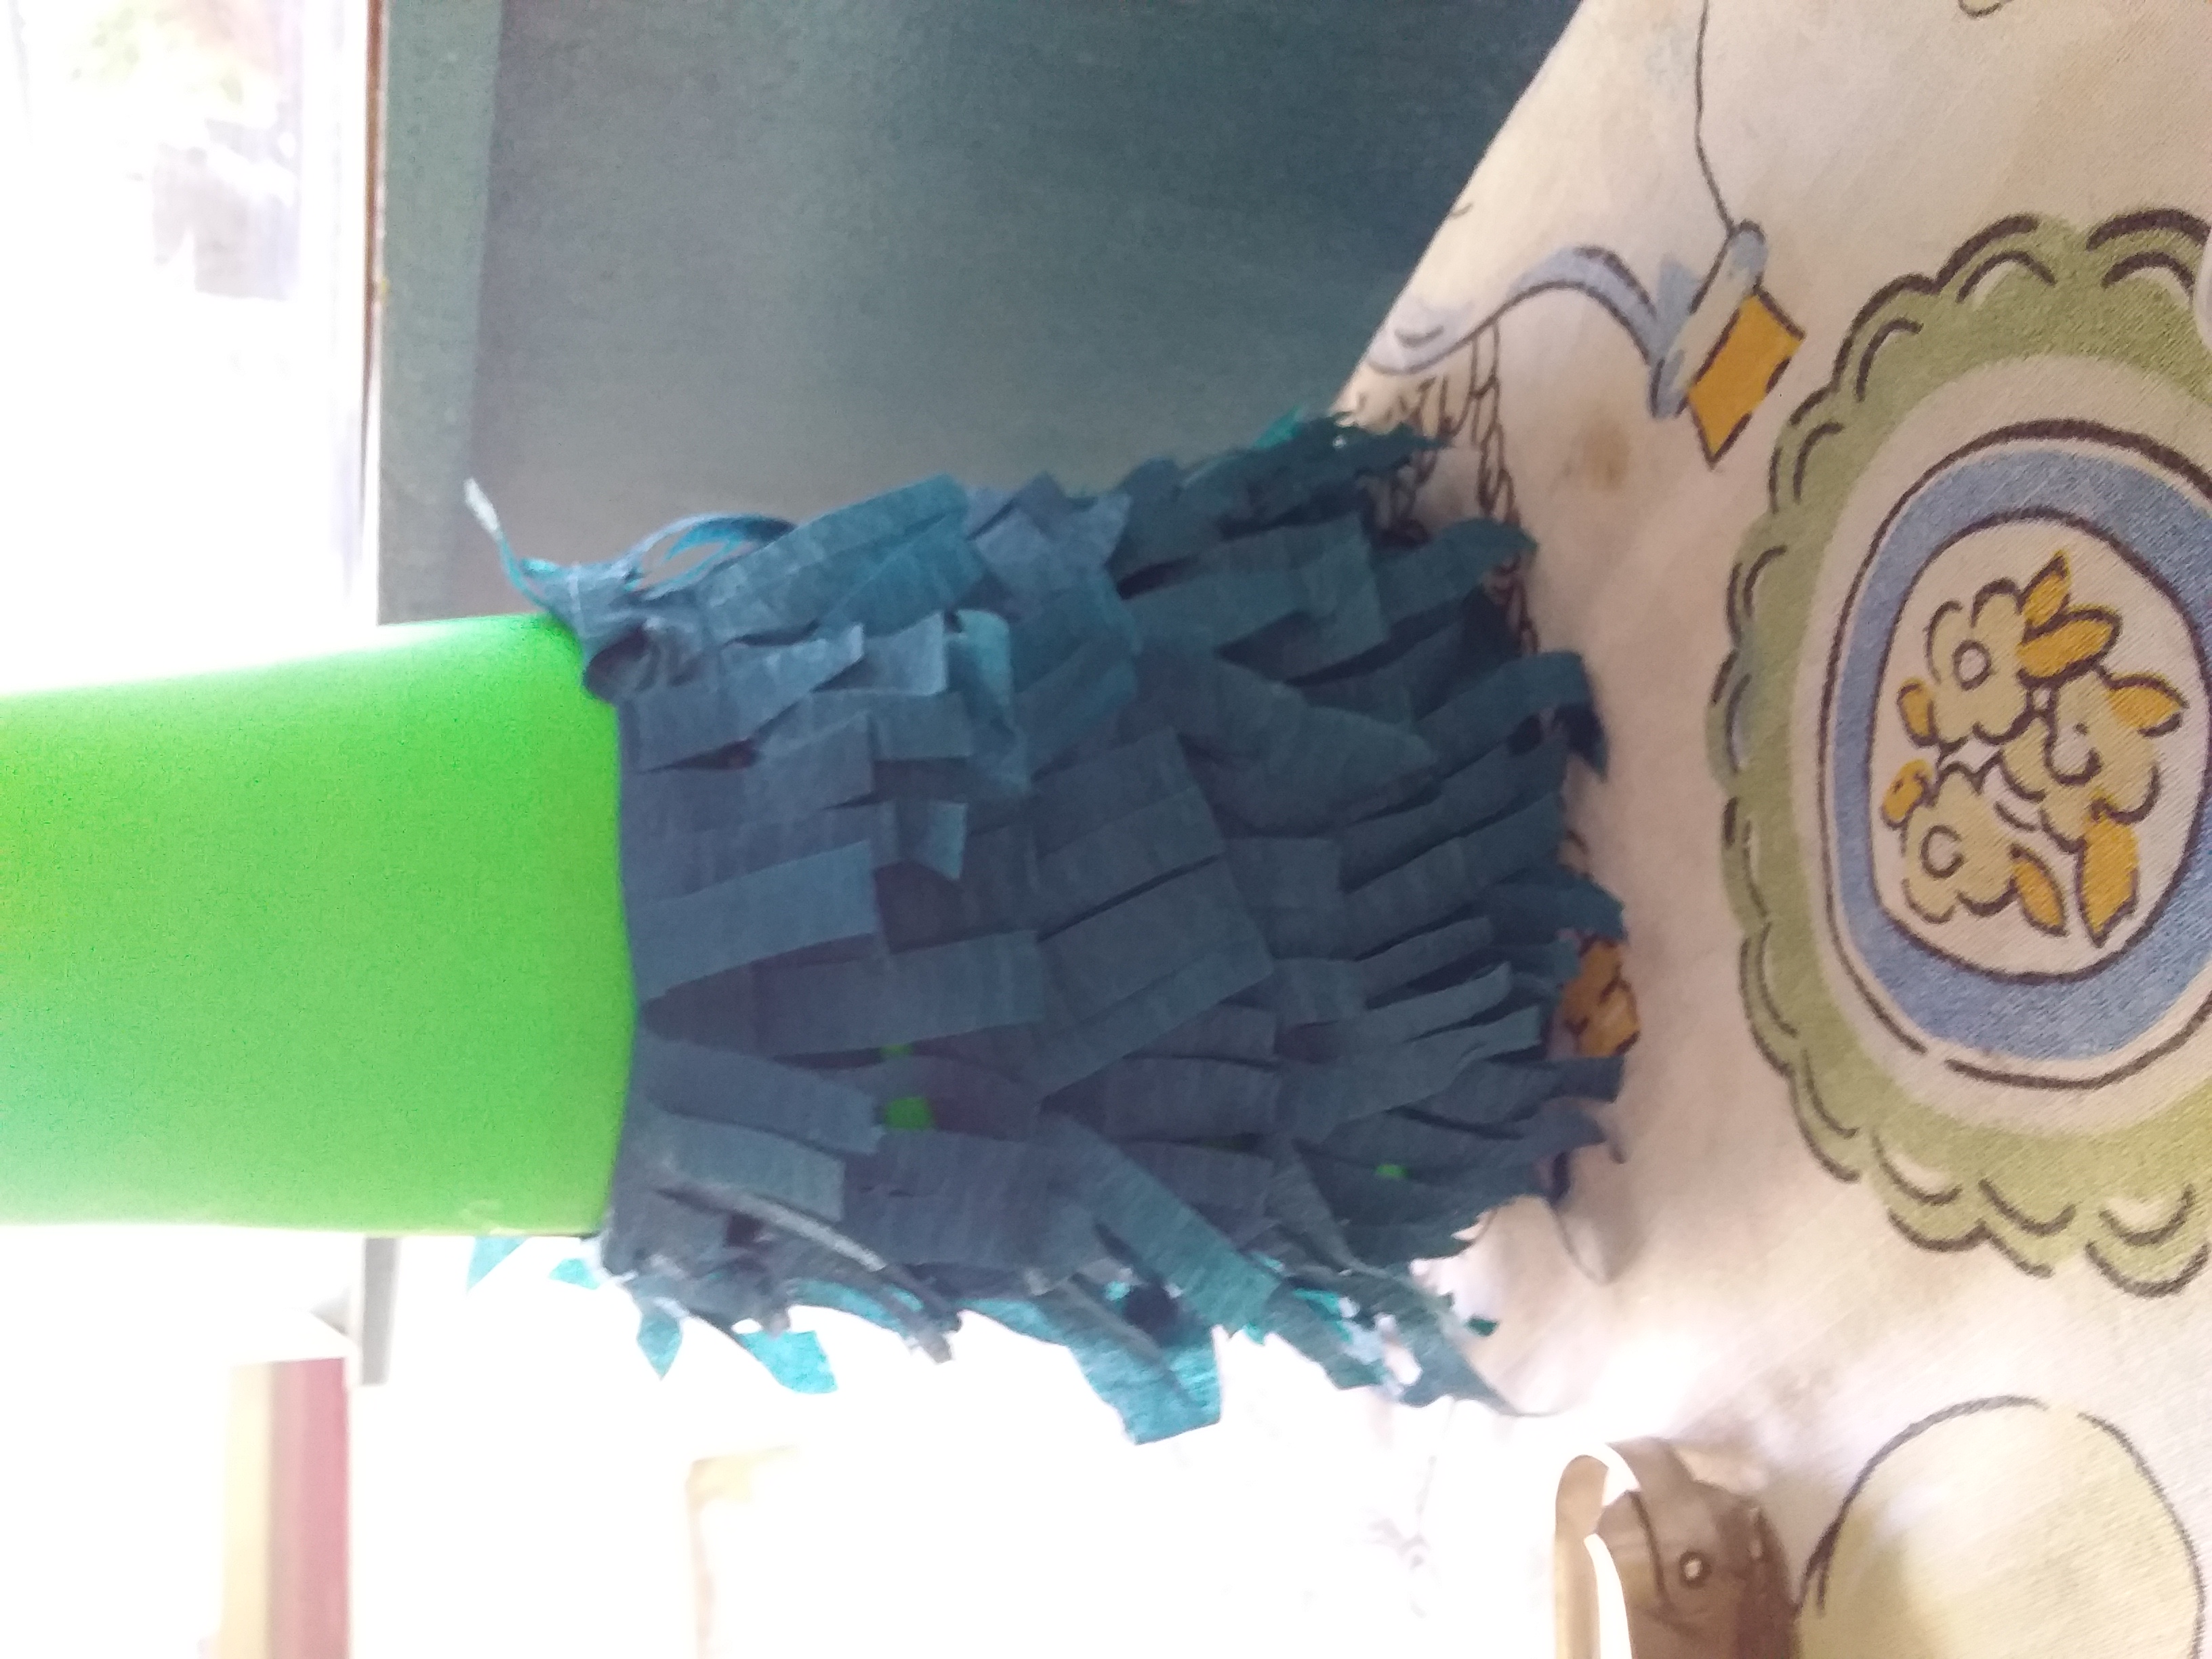
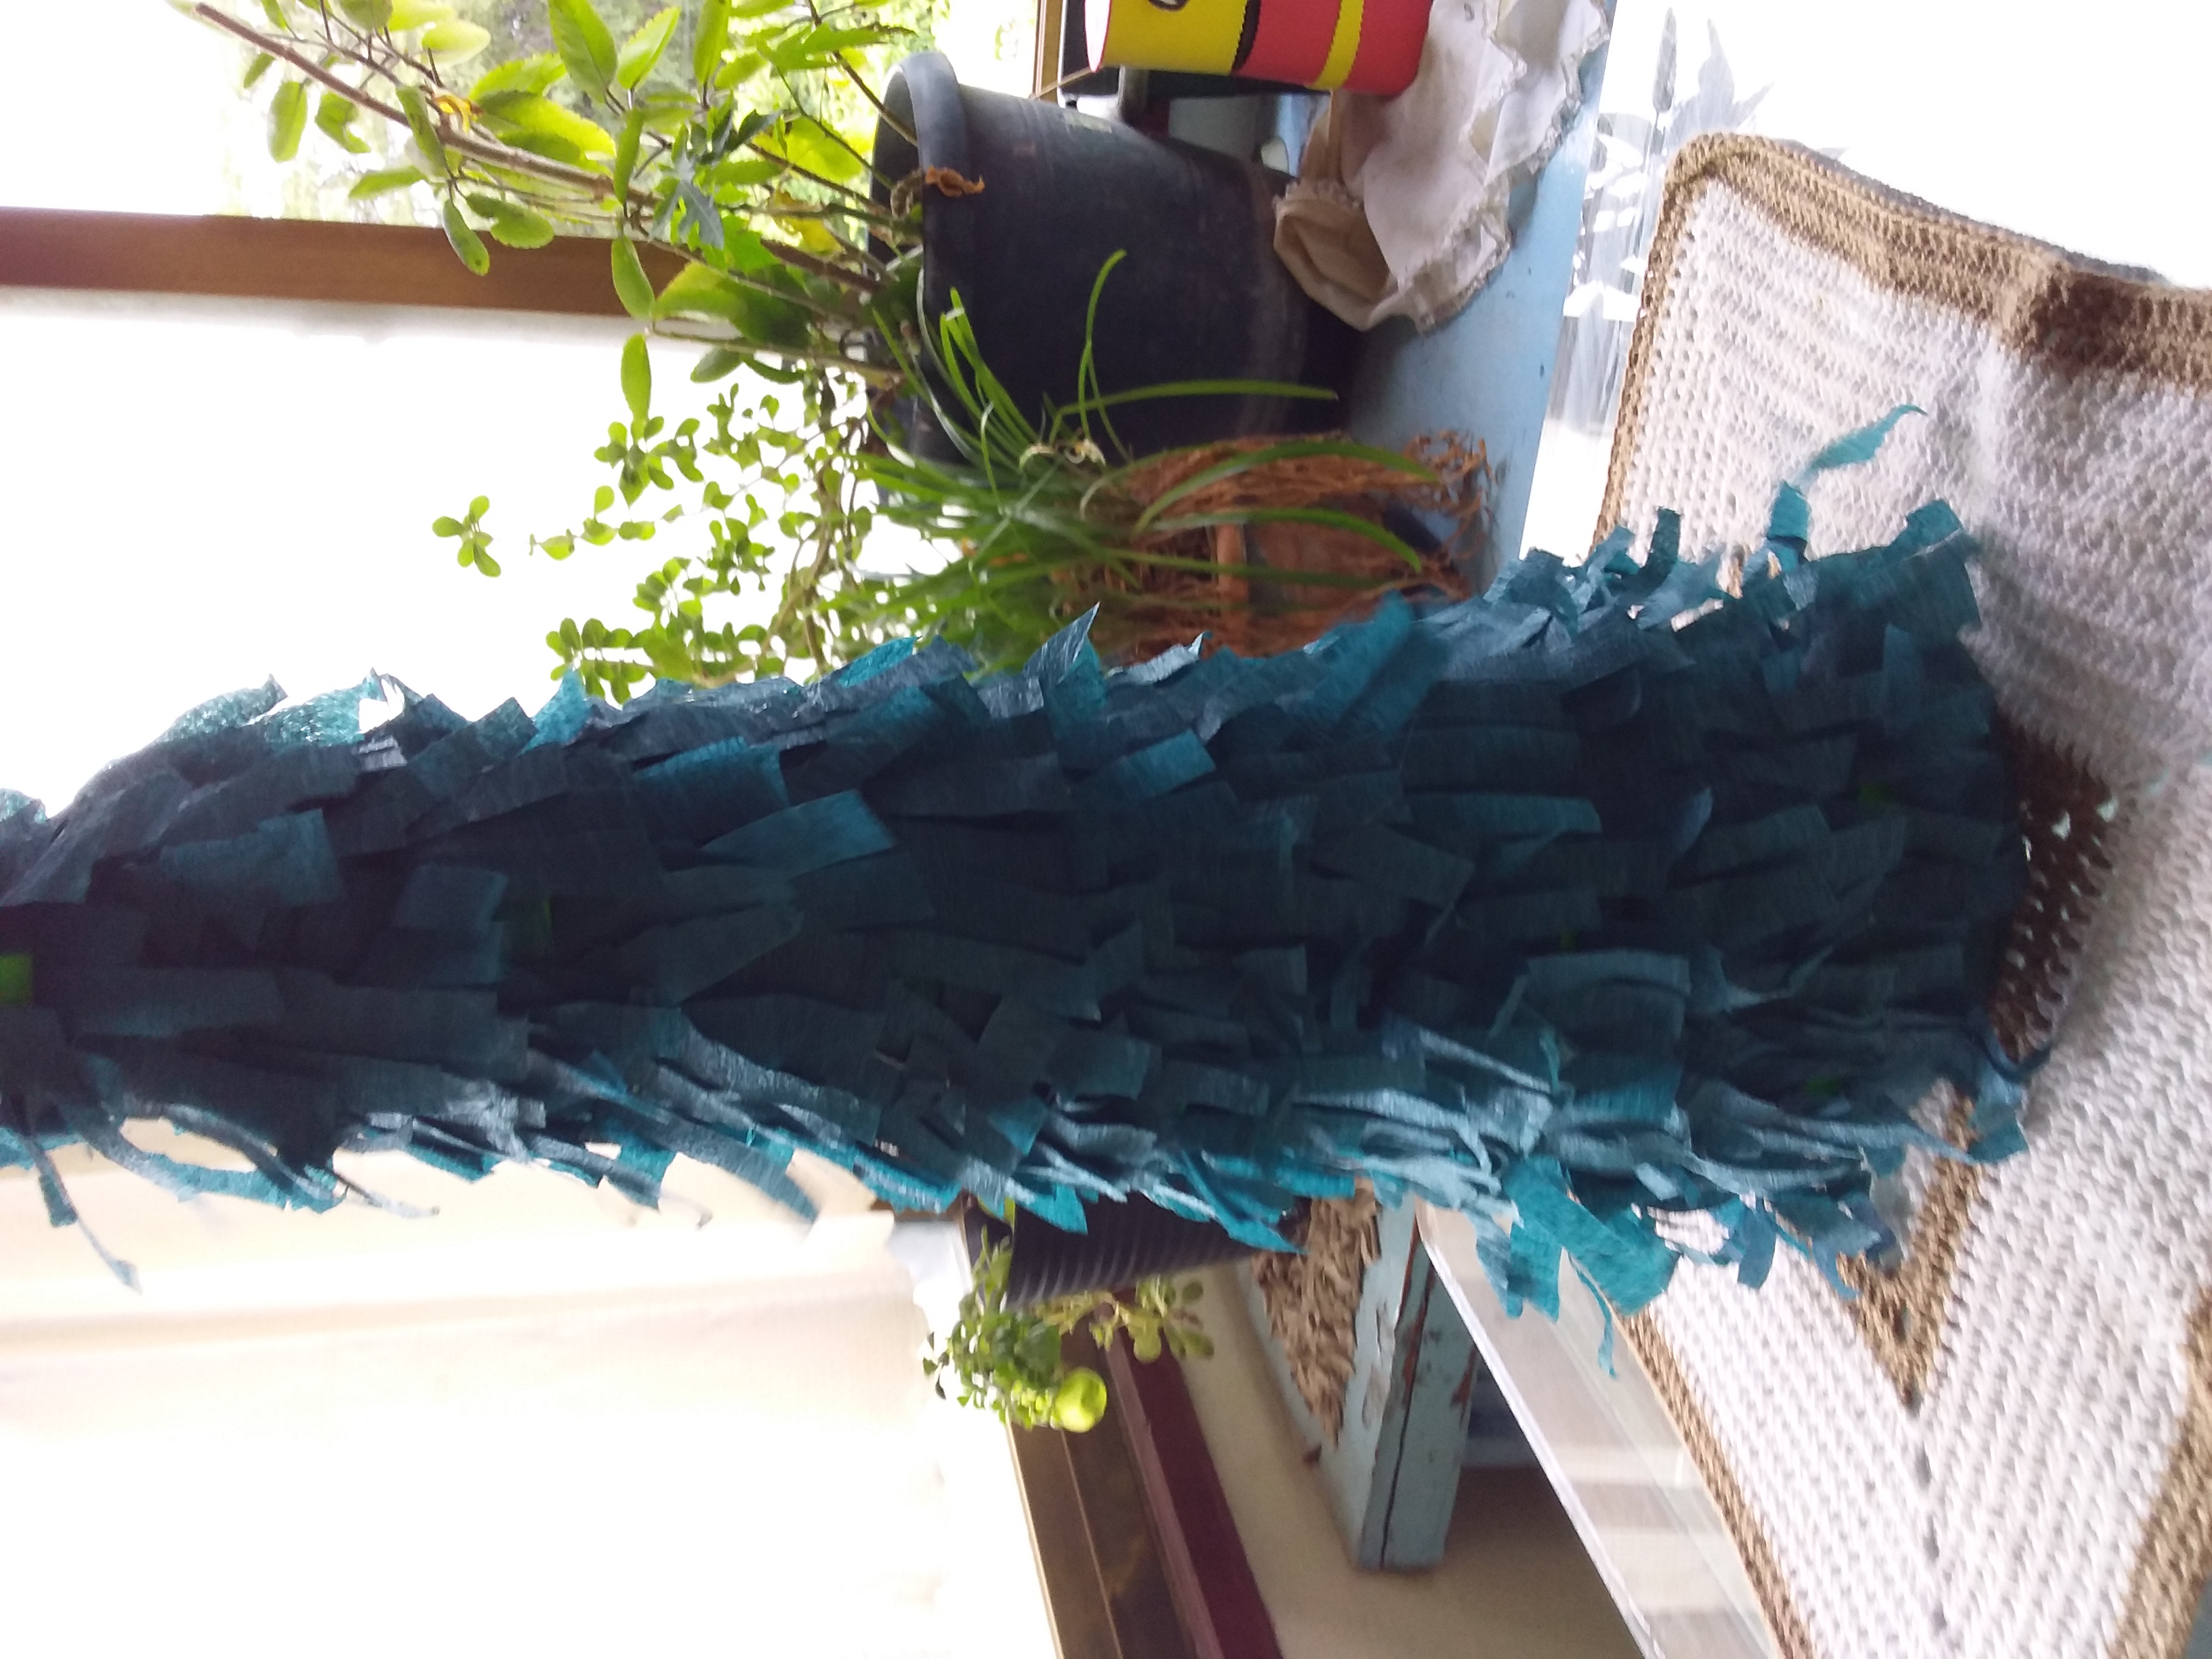
Una vez cortadas las tiras se van pegado por alrededor de todo el icono, hasta cubrirlo por completo.
Once cut, the strips are glued around the entire icon, until it is completely covered.



Paso 4/ Step 4
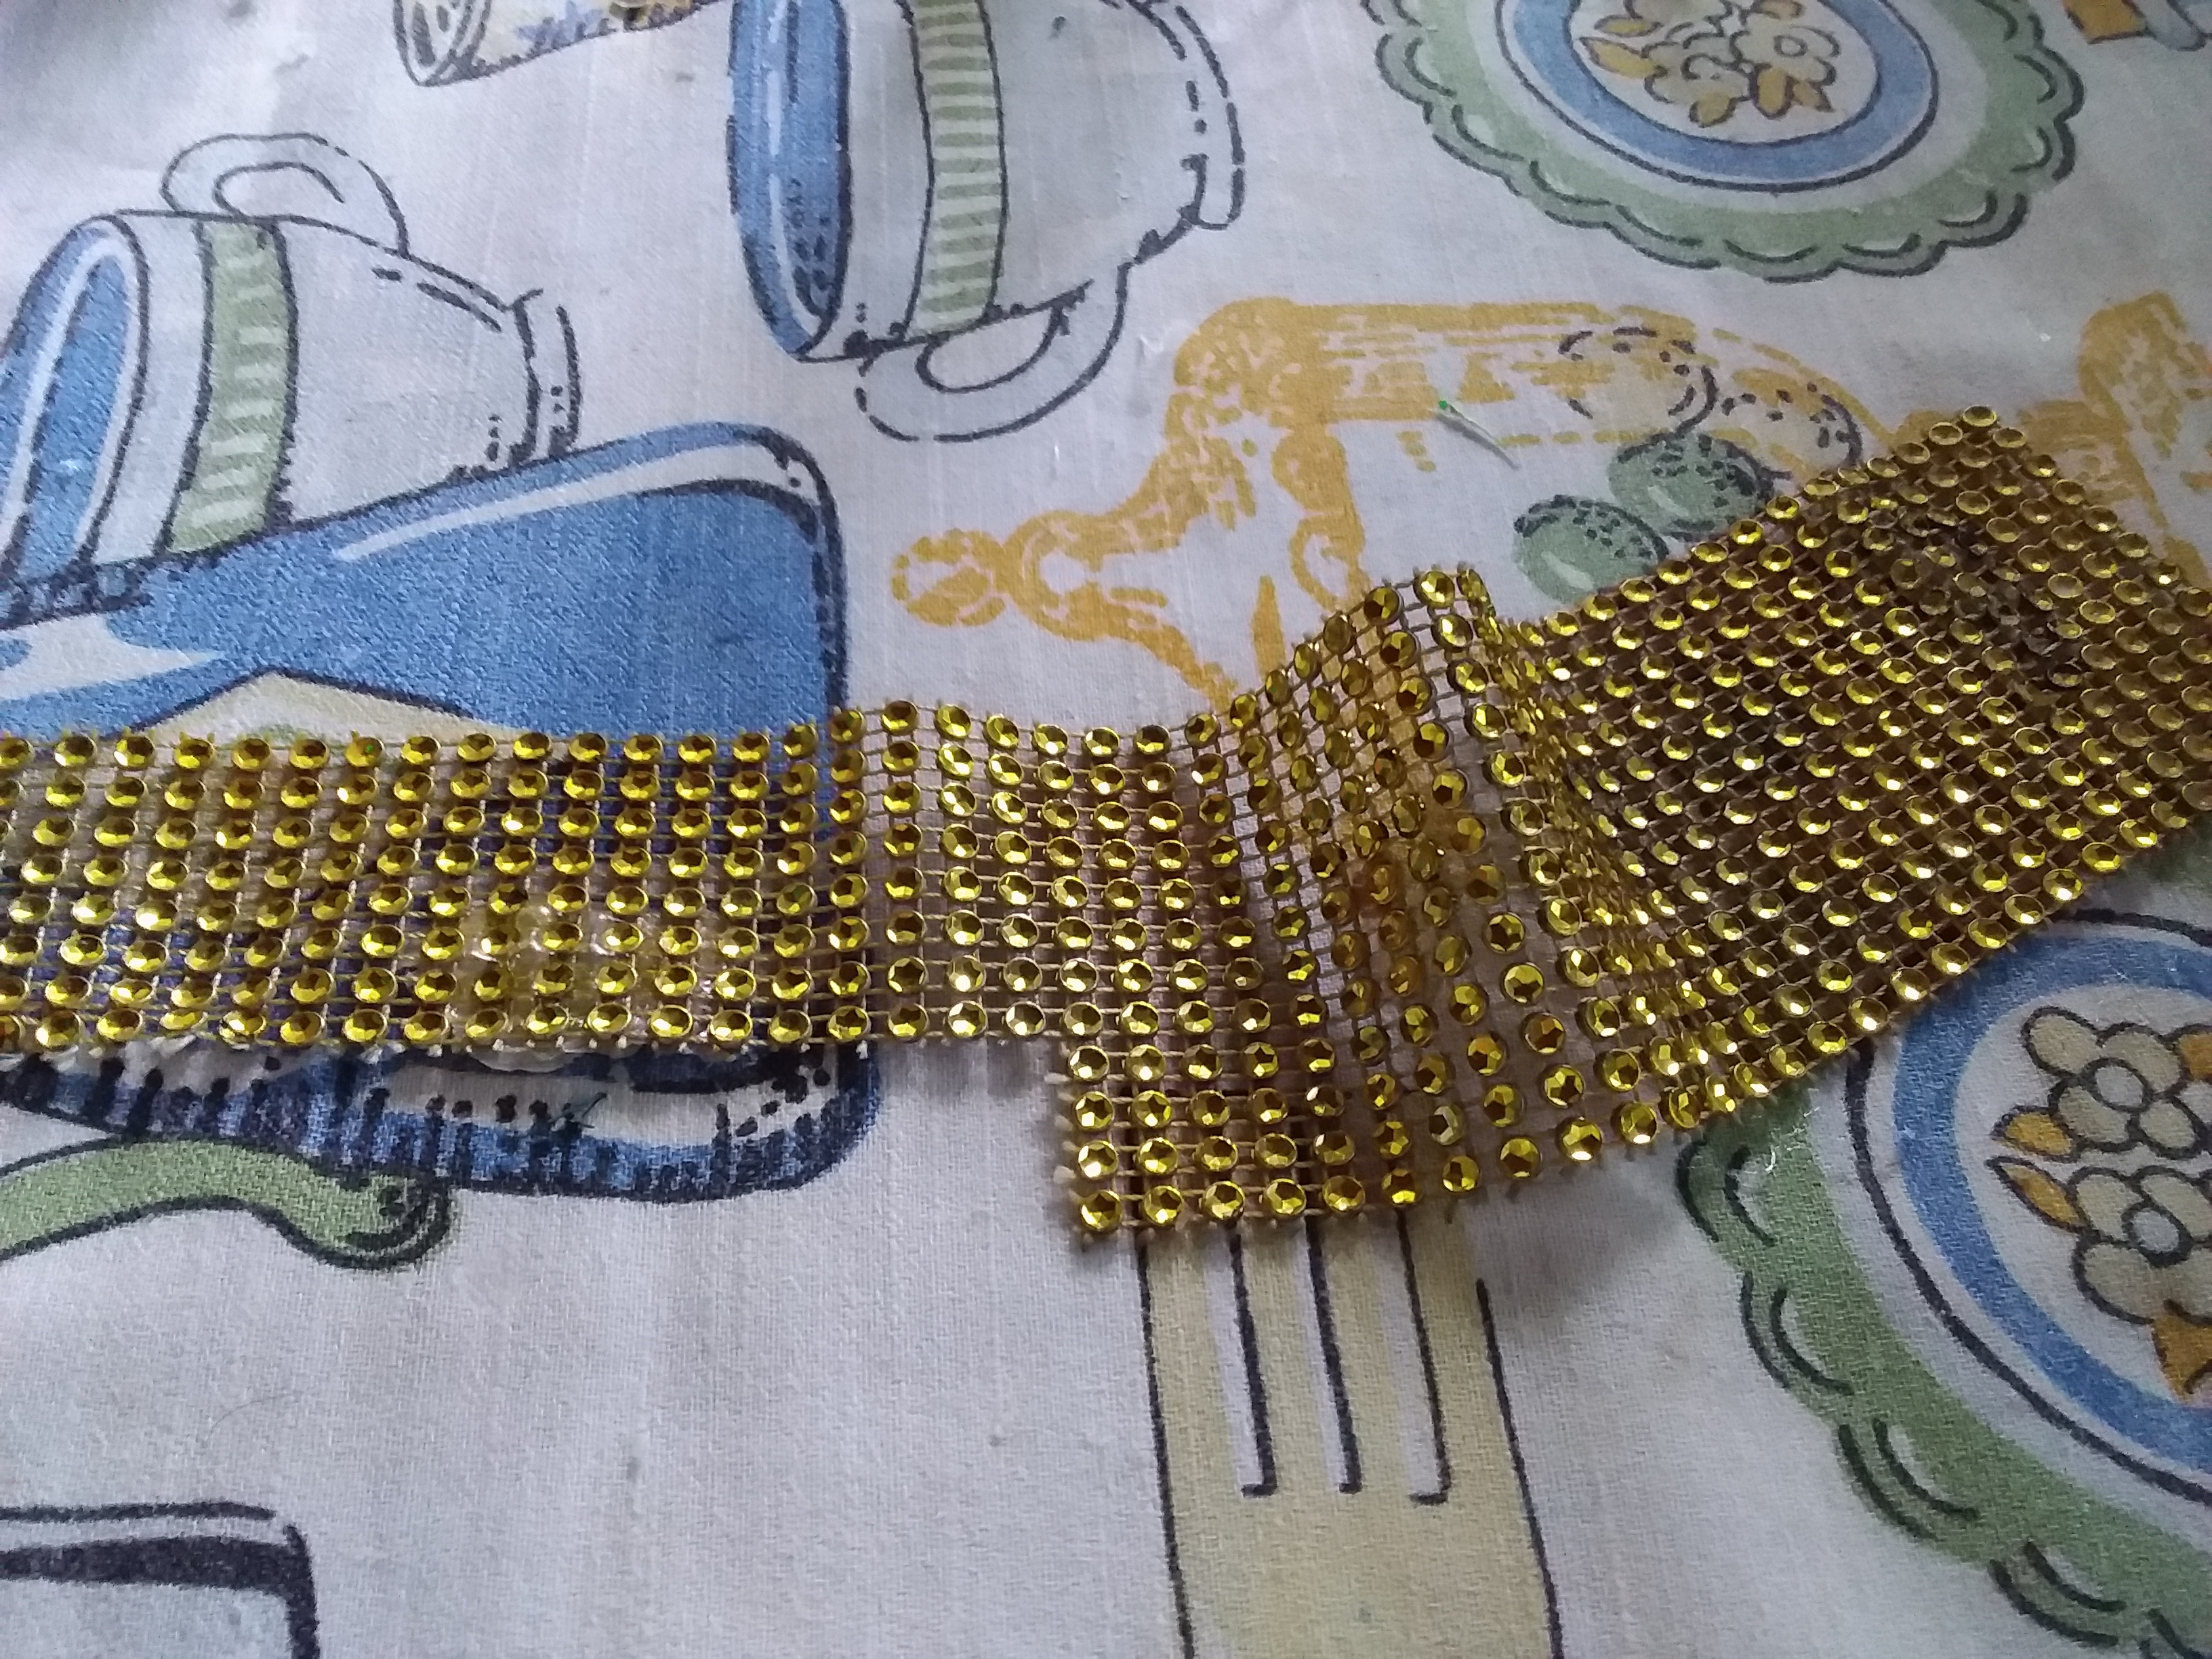
Luego la cinta decorativa, la cortamos que queden dos brillantes, pueden ser de a uno también, pero me gusta que se vea bastante el brillo. Para luego pagarlas en varias tiras del árbol y en la punta se coloca cualquier adorno de navidad que tengas en casa.
Then the decorative ribbon, we cut it so that there are two diamonds, they can be one at a time as well, but I like that the shine is quite visible. To then pay for them in several strips of the tree and at the tip any Christmas ornament you have at home is placed.
Y así quedo mi pequeño árbol de navidad.
And so I have my little Christmas tree.
