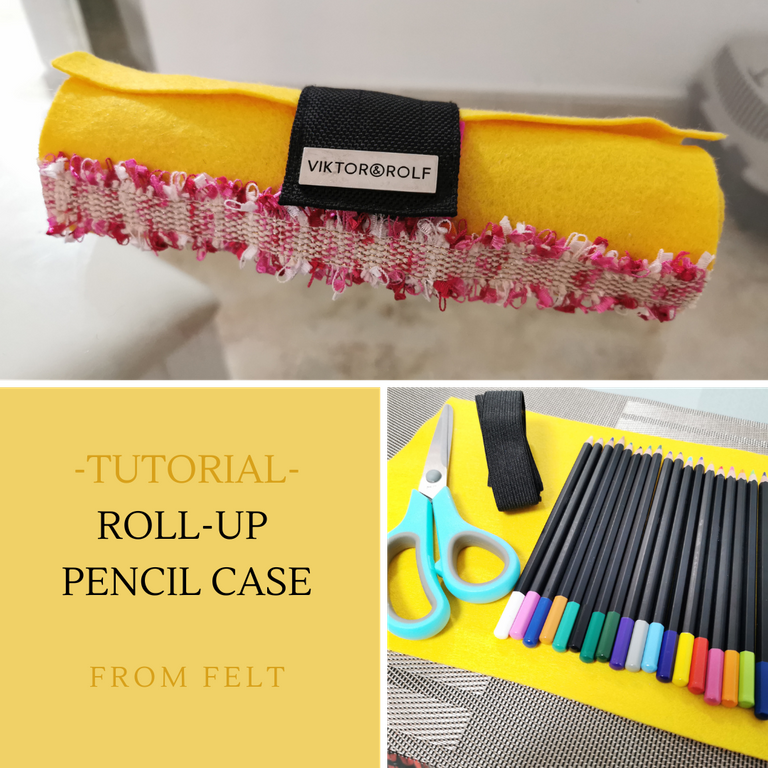
Where to leave the pencils?
I already shared the other pencil case I upgraded for my daughter here but there was more work to do for me because she also had a box of coloring pencils as well as markers and crayons. I don't know if I will create something for all of them but I had this idea for the pencils so that she can easily use them instead of constantly opening the cardboard box they were in.
Roll-up pencil case
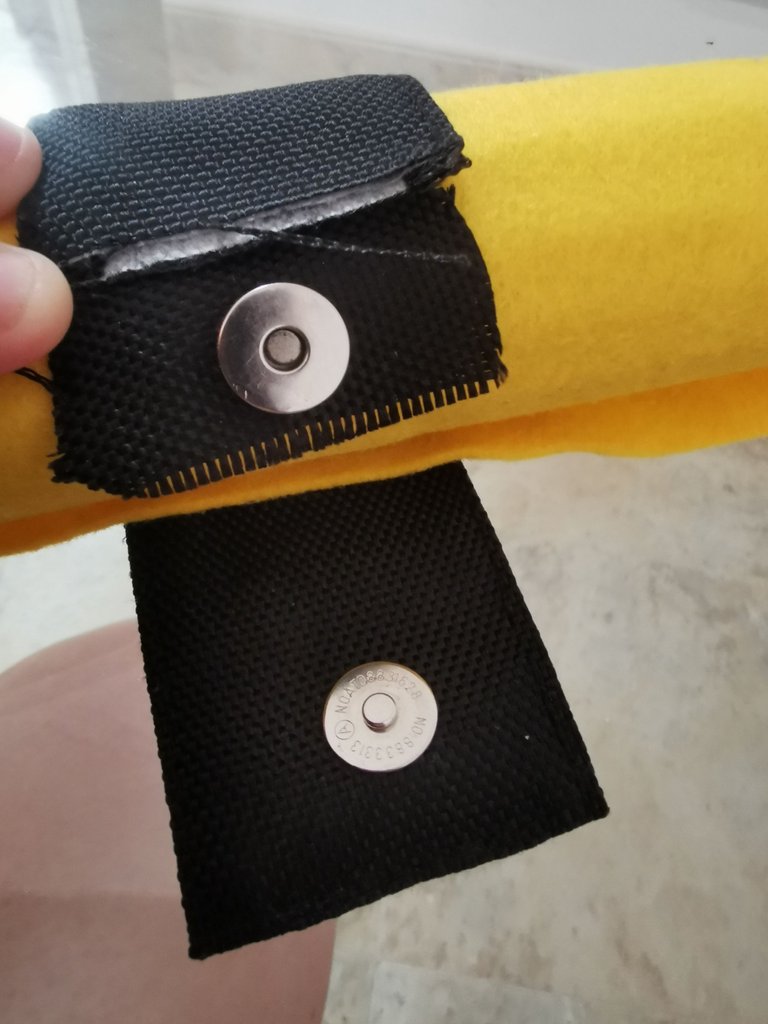
I saw a few flashy designs while browsing for ideas for the hot pink pencil case, so I remembered that I would create her one the following week. I wasn't sure yet about the details and have to admit that I stared to the felt and elastic for a few days before I decided what I was going to use to close the pencil case. I had the initial idea to use fabric ribbons so she only had to make a knot. That is until I went through some old stuff and found an old bag from Victor & Rolf that was torn completely, which was a shame because I loved using it. Overloading it with heavy items made it tear over the years.. I decided to re-use the magnetic button as well as the zipper and cut them out before throwing the rest in the bin.
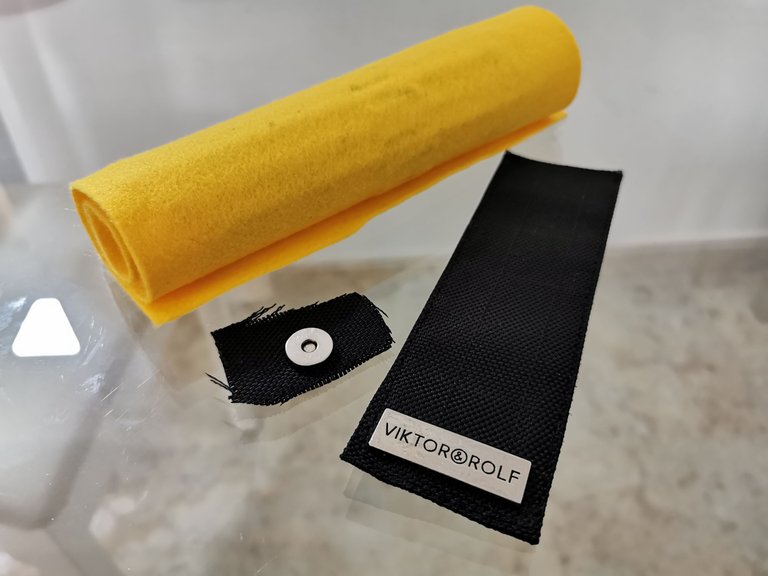
Although not really long enough, I could add two parts together to make it work. Not perfect, I know, but good enough and easy to close and open, which was the main purpose here. I really wanted to make this work because of the yellow/black combination, it really grabs the attention.
Tools & Supplies
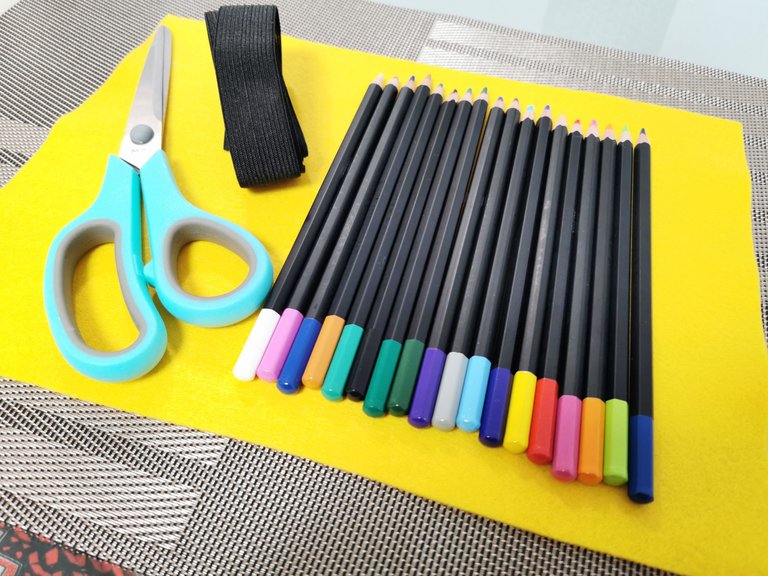
This is actually a very simple design, you don't need a lot of tools or supplies:
- A4 Sized Felt in the color of your choice
- Elastic band, approximately 1-1.5 cm wide (whatever you prefer)
- Scissors
- Glue gun
- Decoration (ribbon/felt/rhinestones, whatever you desire)
- Magnetic button (I recycled this one from a broken travel bag)
- Small piece of felt
So the decoration is of course totally up to you, I had a hard time deciding what to add but I went for a pink ribbon that my daughter loves. To cover the overlap of the two black fabric parts with magnetic button, I used a bit of felt to make sure it would stay in place. I always tend to figure this out when I'm at that point and don't really plan that upfront. It really depends on what I have to cover it up, haha. Of course you can also replace the button part with a fabric ribbon if you have 2 of those.
The Process
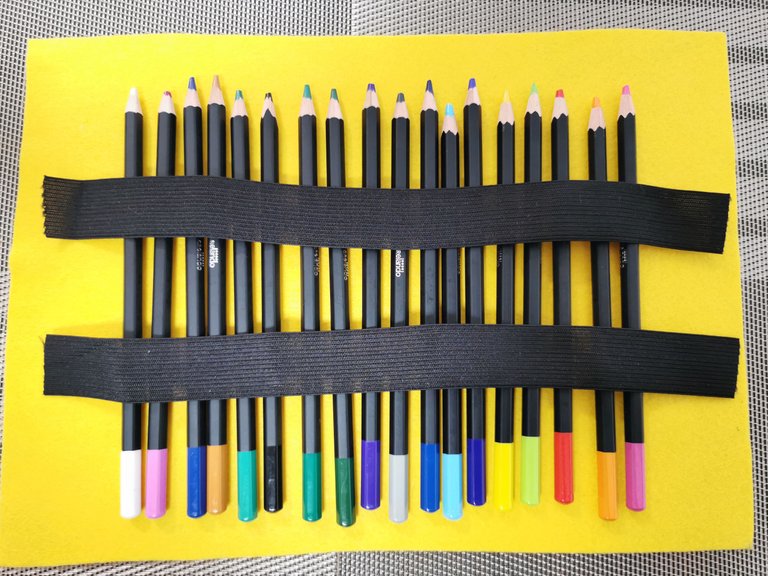
First, I thought that I was going to add two rows of elastic to make sure the pencils stayed in place well enough.
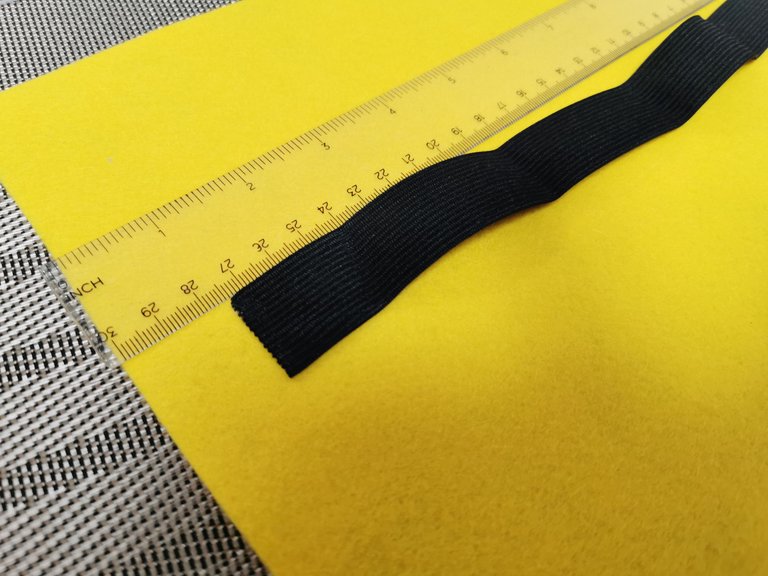
I started measuring where I was going to place the ribbon and realized that it would probably be a lot harder to make sure these two rows were exactly in line and I'd try it with one instead.
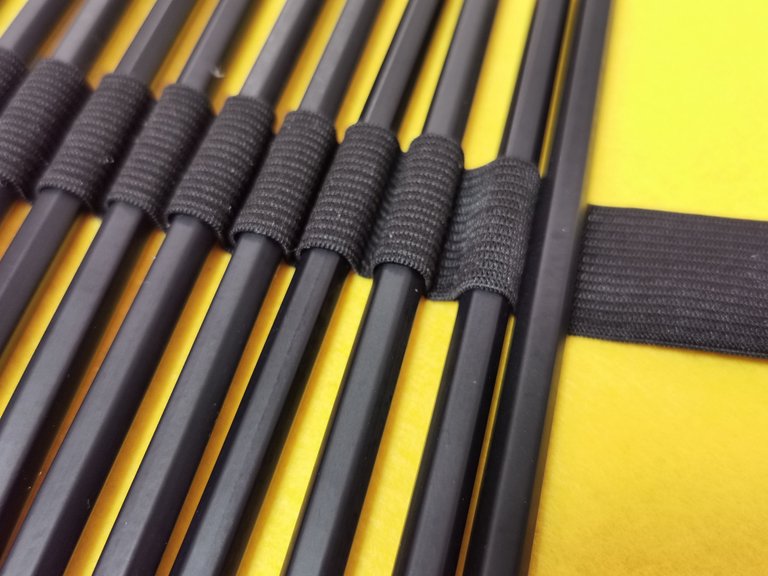
Just glue the end on the felt, then measure with a pencil how much elastic you approximately need to fit the pencil and glue it on the felt. The first two I glued were actually a bit too tight but once you have glued a few you get the hang of it and things go much smoother.
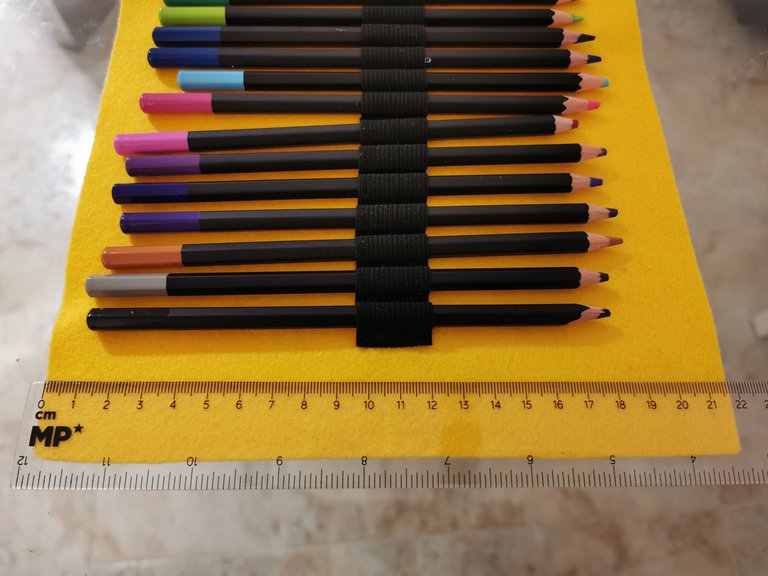
I left the pencils in the elastic so I could make sure they were glued well enough to hold it. When you're at the final part, make sure to first cut the elastic before gluing it to the felt.
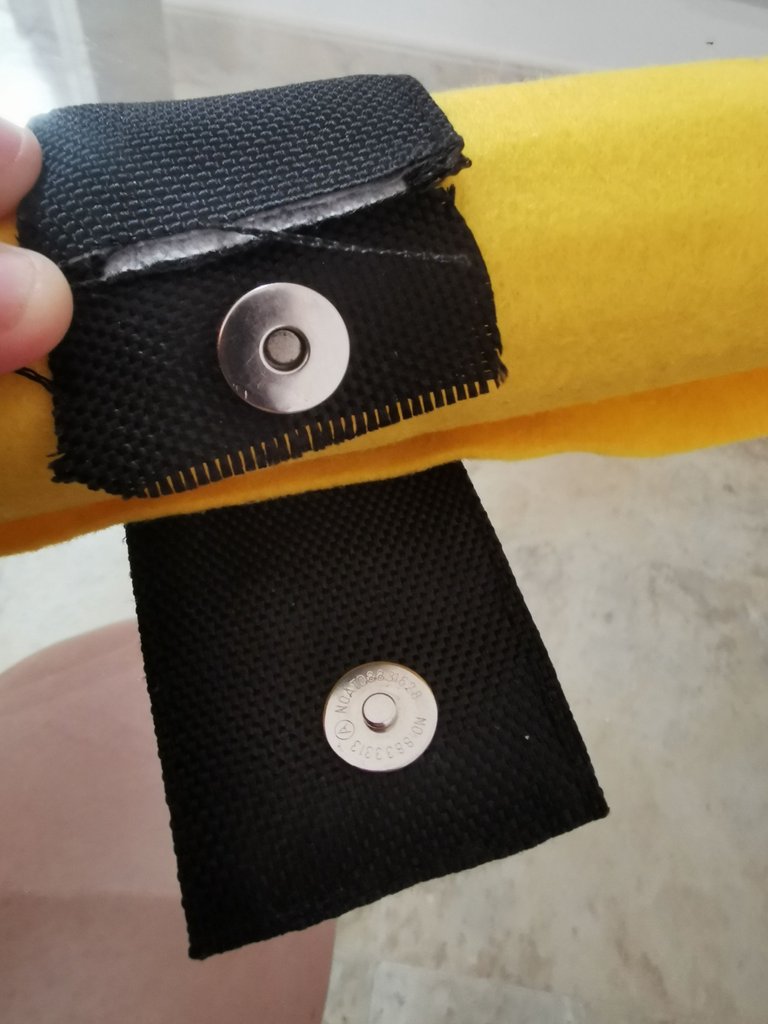
Time to add the lock part. I measure it once again to make sure that I knew where to glue and that it would fit because I only had one shot here, once it's glued to the felt, there's no way you can unglue it. It made me a bit nervous not knowing how I was going to cover this up because I knew I didn't have black felt in my set. But I went for this option anyway.
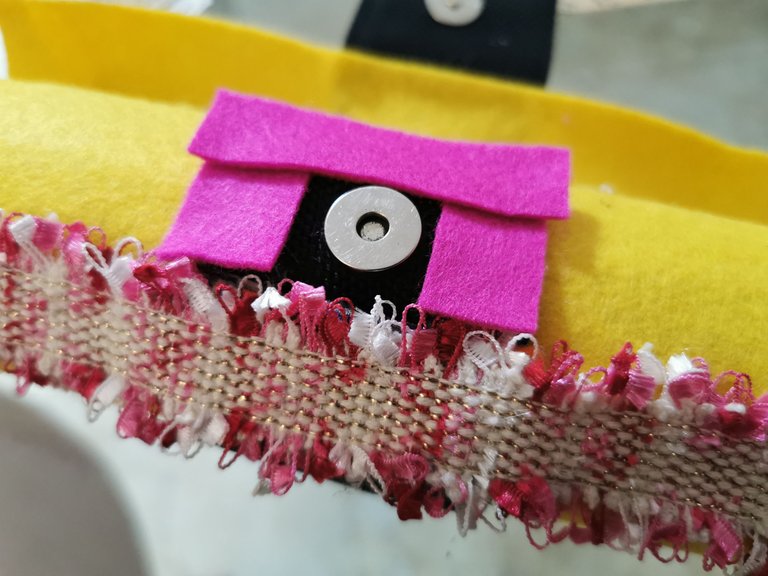
I added the pink and white ribbon for decoration as well as covering up the different parts. As this was mostly pink, the best option to cover the parts of the lock was using pink. Not ideal, but I had to work with what I had. I have to be honest, I felt I messed this up for a while because I wanted to use black felt or maybe yellow but I didn't have them. Adding felt here would mean there's no way the fabric comes off as I use a glue gun to attach the felt parts.
Because I think the ribbon is already quite a lot to look at, I decided to leave out further decoration because then it would be a bit too flashy in my opinion.
The End Result
And here's the end result:
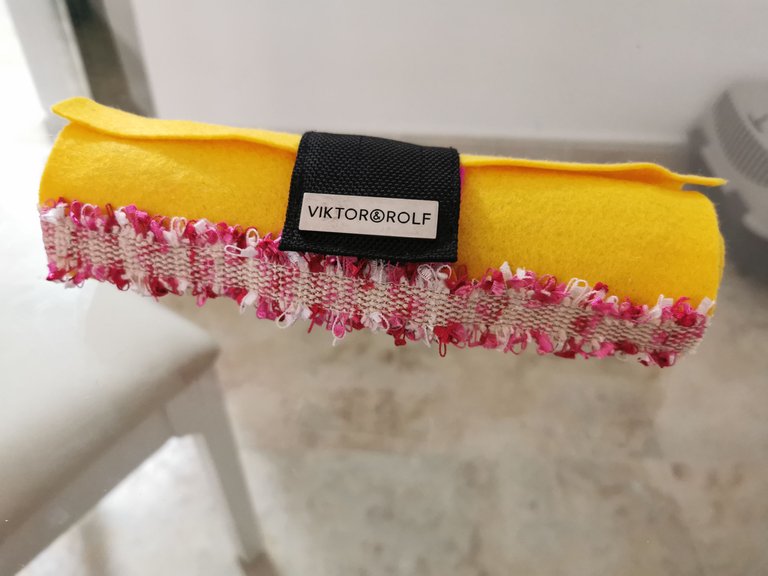
Simple, yet effective. My daughter was very happy when she saw it so I was happy that I didn't go to all the effort for nothing because it took me much longer than I suspected to create this one. For the next roll-up case, I will use fabric ribbon to close it to make sure I don't need to cover up some parts. :-)
Thanks for reading!
